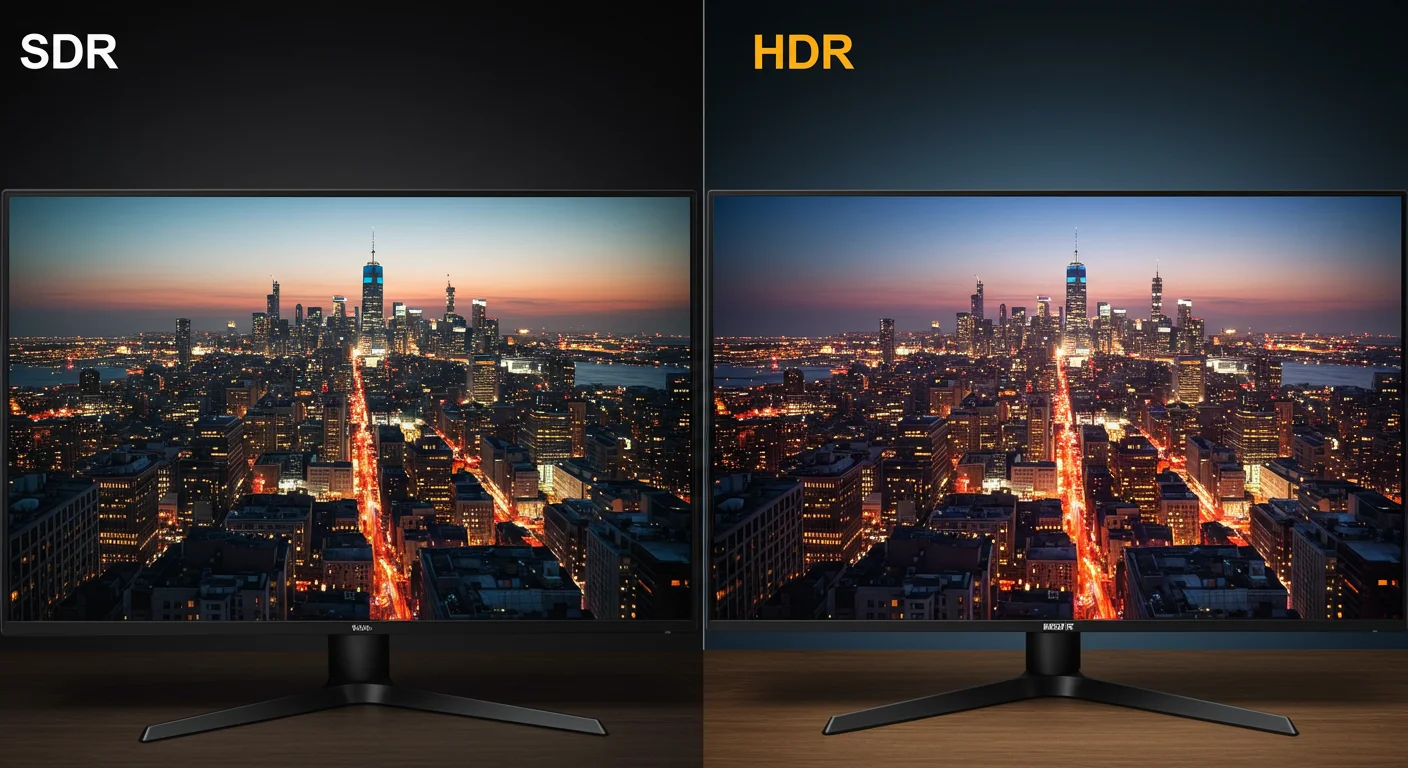
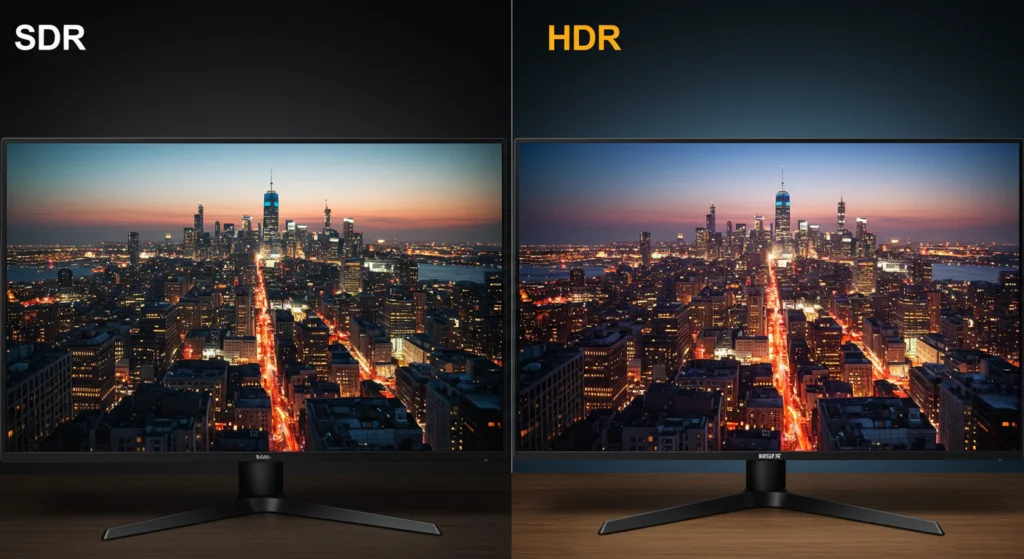
how to know if 27 inch monitor supports hdr

You’ve got a 27-inch monitor, and you’re wondering whether it actually supports HDR the way it should. The truth is, figuring out how to know if a 27 inch monitor supports HDR isn’t as simple as checking the box or looking for the logo. Plenty of monitors claim HDR compatibility, but real, usable HDR takes a few specific hardware specs that aren’t always obvious from the marketing material.
Manufacturer specifications indicate that genuine HDR performance requires at least 400 nits of peak brightness, a wide color gamut covering 90% or more of DCI-P3, and some form of local dimming. Without these, the “HDR” mode often makes the image look washed out or dimmer than standard SDR. Let’s walk through the exact checks you need to run, so you know for sure.

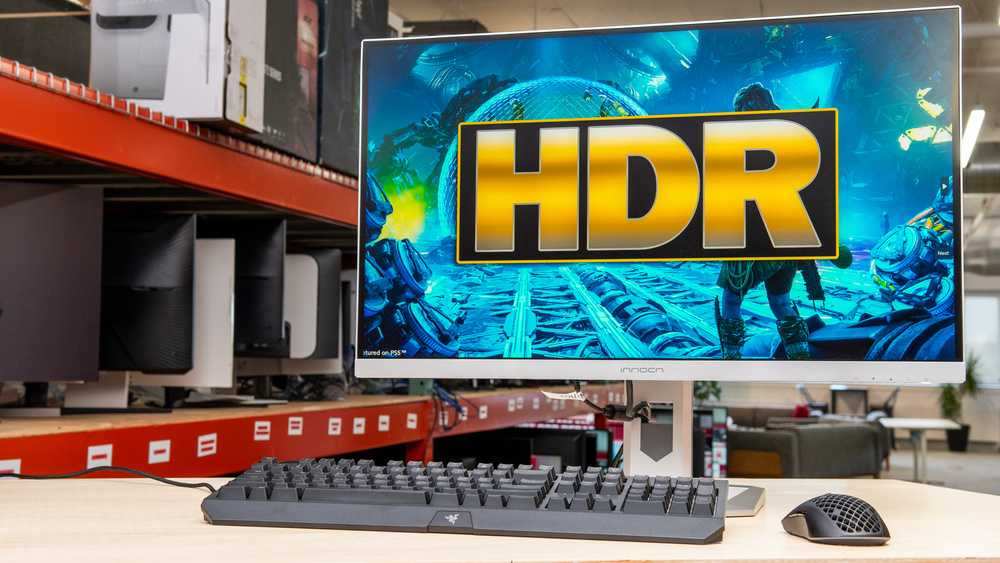
Image source: Wikimedia Commons / Dietmar Rabich (CC BY-SA)
Quick Answer
Check your monitor’s peak brightness. It needs 400 nits minimum for real HDR. Look for VESA DisplayHDR certification.
Verify the color depth (10-bit or 8-bit+FRC). Confirm local dimming exists. Test with a real HDR video.
If the image looks dull or gray, the HDR is fake.
The Real Problem: “HDR Compatible” Doesn’t Mean What You Think
The phrase “HDR compatible” has become one of the most misleading terms in monitor marketing. It basically means the monitor can accept an HDR signal and flip into a high-dynamic-range mode. But accepting a signal is not the same as displaying it properly.
Our research shows that a huge number of budget 27-inch monitors advertise HDR but only hit 250 to 300 nits of brightness. That’s lower than a typical SDR monitor. When you turn on HDR, the system expects higher peak luminance, but the monitor can’t deliver.
The result? Everything looks flat and gray.
The real test is brightness. And that’s where we start.
The Brightness Check – Why Nits Matter More Than the Badge
Brightness is measured in nits (candelas per square meter). For HDR to work, the monitor needs to hit a high peak brightness, at least 400 nits for basic HDR, and ideally 600 nits or more for a genuinely impressive image.
Here’s a quick breakdown of what different brightness levels actually mean for HDR:
| Peak Brightness | HDR Performance |
|---|---|
| Under 300 nits | Not real HDR. The image will look dimmer than SDR. |
| 300–399 nits | Marginal. Some highlight detail, but overall weak. |
| 400–499 nits | Entry-level HDR (DisplayHDR 400). Noticeable improvement in bright scenes. |
| 500–599 nits | Good HDR. Solid highlight punch and better color volume. |
| 600–999 nits | Excellent HDR. Rich highlights and deep contrast. |
| 1000+ nits | Premium HDR. True cinema-level brightness. |
To check your monitor’s peak brightness, look up the official specs on the manufacturer’s website. Don’t rely on retailer listings, they often list “dynamic contrast” instead of real brightness. If the spec sheet says “typical brightness 250 cd/m²,” that’s 250 nits.
That monitor cannot do real HDR.
A secondary check: find your monitor on the manufacturer’s product page and search for “peak luminance” or “HDR peak brightness.” If they only list a contrast ratio (like 1000:1) without a brightness number, that’s a red flag.
The Certification Shortcut – What VESA DisplayHDR Levels Actually Tell You
The easiest way to shortcut the search is to look for the VESA DisplayHDR certification badge. This is an official standard that tests real brightness, color gamut, and black level performance. A monitor that carries a VESA certification has been verified to meet specific minimums.
Here’s what each level guarantees:
- DisplayHDR 400, 400 nits peak brightness, 8-bit+FRC color, and at least 95% sRGB gamut. This is entry-level HDR. It’s better than nothing, but don’t expect jaw-dropping highlights.
- DisplayHDR 600, 600 nits peak, 10-bit color depth, and wider color gamut (90% DCI-P3). This is where HDR starts to look genuinely good on a 27-inch monitor.
- DisplayHDR 1000, 1000 nits peak, true 10-bit panel, and local dimming with at least 32 zones. This delivers a true HDR experience for gaming and movies.
- DisplayHDR True Black 400/500/600, OLED or high-end VA panels with per-pixel black levels and deep contrast. Excellent for dark-room viewing.
If you see a “DisplayHDR 400” badge on a 27-inch monitor, it means the monitor meets that minimum. If there’s no badge, the manufacturer is not willing to pay for certification, and that’s often because the monitor doesn’t meet the criteria.
The Panel & Color Depth Test – 8-Bit+FRC vs. True 10-Bit
HDR content is graded in 10-bit color, meaning 1.07 billion colors instead of 16.7 million in standard 8-bit. A 10-bit panel can show smooth gradients without banding. An 8-bit panel can’t handle that many color steps.
Most affordable 27-inch monitors use 8-bit panels with Frame Rate Control (FRC). FRC rapidly alternates between two shades to simulate a 10-bit look. In our research, 8-bit+FRC works reasonably well for most people.
But if you’re doing color-critical HDR editing, you want a true 10-bit panel.
How do you check? Look at the specs under “color depth.” You’ll see either “8-bit,” “8-bit+FRC (10-bit),” or “10-bit.” A few high-end monitors advertise “10-bit” but actually use FRC, the only way to know for sure is to check if the panel is listed as “native 10-bit” or “10-bit via FRC.”
Truth is, for most HDR gaming and streaming, 8-bit+FRC is fine. For professional HDR video work, you need native 10-bit. Check the manufacturer’s detailed specs or the panel’s datasheet on sites like Panelook (if you want to dig deep).
The Local Dimming Trap – Edge-Lit vs. Full-Array vs. OLED
HDR’s magic comes from high contrast, bright highlights next to deep blacks. To get that, a monitor needs local dimming. This lets different areas of the screen dim independently so dark parts stay dark while bright parts stay bright.
There are three common types:
- No local dimming, The entire backlight is one zone. You get gray blacks and halos around bright objects. HDR on these monitors looks terrible.
- Edge-lit local dimming, LEDs are along the edges only. Very few zones (often 4, 8). You get halos and uneven dimming. It’s better than nothing but still poor.
- Full-array local dimming, LEDs are behind the screen in rows and columns. More zones (8 to over 100). This gives good contrast and is the standard for decent HDR.
- OLED, Each pixel is its own light source. Perfect blacks and infinite contrast. The best HDR experience, but more expensive and prone to burn-in.
Most 27-inch HDR monitors in the mid-range use edge-lit dimming with very few zones. These often fail to deliver the contrast that HDR promises. In our research, monitors with fewer than 16 local dimming zones tend to produce distracting blooming around bright objects.
The test: Play a HDR video with a bright object on a dark background (like a starship in space). If you see a bright halo around the starship that extends far into the black area, you have very few dimming zones. That’s the edge-lit trap.
If the black stays black right up against the bright object, you have good local dimming or OLED.
Your goal is to decide whether that monitor’s HDR is worth using. If it fails the brightness and dimming checks, you’re better off sticking with SDR mode.
The Cable & Port Gate – HDMI 2.0, DisplayPort 1.4, and What Your GPU Needs
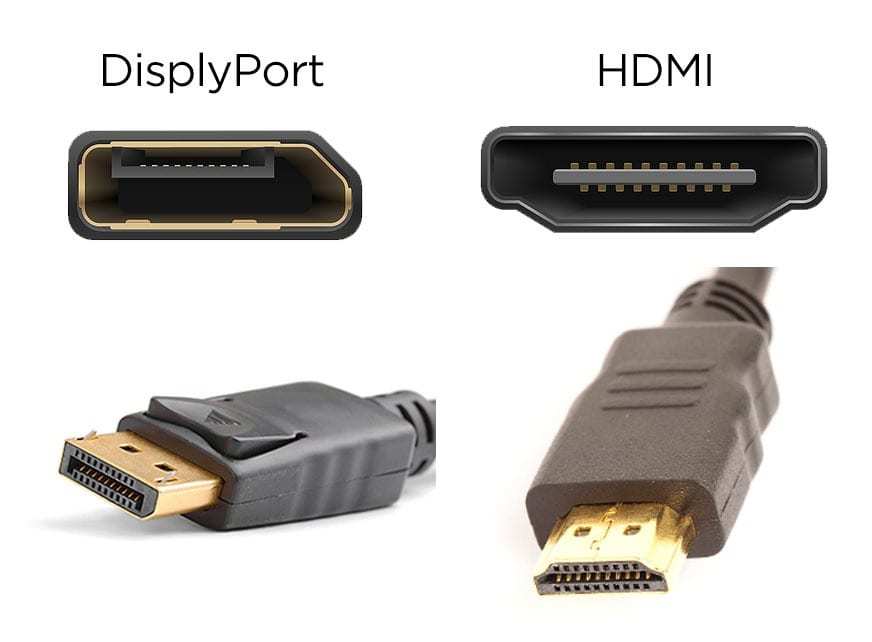
Even if your monitor passes every spec check, a bad cable or old GPU can block HDR entirely. The signal path matters just as much as the panel itself.
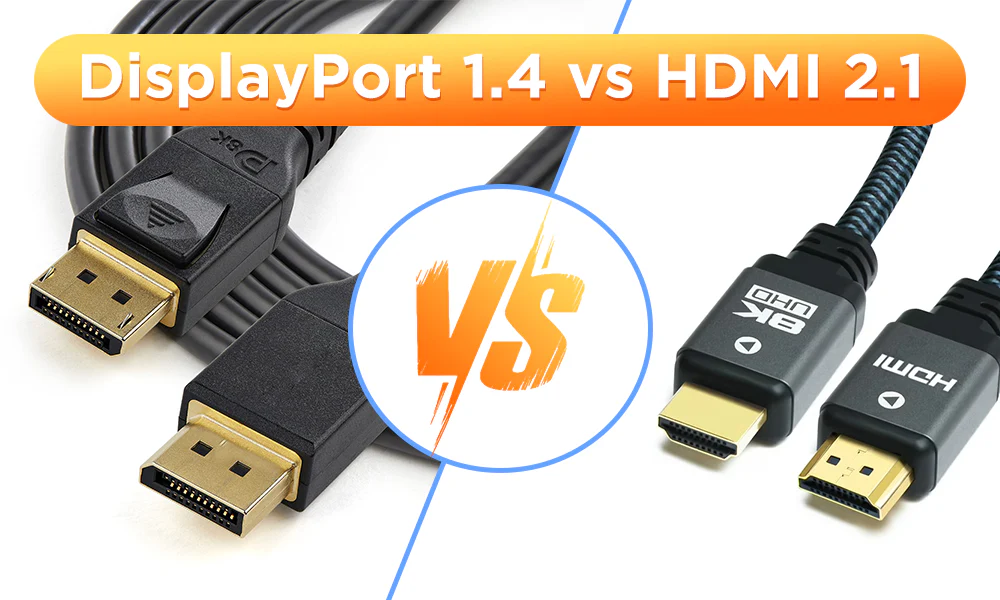
Which cable do you need? For HDR at 60Hz on a 27-inch 1440p or 4K monitor, you need HDMI 2.0 or DisplayPort 1.4. HDMI 1.4 can’t carry the bandwidth for 4K HDR. DisplayPort 1.2 is also insufficient for HDR at higher resolutions.
Here’s what works:
| Cable / Port | Max resolution with HDR at 60Hz |
|---|---|
| HDMI 1.4 | 1080p HDR only |
| HDMI 2.0 | 4K HDR at 60Hz |
| HDMI 2.1 | 4K HDR at 120Hz or 8K HDR |
| DisplayPort 1.2 | 1440p HDR at 60Hz (marginal) |
| DisplayPort 1.4 | 4K HDR at 60Hz (also supports DSC for higher) |
| DisplayPort 2.0 | 8K HDR at 60Hz |
The GPU side. Your graphics card must support HDR output. For NVIDIA, that’s GTX 1050 or newer. For AMD, RX 400 series or newer.
Integrated graphics on older Intel chips (8th gen or earlier) often lack HDR support. You can check your GPU model in Device Manager (Windows) or About This Mac.
The practical test. Connect your monitor using the correct cable. If the monitor has multiple HDMI ports, check which one supports HDR, some budget monitors only enable HDR on one specific port. The manual or the label next to the port usually says “HDR” or “HDMI 2.0.”
One more thing. Cable length matters. Long HDMI cables (over 15 feet / 5 meters) can lose signal quality. Stick with certified cables labeled “High Speed HDMI” or “Premium High Speed” for 4K HDR.
The Windows HDR Toggle – How to Test If It’s Real
Windows makes it easy to enable HDR, but the toggle itself doesn’t tell you if the monitor is capable. Here’s how to check properly.
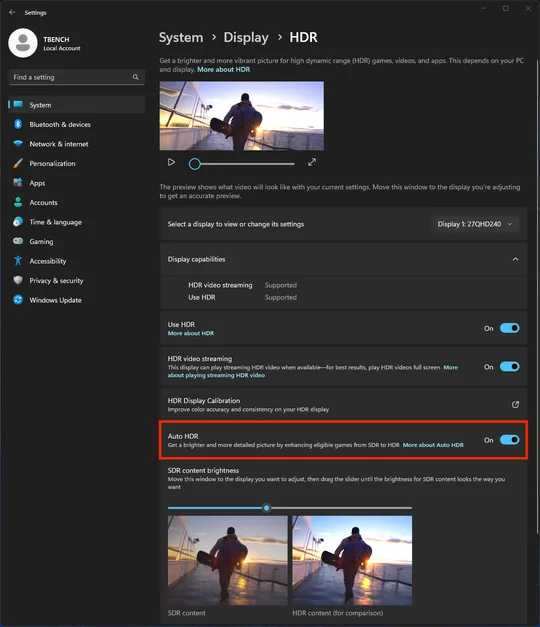
Step 1, Turn it on. Go to Settings > System > Display. Under “Windows HD Color settings,” you’ll see a toggle for “Use HDR.” If it’s grayed out, your monitor or GPU doesn’t support HDR at all. If it’s available, toggle it on.
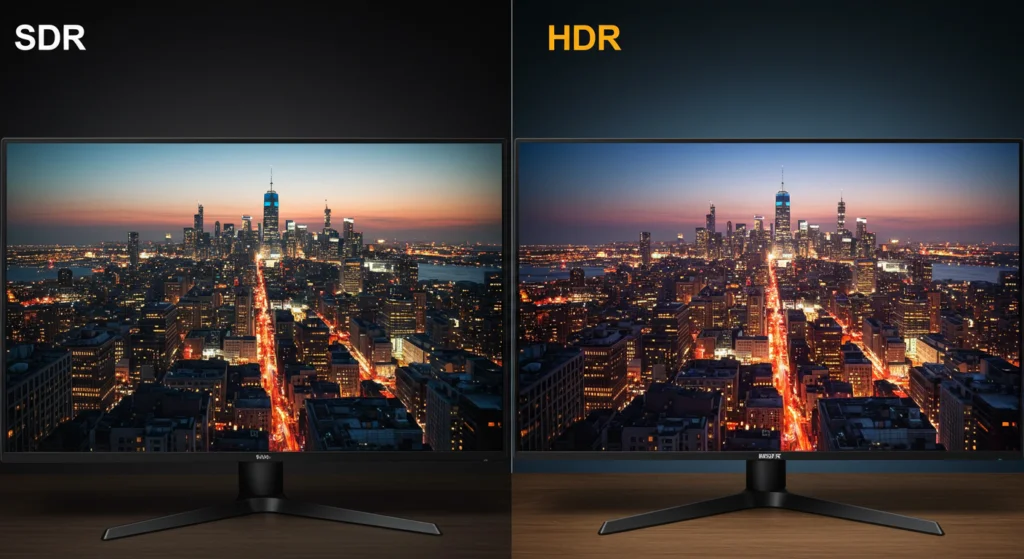
Step 2, Watch what happens. A real HDR monitor will get noticeably brighter. The desktop might look a bit blown out, that’s normal because Windows SDR content is mapped to the wider HDR range. But if the screen gets dimmer or looks washed out, that’s a red flag.
The monitor is accepting the HDR signal but can’t deliver the brightness.
Step 3, Use the Windows HDR Calibration app. This free tool from the Microsoft Store walks you through a brightness test. It shows pattern bars and asks you to adjust sliders until the bars are just barely visible. A monitor with real HDR will let you see detail all the way to the 10,000-nit reference bar.
A fake HDR monitor will clip everything above 400 nits.
Step 4, Check the Advanced Color info. In Windows HD Color settings, click “Advanced color.” Look for “Display capabilities.” It should list “HDR10” and “WCG” (wide color gamut) as supported. If it only says “HDR10” but not “WCG,” the monitor might not actually cover a wider gamut.
What about HDR video streaming? Windows also shows a toggle for “Stream HDR video.” If that’s available independently of the HDR toggle, it means your monitor supports hardware-based HDR decoding for apps like Netflix and YouTube. Both toggles available is a good sign.
The Monitor OSD Walkthrough – What to Look For in the Menu
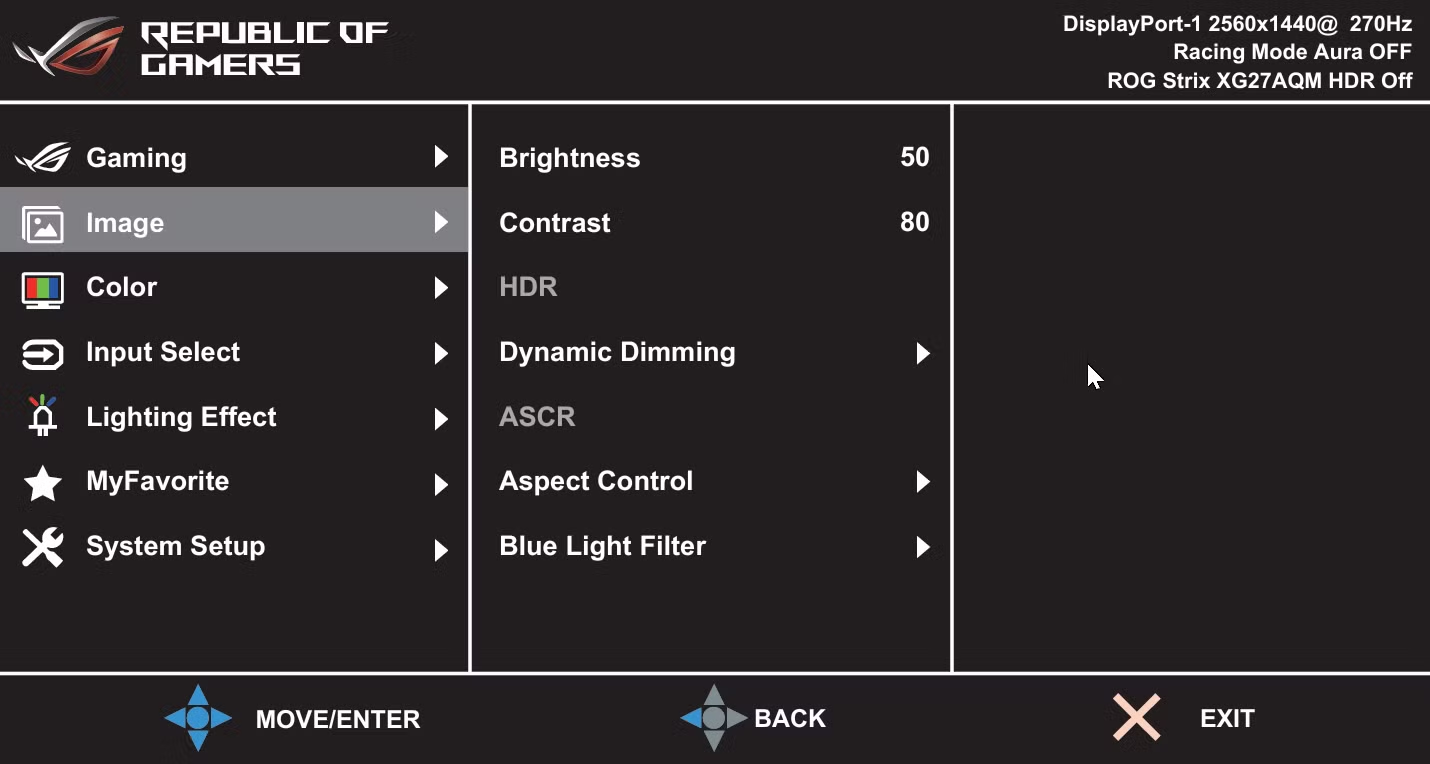
Your monitor’s on-screen display (OSD) menu holds the truth. You can navigate it using the buttons or joystick on the monitor itself.
Finding the HDR mode. Look for a section called “Picture,” “Image,” or “Gaming.” Inside, you’ll find a setting for “HDR” or “HDR Mode.” Options typically include “Off,” “Auto,” “HDR10,” or “HDR Game/Movie.” A monitor with real HDR will have a dedicated HDR mode that changes brightness and color settings automatically.
What to check first. Set the OSD to HDR mode (if available). Then go back to the Windows HDR toggle and turn it on. The monitor should confirm the HDR signal is active, many show a popup or an indicator light.
If the OSD has a “Info” screen, it might display the current resolution, refresh rate, and “HDR: On.”
The brightness adjustment. In HDR mode, most monitors lock the brightness control. That’s because HDR uses absolute brightness levels based on the content. If you can still adjust the brightness slider freely in HDR mode, the monitor might not be properly tone-mapping the HDR signal.
The color temperature trick. Good HDR monitors switch to a “Warm” or “6500K” color temperature in HDR mode to match the D65 white point standard. If the OSD shows a different color temp (like “Normal” or “Cool”) in HDR mode, the calibration might be off.
One red flag. A monitor that offers multiple HDR “modes” like “HDR Standard” and “HDR Dynamic” is often a sign of fake HDR. Real HDR doesn’t need multiple presets, the content controls the brightness and color. If you see those options, the monitor is probably processing an SDR signal to fake HDR.
The macOS Check – How Apple Handles HDR Detection
macOS has a cleaner approach to HDR detection than Windows. If your monitor supports it, the system usually enables it automatically.
Where to look. Open System Settings > Displays. If your monitor is HDR-capable, you’ll see an option called “High Dynamic Range” with a toggle. It will also show a small badge next to the display name: “HDR” or “HDR Video” if supported.
The color profile test. macOS uses color profiles (ICC profiles) to manage HDR. When you select a display, scroll down to “Color profile.” A real HDR monitor will list a profile like “Display P3” or “Apple Display (HDR).” If the only profile is “sRGB IEC61966-2.1,” the monitor likely doesn’t provide HDR color data to the system.
The brightness cue. On a MacBook with built-in HDR (XDR display), the screen gets noticeably brighter when HDR content plays. On an external monitor, you won’t see the same dramatic change unless the monitor has high peak brightness. But if the external monitor stays completely the same brightness when you toggle HDR, that’s a sign it’s not working properly.
The video test. Play a HDR video from YouTube (search “HDR demo” on a Safari browser). macOS will automatically switch the display into HDR mode if the monitor supports it. You can confirm this by checking the brightness level in the Control Center, it should jump to maximum.
Important note for Mac users. Many inexpensive 27-inch monitors claim HDR but don’t properly report their HDR capabilities to macOS. Apple’s HDR implementation relies on the monitor sending correct EDID data. If the monitor isn’t certified, macOS might refuse to show the HDR toggle at all.
The Test Pattern Method – Verifying Brightness and Color Gamut Yourself
This is the most hands-on way to confirm HDR support. You don’t need expensive equipment, just a few free test patterns and your eyes.
Where to find test patterns. Search for “HDR test video” on YouTube. Look for videos that show a gradient from black to white with numbered steps. Also look for a “color checker” pattern with saturated red, green, and blue squares.
The brightness test. Play a video that alternates between a full-screen white and a dark scene. With HDR enabled, the white should be much brighter than the same white in SDR mode. If you have a good monitor, the difference is striking.
If the brightness barely changes, your monitor lacks the necessary luminance.
The black level test. Play a video with a near-black background and a faint gray square. In SDR, you’ll see the gray clearly. In HDR, the black should be deeper, making the gray square appear more distinct.
If the black looks gray or washed out in HDR, the monitor has poor local dimming or no dimming at all.
The color gamut test. Use a pattern with a bright red square on a white background. In SDR, the red will look somewhat orange or dull. In HDR, the red should be noticeably more saturated and vibrant.
The same goes for cyan and green. If the colors look exactly the same in both modes, the monitor doesn’t have a wide color gamut.
The banding test. Display a smooth gradient from dark to light. In 8-bit SDR, you’ll see faint horizontal bands. In 10-bit HDR, those bands should disappear into a perfectly smooth transition.
If you still see banding in HDR mode, the panel might be 8-bit without FRC, or the HDR processing is poor.
A quick real-world check. Fire up a game that supports HDR (like Cyberpunk 2077 or Forza Horizon 5). Toggle HDR on and off in the game’s settings. Real HDR makes neon signs glow and headlights pop.
Fake HDR just makes everything look flat. Trust your eyes, they’re a pretty good HDR detector.
Common Mistakes That Make HDR Look Worse Than SDR
Turning on HDR on a weak monitor is the fastest way to ruin your picture. The most common mistake is enabling HDR in Windows without checking brightness first. A 250-nit monitor in HDR mode looks washed out and dim.
Another error is using the wrong cable. HDMI 1.4 or older DisplayPort can’t carry the HDR signal, so you get no benefit. Many users also forget to switch the monitor’s OSD to HDR mode.
The monitor might default to SDR even with the Windows toggle on. Finally, avoid using HDR for SDR desktop work. It forces the screen into a wide gamut that makes text look fuzzy and colors oversaturated.
Stick to HDR only for games and video.
The Decision Guide – Is Your Monitor’s HDR Worth Using?
Run through this quick checklist. If your monitor fails any of these, keep HDR off and save yourself the headache.
| Check | Pass Condition | If You Fail |
|---|---|---|
| Peak brightness | 400 nits or higher | HDR will look worse than SDR |
| VESA certification | DisplayHDR 400 or better | No guarantee of real HDR |
| Local dimming | At least edge-lit with 8+ zones | Contrast will suffer |
| Color depth | 8-bit+FRC or true 10-bit | Banding in gradients |
| Cable and GPU | HDMI 2.0 or DP 1.4 + modern GPU | Signal won’t carry HDR |
| Windows/macOS toggle | Available and screen gets brighter | Hardware isn’t HDR-capable |
If you passed all checks, your 27-inch monitor has real HDR. Use it for gaming and HDR video. If you failed the brightness or dimming tests, leave HDR off.
You’ll get a better picture in standard SDR mode.
Final Verdict – One Simple Checklist to Confirm HDR Support
Here’s your takeaway. To know if a 27-inch monitor supports HDR, do three things. First, look up the peak brightness on the manufacturer’s site.
It must be 400 nits minimum. Second, check for VESA DisplayHDR certification. Third, run the Windows HDR toggle test and watch for a brightness jump.
If your monitor passes all three, you have real HDR. If not, save the feature for better hardware. As of 2026, that checklist is the fastest way to separate genuine HDR from marketing fluff.
Frequently Asked Questions
Does my 27-inch monitor need HDMI 2.0 for HDR?
Yes, for 4K HDR at 60Hz. HDMI 1.4 can only carry 1080p HDR. Use HDMI 2.0 or DisplayPort 1.4 for full resolution HDR.
Can I get HDR on a 27-inch monitor without local dimming?
Technically yes, but it won’t look good. Without local dimming, blacks appear gray and contrast suffers. Edge-lit dimming with at least 8 zones is the bare minimum.
Why does HDR look washed out on my monitor?
Low peak brightness is the most common cause. If your monitor is under 400 nits, HDR makes everything look flat. Also check your cable and GPU support.
Do I need a 10-bit panel for HDR?
Not necessarily. 8-bit+FRC works well for gaming and movies. True 10-bit is better for professional video editing. Check your monitor’s specs to confirm.
Can I use a DisplayPort 1.2 cable for HDR?
Only at 1440p or lower resolutions. For 4K HDR, you need DisplayPort 1.4 or HDMI 2.0.

Similar Posts