How to Update Drivers for HDR Monitor
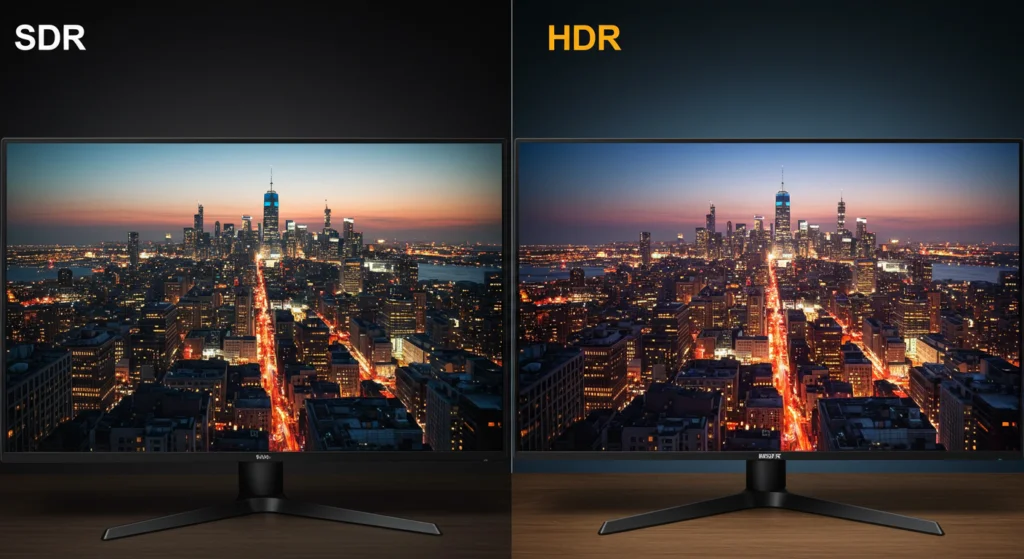
So you just updated your graphics driver and now your HDR monitor looks washed out, the toggle disappeared, or the screen went black for a second. You're not alone. Figuring out how to update drivers for HDR monitor setups is trickier than a standard driver refresh because HDR depends on a chain of things: the driver, the cable, the port, the OS, and the monitor itself.
Miss one link and the whole thing breaks.
The good news is this is almost always fixable without buying anything new. HDR requires at least a 10-bit color depth signal and a DisplayPort 1.4 or HDMI 2.1 connection to work properly, so if your hardware meets those specs, it's just a matter of getting the software side lined up. Let's walk through exactly what to do based on what you've got installed.
Image source: Bing (Web (fair-use with source credit))
Quick Answer
Update your graphics driver from your GPU manufacturer's official website. Choose a clean install if HDR was working before and suddenly broke. After installing, restart your PC.
Then re-enable HDR in Windows Display Settings. Check your cable and port if the HDR toggle still does not appear.
The Quick Version: What's Actually Going On
Your HDR setup relies on a handshake between the GPU driver, the operating system, and the monitor's EDID data. When you update the driver, that handshake can reset. Windows might default back to SDR output.
The GPU control panel settings might revert to Limited RGB or 8-bit color. The driver itself might not even detect the monitor's HDR capabilities if the EDID isn't read correctly after the refresh.
This isn't a monitor problem. It's not a Windows bug. It's the driver doing exactly what drivers do: resetting to a safe default after a major change.
The fix is straightforward once you know which path to take.
First, Figure Out What You're Working With
Before you download anything, spend two minutes identifying your setup. This saves you from installing the wrong driver or chasing a fix that doesn't apply to your hardware.
Check Your GPU and Current Driver
- Right-click the desktop and open Device Manager.
- Expand Display adapters and note the exact GPU name.
- Double-click the GPU, go to the Driver tab, and write down the Driver Version and Driver Date.
This tells you what you're working with and gives you a fallback point. If the new driver causes issues, you can roll back to this exact version.
Check Your HDR Status
- Open Settings > System > Display.
- Click your HDR monitor (if you have more than one display).
- Look under Brightness and color for the HDR toggle.
- If it's missing, note that. If it's there but grayed out, note that too.
Note Your Cable and Port
- Check whether you're using DisplayPort or HDMI.
- Look at the cable itself for any markings (DP 1.4, HDMI 2.1, etc.).
- If you're using an adapter or a USB-C dock, that's relevant too.
This matters because HDR over HDMI 2.0 is limited. You might get 4K HDR at 30Hz or 1080p HDR at 60Hz, but not 4K HDR at 120Hz. DisplayPort 1.4 with DSC handles it better.
If your cable is the bottleneck, no driver update will fix it.
Path 1: NVIDIA Users
NVIDIA keeps things relatively simple. You've got two ways to update: GeForce Experience or a manual download from their site. Either works, but the manual method gives you more control.
Downloading the Right Driver
- Go to the NVIDIA Driver Downloads page.
- Select your GPU series, operating system, and language.
- Choose Game Ready Driver for gaming or Studio Driver for creative work.
- Click Search then Download.
As of 2026, NVIDIA's Game Ready drivers include HDR-specific optimizations for new game releases. Studio drivers prioritize stability for video editing and color grading workflows.
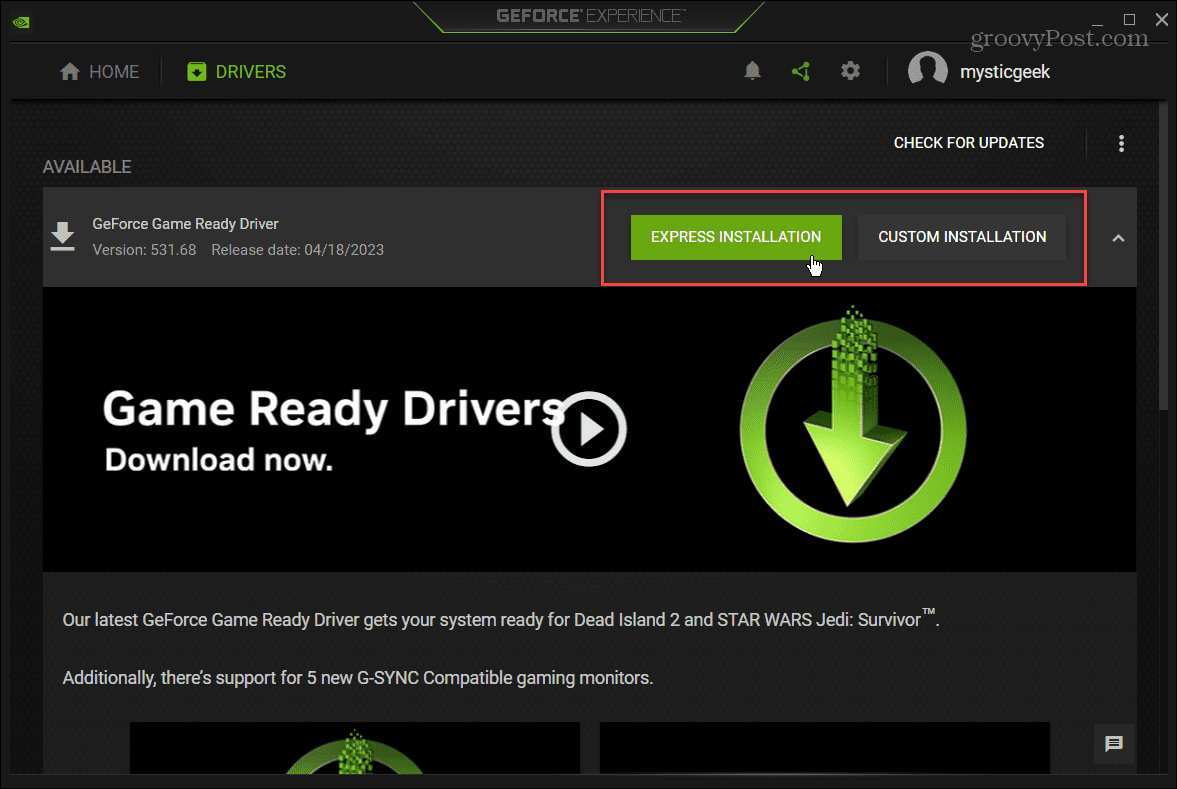
Image source: Bing (Web (fair-use with source credit))
Clean Install vs Express Install
During installation, NVIDIA offers two options:
| Option | What It Does | When to Use It |
|---|---|---|
| Express Install | Overwrites the current driver with default settings | Routine updates when HDR is already working |
| Custom (Clean Install) | Removes all previous driver settings and reinstalls fresh | HDR broke after an update, or you're switching from AMD/Intel |
If your HDR was working and suddenly stopped, go with Custom and check the Perform a clean installation box. This wipes out any corrupted profile settings that might be blocking HDR.
Setting Up HDR in NVIDIA Control Panel
After the driver installs and you restart:
- Right-click the desktop and open NVIDIA Control Panel.
- Go to Display > Change resolution.
- Make sure the Output color depth is set to 10 bpc (bits per color) if your monitor supports it.
- Set Output color format to RGB or YCbCr444 (not YCbCr422 or YCbCr420, which can strip HDR data).
- Set Output dynamic range to Full (not Limited).
Then go to Display > Adjust desktop color settings and confirm the same values. If any of these are wrong, HDR will either look terrible or refuse to turn on.
Common NVIDIA-Specific HDR Issues
- HDR toggle missing after update: Usually a clean install fixes this. If not, try uninstalling with DDU (Display Driver Uninstaller) in Safe Mode, then reinstalling.
- HDR looks washed out: Check that the output dynamic range is set to Full, not Limited. This is the single most common cause.
- Screen flickers when HDR turns on: Your cable might not have enough bandwidth. Swap to a certified DisplayPort 1.4 or HDMI 2.1 cable.
- HDR works in games but not on desktop: Go to NVIDIA Control Panel > Adjust desktop size and position. Set Scaling to No scaling and check Override the scaling mode.
Path 2: AMD Users
AMD's driver situation is a bit more fragmented depending on whether you've got a modern Radeon card or an older APU with integrated graphics. The Adrenalin Software suite handles both, but the HDR settings live in different places than NVIDIA's.
Getting the Driver from AMD's Site
- Visit the AMD Driver + Support page.
- Select your product family (Radeon RX 7000 Series, for example) or use the Auto-Detect tool.
- Download the latest Adrenalin Edition driver package.
- Run the installer and choose Factory Reset if you're troubleshooting HDR problems.
The Factory Reset option in AMD's installer does the same thing as NVIDIA's clean install. It removes old profiles and settings that might be interfering with HDR detection.
Enabling HDR Through AMD Adrenalin Software
After installing and restarting:
- Open AMD Software: Adrenalin Edition.
- Go to Display tab.
- Toggle HDR to On if the option appears.
- Check that Color Depth is set to 10-bit (some monitors support this, some don't).
- Verify Pixel Format is set to RGB 4:4:4 Full (not YCbCr).
AMD's software sometimes detects HDR capability but won't enable it until Windows also has the HDR toggle turned on. So you may need to enable it in both places.
The FreeSync Premium Pro + HDR Quirk
If your monitor supports FreeSync Premium Pro (AMD's branding for adaptive sync with HDR), there's a known quirk. Some driver versions disable HDR when FreeSync is active, or vice versa. If you're losing HDR after enabling FreeSync:
- Open Adrenalin Software > Display.
- Toggle AMD FreeSync off temporarily.
- Enable HDR in Windows settings first.
- Then re-enable FreeSync.
This order matters on certain driver versions. AMD has been patching this in recent releases as of 2026, but it still pops up on older monitors with early FreeSync Premium Pro firmware.
Common AMD-Specific HDR Issues
- HDR toggle grayed out in Windows: Update your monitor's firmware. Some HDR monitors need a firmware update to properly report HDR capabilities to AMD drivers.
- Colors look oversaturated in HDR mode: Check the pixel format in Adrenalin. YCbCr420 can cause color shifting. Switch to RGB 4:4:4.
- Driver installation fails: Use AMD's Cleanup Utility to remove old drivers completely, then reinstall. This is AMD's equivalent of DDU.
- HDR flickers on specific monitors: This is often a cable bandwidth issue. Drop to DisplayPort 1.2 temporarily to test, then switch back to DP 1.4 once confirmed.
Path 3: Intel Arc and Integrated Graphics
Intel's HDR support is the newest and least mature of the three. If you're running an Intel Arc discrete GPU or using integrated graphics on a 12th-gen or newer Intel processor, HDR is supported but the setup process is different.
Using Intel Graphics Command Center
- Open the Intel Graphics Command Center (available from the Microsoft Store if not pre-installed).
- Go to Display settings for your HDR monitor.
- Look for the HDR toggle and enable it.
- Set Color Depth to 10-bit if available.
- Confirm Color Format is set to RGB.
Intel's driver updates come through the Intel Driver & Support Assistant tool or directly from their download center. As of 2026, Intel has been improving HDR support with each driver generation, so staying current matters more here than with NVIDIA or AMD.
The Integrated vs Dedicated GPU Conflict
This is a big one that catches a lot of people. If your CPU has integrated graphics and you also have a dedicated NVIDIA or AMD GPU, your monitor might be plugged into the wrong output.
- The motherboard's video outputs (HDMI, DP on the I/O panel) connect to the integrated GPU.
- The video card's outputs connect to the dedicated GPU.
If your monitor is plugged into the motherboard but your dedicated GPU is doing all the rendering, HDR can fail or behave unpredictably. Always plug your HDR monitor into the dedicated GPU's ports if one is present.
Common Intel-Specific HDR Issues
- HDR toggle missing entirely: Make sure you're not accidentally routing display output through the integrated GPU when a dedicated card exists.
- HDR works at 60Hz but not higher: Intel's integrated graphics on some platforms share bandwidth with other system components. Check your motherboard's specifications for the maximum HDR refresh rate supported.
- Driver update resets color settings: Intel's Graphics Command Center doesn't always save HDR profiles between updates. Write down your settings so you can reapply them quickly.
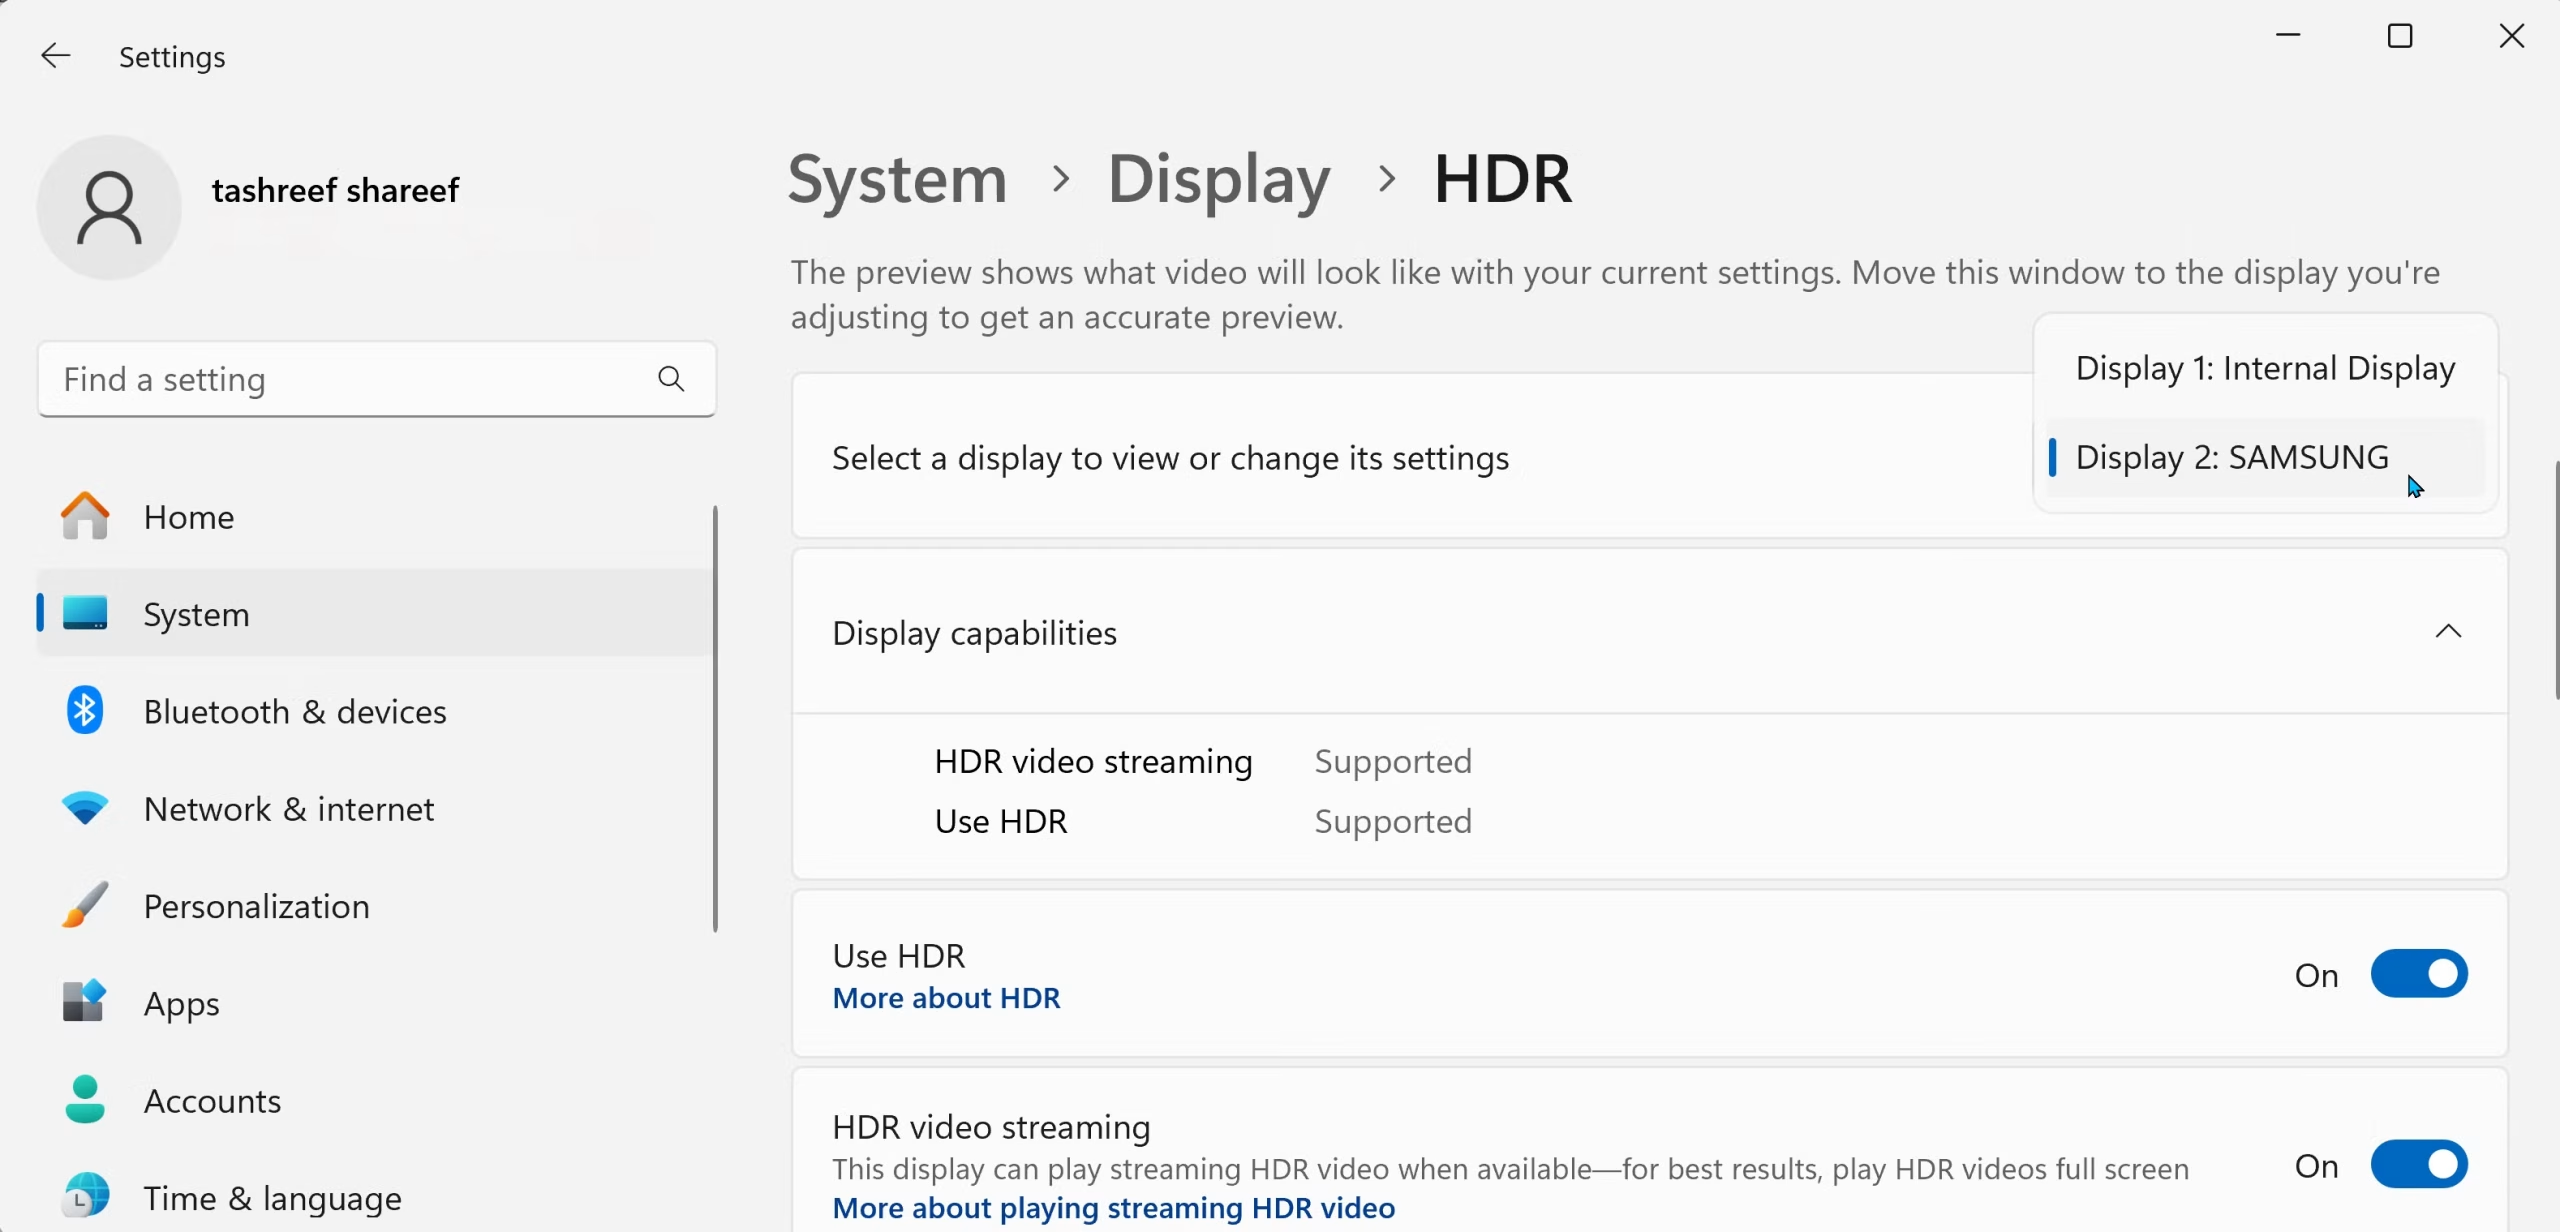
Image source: Bing (Web (fair-use with source credit))
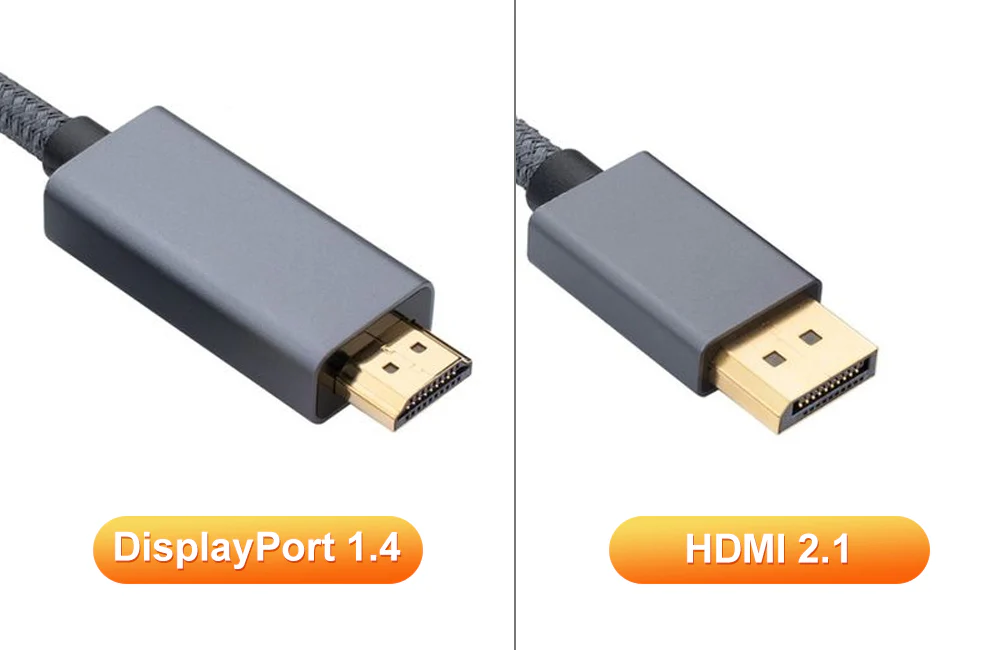
Image source: Bing (Web (fair-use with source credit))

Similar Posts