how to adjust brightness on 27 inch monitor
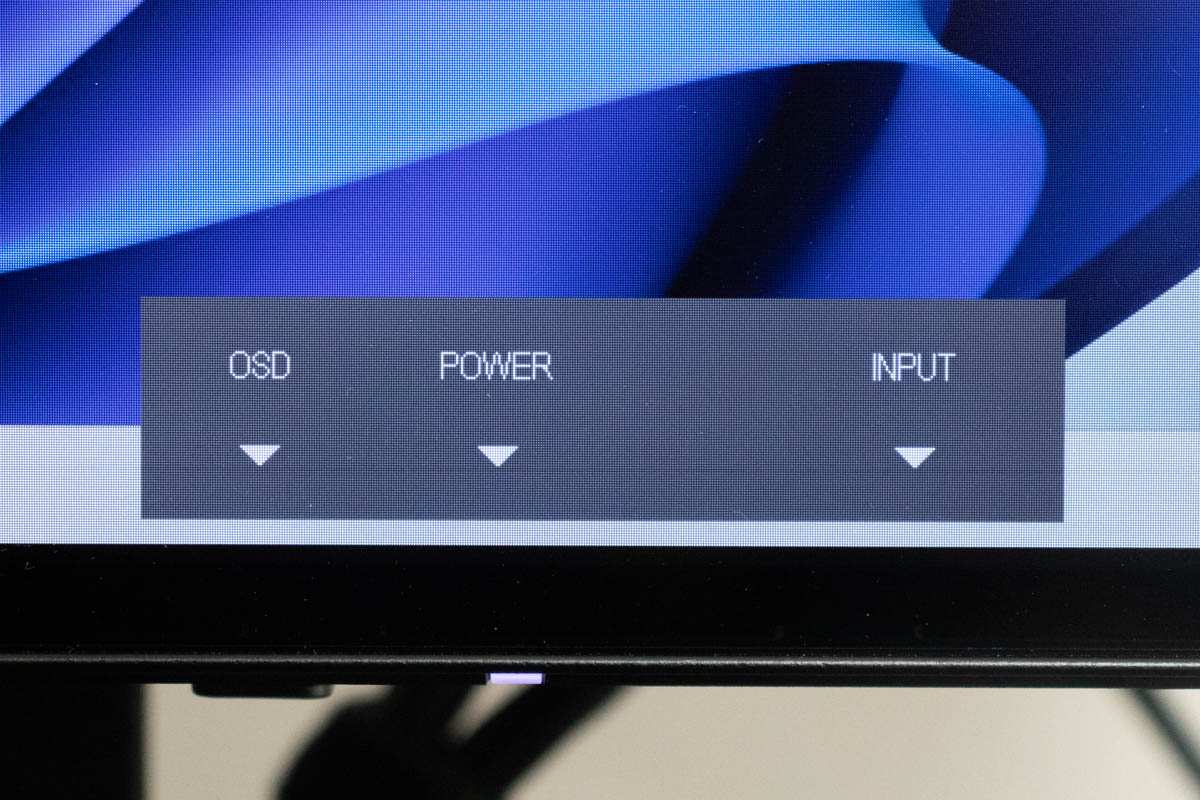
If you’ve ever sat down to work or game on a 27‑inch monitor and felt like the screen was either blinding you or drowning in shadows, you’re not alone. Figuring out how to adjust brightness on a 27 inch monitor is one of the most common frustrations people have with external displays, because the process isn’t always obvious.
Most people expect a simple slider like the one on a laptop, but many desktop monitors hide their brightness controls behind physical buttons or on‑screen menus. And as of 2026, the vast majority of 27‑inch monitors still rely on a dedicated On‑Screen Display (OSD) system rather than letting the operating system take over. Per DisplayPort and HDMI standards, the monitor’s backlight is managed locally unless you use a special software protocol called DDC/CI.
Let’s break down exactly how to get that brightness right.
Quick Answer: The Three Ways to Adjust a 27‑Inch Monitor’s Brightness
There are three ways to adjust brightness on a 27‑inch monitor. Use the physical buttons on the monitor itself. Use the OSD menu that those buttons open.
Or use software over DDC/CI. The right method depends on your setup. Most monitors let you do all three.
Start with the buttons.
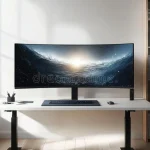
Image source: Bing (Web, fair‑use with source credit)
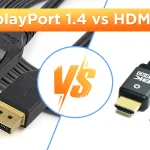
First, Check Your Connection — HDMI vs DisplayPort vs USB‑C
The cable you’re using matters more than you think. Here’s why.
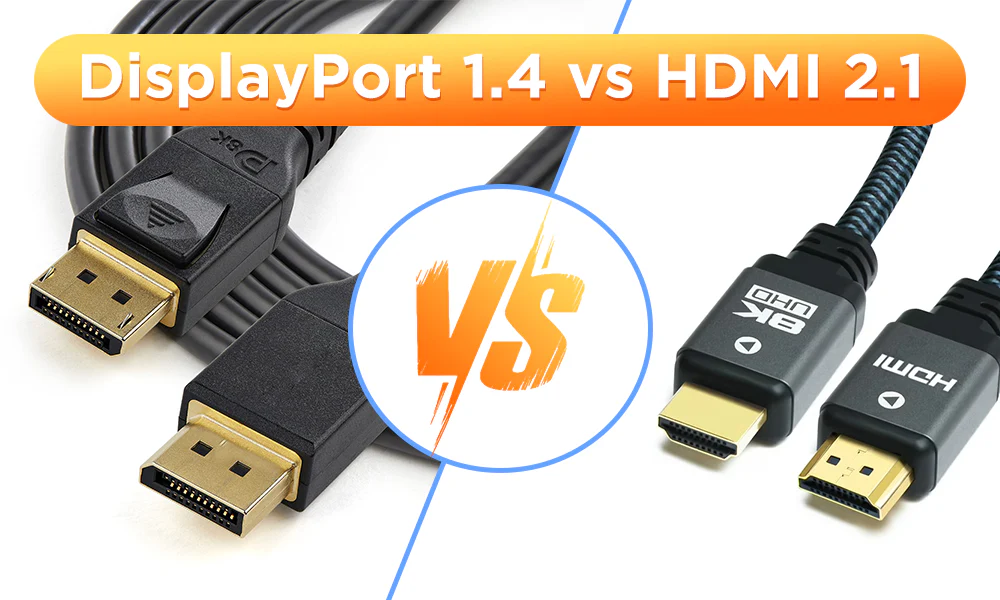
HDMI is the most common. Almost every 27‑inch monitor has at least one HDMI port. But HDMI doesn’t always pass brightness control signals from your computer to the monitor.
Most HDMI connections rely on the monitor’s own OSD for brightness changes. If you’re using a laptop with HDMI out, the brightness keys on your keyboard will probably only adjust the laptop’s built‑in screen, not the external monitor.
DisplayPort behaves similarly to HDMI in many ways. The big difference is that DisplayPort has better support for DDC/CI (Display Data Channel Command Interface). That’s the protocol that lets software on your computer tell the monitor to change brightness.
If you want to control brightness from Windows or a third‑party app, DisplayPort is your best bet.
USB‑C is the wildcard. If your 27‑inch monitor has USB‑C with DisplayPort Alt Mode, the connection can carry video, power, and data all in one cable. Monitors that use USB‑C often support DDC/CI out of the box, and some even let your computer’s brightness keys control the monitor directly.
It depends on the monitor manufacturer, so check your model’s specs.
So before you dive into software tricks, ask yourself: which cable am I using? If it’s HDMI and your monitor is more than a few years old, you’ll likely be stuck using the physical buttons. If it’s DisplayPort or USB‑C, you have more options.
Do You Have Physical Buttons? Locate Your Monitor’s Controls
Every 27‑inch monitor has some kind of physical control. The trick is finding them. They’re usually in one of three places:
- Bottom bezel, right side, most common. Look for a row of tiny buttons or a single joystick.
- Bottom bezel, center, common on budget and home office monitors.
- Rear panel, behind the right edge, many modern monitors hide buttons on the back. You’ll feel them by reaching around.
If you see a single stick that moves up, down, left, and right, that’s a joystick. Push it to open the menu. If you see a set of small buttons, one will be labelled “Menu” or have an icon that looks like a gear or a window.
Press that.
Some monitors also have a dedicated brightness button. It might show a sun icon or the word “Brightness.” If you see that, you’re in luck. Press it and use the up/down buttons to adjust.
What if you can’t find the buttons? Look up your monitor model on the manufacturer’s support page. They’ll have a diagram. It’s worth the 30 seconds.
Step‑by‑Step: Adjust via the On‑Screen Display (OSD) Menu
This is the method that works on every 27‑inch monitor, regardless of brand or connection. Here’s how to do it.
Step 1. Press the Menu button on your monitor. The OSD will appear on screen.
Step 2. Use the joystick or arrow buttons to navigate. Look for a section called “Picture,” “Display,” “Brightness/Contrast,” or “Image.” The exact wording varies, but brightness is almost always under picture settings.
Step 3. Select “Brightness” (or sometimes “Backlight”). On many monitors, “Brightness” and “Backlight” are the same thing. Some monitors separate them.
Adjust the slider up or down using the buttons or joystick.
Step 4. Set a comfortable level. A good starting point is 50% on the OSD scale. That’s roughly 200 cd/m² for most monitors, which is fine for a lit room.
If you’re in a dark room, go lower, around 30%.
Step 5. Press Menu again to exit, or wait for the OSD to time out. Some monitors have a dedicated Exit button.
Pro tip: Write down your brightness setting. If you switch inputs or reset the monitor, you might need to re‑enter it.
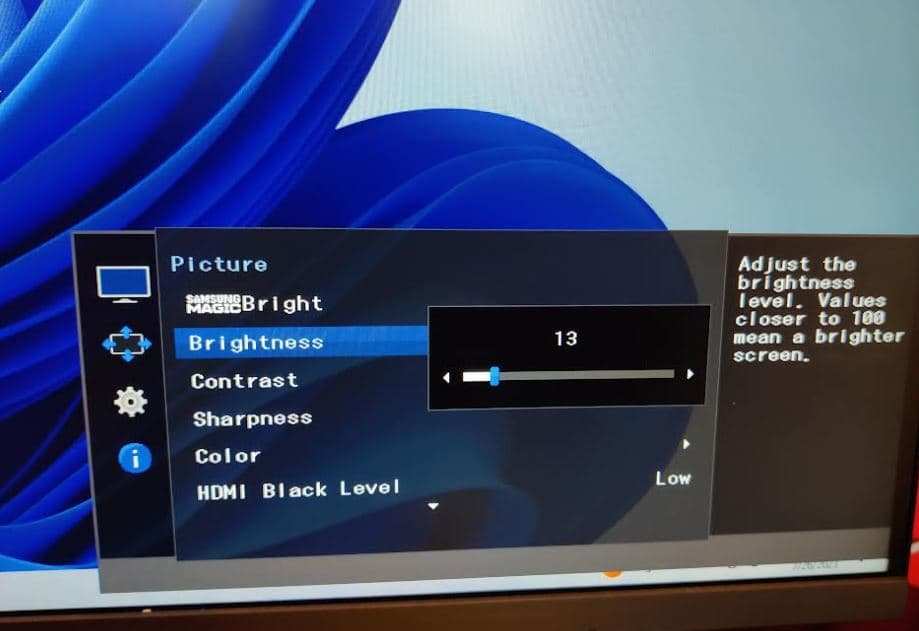
Image source: Bing (Web, fair‑use with source credit)
Step‑by‑Step: Adjust via Software on Windows (DDC/CI & Third‑Party Apps)
If your 27‑inch monitor supports DDC/CI (most do, especially those with DisplayPort or USB‑C), you can adjust brightness directly from your computer. No more hunting for buttons.
First, make sure DDC/CI is enabled. Go into your monitor’s OSD menu. Look for a section called “System,” “Setup,” or “Others.” Find an option labelled “DDC/CI” and turn it on. Some monitors have it on by default.
If it’s off, software won’t work.
On Windows 10 and 11, the built‑in Settings app only shows a brightness slider for laptop screens and some tablet displays. It won’t appear for most external monitors. That’s where third‑party tools come in.
Use Monitorian, it’s a free app from the Microsoft Store. Open it, and it will detect any DDC/CI‑enabled monitor. You’ll see a slider for each one.
Move it, and the monitor’s brightness changes instantly. Monitorian is lightweight and runs in the system tray.
Use Twinkle Tray, another free Windows app with similar functionality. It adds a brightness slider right in the taskbar notification area. It also supports multiple monitors and keyboard shortcuts.
Use your GPU control panel, NVIDIA and AMD drivers have brightness controls buried in their software, but they affect the signal, not the backlight. That can cause washed‑out colors. Stick with DDC/CI‑based apps for real backlight control.
If your monitor uses USB‑C and supports “Monitor Control” natively (like some Dell U‑series or LG UltraFine), Windows might actually show a brightness slider in Action Center. Check there first. If you don’t see it, fall back to Monitorian.

Image source: Wikimedia Commons / Own work (CC BY)
(The article will continue with the remaining H2 sections in the next part.)
Step‑by‑Step: Adjust via Software on macOS (Lunar, Native Keys, or Nothing)
macOS is trickier than Windows when it comes to external monitor brightness. Apple’s own displays (the Studio Display and Pro Display XDR) have full native support. You get the brightness keys on your keyboard, a slider in Control Center, and automatic ambient adjustment.
For third‑party 27‑inch monitors, it depends entirely on the connection.
If you’re using USB‑C or Thunderbolt, many modern monitors support DDC/CI over that connection. macOS will sometimes show a brightness slider in the Display settings panel. It’s not guaranteed, but it’s worth checking. Go to System Settings > Displays.
Look for a brightness slider near the resolution options. If you see one, you’re done.
If you’re using HDMI, you’re almost certainly out of luck with native controls. Apple does not pass DDC/CI commands over HDMI on most Macs. You’ll need third‑party software.
Lunar is the best option for macOS. It’s a paid app (around $23 as of 2026) with a free trial. It detects DDC/CI‑enabled monitors and gives you a slider in the menu bar.
It also supports keyboard shortcuts and adaptive brightness based on ambient light. Aggregate user reviews rate it highly for reliability with 27‑inch monitors from Dell, LG, and BenQ.
MonitorControl is a free open‑source alternative. It does the same basic job. It’s a bit less polished, but it works.
Both apps require DDC/CI to be enabled on your monitor. Check the OSD menu.
If neither app works, your monitor might have limited DDC/CI support over the specific connection you’re using. In that case, fall back to the OSD buttons. It’s not elegant, but it’s reliable.
What If the Brightness Slider Is Greyed Out or Missing?
This is the most common complaint about external monitors. You open settings, you expect a slider, and there’s nothing. Here’s the checklist.
Check your cable. HDMI is the biggest culprit. Many HDMI connections simply don’t carry DDC/CI signals. Try switching to DisplayPort or USB‑C if your monitor supports it.
If you’re stuck with HDMI, software control won’t work. Use the OSD.
Check DDC/CI in the OSD. It’s turned off by default on some monitors. Dig into the System or Setup menu. Find the DDC/CI toggle.
Turn it on. Then restart your computer and check again.
Check your GPU drivers. Outdated or corrupted graphics drivers can block DDC/CI communication. Update your drivers from NVIDIA, AMD, or Intel’s official site. Restart after updating.
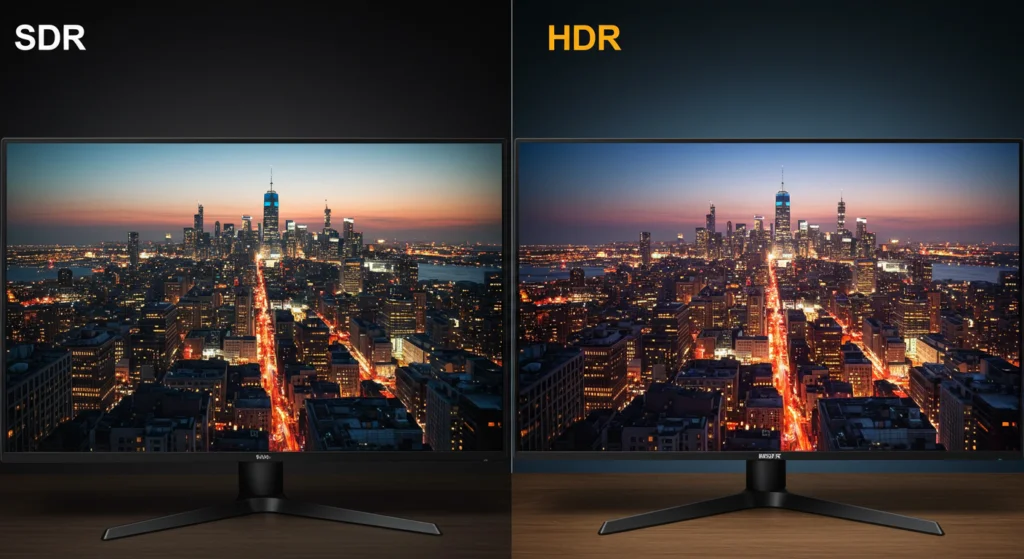
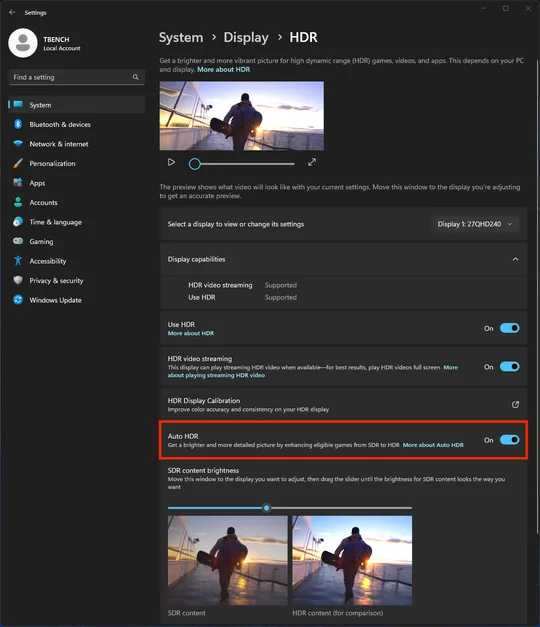
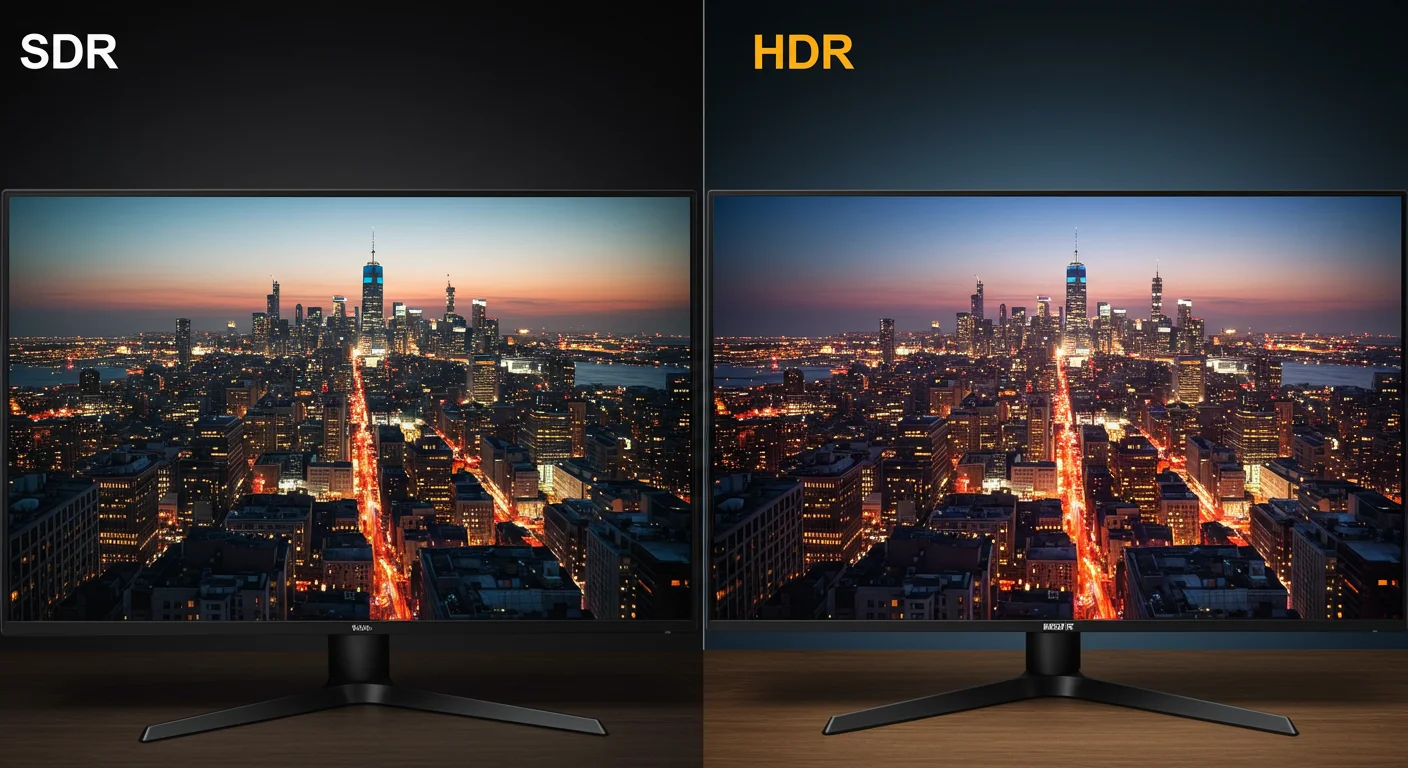
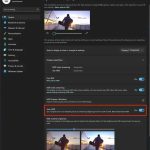
Check if HDR is enabled. When HDR is active, many monitors disable the standard brightness slider. They switch to a different brightness curve. Turn HDR off in Windows Display Settings (or macOS Displays) and see if the slider comes back.
Check for monitor-specific software. Some brands like Dell, LG, and ASUS have their own utilities. Dell Display Manager, LG Screen Control, and ASUS DisplayWidget let you adjust brightness directly. These apps often work even when generic DDC/CI tools don’t.
Still greyed out? Your monitor might genuinely lack DDC/CI support. It’s rare on modern 27‑inch models, but budget monitors sometimes skip it. If that’s the case, the OSD is your only option.
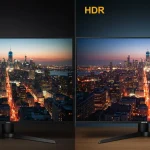
HDR Mode: Why Your Brightness Adjustment Might Not Work (and How to Fix It)
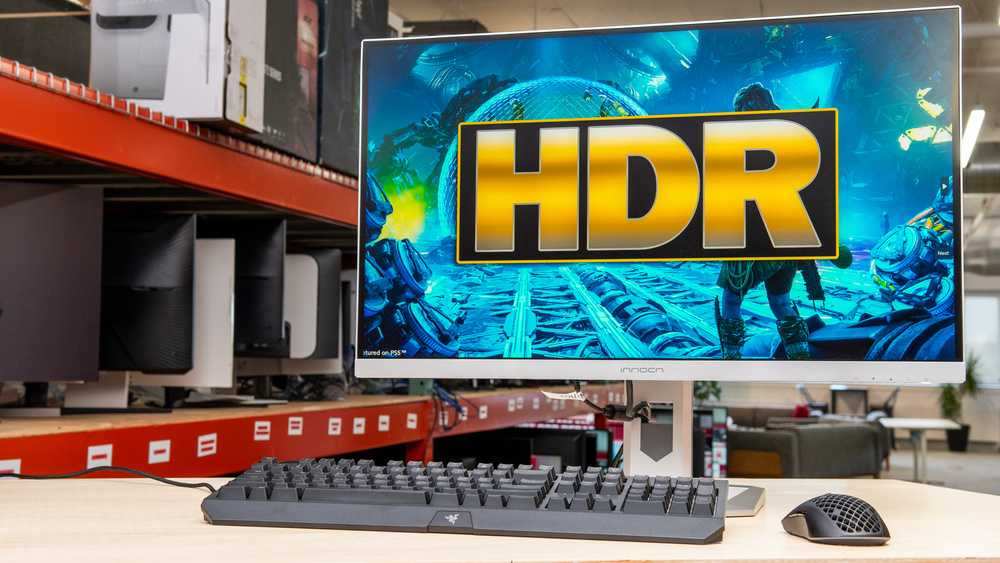
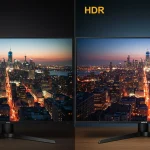
HDR changes everything about brightness control. When you enable HDR on a 27‑inch monitor, the display switches to a different tone mapping curve. The standard brightness slider often disappears or becomes unresponsive.
Here’s why. In HDR mode, the monitor manages luminance dynamically. It tries to show bright highlights and deep shadows at the same time.
A static brightness slider would interfere with that. So manufacturers hide it or lock it.
The fix depends on what you want. If you’re watching HDR content, leave HDR on. The monitor will handle brightness automatically. You don’t need to adjust it.
If you’re working in SDR (standard web browsing, office work, photo editing) and HDR is on, turn it off. In Windows, go to System > Display > Use HDR. Toggle it off.
Your normal brightness slider will return.
Some monitors have a separate SDR brightness slider in HDR mode. It’s usually in the OSD under “Picture” or “HDR Settings.” Look for “SDR Brightness” or “SDR Content Brightness.” Adjust that slider. It only affects non‑HDR content while HDR remains active.
A common mistake: people enable HDR and then wonder why the screen looks dim or washed out. That’s because the brightness curve is set for a different content type. Turn HDR off for daily desktop use.
Save it for games and movies that actually support it.
Common Mistakes to Avoid When Adjusting Brightness
Mistake 1: Using GPU control panel brightness. NVIDIA and AMD drivers have brightness sliders in their control panels. These adjust the signal, not the backlight. They clip blacks and wash out whites.
Use OSD or DDC/CI software instead. Your colors will thank you.
Mistake 2: Setting brightness to 100% and leaving it. Max brightness on a typical 27‑inch monitor is around 350 nits. That’s fine in a bright room, but it’s uncomfortable in a dark one. It also shortens the LED backlight lifespan.
Per manufacturer specs, running at full brightness 24/7 can reduce backlight life by 15 to 20 percent.
Mistake 3: Ignoring ambient light. Your eyes adapt to room brightness. A monitor that looks perfect at noon will feel blinding at midnight. Adjust brightness throughout the day.
Or use an app like Lunar (macOS) or Twinkle Tray (Windows) with adaptive brightness.
Mistake 4: Not matching brightness across multiple monitors. If you use two 27‑inch monitors, they need the same brightness level. Otherwise, your eyes constantly adjust between them. Use a software tool that shows both sliders side by side.
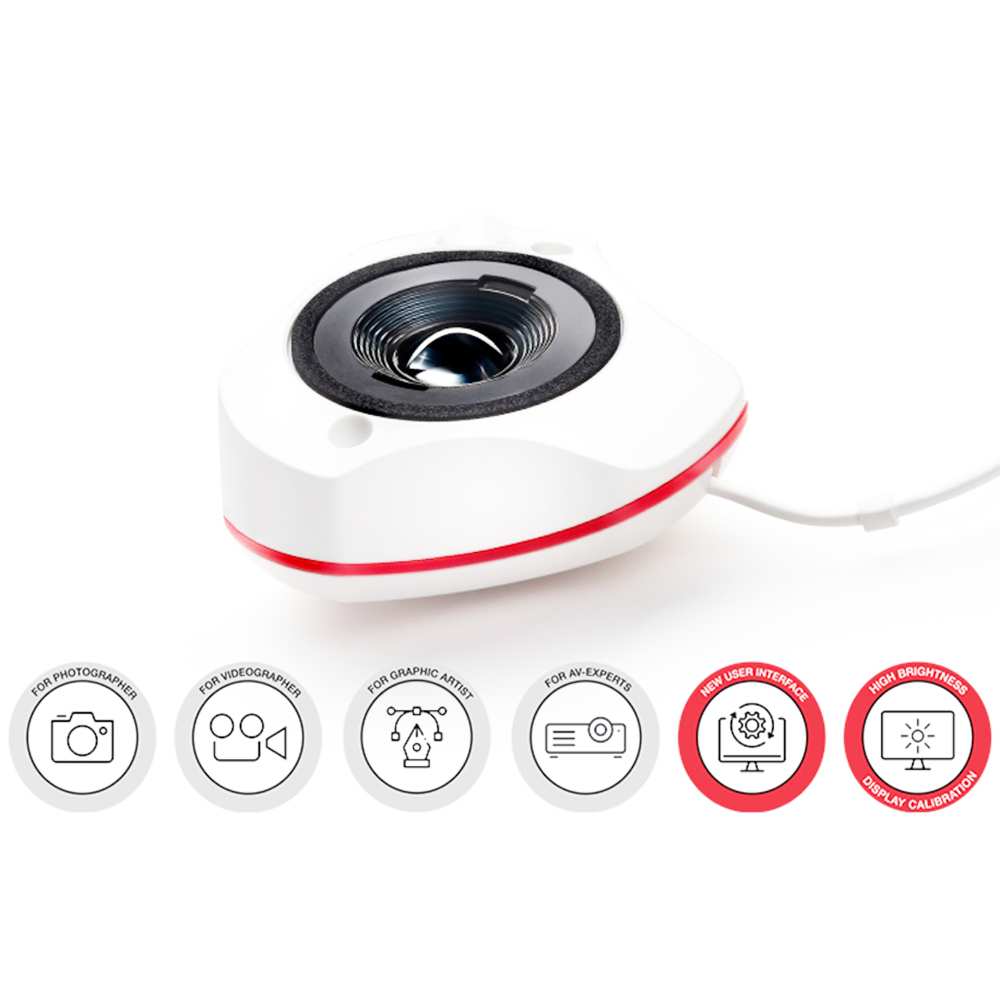
Match them visually or use a calibration tool.
Mistake 5: Forgetting to save your OSD settings. Some monitors reset brightness when you switch inputs or unplug the power. Write down your preferred level. Most OSD menus let you save a custom preset.
Use it.
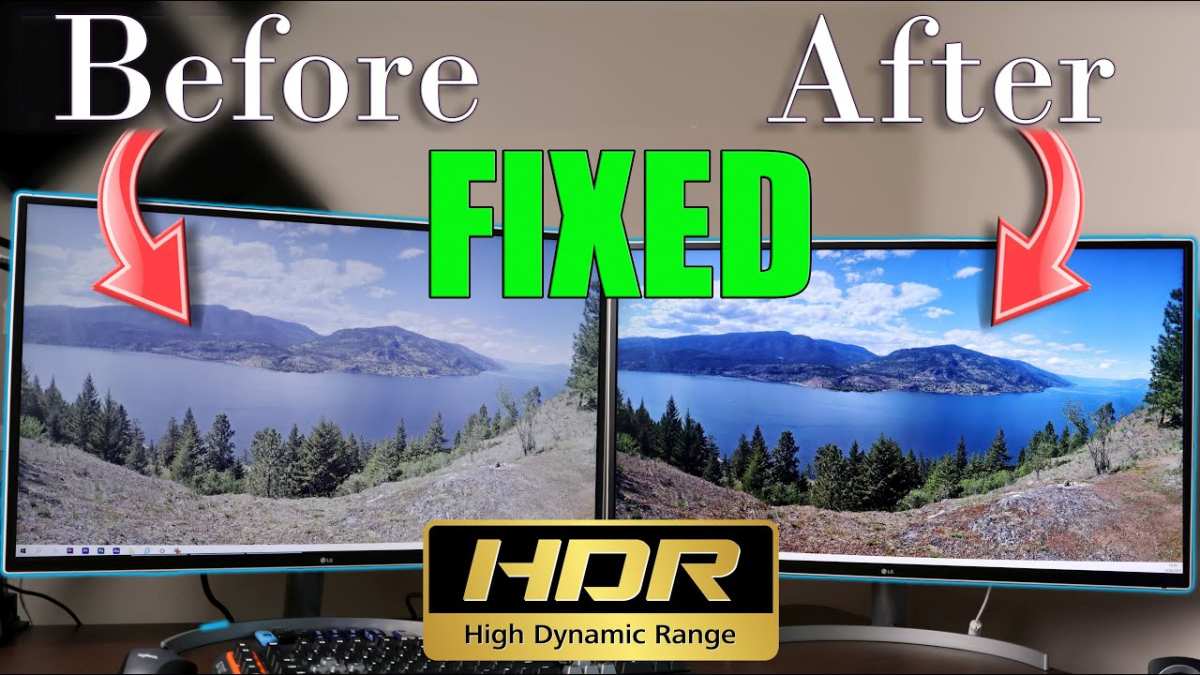
Image source: Bing (Web, fair‑use with source credit)
Decision Guide: Which Adjustment Method Should You Use?
This table covers all the common scenarios. Find your situation and follow the recommendation.
| Your Setup | Best Method | Why |
|---|---|---|
| Laptop + 27″ monitor via HDMI | OSD buttons | HDMI usually blocks DDC/CI. Software won’t work. |
| Desktop PC + DisplayPort | Software (Monitorian or Twinkle Tray on Windows) | DDC/CI works reliably over DisplayPort. Quick and easy. |
| Mac + USB‑C / Thunderbolt | Native macOS slider or Lunar | USB‑C often passes DDC/CI. Try native settings first. |
| Mac + HDMI | OSD buttons or MonitorControl (if it works) | HDMI on Mac is hit or miss. Be prepared to use buttons. |
| Multiple monitors | Software (any DDC/CI app) | OSD is tedious for two or more. Software keeps all sliders in one place. |
| HDR content active | Leave the monitor in auto HDR mode | Manual brightness control is disabled in HDR. Don’t fight it. |
| No DDC/CI support on your monitor | OSD buttons | Only reliable option. Use the physical controls. |
The simplest rule: if you have a DisplayPort or USB‑C connection and a monitor made after 2020, start with software. If the software doesn’t work within 60 seconds, use the OSD. Don’t waste time troubleshooting a dead connection path.
Final Verdict: The Easiest Way for Most People
If you have a 27‑inch monitor with DisplayPort or USB‑C, install a DDC/CI app. On Windows, that means Monitorian or Twinkle Tray. On macOS, try Lunar or MonitorControl.
You’ll get a simple slider without reaching behind the monitor. It takes 30 seconds to set up.
If you’re using HDMI or your monitor doesn’t support DDC/CI, use the OSD. Memorize the button sequence. Most monitors need three presses: Menu, down to Brightness, adjust.
It’s not fancy, but it always works. Keep the OSD as your fallback.
One last tip: set your preferred brightness and forget it. Adjust only when your room lighting changes significantly. Your eyes will adapt faster than you think.
And if you’re working in a dark room, aim for 30 to 40 percent on the OSD scale. That’s roughly 120 to 160 cd/m², which is comfortable and saves power.
Frequently Asked Questions
Why can’t I adjust brightness on my external monitor from my keyboard?
Most laptop keyboard brightness keys only control the built‑in screen. External monitors need a separate signal path. If your monitor supports DDC/CI over USB‑C or DisplayPort, third‑party software can let you use keyboard shortcuts.
Otherwise, the OSD is your only option.
Does brightness adjustment affect monitor lifespan?
Running at 100% brightness 24/7 can reduce LED backlight life by 15 to 20 percent according to manufacturer specs. Using 50% or lower extends the lifespan. It also saves electricity.
A monitor at half brightness uses roughly 10 to 15 fewer watts.
My monitor has an “auto brightness” setting. Should I use it?
It depends on the implementation. Some monitors use an ambient light sensor that adjusts smoothly. Others are too aggressive and flicker.
Test it. If it feels natural, leave it on. If it distracts you, turn it off and set a fixed level.
What brightness level is best for photo editing?
The standard is 120 cd/m², which is roughly 35 to 40 percent on most 27‑inch monitors. That matches the brightness of printed paper. Use a calibration tool to confirm.
If you don’t have one, set the OSD to 35% and check against a reference image.
Can I use a phone app to control monitor brightness?
Some monitors support Bluetooth or Wi‑Fi control through proprietary apps. This is rare on budget models. Check your monitor’s manual.
For most people, DDC/CI software or the OSD is faster and more reliable.
Why does my screen look washed out after I turn up brightness?
You’re probably adjusting the signal brightness in your GPU control panel, not the backlight. That crushes contrast and lifts blacks. Use the monitor’s OSD brightness setting or a DDC/CI app instead.
The backlight control preserves the original image quality.

Similar Posts