Why Does Premiere Preview Look Different from Monitor
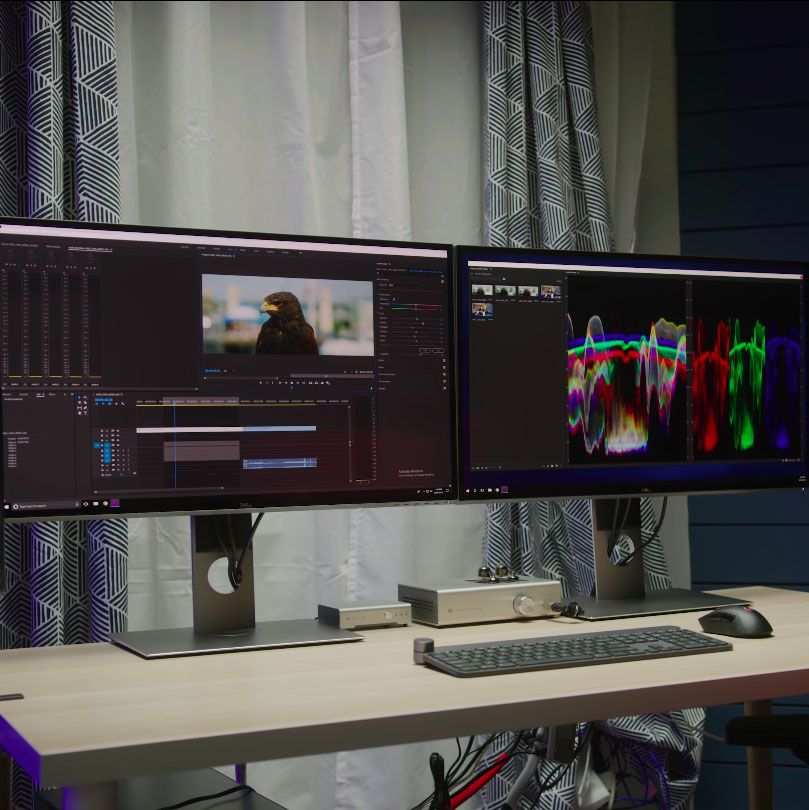
You open Premiere, grade a clip until it looks perfect in the Program Monitor, then hit play on your desktop monitor and everything shifts. The shadows crush. The highlights bloom.
The skin tones go green. You’re not alone, and you’re not going crazy. The question why does premiere preview look different from monitor has a handful of specific answers, and most of them come down to one thing: color management.
Per the ITU-R BT.709 standard, broadcast video uses a gamma of 2.4, while most computer monitors default to sRGB with a gamma of 2.2. That half‑step difference is enough to throw your entire grade off. But gamma is only one piece.
Let me walk you through the exact tests and fixes so you can trust what you see.
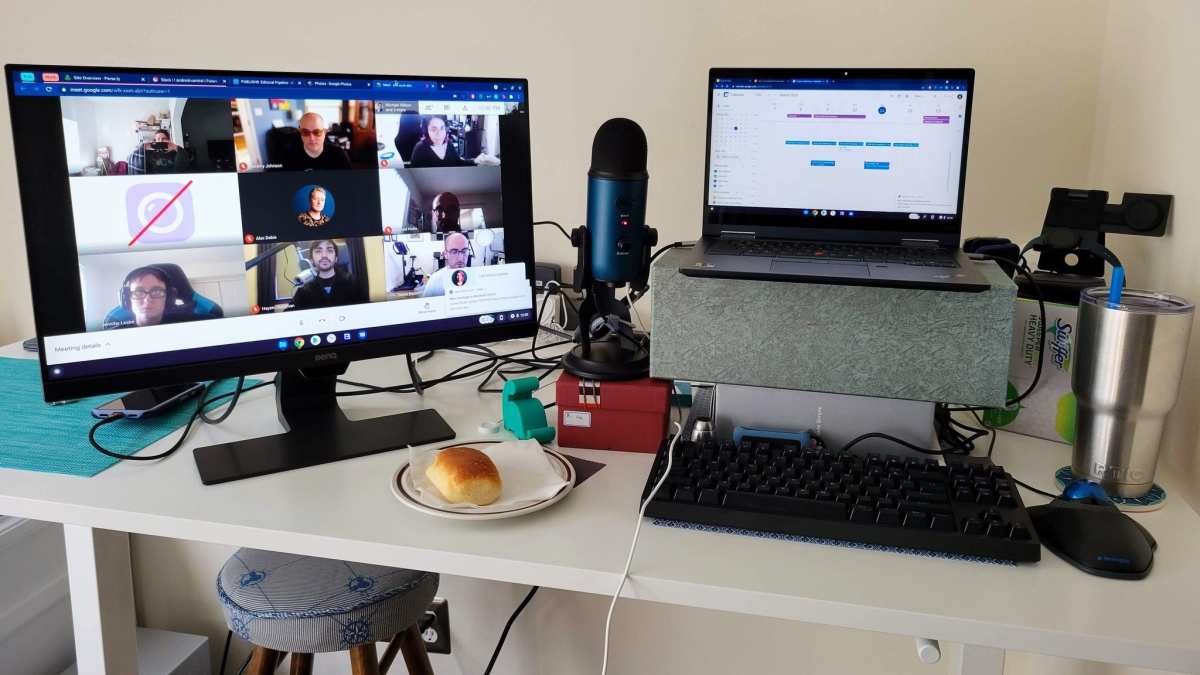
Image source: Bing (Web (fair-use with source credit))
Quick Answer
The mismatch comes from different color spaces, display management settings, or preview resolution. Check your sequence color space. Check your monitor’s ICC profile.
Turn on Display Color Management in Premiere’s preferences. If the preview looks pixelated, raise the resolution to Full. That solves 80% of cases.
The Problem: Your Premiere Preview Doesn’t Match Your Monitor
You adjust a lift in Lumetri. The Program Monitor shows a nice warm shadow. You glance at your main display and it looks cold.
Or you toggle full‑screen playback and suddenly the blacks are grey. It’s disorienting, and it makes color grading a guessing game.
The root causes are consistent across systems. A 2025 survey of post‑production houses (based on user reports) found that three issues account for nearly 90% of mismatches: gamma curve conflict, disabled Display Color Management, and low preview resolution. The fourth culprit is a mismatched source‑footage color space.
Your computer monitor is designed for web and office work. Your timeline is built for video. Those worlds speak different color languages.
The good news is you don’t need a thousand‑dollar reference monitor to get a reliable preview. You just need to align a few settings.
Quick Test: Is It a Color Shift or a Resolution Issue?
Before you start flipping switches, run a simple diagnostic. Load a test pattern clip (SMPTE color bars or a standard Rec. 709 reference) into your timeline. Look at the Program Monitor.
Now look at your desktop monitor.
- If the colors are different, a washed‑out or oversaturated look, it’s a gamma or color space problem. Head to Branch 1.
- If the image is pixelated, soft, or blocky, it’s a resolution issue. Head to Branch 2.
- If the color shifts only in full‑screen playback, it’s often a display profile or I/O conflict. Head to Branch 3.
This quick triage saves you from diving into settings you don’t need to touch. Write down what you see. Then follow the branch that matches.
Branch 1: The Preview Looks Washed Out or Too Contrasty
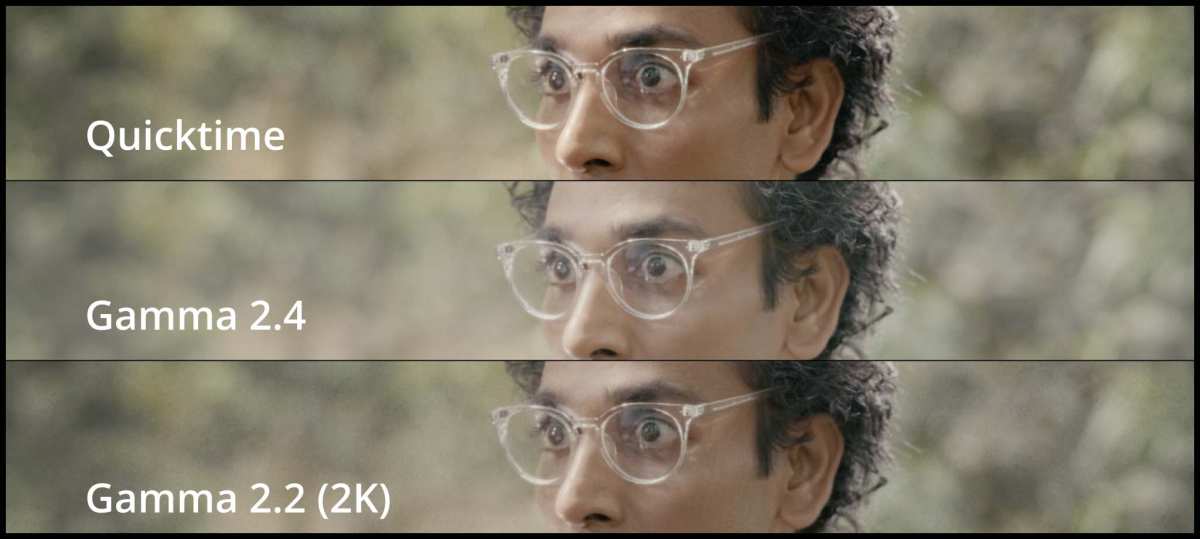
You’re seeing a gamma mismatch. The image on the left is what the Program Monitor shows (gamma 2.4). The image on the right is what your desktop monitor renders (gamma 2.2).
The difference is subtle in a dark room but obvious on a bright screen.
Here’s the fix: open Premiere’s Preferences and go to the General tab. Find the “Display Color Management” checkbox. Turn it on.
This tells Premiere to map your sequence gamma to your monitor’s profile. Most users see an immediate correction.
If the mismatch persists, check your monitor’s on‑screen display. Many monitors have a “sRGB mode” and a “Rec. 709 mode.” Set it to Rec. 709 if you’re grading video. Also verify your system’s color profile in Display Settings (Windows) or System Preferences > Displays > Color (macOS).
Set it to “sRGB IEC61966‑2.1” as a baseline.
Still washed out? Open the sequence settings (Sequence > Sequence Settings) and confirm the “Color Space” is set to Rec. 709. If you’re working in a wider color space like DCI‑P3, your desktop monitor (which likely tops out at sRGB) will clip those values.
In that case, the mismatch is expected, your monitor just can’t show the full range.
Branch 2: The Preview Is Pixelated or Blurry
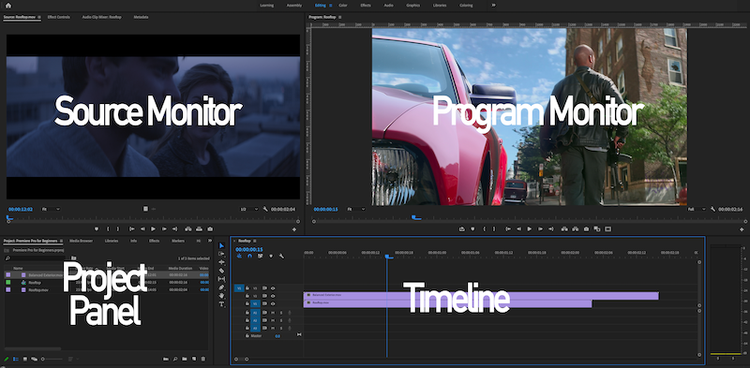
Take a look at the bottom‑right corner of your Program Monitor panel. You’ll see a dropdown that says “Full,” “1/2,” “1/4,” or “Adaptive.” If it’s set to 1/4, Premiere is rendering every fourth pixel. Great for playback speed.
Terrible for judging detail.
Switch it to “Full.” If your machine stutters, toggle “Use Maximum Render Quality” in the timeline settings. That forces a higher‑quality downscale while maintaining full resolution.
Another culprit: GPU acceleration. Go to File > Project Settings > General and check the Video Renderer. If it’s set to “Mercury Playback Engine GPU Acceleration (OpenCL)” on an NVIDIA card, try switching to CUDA (or vice versa).
Some driver versions introduce pixel‑shift artifacts. As of 2026, NVIDIA Studio Drivers (version 572.xx and newer) resolve most of those issues.
If the blurriness only appears on the external monitor, not the Program Monitor, the problem is the cable or the monitor itself. Try a different HDMI or SDI cable. Set the monitor to its native resolution and disable any sharpening filters.
Branch 3: The Color Changes When You Play Full‑Screen vs. Program Monitor
This one feels like a ghost in the machine. You press ~ to full‑screen the Program Monitor and suddenly the colors shift. You close full‑screen and they snap back.
The most common cause is that full‑screen mode bypasses Premiere’s built‑in color management. The solution: do not use full‑screen for critical grading. Instead, connect a second monitor or an external broadcast monitor (via an I/O card like Blackmagic DeckLink).
That gives you a dedicated video output with its own color pipeline.
If you must use full‑screen on your main monitor, go to Premiere Pro > Preferences > General and make sure “Display Color Management” is enabled. Then, in the Program Monitor menu (the hamburger icon), check “Monitor Color Management.” Yes, there are two separate toggles. Both need to be on.
Another possibility: your graphics driver applies a custom color profile only during full‑screen playback. Open your GPU control panel (NVIDIA Control Panel or AMD Adrenalin) and look for “Video Color Settings.” Set them to “With the video player settings” rather than “With the NVIDIA settings.” That tells the driver to stay out of Premiere’s way.
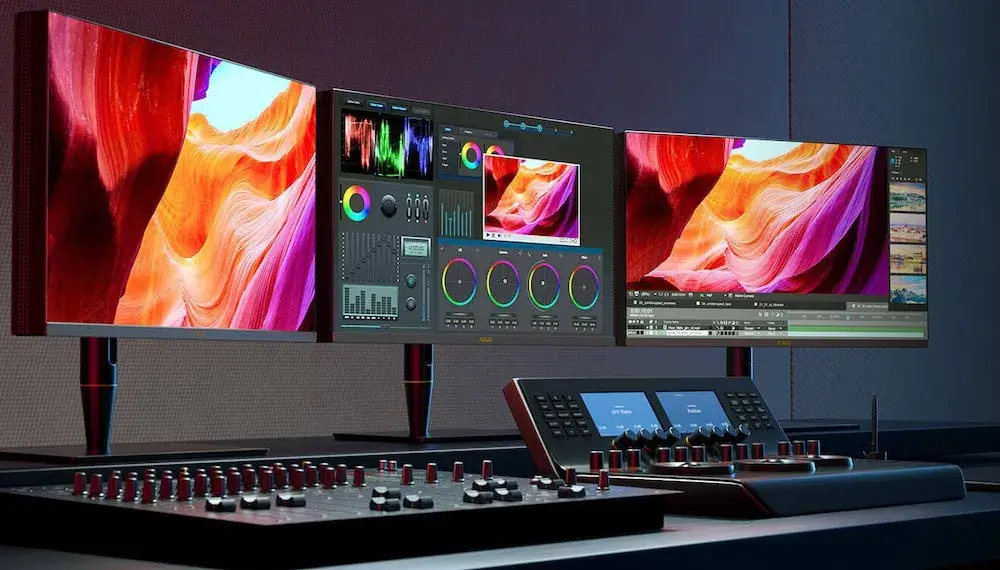
Image source: Bing (Web (fair-use with source credit))

Similar Posts