How To Iphone Screen Repair Tips For A Quick Fix
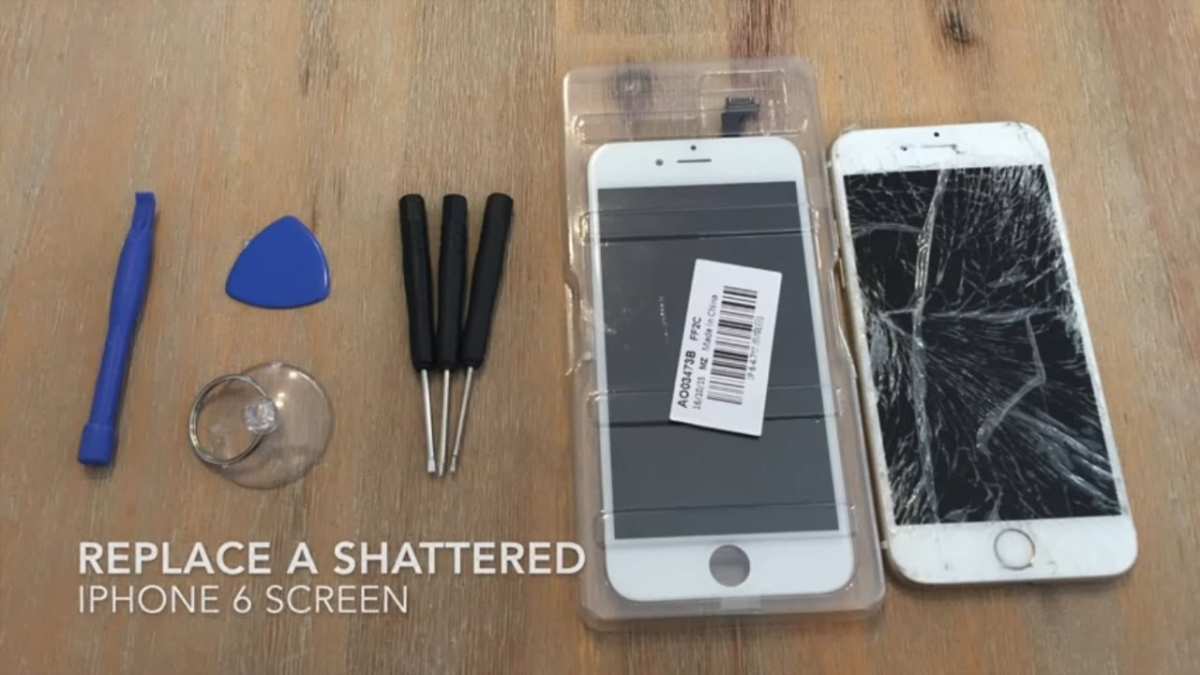
If your iPhone screen is cracked or unresponsive, the best solution is to replace it promptly. **Knowing how to iphone screen repair can save you money and time.** Tackling this yourself might seem daunting, but with the right tools and guidance, it’s entirely doable. Keep reading to learn simple steps that will help you restore your device quickly and safely.

How to iPhone Screen Repair
When your iPhone screen gets cracked, scratched, or unresponsive, it can feel frustrating and inconvenient. Luckily, repairing your iPhone screen doesn’t always mean rushing to the store or paying high repair fees. With some guidance, tools, and patience, you can learn how to handle basic iPhone screen repairs at home or better understand what professional repair options are available. In this section, we’ll walk through everything you need to know about how to repair your iPhone screen, from identifying the damage to choosing the right repair method.
Understanding the Types of Phone Screen Damage
Before jumping into repairs, it’s important to recognize the different types of damage your iPhone screen can have. The severity of damage influences whether you can fix it yourself or need professional help.
Cracked or Shattered Screen
This is the most obvious damage, often with visible cracks or spiderweb-like lines across the screen. It can be superficial or go deep into the display, affecting touch sensitivity.
Black or Frozen Screen
Sometimes, the screen appears black or frozen, even though the phone is still working in the background. This could indicate a display connector issue or other internal damage.
Unresponsive Touch Screen
If your display looks normal but doesn’t respond to your touch, the problem might be with the digitizer (the part responsible for touch input), or a software glitch.
Discoloration or Dead Pixels
Noticeable color distortions, dead pixels, or flickering can point to underlying display hardware issues. This damage is typically more complex and may require professional repair.
Tools Needed for DIY iPhone Screen Repair
If you decide to repair the screen yourself, gather the right tools beforehand. Having the proper equipment makes the process easier and reduces the risk of further damage.
Standard Repair Kit Components
- Small Phillips and P2 Pentalobe screwdrivers
- Plastic opening tools or prying tools
- Suction cup
- Tweezers
- Spudger (a plastic or nylon pry tool)
- Adhesive strips or glue for reassembling
- Anti-static wrist strap (optional but recommended)
Optional but Helpful Tools
- Heat gun or hairdryer (to loosen adhesive)
- Microscope or magnifying glass (for detailed work)
- Screen replacement parts (original or compatible LCD and digitizer)
Steps to Repair Your iPhone Screen at Home
While DIY screen replacement can be challenging, following detailed steps can help improve your success rate. Always remember to work in a clean, well-lit area and keep track of small screws and components.
Preparing Your Workspace
– Turn off your iPhone and disconnect from any power source.
– Remove any phone case or accessories.
– Clear your workspace and gather all tools and replacement parts.
Opening Your iPhone
– Use a Pentalobe screwdriver to remove the bottom screws near the charging port.
– Gently apply heat with a hairdryer or heat gun to soften the adhesive around the screen.
– Place the suction cup on the lower edge of the screen and gently pull to create a gap.
– Insert plastic opening tools into the gap and carefully work around the perimeter to loosen adhesive.
– Be cautious of the flex cables connecting the display to internal components.
Disconnecting the Screen
– Remove the metal shield covering the display connectors.
– Carefully disconnect the display flex cables using a spudger.
– Set the old screen aside once all connections are free.
Installing the New Screen
– Connect the new screen’s flex cables to the motherboard.
– Reattach the metal shield and secure it with screws.
– Carefully align the new display and press it into place.
– Replace the Pentalobe screws at the bottom.
Testing and Final Assembly
– Power on your iPhone to check the new screen’s functionality.
– Test touch responsiveness, display clarity, and color accuracy.
– Once satisfied, press the screen fully into the device, ensuring adhesive seals are tight.
– Reassemble any remaining components and add adhesive strips if needed for water resistance.
Professional Repair Options
If DIY repairs sound overwhelming or your phone has extensive damage, professional repair services are a good choice. Certified technicians can replace the screen quickly and safely, often with warranties.
Apple Store and Authorized Service Providers
– Use genuine parts for reliable performance.
– Technicians are trained specifically for iPhone repairs.
– Usually come with warranty coverage.
Third-Party Repair Shops
– Often offer lower prices.
– May use compatible parts instead of original Apple parts.
– Be sure to choose reputable shops with good reviews to avoid subpar repairs.
Cost Considerations and Warranty
Understanding repair costs can help you decide the best route for your situation.
DIY Repair Cost
– Replacement screens range from $20 to $80 depending on model and quality.
– Additional tools may cost around $10 to $30.
Professional Repair Cost
– Apple charges typically start around $129 for screen replacement.
– Third-party shops may charge between $50 and $100.
– Always ask about warranties and parts used.
Tips for Preventing Future Screen Damage
Taking steps to protect your iPhone can save you from future repairs.
Use a Screen Protector
– Protects against scratches and minor drops.
– Choose tempered glass or high-quality plastic protectors.
Invest in a Good Case
– Shock-absorbing cases can reduce impact during falls.
– Consider wallets or folio cases for extra coverage.
Avoid Using Your Phone in Dangerous Situations
– Be cautious in crowded or uneven environments.
– Keep your phone away from edges and unstable surfaces.
Handle Your Phone Carefully
– Don’t press too hard on the screen.
– Use both hands when taking out of pockets or bags.
Final Thoughts on How to iPhone Screen Repair
Learning how to repair your iPhone screen involves understanding the damage, preparing the right tools, and following safe, detailed steps. While DIY repairs can save money and help you learn more about your device, they require patience and care. If the damage is severe or you’re uncomfortable working with delicate electronics, turning to professionals is often the safest choice. Always use high-quality replacement parts and proper tools, and take preventive steps to keep your phone safe in the future. Remember, a well-maintained iPhone will serve you longer and perform better.
Frequently Asked Questions
What tools are required to perform an iPhone screen repair at home?
To repair an iPhone screen yourself, you need specific tools such as a precision screwdriver set, a plastic opening tool, a suction cup, tweezers, a pry tool, and adhesive strips designed for screens. Additionally, having a clean workspace and an anti-static mat can help prevent damage to internal components. Using the correct tools ensures that you can carefully separate the screen without causing further damage.
How can I safely remove the old screen from my iPhone?
Start by powering off your device and removing any SIM cards. Use a specialized pentalobe screwdriver to take out the screws near the charging port. Attach a suction cup to gently lift the screen, then insert a plastic pry tool around the edges to loosen the adhesive. Carefully detach the screen by slowly lifting it away, making sure not to pull on delicate flex cables. Taking your time and working gently reduces the risk of cracking or damaging internal components.
What precautions should I take before starting an iPhone screen repair?
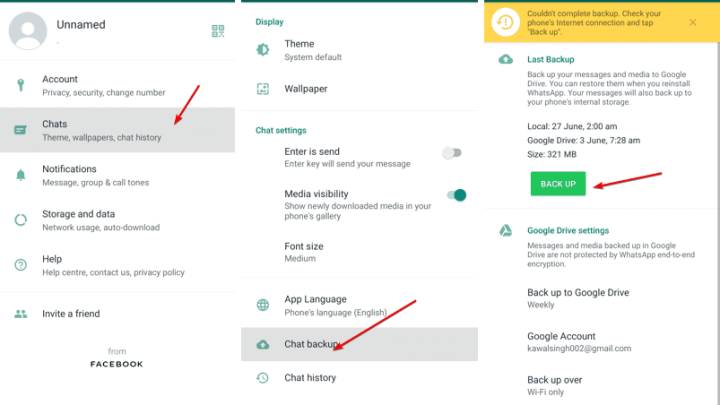
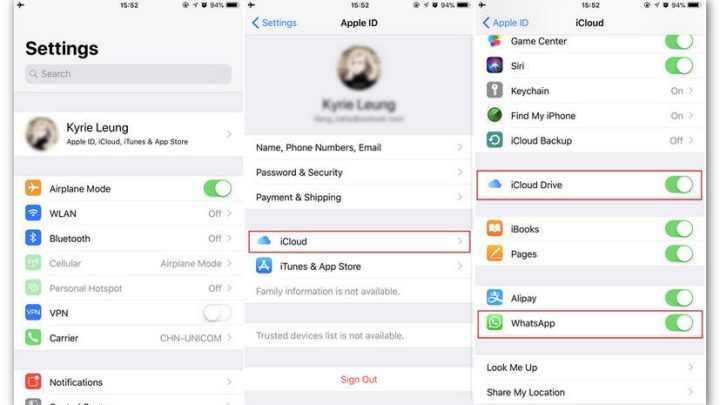
Always back up your data before beginning any repair to prevent data loss. Work in a static-free environment and handle components with care. Use appropriate tools and follow a detailed repair guide to avoid damaging internal parts. Keep track of all screws and small parts, and ensure the workspace is clean to prevent debris from entering the device. Taking these precautions minimizes errors and helps ensure a successful repair.
How do I replace the broken screen with a new one?
Once you safely remove the damaged screen, connect the new display’s flex cables to the motherboard, ensuring they fit securely. Carefully align the new screen with the device’s frame, then press it into place, ensuring the adhesive sticks properly. Reassemble the device by reversing the disassembly steps, replacing screws and any connectors. Power on your iPhone to test the new screen’s functionality before finalizing reassembly.
What are some common mistakes to avoid during iPhone screen repair?
Avoid applying excessive force when prying open the device, as this can crack the glass or damage internal components. Do not rush the process; patience prevents mishaps. Make sure to disconnect the battery before working on the screen to prevent short circuits. Using incompatible or low-quality replacement screens can result in poor display quality. Lastly, skipping thorough cleaning and inspection may lead to issues with touch sensitivity or display performance after the repair.
Final Thoughts
To conclude, knowing how to iPhone screen repair can save time and money. Start by turning off the device and carefully removing the damaged screen with proper tools. Follow safety precautions to avoid further damage. With patience and the right techniques, you can successfully replace the screen. Remember, practicing safe procedures makes the repair easier and more efficient.

Similar Posts