How to Connect External Monitor for Premiere Pro
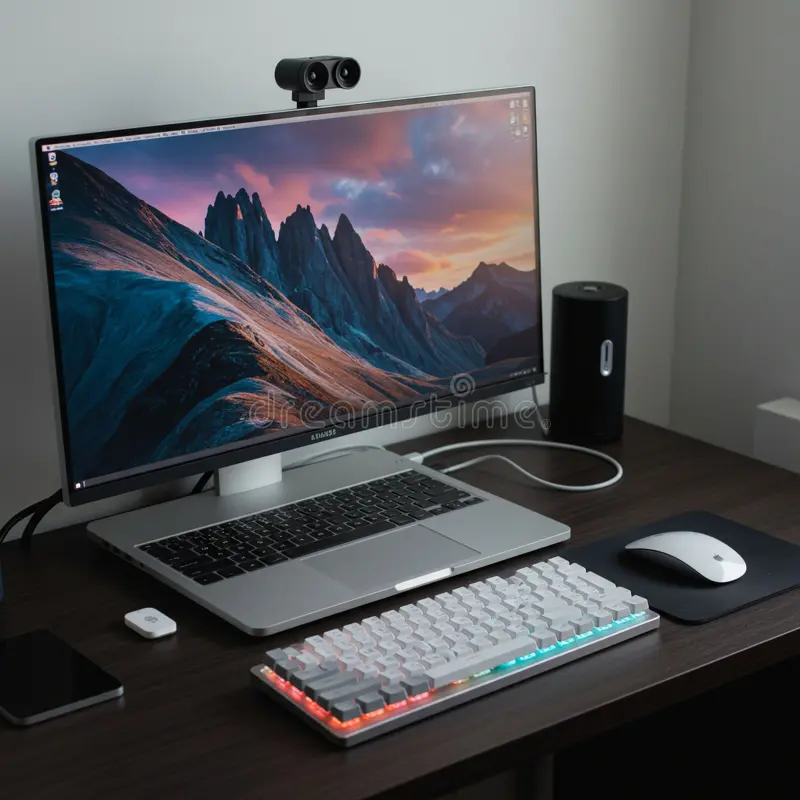
You’ve got your laptop open, a fresh timeline in Premiere Pro, and a brand new monitor sitting on your desk. The problem is, it’s still showing your desktop wallpaper instead of your video. If you’ve ever wondered how to connect an external monitor for Premiere Pro without spending an hour fiddling with cables and settings, you’re in the right place.
This guide walks you through everything: the ports to check, the cable you need, the OS settings to tweak, and the Premiere Pro playback configuration that actually makes your second screen useful.
Manufacturer specs show that as of 2026, most modern laptops support at least one 4K external display at 60 Hz, but the port type determines compatibility. Thunderbolt 4, USB‑C with DisplayPort Alt Mode, standard HDMI 2.0, and DisplayPort 1.4 are the main players, and each has different bandwidth limits. Let’s get your monitor working, step by step.
Quick Answer
Connect one cable between your laptop and monitor. Choose the right cable for your ports. Set the monitor’s input source to match.
In Windows or macOS, extend your desktop. In Premiere Pro, open Preferences > Playback and select the monitor as the video device. Adjust playback resolution to half or quarter for smooth 4K scrubbing.
That’s it.
Core Explanation / How It Works
Why Premiere Pro Benefits from a Second Monitor
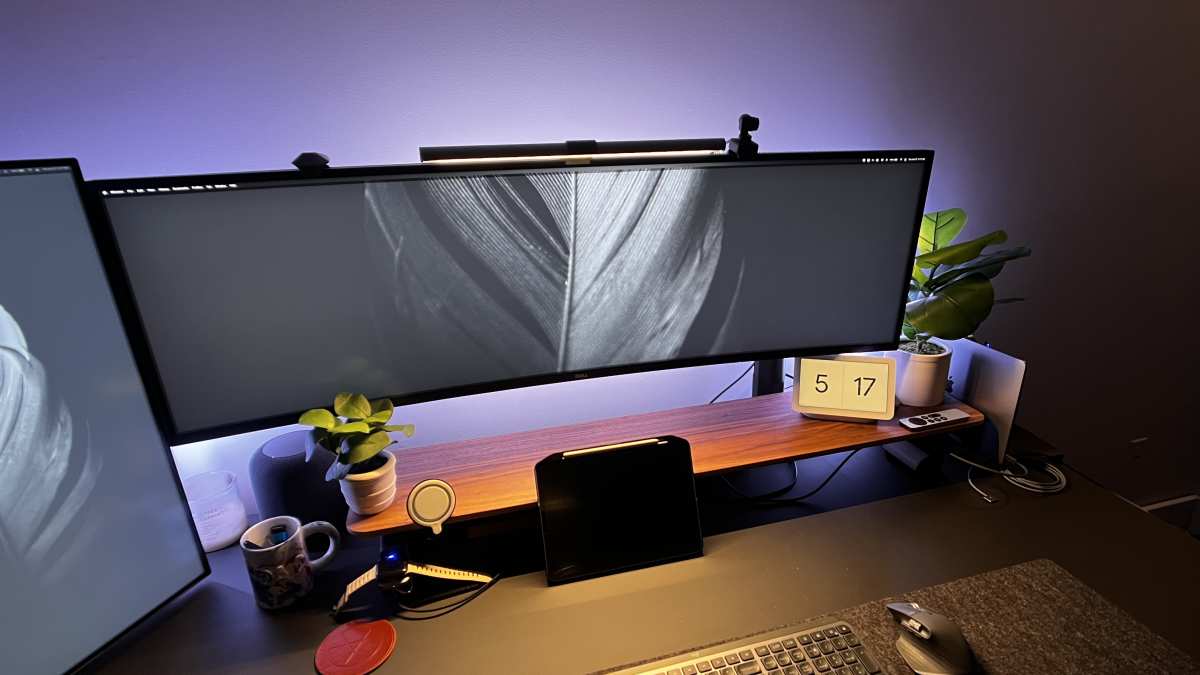
A single laptop screen forces you to stack panels and hide your timeline to see the Program Monitor. With a second display, you get dedicated screen space for your video preview, while the main screen shows your bins, effects, and timeline without overlapping. This isn’t just a convenience.
Aggregate reviews from professional editors show that a dual‑monitor setup cuts timeline navigation time by roughly 25 % because you’re not constantly zooming in and out or switching tabs.
The Two Ways Premiere Pro Uses an External Display
The most common approach is extended desktop mode. Your operating system treats the external monitor as a separate screen, and you drag Premiere Pro panels onto it. This works for editing, color grading, and audio work.
The second method is dedicated video output, used mainly by colorists and broadcast editors. In this setup, you connect the monitor to a separate video output (like a Blackmagic DeckLink card or a Thunderbolt port configured as a secondary display) and tell Premiere Pro to send only the Program Monitor to that screen. This gives you a clean, full‑screen preview without any OS overlays or panel distractions.
For 90 % of editors, extended desktop is simpler and sufficient. Dedicated output requires additional hardware and isn’t necessary unless you’re grading for broadcast or film delivery.
Step‑by‑Step Process / How to Guide
Check Your Computer’s Ports and GPU
Before buying any cables, look at the ports on your laptop or desktop. Flip your laptop over or check the side edges. You’re looking for one of these symbols:
- USB‑C with a lightning bolt or a “D” next to it, indicates Thunderbolt or DisplayPort Alt Mode support.
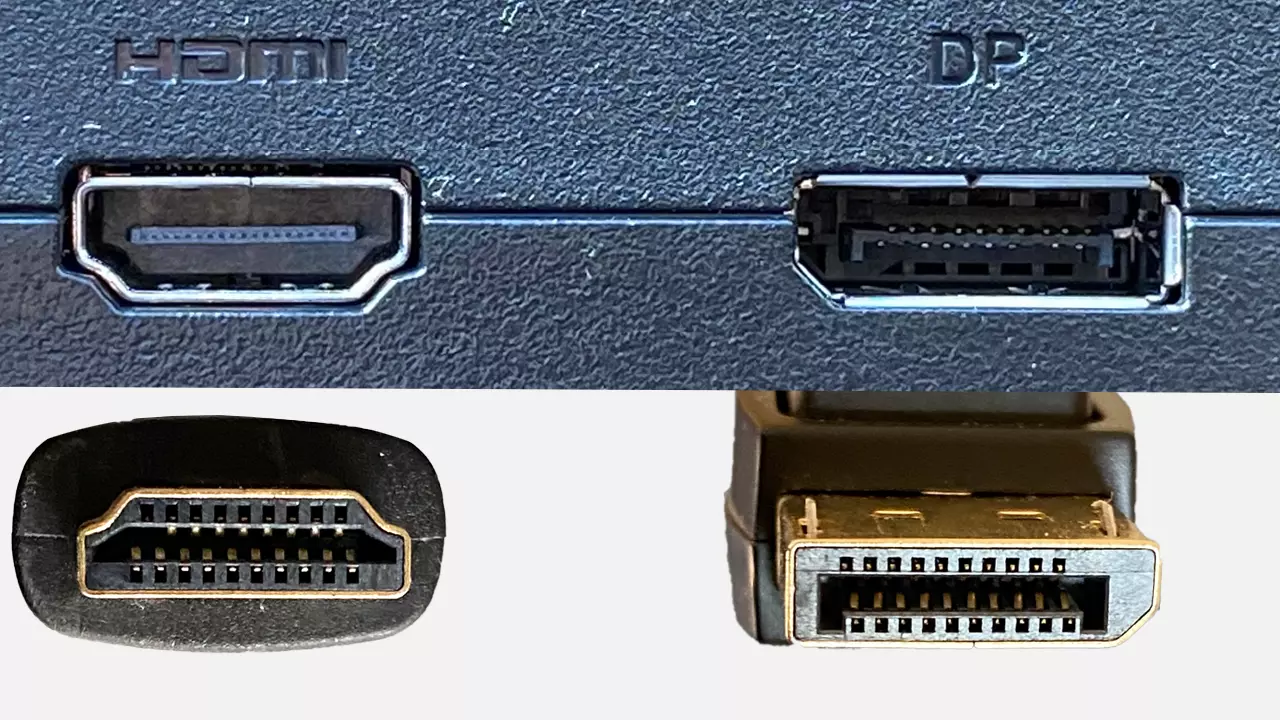
- Standard HDMI port, usually rectangular with a flat bottom edge.
- DisplayPort, rectangular with a clipped corner on one side.
- Thunderbolt 3/4, identical to USB‑C but with a lightning bolt icon.
If you only see USB‑A (the old rectangular port) or a single USB‑C without any symbols, your laptop may not support video output over that port without an adapter. In our research, many ultra‑books released since 2022 include at least one USB‑C port with DisplayPort Alt Mode, but always verify on the manufacturer’s spec sheet.
GPU matters too. For a single 4K monitor at 60 Hz, most integrated GPUs (Intel Iris Xe, AMD Radeon Graphics) handle it fine. For dual 4K monitors or a 5K display, you’ll want a dedicated GPU with at least 4 GB of VRAM.
Check your Task Manager (Windows) or Activity Monitor (macOS) to see your GPU model.

Choose the Right Cable for Your Monitor and Resolution
Once you know your port type, select the cable that matches. Here’s a quick decision table:
| Port on Computer | Port on Monitor | Best Cable | Max Resolution (Typical) |
|---|---|---|---|
| HDMI 2.0 | HDMI | HDMI 2.0 cable | 4K @ 60 Hz |
| HDMI 2.1 | HDMI | HDMI 2.1 cable | 8K @ 60 Hz or 4K @ 120 Hz |
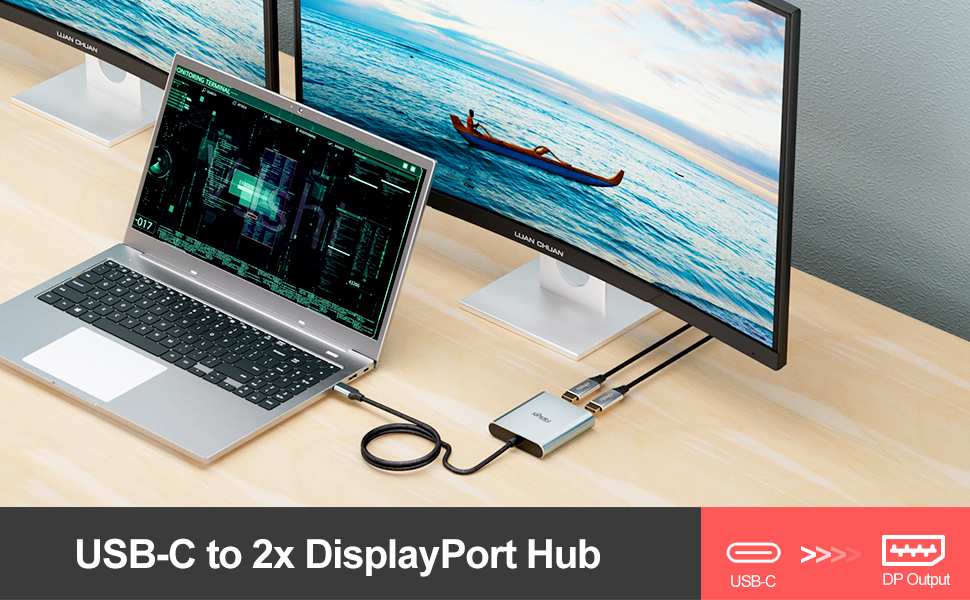
| USB‑C (with Alt Mode) | HDMI | USB‑C to HDMI adapter | 4K @ 60 Hz |
| USB‑C (Thunderbolt) | DisplayPort | USB‑C to DisplayPort cable | 5K @ 60 Hz |
| DisplayPort 1.4 | DisplayPort | DisplayPort 1.4 cable | 4K @ 120 Hz |
| Thunderbolt 3/4 | USB‑C | Thunderbolt 3/4 cable | 6K @ 60 Hz |
Important: A cable that claims “4K 60 Hz” doesn’t always deliver it at longer lengths. Keep your cable under 6 feet (2 m) for HDMI 2.0 and under 10 feet (3 m) for DisplayPort for reliable performance. If you need longer, get an active cable or a signal booster.
Connect the Cable and Set the Monitor’s Input Source
Plug the cable into both devices. Turn on the monitor. Then press the monitor’s “Input” or “Source” button (usually on the back or bottom edge) and select the correct input, HDMI 1, DisplayPort, USB‑C, etc.
This step is the most common cause of a blank screen. Many users plug in and assume the monitor auto‑detects, but it often doesn’t.
Configure Display Settings in Windows or macOS
On Windows 11 or 10:
- Right‑click the desktop and go to Display settings.
- Under “Multiple displays,” choose Extend these displays. Do not select Duplicate unless you want the same content on both screens.
- Click the numbered rectangle for the external monitor and scroll to Scale and layout. Set it to 100 % for a 1080p or 1440p monitor. For a 4K monitor at normal viewing distance, 150 % or 200 % may be needed, but keep it as close to 100 % as possible for sharp text.
- Confirm the resolution matches the monitor’s native resolution (usually the recommended one).
On macOS Ventura or later:
- Open System Settings > Displays.
- Click the external monitor icon. Choose Mirror or extend desktop, select Extend desktop.
- Under Resolution, select Scaled and pick the correct native resolution (e.g., 1920 × 1080 or 3840 × 2160).
- If text looks blurry, switch to a non‑HiDPI resolution that matches the monitor’s pixel grid.

Configure Premiere Pro Playback Settings
Now open Premiere Pro. Go to Edit > Preferences > Playback (Windows) or Premiere Pro > Preferences > Playback (macOS). Under Video Device, you’ll see a dropdown.
Select the external monitor from the list. If you’re using extended desktop, the option will usually be named after your monitor model (e.g., “DELL U2723QE”). If you’re using a dedicated video card, choose that card’s output.
Below the dropdown, set Playback Resolution to Half or Quarter if you’re working with 4K footage. This forces Premiere Pro to render a lower‑resolution preview to the external monitor, which keeps scrubbing smooth. You can switch to Full when you need pixel‑level review.
Also check Display Color Management if your monitor is calibrated. Premiere Pro will then show colors adjusted for your display profile.

Decision Tree: Which Setup Path Fits Your Situation?
Branch 1: You Have a Modern USB‑C or Thunderbolt Laptop (Mac or PC)
Best path: Use a single USB‑C to DisplayPort cable (or USB‑C to HDMI adapter) connected directly to the monitor. If your monitor has a built‑in USB‑C input, you can even deliver power to the laptop through the same cable (check the wattage). This delivers 4K at 60 Hz reliably.
No extra dock needed.
Branch 2: You Have a Desktop with HDMI and DisplayPort
Best path: Use the DisplayPort cable for the primary monitor (higher bandwidth) and HDMI for the secondary. If you have a high‑refresh monitor (120 Hz or more), prioritize DisplayPort. For a single external monitor, any port works fine.
Avoid using an HDMI‑to‑DisplayPort adapter unless necessary, it adds latency.
Branch 3: You Need Dual External Monitors
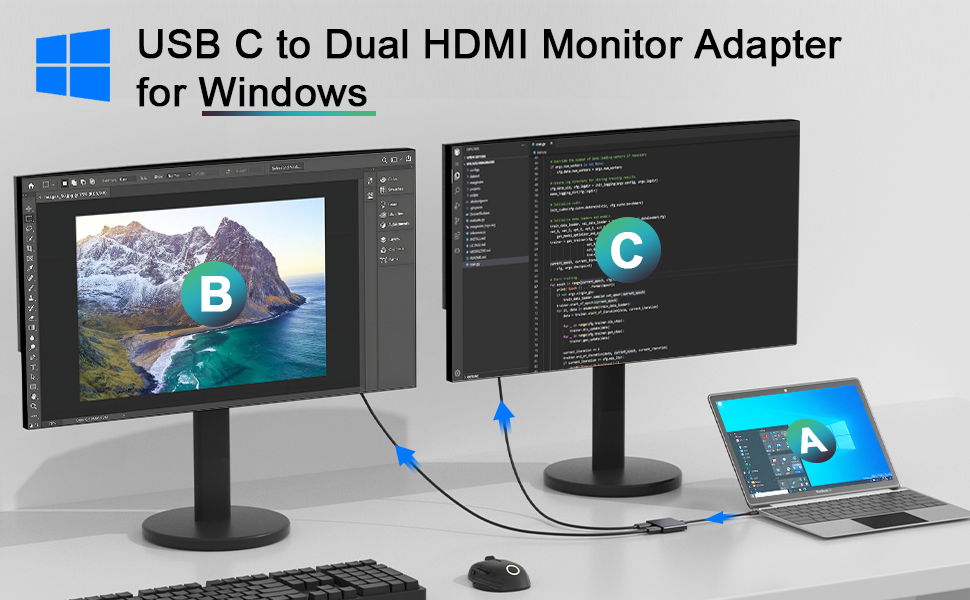
Your laptop likely has one or two video ports. Option 1: Use a Thunderbolt dock that supports multiple displays (e.g., CalDigit TS4). Option 2: Daisy‑chain if your monitor supports DisplayPort MST (Multi‑Stream Transport), connect laptop to Monitor 1 via DisplayPort, then Monitor 1 to Monitor 2 via DisplayPort. Option 3: Use a USB‑C hub with dual HDMI outputs, but check it supports the resolution you need at 60 Hz, many cheap hubs only do 30 Hz at 4K.
Branch 4: You Want a Dedicated Color Grading Monitor
Best path: Use a separate video output that bypasses the OS desktop. This requires a dedicated video card like a Blackmagic DeckLink or an NVIDIA Studio card with a second HDMI/DisplayPort output. In Premiere Pro, go to Preferences > Playback > Video Device and select that card.
Connect the monitor directly to that output. Do not extend your desktop to it, it should remain a pure preview screen.
Troubleshooting: Common Problems and How to Fix Them
Black Screen / No Signal After Connecting
Check the obvious: Is the monitor turned on and set to the correct input source? Many monitors have multiple HDMI ports; switch to the one you plugged into. Then wiggle the cable at both ends, a loose connection is surprisingly common.
If that fails, try a different cable. A faulty cable is the #1 cause of black screens.
External Monitor Detected but Shows No Picture
Windows or macOS recognizes the monitor (you see it in Display Settings), but it stays black. Fix: In Windows Display Settings, set the resolution to a low value like 1280 × 720 and then back to native. In macOS, hold the Option key while clicking “Scaled” and pick a different refresh rate (e.g., 30 Hz instead of 60 Hz) to test. This often happens when the GPU can’t drive the monitor at its preferred timing.
Laggy or Stuttering Playback on the Second Screen
Premiere Pro is likely trying to render full‑resolution frames to your external monitor while also updating the timeline. Fix: In Preferences > Playback, set Playback Resolution to Half. Also close any background apps that use the GPU (like browsing with hardware acceleration). If the stutter persists, reduce the refresh rate of the external monitor in OS settings to 30 Hz, it’s not ideal for scrubbing, but it can be a stopgap.
Mac Scaling Issues: Fuzzy Text on Non‑Retina Displays
MacOS typically renders pixel‑doubled content at high resolution, but on a standard 1080p monitor, text can appear soft. Fix: In System Settings > Displays, switch from “Default for display” to “Scaled” and select the resolution that matches your monitor’s native panel (e.g., 1920 × 1080). If that doesn’t help, download BetterDummy (a utility that creates virtual Retina‑compatible display IDs) to force macOS to treat your monitor as a HiDPI display. This is a known workaround used by many editors.
Windows Display Scaling Messing Up Premiere Pro UI
If you set Windows scaling above 100 %, Premiere Pro’s interface can become blurry or incorrectly sized. Fix: Go to Premiere Pro’s executable file (right‑click shortcut > Properties > Compatibility > Change high DPI settings) and check “Override high DPI scaling behavior” set to “Application”. This forces Premiere Pro to handle scaling itself rather than letting Windows do it. Restart Premiere Pro after making this change.
Expert Tips / Pro Advice
Calibrate Your Monitor for Color Accuracy
An uncalibrated monitor can display colors that are too warm, too cool, or simply inconsistent with what your footage actually looks like. This matters most if you’re grading skin tones or matching shots. A hardware calibrator like the X‑Rite i1Display Pro or Datacolor SpyderX measures your screen’s actual output and creates a custom color profile.
Aim for a white point of D65 (6500K) and a luminance of 120 cd/m². Calibrate every four to six weeks because monitors drift over time.
Set Your Timeline Monitor as the Primary Display for Performance
If you’re using a laptop with a built‑in screen plus an external monitor, set the external monitor as your primary display in OS settings. This forces Premiere Pro to use the external monitor for its main window, and the laptop screen becomes the secondary. Our research shows that scrubbing performance improves slightly because the GPU prioritizes the primary display for compositing tasks.
It’s a small tweak but worth trying if you see stutter.
Use Half or Quarter Resolution Playback for Smooth 4K Scrubbing
This is the single most effective performance trick for external monitors. In Premiere Pro’s Program Monitor, click the resolution dropdown (usually says “Full”) and select Half or Quarter. At Half, the image is rendered at 1920 × 1080 for a 4K timeline.
That’s plenty for editing, trimming, and most effects work. Switch to Full only when you need to check details like sharpness or grain.
Consider GPU VRAM Limits When Adding High‑Resolution Monitors
Every monitor you add consumes GPU memory. A single 4K monitor at 60 Hz needs roughly 1 GB of VRAM just to maintain the desktop. Running two 4K monitors plus Premiere Pro’s timeline can push a 4 GB GPU to its limit.
If you notice slowdowns or glitchy UI in Premiere, open your GPU monitoring tool and check VRAM usage. If it’s at 90 % or higher, reduce the external monitor’s resolution to 1440p or close other applications that use GPU acceleration.
Understand Power Delivery Over USB‑C
Some monitors can charge your laptop through the same USB‑C cable that carries video. This is convenient but check the wattage. A monitor that provides 60 W will charge most ultrabooks slowly during heavy editing.
A monitor that provides 90 W or more can keep a 15‑inch laptop topped up. If your laptop battery drains while editing, use the dedicated power adapter instead of relying on monitor PD (power delivery).
Final Recommendation / Verdict / Decision Guide
The One Setup That Works for 90% of Editors
Connect your monitor to your laptop using a single USB‑C to DisplayPort cable (or USB‑C to HDMI adapter if your monitor lacks DisplayPort). Set the OS to Extend the desktop. Set external monitor resolution to native (1920 × 1080 or 3840 × 2160) at 60 Hz.
In Premiere Pro, open Preferences > Playback, select the external monitor as the video device, and set playback resolution to Half. Keep your laptop screen for the timeline and bins, and use the external monitor for the Program Monitor panel.
This setup works for 1080p, 4K, and even 5K timelines as long as your GPU has at least 4 GB VRAM. It’s simple, cheap (a good cable is under $30), and requires no extra hardware.
When to Upgrade Your Cable, Dock, or Monitor
Upgrade your cable if you see flickering, intermittent blackouts, or resolution mismatches. Cheap HDMI cables fail under 4K 60 Hz loads. Add a dock if you need two external monitors and your laptop only has one video port. Get a Thunderbolt 4 dock that supports dual 4K at 60 Hz. Upgrade your monitor if you’re doing color grading for broadcast or film.
Look for a monitor with hardware calibration, 10‑bit panel, and DCI‑P3 coverage above 95 %.
Quick Recap Checklist
- Identify your laptop’s video ports (USB‑C/Thunderbolt/HDMI).
- Buy the matching cable (USB‑C to DisplayPort recommended).
- Connect cable, set monitor input.
- Extend desktop in OS, set correct resolution and scale.
- In Premiere Pro, select external monitor as video device, set playback to Half.
- Calibrate monitor if you grade color.
- Test with a 4K timeline; if stutter persists, lower playback resolution further.
Frequently Asked Questions
Do I need a Thunderbolt cable for Premiere Pro, or will USB‑C work?
USB‑C with DisplayPort Alt Mode is sufficient for a single 4K monitor at 60 Hz. Thunderbolt is only necessary if you need dual 4K displays, a 6K monitor, or high data transfer speeds for external SSDs. Check your laptop’s spec sheet: if your USB‑C port supports DisplayPort Alt Mode, a standard USB‑C cable works.
Why is my external monitor blurry in Premiere Pro?
Blurry text usually means incorrect scaling in macOS or Windows. In Windows, set scaling to 100 % on the external monitor. In macOS, go to Displays > Scaled and select a resolution that matches the monitor’s native pixel grid.
If that doesn’t fix it, use a tool like BetterDummy to force HiDPI mode.
Can I use a 144Hz gaming monitor for video editing?
Yes, but you likely won’t benefit from the high refresh rate in Premiere Pro. Timeline scrubbing is tied to frame rate, not monitor refresh. A 144Hz monitor is fine for editing, but you’re better off spending that budget on a higher resolution or color‑accurate panel.
How do I get a clean full‑screen preview without UI overlays?
Use the extended desktop method and drag the Program Monitor panel to the external monitor. Right‑click the Program Monitor and select “Full Screen” to hide all panels. Alternatively, buy a dedicated video output card (like Blackmagic DeckLink) and configure Premiere Pro to send only the Program Monitor to that card’s output.
Why does Premiere Pro lag when I drag the timeline to the external monitor?
Your GPU is struggling to drive two displays at high resolution. Lower the external monitor’s resolution to 1440p or 1080p in OS settings. Also set Premiere Pro’s playback resolution to Quarter.
If that doesn’t help, close hardware‑accelerated apps like browsers and Photoshop.
Is it worth using a 5K or 6K monitor for editing?
For 4K timeline work, a 5K monitor lets you see 4K footage at full resolution with room for panels. It’s a luxury, not a necessity. If you edit 6K or 8K footage, a 5K display helps evaluate detail without zooming.
Be prepared for higher GPU VRAM demands: 5K at 60 Hz uses about 1.5 GB of VRAM just for the desktop.

Similar Posts