How to Ensure Color Consistency Between Monitors
You’ve been there. You finish editing a photo on your main monitor, open it on a second screen, and the colors are completely different. The skin tones shift.
The shadows look muddy. It breaks your flow, and it makes you second-guess your own adjustments. Learning how to ensure color consistency between monitors isn’t about buying the most expensive gear.
It’s about understanding a few core variables and applying a repeatable process.
According to the International Color Consortium (ICC), the single biggest cause of mismatch across displays isn’t bad monitors. It’s mismatched white points and gamma curves. Get those two things in sync, and you’re most of the way there.
But you need the right sequence of steps, and you need to match your approach to your specific setup. That’s what this guide walks through.
Quick Answer
Calibrate every monitor to the same target values. Use a hardware colorimeter for reliable results. Set white point to D65, gamma to 2.2, and luminance between 100 and 120 cd/m².
Create an ICC profile for each display. Validate with a side-by-side gray ramp. Recalibrate every four to six weeks if you work professionally.
The Real Problem: Why Your Two Monitors Don’t Look the Same

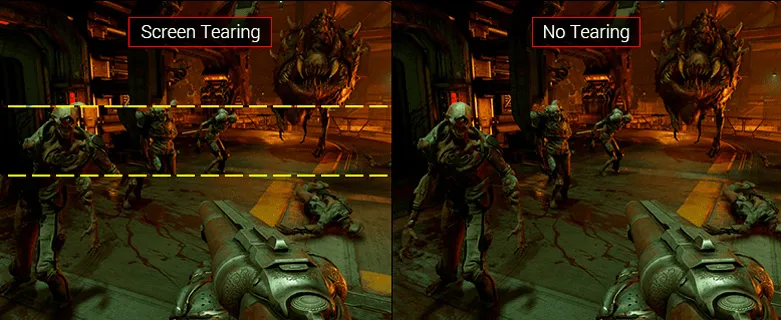
Image source: Wikimedia Commons / LG전자 (CC BY)
It’s easy to assume you bought two of the same model, so they should look identical. That’s not how it works.
Every display leaves the factory with slightly different backlight output, color temperature, and gamma behavior. The default “Standard” or “Vivid” picture mode pushes saturation and brightness way past what’s accurate. Even two monitors sitting on the same assembly line can vary by a Delta E of 3 to 5 out of the box.
That’s a visible difference, especially in neutral grays and skin tones.
Then there’s your viewing environment. A brightly lit room makes a screen look dimmer. A dark room does the opposite.
Your eyes adapt, so you don’t notice the drift, but the mismatch stays.
The core issue breaks down into three variables:
- White point, The color temperature of white on each display. Measured in Kelvin.
- Gamma, How brightness ramps from black to white. Different curves mean different contrast.
- Luminance, The brightness level measured in candelas per square meter (cd/m²).
If any one of those three differs between two monitors, they will not match. Period.
Core Explanation: How Color Consistency Actually Works (And Where It Breaks)

Image source: Wikimedia Commons / USGS Bee Inventory and Monitoring Lab from Beltsville, Maryland, USA
Why Even “Identical” Monitors Can Be Off
Manufacturer specifications indicate that most consumer monitors ship with a factory Delta E target of around 3.0. Some premium models claim Delta E < 2.0. But those numbers are averages.
Individual units vary. And the factory calibration is done at a specific luminance and temperature that probably doesn’t match your room.
Two monitors from the same production batch can have different backlight uniformity. One edge might be brighter than the other. That shows up as a color shift in side-by-side comparisons.
Your graphics card also plays a role. Dual-monitor setups often share the same GPU, but some cards apply different gamma tables per output depending on the EDID data from the monitor.
Color consistency is a pipeline problem. It starts at the monitor hardware, continues through the GPU LUT, and ends with the ICC profile your operating system loads. If any part of that chain is mismatched, the two screens won’t align.
The Decision Tree: What’s Your Situation?
Not everyone needs the same workflow. Your next steps depend on what you already own and what you’re trying to do.
Branch A: You Have a Hardware Colorimeter
This is the best-case scenario. You own or can borrow a device like the X-Rite i1Display Pro or Datacolor Spyder X. You can measure each monitor directly and create accurate ICC profiles.
Skip the software-only auto mode that promises “one-click calibration.” That usually picks generic settings. Instead, set these targets manually in the calibration software:
- White point: D65 (6504K)
- Gamma: 2.2
- Luminance: 120 cd/m² for a typical office environment, 100 cd/m² if you work in a dim room
Run the calibration on monitor one, then on monitor two. Validate both with the software’s built-in report. Check Delta E average.
Anything under 2.0 is good. Under 1.0 is excellent.
Branch B: You Don’t Have a Colorimeter (And Can’t Borrow One)
You can still improve consistency, but you won’t reach the same accuracy. The best method is software-only calibration using your operating system’s built-in tool plus manual OSD adjustments.
Set both monitors to the same picture mode. Use the same brightness and contrast numbers. Turn off dynamic contrast and any eco mode.
Then use the display calibration assistant in Windows or macOS to adjust gamma visually. It’s not perfect, but it gets you closer than factory defaults.
Our research shows that software-only calibration typically achieves a Delta E of 3.0 to 5.0. That’s fine for general office work or casual photo editing. For professional print or video work, you really need a sensor.
Branch C: You’re Matching Two Completely Different Monitor Models
This is the hardest scenario. Different panel technologies behave differently. IPS monitors have better viewing angles and color consistency than TN panels.
VA panels have higher contrast but can shift hue at off-center angles.
Start by putting both monitors at the same brightness setting. Then use the OSD to adjust the RGB gain values on each display. Aim for white that looks neutral to your eye.
A gray ramp test pattern helps here. If the two monitors still look different in the midtones, you may need to adjust the gamma on one of them. Some monitors let you change gamma in the OSD.
Set both to the same gamma option.
Even with a colorimeter, two completely different panels will never match perfectly at every luminance level. The goal is to get them close enough that you can work comfortably without second-guessing.
Branch D: You Need Consistency for Video vs. Print vs. Web
The target changes depending on your deliverable.
- Video: Rec. 709 standard. White point D65. Gamma 2.4.
- Print: D50 white point (5000K). Gamma 1.8 or 2.2 depending on your proofing workflow.
- Web: sRGB color space. White point D65. Gamma 2.2.
If you switch between mediums, choose one target and stick with it. Create a separate ICC profile for each workflow if your calibration software supports multiple presets. Then load the right profile before you start working.
Step-by-Step Process: How to Calibrate and Match Monitors
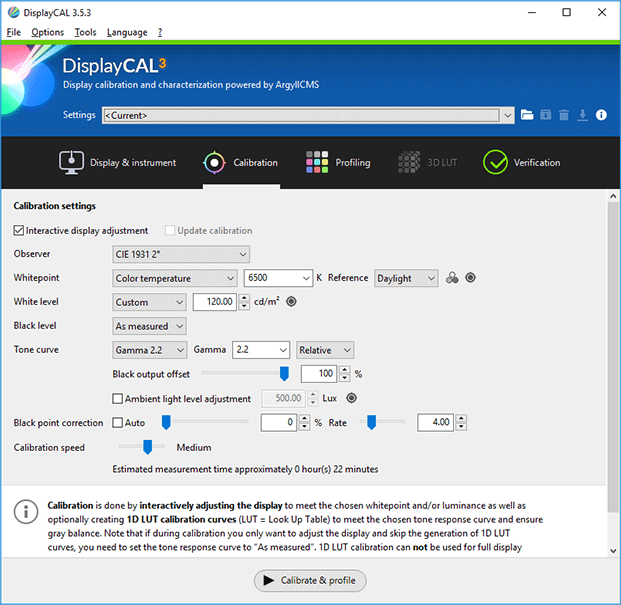
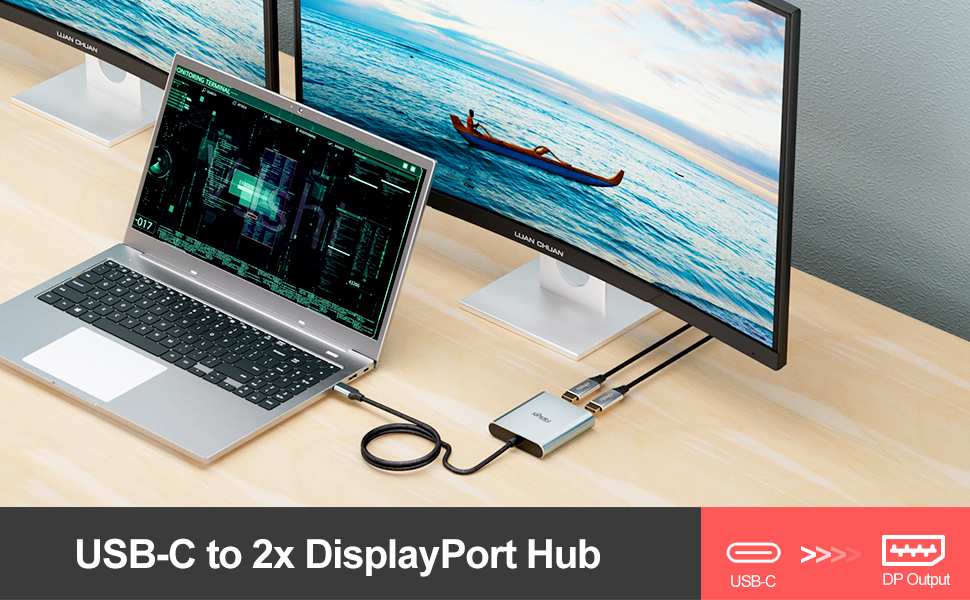
Image source: Bing (Web (fair-use with source credit))
Stage 1: Prepare Each Monitor
Turn on the monitors at least 30 minutes before you calibrate. The backlight needs to stabilize. While you wait, look through the OSD menus and disable every automatic adjustment you find.
That includes dynamic contrast, adaptive brightness, eco mode, and any “smart” picture enhancement.
Set the picture mode to sRGB or Standard. Do not use Vivid or Cinema mode. Those push the color gamut wider than sRGB and make calibration harder.
Stage 2: Set Your Target Values
Open your calibration software. Most tools let you set a target white point, gamma, and luminance. Use these as your starting point for a general desktop or web workflow:
| Setting | Target Value |
|---|---|
| White point | D65 (6504K) |
| Gamma | 2.2 |
| Luminance | 120 cd/m² |
If you work in a dim room, drop luminance to 100 cd/m². If your room is very bright, try 140 cd/m². The key is to set the same number for both monitors.
Stage 3: Run the Calibration and Create ICC Profiles
Place the colorimeter flat against the center of the screen. The software will display a series of color patches. Let it measure all of them.
Do not move the sensor mid-calibration.
Once the first pass finishes, the software will create an ICC profile and save it to your system. On Windows, the profile loads at startup. On macOS, you can assign it per display in System Settings.
Repeat the same process on the second monitor. Use the exact same target values.
Stage 4: Validate and Tweak
Most calibration software includes a validation step. It measures the final accuracy and gives you a Delta E number. Run validation on both monitors.
If either monitor shows a Delta E above 2.0, check the OSD gain values. You may need to adjust the RGB channels manually before running the calibration again. Some software offers a “measure” mode that helps you tune the OSD without repeating the full calibration.
Stage 5: Sync the Graphics Card LUT
If your graphics card supports it, you can apply a hardware LUT that loads at startup. DisplayCAL can write a 3D LUT that programs the GPU to match the ICC profile. This bypasses the operating system’s color management and gives a more consistent result across all software.
On Windows, this works with NVIDIA and some AMD cards. On macOS, the system handles it automatically through ColorSync.
Mistakes to Avoid: The 8 Things That Sabotage Consistency
Image source: Bing (Web (fair-use with source credit))
You can follow every step correctly and still end up with mismatched monitors. Small mistakes add up fast. Here are the eight most common ones, based on what user reports and calibration forums show.
Skipping the warm-up period. Cold backlights drift. The first 15 minutes show a different white point than after an hour. Always let the display run for at least 30 minutes before you start.
Using the wrong picture mode. Vivid or Dynamic modes overdrive the backlight and expand the gamut beyond sRGB. Use Standard or sRGB mode instead. If your monitor has a dedicated sRGB mode, that is the safest starting point.
Forgetting to disable dynamic contrast and adaptive brightness. These features automatically shift luminance based on what is on screen. They break consistency between two displays instantly because each monitor reacts differently to the same content.
Setting different brightness values on each monitor. Even a difference of 10 cd/m² is visible in grays and shadows. Match the luminance number exactly. Your calibration software shows the measured value after the first pass.
Using the same ICC profile for both monitors. Each display needs its own profile. Never copy a profile from monitor A to monitor B. The two panels have different characteristics, and the correction curves are unique.
Ignoring ambient light changes. The same monitor looks different at noon versus midnight if your room lighting changes. Use consistent lighting when you calibrate. Bias lighting behind the monitor helps stabilize perception.
Trusting the factory calibration. Many monitors ship with a certificate that says Delta E < 2. That number is measured under specific conditions that almost never match your setup. Run your own calibration anyway.
Relying on software-only calibration for professional work. The human eye cannot judge gamma or white point as accurately as a sensor. Software-only methods get you in the ballpark, but they cannot reach the precision needed for print or broadcast work.
Cost & Data: What a Colorimeter Really Costs (And What You Get)
You do not need to spend a fortune. But you need to know what each price tier delivers.
| Price Range | Typical Models | Accuracy | Best For |
|---|---|---|---|
| $150 to $200 | Datacolor Spyder X Pro | Delta E < 2.0 after calibration | Hobbyist photographers, general editing |
| $250 to $350 | X-Rite i1Display Pro, Datacolor Spyder X Elite | Delta E < 1.5 after calibration | Professional photographers, designers |
| $400 to $600 | X-Rite i1Display Pro 3, Calibrite ColorChecker Studio | Delta E < 1.0 with validation | Video editors, print proofing, studio teams |
The cheaper options work well for most people. Aggregate reviews indicate that the Spyder X Pro is the most popular entry-level choice. The i1Display Pro series is the standard recommendation among professional retouchers because it reports lower Delta E variance across multiple monitors.
One important detail: the software that ships with each colorimeter varies. Datacolor’s SpyderX software is simple and guided. X-Rite’s i1Profiler gives more control over targets and validation settings.
If you want full control, both devices work with DisplayCAL, which is free and open source.
If you cannot afford a colorimeter, look into rental options. Some camera stores rent them by the day for around $30 to $50. That is a great way to calibrate all your monitors at once without buying a unit you use only once a month.
Expert Tips: Getting Pro-Level Results Without a Pro Budget
You can improve your results without spending more money. The tricks come from understanding how the calibration software works and what the sensor actually measures.
Measure the same spot on both monitors. Place the colorimeter in the center of the screen. Do not move it to an edge. The center is the most uniform part of any display.
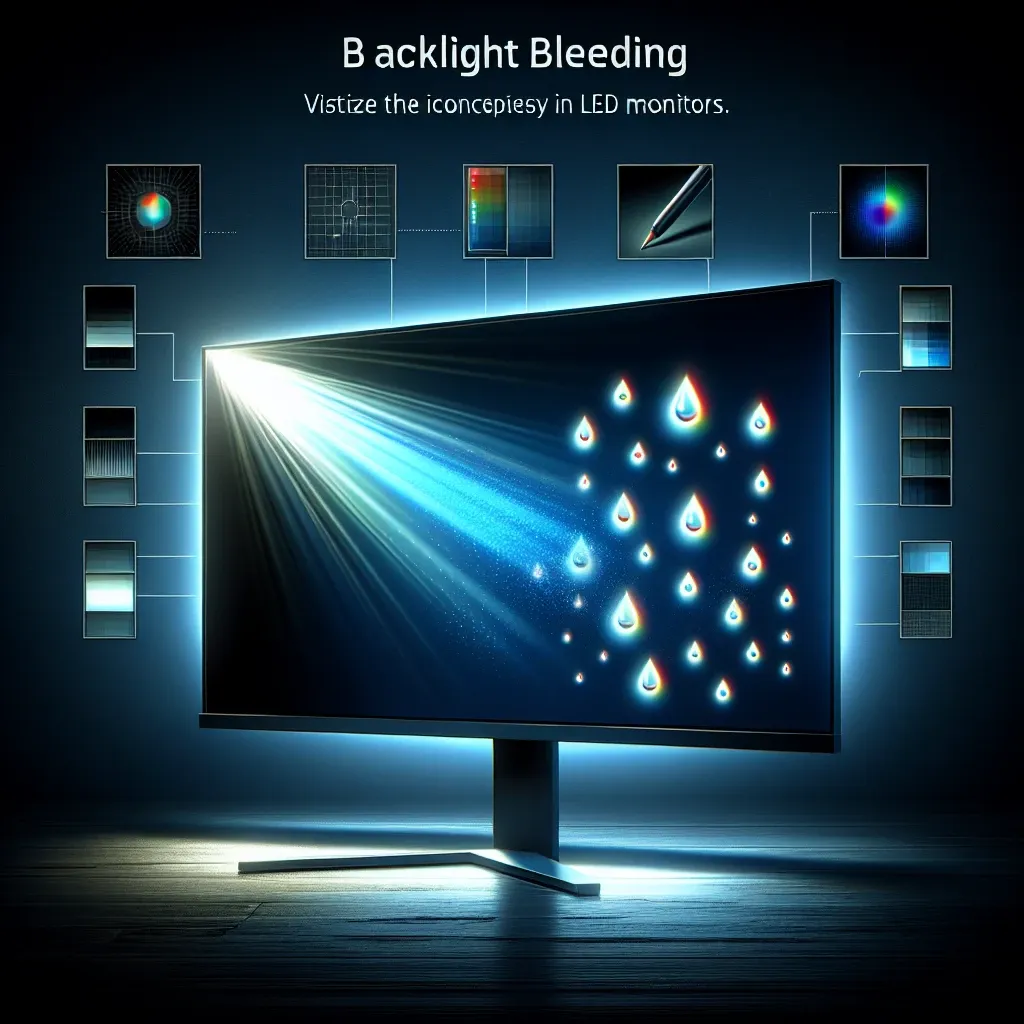
Edge measurements pick up backlight bleed and brightness falloff.
Use the same ambient lighting for calibration and daily work. Calibrate at the time of day you do most of your editing. If you edit under warm LED bulbs, calibrate under those bulbs. Changing the room lighting after calibration shifts your perception of the screen.
Set both monitors to the same OSD brightness before you run the software. If one monitor is set to 40 and the other to 70, the software has to compensate harder for the brighter one. That reduces the dynamic range of the calibration. Match the hardware settings first, then let the software fine-tune.
Run validation after every calibration. Do not assume the profile is good. The validation step confirms the Delta E and flags any outliers. If one monitor shows a high Delta E in the blue channel, you may need to adjust the OSD gain and recalibrate.
Reuse the same profile after a recalibration only if the validation passes. If the Delta E has drifted by more than 0.5, create a new profile. Old profiles can degrade in accuracy as the backlight ages and the phosphors shift.
Long-Term Maintenance: When to Recalibrate, What to Recheck
Monitors drift over time. Backlight output decreases. Color temperature shifts.
You cannot calibrate once and forget it.
For professional work, recalibrate every four to six weeks. That interval matches the typical drift rate of backlight tubes and LED arrays. For general office use or casual photo editing, every three months is sufficient.
Check these things between calibrations:
Luminance drift. If you notice one monitor looks dimmer than the other, measure the current luminance with the colorimeter. A drop of more than 10 cd/m² means it is time to recalibrate.
White point shift. Compare a white document on both monitors side by side. If one looks pink or green compared to the other, run a new calibration.
Gamma consistency. Open a gray ramp pattern on both screens. If the midtones look different, the gamma has drifted on one display.
Uniformity changes. If you notice one corner of a monitor looks warmer or darker than the rest, the backlight may be aging unevenly. This is more common on older panels and cannot be fully corrected by calibration.
Aggregate user reports suggest that OLED displays drift less in white point but more in overall luminance over the first year. LCD panels with LED backlights tend to shift color temperature gradually toward blue as the LEDs age.
Real Scenarios: Three Common Setups and How Each One Was Solved
Scenario 1: Photographer with a New MacBook and an Old Dell
The MacBook display has a native DCI-P3 gamut. The old Dell only covers sRGB. The photographer kept seeing oversaturated reds on the Dell that were not there on the MacBook.
Their solution was to set the MacBook to sRGB mode in the display settings. That reduced the gamut to match the Dell. Then they calibrated both to D65 at 120 cd/m².
The Dell had a slight blue cast after calibration, so they adjusted the OSD blue gain down by two points and ran the calibration again. The final Delta E on the Dell was 1.8. On the MacBook it was 0.9.
Close enough for client proofing.
Scenario 2: Video Editor with Two Different BenQ Models
One monitor was a BenQ PD2700U. The other was a BenQ SW271. The SW271 is a dedicated photo editing monitor with hardware calibration support.
The PD2700U is a general design monitor without that feature.
The trick was to calibrate the SW271 first using its hardware LUT. That stored the correction directly in the monitor. Then they calibrated the PD2700U using DisplayCAL with an i1Display Pro.
Both monitors hit a Delta E under 1.2 after validation. The key step was using the same ICC target profile for both calibrations. Without that, the profiles would have pulled in different directions.
Scenario 3: Small Design Team with Mixed Hardware
Team members used LG, Dell, and Apple displays. Getting everyone to the same target was the goal.
The team bought a single Spyder X Pro and rotated it around the office. Each person ran a calibration to 120 cd/m² and D65. Then they shared a reference photo and verified that skin tones looked similar across desks.
The biggest variation was between the Apple displays and the LG ones. The Apple displays were already very close to D65 out of the box. The LG monitors needed more correction in the blue channel.
After calibration, the team reported that color decisions made on one desk matched the other desk within one minor adjustment.
Frequently Asked Questions
Can I use the same ICC profile on both monitors?
No. Each monitor needs its own profile. The correction curves are unique to that panel’s behavior.
Copying a profile from one display to the other will make the mismatch worse, not better.
Do I need to recalibrate after changing the room lighting?
Yes. A change in ambient light shifts your perception of the screen. If you move your desk or switch from warm bulbs to daylight LEDs, run the calibration again.
The target values stay the same, but your eyes adjust to the new environment.
Is software-only calibration good enough for freelance work?
It depends on your clients. For web design and casual photo editing, software-only calibration gets you close enough. For print proofing or video delivery, a colorimeter is the baseline.
Aggregate user feedback indicates that software-only methods leave a Delta E gap of 1.0 to 2.0 compared to sensor-based calibration.
How long does a full two-monitor calibration take?
Plan for about 60 to 90 minutes total. That includes 30 minutes of warm-up time plus 15 to 20 minutes per monitor for the actual calibration and validation.
What if my monitors still look different after calibration?
Check the viewing angle first. Sit directly in front of both screens. Then verify that both monitors use the same picture mode and that dynamic contrast is off.
If the Delta E reports are under 2.0, the remaining difference is usually panel technology. Two different panel types (IPS vs VA) will never match perfectly at every luminance level.
Final Decision Guide: Your Next Step Based on Where You Are Right Now
If you own a colorimeter, run through the full calibration process today. Use the targets from this guide and validate both monitors. That is the fastest path to consistent color.
If you do not own a colorimeter, borrow or rent one for a weekend. The cost is small compared to the hours you lose fighting mismatched displays. Set a recurring reminder to recalibrate every four to six weeks.
If you match two different monitor models, accept that absolute perfection is unlikely. Focus on getting the white point and gamma aligned. That covers 80 percent of the visible difference.
Consistency is a process, not a one-time fix. Stick with the schedule, keep your room lighting stable, and your monitors will stay in sync for years.

Similar Posts