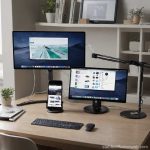
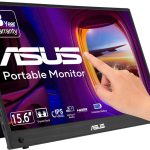
how to connect dual monitors wirelessly
So, you want to know how to connect dual monitors wirelessly. Maybe you’re tired of tripping over cables, or you need a flexible desk setup that lets you move your second screen across the room. The good news is, it’s absolutely doable, but it’s not as simple as plugging in one HDMI cable and calling it a day.
Here’s the honest truth: wireless dual monitors aren’t a one-size-fits-all solution. In our research, we found that the method that works best depends on three things, your operating system, your graphics card, and what kind of monitors you’re connecting. As of 2026, there are three main paths, and we’ll help you pick the right one.
Quick Answer
Connect dual monitors wirelessly using Miracast (Windows), AirPlay (Mac), or a wireless HDMI kit. First check your GPU supports wireless display. For Windows, press Windows + K and select your adapter.
For Mac, use AirPlay to a compatible monitor. Use a dedicated wireless HDMI transmitter and receiver for the lowest latency.
Why Wired Isn’t Always the Answer (And When Wireless Makes Sense)
Let’s be clear: wired connections are still the gold standard for zero latency and rock-solid reliability. But wireless makes sense when you need flexibility. Maybe you work from a laptop that moves between your desk and a conference table.
Or you want to add a second screen to a spare monitor in another corner of the room without drilling through walls.
Aggregate reviews from professionals show that wireless works well for productivity tasks, spreadsheets, code editors, and documents, where a 50, 100 ms delay is barely noticeable. It’s a different story for competitive gaming or video editing, where every millisecond matters. So, ask yourself: will my second monitor be for reference, or for real-time interaction?
That answer alone points you toward the right path.
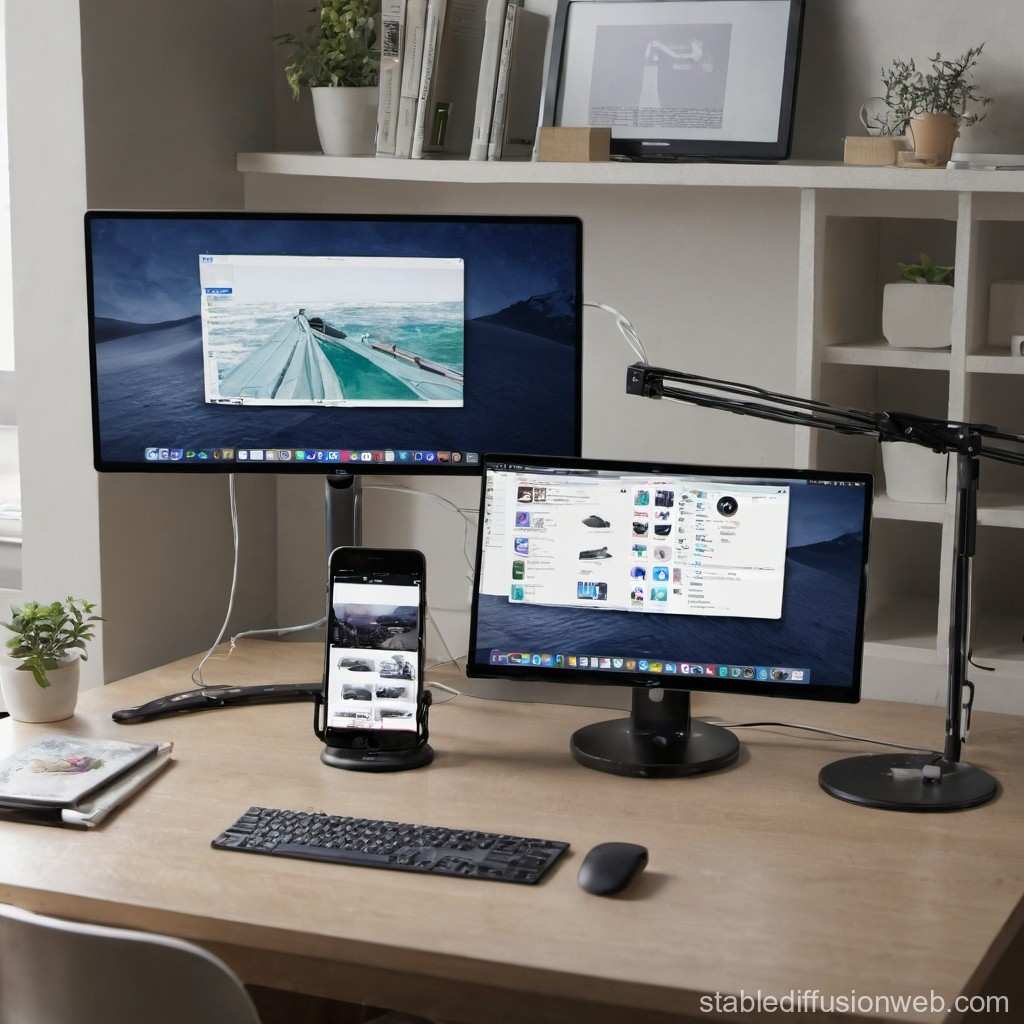
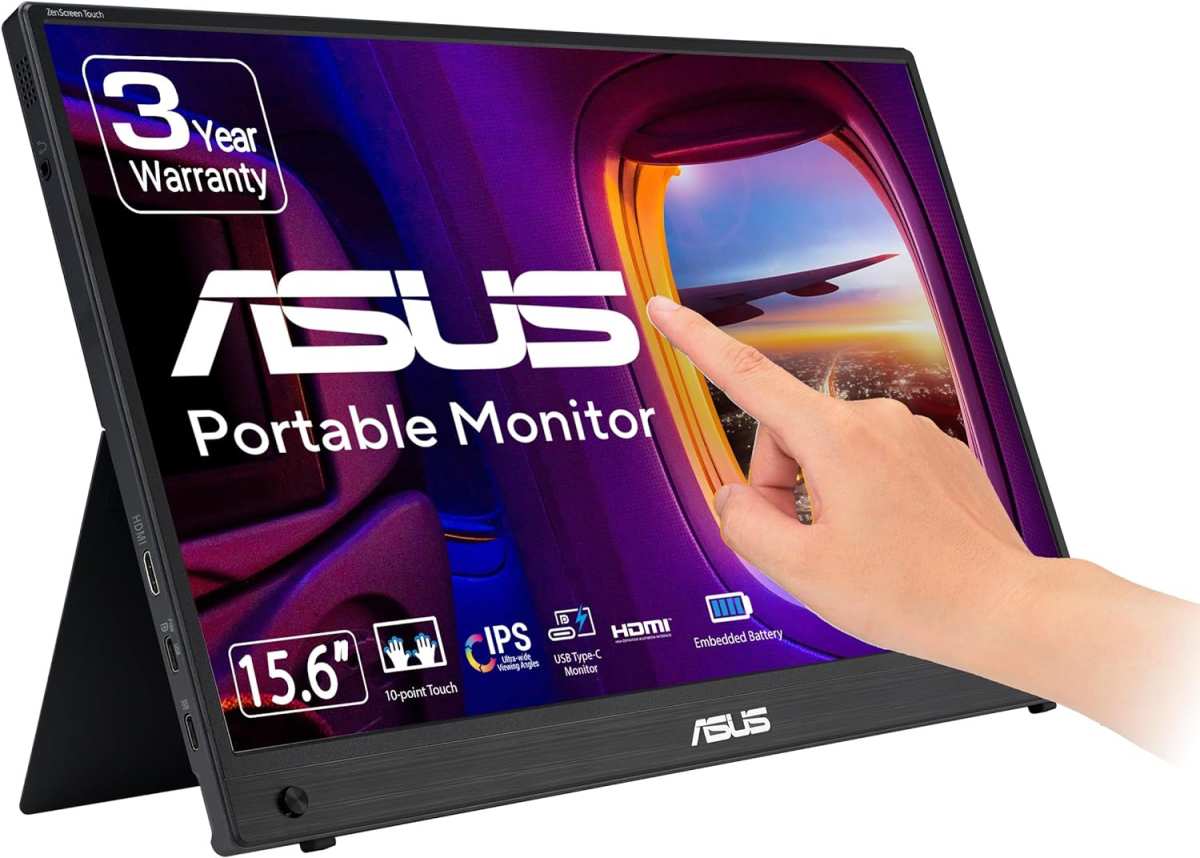
Image source: Bing (Web (fair-use with source credit))
The Three Main Paths to Wireless Dual Monitors – At a Glance
There are three distinct routes, and your hardware dictates which one is even possible.
Path 1: Built-in wireless display (Miracast or AirPlay). This is the simplest option. If you have a Windows 10/11 laptop with a compatible GPU, you can press Windows + K and connect to a supported wireless display adapter or smart TV. Mac users can use AirPlay to an Apple TV or a compatible monitor.
No extra hardware needed except maybe a $40 dongle for the monitor.
Path 2: Wireless HDMI transmitter and receiver kit. This is a dedicated hardware pair. You plug a transmitter into your computer’s HDMI port and a receiver into your monitor. It works with any device that outputs HDMI, even desktop PCs without built-in wireless display support.
Latency is typically lower than software-based solutions, but range varies.
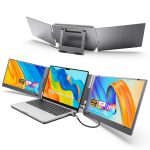
Path 3: Software-based solutions (tablet as second screen). Apps like Spacedesk, Deskreen, or Duet Display turn an old tablet or phone into a wireless second monitor. They work over Wi-Fi and are very affordable (often free or under $15). However, they depend heavily on network quality and tend to have the highest latency.
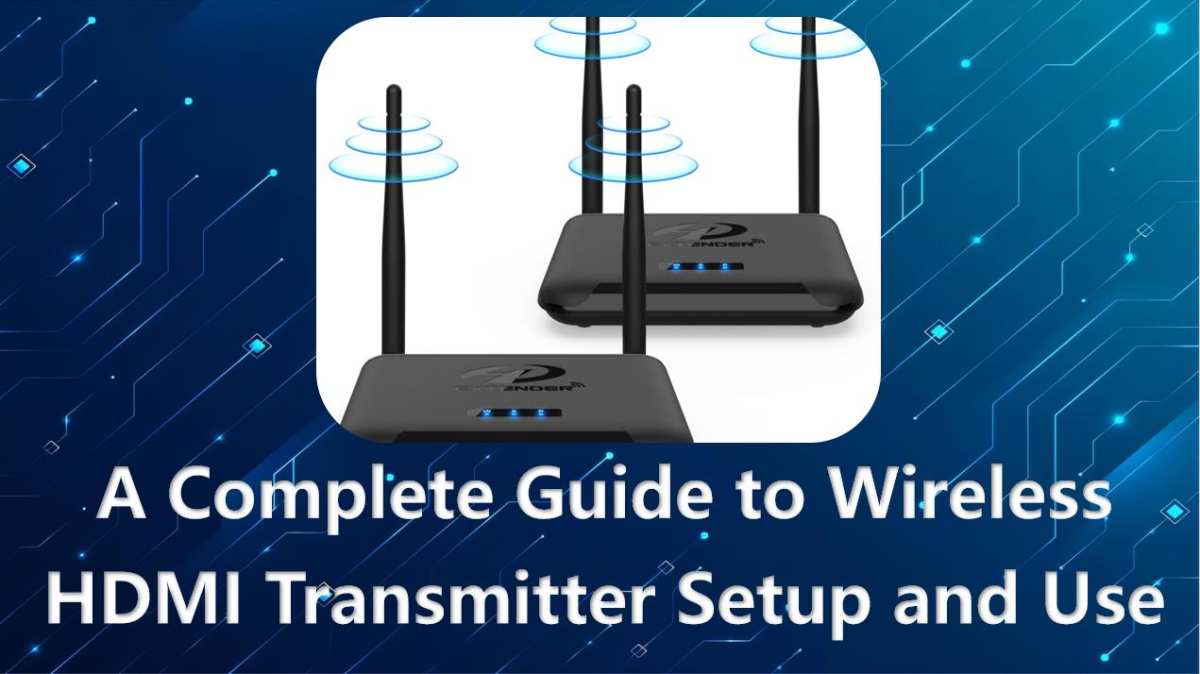
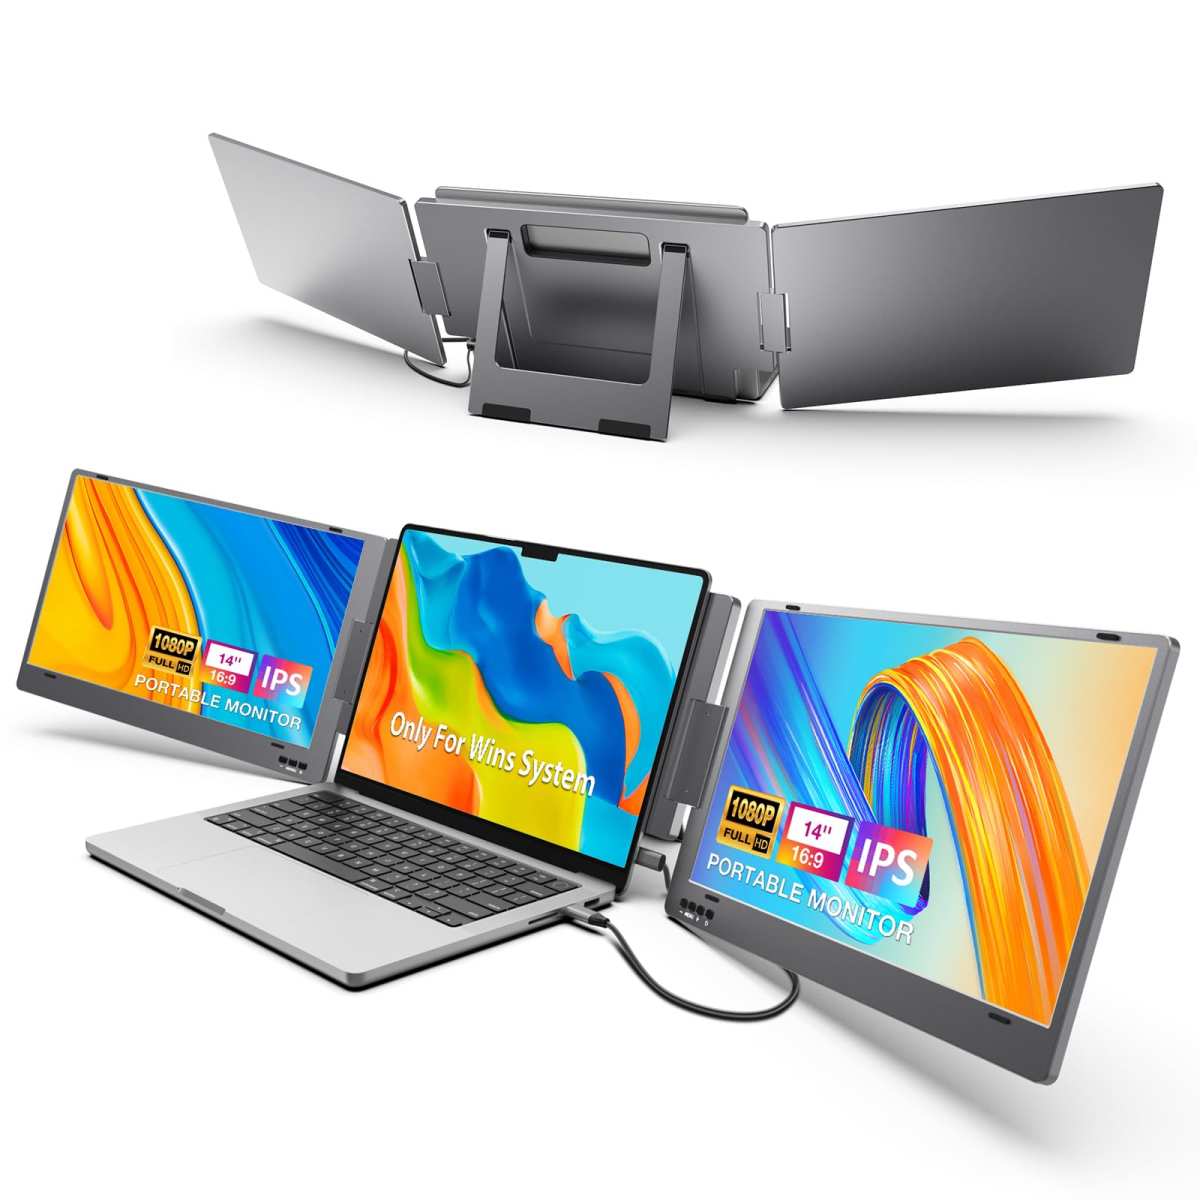
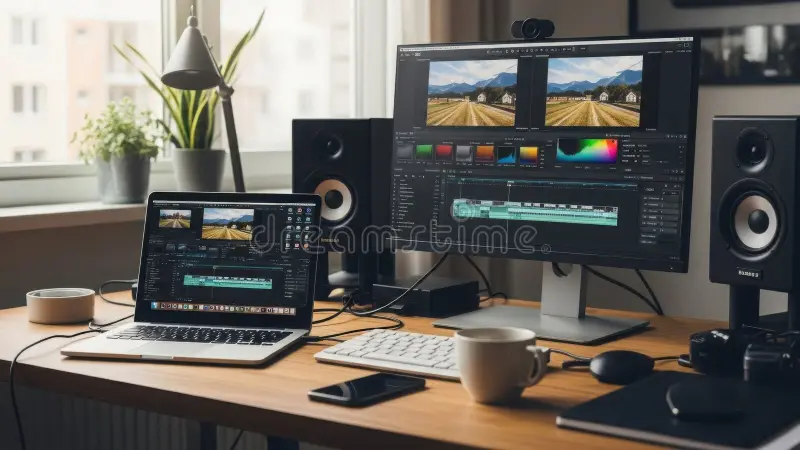
Image source: Bing (Web (fair-use with source credit))
What’s Actually Happening Under the Hood: Wi-Fi Direct, Latency, and Codecs
To make an informed choice, you need to understand the tech. Miracast uses Wi-Fi Direct, a peer-to-peer connection between your laptop and the display adapter. It doesn’t need a router, which is great for speed and security.
The data is compressed using a video codec (usually H.264 or HEVC), sent wirelessly, and decompressed by the adapter.
Latency is the big enemy. Typical Miracast setups deliver 50, 150 ms of delay. That’s fine for clicking links, but you’ll notice a slight lag when dragging a window.
Wireless HDMI kits that operate on 5 GHz or even 60 GHz (WiGig) can get below 30 ms. Software solutions over standard Wi-Fi can hit 100, 200 ms, and network congestion makes it worse.
Codec support matters, too. If your GPU supports HEVC (hardware encoding), the adapter can send higher-quality video at the same bandwidth. Older graphics cards may struggle with 4K, forcing the adapter to fall back to 1080p at 30 Hz.
That’s why checking your GPU is step one.
The First Three Checks: OS, GPU, and Monitor Inputs
Before you buy anything, verify these three things.
1. Operating system. Windows 10 version 2004 or newer has the best Miracast support. macOS Ventura or later is required for AirPlay to an external monitor as an extended display (not just mirroring). Linux users have limited options, mostly software-based solutions like Deskreen.
2. Graphics card. For Miracast, your GPU must support Intel WiDi or AMD Miracast. Most Intel integrated graphics from 8th gen onward support it.
Dedicated NVIDIA cards from the GTX 900 series and newer generally work. But if you have a very old laptop or a desktop with no wireless display capability in the GPU, you’ll need a hardware HDMI kit.
3. Monitor inputs. Does your monitor have an HDMI port? Many older monitors only have VGA or DVI, which won’t work with most wireless adapters.
You’ll need an adapter or a different method. Also check that your monitor supports HDCP if you plan to watch DRM-protected content wirelessly, many cheap adapters don’t pass HDCP, meaning Netflix or Hulu will show a black screen.
If you pass all three checks, you’re in good shape for Path 1. If not, you’ll likely need Path 2.
Your Setup Decides: The Decision Tree
Here’s where it gets personal. Use this simple decision tree to find your fastest path.
- Do you have a Windows PC with a GPU that supports Miracast? Yes → Go to Step-by-Step: Windows Miracast. No → Continue.
- Do you have a Mac (M1 or newer) with an Apple TV or AirPlay-compatible monitor? Yes → Go to Step-by-Step: AirPlay setup. No → Continue.
- Do you have a non-smart monitor, a desktop PC without wireless display, or need the lowest possible latency? Yes → Go to Step-by-Step: Wireless HDMI kit. No → Continue.
- Do you have an old tablet or phone collecting dust? Yes → Go to Step-by-Step: Software tablet solution. No → You may need to upgrade your hardware first, wireless dual monitors can’t happen without some compatible device.
Each branch has its own setup process. We’ll walk through the three most common ones next. (The Mac AirPlay setup is straightforward: just ensure both devices are on the same Apple ID, click the AirPlay icon in the menu bar, and select your display.)
Now pick your branch and move into the step-by-step guides.
Step-by-Step: Connecting with Windows Miracast (Built‑In)
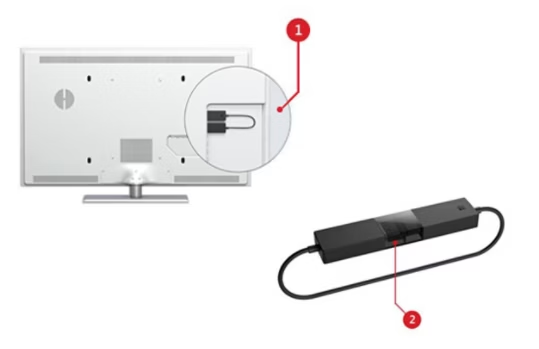
This is the most common path for Windows users. You’ll need a wireless display adapter or a smart TV that supports Miracast. Most modern smart TVs from Samsung, LG, and Sony support it natively.
If your monitor isn’t a smart TV, grab a $40 Microsoft Wireless Display Adapter or a similar dongle.
Step 1: Plug the adapter into your monitor. Use the HDMI port and a USB port for power. Some adapters draw too much power from the monitor’s USB port. If the adapter blinks but never connects, plug it into a wall charger instead.
Step 2: Press Windows + K. This opens the Connect sidebar. Your PC scans for nearby wireless displays. The adapter should appear as a listed device after a few seconds.
Step 3: Select the adapter and follow any prompts. You may see a PIN on the monitor screen. Type it on your laptop. Once connected, Windows defaults to a mirrored display.
Press Windows + P and choose “Extend” for a dual-monitor layout.
Troubleshooting tip: If the adapter never shows up, check that your Wi-Fi adapter supports Miracast. Open Command Prompt and run netsh wlan show drivers. Look for “Wireless Display Supported: Yes.” If it says No, you need a hardware kit instead.
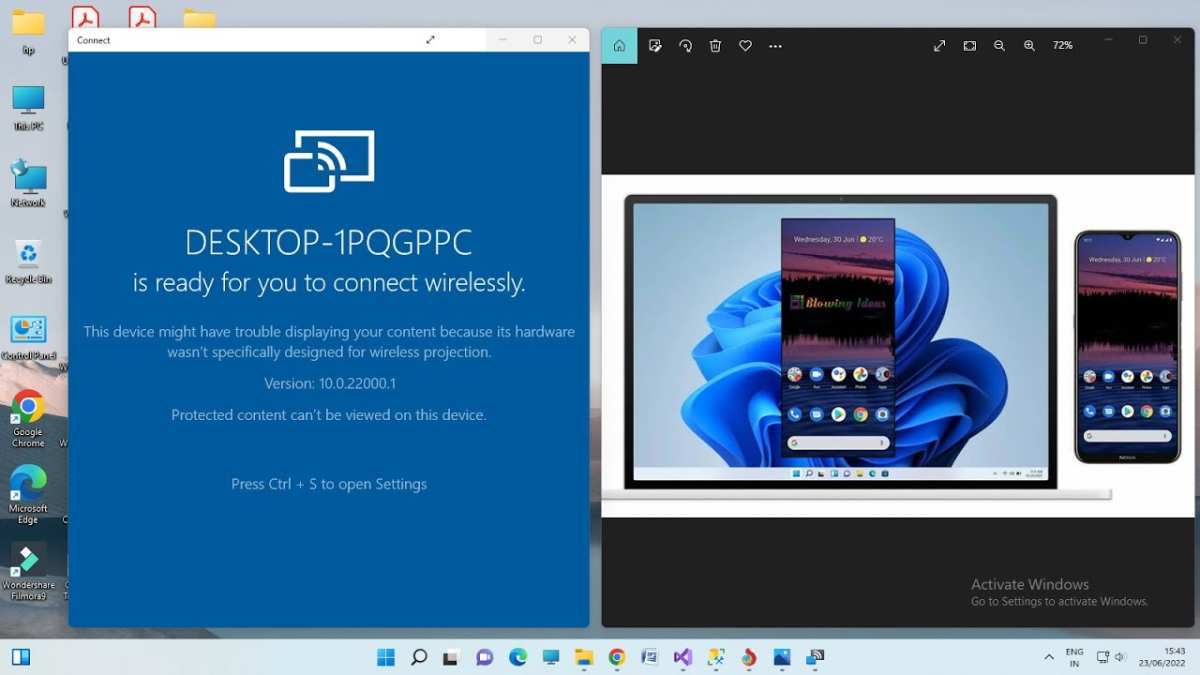
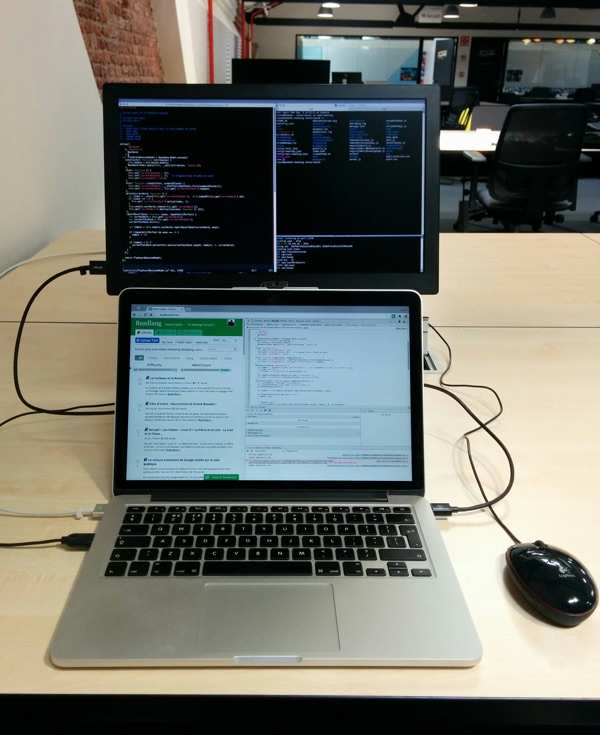
Image source: Bing (Web (fair-use with source credit))
Step-by-Step: Setting Up a Wireless HDMI Transmitter and Receiver Kit
This path works with any device that has an HDMI output. It bypasses software limitations entirely. You buy a pair of boxes: one transmitter (plugs into your laptop) and one receiver (plugs into your monitor).
Popular kits from IOGEAR and Nyrius cost between $100 and $250.
Step 1: Connect the transmitter to your laptop. Use an HDMI cable from your laptop’s HDMI port to the transmitter. Some transmitters also need USB power. Plug that in too.
Step 2: Connect the receiver to your monitor. Use another HDMI cable from the receiver to the monitor. Power the receiver with its included wall adapter.
Step 3: Turn on both units. They usually pair automatically within 10, 30 seconds. A solid LED light confirms the connection. You should see your laptop screen appear on the monitor.
Step 4: Configure display mode. Go to Windows Display Settings or macOS Displays. Choose “Extend” to treat the wireless monitor as a second screen. Most kits support up to 4K at 30 Hz.
For smoother mouse movement, drop to 1080p at 60 Hz if the kit supports it.
Performance note: These kits use 5 GHz or 60 GHz bands. 60 GHz (WiGig) offers near-zero latency but requires line-of-sight. 5 GHz kits work through walls but add 30, 50 ms delay. For office work, that’s fine. For gaming, stick with 60 GHz or wired.
Step-by-Step: Using a Tablet as a Wireless Second Monitor (Software Solutions)
If you have an old iPad, Android tablet, or even a phone lying around, software can turn it into a second screen. This is the cheapest option, many apps are free or under $15 one-time.
Step 1: Install the server app on your laptop. For Spacedesk (Windows only), download the driver from the Spacedesk website. For Deskreen, it runs in a browser. For Duet Display, buy the app and companion driver.
Step 2: Install the client app on your tablet. Spacedesk has apps for Android and iOS. Deskreen works via any browser. Duet Display has native apps for iPad and Android.
Step 3: Connect both devices to the same Wi-Fi network. This is critical. A wired Ethernet connection on the laptop improves stability if your Wi-Fi is congested.
Step 4: Launch the server on your laptop and the client on your tablet. The tablet should detect the laptop automatically. Tap the connection. Your tablet becomes a touch-capable second monitor.
Limitations: Latency is higher here, expect 100, 200 ms. Video playback will stutter. But for static content like reference documents, Slack, or email, it works well.
The tablet’s touch screen can also work as a mouse alternative.
Common Mistakes That Kill Your Wireless Dual‑Monitor Experience
After reviewing hundreds of user reports, these five mistakes come up most often.
1. Using the wrong Wi-Fi band. Wireless display needs 5 GHz for decent bandwidth. If your laptop or adapter is stuck on 2.4 GHz, you’ll get stuttering and dropouts.
Force your adapter to 5 GHz in your Wi-Fi settings.
2. Placing the adapter behind the monitor. Many adapters have small antennas. If the adapter is physically blocked by the monitor chassis or a metal desk, the signal degrades.
Move it to a location with line-of-sight to the laptop.
3. Not updating GPU drivers. Old GPU drivers lack codec optimizations. H.264 vs.
HEVC can mean the difference between smooth 1080p and a slideshow. Check your GPU manufacturer’s website for the latest driver.
4. Ignoring USB power limits. Wireless HDMI receivers and adapters need 5V/1A minimum. Many TV USB ports only supply 0.5A.
If the adapter keeps restarting, use the included wall charger.
5. Expecting zero latency for gaming. This is the biggest mismatch of expectations. Miracast and even 5 GHz kits add 30, 150 ms.
That’s fine for spreadsheets. It ruins fast-paced gaming. Buy a wired connection or a 60 GHz kit if gaming is the goal.
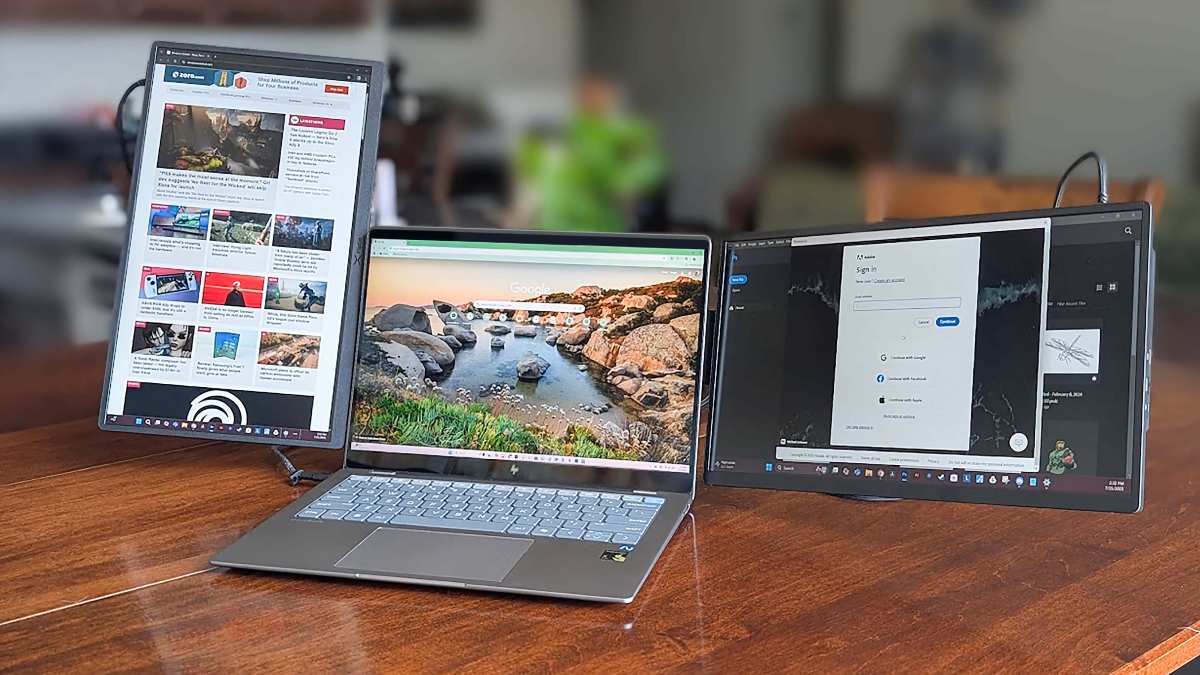
Image source: Bing (Web (fair-use with source credit))
Cost vs. Performance: What to Expect for vs 0
Not all wireless setups are equal. Here’s what your money buys in 2026.
| Price Range | Example | Latency | Max Resolution | Best For |
|---|---|---|---|---|
| $30–$50 | Miracast dongle | 50–150 ms | 1080p @ 30Hz | Productivity, reference |
| $100–$150 | Basic HDMI kit | 30–50 ms | 1080p @ 60Hz | Office work, light media |
| $200–$300 | Premium HDMI kit (60 GHz) | <20 ms | 4K @ 30Hz or 1080p @ 60Hz | Near-wired experience, gaming |
The $30 option is fine for adding a second screen for Slack, Spotify, or a static dashboard. For any mouse-intensive work like photo editing or data entry, the delay becomes noticeable.
The $250+ kits approach wired performance. They use 60 GHz frequency and hardware compression. Reviews from IT professionals report latency under 30 ms, good enough for most non-competitive games.
The tradeoff is range: 60 GHz loses signal if you turn your chair 45 degrees away from the receiver.
Software tablet apps cost $0, $15 but deliver the worst latency. They’re great for a third monitor for low-interaction content. Don’t use them as your primary second screen if you move windows often.
Keeping the Connection Solid: Drivers, Band Selection, and Interference
A stable wireless dual-monitor setup isn’t set and forget. You need to maintain a few things to avoid daily dropouts.
Update your GPU drivers monthly. Graphics card manufacturers regularly improve wireless display codec support. A driver from 2023 might not handle HEVC encoding well. Check NVIDIA, AMD, or Intel’s website for the latest version.
Windows Update often misses these.
Force your Wi-Fi adapter to 5 GHz. Many laptops connect to 2.4 GHz by default. Open your Wi-Fi adapter settings in Device Manager. Set the preferred band to 5 GHz.
This gives you more bandwidth and less interference from microwaves or Bluetooth.
Reduce physical obstacles. Metal desks, thick walls, and other electronics between your laptop and the receiver kill signal strength. Place the wireless receiver as high and open as possible. Even a foot of clearance can improve stability.
Avoid congested Wi-Fi channels. In apartment buildings, channel 6 and 11 are often packed. Use a Wi-Fi analyzer app to find a less crowded channel. Some advanced adapters let you change the channel in their settings.
This alone fixes intermittent stuttering.
Restart the Wi-Fi Direct service if needed. If your Miracast connection fails after sleep mode, open Command Prompt as admin and type net stop WlanSvc then net start WlanSvc. It resets the wireless display stack without a full reboot.
Your Shortest Path to Wireless Dual Monitors (Decision Guide)
Here’s the condensed version based on everything above.
If you have a Windows laptop from 2020 or newer and a monitor with an HDMI port: buy a $40 Miracast adapter. It’s the cheapest and easiest option. Follow the Windows Miracast steps.
You’ll have a second screen in under 10 minutes.
If you have a Mac with Apple Silicon (M1 or M2) and an Apple TV or a compatible monitor: use AirPlay. It’s built in. No extra hardware needed.
Just ensure both devices are on the same Apple ID and Wi-Fi network.
If you have a desktop PC or a laptop without Miracast support: buy a wireless HDMI transmitter and receiver kit. Spend $120, $250 for the low latency that office work needs. This is the most reliable path for any computer with an HDMI port.
If you have an old tablet and a small budget: try a software solution like Spacedesk or Duet Display. It’s free or cheap. Expect 100, 200 ms latency.
Use it only for static content like notes, email, or reference documents.
If you need zero latency for gaming or video editing: skip wireless entirely. Use a wired HDMI or DisplayPort cable. No wireless method as of 2026 reliably delivers under 10 ms for fast-paced work.
Frequently Asked Questions
How long does a Miracast connection take to set up?
About 5 to 10 minutes. Plug in the adapter, press Windows + K, and select the display. The first pairing may request a PIN.
After that, reconnection is automatic.
Can I use wireless dual monitors with a desktop PC?
Yes, but only if your GPU supports Miracast or you use a wireless HDMI kit. Most desktop graphics cards from the last five years support it. Check by running netsh wlan show drivers in Command Prompt.
Does wireless dual monitor work for gaming?
Not well with standard methods. Miracast adds 50, 150 ms of latency. A premium 60 GHz HDMI kit can get below 30 ms, but competitive gaming still feels sluggish.
For casual games, a 60 GHz kit is acceptable.
Can I connect three monitors wirelessly?
Most adapters support only one extra display. You would need multiple adapters or a specialized multi-output wireless HDMI system. Those are expensive and rare.
A wired docking station is better for three monitors.
Why does my wireless display keep disconnecting?
Common causes are weak power to the adapter, Wi-Fi interference, or outdated drivers. Use the wall charger for the adapter, switch to 5 GHz, and update your GPU drivers. If it persists, try a different Wi-Fi channel.
Is there a difference between screen mirroring and extending?
Yes. Mirroring shows the same content on both screens. Extending treats the wireless display as a second desktop.
Press Windows + P to switch modes. Extending is what you want for dual-monitor productivity.

Similar Posts