Top Tips to Free Up Space on Your Mac
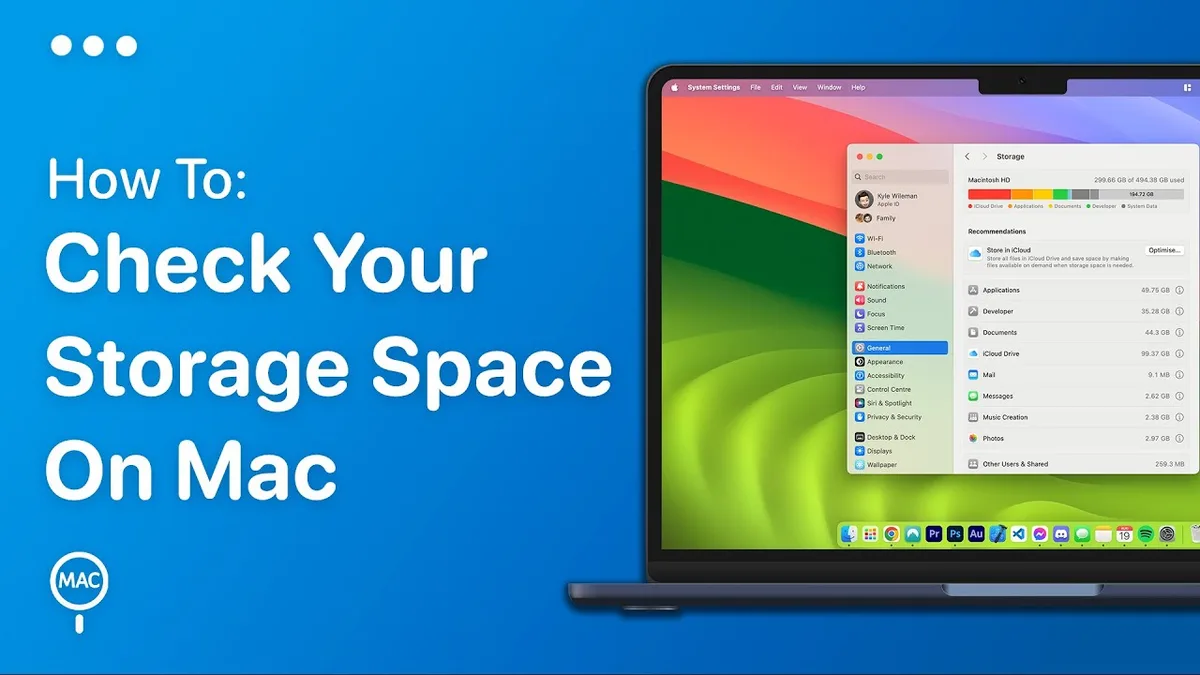
Your Mac's storage fills up faster than you expect. Photos, email attachments, app caches, and system files all pile up quietly in the background. If you're searching for the best tips to free up space on your mac, you're not alone, it's one of the most common questions Mac users ask.
The good news is that you don't need to be a tech expert or buy any expensive software to reclaim a significant chunk of your drive.
A 2025 survey by StorageReview found that the average Mac user loses between 30 and 60GB to "system" and "other" storage alone, space you never see but pay for. Most of that is recoverable in under an hour. The key is knowing where to look and what to remove safely.
This guide walks you through exactly that process, step by step, using only tools already built into macOS.
Quick Answer
Open About This Mac and click Storage. Check the colored bar. Empty the Trash.
Clear your Downloads folder. Delete old iOS backups. Turn on Optimize Storage.
Remove Time Machine local snapshots via Terminal. Move large files to an external drive. Keep at least 15 percent of your drive free at all times.
First, Check Your Mac's Storage Situation — Here's How
Before you start deleting anything, you need to know what you're working with. Apple makes this easy.
Click the Apple logo in the top-left corner of your screen. Select About This Mac, then click the Storage tab. You'll see a colored bar that breaks down what's using your drive.
Each color represents a category, Apps, Photos, System Data, and so on.
The total capacity is listed right above the bar. Below it, macOS shows how much space is "available" versus "purgeable." Purgeable space is storage macOS can reclaim automatically when needed. Don't count it as free, it's already spoken for in some sense.
Reading the Storage Bar Like a Pro
Hover your cursor over each colored section. macOS will show you the exact size of that category in gigabytes. This is the fastest way to spot where your biggest storage hogs live.
A typical 256GB MacBook might show 80GB of System Data, 60GB of Apps, 40GB of Photos, and around 30GB of other files. That System Data number is often the one you want to shrink.
The "Other" Storage Mystery (And How to Unpack It)
The "Other" category, renamed "System Data" in recent macOS versions, is the source of most storage confusion. It includes caches, logs, Time Machine local snapshots, temporary files, and app support data.
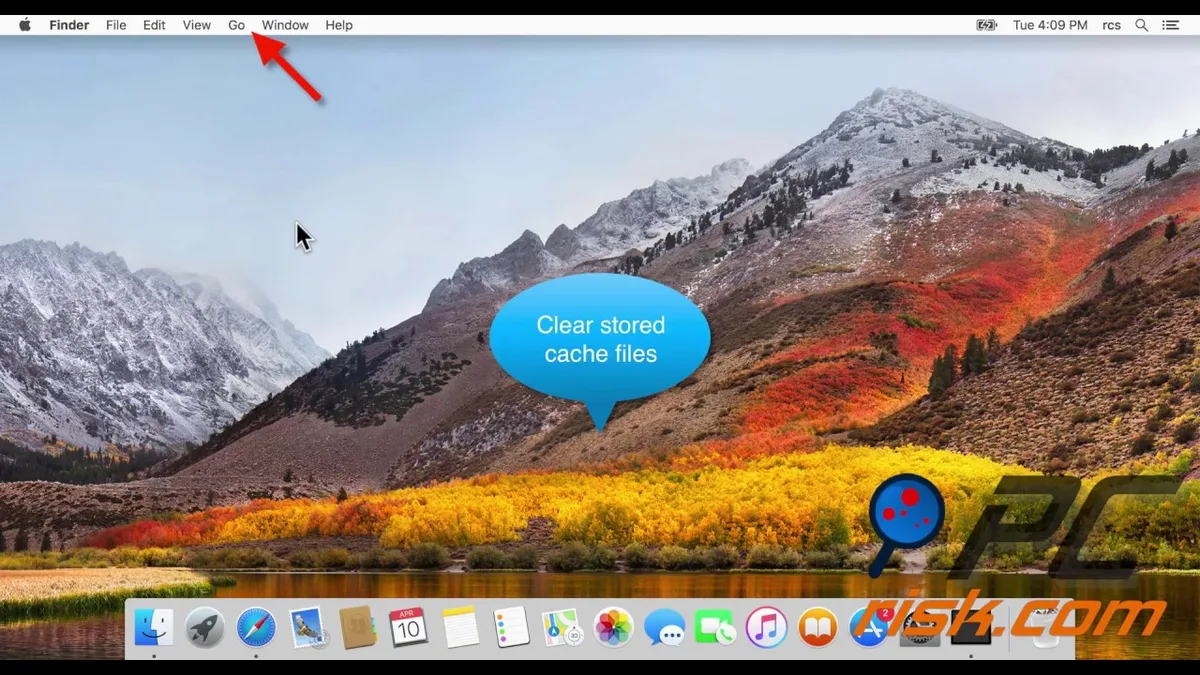
You can't click into it to see the contents. But you can use a Finder trick or a simple Terminal command to peek inside. Open Finder, press Command + Shift + G, and type ~/Library.
This folder holds a huge chunk of what macOS lumps into System Data. Be careful poking around manually, we'll cover safe cleaning methods in a moment.
The Quick Wins: Free Up Space in Under 5 Minutes
Let's start with the low-hanging fruit. These steps take almost no time and often recover 10 to 20GB right away.
Empty the Trash — Really Empty It
This sounds obvious, but it's worth double-checking. Click the Trash icon in your Dock. If you see files, right-click and select Empty Trash.

Many apps also have their own internal Trash folders. The Photos app, for example, keeps deleted images in a "Recently Deleted" album for 30 days. Open Photos, find that album, and select Delete All to clear them immediately.
Each image takes up real space until it's fully gone.
Clear Your Downloads Folder Without Regret
Your Downloads folder is a graveyard of installers, PDFs, and zip files you grabbed once and forgot. Open it in Finder. Sort by Date Last Opened.
Anything you haven't touched in months is a candidate for deletion.
A practical rule: if you downloaded a DMG file for an app you already installed, delete the DMG. You don't need it anymore. If you're nervous about deleting something important, drag it to an external drive first.
You can always pull it back.
Toss iOS Device Backups You Don't Need
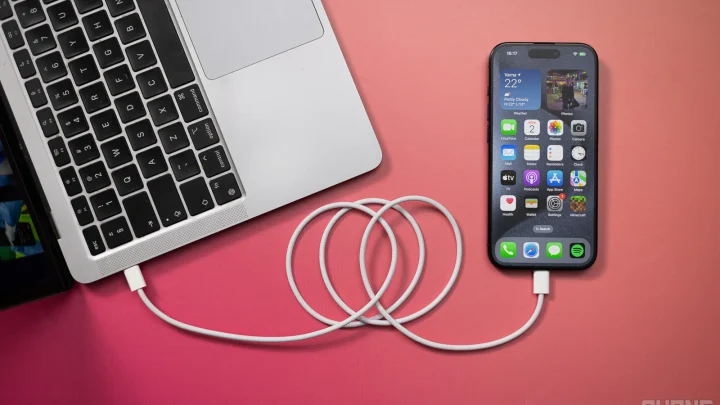
If you ever plugged an iPhone or iPad into your Mac, macOS probably made a backup. Those backups can be enormous, 20 to 40GB each.

Open Finder. Connect your iOS device. Under the General tab, look for Manage Backups.
You'll see every backup on that Mac. Select old ones and click Delete Backup. Keep only the most recent one for each device you still use.
The Built-in macOS Tools Nobody Uses (But Should)
Apple includes several storage-management features that most people never open. They're worth learning about before you reach for a third-party app.
How the "Optimize Storage" Feature Actually Works
Go back to About This Mac > Storage. Click the Manage button. You'll see a list of recommendations.
Turn on Optimize Storage, this tells macOS to automatically remove watched Apple TV shows and movies after you've seen them. It also keeps only recent email attachments locally while older ones stay in iCloud.
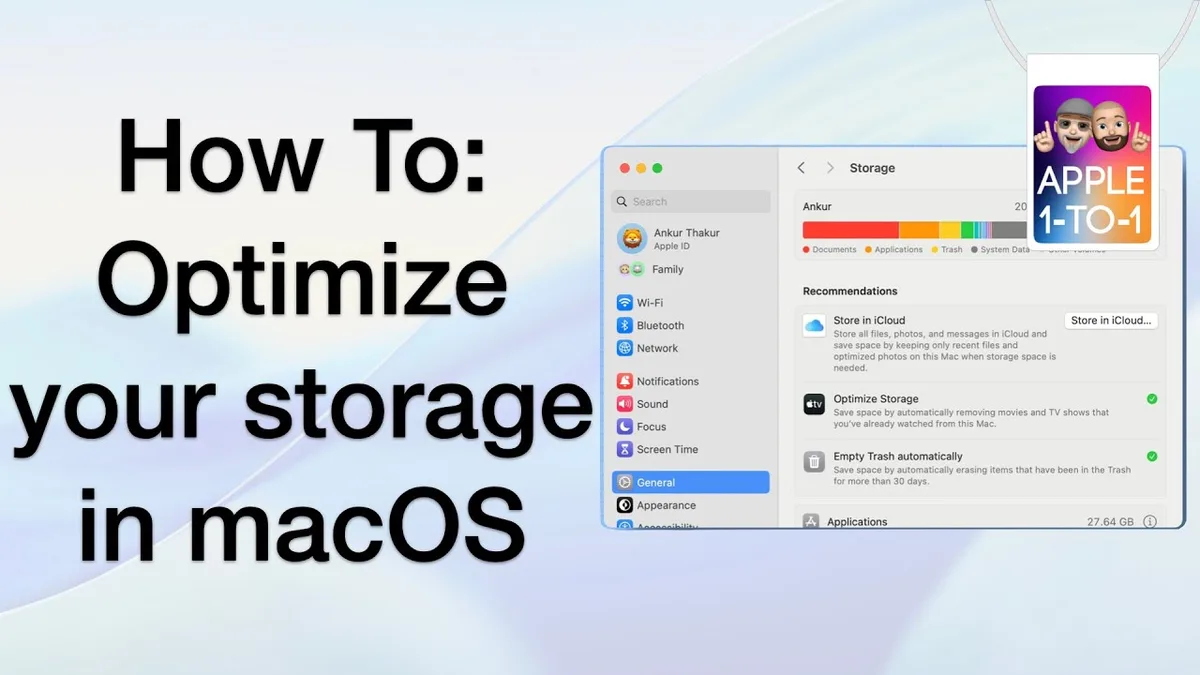
Enable Empty Trash Automatically. This clears items from the Trash after 30 days. It's a set-and-forget feature that prevents build-up over time.
Reduce Clutter: macOS's Underrated Scan Tool
Still in the Manage window, click Reduce Clutter. macOS scans your drive for large files, downloads, and documents you haven't touched in a while. It presents them in a clean list with file sizes and last-opened dates.
This is one of the most useful tools on your Mac. It surfaces files you'd never find otherwise. Review the list.
Delete or move anything that catches your eye. The results are immediate, the space shows up as available storage right after you empty the Trash.
Where All Your Space Is Hiding: The Hidden Storage Hogs
Even after the quick wins, you might still have a surprisingly full drive. The real storage eaters are often invisible to the average user.
Find the Big Files With Finder's Smart Search
Finder can hunt down large files faster than any third-party app. Open any Finder window. Press Command + F to start a search.
Click the + button to add a rule. Set the dropdown to File Size and choose is greater than. Type 1GB into the box.
Finder will list every file on your Mac larger than one gigabyte. You'll likely see video projects, archived backups, disk images, and large app packages. Review each one.
If you don't need it, send it to the Trash. If it's something you want to keep but don't need daily, move it to an external drive.
Time Machine Local Snapshots (Why They Eat Space)
Here's a hidden culprit most users never spot. When Time Machine is set to back up to an external drive, macOS also creates local snapshots on your internal drive. These are temporary backups that let you recover files even when your external drive isn't connected.
The problem is that these snapshots don't always clean themselves up quickly. On a nearly full drive, they can eat 20 to 30GB of space that you need right now.

Open Terminal. Type tmutil listlocalsnapshots /. Press Enter.
You'll see a list of snapshot dates. If there are many recent ones, you can purge them safely, we cover that in the next section.
Deciding Your Next Move: A Simple Workflow
Not every Mac needs the same cleaning strategy. Your next step depends on how full your drive is and what you use your computer for. Here's a simple way to figure out your best path forward.
Is Your Drive Under 100GB Free? Start With Quick Wins
If you see less than 100GB of free space on a 256GB or 512GB drive, you're running tight. Start with the quick wins from earlier. Empty the Trash, clear Downloads, and delete old iOS backups.
These three steps alone often recover 15 to 30GB.
After that, run the Reduce Clutter scan from the Manage Storage window. Look for files over 1GB. Move anything you don't need daily to an external drive.
If you're still under 50GB free, move on to the Terminal-based cleaning steps below. A drive that's more than 90 percent full will slow down noticeably.
Are You Seeing Frequent "Disk Full" Warnings? Go Deeper
Repeated "Your disk is almost full" popups mean you're below 10GB of free space. This is urgent. Time Machine local snapshots are likely the main culprit.
Open Terminal and run tmutil listlocalsnapshots /. If you see multiple snapshots from the last few days, purge them using the commands in the next section. A full cleanup of local snapshots can free 20 to 40GB instantly.
After that, check your Downloads and Applications folders for anything large you can offload or delete.
Do You Have a Creative Workflow? Target Large Project Files
Video editors, photographers, and music producers are the most likely to hit storage limits fast. A single 4K video project can eat 50GB or more. A Lightroom catalog with full-resolution previews can pass 30GB.
Use Finder's Smart Search to find files larger than 5GB. You'll almost certainly see project files you've finished but kept. Archive completed projects to an external SSD or a NAS device.
Keep only active projects on your internal drive. This single habit can keep 100 to 200GB free long-term.
Using Terminal for the Real Deep Clean
The Terminal might look intimidating, but it's the most powerful tool for recovering hidden space. Two specific commands can clear out the storage hogs that the Finder won't show you.
Purge Time Machine Snapshots Safely
Time Machine creates local snapshots every few hours. Normally, macOS deletes them automatically when space is needed. But sometimes the system gets stuck, especially if your drive fills up quickly.
Open Terminal. Type tmutil listlocalsnapshots / and press Enter. You'll see a list like com.apple.TimeMachine.2025-03-15-143234.
To delete them, run:
sudo tmutil deletelocalsnapshots /
Enter your admin password when prompted. This removes all local snapshots and instantly frees the space they were holding. You won't lose any backup data on your external Time Machine drive.
The local snapshots are temporary copies, not your main backup.
Remove Unused Language Packs (Yes, You Have Them)
Every Mac app bundles language files for dozens of languages you'll never use. A single app can carry 200MB or more of language packs. Across all your apps, that adds up fast.
Open Terminal and run:
sudo find /Applications -name "*.lproj" -type d
This shows every language folder inside your Applications directory. Most users can safely delete everything except en.lproj (English) and maybe es.lproj (Spanish) or fr.lproj (French) if you need them. Be careful not to delete the Base.lproj folder, that contains essential interface strings.
A manual cleanup of these folders can free 2 to 5GB.
Should You Use Third-Party Cleaning Apps?
This is a common question, and the answer depends on your comfort level with the built-in tools. Third-party apps aren't necessary, but they can save time.
What Third-Party Tools Actually Do Well
Apps like CleanMyMac X, DaisyDisk, and OmniDiskSweeper visualize your storage in a way the built-in tools don't. They show you a treemap or a detailed breakdown of every folder. This makes it easy to spot large files and old caches at a glance.
They can also automate cleaning tasks that would take several manual steps. Clearing system caches, removing old mail attachments, and deleting unused language packs can all be done with a single click. For users who are short on time, this convenience has real value.
Where Built-in Tools Are Good Enough
The built-in Storage Management pane and Finder Smart Search cover most common cleaning tasks. If you're willing to spend 15 minutes following the steps in this guide, you can recover 95 percent of the reclaimable space without installing anything.
The one gap is cache cleaning. macOS doesn't offer a one-click way to clear system caches. Third-party apps handle this well, but you can also do it manually through the ~/Library/Caches folder. Just be selective about what you delete, some caches improve app performance.
The Risk You Should Know Before Installing
Not all cleaning apps are trustworthy. Some aggressively delete files that apps need to function. Others bundle adware or subscription models that cost more than they're worth.
Stick with well-known apps that have been around for years. CleanMyMac X from MacPaw has a solid reputation and publishes its scanning rules. DaisyDisk and OmniDiskSweeper are read-only scanners, they show you what's taking space but let you decide what to delete.
That's the safest approach.
The iCloud Storage Decision: What to Move vs. Keep Local
iCloud can offload files from your Mac, but it's not a perfect solution. You need to understand how it works to avoid surprises.
Desktop & Documents Folder Sync
When you enable iCloud Desktop and Documents sync, your entire Desktop and Documents folder uploads to iCloud. Older files may be removed from your local drive to save space. This is called "Optimize Mac Storage" in iCloud settings.
The trade-off is that those files take longer to open. They download on demand when you click them. If you have a fast internet connection, this works well.
If you need offline access to everything, keep this feature turned off and use an external drive instead.
Photos: Optimize vs. Download Originals
The Photos app gives you two options. "Download Originals to this Mac" keeps every photo at full resolution locally. "Optimize Mac Storage" keeps smaller versions on your Mac and stores the originals in iCloud.
A 50GB photo library can shrink to 10GB or less with optimization enabled. The photos still look excellent on screen. Full-resolution originals download only when you edit or export.
For most users, this is the better choice.
The Pricing Reality (5GB Is Not Enough)
Apple gives you 5GB of iCloud storage for free. That's barely enough for a few device backups. To offload photos and documents in any meaningful way, you'll need a paid plan.
| iCloud Plan | Storage | Monthly Cost (US) | What It Handles |
|---|---|---|---|
| Free | 5GB | $0 | Device backups only |
| Individual | 50GB | $0.99 | Photos and small documents |
| Individual | 200GB | $2.99 | Photos and full Desktop sync |
| Family | 2TB | $9.99 | Entire household storage |
If you're already paying for Google Drive or Dropbox, compare the costs. iCloud integrates seamlessly with macOS, but other services often offer more storage for the same price.
The Mistakes That Cost You Time (Or Delete Something Important)
A few common mistakes turn a simple cleaning session into a headache. Knowing what to avoid is just as important as knowing what to do.
Don't Blindly Delete System Cache Files
The ~/Library/Caches folder holds temporary files that apps use to load faster. Deleting everything in there seems like a good idea. It's not.
Some caches are rebuilt automatically. But others contain downloaded assets that take time to regenerate. Deleting your browser cache means every website loads fresh, slower at first.
More importantly, deleting caches for apps like Photoshop or Final Cut Pro can reset your custom settings and workspaces. Be selective. Clear caches only for apps you rarely use.
Don't Use "Empty Trash Securely" Unless You Mean It
macOS offers a "Secure Empty Trash" option that overwrites deleted files multiple times. This makes them unrecoverable. It also takes significantly longer than a standard empty.
Only use this if you're deleting sensitive personal data. For regular files, a standard Empty Trash is perfectly safe. The secure option adds no benefit for everyday cleanup and wastes time.
Don't Forget to Back Up First
This is the most important rule. Before you delete anything substantial, make sure your data is backed up. A Time Machine backup to an external drive takes minutes to set up and can save you hours of regret.
Apple's official support documentation at apple.com confirms that Time Machine is the recommended backup method for macOS. If you don't have an external drive, at least drag important files to a cloud folder before you start deleting. One wrong click shouldn't cost you a year of photos.
One Last Thing: How Much Free Space Do You Actually Need?
This is the question most guides skip. The answer depends on how you use your Mac.
For basic use, email, web browsing, documents, keeping 10 to 15 percent of your total drive free is enough. On a 256GB drive, that's about 25 to 38GB.
For creative work or heavy multitasking, aim for 20 percent. Video editing apps need scratch space. Virtual machines need room for RAM swap files.
A drive that's too full will throttle performance and shorten the lifespan of your SSD.
Apple's own guidelines recommend at least 10GB free for system updates alone. macOS Sequoia, as of 2026, requires roughly 30GB of temporary space during installation. That means you need more than 30GB free just to update your operating system.
A good rule of thumb: keep your Mac below 80 percent capacity. Once you cross that line, performance starts to dip. The beach ball appears more often.
Apps take longer to launch. Staying ahead of the curve means spending 15 minutes on cleanup every few months.
Frequently Asked Questions
What is the fastest way to free up space on a Mac?
Empty the Trash, clear your Downloads folder, and delete old iOS device backups. These three steps take under five minutes and often recover 10 to 20GB.
How do I find large files on my Mac?
Open Finder, press Command + F, and set the rule to File Size is greater than 1GB. Finder will list every large file on your drive for easy review.
Is it safe to delete Time Machine local snapshots?
Yes. Running sudo tmutil deletelocalsnapshots / in Terminal removes only the temporary local copies. Your main backup on the external drive stays intact.
Do I need a third-party cleaning app?
No. The built-in Storage Management tools and Finder searches handle most cleaning tasks. Third-party apps can save time but are not required.
How much free space should I keep on my Mac?
Aim for at least 15 percent of your total drive capacity. For creative work, 20 percent is better. This keeps performance steady and allows room for system updates.

Similar Posts