How to Fix Laptop Overheating Problem
Your laptop shouldn't feel like a space heater on your lap. But if you've ever wondered how to fix a laptop overheating problem, you're not alone. It's one of the most common issues with modern laptops, especially gaming and ultra-thin models.
The good news is that the fix is usually straightforward once you know what's causing the heat.
According to Intel's thermal specifications, most mobile CPUs start throttling performance around 95°C to 100°C. That's the point where your laptop deliberately slows down to protect itself. The goal is to keep temps under 90°C under heavy load.
Let's walk through the process step by step.
Quick Answer
Clean the dust from your fans and vents. If that doesn't help, replace the thermal paste. Check your power plan settings and avoid soft surfaces.
Use a cooling pad for extra airflow. Undervolt the CPU if you're still running hot.
Why Your Laptop Overheats – And Why the Right Fix Depends on You
Image source: Bing (Web (fair-use with source credit))
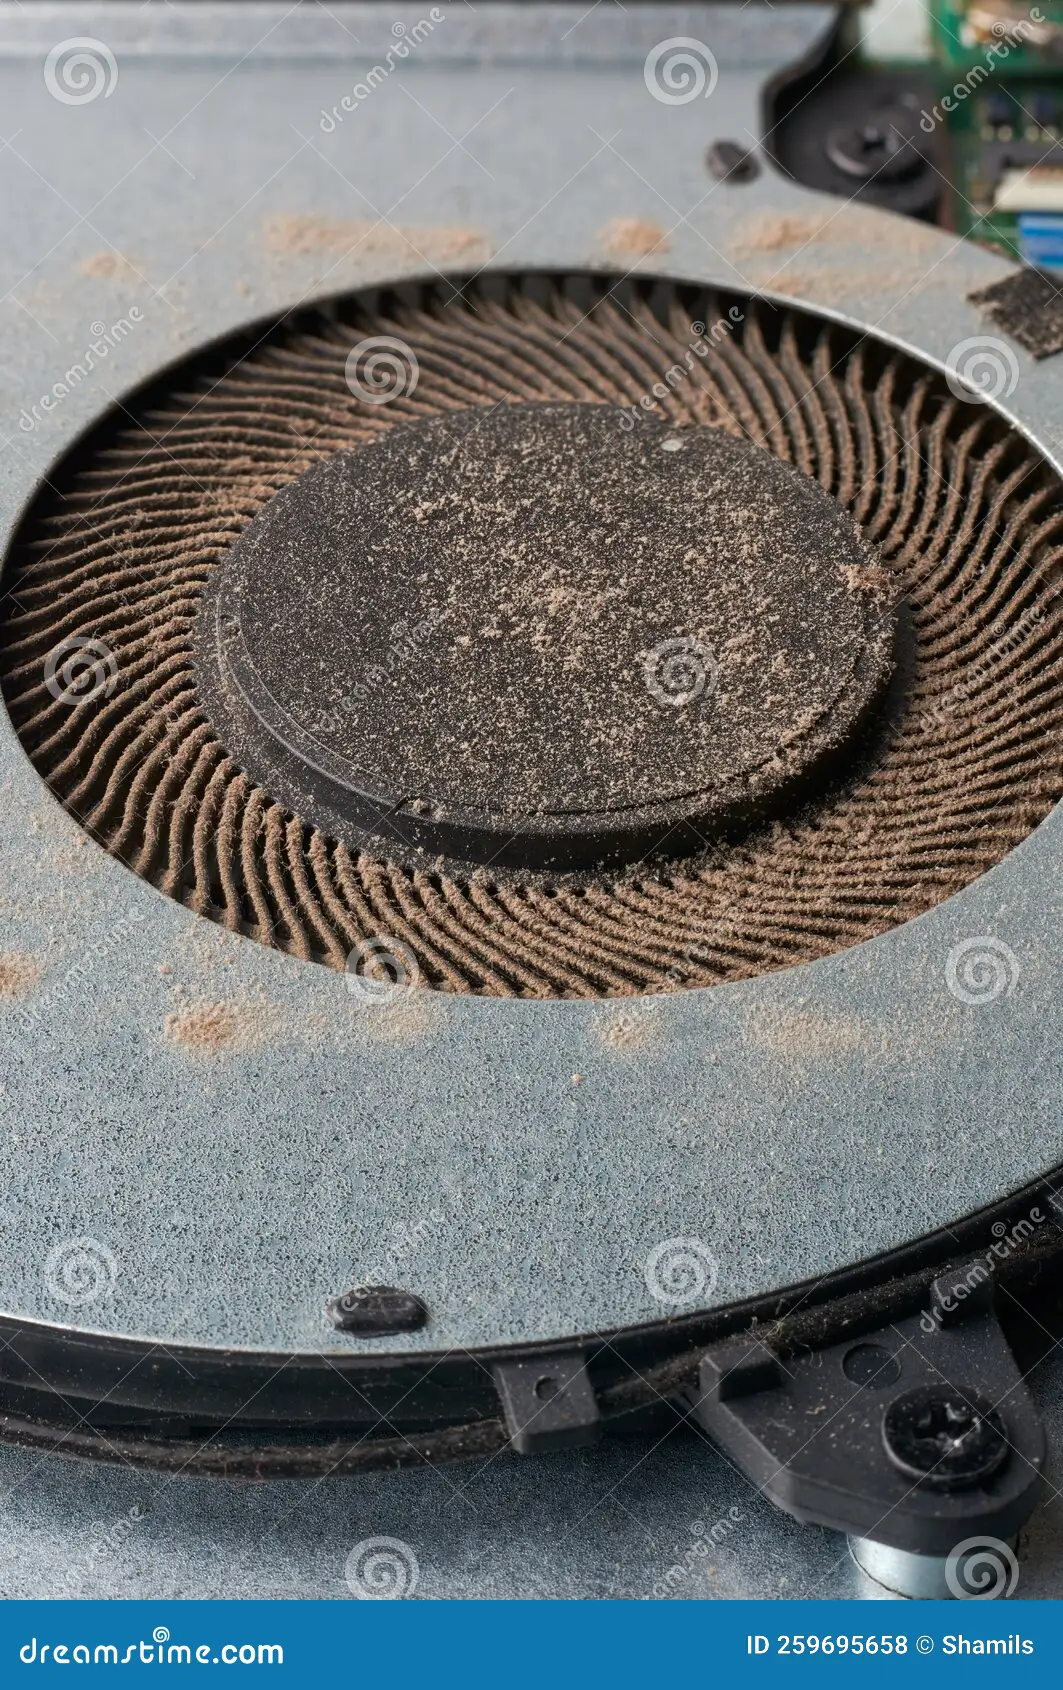
Overheating isn't random. It always has a root cause. For most laptops, the culprit is dust buildup inside the cooling system.
Over time, dust clogs the fan blades and the fins on the heat sink. Air can't flow, heat can't escape, and your laptop cooks itself.
Another common cause is dried out thermal paste. That gray goo between the CPU and the heat sink loses its ability to transfer heat after a year or two. Manufacturer specifications suggest replacing it every one to two years for best performance.
A third cause is your environment. Using a laptop on a bed, pillow, or carpet blocks the bottom air intake. The fan spins but nothing moves.
The fix depends on which of these is happening. If you hear a grinding fan, it's probably dust or a failing bearing. If the fan sounds normal but temps are high, you're looking at paste or software settings.
In our research, cleaning dust alone drops temperatures by 5 to 10 degrees, while a repaste can drop them by 10 to 20 degrees. The key is diagnosing the right problem first.
Quick Check: Is It Actually Overheating? (The Five-Minute Diagnosis)
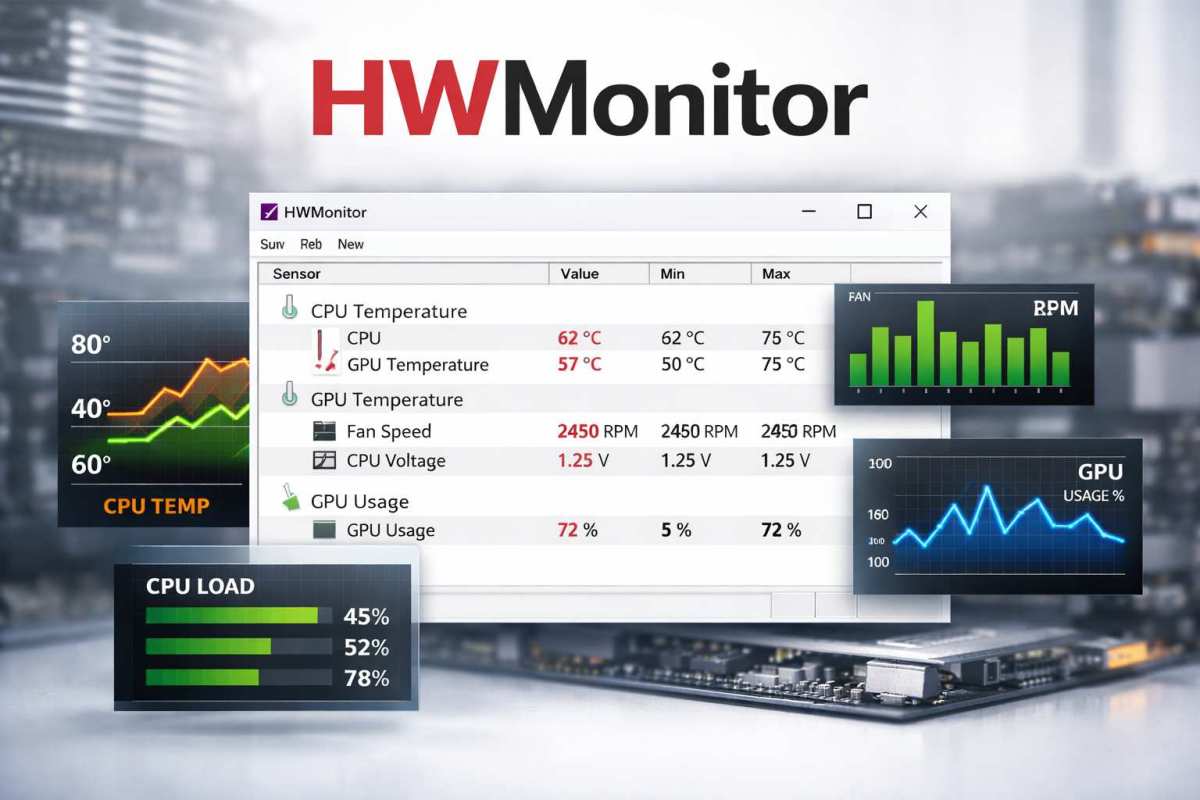
Image source: Bing (Web (fair-use with source credit))
Before you open a screwdriver, confirm your laptop is actually overheating. Download a free temperature monitoring tool like HWMonitor or Core Temp. These read the sensors built into your CPU and GPU.
Here is what you're looking for:
- Idle temperature (just the desktop, nothing running): should be 35°C to 50°C
- Light load (web browsing, video streaming): 45°C to 65°C
- Heavy load (gaming, rendering, video export): 75°C to 95°C
- Throttling temperature (where it starts slowing down): 95°C to 100°C
Run a stress test for about ten minutes. Use Cinebench for the CPU or FurMark for the GPU. If you see temps hit 95°C or above, and the clock speed drops noticeably, you have a genuine overheating problem.
If temps stay under 85°C during heavy use, your laptop is fine. You might just need a cooling pad or a better desk setup.
One more check. Listen to the fan. Does it spin up and then go silent?
Does it rattle or grind? A healthy fan should blow a steady stream of warm air out the vents. If the air feels barely warm, the fan might not be working properly.
The Two Big Questions That Decide Your Next Steps
Once you confirm overheating, ask yourself two questions. Your answers will lead you directly to the right fix.
Question 1: Is the fan making noise that sounds different than usual?
A grinding, clicking, or high pitched whine means the fan itself is struggling. That could be dust jamming the blades or a worn out bearing.
Question 2: Does the fan run at high speed but temps stay high?
If the fan is loud and working hard but the laptop still throttles, the problem is heat transfer. Either the thermal paste is dry or the heat sink isn't making good contact.
These two questions split the troubleshooting into three branches.
Branch 1: Fan Noise Has Changed or Stopped
Your fan might be full of dust. It could also be physically damaged. If the noise is a gentle grinding, start with cleaning.
If the fan doesn't spin at all, even when the laptop is hot, you'll likely need a replacement fan. That's a part you can find on eBay or through the laptop manufacturer's service site. Many models use standard sizes.
Check your laptop's service manual for the correct part number.
Branch 2: Fan Runs Fine but Temps Stay High
The fan is moving air, but the heat isn't making it to the fan. This points to thermal paste that has hardened and cracked. The solution is to replace the paste on both the CPU and GPU.
It's a little more work than cleaning, but it's the most effective fix for a laptop that's been running hot for years.
Branch 3: Laptop Feels Hot But Temps Look Okay
This one is tricky. If your software says 70°C but the bottom of the laptop is too hot to touch, the heat is being conducted through the chassis instead of being blown out. This often happens with thin aluminum laptops.
The fix is a cooling pad or a laptop stand that lifts the back. That gives the heat more room to dissipate. It won't lower internal temps much, but it will make the laptop more comfortable on your lap.
Step-by-Step: Cleaning Dust From the Fans and Vents
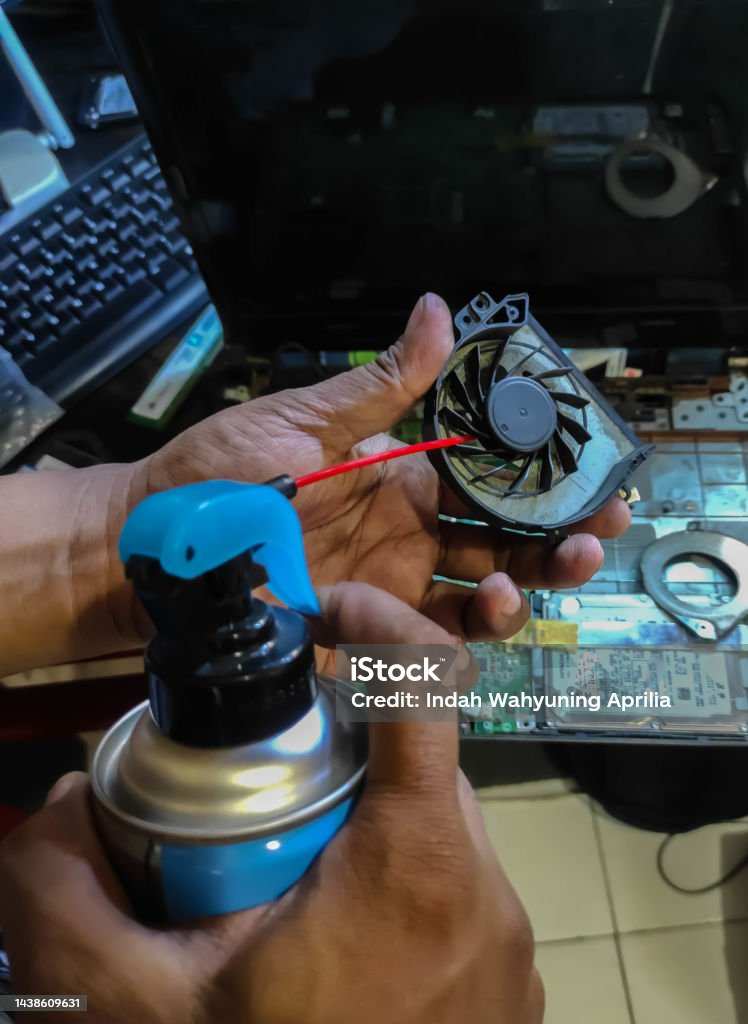
Image source: Bing (Web (fair-use with source credit))
This is the easiest fix and should always be your first step. You'll need a compressed air duster, a small Phillips head screwdriver, and an anti static wrist strap if you have one. No thermal paste, no special tools.
Step 1: Power off and unplug everything. Remove the battery if your laptop has a removable one. Hold the power button for five seconds to drain any leftover charge.
Step 2: Remove the bottom panel. Search YouTube for your laptop model plus "bottom panel removal". Different laptops use different screw patterns. Keep the screws organized in a small dish.
Step 3: Locate the fan and heat sink. You'll see one or two small fans connected to a metal heat sink with copper pipes. This is the entire cooling system.
Step 4: Use compressed air. Hold the can upright. Spray short bursts (one or two seconds) into the exhaust vent first, not directly at the fan. That pushes dust out the way it came.
Then spray through the fan blades. If you see a thick dust bunny, use a toothpick or a soft brush to loosen it first.
Step 5: Hold the fan still. When you blow air at the fan, it can spin very fast and generate voltage back to the motherboard. That's bad. Use a toothpick or your finger to hold the fan blades in place while you spray.
Step 6: Reassemble and test. Put the bottom panel back on, boot up, and run your stress test. Check if temps dropped by at least 5°C. If they did, you're done.
If not, move on to the next step.
Step-by-Step: Replacing Thermal Paste on CPU and GPU
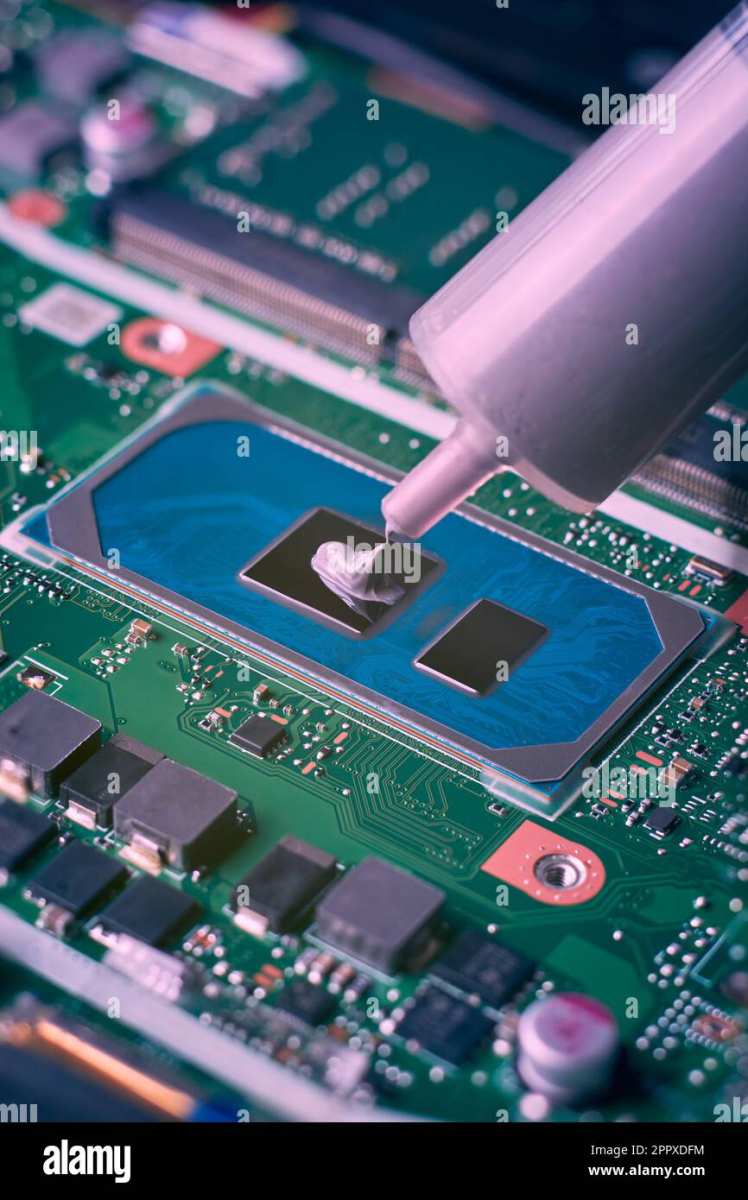
Image source: Bing (Web (fair-use with source credit))
This fix requires more care but delivers the biggest temperature drop. You'll need thermal paste (Arctic MX-6 or Thermal Grizzly Kryonaut), 90% or higher isopropyl alcohol, coffee filters or lint free wipes, and a Phillips screwdriver.
Step 1: Remove the heat sink. After removing the bottom panel and disconnecting the battery, unscrew the heat sink assembly. There are usually numbered screws near the CPU and GPU. Loosen them in reverse order (largest number first) to avoid warping the CPU.
Lift the heat sink straight up. It might stick from dried paste. Gently twist if needed.
Step 2: Clean the old paste. Dampen a coffee filter with isopropyl alcohol. Wipe the old paste off both the CPU and GPU surfaces. Also clean the matching surfaces on the heat sink.
Use a dry filter to remove any residue. The surfaces should look clean and shiny.
Step 3: Apply new paste. Place a pea sized dot (about 3 to 4 millimeters across) in the center of each chip. Do not spread it. When you tighten the heat sink, it will spread evenly.
Too much paste actually hurts performance. Less is more.
Step 4: Reattach the heat sink. Lower it straight down onto the CPU and GPU. Tighten the screws in the numbered order (1, 2, 3) following the manufacturer's torque sequence. Do not overtighten.
Snug is enough. Overtightening can crack the CPU die.
Step 5: Reassemble and test. Put the panel back on. Run a stress test. You should see a drop of 8°C to 20°C under load.
If temps still hit 95°C, you may have a damaged fan or a clogged heat sink that needs more aggressive cleaning.
One warning. Do not use liquid metal thermal compound unless you know what you're doing. It is electrically conductive. One drop on the wrong pin can kill your laptop.
Stick with standard non conductive paste.

Similar Posts