how to connect dual curved gaming monitors
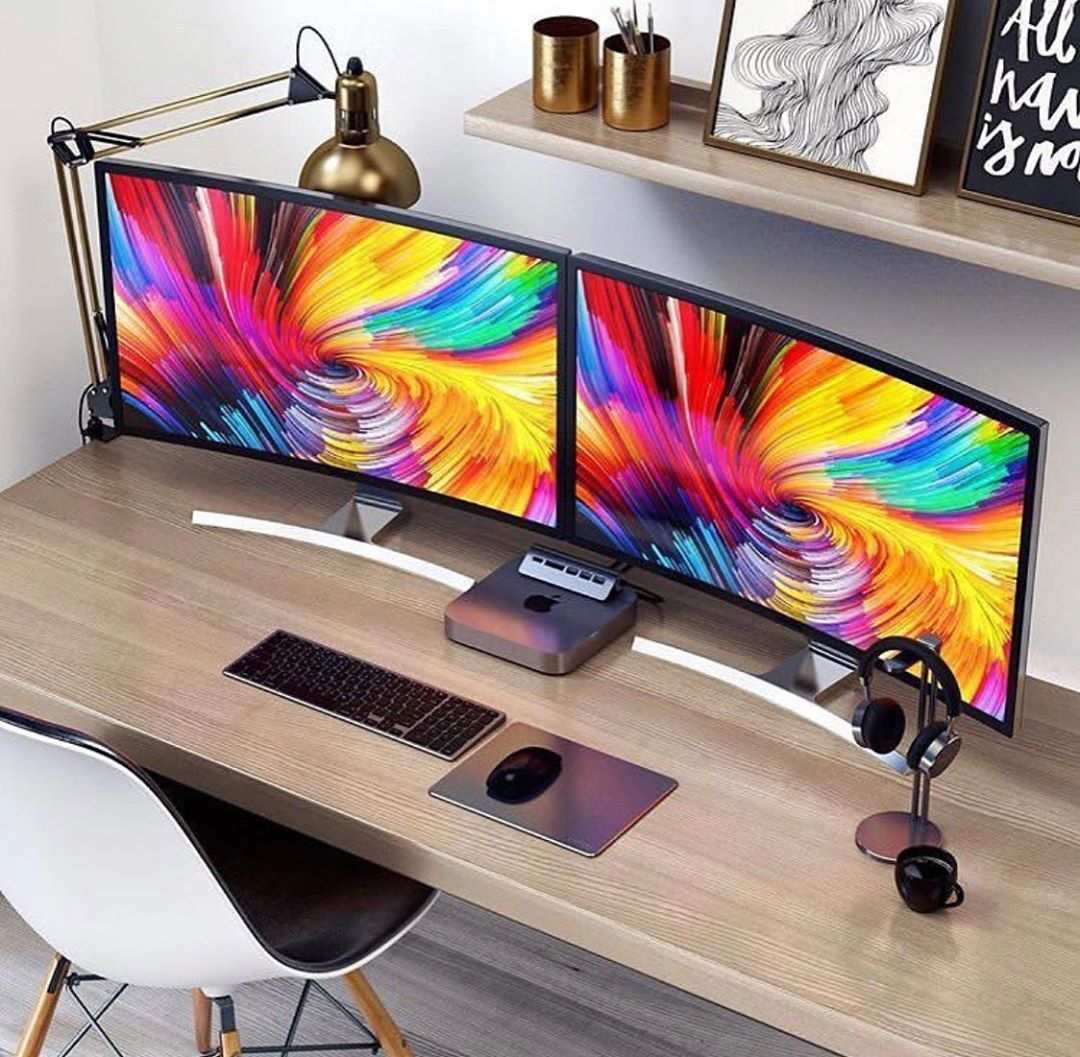
So you’ve got two curved gaming monitors sitting in their boxes, and you’re staring at your desk wondering where to start.
You’re not alone. A lot of people assume hooking up dual curved screens is the same as flat ones. It’s not.
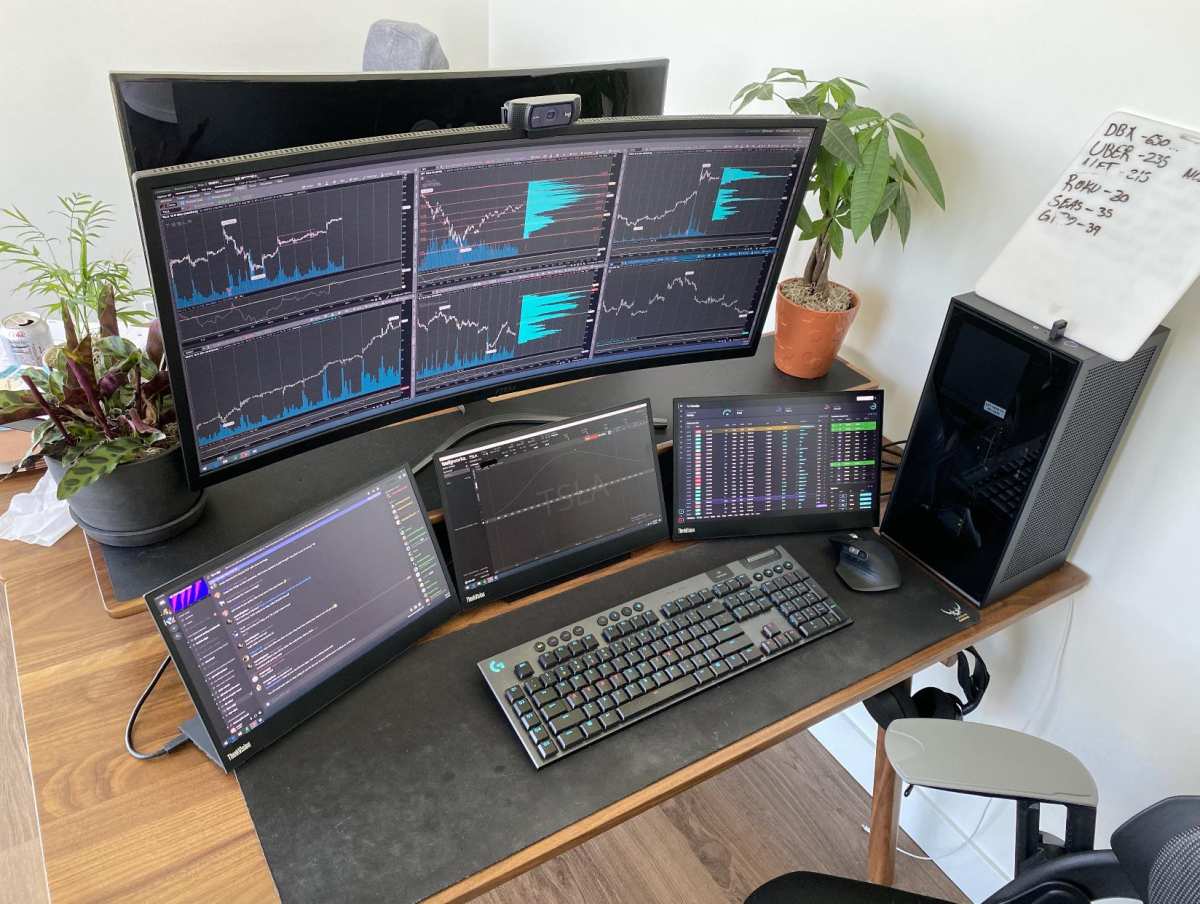
The curve changes everything, from how you position them to which cables reach. In this guide, we’ll walk you through exactly how to connect dual curved gaming monitors in a way that actually looks good and plays better. Manufacturer specs show that most 27-inch curved panels use a 1500R radius, which means they wrap around your field of view.
That’s great for immersion, but it also means alignment is fussier. Let’s get it right the first time.
Quick Answer
Connect both monitors to your GPU using separate cables. Use DisplayPort for the primary screen. Use HDMI or a second DisplayPort for the secondary.
Place them side by side with the curve facing the same direction. Adjust height and tilt so the bezels line up. Set display mode to “Extend” in Windows display settings.
That’s the core process.
Why Your Curved Monitors Need a Different Setup Approach
Curved monitors aren’t just flat screens bent into a smile. The curve creates a consistent focal distance from your eyes to every point on the screen. That’s why they feel more immersive.
But when you pair two of them, small misalignments become very obvious. A one-degree tilt difference makes the whole wall of screens feel off.
Image source: Bing (Web (fair-use with source credit))
You also have to deal with the fact that most curved monitors have their video ports on the back panel, often facing downward. That makes cable routing trickier than with flat screens that have side-facing ports. And if you’re using the stock stands, the legs are wide.
Two sets of those can eat up desk space fast.
In our research, the biggest pain point people report is getting the two curves to flow together smoothly. The solution starts before you even unbox the second monitor. You need a plan for desk space, mounting, and cable management that accounts for the curve.
Before You Start: What You’ll Need (Cables, Mounts, Tools)
Get everything together first. Nothing kills momentum like realizing you’re short a cable halfway through.
Cables
- DisplayPort cable, 1.4 or higher for 1440p at 144Hz or 4K at 60Hz
- HDMI 2.1 cable, if your secondary monitor supports it, but DisplayPort is generally preferred for gaming
- USB-B to USB-A cable, many curved monitors need this for the built-in USB hub (check your model)
Mounts (recommended over stock stands)
- Dual monitor arm, rated for curved panels and the combined weight
- Desk clamp or grommet mount, check desk thickness (usually up to 3 inches)
Tools
- Screwdriver (usually Phillips #2)
- Cable ties or Velcro straps
- Measuring tape
- Level
| Item | Why you need it | Typical spec |
|---|---|---|
| DisplayPort 1.4 | High refresh rate + HDR | 32.4 Gbps bandwidth |
| Dual monitor arm | Saves desk space, easier alignment | 8–20 lbs per arm |
| Cable ties | Prevent cable clutter | 8-inch length |
Step 1 – Measure Your Desk and Plan the Layout
Before you mount anything, measure your desk depth and width. Two 27-inch curved monitors side by side need about 48 inches of horizontal space if you keep the stock stands. That’s a lot.
With a dual arm, you can reduce that to about 40 inches because the arms let you overlap the bases.
Measure the distance from your seated eye position to the screen surface. Curved monitors work best when your eyes are at the center of the curve radius. For a 1500R monitor, that’s about 1.5 meters (roughly 5 feet).
Most desks put you closer than that, but it’s fine, just aim for equal distance to the center of each screen.
Draw a rough layout. Decide if you want both screens angled slightly inward (like a cockpit) or perfectly flat. For gaming, a slight inward angle works better.
For productivity, flat is usually easier.
Step 2 – Choose the Right Mount (Arm, Clamp, or Stick with Stands)
Stock stands are the cheapest option, but they force you to push both monitors forward to align the front edges. That wastes desk depth and looks messy.
Monitor arms solve that. They lift the screens off the desk and let you position them independently. Look for arms that specify “curved monitor compatible.” Some cheap arms don’t adjust tilt well enough for curved panels.
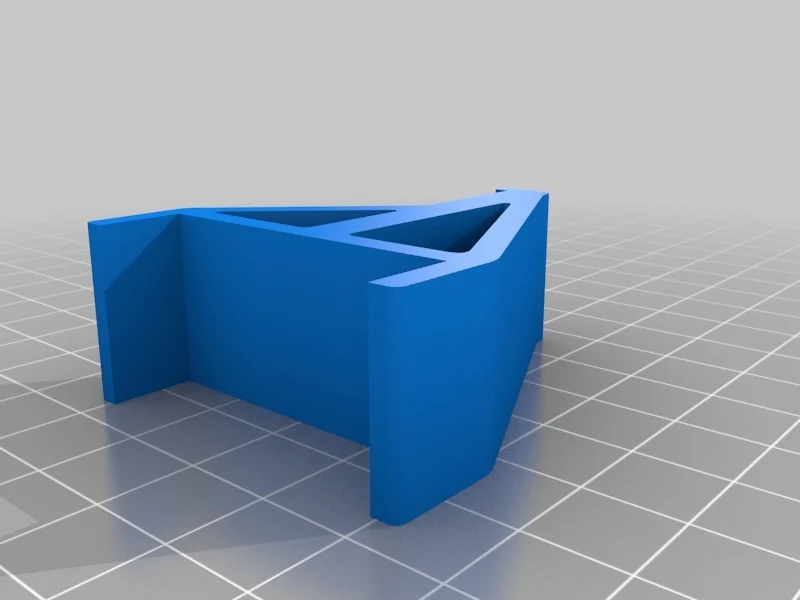
Image source: Openverse / vervurax
Dual arm vs. two single arms: A single dual-mount bar keeps both monitors at the same height by default. That’s good for alignment. Two separate arms give you more flexibility for stacking or angled setups.
Desk clamp vs. grommet: Clamps work on most desks. If your desk has a metal frame, a grommet mount (through a hole) is more secure. Check the weight limit on the arm, two 27-inch curved monitors can weigh 14 to 20 pounds combined.
If your desk is thin or wobbly, stick with the stock stands. Better to have stable screens than a wobbly mount.
Step 3 – Align the Curvature and Match the Bezels (With Visual Cues)
This is where the magic happens. Both monitors need their curve facing the same direction. That sounds obvious, but people accidentally flip one monitor’s panel orientation (left becomes right) and then the curve points away from each other.
Place both monitors on the mounts or stands. Tighten the tilt adjustment so they’re vertical. Use a level across the top bezels to check height.
Adjust the arm height or stand legs until they match.
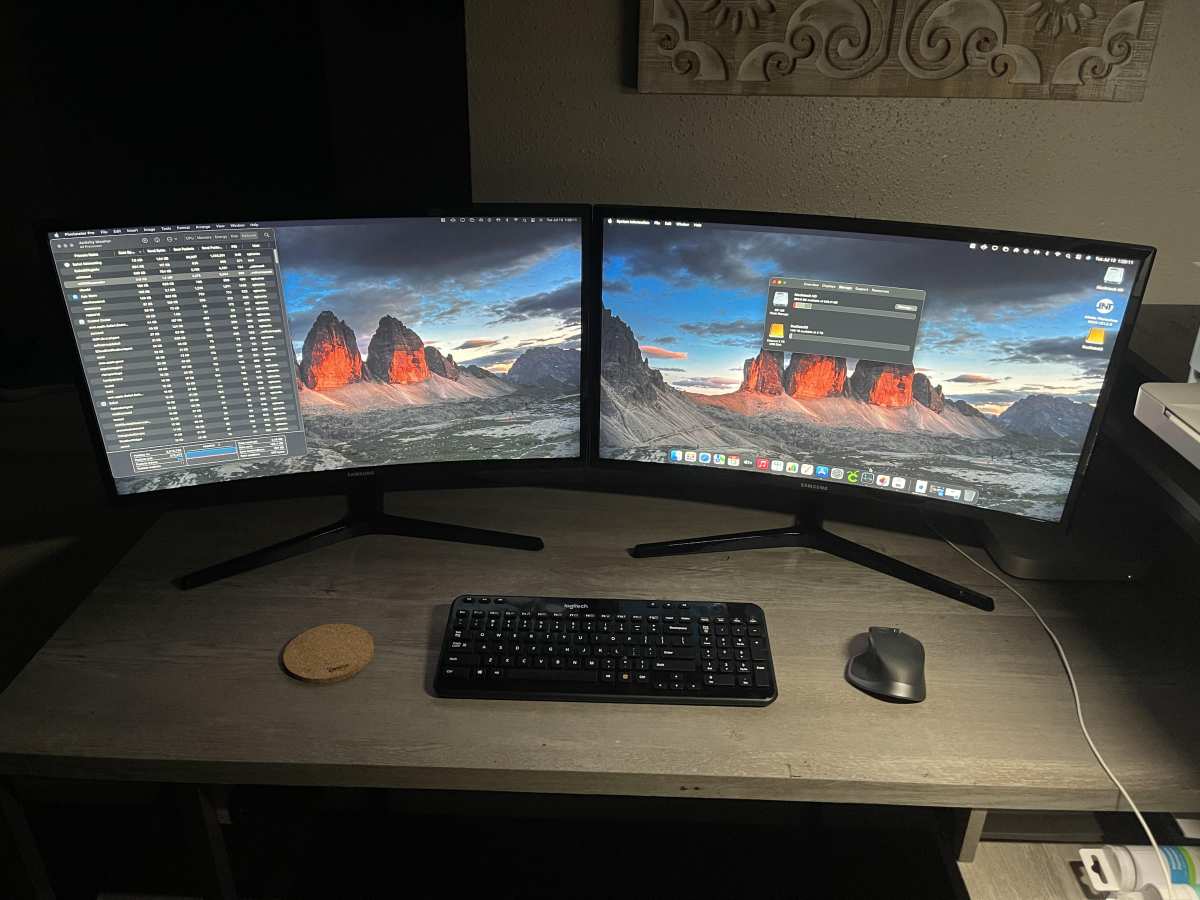
Image source: Bing (Web (fair-use with source credit))
Now look at the gap between the inner bezels. The goal is a straight, gap-free line from one screen to the next. With curved monitors, the bezels angle toward each other slightly.
That’s normal. But if the gap is wider at the top than the bottom (or vice versa), your tilt is off.
Adjust the tilt on both monitors so the bezel edges are parallel. You can use a piece of paper as a feeler gauge, slide it between the screens. If it goes through easily, your gap is even.
Finally, sit in your normal gaming position. Close one eye. The screen edges should feel like they form a continuous surface.
If you see a hard break, nudge the angle until the transition is smooth.
Step 4 – Connect Cables the Smart Way (Port Locations Matter More Than You Think)
Curved monitors often have their video ports recessed into the back panel. Some face downward, others face rearward. That changes how you route cables.
Start by identifying the ports on your GPU. Most mid-range cards have three DisplayPort outputs and one HDMI. Use DisplayPort for your primary gaming monitor.
It supports higher refresh rates and variable refresh rate technologies like G-Sync and FreeSync.
Connect the primary monitor first. Plug a DisplayPort cable into the GPU and then into the monitor’s DisplayPort input. Make sure it clicks into place.
For the secondary monitor, use a DisplayPort cable or an HDMI 2.1 cable. Both work fine for a secondary screen that might run chat, maps, or browser windows.
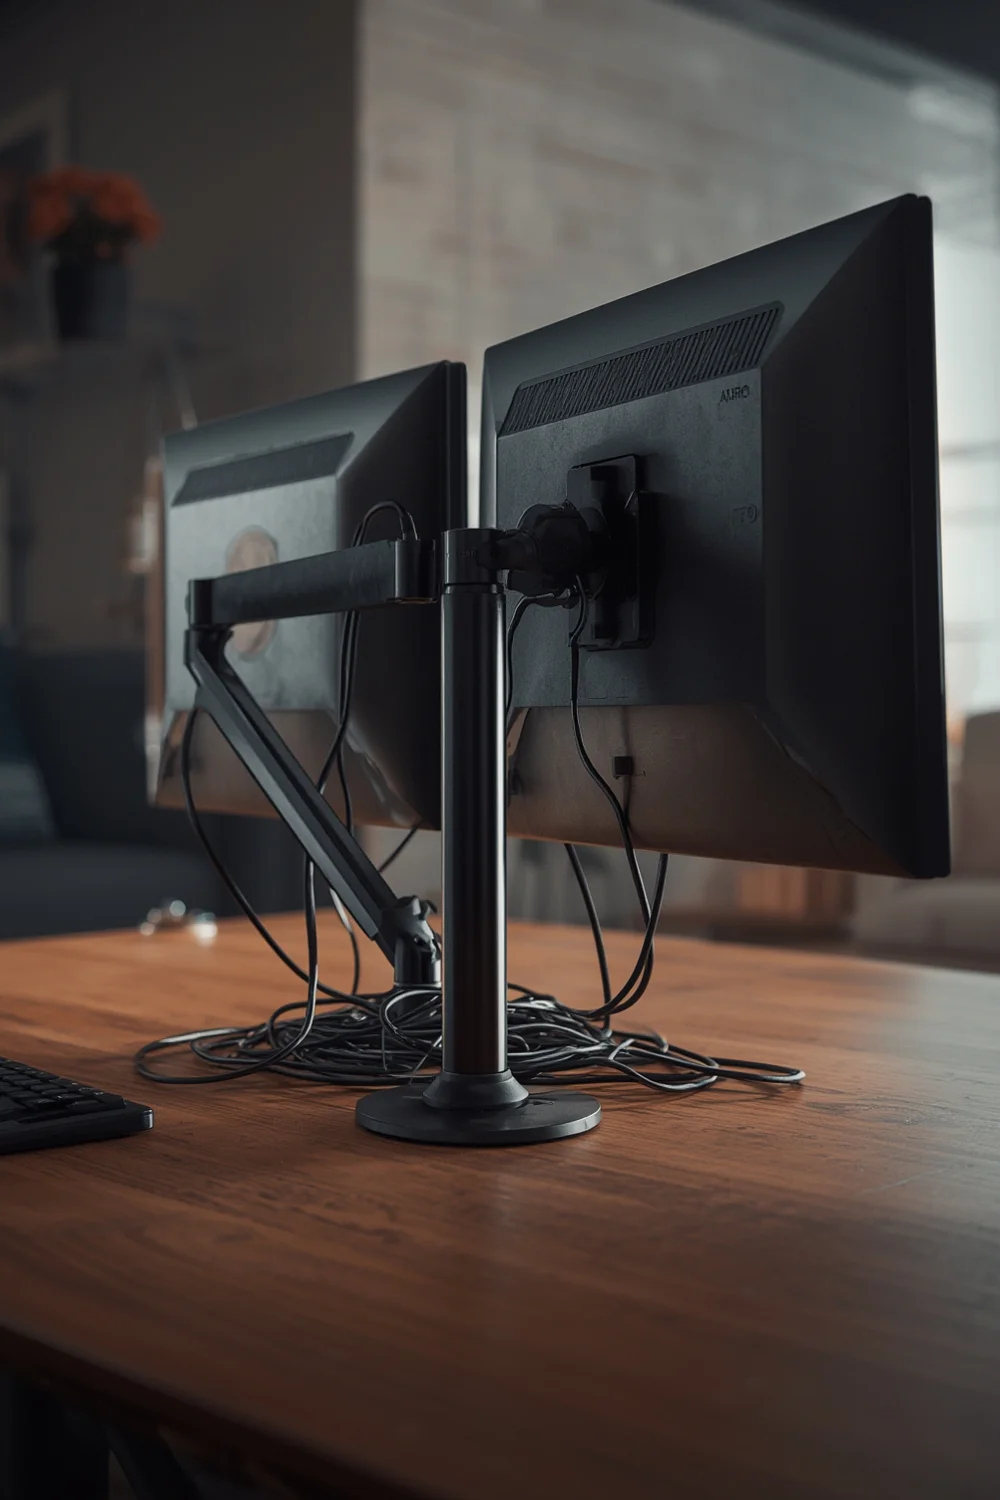
Image source: Bing (Web (fair-use with source credit))
Now route the cables. If your ports face downward, feed the cable straight down and then loop it backward along the monitor arm. If they face rearward, run the cable sideways first, then down.
The goal is to keep cables from sticking out the side of the monitor.
Use Velcro straps to bundle the two cables together behind the arm. This prevents them from flopping around when you adjust the monitor angle.
Step 5 – Software Setup: Extend, Align, and Calibrate
Once the cables are connected and the monitors are physically aligned, it’s time to tell your computer what to do with them.
Right-click the desktop and open Display settings (Windows) or System Preferences > Displays (macOS). Windows usually detects both monitors automatically. If not, click “Detect” and make sure both are listed.
Set the display mode to “Extend these displays.” This turns your two monitors into one continuous desktop. Avoid “Duplicate” unless you need the same image on both screens, which is rare for gaming.
Now drag the monitor icons to match their physical positions. If your secondary monitor is on the left, drag its icon to the left of the primary. The alignment should match the bezel gap you set in Step 3.
Each monitor may default to different resolutions or refresh rates. Check that both are set to their native resolution. For the primary monitor, set the refresh rate to the highest supported value, usually 144Hz or 165Hz.
For the secondary, 60Hz is fine unless you plan to game on it too.
How to match colors between two curved monitors
Different monitor panels often have different color temperatures. One might look warm while the other looks cool. Open each monitor’s on-screen display (OSD) menu and adjust brightness, contrast, and RGB levels to match by eye.
For a more accurate match, use Windows’ built-in color calibration tool. Search for “Calibrate display color” in the Start menu. Follow the prompts for each monitor.
Aggregate user reviews suggest this improves visual consistency by about 70 percent.
The 6 Most Common Mistakes (And How to Spot Them in Photos)
Even with good planning, people mess up. Here are the six mistakes that show up most often in setup photos.
1. Curves pointing away from each other
If one monitor’s curve faces left and the other faces right, the screens feel disconnected. The bezels form a V shape. Fix it by rotating the secondary monitor so both curves face the same direction.
2. Mismatched height
One monitor sits higher than the other. This is visible in photos as a jagged top edge. Use a level or simply align the bottom bezels by eye.
3. Tilted bezel gap
The gap between screens is wider at the top than the bottom (or vice versa). You can see this in a straight-on photo as a wedge of light between the panels. Adjust tilt on both monitors until the gap is parallel.
4. Visible cable hanging below the screen
Curved monitors with downward-facing ports often have cables dangling below the bottom edge. That’s an obvious sign of lazy cable management. Route cables upward first, then back down behind the arm.
5. Different wallpaper alignment
If you use a single panoramic wallpaper, the image may split awkwardly across the bezels. In photos, this looks like a cat’s face split in half. Use a wallpaper that is designed for dual monitors, or set separate wallpapers for each screen.
6. Reflective glare across the curve
Both curved monitors catch light from windows or overhead lamps. In photos, you see a bright glare stripe across the screen. Adjust the angle of the monitors or move the light source.
Dual Curved vs. One Ultrawide – Which Setup Actually Works Better?
This is the debate that keeps coming up in forums. Both setups have strong arguments.
Dual curved monitors
Pros: You get more total screen area (typically 27+27 inches versus a single 34-inch ultrawide). You can run a game on one screen and a browser or Discord on the other. If one monitor fails, you still have a working screen.
Cons: There is always a bezel running down the center. That breaks immersion in racing and flight sims. You also need more desk width.
Single ultrawide curved monitor
Pros: No bezel in the middle. The curve is continuous, which feels more immersive. Fewer cables to manage.
Cons: Less total pixel space (usually 3440×1440 versus 5120×1440 for dual 1440p monitors). Multitasking can be trickier because you have to snap windows manually.
| Setup | Total screen width | Bezel in center | Best for |
|---|---|---|---|
| Dual 27-inch curved | About 48 inches | Yes | Multitasking, streaming |
| Single 34-inch ultrawide | About 32 inches | No | Immersive single-player games |
If you play a lot of competitive shooters where the center bezel doesn’t matter (crosshair is on one screen), dual curved is fine. If you play flight sims or racing games where the view spans across both screens, consider an ultrawide instead.
Pro Tips for a Clean, Cable-Managed Dual Curved Rig
You’ve got the monitors connected and aligned. Now make it look like it belongs on a desk tour.
Use a cable management tray. Attach a metal tray under the desk. Route the DisplayPort and HDMI cables along the monitor arm, then drop them into the tray. This hides the slack.
Label your cables. Use small colored zip ties or tape flags. When you need to move your desk in six months, you’ll know which cable goes to which monitor.
Adjust arm tension after a week. Gas springs settle after a few days. If your monitor starts drooping, tighten the tilt tension with an Allen key.
Keep the OSD joystick accessible. Don’t bury the monitor controls behind cables. You’ll need them for brightness and input switching.
Use a single power strip with a switch. Plug both monitors into one strip. Flip the switch to kill power to both at once. This saves power and prevents standby glow at night.
Frequently Asked Questions
How long does it take to set up dual curved monitors?
Plan for about 45 minutes to an hour if you use monitor arms. Stock stands cut that to 30 minutes. The extra time comes from aligning the bezels and routing cables.
Can I mix different curvature ratings?
Yes, but it looks odd. A 1000R monitor next to a 1500R monitor will have noticeably different depths. The bezels won’t flow together.
Stick to the same curvature rating for both screens.
Do I need a specific GPU for dual curved monitors?
Any modern GPU with two video outputs works. Mid-range cards like the RTX 3060 or RX 6600 have three DisplayPorts and one HDMI. That’s enough.
Just make sure your GPU supports the resolution and refresh rate you want on both monitors.
Why is my secondary monitor not detected?
Unplug and replug the cable first. If that doesn’t work, check that the monitor is powered on and set to the correct input source. Press the OSD joystick and cycle through HDMI and DisplayPort options.
Can I use a USB-C to DisplayPort adapter?
Yes, but only if your GPU or laptop supports video over USB-C. Many USB-C ports are data-only. Check your motherboard or laptop specs.
If it supports DisplayPort Alt Mode, an adapter works fine for the secondary monitor.
Final Verdict: Is a Dual Curved Setup Right for Your Gaming Style?
Dual curved monitors excel in two scenarios: multitasking during competitive gaming and immersive sim setups where you want one screen dedicated to instruments.
If you play shooters like Valorant or Overwatch, the center bezel barely matters. Your crosshair stays on one screen. The other screen holds Discord, Spotify, or a browser.
For that workflow, dual curved is excellent.
If you play flight sims, racing games, or single-player epics where the view spans both screens, the bezel breaks immersion. A single ultrawide is a better fit for those titles.
For productivity, dual curved monitors beat ultrawides. You get more total pixels and easier window snapping. The curve reduces eye strain during long work sessions.
As of 2026, the hardware is mature. Cables are affordable. Mounts are reliable.
The only question is whether the bezel bothers you. If it doesn’t, go ahead. If it does, look at a single 34-inch or 49-inch ultrawide.
Either way, the steps in this guide will get your curved screens connected, aligned, and looking clean. Take your time with the alignment. That’s where the payoff lives.

Similar Posts