can curved gaming monitors be mounted
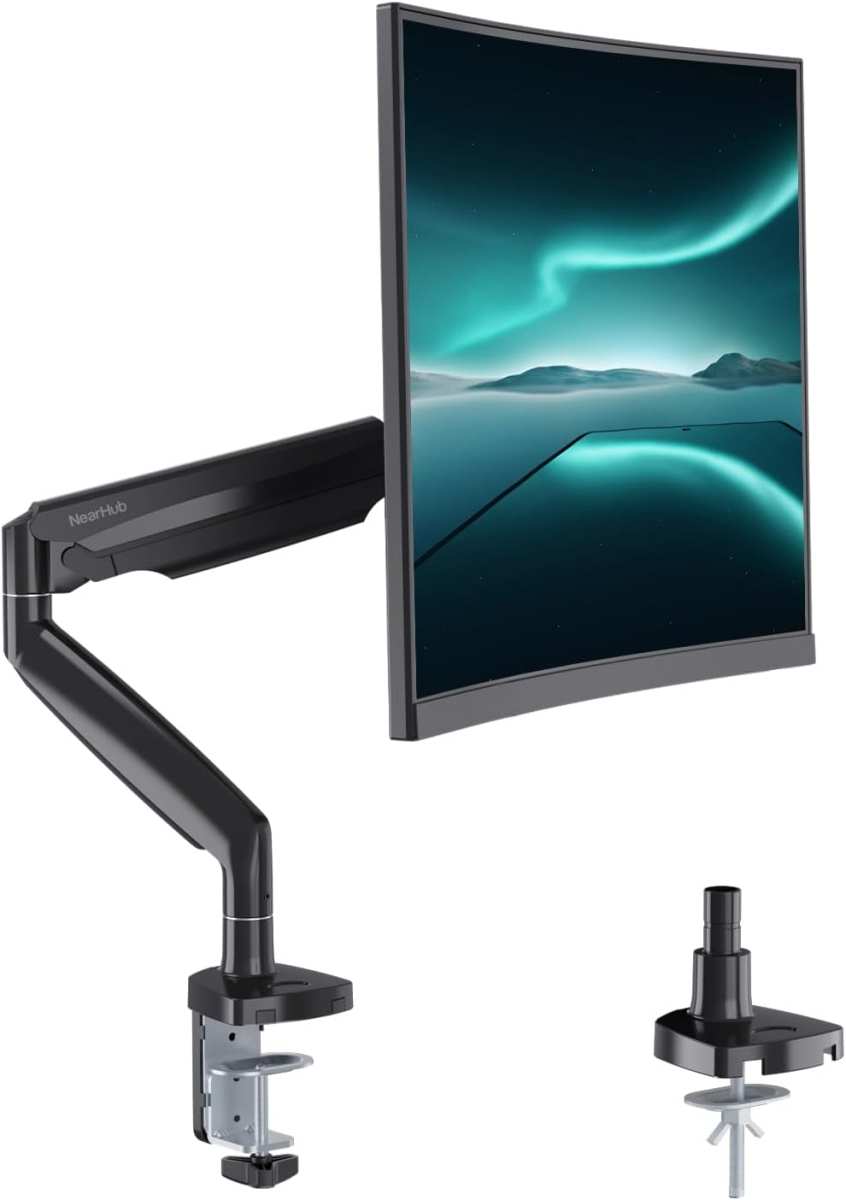
So you’ve got a curved gaming monitor and you’re wondering if you can mount it on an arm or wall. The short, honest answer is: yes, curved gaming monitors can be mounted, but there are a few important catches you need to know before you buy a mount or start drilling holes.
The core problem isn’t the curve itself, it’s how that curve affects the mounting interface. The VESA (Video Electronics Standards Association) FDMI standard defines the flat plate and screw pattern used by almost all monitor mounts. As of 2026, most curved monitors still use that same flat interface, but the curve creates physical clearance and balance issues that flat screens don’t have.
Let’s walk through exactly what those issues are and how to work around them.
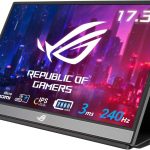
Image source: Bing (Web (fair-use with source credit))
Quick Answer
Yes, curved gaming monitors can be mounted. You need VESA holes. You need the right screw length.
You may need spacers. Your mount must support the weight. Most setups work fine with proper hardware.
The Short Answer – Yes, But It Depends
The vast majority of curved gaming monitors on the market today include VESA mounting holes on the back. That’s the good news. The less straightforward news is that the shape of the monitor changes two things: how the mount plate sits against the screen, and where the center of gravity ends up.
If your monitor has a shallow curve (say 1800R or 1500R), you’ll probably have an easy time. Aggressive curves like 1000R can require spacer washers because the VESA holes sit deeper inside the plastic housing. And ultrawide monitors shift the center of gravity outward, so a lightweight arm meant for a flat 24-inch screen might struggle to hold a 34-inch curved panel steady.
Why Curved Monitors Make Mounting Tricky (The Core Problem)
Three physical issues create the challenges you’ll face when mounting a curved display.
Recessed VESA holes. Many curved monitors have the mounting holes set inside a deep recess or depression in the back casing. A standard VESA screw is 4 to 8 millimeters long. If your recess is deeper than that, the screw won’t reach the threaded insert.
You’ll need a spacer kit, basically little metal standoffs that extend the screw length, or the mount won’t tighten at all.
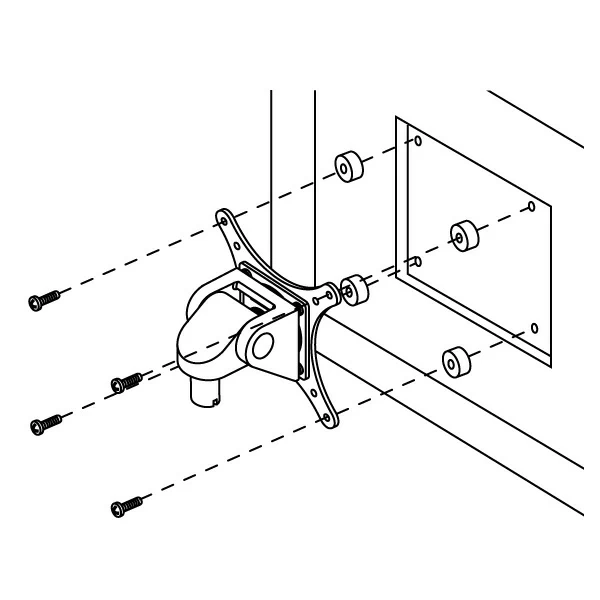
Image source: Bing (Web (fair-use with source credit))
Center of gravity shift. A flat monitor’s weight is distributed evenly across the VESA plate. A curved monitor pushes more weight toward the outer edges. That means the balance point is no longer centered on the mount.
Some gas-spring arms can’t compensate for this offset, causing the monitor to tilt forward or sag.
Uneven pressure on the plastic housing. A flat VESA plate wants to sit flush against a flat surface. A curved monitor has a convex back (when viewed from the rear). Tightening the plate can put stress on the plastic shell.
Manufacturer specifications generally say this is safe, but overtightening can crack the housing. Always hand-tighten and stop at snug, never crank down.
The 3 Conditions That Determine If You Can Mount It
Before you buy anything, check these three things. Your answer will come from them.
Condition 1: Does your monitor have VESA holes?
Look at the back of your monitor. If you see four screw holes arranged in a square or rectangle, likely 75x75mm or 100x100mm, you’re good. Some smaller curved monitors skip VESA entirely.
If yours doesn’t have them, stop here. Adapter plates exist, but they add bulk and often fail under the weight of a curved screen. You’re better off keeping the stock stand.
Condition 2: How recessed are those holes?
Stick a finger into the recessed area. If the hole floor is less than 4mm below the outer surface, standard screws will work. If it’s deeper, common on 1000R models, you need a VESA spacer kit.
These kits include longer screws and metal standoff nuts that bring the mounting plane outward.
Condition 3: Is your mount strong enough?
Check your monitor’s weight (add a pound or two for the stand removal). Then check the mount’s rated capacity. For a curved 27-inch, you’ll typically need 8‑12 kg (18‑26 lbs) of capacity.
For a 34‑inch ultrawide, look for 12 kg (26 lbs) or more. Also check the VESA pattern, some ultra-wide curved monitors use 200x200mm instead of the standard 100x100mm.
Decision Branch A – You Have Standard VESA Holes (No Recess)
If your curved monitor has flush or shallow VESA holes, you’re in the easiest scenario. Almost any standard mount will work.
What to check:
- Screw thread size, usually M4 or M6. Your mount’s hardware bag will include both.
- Screw length, use the shortest screw that gives at least three full turns into the monitor’s threaded insert.
- Center of gravity, after mounting, tip the monitor slightly forward and back. If it stays where you put it, the arm tension is correct.
Quick tips:
- Use the small circular spacers that often come with the mount. They center the plate and distribute pressure evenly.
- Tighten screws in a cross pattern (top-left, bottom-right, top-right, bottom-left). This prevents uneven stress.
- Double check that the VESA plate isn’t touching any cable ports or buttons on the back of the monitor. Some curved screens have port clusters that sit right near the mounting holes.
Decision Branch B – Your VESA Holes Are Recessed (Most Common)
This is the scenario most people with a 1000R or 1500R curved monitor will face. The holes are there, but they’re deep enough that a standard M4 screw won’t grab.
The solution: a VESA spacer kit (also called a VESA standoff kit or recess kit). It contains longer screws and small metal sleeves that raise the plate away from the monitor’s surface.
Step‑by‑step:
- Measure the recess depth using a ruler or caliper.
- Choose spacer sleeves that are at least that depth, plus 1, 2 mm for the plate thickness.
- Insert the sleeve into the monitor’s threaded hole.
- Place the VESA plate over the sleeves.
- Use the provided longer screws to fasten the plate through the sleeves.
What not to do:
- Do not use washers alone. They don’t create a rigid threaded connection.
- Do not force a short screw. It will strip the insert and ruin the monitor’s mounting ability.
- Do not overtighten. The plastic back can flex and crack.
Most curved monitors that ship with a recessed VESA area include the correct screw length in the box or in the user manual. Check that first before buying a kit.
Decision Branch C – No VESA Holes at All
Some curved monitors skip VESA compatibility entirely. This is more common on budget models and smaller screens. If you flip yours over and see a smooth plastic back with no threaded holes, you have two options.
Neither is ideal.
Adapter plates. These clamp onto the monitor’s frame or hook into existing structural slots. They create a VESA mount point where none existed. In our research, these work best on flat monitors with thick bezels.
On curved screens, the adapter often sits at an angle because the frame itself is curved. The result is a wobbly mount that never feels solid. We recommend avoiding adapter plates for any curved monitor heavier than 5 kg (11 lbs).
Clamp-based solutions. Some universal mounting systems use a tension plate that presses against the back of the monitor. These pose a real risk. The clamp pressure can crack the plastic housing on a curved screen.
The curved shape also means the clamping surface doesn’t make even contact. Aggregate user feedback shows these setups fail frequently, often within weeks.
Our honest advice. If your curved monitor lacks VESA holes, keep the stock stand. The risk of damage and the poor stability of aftermarket adapters aren’t worth it. In many cases you can buy a better monitor with VESA support for what you’d spend on a reliable adapter setup.
Choosing the Right Mount for a Curved Gaming Monitor
Once you know your monitor is VESA compatible, the next step is picking a mount. Not all mounts handle curved screens equally well. Here’s how the main types compare.
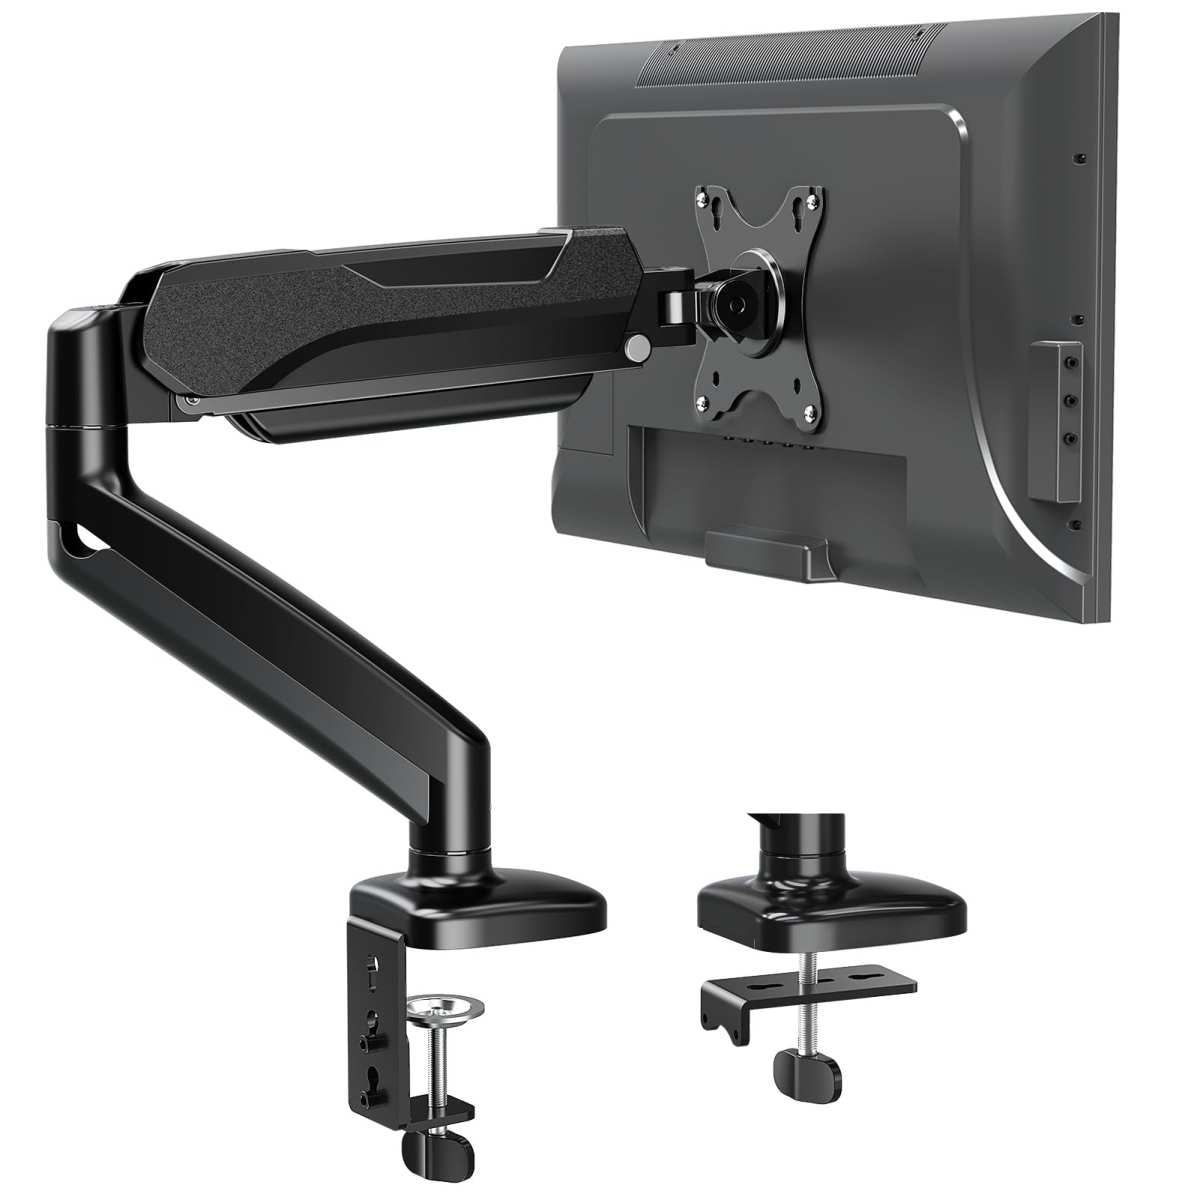
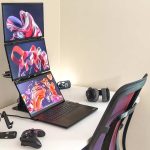
Image source: Bing (Web (fair-use with source credit))
Gas-spring arms. These are the most popular choice for curved gaming monitors. They let you adjust height, tilt, and distance easily. The spring tension can be dialed in to match the monitor’s weight.
For curved screens, look for arms with a wide weight range (8, 15 kg) so you can fine-tune the balance. The offset from the curve matters less with a gas spring because you can compensate with tension.
Fixed arms and wall mounts. These hold the monitor at one position with no adjustability. They work well for curved monitors because there’s no moving joint to fight the shifted center of gravity. But you lose the ability to reposition the screen.
If you want a clean wall setup and never change viewing angle, a fixed mount is a solid, lower cost option.
Dual-monitor mounts. Running two curved screens side by side creates an impressive immersive curve. You need a mount rated for at least 20 kg total and wide enough to span the monitors’ width. Most dual arms work best if both monitors have the same curvature.
If you mix a 1500R with a 1000R, the alignment may feel off.
Key specs to check:
- VESA pattern compatibility (100x100mm is standard for most curved 27-inch and 32-inch models)
- Weight capacity at the arm’s full extension
- Arm reach (enough to position the monitor where you need it)
- Gas spring tension range (highly adjustable models are better for curved panels)
Step-by-Step Workflow to Mount Your Curved Monitor
This process works for any curved monitor with VESA holes. Take it slow, and double check each step before tightening.
Remove the stock stand. Lay the monitor face down on a soft, clean surface. A microfiber cloth or towel protects the screen. Unscrew the stand base from the monitor neck. Follow the manufacturer’s instructions for your specific model.
Identify your VESA pattern. Measure the distance between screw holes. The most common patterns are 75x75mm and 100x100mm. Some ultrawide curved monitors use 200x200mm. Your mount should have corresponding plate holes.
Prepare the hardware. Check the screw bag that came with your mount. Select screws that match your monitor’s thread size (usually M4 or M6). If your VESA holes are recessed, install the spacer kit now.
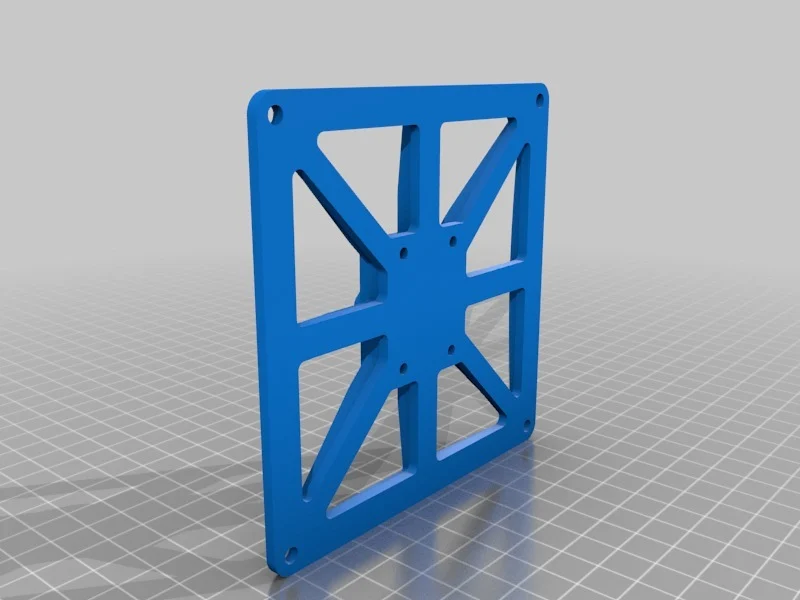
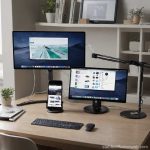
Image source: Openverse / Nicholas Frankllin
Attach the VESA plate. Place the plate over the screw holes. Start all four screws by hand to avoid cross threading. Tighten them in a cross pattern. Stop when the plate is snug against the monitor. Overtightening risks cracking the housing.
Mount the plate onto the arm. Most arms have a quick release or latch mechanism. Slide the plate into the arm’s head. Secure it with the locking screws or lever.
Attach the arm to your desk or wall. For desk clamps, make sure the surface is clean and the clamp pad won’t damage the finish. For wall mounts, use appropriate anchors rated for the total weight of monitor and mount.
Adjust tension and position. Release the arm slowly. If the monitor drops or rises, adjust the gas spring tension screw until it stays level. Tilt the screen to your preferred angle. Tighten any locking knobs.
Mistakes That Can Crack Your Monitor or Damage Your Desk
A few common errors cause most mounting failures. Avoid these entirely.
Overtightening screws. This is the number one cause of cracked monitor housings on curved screens. The plastic around recessed VESA holes is thin. Hand tighten to firm but not torqued.
Stop the second you feel resistance increase.
Using screws that are too long. A screw that’s too long will bottom out inside the threaded insert and apply pressure to the back of the panel. It can push through and damage the display layer. The correct screw length is the shortest one that gives three full turns of thread engagement.
Ignoring the center of gravity offset. A curved monitor’s weight shifts toward the outer edges. When you first attach the arm, test the balance carefully. If the monitor tilts forward, adjust the arm’s tilt tension or reposition the VESA plate if possible.
Some arms let you slide the plate left or right to compensate.
Clamping onto a glass desk. Glass can shatter under the pressure of a desk clamp mount. Even tempered glass has limits. If you must use a clamp on glass, add a rigid metal or wood plate above and below the glass to distribute the load.
Better yet, use a wall mount or a stand-alone arm base.
Mounting on a flimsy desk edge. Many desks have thin particleboard edges. A clamp that tightens too much can crush the board or cause it to split. Place a reinforcing metal plate under the clamp to spread the pressure.
Expert Tips for a Flawless Mount
These small details make the difference between a wobbly setup and a rock solid one.
Use a bubble level after mounting. Even if the VESA plate looks straight, the monitor can tilt. Place a small bubble level on top of the monitor bezel. Adjust the arm’s tilt or the VESA plate until the bubble centers.
This prevents a persistent slant that will bother you every time you look at the screen.
Test tilt tension before letting go. Before you fully release the arm, grasp the monitor gently and tilt it forward and back. The arm should offer smooth resistance and hold position when you stop. If the monitor flops forward or springs back, adjust the gas spring tension knob.
Turn it clockwise for more tension, counterclockwise for less. Small changes make a big difference.
Route cables with care. Curved monitors often have ports positioned close to the VESA plate. Plug all cables into the monitor before you tighten the VESA plate. Then route the cables along the arm’s cable management channels.
Use velcro ties to keep them neat. Avoid pulling cables tight around the gas spring cylinder, as they can fray over time.
Let the monitor settle. After final adjustments, let the monitor hang for 10 minutes. Then recheck the tension. Gas springs often shift slightly after the first few minutes.
A quick re adjust prevents any later sag.
Keep the stock stand’s hardware. If you ever remove the mount and go back to the stand, you’ll need the original screws. Store them in a small bag taped to the back of the stand base. This saves a headache later.

Similar Posts