Why Does HDR Look Dull on My Monitor
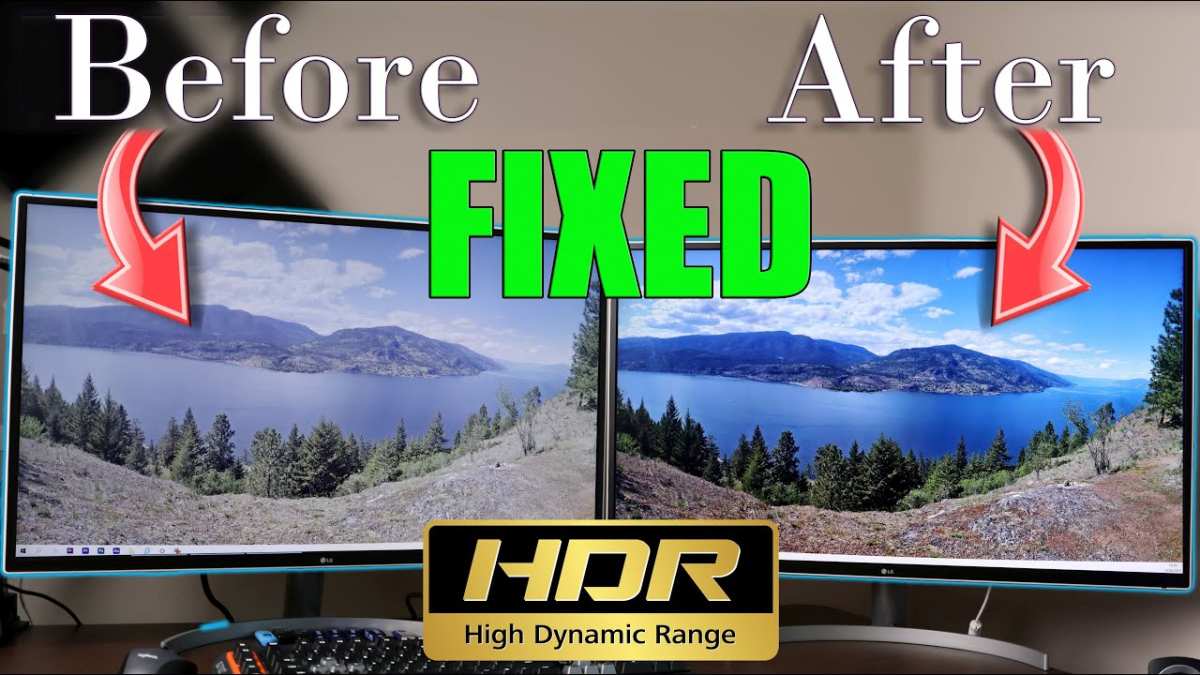
So you've flipped the HDR switch, maybe restarted a game or two, and… nothing. The image looks flat. Washed out.
Almost worse than it did before. If you've ever stared at your screen and thought "why does hdr look dull on my monitor," you are absolutely not alone. This is probably the single most common complaint about HDR on PCs.
The frustrating part is that HDR is supposed to look stunning. Deeper blacks, brighter highlights, richer colors. The reality on a lot of monitors falls way short, and the reason usually isn't one single thing.
It's a chain of settings, hardware limits, and signal issues that all need to line up. Let's walk through them one by one.
Quick Answer
HDR looks dull on most monitors because the display lacks real HDR hardware. Many monitors accept an HDR signal but cannot reproduce it properly. Windows tone mapping, cable bandwidth, or incorrect OSD settings often make it worse.
The fix depends on checking each link in the chain.
Understanding Why HDR Goes Wrong: The 5 Main Culprits
Before you change any settings, it helps to understand what actually goes wrong. HDR isn't a single toggle that magically improves everything. It's a chain.
The chain looks like this:
- Your monitor hardware needs to actually support real HDR
- Your cable and port need to carry the signal
- Windows needs to send HDR properly
- Your monitor's own OSD settings need to be configured
- The tone mapping needs to be dialed in
Break any one of those links and you get a dull, washed out, or muddy image. The good news is each one is checkable. Let's start at the hardware and work our way through.
Image source: Bing (Web (fair-use with source credit))
Check #1: Is Your Monitor's Hardware Capable of Real HDR?
This is the elephant in the room. A huge number of monitors marketed as "HDR compatible" or "HDR ready" can technically accept an HDR signal. That is not the same as being able to display HDR well.
VESA created the DisplayHDR certification tiers to bring some order to this. Here is what the main tiers actually mean in practice:
| Certification | Peak Brightness | Local Dimming | Color Gamut | Real-World Result |
|---|---|---|---|---|
| DisplayHDR 400 | 400 nits | Not required | ~sRGB | Often looks worse than SDR |
| DisplayHDR 600 | 600 nits | Required (basic) | 90%+ DCI-P3 | Noticeable but modest improvement |
| DisplayHDR 1000 | 1,000 nits | Required (good) | 95%+ DCI-P3 | Genuine HDR impact |
| DisplayHDR 1400 | 1,400 nits | Required (strong) | 95%+ DCI-P3 | Excellent HDR experience |
The problems start at the bottom. A DisplayHDR 400 panel typically hits around 350 to 400 nits peak, has no real local dimming, and covers a standard sRGB gamut. It accepts the signal.
It does almost nothing meaningful with it. Plenty of monitors on the market fall right into that category, and plenty of users wonder why their HDR looks flat after turning it on.
Then there are monitors with no certification at all. Some simply list "HDR" in the spec sheet meaning they can decode an HDR signal and display something. That something is often poorly tone mapped right out of the box.
What to look for:
- Check your monitor model's exact VESA certification on the VESA website.
- Look up local dimming. If it says "edge-lit" or doesn't mention it, assume it doesn't have proper zones.
- Peak brightness below 600 nits with no local dimming is a red flag for poor HDR.
- If your monitor uses a standard IPS panel with no Mini-LED or OLED backlight, real HDR performance will be limited.
Bottom line. If your monitor is HDR400 or uncertified, a dull image is expected behavior, not a defect. The fix in that case is often to leave HDR off and use SDR instead.
But if your monitor should be capable of better, move to the next check.
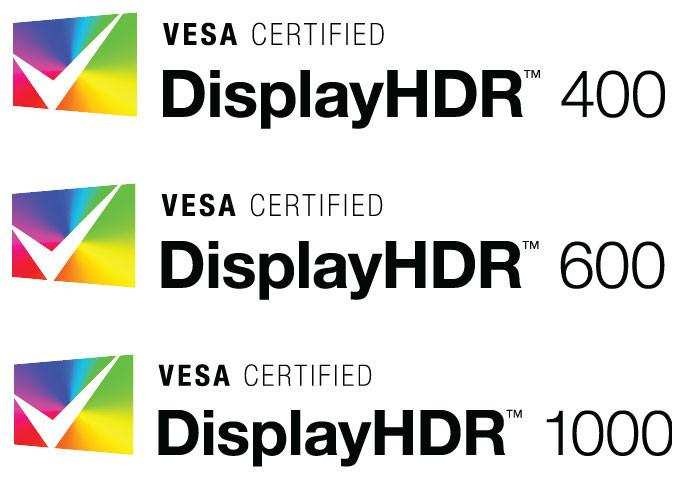
Image source: Bing (Web (fair-use with source credit))
Check #2: Are Your Cables and Ports Passing an HDR Signal?
You'd be surprised how many HDR problems come down to the cable. It looks fine for SDR desktop use. It carries a 4K signal.
But HDR needs more bandwidth, and a cable or port that's even one step below spec will silently fail.
Here is what HDR actually requires:
- 10-bit color depth (8-bit plus dithering is not true HDR)
- Enough bandwidth for resolution, refresh rate, and that extra color data at the same time
- HDCP 2.2 or higher for protected content like streaming apps
HDMI and DisplayPort have clear minimums:
| Connection | Minimum for 4K HDR 60Hz | Notes |
|---|---|---|
| HDMI 2.0 | Works (with chroma subsampling) | Limited to 4:2:0 at 4K 60Hz 10-bit. Functional but not ideal. |
| HDMI 2.1 | Full support | 4:4:4, 10-bit, 4K at 120Hz. Recommended. |
| DisplayPort 1.4 | Works with DSC | Display Stream Compression handles 4K HDR at higher refresh rates. |
| DisplayPort 1.2 | Not sufficient | Lacks bandwidth for 4K HDR at acceptable refresh rates. |
What goes wrong in practice:
- Using an old HDMI cable. That cable from 2016 might be fine for 4K SDR but not for HDR. You need a cable rated for the bandwidth you're pushing.
- Plugging into the wrong port. On some PCs, the HDMI port on the motherboard routes through the integrated GPU, which may not handle HDR the same way your discrete GPU does. Always plug your monitor into the GPU's ports, not the motherboard's.
- Using a USB-C or Thunderbolt adapter that doesn't pass through HDR. Not all adapters and docks support HDR signal passthrough. Check the dock's specs.
Quick test: Right-click your desktop, open Display Settings, and look at the display properties. Does it report 8-bit or 10-bit color depth? If it says 8-bit, your cable or port is likely not passing a proper HDR signal.
Switch to a known-good HDMI 2.1 or DisplayPort 1.4 cable and check again.
Check #3: Is Windows Actually Sending HDR (And Not Just Pretending)?

Image source: Wikimedia Commons / OS: Microsoft Corporation Screenshot: PantheraLeo1359531 😺 (talk)
Windows HDR is a notorious source of confusion. Microsoft added a toggle right in the Display Settings, so it feels simple. Flip the switch done.
Except it is rarely that clean.
There are three separate HDR controls in Windows 11 as of 2026:
- The main "Use HDR" toggle
- The "Use HDR" toggle inside the HDR subsection under display settings
- Auto HDR, which tries to add HDR-like effects to SDR games
All three can interact in ways that cause dull or flat images.
The main toggle: Go to Settings > System > Display > HDR. You'll see a "Use HDR" switch. If your monitor is detected as HDR-capable, it becomes available.
Flip it on and the desktop may immediately look washed out. That is expected, because Windows is now managing an HDR desktop, and SDR content gets mapped into the HDR container.
What Windows actually does behind the scenes:
- It creates an HDR signal path to the monitor
- It maps SDR content using internal tone mapping
- It hands HDR games and apps a native HDR output
The SDR content mapping is where things fall apart on monitors with weaker panels. If your monitor has low peak brightness and poor contrast, that tone mapped SDR content in an HDR container looks noticeably worse than native SDR.
Settings to verify:
- Open Settings > System > Display > HDR
- Confirm "Use HDR" is on
- Adjust the "SDR content brightness" slider (this controls how bright SDR content appears inside the HDR desktop)
- Adjust the "HDR content brightness" slider if needed
- Check that "Use HDR" (not just "Use video HDR") is the active toggle
You should also confirm the signal format. In the same HDR settings, click on the display and look at "Display capabilities." It should show HDR support as Yes and list the color bit depth. If anything says Not Supported, go back to Check #2.
One more thing. Make sure your GPU driver is handling the HDR signal correctly.
- NVIDIA: NVIDIA Control Panel > Change resolution > Output color depth should be set to 10 bpc (or "Use default color settings" if the driver manages it).
- AMD: AMD Software > Display > Color depth should show 10-bit where supported.
- Intel Arc: Intel Graphics Command Center > Display > Color depth should match.
If everything checks out here but things still look dull, move to the monitor's own settings.
Image source: Wikimedia Commons / OS: Microsoft Corporation Screenshot: PantheraLeo1359531 (talk)
Check #4: Is Your Monitor's Own HDR Mode Turned On in the OSD?
Here is one that catches people constantly. Windows says HDR is on. The settings look right.
But the monitor itself is still running in its SDR picture mode. The On-Screen Display menu usually has its own separate HDR activation that has nothing to do with the Windows toggle.
Most monitors require you to:
- Open the OSD (usually via buttons on the monitor bezel or a joystick underneath)
- Navigate to the Picture or Display section
- Find an HDR mode setting and turn it on
Some monitors have specific HDR picture modes like "HDR Game," "HDR Movie," or "HDR 1000." You need to select one of these. Others have a single "HDR On/Off" toggle. On a few models (especially some Dell, LG, and ASUS units), the monitor detects the HDR signal automatically but still defaults to the SDR-equivalent picture mode until you manually switch.
What to look for in the OSD:
- Picture mode set to an HDR option (not "Standard," "sRGB," or "Custom")
- Local dimming enabled if available (it might be under a separate menu or called "Dynamic Contrast" on cheaper monitors)
- Response time or overdrive settings, which sometimes change automatically when HDR activates
The exact menu structure varies a lot by manufacturer. Check your manual's searchable PDF and search for "HDR." A few models require you to enable something like "HDCP 2.2" or "HDMI Ultra HD Deep Color" from the OSD as well before the HDR signal path activates.
One important note. Some monitors have a feature called "HDR Effect" or "HDR Simulation." This is NOT real HDR. It applies a filter to make SDR content look punchier.
If you see this in the menu alongside actual HDR options, don't confuse the two. The simulation mode will never look like true HDR and may contribute to that washed out look if you've accidentally enabled it.
Once the OSD HDR mode is active, the monitor should switch its internal tone mapping to match an HDR signal. If the image still looks dull at this point, it is time to check tone mapping.
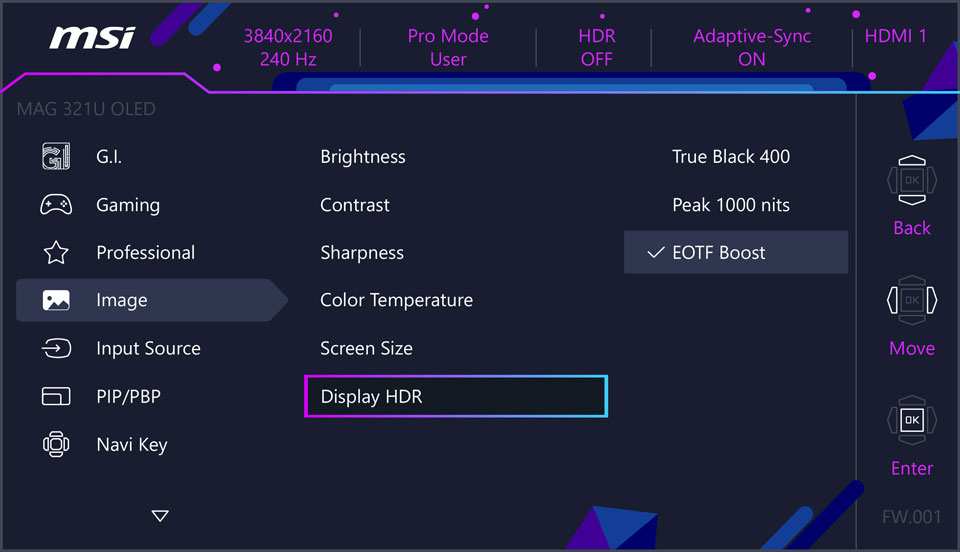
Image source: Bing (Web (fair-use with source credit))

Similar Posts