How to Mount 27 Inch Monitor on Wall
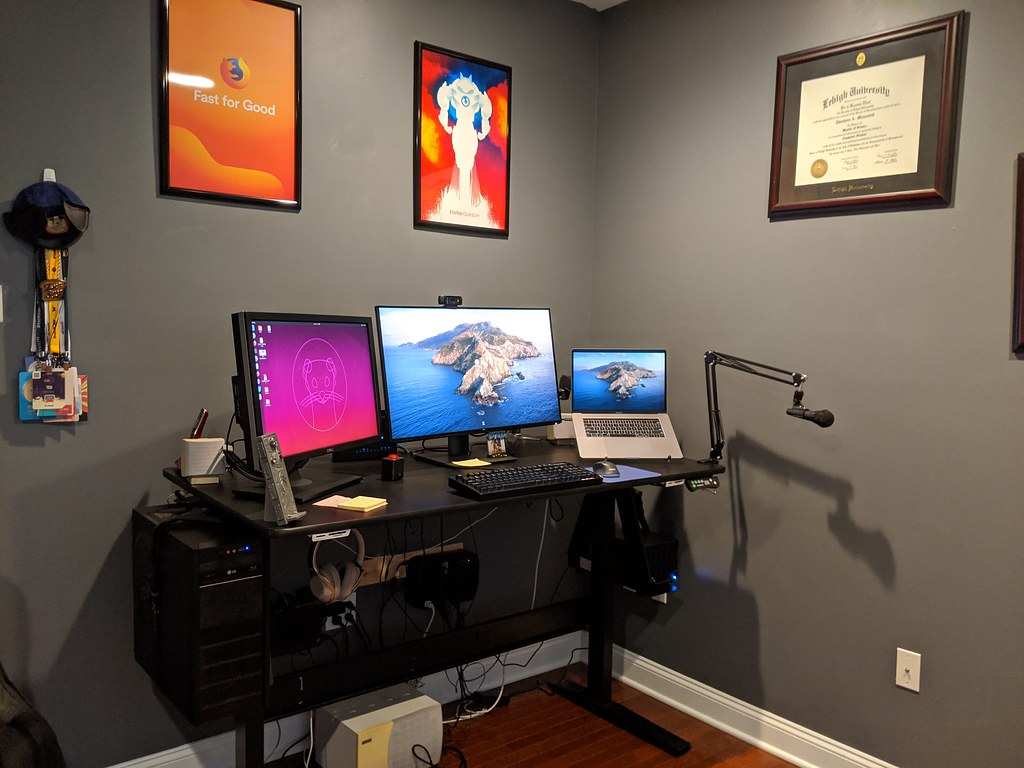
So you've decided to reclaim your desk space and get that 27-inch monitor off its chunky factory stand. Learning how to mount a 27 inch monitor on the wall isn't complicated, but getting it wrong means a wobbly screen, a damaged wall, or worse, a monitor on the floor. The good news is that most 27-inch monitors are straightforward to wall-mount once you know a few key details.
The process comes down to three things: confirming your monitor's VESA compatibility, choosing the right mount for your wall type, and drilling into the right spot. Most 27-inch monitors use a VESA 100×100mm mounting pattern and weigh between 8 and 16 pounds without the stand, which keeps your options wide open. Let's walk through each step so you can get this done right the first time.
Quick Answer
Mount a 27-inch monitor by checking its VESA pattern and weight first. Buy a compatible wall mount rated for your monitor's weight. Locate wall studs or use proper anchors.
Attach the wall plate, bolt the VESA plate to your monitor, then hang it. The whole job takes 30 to 90 minutes.
Is Your 27-Inch Monitor Actually Wall-Mountable?
Most 27-inch monitors are wall-mountable, but you shouldn't assume. A quick check now saves you from buying the wrong bracket or discovering a compatibility issue mid-installation.
Checking Your VESA Pattern and Weight
VESA (Video Electronics Standards Association) defines the mounting hole pattern on the back of your display. For 27-inch monitors, you'll almost always see one of two patterns:
- VESA 100×100mm: The standard for most 27-inch monitors. Four holes in a square pattern, 100mm apart horizontally and vertically.
- VESA 75×75mm: Found on some budget or compact 27-inch models. Same square layout, just smaller spacing.
You can find your monitor's VESA pattern in the technical specifications section of the manual or on the manufacturer's website. Search for your exact model number plus "VESA" and you'll get the answer in seconds. You can also measure the distance between the mounting holes on the back of the monitor with a tape measure.
Weight matters too. Most 27-inch monitors weigh between 8 and 16 pounds (3.6 to 7.3 kg) without their factory stand. Check the specs sheet for the weight without stand, not the shipping weight.
Your wall mount needs to be rated for at least that number, and it's smart to have a margin of safety above it.
When Your Monitor Doesn't Have VESA Mounts
Some monitors, particularly certain older or ultra-budget models, don't have VESA mounting holes at all. If that's your situation, you have two options:
- VESA adapter bracket: A universal bracket that clamps around the monitor's bezel or uses the stand mount point. These work but add bulk and aren't always rock-solid.
- Aftermarket universal mount plate: Some third-party plates attach using adhesive pads or clamps. These are less ideal for a 27-inch display because of the weight.
If your monitor lacks VESA compatibility and you're set on wall mounting, an adapter bracket is your best bet. Just make sure it's rated for your monitor's size and weight.
Choosing the Right Mount Type for Your Situation
Not all wall mounts do the same thing. The right one depends on how you want to use your monitor and what kind of adjustability you need.
Fixed Mount: When You Just Want It Off the Desk
A fixed mount holds your monitor flat against the wall with no movement. It's the simplest, cheapest, and cleanest-looking option. Your monitor sits about 1 inch from the wall, giving you a sleek, almost picture-like appearance.
This is the right choice if your desk is against the wall and you don't need to adjust the screen angle. It's also the most stable option once installed. The downside is zero flexibility.
If the screen catches glare from a window, you're stuck with it.
Tilting Mount: A Little Flexibility Goes a Long Way
A tilting mount lets you angle the screen up or down, typically between 5 and 15 degrees. This is enough to reduce glare, adjust for different sitting heights, or just get a more comfortable viewing angle.
For most people mounting a 27-inch monitor at a fixed desk position, a tilting mount hits the sweet spot. You get some adjustability without the added complexity and cost of a full-motion arm. It's the most popular choice for home office setups.
Full-Motion/Articulating Mount: Maximum Adjustability
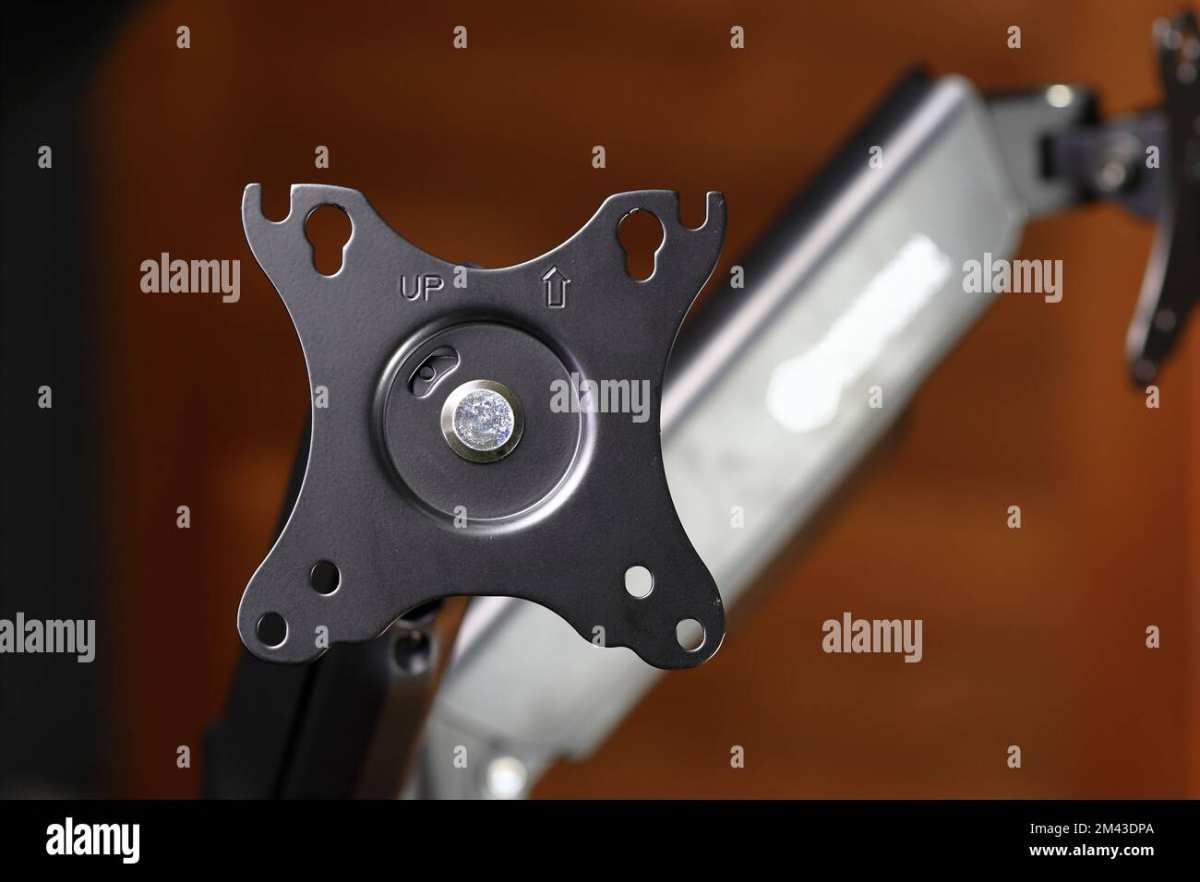
A full-motion mount uses an articulated arm that extends, swivels, tilts, and sometimes even rotates. You can pull the monitor away from the wall, push it back, swing it side to side, and pivot it from landscape to portrait.
This is overkill for a simple against-the-wall setup. But if you need to share the screen with someone across the room, position it at different heights throughout the day, or mount it in a corner, a full-motion mount is worth the extra cost. Just keep in mind that the arm adds weight and complexity, and you need a sturdier wall attachment to support the leverage.
Quick Comparison: Which Mount Type Fits Your Setup
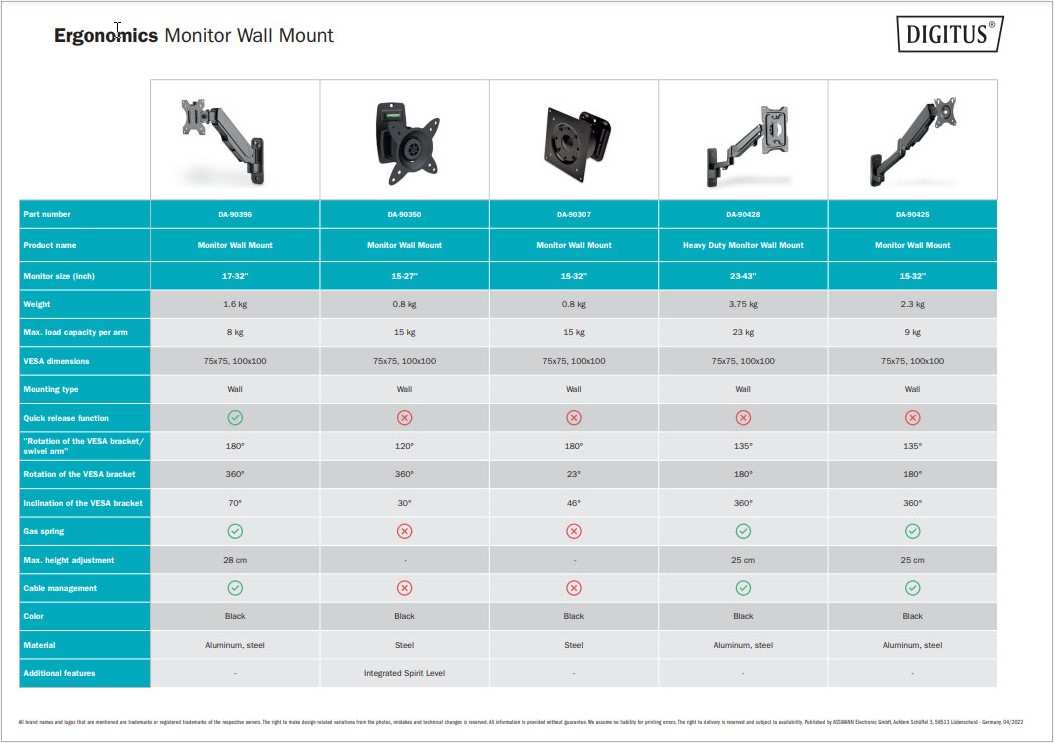
| Feature | Fixed | Tilting | Full-Motion |
|---|---|---|---|
| Price range | $12–$25 | $20–$45 | $35–$100+ |
| Distance from wall | ~1" | ~2" | 2"–20" |
| Tilt | No | Yes (5°–15°) | Yes (up to 15°+) |
| Swivel | No | No | Yes (±90°) |
| Best for | Permanent desk setup | Most home offices | Shared or flexible spaces |
| Installation difficulty | Easiest | Easy | Moderate |
What Your Wall Type Changes Everything
Your wall type determines what hardware you need and how confident you can feel about the mount staying put. This is where a lot of first-timers get tripped up.
Mounting Into Wood Studs (Standard US/UK Residential)
If you're in a typical house or apartment with drywall or plaster over wooden studs, mounting into the studs is the gold standard. Studs are usually 2×4 lumber spaced 16 inches on center in US construction. A lag bolt screwed into a stud can easily hold 100+ pounds, which is massive overkill for a 27-inch monitor.
Use a stud finder to locate the center of each stud. Mark it clearly. You want at least one, ideally two, of your mount's bolts hitting solid wood.
This is the strongest and most reliable method by far.
Mounting Into Drywall Without Studs: Proceed Carefully
Sometimes the studs just aren't where you need them. If you have to mount into drywall alone, you need proper anchors. Here's what works and what doesn't:
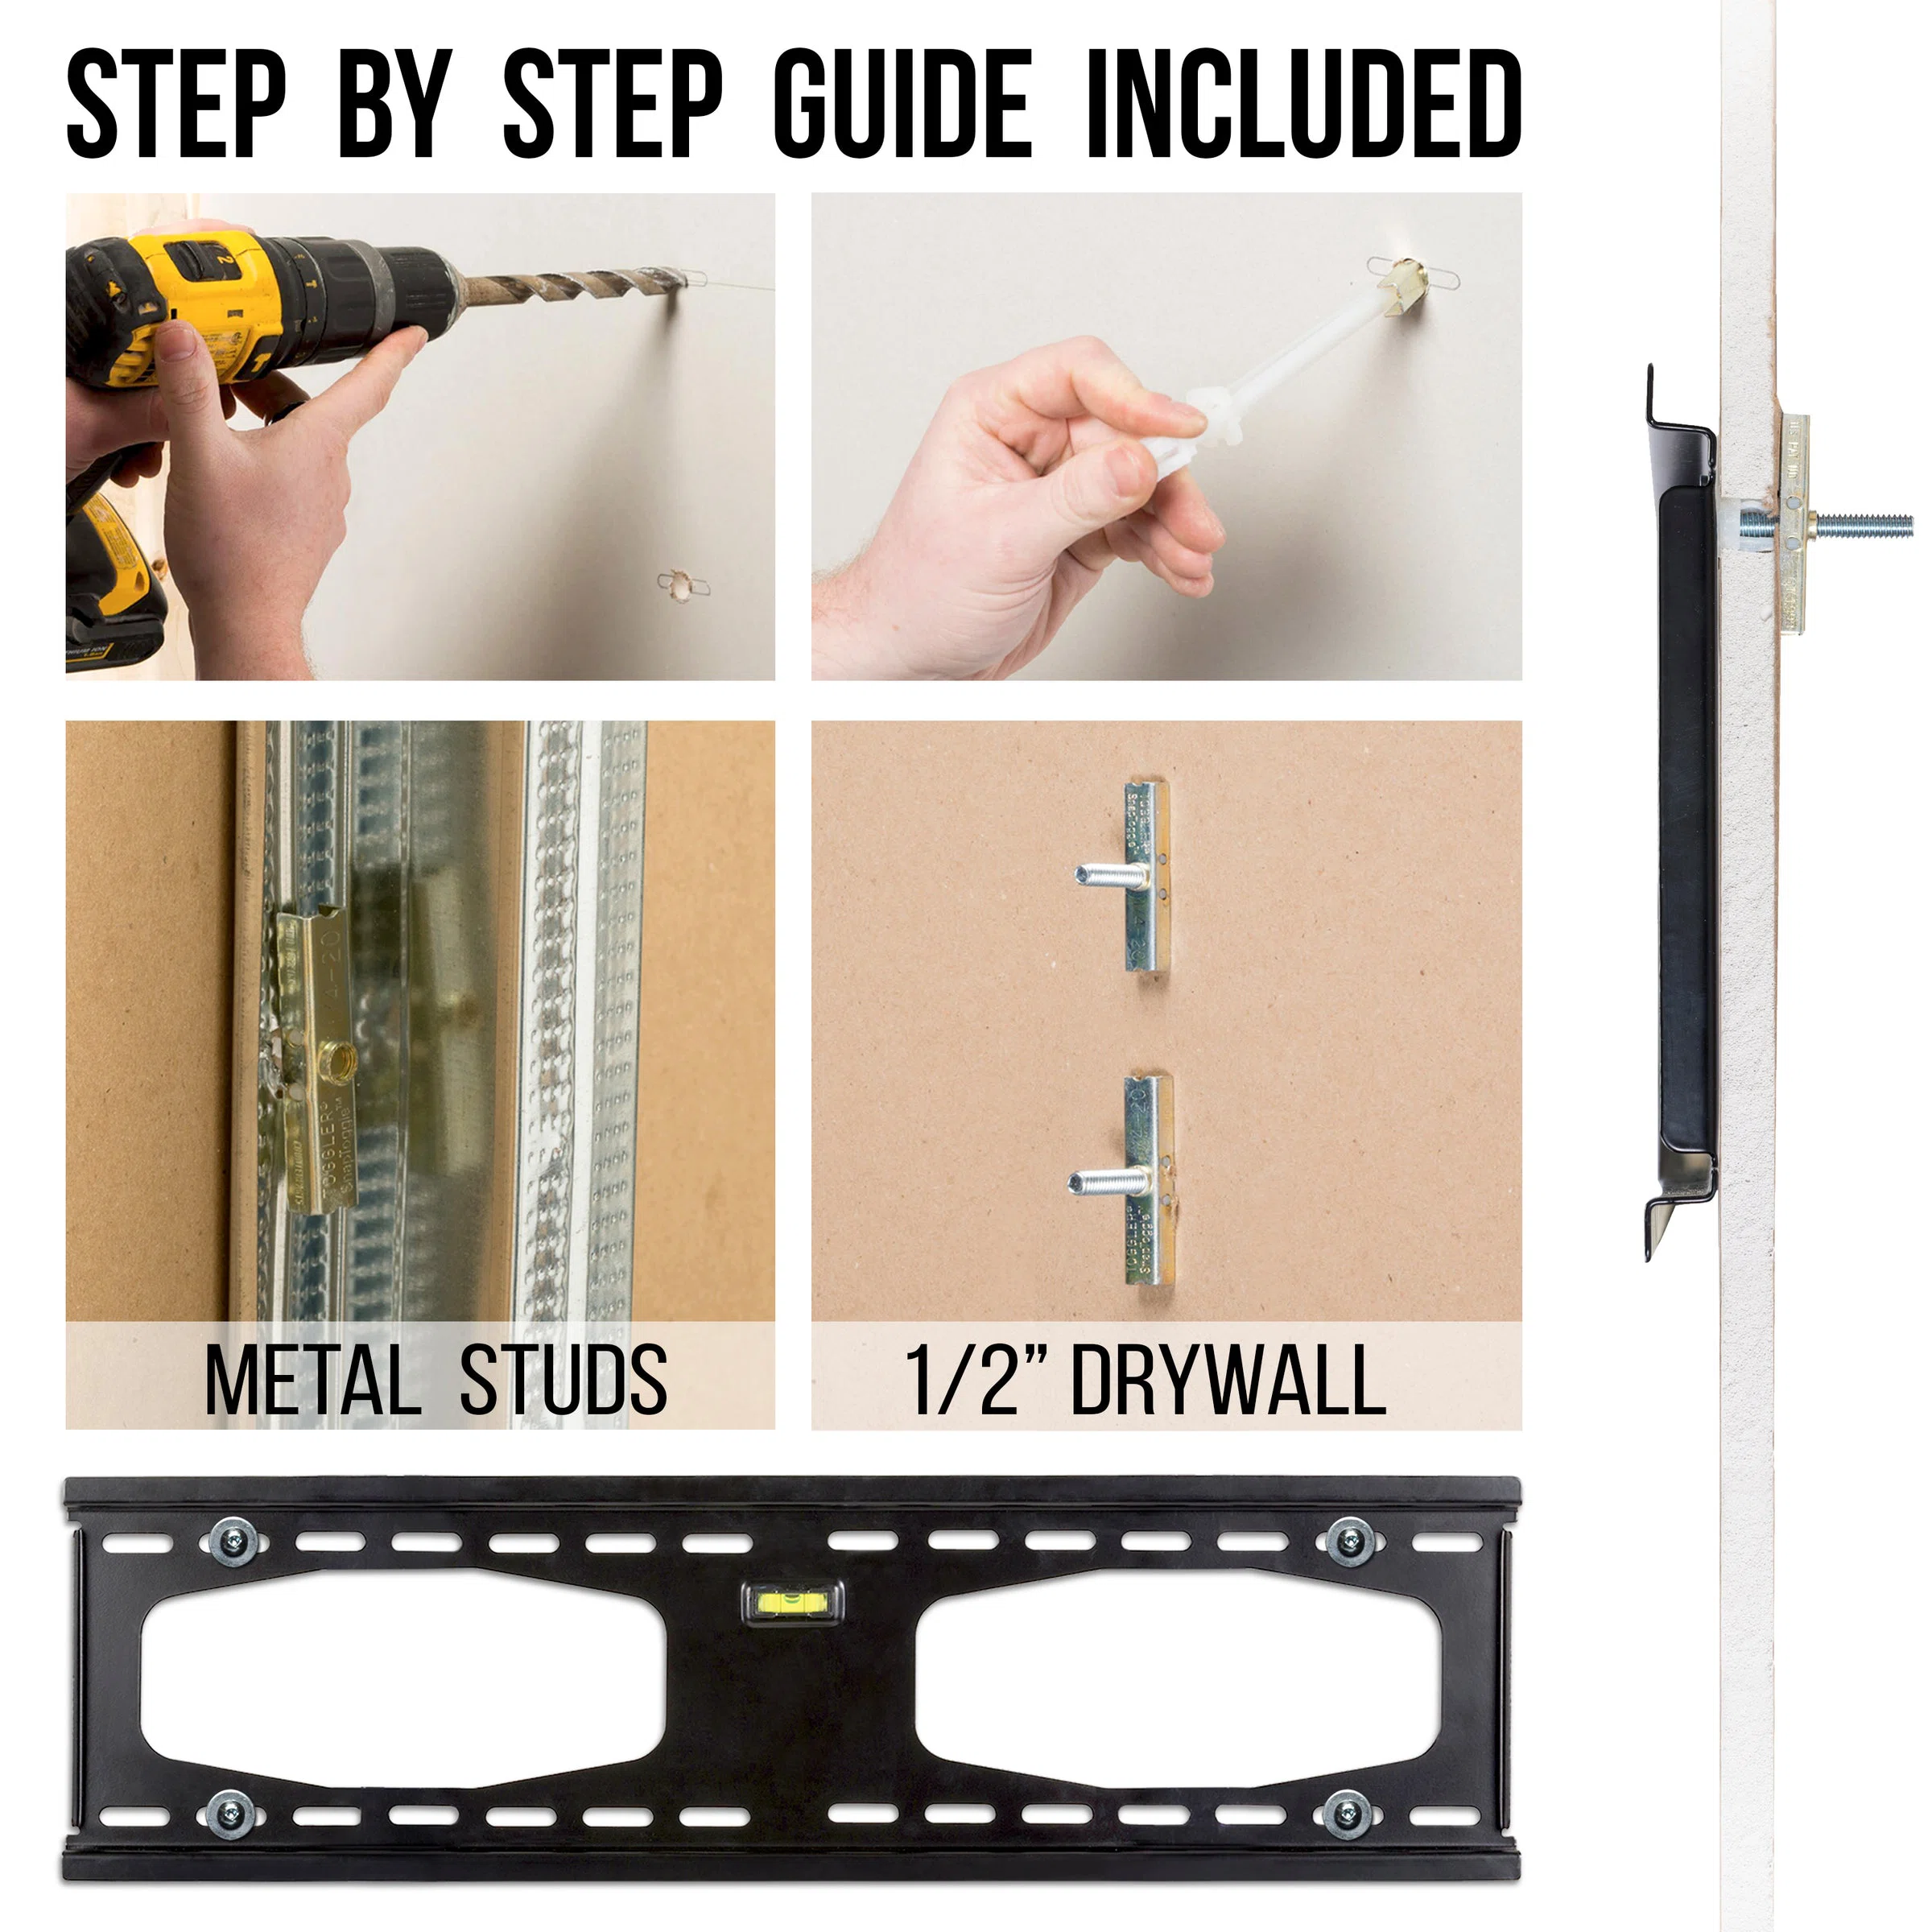
- Toggle bolts: The best option for drywall. A ¼-inch toggle bolt in ½" drywall can hold 30, 50 pounds per anchor. Use at least two, preferably four.
- Snap toggles or snap anchors: Easier to install than traditional toggle bolts with similar holding strength. Good choice for first-timers.
- Plastic expansion anchors: Not recommended for monitors. They're fine for lightweight wall art, not for something you're trusting with your expensive display.
- Simple screws into drywall: Just don't. Even a 15-pound monitor will eventually pull free.
If you go the drywall anchor route, make sure your mount uses at least four anchor points and distribute the load across as many as possible.
Concrete, Brick, or Block Walls
Common in older buildings, basements, and many UK/European homes. You'll need a masonry drill bit (carbide-tipped) and concrete sleeve anchors or Tapcon-style screws. The process is similar to stud mounting but requires a hammer drill for efficient pilot holes.
Concrete anchors are extremely strong. The main challenge is drilling cleanly and making sure you don't hit any embedded conduit or pipes. Use a stud finder with a deep-scan or metal-detection mode if you're unsure.
How to Find Out What You're Drilling Into
Not sure what your wall is made of? Here's a quick test. Knock on it.
Hollow sound with a slight echo means drywall or plaster over studs. Solid, dull thud means concrete, brick, or possibly plaster over lath. If you're still unsure, drill a small test hole (in an inconspicuous spot) and see what the drill bit encounters and what comes out.
Also check for electrical wiring before drilling. A stud finder with AC detection is worth the small extra cost. Wiring typically runs vertically from outlets and switches, so avoid drilling directly above or behind them.
Step-by-Step: Mounting Your 27-Inch Monitor
Here's the full process from start to finish. Set aside 30 to 90 minutes depending on your experience level and wall type.
Step 1: Confirm Your Monitor's VESA Pattern and Weight
Look up your monitor's exact model number on the manufacturer's website. Find the VESA pattern (almost certainly 100×100mm for a 27-inch display) and the weight without the stand. Write these down.
You'll need them to verify your mount is compatible.
Step 2: Pick Your Mount Height and Position
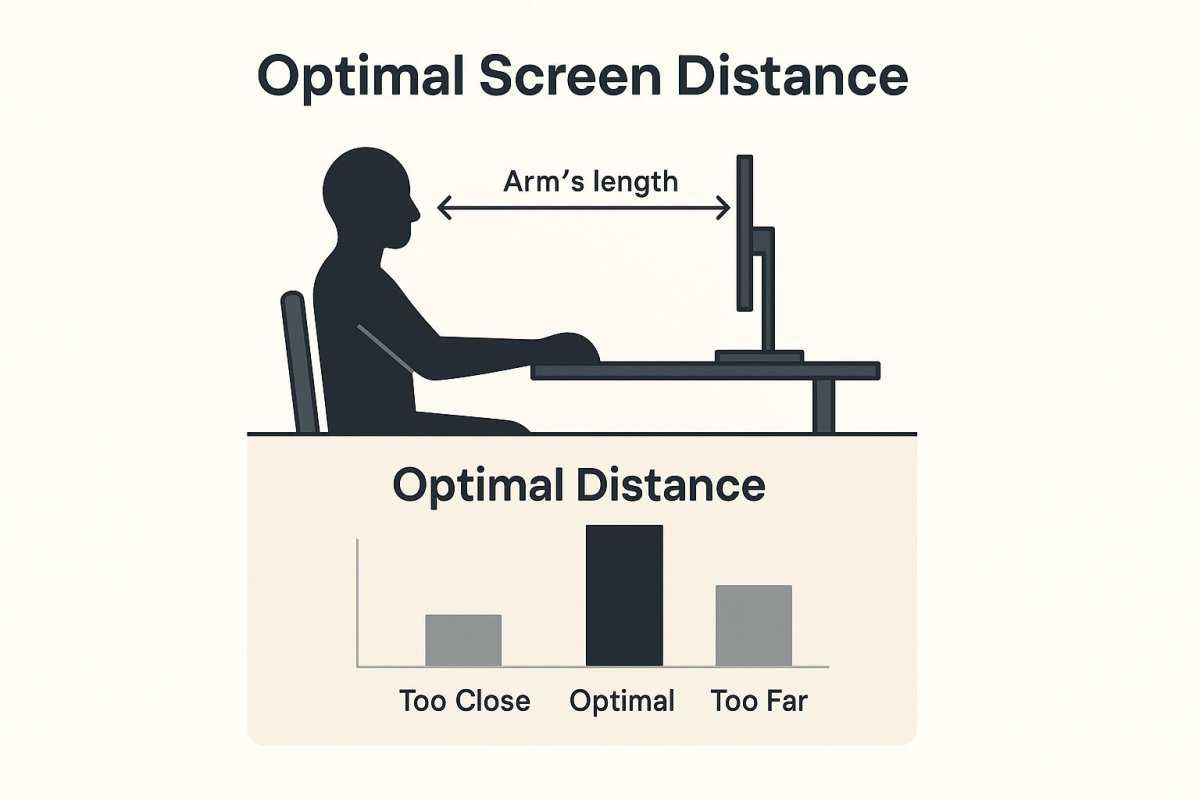
The top of the screen should sit at or slightly below eye level when you're in your normal working position. For most people, that means the center of the monitor ends up about 42 to 48 inches from the floor, but this depends on your height and chair.
Mark the desired position on the wall with a pencil. Use a level to make sure your mark is horizontal. If you're mounting above a desk, measure from the desk surface to confirm the monitor will clear it with room to adjust.
Step 3: Locate Studs and Check for Wiring
Run your stud finder across the wall where you plan to mount. Mark the edges and center of each stud with pencil. If you're hitting a stud, great.
If not, plan your drywall anchor placement and make sure you have the right anchors on hand.
Scan for electrical wiring in the area. Avoid drilling directly above outlets, light switches, or any known wiring paths.
Step 4: Mark, Drill, and Attach the Wall Plate
Hold the wall plate against the wall at your marked position. Use a level to make sure it's perfectly horizontal. Mark the mounting holes through the plate with a pencil.
Drill pilot holes. For studs, use a drill bit slightly smaller than your lag bolt diameter. For masonry, use a masonry bit sized to your anchors.
For drywall anchors, follow the anchor manufacturer's recommended drill bit size.
Attach the wall plate with lag bolts (into studs) or anchors (into drywall or masonry). Tighten firmly but don't over-torque. The plate should sit flush against the wall with no wobble.
Step 5: Attach the VESA Plate to Your Monitor
Most mounts come with a separate plate that bolts to the back of your monitor. Line up the plate's holes with the VESA mounting holes on your monitor. Use the provided screws, but don't overtighten.
If the VESA holes are recessed behind the plastic housing of the monitor, use the spacers or standoffs included with your mount to prevent cracking the housing.
Step 6: Hang the Monitor and Secure Everything
This part is easier with a second person, especially with full-motion mounts. Hook or slide the monitor plate onto the wall plate. Most mounts have a locking mechanism, a set screw, or a latching system to keep the monitor attached.
Engage it.
Give the monitor a firm but gentle shake to test stability. It should feel solid with no movement at the wall connection. If anything feels loose, recheck your bolts and anchors.
Step 7: Manage Your Cables
Once the monitor is up, deal with the cables before you forget. You have a few options:
- Cable raceway: A surface-mounted channel that sticks to the wall and hides cables. Clean look, easy to install.
- In-wall cable kit: Routes cables through the wall for a completely hidden appearance. More work but the best aesthetic.
- Cable clips: Simple adhesive or screw-on clips that bundle cables along the wall. Functional but not as tidy.
Make sure your power and display cables are long enough to reach from the wall-mounted monitor to your PC or power outlet. A 27-inch monitor mounted higher and further from the desk often needs longer cables than the ones that came in the box.
Common Mistakes That Lead to a Monitor on the Floor
Even a straightforward wall mount can go wrong if you skip a few critical checks. Here are the most common errors people make and how to avoid them.
Assuming drywall alone is enough. Drywall by itself has almost no pull-out strength. A monitor hung on a screw threaded only into drywall will fail, sometimes immediately, sometimes weeks later when the weight slowly works the screw free. Always mount into studs or use rated toggle bolts.
Not checking the monitor's actual weight. People often guess low. A 27-inch gaming monitor with a built-in power supply can easily weigh 14 to 16 pounds. Add the weight of the VESA plate and bolts to your total before comparing against your mount's rating.
Forgetting that the VESA plate needs clearance. Some mounts have a deep wall plate or thick bracket that won't fit if your monitor's VESA holes are recessed. You might need the spacer standoffs that come with quality mounts. Check before you start drilling.
Mounting too high. It's tempting to place the monitor at eye level when you're standing. But if you sit at a desk most of the day, a standing-height mount will give you neck strain within an hour. Mount for your primary working position.
How High Should You Actually Mount a 27-Inch Monitor?
The correct height depends on how you use the space. There are two main scenarios.
At a seated desk setup. The top edge of the screen should sit at or 2 to 3 inches below your eye level when you're seated upright with good posture. For most adults in a standard office chair, this puts the center of the screen roughly 42 to 48 inches from the floor. Your gaze should tilt slightly downward, about 10 to 20 degrees, without bending your neck.
In a kitchen, workshop, or shared space. If you'll be standing or moving around, mount it higher. The center of the screen around 55 to 60 inches from the floor works well for standing adult viewing. For a kitchen display showing recipes or a workshop reference screen, this higher placement keeps it visible from across the room.
Mark the position at your desk or workspace first. Sit in your chair, look straight ahead, and have someone hold a tape measure against the wall. Get the height right before you drill.
Moving a mount after installation means filling holes and starting over.
What This Costs: Real Pricing and What You Get
Wall mounts for a single 27-inch monitor range from about $12 to over $100. Here's what to expect at each price level.
| Price Range | Mount Type | What You Get |
|---|---|---|
| $12–$20 | Basic fixed | Simple steel bracket, minimal hardware, no frills |
| $20–$35 | Tilting | Better build quality, smoother tilt mechanism, cable management clips |
| $35–$60 | Full-motion | Articulated arm, good adjustability, solid construction |
| $60–$100+ | Premium full-motion | Gas-spring arm, integrated cable channels, quick-release plate |
You don't need to spend more than $30 for a basic fixed or tilting mount that handles a 27-inch monitor perfectly well. Spend more if you want the adjustability of an articulating arm or if you prefer a premium finish. The hardware that goes into the wall matters more than the mount itself.
Quality lag bolts and anchors are cheap insurance.
Budget another $10 to $20 for cable management if you want a clean look. A basic cable raceway kit covers the run from the monitor to the power outlet or desk.
When a Desk Arm Makes More Sense Than a Wall Mount
A wall mount isn't always the answer. If your desk sits away from the wall, a desk clamp monitor arm gives you the same benefits without drilling into anything. Desk arms clamp to the edge of your desk and offer full articulation, often with easier height and angle adjustments than wall mounts.
Desk arms are also the better choice if you rent and can't drill holes, or if you rearrange your setup frequently. The tradeoff is that they take up some desk space at the clamp point and need a desk edge that can handle the clamp pressure.
A wall mount wins when your desk is against the wall, when you want the cleanest possible look, or when you don't have a suitable desk edge for clamping. Both options free up desk space compared to the factory stand. It just comes down to your specific setup.
Frequently Asked Questions
Can I mount a 27-inch monitor on drywall without hitting a stud?
Yes, but only with proper toggle bolts rated for the weight. Use at least four toggle bolts in 1/2-inch drywall. Each quality toggle bolt holds 30 to 50 pounds.
Avoid plastic expansion anchors. They are not strong enough for this.
What size bolts do I need for the VESA plate?
Most mounts include M4 screws for the VESA plate. These fit the vast majority of monitors with standard VESA holes. Check your monitor's manual to confirm.
Some monitors use M3 or M5 screws instead. Using the wrong size can strip the threads or crack the housing.
How long does the whole installation take?
Plan for 30 to 60 minutes if you're mounting into studs and know your wall type. First-timers or anyone dealing with concrete walls should budget 60 to 90 minutes. The actual drilling and bolting takes maybe 20 minutes.
Locating studs, marking positions, and managing cables takes the rest.
Do I need a stud finder or can I just knock on the wall?
You can knock to get a rough idea of where studs are. But a basic stud finder is worth the $15 to $20 for accuracy. It helps you find the center of the stud, which is where you want your bolt.
Some stud finders also detect electrical wiring, which is a useful safety bonus.
Will a wall mount void my monitor's warranty?
In most cases, no. Using the VESA mounting points as intended by the manufacturer does not void the warranty. However, damaging the monitor during installation or using incorrect screws that crack the VESA hole housing could give the manufacturer grounds to deny a claim.
Follow the mount instructions and use the provided hardware.

Similar Posts