How to Mount Curved Gaming Monitor on Wall
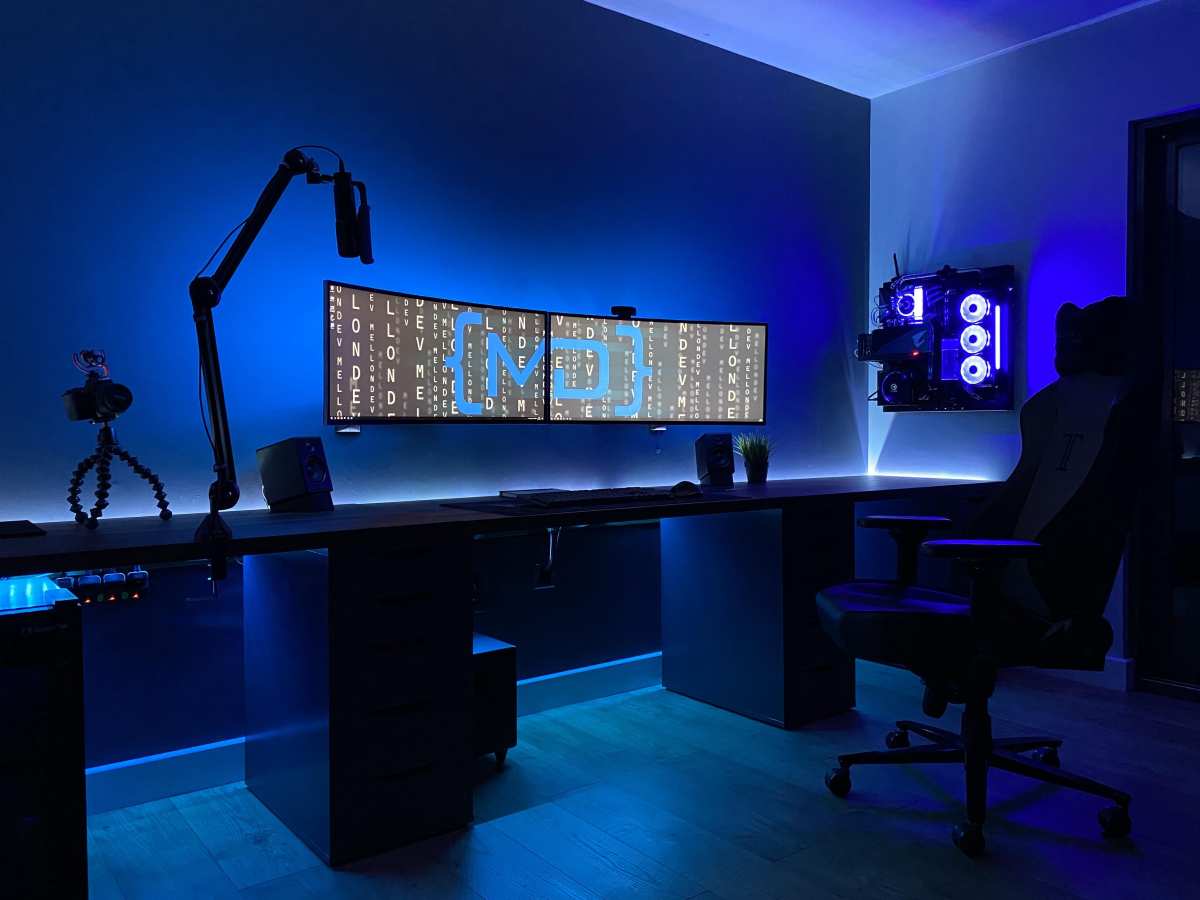
So you've got a curved gaming monitor and you're tired of it eating up your desk space. Learning how to mount curved gaming monitor on wall isn't quite the same as hanging a flat panel. The curve changes the depth, the weight distribution, and how far the screen needs to sit from the wall.
The good news: it's absolutely doable with basic tools and about an hour of your time. You just need to match the right mount to your specific monitor and wall type before you start drilling holes.
Quick Answer
Yes, you can wall mount a curved gaming monitor. Check your monitor's VESA pattern and weight without the stand first. Buy a mount rated for at least 20% more weight than your monitor.
Mount into wall studs whenever possible. Curved monitors need mounts with enough extension to accommodate the screen depth.
The Three Things You Need to Check Before Buying a Mount
Before you spend a dollar on hardware, you need to know exactly what you're working with. Skipping this step is how people end up with a monitor on the floor.
Your Monitor's VESA Pattern and Weight Without the Stand
Flip your monitor over or check the manual. You're looking for two things: the VESA mounting pattern and the weight without the stand.
VESA (Video Electronics Standards Association) sets the standard hole patterns on the back of monitors. For curved gaming monitors, you'll typically see:
- 75x75mm: Smaller curved monitors (27" and under)
- 100x100mm: Most 27-34" curved gaming monitors
- 200x200mm or 200x100mm: Large ultrawides and super-ultrawides
The weight matters more than the pattern. A 34" curved monitor typically weighs 12-18 lbs without its stand. A 57" super-ultrawide like the Samsung Odyssey Neo G9 weighs around 32 lbs without the stand.
Your mount's weight capacity should exceed your monitor's weight by at least 20%. This gives you a safety margin for the added stress of tilting and swiveling.
Your Wall Type: Studs, Drywall, Concrete, or Brick
This is where most people mess up. Your wall type determines everything about how you mount.
Wood stud with drywall: Most common in US homes. You want to mount into the studs, not just the drywall. Studs are typically 16 inches on center.
Plaster and lath: Older homes. Tricky to mount into. You'll need to find the studs behind the plaster.
Concrete or brick: Common in basements and European homes. Requires a hammer drill and masonry anchors.
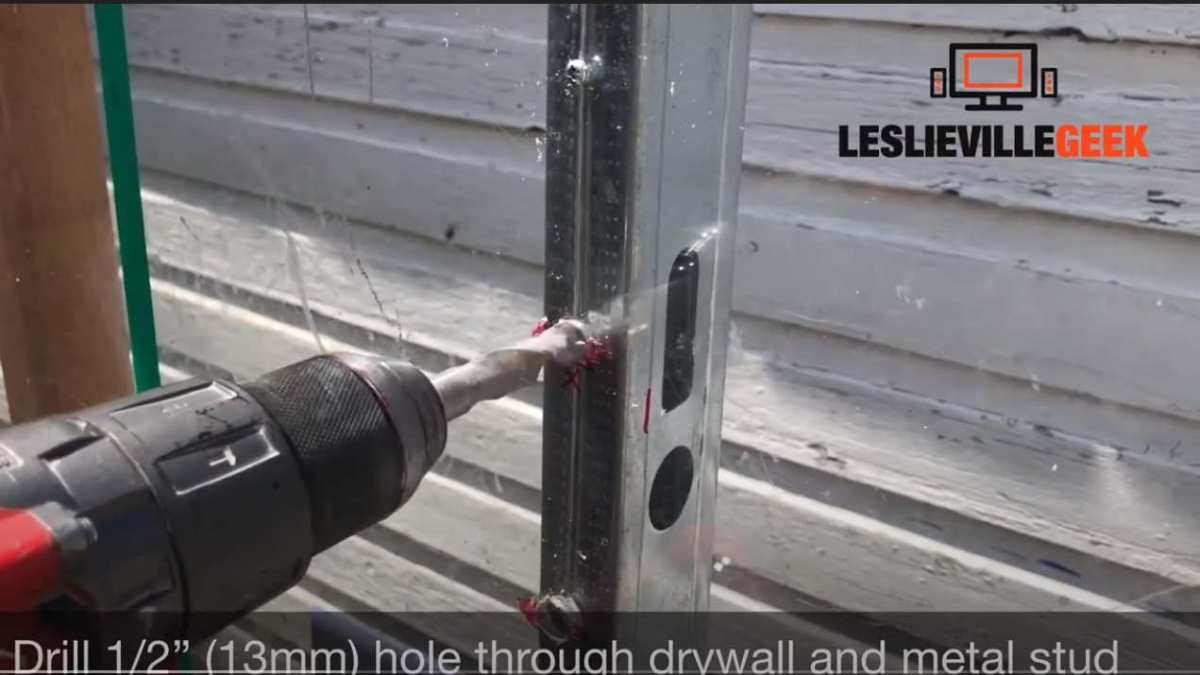
Metal studs: Some apartments and commercial buildings. Need specialized toggle bolts designed for metal studs.
If you can't mount into studs, you'll need heavy-duty toggle bolts or snap toggles. But for anything over 15 lbs, stud mounting is strongly recommended.
How Far the Mount Needs to Extend from the Wall
Here's what makes curved monitors different from flat ones. The curve means the edges of the screen sit closer to the wall while the center bulges out. Or vice versa, depending on the curvature radius.
A 1000R curve is aggressive. The monitor needs more clearance from the wall than a gentle 1800R curve. You'll need a mount that extends at least 4-8 inches from the wall for most curved gaming monitors.
Super-ultrawides and aggressive curves may need 10-12 inches of extension. Fixed mounts won't work well here. You'll want at least a tilting mount, preferably a full-motion articulating arm.
Choosing the Right Mount Type for Your Curved Monitor
Not all wall mounts are created equal. The type you need depends on your monitor size, weight, and how you want to use it.
Fixed Mounts: When You Have Perfect Stud Alignment
Fixed mounts hold the monitor flat against the wall with no adjustment. They're the cheapest and simplest option.
Best for: Flat monitors or gentle curves (1800R+) where the viewing angle won't change much.
Not ideal for: Aggressive curves (1000R, 1500R) or situations where you need to adjust the screen angle.
Price range: $20-50
Tilting Mounts: The Budget-Friendly Middle Ground
Tilting mounts let you angle the screen up or down, usually 10-15 degrees. They extend a few inches from the wall.
Best for: Curved monitors 34" and under where you just need minor angle adjustment.
Not ideal for: Large ultrawides or situations where you need swivel or side-to-side movement.
Price range: $30-80
Full-Motion Articulating Arms: Best for Curved Monitors
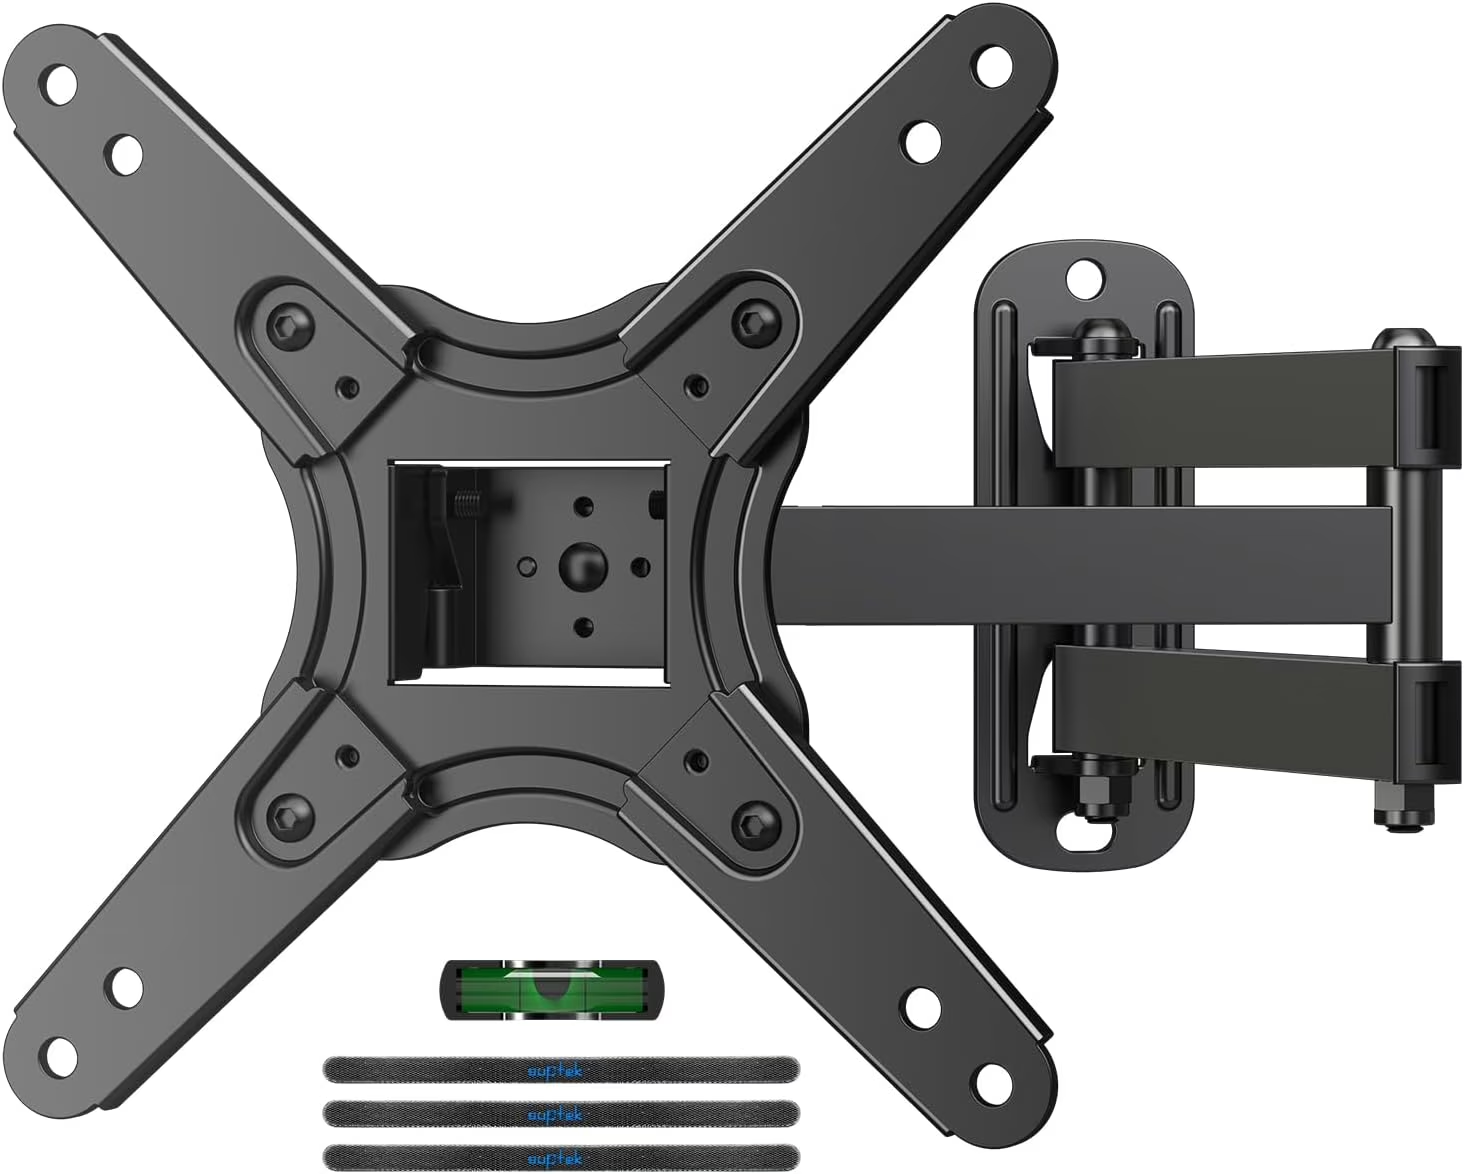
This is what most curved gaming monitor owners should be looking at. Articulating arms extend, tilt, swivel, and rotate. They give you the clearance you need for the curve.
Best for: Any curved monitor, especially 1000R curves, ultrawides, and multi-monitor setups.
Key specs to look for:
- Extension distance of 8+ inches
- Weight capacity 20% above your monitor weight
- VESA compatibility matching your monitor
- Gas spring mechanism for smooth adjustment
Price range: $80-250+
Desk Mounts as an Alternative When Wall Mounting Won't Work
If you're renting, have concrete walls you can't drill into, or can't hit studs at the right spot, desk mounts are a solid alternative. They clamp to your desk or pass through a grommet hole.
They give you the same range of motion as wall-mounted articulating arms. The tradeoff is they take up some desk space and require a sturdy desk.
Price range: $60-200
Step-by-Step: How to Mount Your Curved Gaming Monitor on the Wall
Here's the full process from start to finish. Take your time with each step.
Step 1: Gather Your Tools and Confirm Your Monitor's Specs
Before you touch a drill, get everything together.
Tools you'll need:
- Stud finder
- Tape measure
- Pencil
- Level (a phone level app works in a pinch)
- Drill with bits
- Socket wrench or ratchet for lag bolts
- Safety glasses
Materials:
- Your wall mount (with included hardware)
- 1/4-inch x 3-inch lag bolts (if not included with mount)
- Appropriate anchors if not mounting into studs
Double-check your monitor's VESA pattern and weight. Confirm your mount's weight capacity. Make sure the mount's VESA plate matches your monitor's hole pattern.
Some curved monitors need a separate VESA adapter plate. Samsung and LG sometimes use proprietary brackets. Check your monitor's manual or the manufacturer's website.
Step 2: Find Your Studs and Determine Mount Position
The center of your screen should be at eye level when you're seated. For most people, that's about 42-48 inches from the floor to the center of the monitor.
Use your stud finder to locate the studs. Mark the edges and center of each stud with a pencil. Studs are typically 16 inches apart, measuring from center to center.
Measure from a corner or outlet to confirm stud locations. Outlets are usually attached to a stud on one side.
If your desired mount position doesn't line up with a stud, you have three options:
- Use heavy-duty toggle bolts (for drywall only, up to 50 lbs per bolt)
- Use a mounting plate that spans two studs
- Choose a different mount position
For curved monitors over 20 lbs, always mount into studs if possible.
Step 3: Mark, Drill, and Install the Wall Plate
Hold the wall plate against the wall at your marked position. Use a level to make sure it's perfectly horizontal. Mark the screw holes with your pencil.
Drill pilot holes into the studs. Use a drill bit slightly smaller than your lag bolts. This prevents the wood from splitting.
Mount the wall plate using lag bolts. Tighten them firmly with a socket wrench. Give the plate a good tug to make sure it's solid.
If you're mounting into concrete or brick, use a hammer drill with a masonry bit. Insert sleeve anchors or wedge anchors, then bolt the plate down.
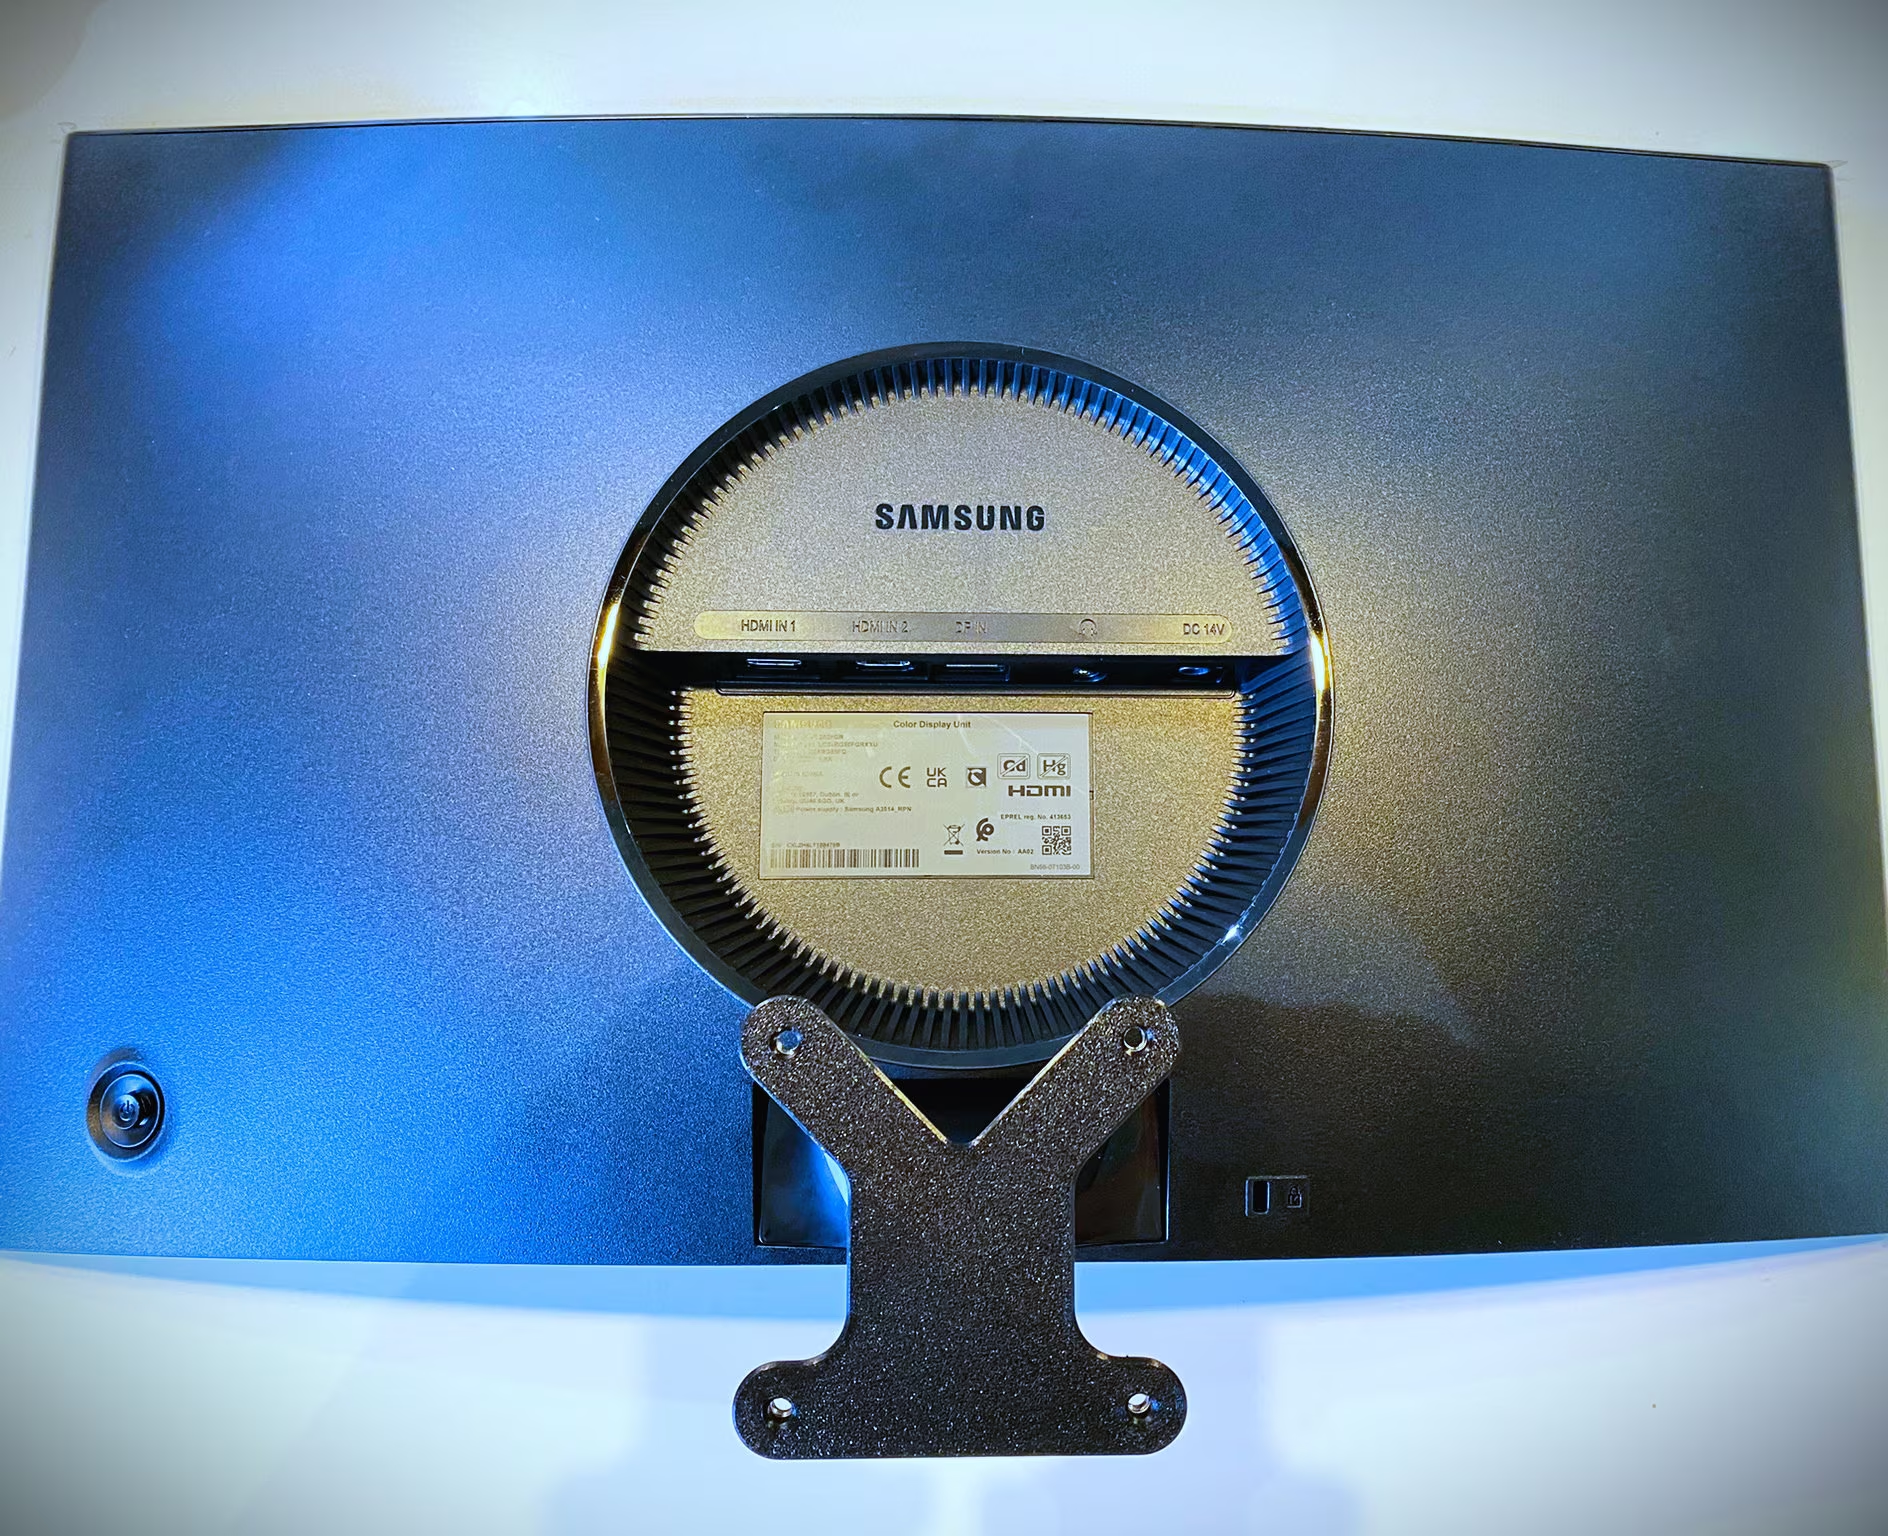
Step 4: Attach the Mounting Bracket to Your Monitor
Lay your monitor face-down on a soft surface. A towel on a table works fine.
Attach the mounting bracket to the VESA holes on the back of the monitor. Use the screws that came with your mount or monitor. Don't overtighten.
The bracket should be snug but not cracking the plastic.
Some curved monitors have recessed VESA holes. You may need longer screws or spacers. Check your monitor's manual for the correct screw length.
If your monitor came with a stand, remove it now. There's usually a quick-release button or a few screws.
Step 5: Hang the Monitor and Secure Everything
This part is easier with a second person. Curved monitors can be awkward to hold one-handed.
Lift the monitor and hook or slide the bracket onto the wall plate. Most mounts have a locking mechanism. Engage it now.
Tighten any set screws that hold the monitor to the mount. Check that the quick-release (if your mount has one) is fully engaged.
Give the monitor a gentle shake. It should feel solid with no wobble or play.
Step 6: Route Your Cables and Test the Full Range of Motion
Plug in your display cable and power cord. Use the cable management channels on your mount if it has them. Zip ties work great for keeping things clean.
Test the full range of motion. Tilt the monitor up and down. Swivel it side to side.
Extend it from the wall and push it back.
Watch for cable strain. If the cables pull tight at certain angles, you need more slack or a different routing path.
Adjust the monitor to your preferred viewing position. For a curved monitor, you want your eyes centered on the screen at the recommended viewing distance. That's usually 3-4 feet for a 1000R curve, 4-6 feet for a 1800R curve.
Common Mistakes That Lead to a Monitor on the Floor
Learn from other people's disasters.
Mounting into drywall only: A curved monitor is heavier than it looks. Drywall alone won't hold it. Always hit studs or use proper anchors.
Buying a mount with insufficient weight capacity: That $15 mount might say it supports your monitor. Check the actual weight rating. Add 20% for safety.
Ignoring the curve depth: A fixed mount works fine for a flat screen. A curved screen needs clearance. The edges or center will hit the wall if the mount doesn't extend far enough.
Mounting too high: The center of the screen should be at eye level. Mounting too high forces you to tilt the monitor down, which looks awkward and strains your neck.
Forgetting about cable management: Curved monitors move more than flat ones. Route your cables with enough slack to handle the full range of motion.
Not checking for wires and pipes behind the wall: Before you drill, use a stud finder with wire-detection capability. Drilling into an electrical wire is dangerous and expensive.
Skipping the level: A monitor that's even slightly off-level will bug you forever. Use a real level, not your eyeball.
How Much Does It Cost to Wall Mount a Curved Gaming Monitor?
Here's a realistic breakdown of what you'll spend.
| Item | Budget Option | Mid-Range | Premium |
|---|---|---|---|
| Fixed mount | $20-30 | $40-60 | $80-100 |
| Tilting mount | $30-50 | $60-90 | $100-150 |
| Articulating arm | $60-100 | $120-200 | $250-400 |
| Professional install | $75-150 | $150-250 | $250-400 |
| Toggle bolts/anchors | $5-10 | $10-15 | $15-25 |
| Cable management | $5-10 | $10-20 | $20-40 |
If you're doing it yourself with a decent articulating arm, expect to spend $80-150 total. Professional installation adds $100-250 depending on your location and wall type.
The most expensive mistake is buying the wrong mount. Spend time checking compatibility before you buy.
When to Hire a Professional Instead of Doing It Yourself
Some situations call for a pro.
Hire a professional if:
- You have concrete or brick walls and no hammer drill
- You can't find studs where you need them
- Your monitor is over 30 lbs
- You're mounting into plaster and lath
- You're not comfortable with power tools
- Your building requires permits for wall mounting
DIY is fine if:
- You have standard drywall over wood studs
- Your monitor is under 25 lbs
- You own a drill and basic tools
- You can hit studs at your desired position
Most handyman services charge $75-150 for a monitor mount installation. It's worth it if you're unsure about hitting studs or drilling into your walls.
Frequently Asked Questions
Can you wall mount any curved gaming monitor?
Yes, as long as it has VESA mounting holes on the back. Almost all curved gaming monitors from major brands support VESA mounting. Check your manual for the pattern and weight.
Do I need a special mount for a curved monitor?
Not necessarily "special," but you need a mount with enough extension from the wall. Fixed mounts often don't provide enough clearance. Tilting or articulating mounts work best.
How high should I mount my curved gaming monitor?
The center of the screen should be at eye level when you're seated. For most people, that's 42-48 inches from the floor to the center of the monitor.
Will wall mounting void my monitor warranty?
Usually not, as long as you use a compatible VESA mount and don't damage the monitor. Check your warranty terms to be sure. Some brands are more particular about this than others.
Can I mount a curved monitor on drywall without hitting studs?
Technically yes, with heavy-duty toggle bolts. But for anything over 15 lbs, stud mounting is much safer. A falling monitor is expensive and dangerous.
How long does it take to mount a curved monitor on the wall?
About 30-90 minutes for a typical DIY installation. Add extra time if you're hitting unexpected obstacles like pipes or electrical wires behind the wall.
Mounting a Super-Ultrawide or 49"+ Curved Monitor
Big curved monitors need extra planning. A 49" super-ultrawide weighs 25-35 lbs without the stand. That's a lot of weight on your wall.
You need a heavy-duty articulating arm rated for at least 40 lbs. Look for mounts designed for large TVs, not just monitors. The VESA pattern is usually 200x200mm or larger.
The curve depth is significant on these monitors. A 1000R 49" Samsung Odyssey G9 curves deeply. You need 10-12 inches of clearance from the wall at the center.
Fixed mounts won't work at all.
Consider professional installation for monitors over 30 lbs. The risk of dropping one of these is real, and the replacement cost is steep.
What If Your Studs Don't Line Up With the Mount Position
This happens more often than you'd think. Your perfect screen position falls right between two studs.
You have a few options here.
Use a mounting plate. These are wide steel or wood plates that span two or more studs. The mount attaches to the plate.
This distributes weight across multiple anchor points.
Add a horizontal stud. If you're comfortable with basic carpentry, you can add a 2×4 block between two existing studs. This gives you a solid mounting point anywhere along that span.
Use toggle bolts for lighter monitors. If your monitor is under 15 lbs and you're mounting into drywall only, snap toggle bolts can work. Drill a hole, insert the toggle, and tighten.
The toggle spreads the load behind the drywall.
For anything heavier than 15 lbs, stick with stud mounting. The peace of mind is worth the extra effort.
Cable Management for Wall-Mounted Curved Monitors
Cable management matters more with curved monitors. The screen moves more, and cables can pull tight or look messy.
Route cables through the mount. Most articulating arms have clips or channels built in. Use them.
Keep power and display cables separated to avoid interference.
Leave enough slack. When your monitor tilts and swivels, it needs extra cable length. Add 6-12 inches of slack near the monitor end.
Use a cable raceway. If your mount doesn't have built-in management, stick-on raceways hide cables along the wall. Paintable ones blend in.
Consider a cable box. Mount a small power strip and excess cable length behind the monitor. It keeps everything tidy and out of sight.
How to Remove a Curved Monitor From the Wall Mount
You might need to remove your monitor for cleaning, moving, or upgrading. Most mounts have a quick-release mechanism.
Look for a latch or lever on the mounting bracket. Press or lift it, then lift the monitor straight up and off the wall plate.
For mounts without quick-release, you'll need to unscrew the bracket from the back of the monitor. Keep the screws in a bag so you don't lose them.
If you're removing the entire mount, unscrew the wall plate from the studs. Patch the holes with spackle and touch up the paint.
Final Decision Guide: What Type of Mount Should You Buy?
Here's a quick reference based on your situation.
| Your Situation | Best Mount Type | Why |
|---|---|---|
| 27-34" curved, under 20 lbs, studs available | Tilting mount | Affordable, enough clearance, simple install |
| 27-34" curved, want full adjustability | Articulating arm | Best ergonomics, good cable management |
| 38-49" curved, over 25 lbs | Heavy-duty articulating arm | Weight capacity, extension depth, stability |
| Can't hit studs, monitor under 15 lbs | Toggle bolt + tilting mount | Works on drywall, budget-friendly |
| Concrete/brick wall | Masonry anchors + any compatible mount | Proper anchors prevent wall damage |
| Rental, can't drill holes | Desk mount clamp | No wall damage, full range of motion |
| Multi-monitor curved setup | Dual articulating arms | Independent adjustment, shared weight capacity |
When in doubt, go with an articulating arm. It gives you the most flexibility for positioning a curved monitor. You can always push it flat against the wall if you don't need the extension.
You can't add extension to a fixed mount.
Spend the money on a quality mount. A $150 articulating arm protects a $500+ monitor. That's cheap insurance.

Similar Posts