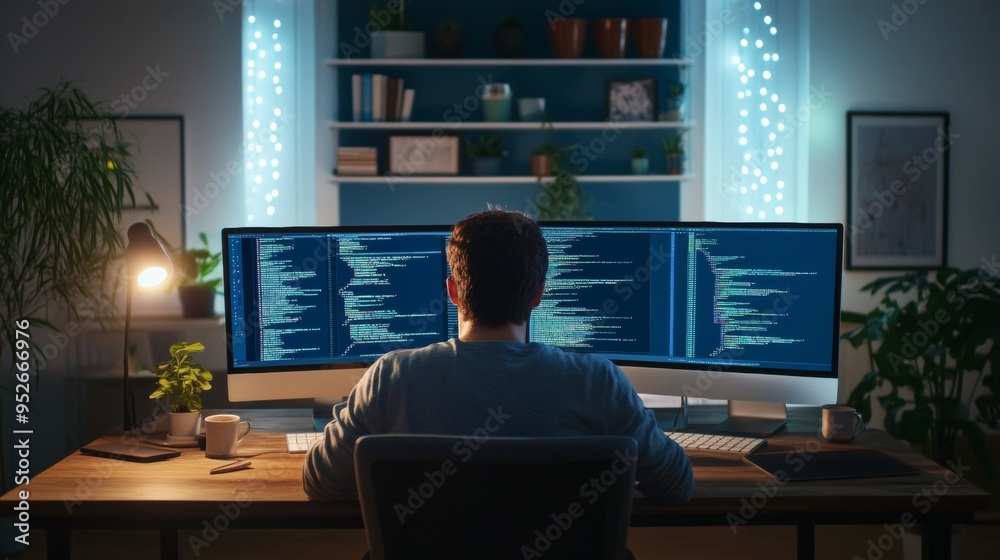
How to Setup Curved Gaming Monitor
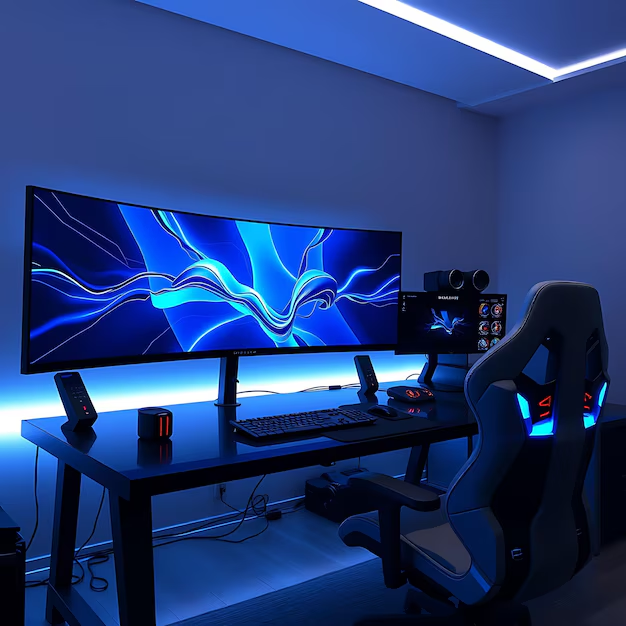
Figuring out how to setup curved gaming monitor properly is one of those things that sounds straightforward until you're staring at a box, a stand, and a mess of cables wondering why the immersion isn't hitting the way reviews promised. The truth is that most people skip the foundational steps, and it shows.
Getting it right means understanding your curvature rating, measuring your actual sitting distance, and dialing in settings that most guides ignore entirely. Per VESA mounting standards and manufacturer specifications, even small errors in height alignment or viewing distance can turn that premium curve into an expensive frustration. Let's walk through it properly.
Quick Answer
Position your curved monitor so the center of the screen sits at eye level. Set your viewing distance to match the curvature radius. Use DisplayPort 1.4 or HDMI 2.1 for full refresh rate support.
Enable adaptive sync in both your monitor OSD and GPU driver. Fine-tune overdrive, brightness, and in-game FOV for the curve.
Why Curved Monitor Setup Is Harder Than It Looks
Here's what nobody tells you when you unbox that gorgeous curved panel. The curve only works if you're sitting in the right spot. Too close and the edges distort.
Too far and you lose the entire immersive benefit you paid extra for.
Most people eyeball the placement. They set it wherever the desk looks good and wonder why their neck hurts after an hour. The geometry of a curved panel is unforgiving compared to a flat screen.
A flat monitor looks roughly the same from a range of distances and angles. A curved one has a sweet spot, and you need to find it.
There's also the settings side. Out of the box, many curved gaming monitors ship with conservative defaults. Refresh rate might cap at 60Hz.
Adaptive sync could be disabled. Overdrive might be set to a level that introduces inverse ghosting. These aren't defects.
They're just factory presets that need changing.
Understanding Curvature Ratings (1000R vs. 1500R vs. 1800R)
:quality(70)/cloudfront-us-east-1.images.arcpublishing.com/metroworldnews/VPUY43TJJFDOXIEHKHAEXZOBUQ.jpg)
What the Numbers Actually Mean
The "R" stands for radius, and the number tells you the distance in millimeters at which a full circle would complete. So 1000R means the curve forms a circle with a 1,000mm (1-meter) radius. 1500R means 1,500mm. 1800R means 1,800mm.
Lower number equals tighter curve. A 1000R monitor bends more aggressively than a 1500R. Samsung popularized 1000R panels in 2020, and they've become common in high-end gaming monitors as of 2026.
Here's a quick reference:
| Curvature | Radius | Aggressiveness | Best For |
|---|---|---|---|
| 1000R | 1,000mm | Tightest curve | Close sitting, sim racing, immersion-focused gaming |
| 1500R | 1,500R | Moderate curve | General gaming, mixed use, most desk setups |
| 1800R | 1,800mm | Gentle curve | Casual gaming, productivity, farther sitting distances |
| 3800R | 3,800mm | Very subtle | Entry-level curved, users transitioning from flat |
Matching Curvature to Your Sitting Distance
This is where most setups go wrong. If you're running a 1000R monitor but sitting 3 feet away, the curve is wrapping past your peripheral vision instead of embracing it. You'll find yourself turning your head more, which defeats the purpose.
The ideal scenario is simple. Your viewing distance should roughly match the curvature radius. For 1000R, that's about a meter.
For 1500R, about 1.5 meters. For 1800R, about 1.8 meters.
Most people sit between 2 and 3 feet from their monitor. That puts 1500R in the sweet spot for typical desks. If you have a deep desk or a sim rig, 1000R starts making sense.
If you're on a shallow desk with a smaller screen, 1800R gives you the curve benefit without the distortion.
:quality(70)/cloudfront-us-east-1.images.arcpublishing.com/metroworldnews/VPUY43TJJFDOXIEHKHAEXZOBUQ.jpg)
Measuring Your Desk and Viewing Distance First
How to Measure Correctly
Grab a tape measure. Sit in your normal gaming position. Measure from your eyes to where the center of the screen will be.
That number determines everything.
Don't measure from the desk edge. That's a common mistake. The monitor sits back from the edge, and your eyes are forward of your knees.
Eye-to-screen distance is what matters for curve geometry.
Write down that number in millimeters. If it's around 1,000mm, 1000R is your match. Around 1,500mm, go 1500R.
If you're between values, lean toward the gentler curve. A slightly under-curved panel is more forgiving than an over-curved one.
Minimum Desk Depth by Monitor Size
Curved monitors need more desk depth than flat ones. The curve pushes the corners forward, and the stand footprint is often larger. Here's what manufacturer specs and aggregate reviews suggest:
| Monitor Size | Minimum Desk Depth | Recommended Depth |
|---|---|---|
| 27" curved | 20 inches (50cm) | 24 inches (61cm) |
| 32" curved | 22 inches (56cm) | 26 inches (66cm) |
| 34" ultrawide | 24 inches (61cm) | 28 inches (71cm) |
| 38" ultrawide | 26 inches (66cm) | 30 inches (76cm) |
| 49" super ultrawide | 30 inches (76cm) | 36 inches (91cm) |
If your desk is too shallow, you have two options. Get a monitor arm that pushes the screen back toward the wall. Or step down to a gentler curve rating that tolerates closer positioning.
Choosing Your Mount: Stand, Arm, or Wall
When the Included Stand Works Fine
Most curved gaming monitors ship with a capable stand. If it offers height adjustment, tilt, and swivel, you might not need anything else. Check the specs before assuming you need an aftermarket solution.
The included stand is usually the easiest path. No drilling, no clamp installation, no weight capacity calculations. Just attach the base, route your cables, and adjust.
The downside is footprint. Stock stands often have large bases that eat into desk space. If you're tight on room, that base can push the monitor further forward than you'd like.
When You Need a Monitor Arm
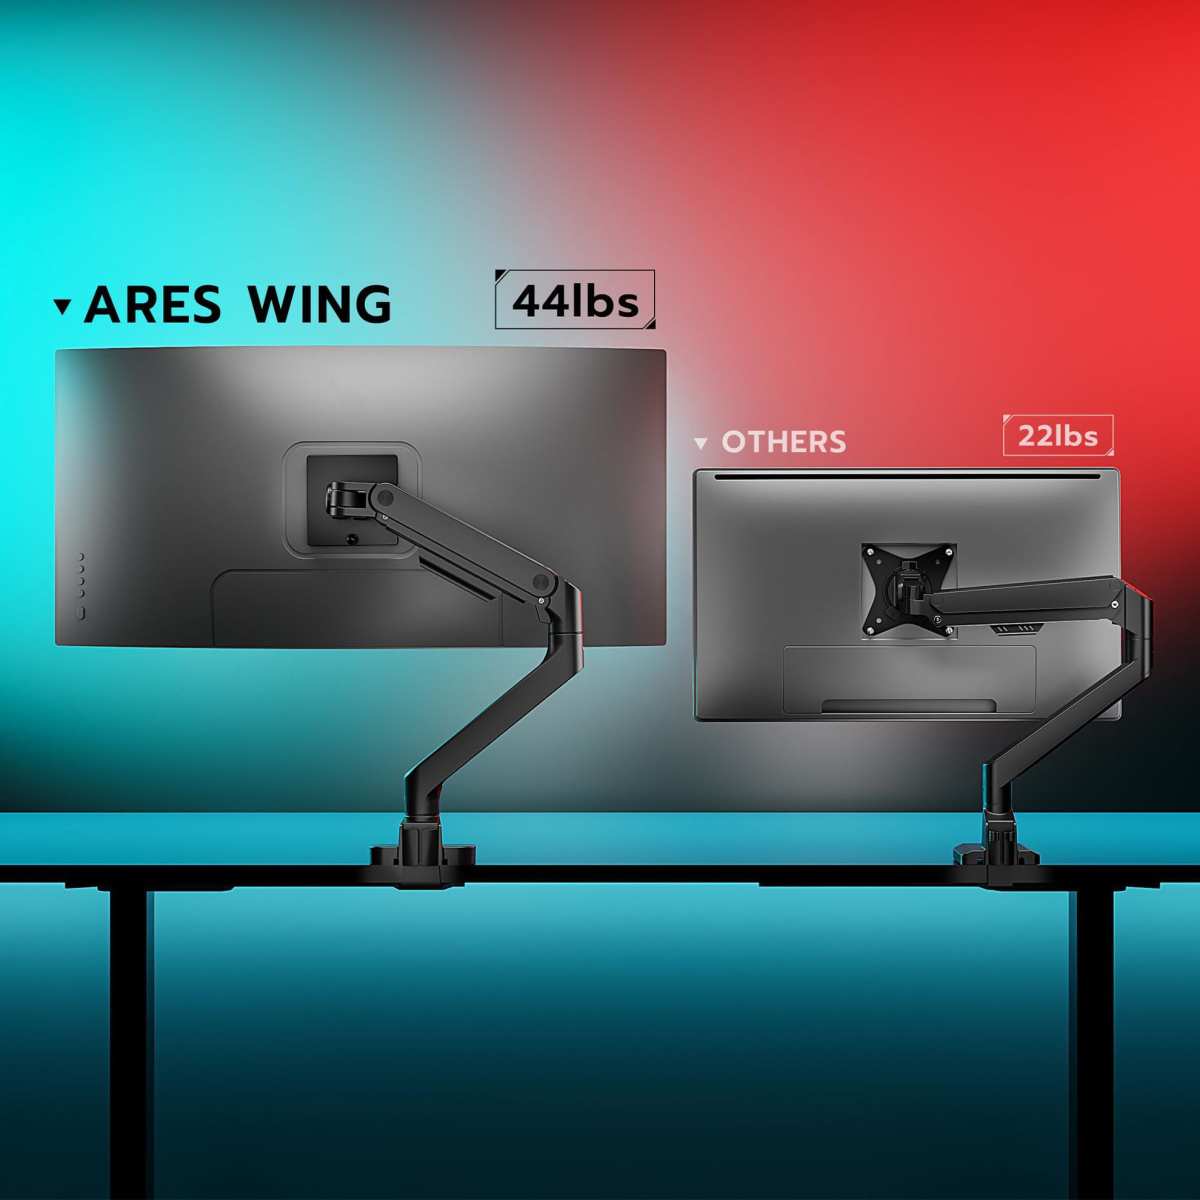
A monitor arm solves the depth problem. It lifts the screen off the desk, frees up surface area, and lets you position the panel further back. For curved monitors, this is often the difference between a good setup and a great one.
Check the weight capacity. Curved monitors are heavier than their flat counterparts. A 34" ultrawide curved panel typically weighs 14 to 20 pounds without the stand.
Make sure your arm handles that weight comfortably with margin to spare.
Also verify VESA compatibility. Most curved gaming monitors use 100x100mm VESA patterns. Some smaller models use 75x75mm.
Confirm before you buy the arm.
Wall Mounting Curved Monitors (The Tricky One)
Wall mounting a curved panel is doable but requires a compatible mount. The curve means the back of the monitor isn't flat against the wall. You need either a mount with enough clearance for the curve or a mount specifically designed for curved screens.
Full-motion mounts work best. They let you pull the screen away from the wall, angle it, and maintain proper viewing geometry. Fixed mounts often leave the edges of a curved panel too close to the wall, creating awkward angles.
Make sure you're mounting into studs or using appropriate anchors. A 34" curved monitor on a full-motion arm can exert significant leverage. Drywall alone won't cut it.
Step-by-Step Setup Process
Unboxing and Assembly
Clear your desk completely. Curved monitors are awkward to handle, and you need space to work. Lay the panel face-down on a soft, flat surface.
A clean bed or towel on the floor works.
Attach the stand neck to the monitor first, then attach the base. Don't overtighten. Finger-tight plus a quarter turn is usually sufficient.
Check the manual for any specific instructions about the curve orientation.
Lift the assembled monitor onto the desk carefully. Curved panels are heavier than they look, and the weight distribution can be uneven.
Positioning for Height, Tilt, and Swivel
Set the height so the top third of the screen is at or slightly below eye level. Your gaze should tilt slightly downward, about 10 to 20 degrees, when looking at the center of the panel.
Tilt the monitor up slightly to compensate for the curve. Most curved monitors look best with 5 to 10 degrees of upward tilt. This aligns the curve with your natural sightline.
Swivel should be zero for a single monitor. The center of the screen should point directly at your seated position. If you're running a triple curved setup, angle the side monitors inward.
Cable Routing and Management
Route cables through the stand channel if one exists. If not, use adhesive cable clips along the back edge of the desk. Keep power and video cables separated by a few inches to minimize interference.
Leave some slack. You'll need to adjust the monitor position after initial setup. Cables that are too tight pull the screen out of alignment.
For a clean look, a cable sleeve or raceway along the back of the desk hides everything. It's not required, but it makes a noticeable difference in the final appearance.
Connecting the Right Cable (DisplayPort vs. HDMI)
Use DisplayPort 1.4 or higher for PC gaming. It supports higher refresh rates at ultrawide resolutions and plays nicely with NVIDIA G-Sync. HDMI 2.1 is your best bet for PS5 and Xbox Series X, as those consoles don't support DisplayPort.
Check your cable quality. Not all DisplayPort cables are rated for the full bandwidth. Look for cables certified for DisplayPort 1.4 with DSC (Display Stream Compression) support if you're running 4K at high refresh rates.
Avoid adapters if possible. DisplayPort-to-HDMI adapters can introduce handshake issues and limit your refresh rate options. Use native connections whenever you can.
OSD Settings You Need to Change Immediately
Refresh Rate and Resolution
Don't assume your monitor runs at its advertised refresh rate out of the box. Many curved gaming panels default to 60Hz until you change it in the OSD. Navigate to the display settings menu and select the maximum refresh rate your panel supports.
Then verify it in your operating system. On Windows, go to Settings > System > Display > Advanced display settings. On macOS, check System Settings > Displays.
If the refresh rate shows 60Hz when your panel supports 144Hz or higher, the OSD change didn't stick or the cable is limiting you.
Adaptive Sync Setup (G-Sync / FreeSync)
Enable adaptive sync in your monitor OSD first. Then open your GPU control panel and enable it there too. For NVIDIA cards, that's the NVIDIA Control Panel under "Set up G-Sync." For AMD, it's Radeon Software under "AMD FreeSync."
Both sides need to be on. If you only enable it in the OSD but not the driver, it won't work. If you only enable it in the driver but not the OSD, same result.
Overdrive and Response Time Tuning
Overdrive controls how quickly pixels change color. Too low and you get motion blur. Too high and you get inverse ghosting, where bright trails appear behind moving objects.
Most curved gaming monitors offer overdrive settings like "Off," "Normal," "Fast," and "Extreme." Start with "Normal" or "Fast." Avoid "Extreme" unless reviews specifically recommend it for your panel. Aggregate reviews of curved VA panels suggest "Fast" is usually the sweet spot.
Color and Brightness Calibration
Set brightness to around 120 cd/m² for a dim room, 200 cd/m² for normal room lighting. Contrast at default is usually fine. For color temperature, "Warm" or "6500K" gets you closest to the sRGB target.
If your monitor has an sRGB mode in the OSD, enable it. This locks the color gamut to sRGB and typically improves accuracy out of the box. You can always switch to a wider gamut mode for HDR content later.
Common Mistakes That Ruin the Experience
Sitting Too Close or Too Far
This is the number one mistake. People set up a curved monitor the same way they'd set up a flat one. The curve demands specific geometry.
If you're sitting 2 feet from a 1000R panel, the edges will distort and you'll feel disoriented.
Measure your distance. Match it to the curvature. If your desk forces you closer than the ideal distance, either get a gentler curve or push the monitor back with a wall mount or arm.
Ignoring Desk Depth
A 34" ultrawide curved monitor on a 20-inch-deep desk is going to feel like it's in your face. The corners jut forward and the curve becomes aggressive. You need adequate depth for the curve to work with you rather than against you.
Using the Wrong Cable
HDMI 1.4 cables cap out at 30Hz for ultrawide resolutions. That's unusable for gaming. Make sure you're using at least DisplayPort 1.2, preferably 1.4, or HDMI 2.0 at minimum, preferably 2.1.
Cable length matters too. For runs over 6 feet, use high-quality certified cables. Signal degradation at high refresh rates causes flickering, dropouts, and black screens.
Bad Height Alignment
If the monitor sits too low, you'll hunch forward and crane your neck up. Too high and you're looking up at the center of the screen. Both cause fatigue within minutes.
The top of the screen should be at or just below eye level. Your natural gaze should fall about one-third of the way down from the top of the panel.
Forgetting to Adjust In-Game FOV
Most games don't automatically adjust field of view for ultrawide or curved screens. You'll get a stretched or zoomed-in image that looks wrong. Go into each game's video settings and adjust the FOV slider, typically to 90 or 100 for ultrawide, 100 to 110 for super ultrawide.
Some games don't support ultrawide at all. In those cases, you'll see black bars on the sides. Tools like Flawless Widescreen or game-specific patches can fix this for older titles.
Curved vs. Flat: When the Curve Actually Matters
Immersive Gaming and Sim Racing
This is where curved monitors earn their price. Racing sims, flight simulators, and open-world games benefit enormously from the wraparound effect. The curve fills your peripheral vision and creates depth that a flat screen can't match.
Sim racing setups with triple curved panels are the gold standard. Three 32" 1500R monitors angled inward create a near-180-degree field of view. It's as close to a cockpit as most people will get.
Competitive FPS and Fast-Paced Gaming
Here's where flat still has an argument. Competitive CS2 and Valorant players often prefer flat monitors because there's zero geometric distortion. Crosshair placement is pixel-perfect across the entire screen.
That said, many competitive players use curved panels without issue. A 27" 1800R or 1000R curve at close range works fine for FPS gaming. It comes down to personal preference and whether you notice the curve during fast flick shots.
Productivity and Content Creation
For spreadsheets, coding, and general productivity, curved ultrawides are excellent. The curve reduces head movement across the wide display. Text lines appear more natural because the edges are at a similar focal distance as the center.
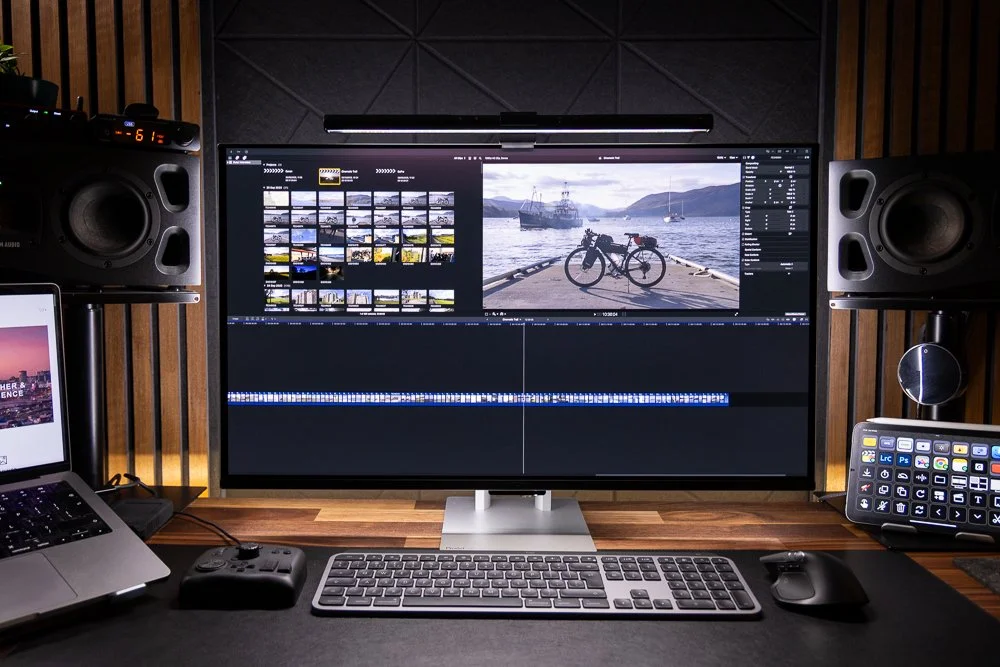
Photo and video editing is trickier. Color-critical work on curved panels requires calibration, and some editors find the curve distracting when working with straight lines and grids. If your workflow includes a lot of design work, consider keeping a flat secondary monitor for reference.
Real Setup Examples
Single 34" Ultrawide on a Standard Desk
A 34" 3440×1440 ultrawide on a 24-inch-deep desk works well with a monitor arm. The arm pushes the screen back and frees up desk space. 1500R curvature is the sweet spot here. Viewing distance ends up around 2.5 feet, which is close enough for immersion without distortion.
DisplayPort 1.4 handles 144Hz at this resolution without issues. G-Sync or FreeSync stays enabled. FOV in games gets bumped to 100 for the wider aspect ratio.
49" Super Ultrawide Replacing Dual Monitors
A 49" 5120×1440 super ultrawide replaces two 27" monitors. It needs at least 30 inches of desk depth, preferably 36. 1000R curvature works at the closer sitting distance this setup demands.
The key adjustment is getting the height right. These panels are tall. Without a height-adjustable arm, the top of the screen ends up well above eye level.
Budget for a good mount with this purchase.
Triple Curly Setup for Sim Racing
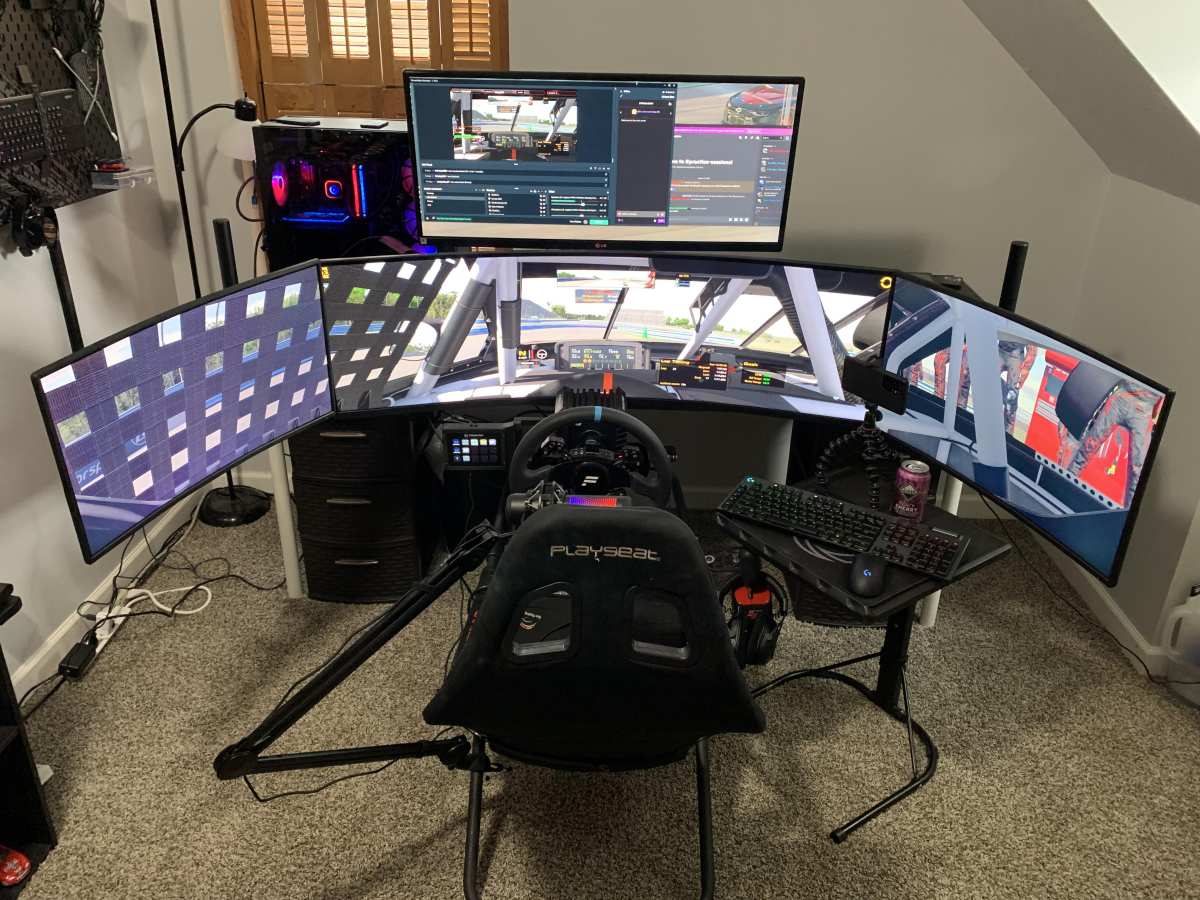
Three 32" 1000R monitors on a dedicated sim rig. The side panels angle inward at 45 to 60 degrees. Viewing distance is around 2 feet from the center screen.
This setup fills your peripheral vision and transforms racing games.
Mounting requires a triple monitor stand designed for curved panels. Standard triple stands often don't accommodate the curve properly. Check compatibility before buying.
Each monitor connects via DisplayPort, and the GPU needs three outputs minimum.
Long-Term Optimization and Ergonomic Checks
Revisit your setup every few months. Your sitting position shifts over time. Chair height creeps up or down.
Desk clutter changes where you naturally position yourself.
Check your neck and eye strain levels. If you're getting headaches after an hour, your viewing distance or height is off. Small adjustments make a big difference over months of daily use.
Update your GPU drivers and monitor firmware. Manufacturers occasionally release fixes for adaptive sync compatibility and color accuracy. These updates can resolve issues you might not even realize you have.
Clean the panel properly. Curved screens collect dust along the edges. Use a microfiber cloth and distilled water.
Never spray cleaner directly on the screen. The curve makes it easy to miss spots near the bezels.
Frequently Asked Questions
Can I wall mount a curved gaming monitor?
Yes, but you need a mount with enough clearance for the curve. Full-motion VESA mounts work best. Fixed mounts often leave the curved back of the panel pressing against the wall.
Make sure you mount into studs or use proper anchors for the weight.
Does curvature affect input lag?
No. The curve itself is a physical property of the panel. It doesn't add processing or delay.
Input lag comes from the monitor's electronics and scaler, not the curve geometry.
Is a curved monitor good for FPS gaming?
It depends on personal preference. Many competitive players prefer flat screens for pixel-perfect accuracy. Casual and mid-level FPS gaming works fine on curved panels.
A 27" 1000R or 1800R curve is a reasonable choice if you play a mix of genres.
What cable do I need for 144Hz on a curved ultrawide?
DisplayPort 1.4 for PC. HDMI 2.1 for PS5 or Xbox Series X. Make sure the cable is rated for the bandwidth.
Cheap cables often can't sustain high refresh rates at ultrawide resolutions.
How far should I sit from a curved monitor?
Match your viewing distance to the curvature radius. Roughly 1 meter for 1000R, 1.5 meters for 1500R, 1.8 meters for 1800R. Most people sit closer than ideal, so a gentler curve often works better in practice.
Do curved monitors work for photo editing?
They can, but calibration is important. The curve introduces geometric distortion that some editors find distracting. For color-critical work, a flat IPS panel is still the safer choice.
Many creators use a curved ultrawide for timelines and a flat secondary for color work.
Final Recommendation: Your Setup Cheat Sheet
Here's the condensed version you can bookmark. Start with measuring your eye-to-screen distance. Match that to your curvature rating.
Set the top of the panel at eye level. Use DisplayPort 1.4 or HDMI 2.1. Enable adaptive sync in both the OSD and GPU driver.
Calibrate brightness to your room. Adjust FOV in every game.
If you skip nothing else, skip the cable and the FOV settings. Those two fixes alone solve most complaints people have with curved monitor setups. The rest is refinement.
Get the geometry right first. The settings second. The cable third.
That order matters more than most guides admit.

Similar Posts