How to Fix Ghosting on Curved Gaming Monitor
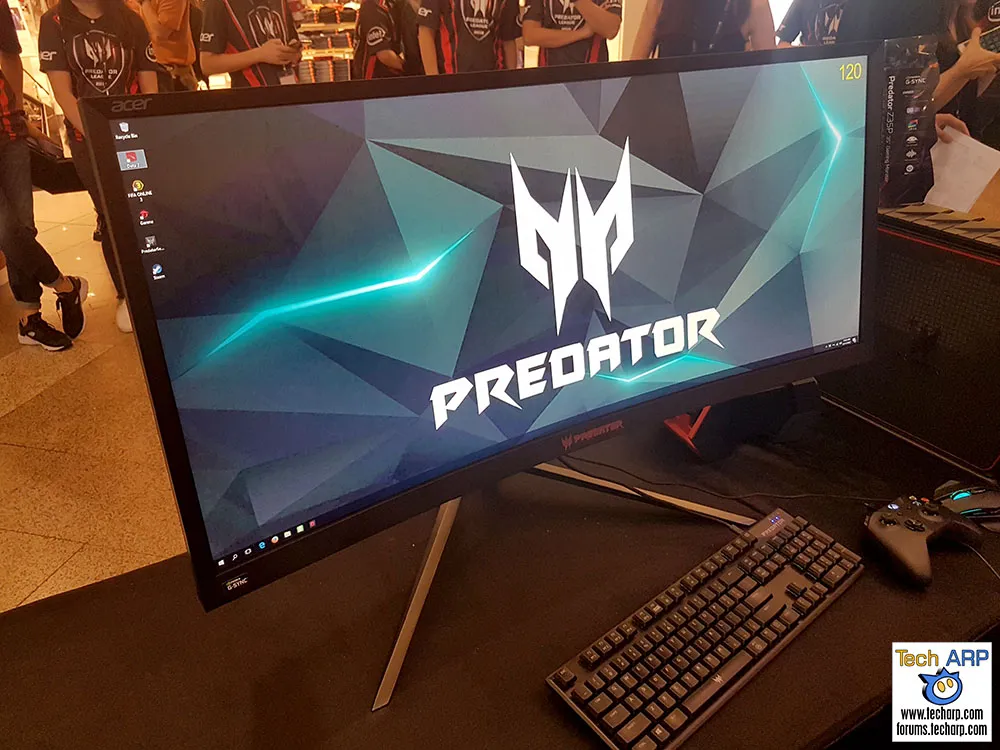
If you're trying to figure out how to fix ghosting on a curved gaming monitor, the first thing to know is that it's almost always a settings issue, not a dead panel. Most people jump to conclusions, but the fix is usually sitting right in the monitor's own menu.
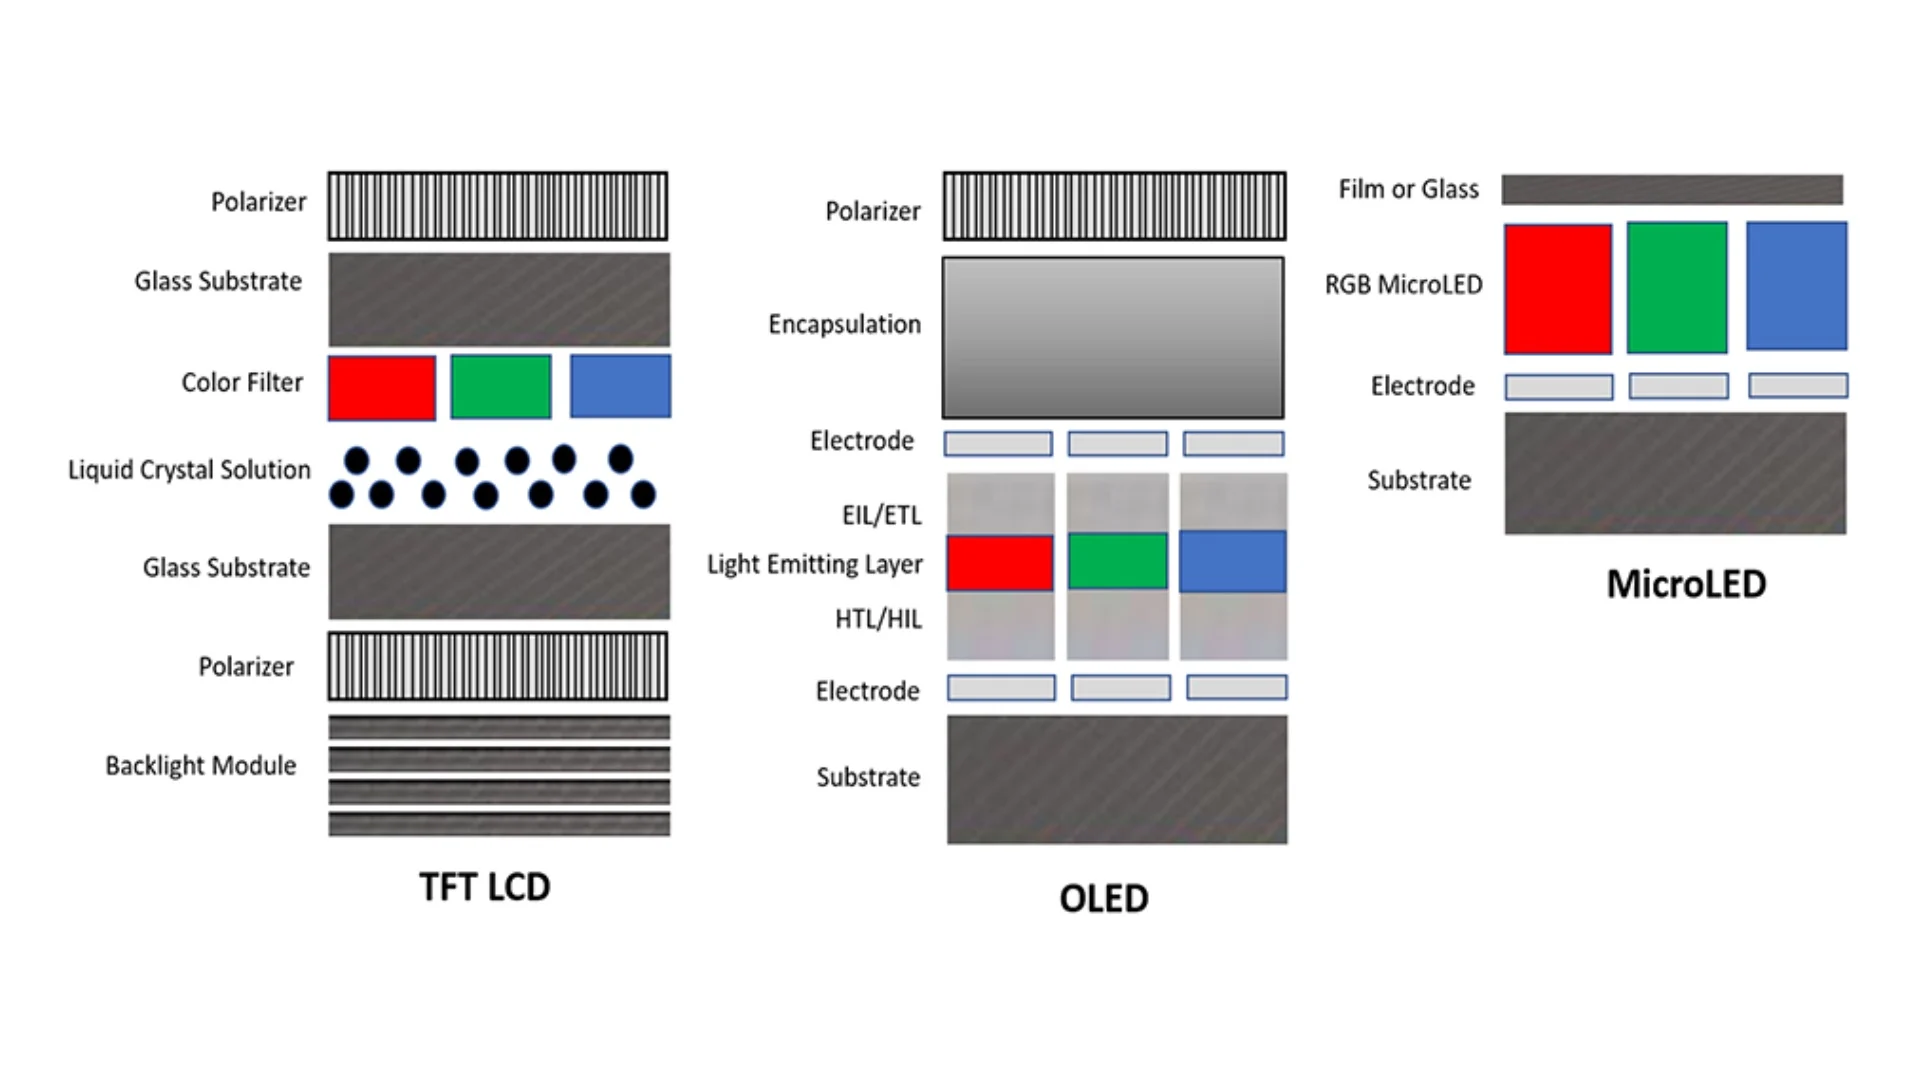
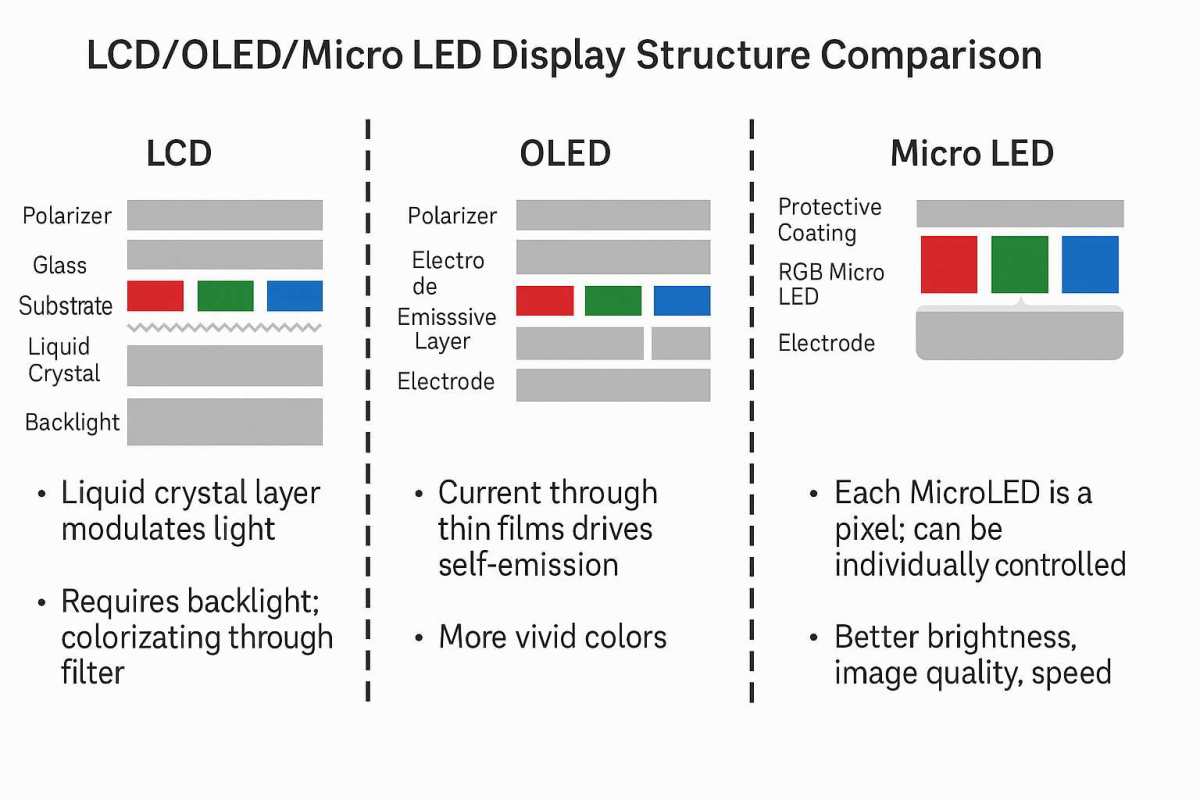
Ghosting comes down to three things: overdrive settings, cable bandwidth, and panel type. Get those three right and you'll eliminate the vast majority of motion artifacts. Let's walk through exactly how to diagnose and fix it step by step.
Quick Answer
Fix ghosting on a curved gaming monitor by adjusting the overdrive setting in your monitor's OSD. Start with the "Normal" or "Medium" preset. Next, verify you're using a DisplayPort 1.4 or HDMI 2.1 cable that supports your refresh rate.
Then update your monitor's firmware from the manufacturer's website. If ghosting persists at moderate overdrive, your VA panel may have inherent black smearing that no setting can fully eliminate.
First: What Type of Ghosting Are You Actually Seeing?
This matters more than most people realize. Not all ghosting is the same, and the fix changes completely depending on what you're looking at. If you treat the wrong type, you'll make it worse.
There are three distinct artifacts people call "ghosting":
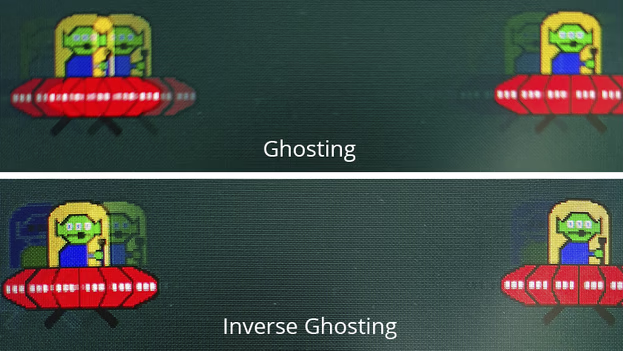
- Regular ghosting: A faint, blurry trail that follows behind moving objects. This is slow pixel response. The fix is usually increasing overdrive.
- Inverse ghosting (overshoot): A bright or sometimes purple-tinted halo that appears in front of moving objects. This means your overdrive is set too high and pixels are overshooting their target color.
- Black smearing: Dark pixels smear and drag during motion, especially visible in dark scenes. This is a VA panel characteristic and it's the hardest to fix.
Here's the critical part. If you crank up overdrive to fix regular ghosting but you're actually seeing inverse ghosting, you'll make the problem dramatically worse. You'll go from a faint trail to bright white halos that are far more distracting.
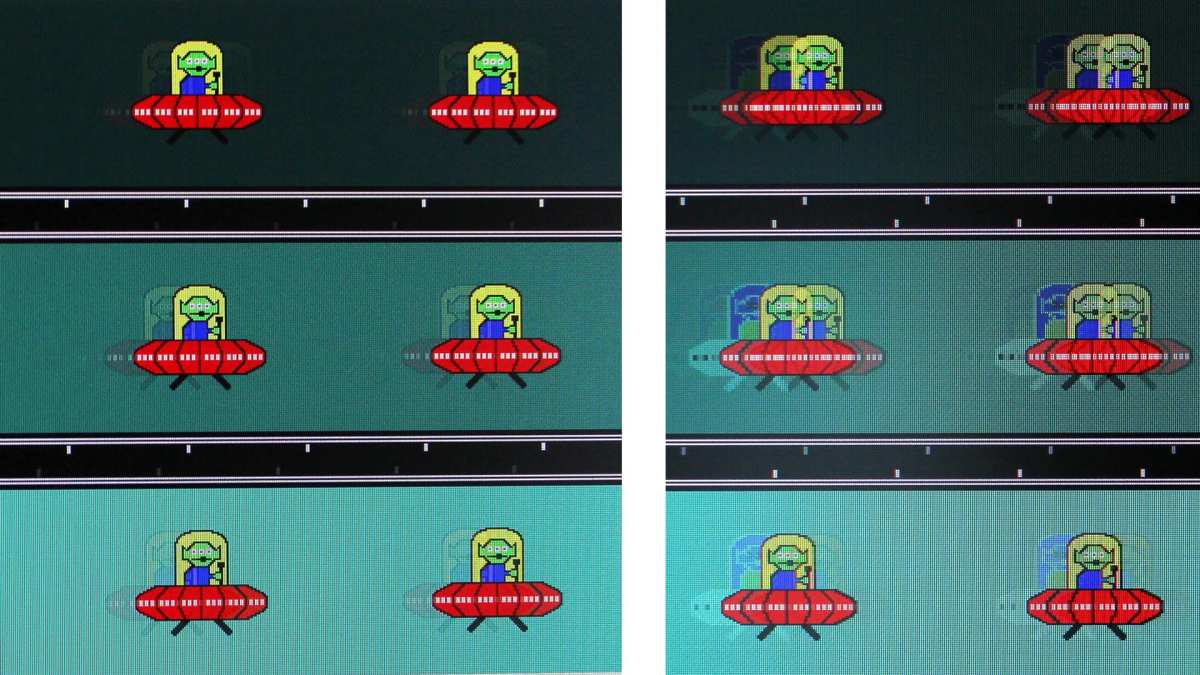
The 60-second test: Pull up the Blur Busters UFO motion test in your browser. Watch the moving UFOs closely. If the trail is behind the object and looks blurry, that's regular ghosting.
If there's a bright edge ahead of the object, that's overshoot. If dark backgrounds look smudged and inky, that's black smearing.
Step 1: Check Your Overdrive Setting (This Fixes It 70% of the Time)
Overdrive is the single most impactful setting for ghosting. It works by applying a higher voltage to pixels so they change color faster. Too little and you get trails.
Too much and you get inverse ghosting.
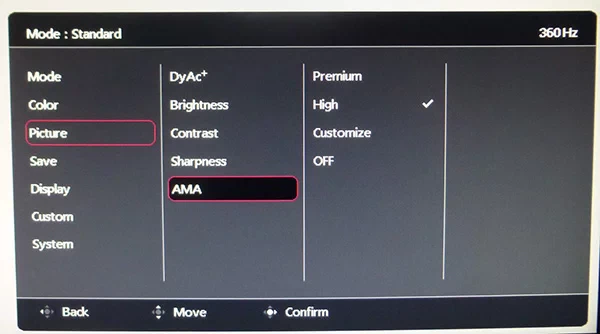
Every curved gaming monitor has an overdrive option buried in its OSD (On-Screen Display). It might be called "Overdrive," "Response Time," "RTC," or "OD" depending on the brand. Samsung often labels it "Response Time" under the Picture menu.
LG calls it "Response Time" in the Gaming menu. Gigabyte and ASUS typically use "Overdrive" directly.
The safe tuning method:
- Set overdrive to its lowest or "Off" setting first
- Run the UFO test and note the trailing
- Increase one step to "Normal" or "Medium"
- Test again. The trailing should reduce noticeably
- Increase one more step to "Fast" or "High"
- Test again. Look carefully for any bright edges appearing in front of the UFO
- If you see bright halos, go back down one step. That's your sweet spot
The goal is the highest overdrive level before overshoot appears. That's your monitor's optimal setting.
General guidance by panel type:
| Panel Type | Recommended Starting OD | Notes |
|---|---|---|
| VA (most curved monitors) | Normal / Medium | Prone to black smearing at low OD; overshoots easily at high OD |
| IPS | Medium / Fast | Faster transitions; handles higher OD better |
| OLED | Off or Low | Near-instant response; overdrive often unnecessary or unavailable |
| TN | Fast / Fastest | Fastest transitions; overshoot is less visible but still possible |
A word of caution. Some monitors have an "Extreme" overdrive setting that should almost always be avoided. On the Samsung Odyssey G7 series, for example, the "Extreme" preset introduces significant inverse ghosting that's visible even in normal desktop use.
The "Fast" preset is the practical ceiling for most units.
Step 2: Rule Out the Cable and Connection
This one catches people off guard constantly. You can have perfect overdrive settings and still see ghosting if your cable can't carry enough data for your resolution and refresh rate combination.
Here's the issue. When a cable is bandwidth-limited, the monitor may not receive frames fast enough. This creates stuttering and motion artifacts that look very similar to response-time ghosting.
The fix is simple but the diagnosis isn't obvious.
Bandwidth requirements at a glance:
| Resolution + Refresh | Required Bandwidth | Minimum Cable |
|---|---|---|
| 1080p @ 144Hz | ~8.5 Gbps | DisplayPort 1.2 or HDMI 2.0 |
| 1440p @ 144Hz | ~14 Gbps | DisplayPort 1.4 or HDMI 2.1 |
| 1440p @ 240Hz | ~22 Gbps | DisplayPort 1.4 (with DSC) or HDMI 2.1 |
| 4K @ 144Hz | ~32 Gbps | DisplayPort 1.4 (DSC) or HDMI 2.1 |
| 4K @ 240Hz | ~52 Gbps | DisplayPort 2.1 or HDMI 2.1 (DSC) |
Most curved gaming monitors in the 1440p ultrawide category (3440×1440 or 5120×1440) need DisplayPort 1.4 or HDMI 2.1 to run at their full refresh rate. An old HDMI 2.0 cable will cap you at 60Hz or 100Hz depending on the monitor, and the lower refresh rate alone makes ghosting far more visible.
Quick checks:
- Verify you're plugged into the GPU, not the motherboard video output
- Check that your cable is rated for the correct standard (it should say on the cable itself or its packaging)
- Try a different cable if you have one available
- In your GPU control panel, confirm the refresh rate is actually set to the monitor's maximum
If you're using an adapter (DisplayPort to HDMI, for example), that can also introduce bandwidth limitations. Direct cable connections are always preferable.
Step 3: Refresh Rate and Adaptive Sync Check
Ghosting is more visible at lower refresh rates. This is a fundamental reality of how displays work. At 60Hz, each frame is held on screen for 16.6 milliseconds.
At 144Hz, it's only 6.9 milliseconds. The shorter the frame is displayed, the less time your eye has to perceive motion blur and ghosting.
If you're seeing ghosting and your monitor is somehow running at 60Hz, that's your problem right there. This can happen after driver updates, Windows reinstalls, or accidentally hitting a setting change.
To verify and fix:
- Right-click your desktop and go to Display Settings > Advanced Display
- Check the refresh rate dropdown and set it to your monitor's maximum
- In NVIDIA Control Panel or AMD Adrenalin, confirm the same setting under the resolution/refresh rate section
Now, about Adaptive Sync. G-Sync and FreeSync are great for eliminating screen tearing, but they can occasionally introduce ghosting-like artifacts. This usually happens when the monitor's overdrive is tuned for a fixed refresh rate but the variable refresh rate causes the pixel response timing to shift.
The isolation test:
- Temporarily disable G-Sync or FreeSync in your GPU control panel
- Set your refresh rate to a fixed value (144Hz or whatever your max is)
- Run the UFO test again
- If ghosting disappears, the issue is Adaptive Sync interacting with your overdrive setting
- Re-enable Adaptive Sync and try lowering overdrive by one step
Some monitors handle this better than others. As of 2026, most recent firmware updates have improved VRR overdrive behavior significantly, which leads us to the next step.
Step 4: Firmware, HDR, and Hidden Settings
Monitor firmware is the most overlooked fix for ghosting. Manufacturers regularly release updates that improve overdrive tuning, fix VRR compatibility, and resolve motion clarity issues. Most people never update their monitor firmware because they don't even know it's a thing.
How to check for updates:
- Visit your monitor manufacturer's support page
- Search for your exact model number
- Look under "Downloads," "Drivers," or "Firmware"
- Follow their specific instructions (usually involves a USB drive or USB-B cable)
Samsung, LG, Dell/Alienware, and Gigabyte all host firmware updates on their support sites. Some monitors (particularly newer LG and ASUS models) can update via USB stick directly through the monitor's OSD.
Known firmware-related ghosting issues:
- Samsung Odyssey G7 (G70B firmware and earlier) had overdrive behavior that caused excessive overshoot at high refresh rates. Later firmware revisions improved this significantly
- Some early HDMI 2.1 monitor implementations had bandwidth negotiation issues that capped refresh rates without clearly notifying the user
- Certain FreeSync Premium Pro monitors exhibited ghosting only when HDR was active, due to the additional processing overhead
HDR and ghosting:
Speaking of HDR, this is worth calling out separately. When you enable HDR on many monitors, the display has to perform additional tone mapping and processing. This extra step can slow down pixel response and make ghosting noticeably worse, even if SDR mode looked fine.
If you're seeing ghosting only in HDR content or games, try disabling HDR temporarily and testing again. If the ghosting vanishes, you've found your culprit. Some monitors handle HDR motion better than others, and this is largely a panel-level limitation.
Other hidden settings to check:
- Backlight strobing (ELMB, ULMB, DyAc): If this is enabled simultaneously with overdrive, the two can conflict. Try disabling strobing while tuning overdrive
- Sharpness: Some monitors apply edge enhancement that can look like ghosting. Set sharpness to 0 or 50 (default) to rule this out
- Dynamic contrast / Black equalizer: These alter pixel transitions in dark scenes and can exaggerate smearing. Turn them off for testing
- Factory reset: If you've changed a dozen settings and nothing helps, reset the OSD to factory defaults and start fresh

Similar Posts