How to Use Budget Monitor for Dual Setup
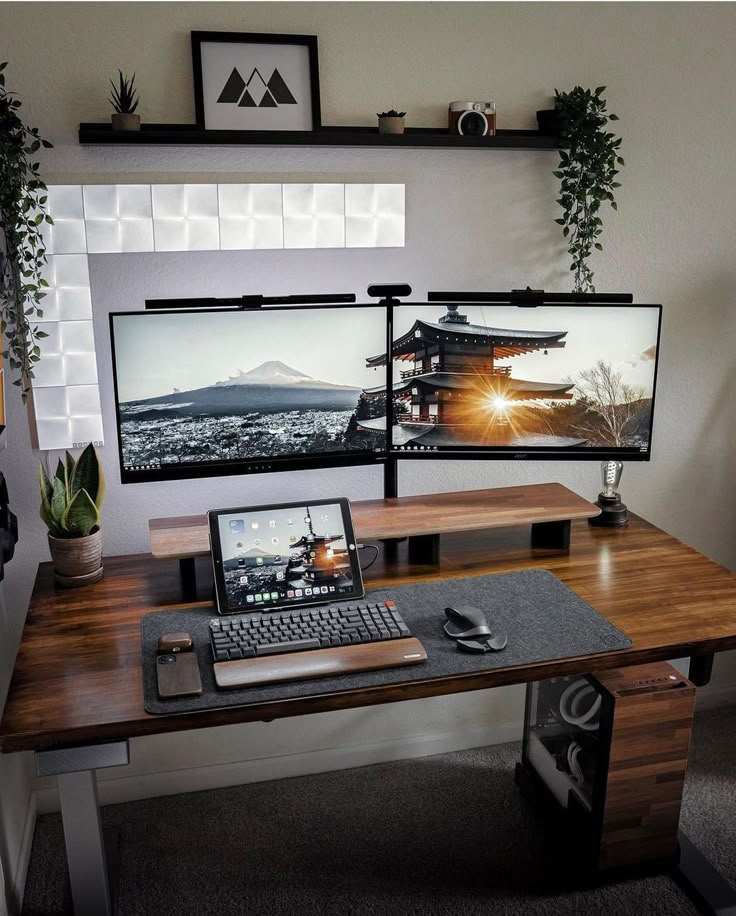
So you've got a spare budget monitor and you want to run dual screens without spending a fortune. Learning how to use a budget monitor for a dual setup comes down to three things: matching ports, picking the right cable, and configuring your display settings correctly. Get those right and you'll have a functional two-screen workstation for under $150.
Most budget monitors in the $80 to $150 range ship with 1080p IPS panels and a mix of HDMI and VGA inputs. That's perfectly fine for a secondary display handling email, documents, or chat windows. Let's walk through exactly what to check, how to connect everything, and what to do when it doesn't work the first time.
Image source: Bing (Web (fair-use with source credit))
Quick Answer
Connect your budget monitor to a free video output on your computer using the correct cable or adapter. Open your operating system's display settings and choose "Extend" to use both screens as one workspace. Arrange the monitors on screen to match their physical position on your desk.
Set each monitor to its native resolution for the sharpest image.
Why a Budget Monitor Makes Sense as Your Second Screen
A second screen is one of the easiest productivity upgrades you can make. Research consistently shows that dual monitor setups boost productivity by 20 to 30 percent for knowledge workers. You don't need a matching pair though.
A budget monitor works great as a secondary display because it handles lightweight tasks perfectly. Think email, Slack, reference documents, calendars, or music controls. Your primary monitor stays reserved for the heavy lifting like photo editing, coding, or video calls.
The sweet spot for a budget secondary monitor in 2026 is a 24-inch 1080p IPS panel. You'll find solid options from Acer, ASUS, and Sceptre in the $90 to $130 range. These typically draw under 25 watts and weigh less than 8 pounds, so they're easy to position on any desk.
The tradeoff is real though. Budget monitors often have limited color accuracy, fewer input options, and flimsier stands. That's fine for a secondary screen.
It matters a lot more when you're trying to do color-critical work across two mismatched panels.
What to Check Before You Buy or Connect
Skipping this step causes 80 percent of dual monitor headaches. You need to know what your source device can output and what the budget monitor can accept before you buy any cables.
Does Your Source Device Have a Free Output?
Look at the ports on your laptop or desktop. You need one available video output that's not already going to your primary monitor.
Common outputs you'll find:
- HDMI, Most common on laptops and desktops. Looks like a trapezoid-shaped port.
- DisplayPort, Mostly on desktop graphics cards. Rectangular with one corner notched.
- USB-C with DisplayPort Alt Mode, Found on modern laptops. The small oval port that also charges your laptop.
- Thunderbolt, Looks identical to USB-C but supports video output.
- VGA, Rare on devices made after 2018. A blue 15-pin D-shaped connector.
If your laptop only has one HDMI port and it's already connected to your primary monitor, you'll need to use a different output for the second screen. Many thin laptops only have USB-C ports, which means you'll need a USB-C to HDMI adapter.
What Ports Does the Budget Monitor Actually Have?
Budget monitors cut costs on input options. Here's what you'll typically find at different price points:
| Price Range | Typical Inputs | Notes |
|---|---|---|
| Under $80 | 1x VGA, 1x HDMI 1.4 | May lack HDMI entirely on the cheapest models |
| $80–$120 | 1x HDMI 1.4, 1x VGA | Most common configuration |
| $120–$150 | 2x HDMI or 1x HDMI + 1x DisplayPort | Best connectivity for the price |
| $150–$200 | HDMI + DisplayPort + USB-C | Approaching mid-range territory |
Always check the exact model's specs before buying. Some ultra-budget brands like KOORUI or CRUA only include a single HDMI port. That's fine for a dual setup where this monitor is your only secondary screen, but it limits future flexibility.
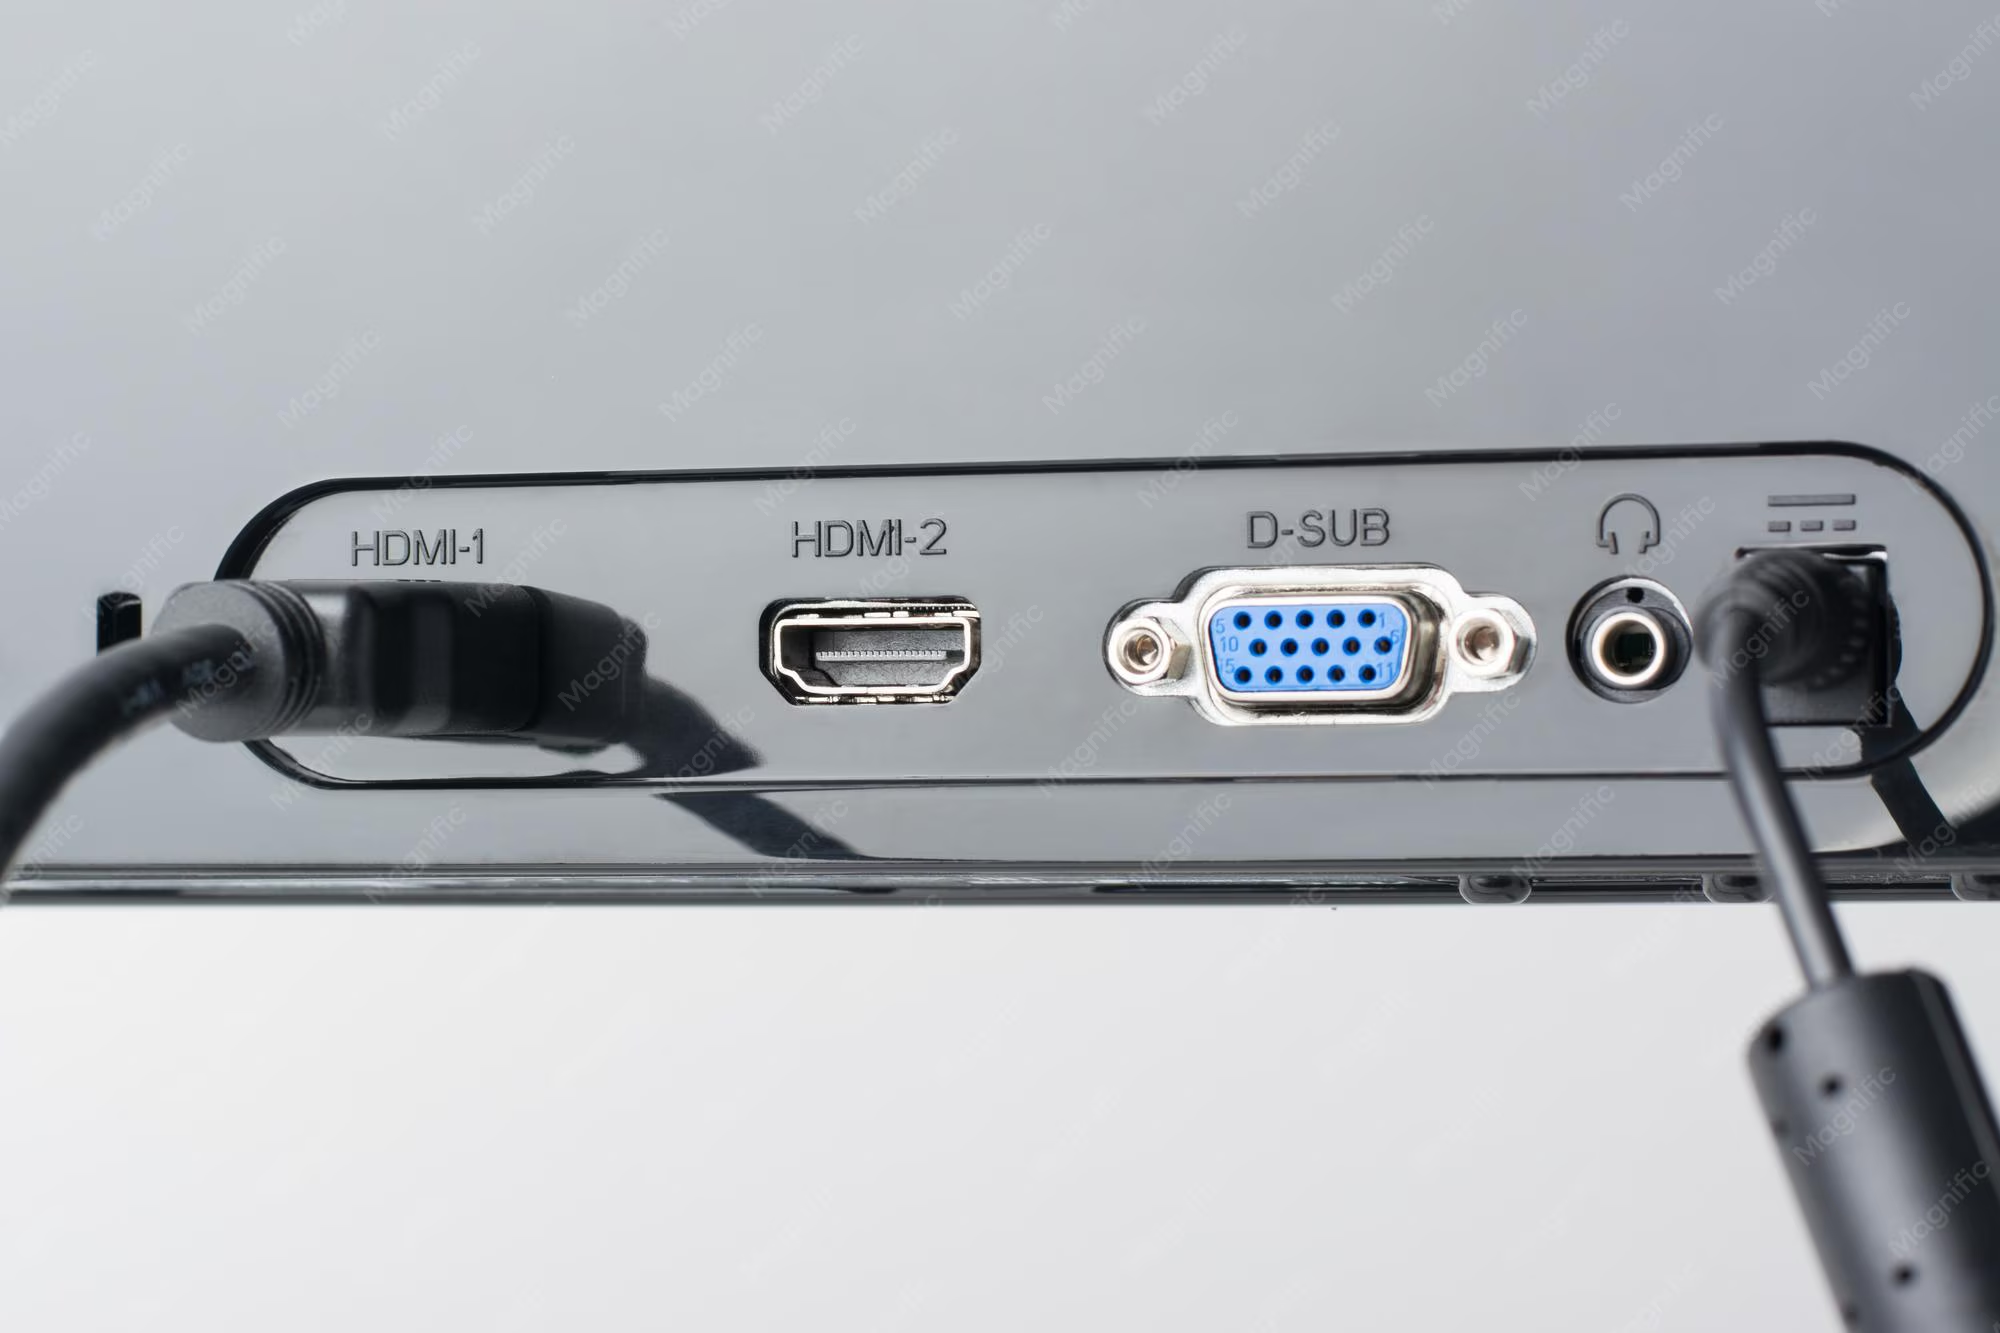
Image source: Bing (Web (fair-use with source credit))
The Cable and Adapter Problem Nobody Warns You About
Here's where most people get stuck. Your laptop has USB-C. Your budget monitor only has HDMI.
You need the right adapter, and not all adapters work the same way.
If your source has HDMI out and the monitor has HDMI in: Use a standard HDMI cable. Done. This is the simplest path.
If your source has USB-C and the monitor has HDMI: You need a USB-C to HDMI adapter or cable. Make sure it supports DisplayPort Alt Mode. Most modern USB-C ports do, but some cheaper laptops only use USB-C for data and charging.
If your source has DisplayPort and the monitor has HDMI: A passive DisplayPort to HDMI cable works in most cases. DisplayPort can output HDMI signals natively on most modern GPUs.
If your source only has VGA: You're limited to VGA input on the monitor. The image won't be as sharp. Consider a USB to HDMI adapter instead for a cleaner digital signal.
Active vs. passive adapters matter. A passive adapter just rewires the pins. An active adapter converts the signal. You need an active adapter when converting DisplayPort to HDMI on older hardware, or when driving multiple displays from a single USB-C port using DisplayLink technology.
Avoid HDMI splitters. They duplicate the same image on both screens. They don't extend your desktop.
If you want two separate workspaces, you need two separate video outputs or a DisplayLink adapter.
Step-by-Step: Connecting Your Budget Monitor
The actual setup process takes about 10 minutes once you have the right cable. Here's the exact sequence that works every time.
Step 1: Identify Your Available Output
Look at your computer. Find a video output port that's not currently in use. If you're on a laptop, this might be the HDMI port on the side or a USB-C port.
If all your ports are occupied by your primary monitor, you have two options. You can unplug the primary and use a docking station that outputs to both monitors. Or you can use a different port type for the secondary monitor.
Desktop users should check their graphics card outputs separately from motherboard outputs. Plug your monitors into the graphics card ports, not the motherboard ports. The motherboard ports may be disabled when a dedicated GPU is installed.
Step 2: Match It to the Monitor's Input
Connect your cable from the computer's output to the budget monitor's input. Use the highest quality connection available.
Priority order for connection quality:
- DisplayPort to DisplayPort (best)
- HDMI to HDMI
- USB-C to DisplayPort or HDMI (via adapter)
- DisplayPort to HDMI (via cable or adapter)
- VGA to VGA (acceptable but analog)
Plug in the monitor's power cable and turn it on. Most budget monitors auto-detect the active input. If yours doesn't, manually select the correct input using the buttons on the monitor's bezel or underside.
Step 3: Configure Your Display Mode
Your computer should detect the new monitor within a few seconds. If it does, you'll see your desktop appear on the second screen. Now you need to tell your operating system how to use it.
On Windows 10 and 11:
Press Win + P to open the Project menu. You'll see four options:
- PC screen only, Only your primary monitor is active
- Duplicate, Same image on both screens
- Extend, Both screens act as one continuous desktop (this is what you want)
- Second screen only, Only the external monitor is active
Select Extend. Then right-click on your desktop and choose Display settings. Here you can drag the monitor icons to match their physical arrangement on your desk.
Set each monitor to its native resolution, which is almost always 1920×1080 for a budget 24-inch panel.
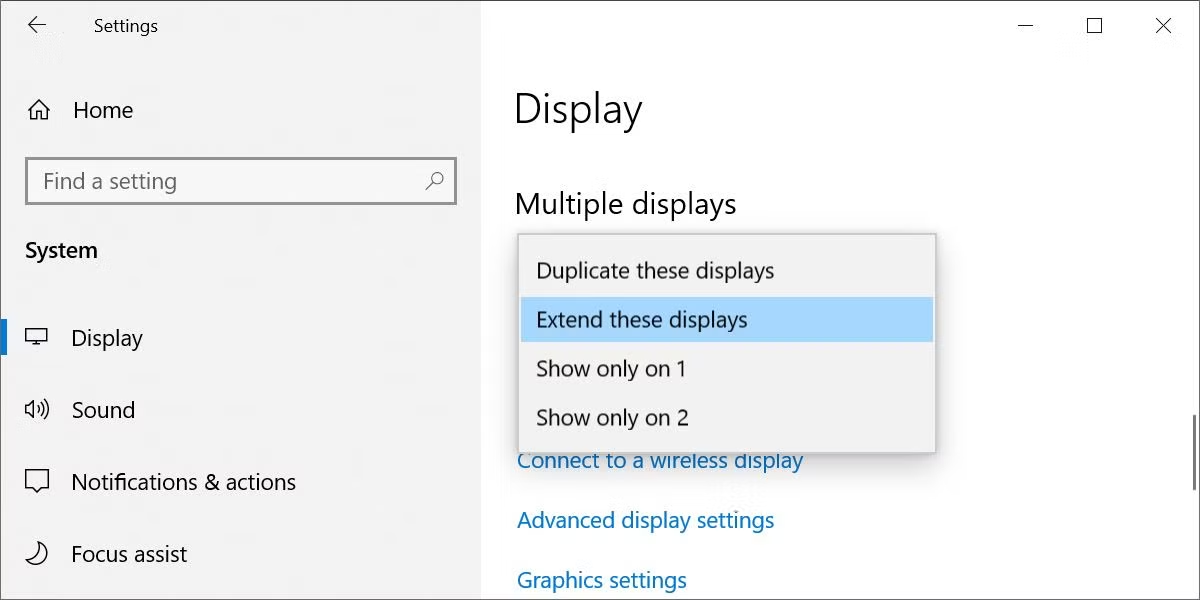
Image source: Bing (Web (fair-use with source credit))
On macOS:
Open System Settings, then go to Displays. Your Mac should detect the external monitor automatically. Click Arrange and position the displays to match your desk layout.
Uncheck "Mirror Displays" if it's enabled. Set the external monitor to its native resolution by selecting "Scaled" and choosing the default option.
Note: Base model M1 MacBooks only support one external display natively. M2 and later chips support two. If you're on an M1 MacBook and need dual external displays, you'll need a DisplayLink adapter, which uses software drivers rather than native video output.
Step 4: Arrange and Fine-Tune
Once extended mode is active, spend two minutes getting the arrangement right. In your display settings, drag the monitor boxes so their edges line up with how the monitors sit on your desk. This ensures your mouse cursor moves naturally between screens.
Set your better monitor as the primary display. On Windows, check the box labeled "Make this my main display" under the monitor you want as primary. On macOS, drag the white menu bar in the arrangement diagram to the display you want as primary.
If text looks blurry on the budget monitor, make sure it's set to its native resolution. A 24-inch 1080p panel should show 1920×1080. Anything else will look soft.
Also check that Windows scaling is set to 100 percent on the budget monitor. Scaling above 100 percent on a 1080p 24-inch screen can cause blurriness in some applications.
When Things Don't Work: Troubleshooting Common Issues
Even with the right cable, things sometimes don't go smoothly. Here are the most common problems and how to fix them.
Monitor Not Detected
If your computer doesn't see the second monitor at all, try these steps in order:
- Check that the monitor is powered on and set to the correct input
- Reseat the cable at both ends
- Try a different cable
- On Windows, go to Settings > System > Display and click Detect
- Update your graphics drivers from NVIDIA, AMD, or Intel's website
- Restart your computer with the monitor connected
If none of that works, the port on your computer or the input on the monitor may be faulty. Test the monitor with a different device to isolate the problem.
Wrong Resolution or Blurry Text
Budget monitors almost always look best at their native resolution. For a 24-inch 1080p panel, that's 1920×1080. If Windows sets it to a lower resolution, text will look fuzzy.
Go to Display settings, select the budget monitor, and set the resolution to the recommended value. If the correct resolution isn't listed, your cable or adapter may not support it. HDMI 1.4 handles 1080p at 60 Hz without issue.
VGA can struggle at higher resolutions.
Scaling Mismatches Between Screens
This is the most annoying problem with mismatched monitors. If your primary display is a high-DPI screen and your budget monitor is standard DPI, windows will look different on each screen.
Windows handles this better than it used to. Right-click the application shortcut, go to Properties > Compatibility, and check "Change high DPI settings." You can override scaling behavior for individual apps.
macOS handles mixed-DPI setups more gracefully but not perfectly. Some apps will look slightly off on one screen or the other. There's no perfect fix for this.
It's the reality of running mismatched panels.
Making It Look Good: Dealing with Panel and Color Differences
Let's be honest. A budget IPS panel won't match a premium display. The colors will look slightly different.
The brightness won't match. The bezels will probably be thicker.
That's okay for a secondary screen. You can minimize the visual mismatch with a few adjustments.
Match brightness manually. Use the monitor's on-screen display menu to lower the brightness of your primary display or raise the budget monitor's brightness until they look similar. Most budget monitors max out around 250 nits. If your primary is a 400-nit display, you'll need to turn it down.
Use the same color temperature. Set both monitors to the same color temperature in their respective menus. "Warm" or "6500K" is a good neutral starting point. This reduces the obvious warm-versus-cool difference that's common between different panel brands.
Go dark mode. Using dark mode on both monitors makes color and brightness differences much less noticeable. The bezels blend into dark backgrounds and the eye focuses on content rather than the gap between panels.
Consider a dual monitor arm. A cheap dual monitor arm lets you position both screens at the same height and angle. This does more for visual cohesion than any settings tweak. You can find functional dual arms for $30 to $50.
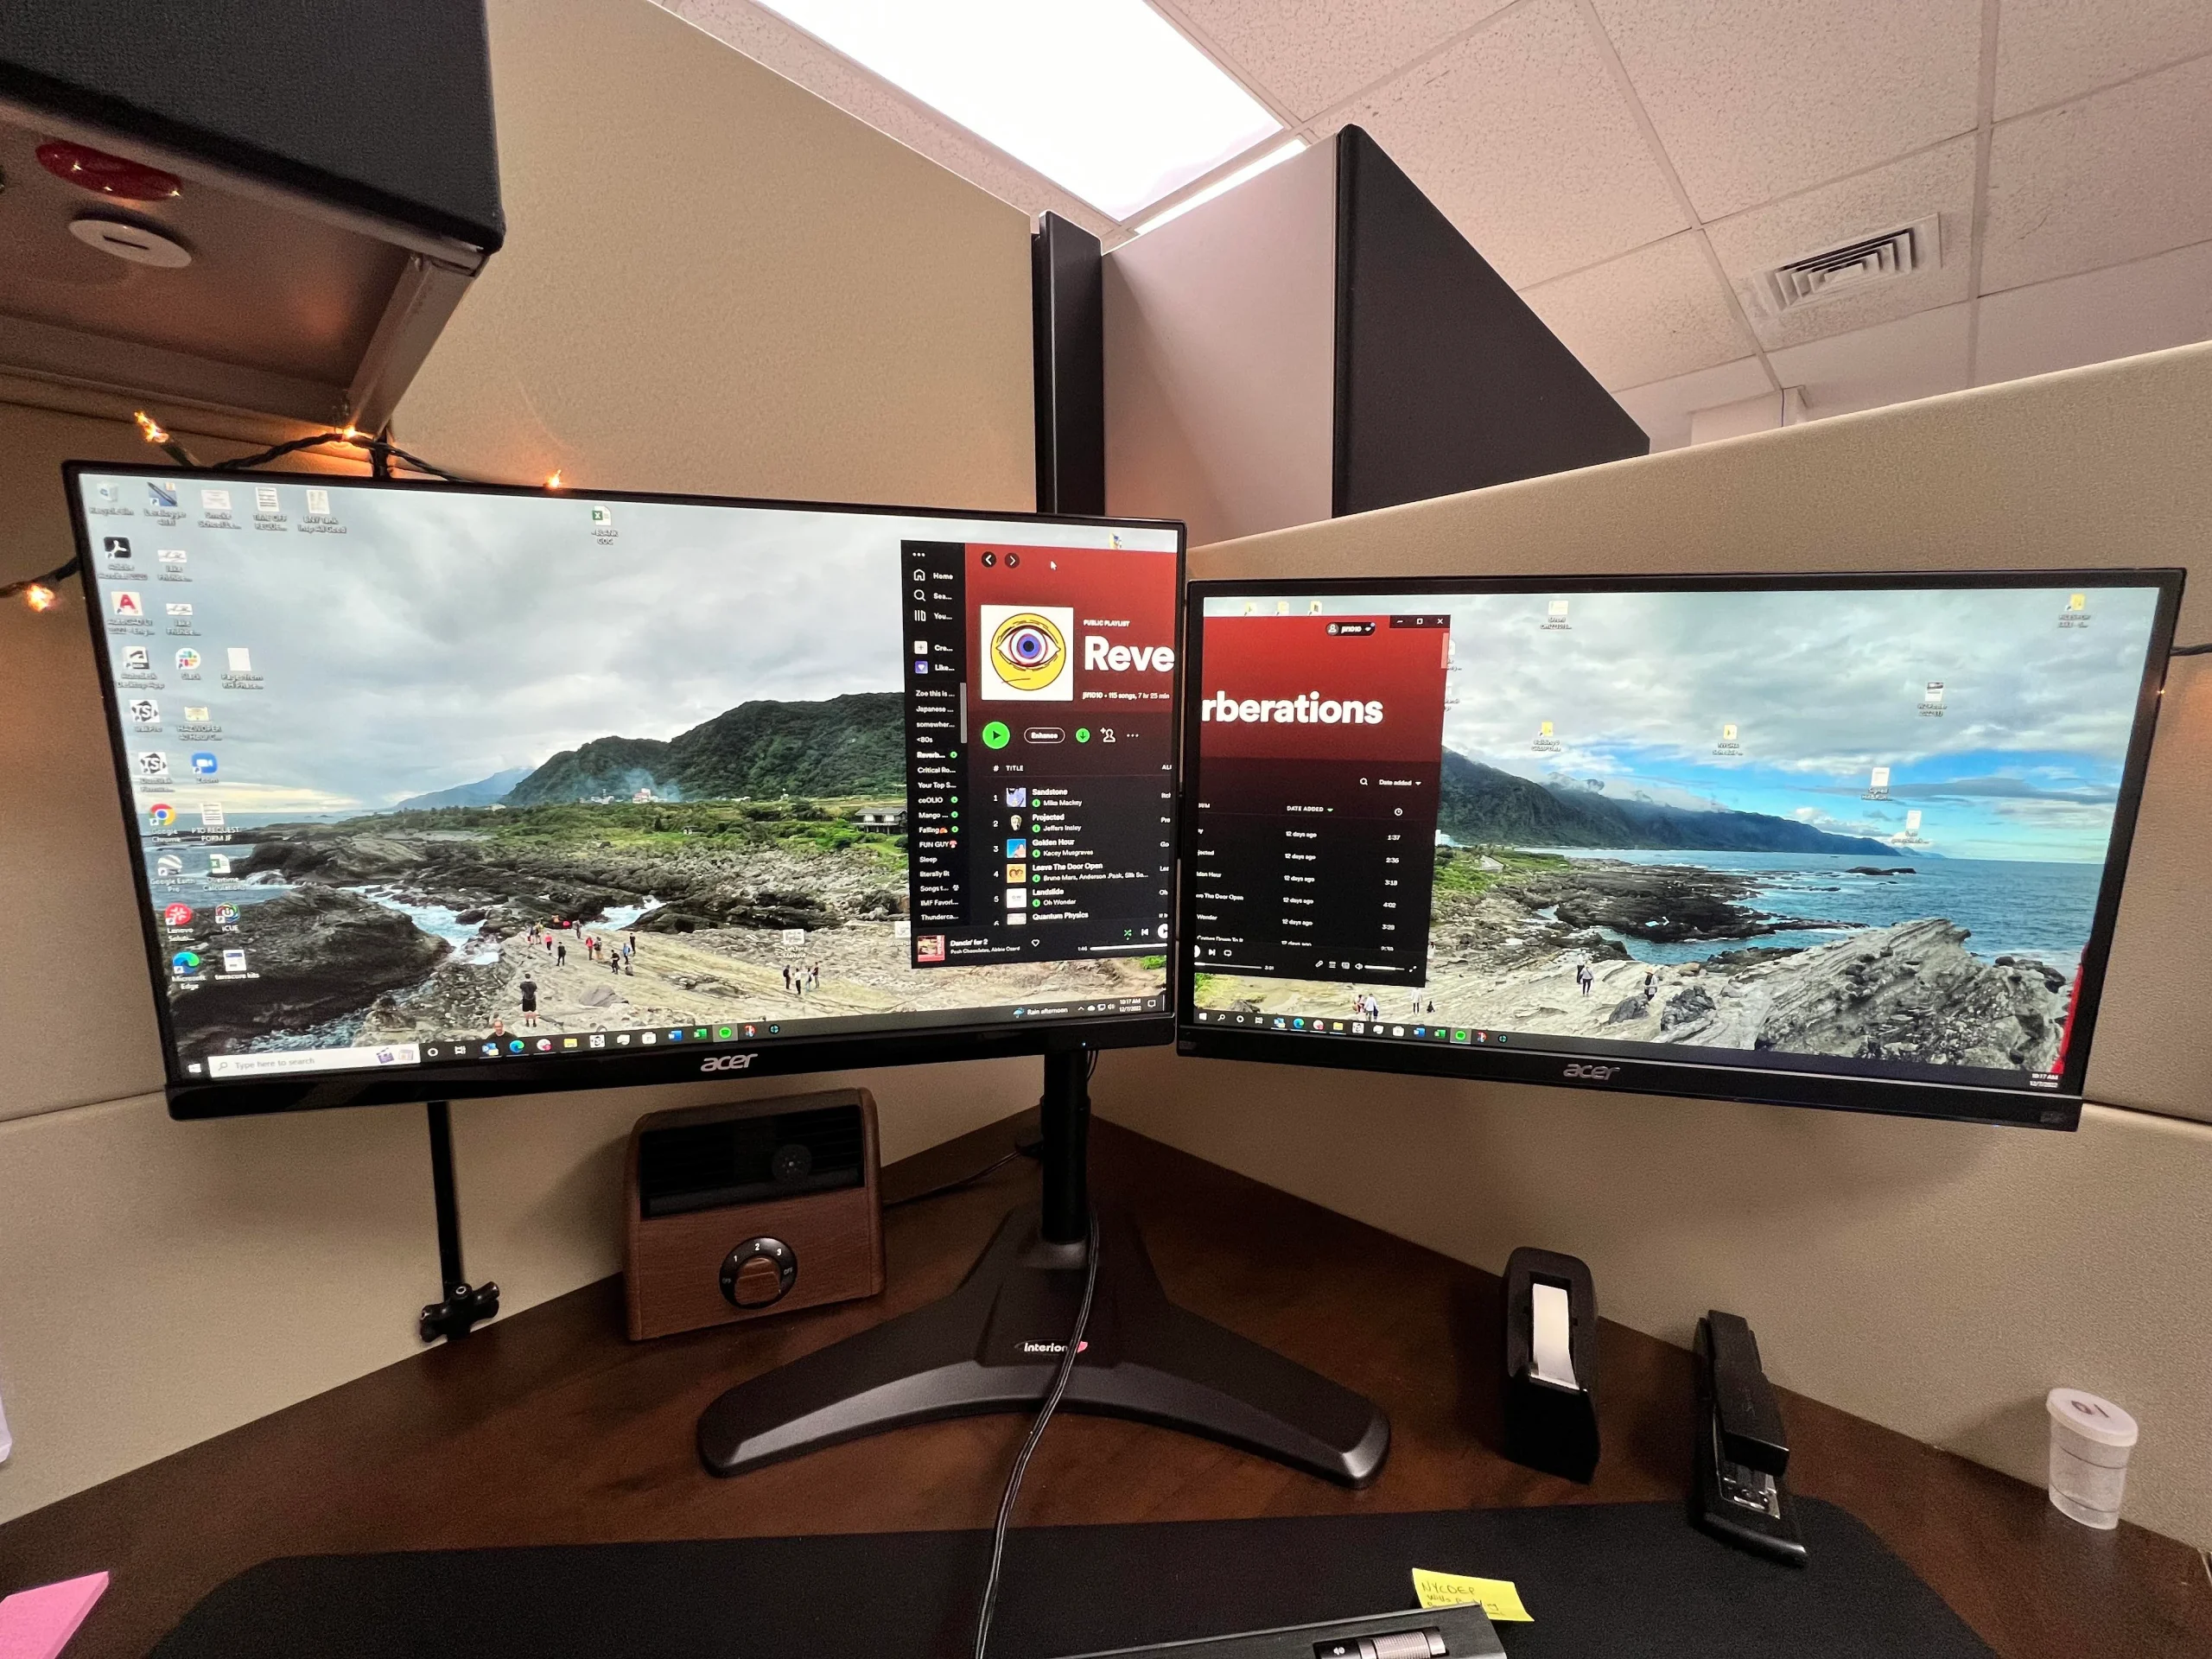
Image source: Bing (Web (fair-use with source credit))
Budget Monitor Limitations You Should Actually Care About
Budget monitors save money by cutting corners. Some of those cuts won't bother you. Others will annoy you daily.
Here's what matters in a dual setup.
60 Hz refresh rate is standard. Most budget monitors cap at 60 Hz. Your primary display might run at 144 Hz or higher. Moving your mouse from a high-refresh screen to a 60 Hz screen feels sluggish.
You get used to it, but it's noticeable at first.
Input lag varies. Cheap panels can have 10 to 20 milliseconds of input lag. Fine for documents and email. Not great for gaming or video editing on that screen.
Check reviews for input lag measurements if you plan to do any time-sensitive work on the secondary display.
No adaptive sync on most models. FreeSync and G-Sync are rare in the budget tier. If you're gaming across both screens, you'll likely deal with screen tearing on the budget panel. For a secondary display used for static content, this doesn't matter at all.
Built-in speakers are usually terrible. If the budget monitor has speakers, they'll sound thin and quiet. Use your primary monitor's speakers or a separate audio setup instead.
Stand quality is the biggest complaint. Budget stands often don't adjust for height or tilt. They wobble. A monitor arm solves this completely and is worth the $30 investment if you're using the setup daily.
VESA mount compatibility isn't universal. Some budget monitors omit VESA mounting holes entirely. Check the specs before buying if you plan to use a monitor arm. Most 24-inch and larger budget panels support 75x75mm or 100x100mm VESA patterns.
Real-World Setup Examples
Theory is fine. Let's look at how this actually works in practice with common hardware combinations.
Laptop + Budget Monitor for Remote Work
This is the most common scenario. You have a work laptop with a single HDMI port and a USB-C port. You want to add a budget 24-inch monitor as a second screen.
What you need: One HDMI cable. That's it. Connect the laptop's HDMI output to the budget monitor's HDMI input.
Press Win+P, select Extend, and you're done.
If your laptop only has USB-C ports, grab a USB-C to HDMI adapter. Anker and Cable Matters make reliable ones for around $15. Plug the adapter into any USB-C port that supports DisplayPort Alt Mode.
Most modern laptops do, but check your manual to confirm.
Typical cost: $90 for the monitor, $12 for the cable. Total around $102.
Desktop with Two Budget Monitors
You're building an all-budget workstation with two inexpensive monitors. Your desktop has a dedicated graphics card with two or more outputs.
What you need: Two HDMI cables or one HDMI and one DisplayPort-to-HDMI cable, depending on your GPU's outputs. Connect each monitor directly to the graphics card. Never plug one monitor into the motherboard and one into the GPU.
That causes driver conflicts and performance issues.
Typical cost: $90 per monitor, $10 per cable. Total around $200 for a full dual-monitor setup.
Using a Budget Monitor as Your Primary (Honest Take)
Can you use a budget monitor as your main display? Yes, but with caveats. A 24-inch 1080p IPS panel handles general computing fine.
Where it falls short is color-accurate work, gaming at high refresh rates, and HDR content.
If you're a student, office worker, or casual user, a budget primary monitor is totally viable. If you edit photos or video, you'll want something with better color accuracy and higher resolution. Budget panels typically cover only 60 to 70 percent of the sRGB color gamut accurately.
Quick Comparison: Connection Methods and What They Actually Do
Not all connection methods do the same thing. Here's a breakdown of your options:
| Method | Extends Desktop | Mirrors Only | Max Resolution | Cost |
|---|---|---|---|---|
| Direct HDMI | Yes | Optional | 1080p at 60 Hz | $8 cable |
| USB-C to HDMI adapter | Yes | Optional | 4K at 30 Hz or 1080p at 60 Hz | $15 adapter |
| DisplayLink USB adapter | Yes | Optional | 1080p at 60 Hz | $40 adapter |
| HDMI splitter | No | Yes only | Depends on splitter | $12 splitter |
| Wireless display (Miracast) | Yes | Optional | 1080p, noticeable lag | Built-in |
Direct connection is always your first choice. It's the cheapest, simplest, and most reliable option. Only reach for adapters and alternative methods when you've run out of physical ports.
DisplayLink adapters are worth mentioning for laptops that lack a second video output. They use a USB port and specialized drivers to add an extra display. The tradeoff is slightly higher CPU usage and occasional compatibility issues.
They work well for productivity tasks but not for gaming.
Final Tips for Getting the Most Out of a Budget Dual Setup
A few things that make the difference between a setup that annoys you and one you'll actually use daily.
Set the budget monitor as your secondary, not your primary. Keep your better display as the main screen where you do focused work. Use the budget panel for reference material, communication apps, and background tasks.
Turn off the budget monitor when you don't need it. Most budget monitors draw 15 to 25 watts. That's not much, but it adds up if you leave it on 24/7. Use the power button or a smart plug.
Update your graphics drivers regularly. Multi-monitor support improves with driver updates. Both NVIDIA and AMD have fixed dual-display bugs in recent driver releases as of 2026.
Label your displays in settings. In Windows Display settings, click "Identify" to see which screen is 1 and which is 2. This saves confusion when arranging displays or troubleshooting.
Don't obsess over matching panels. Your eyes adjust to the difference between a premium primary display and a budget secondary screen within a few days. The productivity gain from having two screens far outweighs the visual mismatch.
Frequently Asked Questions
Can I use a budget monitor with a MacBook?
Yes. Connect via HDMI or a USB-C to HDMI adapter. Note that base model M1 MacBooks only support one external display natively.
M2 and later chips support multiple external displays. If you're on an M1 MacBook, you'll need a DisplayLink adapter for dual external monitors.
Do I need the same monitors for a dual setup?
No. Mixing monitor sizes, resolutions, and brands works fine. Your operating system handles each display independently.
The main drawback is visual inconsistency between the panels, which is cosmetic rather than functional.
Why is my second monitor not showing up in Windows?
Press Win+P and select Extend. If that doesn't work, go to Settings > System > Display and click Detect. If the monitor still isn't found, check your cable connection and update your graphics drivers.
Is a budget monitor good enough for gaming?
As a secondary display for Discord, streams, or guides, yes. As a primary gaming display, budget monitors typically lack high refresh rates and adaptive sync. For competitive gaming, invest in a higher refresh rate panel.
What cable do I need to connect a budget monitor?
Most budget monitors use HDMI. If your computer has an HDMI output, a standard HDMI cable is all you need. If your computer only has USB-C, get a USB-C to HDMI adapter.
Check both your computer's outputs and the monitor's inputs before buying.
How much does a budget dual monitor setup cost?
A complete dual setup with one budget monitor costs between $100 and $150 total. That includes the monitor, a cable or adapter, and a basic stand or VESA arm. Two budget monitors run around $200 to $250.
Frequently Asked Questions
Can I use a budget monitor with a MacBook?
Yes. Connect via HDMI or a USB-C to HDMI adapter. Note that base model M1 MacBooks only support one external display natively.
M2 and later chips support multiple external displays. If you're on an M1 MacBook, you'll need a DisplayLink adapter for dual external monitors.
Do I need matching monitors for a dual setup?
No. Mixing monitor sizes, resolutions, and brands works fine. Your operating system handles each display independently.
The main drawback is visual inconsistency between panels, which is cosmetic rather than functional.
Why is my second monitor not showing up in Windows?
Press Win+P and select Extend. If that doesn't work, go to Settings > System > Display and click Detect. If the monitor still isn't found, check your cable connection and update your graphics drivers.
Is a budget monitor good enough for gaming?
As a secondary display for Discord, streams, or guides, yes. As a primary gaming display, budget monitors typically lack high refresh rates and adaptive sync. For competitive gaming, invest in a higher refresh rate panel.
What cable do I need to connect a budget monitor?
Most budget monitors use HDMI. If your computer has an HDMI output, a standard HDMI cable is all you need. If your computer only has USB-C, get a USB-C to HDMI adapter.
Check both your computer's outputs and the monitor's inputs before buying.
How much does a budget dual monitor setup cost?
A complete dual setup with one budget monitor costs between $100 and $150 total. That includes the monitor, a cable or adapter, and a basic stand or VESA arm. Two budget monitors run around $200 to $250.

Similar Posts































