How to Use 4K Monitor as TV
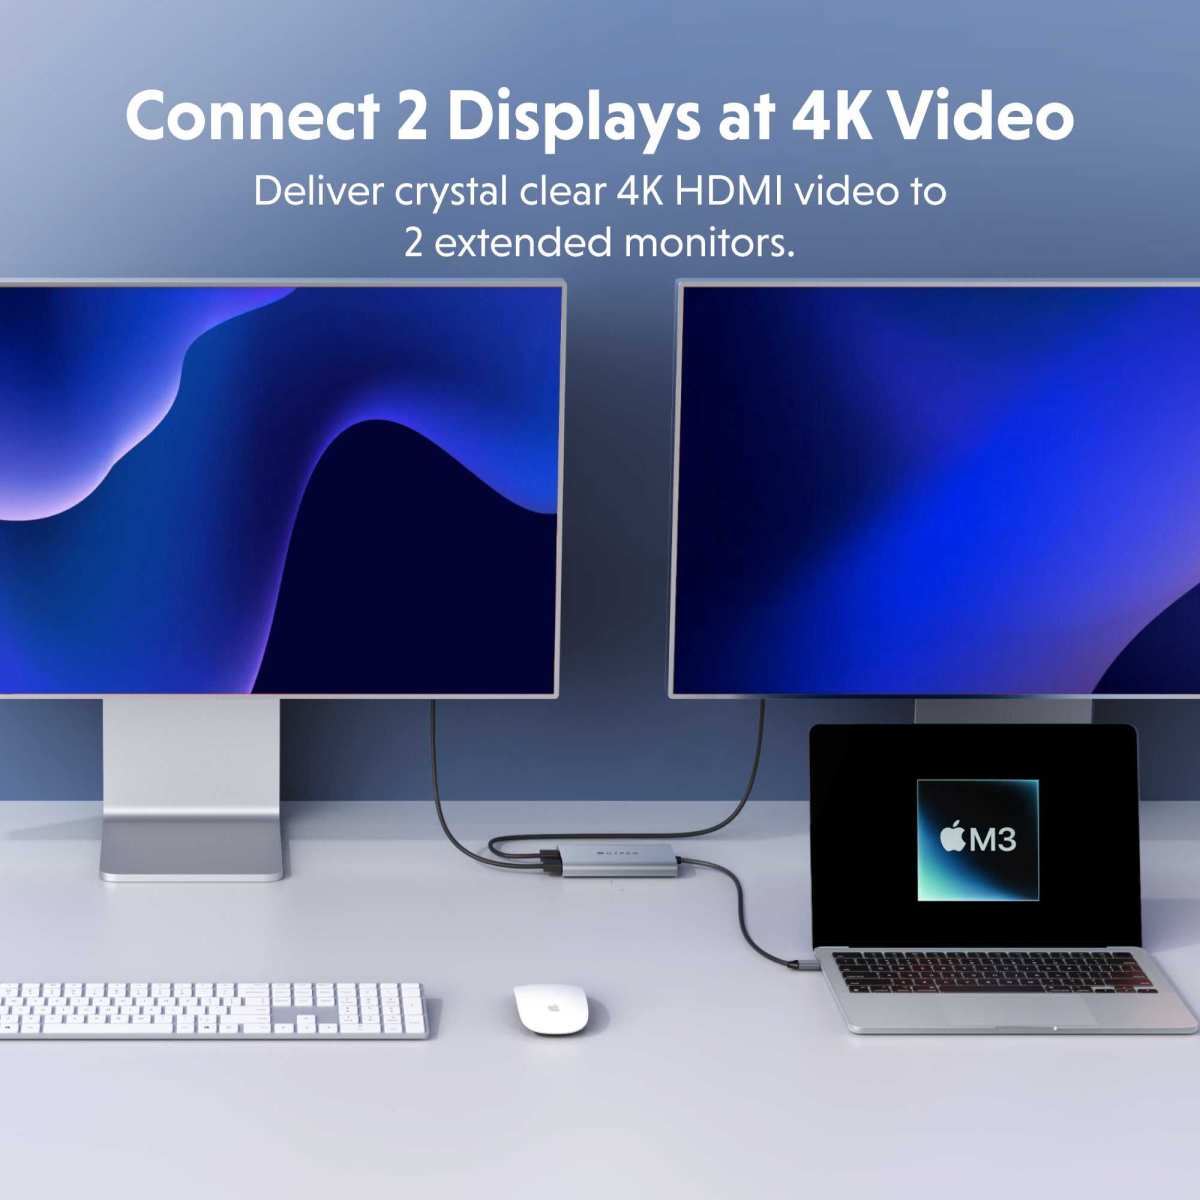
Figuring out how to use a 4K monitor as a TV is simpler than most people think, but there are a few catches that'll trip you up if you don't know what to look for. The short version: you can absolutely do it, but a monitor isn't a TV out of the box. You'll need to bridge a few gaps first.
Most 4K monitors give you a stunning 3840 × 2160 picture, often with better pixel density than a same-sized TV. The tradeoff? Manufacturers leave out the tuner, the smart platform, and usually the speakers.
Once you know what's missing, the fix is straightforward. Let's walk through it step by step.
Image source: Bing (Web (fair-use with source credit))
Quick Answer
You can use a 4K monitor as a TV. Connect a streaming device, cable box, or TV tuner to its HDMI port. Handle audio separately since most monitors lack good speakers.
Adjust picture settings for video content. The whole setup takes about 15 minutes.
The Real Answer Depends on What You Already Own
Here's where most guides skip ahead. They assume you need to buy everything from scratch. You probably don't.
Before you spend a dime, take stock of what you've already got. The right path changes based on your situation.
If you have a streaming stick or box (Roku, Amazon Fire TV, Apple TV, Chromecast), you're 80% of the way there. Plug it into the monitor's HDMI port and you've got your content sorted. Audio is the next hurdle.
If you have a cable or satellite box, same deal. HDMI out goes straight into the monitor. Most cable boxes handle their own audio output through HDMI, but your monitor needs speakers to play it.
If you want free over-the-air channels, you'll need a digital TV tuner. This is the piece most people don't expect. Monitors don't have tuners built in.
A tuner box receives the broadcast signal and converts it to HDMI your monitor can display.
If you have a game console, congratulations. A PS5 or Xbox Series X is basically a media hub. You can stream everything through it and game on the same screen.
The point is this: your starting point determines what you need to buy, if anything at all. Don't assume you need a whole new setup.
What's Missing When You Treat a Monitor Like a TV
A 4K monitor and a 4K TV look similar on the surface. Both have an HDMI port. Both display a 3840 × 2160 image.
But a TV is actually a different animal under the hood.
Here's what your monitor is probably missing:
- TV tuner. No monitor has a built-in ATSC or DVB tuner. You can't plug an antenna or cable line directly into it and get channels.
- Smart platform. TVs run Roku TV, Google TV, Tizen, or webOS. Monitors don't. No apps, no streaming, no channel guide.
- Speakers. Many monitors have no speakers at all. The ones that do are usually weak, tinny, and placed in awkward spots.
- Remote control. You won't get a remote in the box with a monitor. Input switching and volume control happen through buttons on the bezel.
- ARC/eARC audio return. TVs can send audio to a soundbar through the HDMI ARC port. Monitors almost never support this.
None of these are dealbreakers. But knowing they exist helps you plan around them.
First Things First: Check What Your Monitor Can Actually Do
Before you buy anything or start plugging cables in, spend two minutes checking your monitor's specs. This saves you from headaches later.
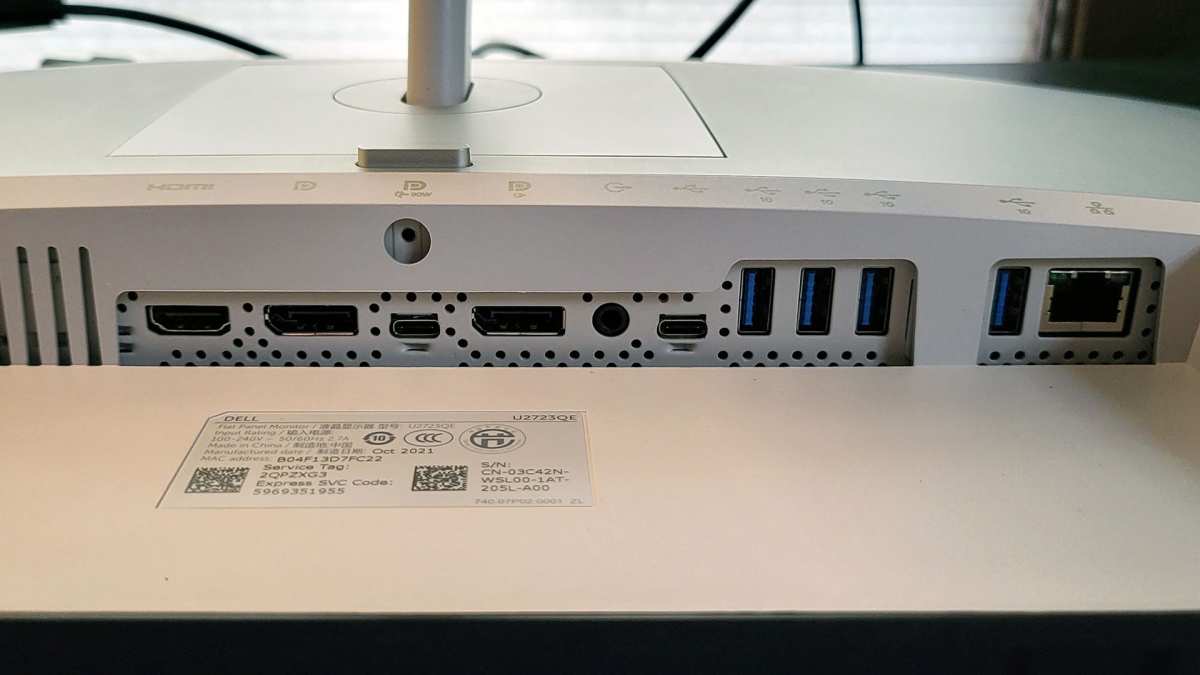
Image source: Bing (Web (fair-use with source credit))
What to Look For
Grab your monitor's model number and check the manufacturer's spec sheet. Or just look at the back panel.
| Feature | What to Check | Why It Matters |
|---|---|---|
| HDMI ports | How many? What version? | You need at least one HDMI input. HDMI 2.0 supports 4K at 60Hz. HDMI 1.4 caps at 4K at 30Hz, which feels sluggish. |
| Built-in speakers | Present or absent? Quality rating? | If speakers exist, test them first. They might be good enough for casual viewing. If not, budget for external audio. |
| HDR support | HDR10? Dolby Vision? HLG? | HDR10 is the baseline for most 4K content. Dolby Vision is a bonus. Without HDR, your 4K content still looks great but misses the dynamic range boost. |
| HDCP version | HDCP 2.2 or 1.4? | 4K streaming services require HDCP 2.2. If your monitor only supports 1.4, you'll get a black screen or downscaled 1080p on Netflix, Disney+, and similar apps. |
| Input lag | Specified in milliseconds? | For TV and movies, input lag doesn't matter much. But if you also game, lower is better. Most 4K monitors sit between 1ms and 10ms. |
| VESA mount | 75×75 or 100×100? | If you're wall-mounting this in a bedroom or kitchen, you'll want a compatible bracket. |
The HDCP 2.2 Gotcha
This one catches people off guard. You plug everything in, fire up Netflix, and get nothing. Black screen.
Maybe an error message.
The culprit is almost always HDCP. It's a copy-protection handshake between your source device and your display. Every link in the chain (source cable, monitor) needs to support HDCP 2.2 for 4K protected content.
If your monitor is older or budget-tier, it might only have HDCP 1.4. Check the spec sheet. If that's the case, you're limited to 1080p on most streaming platforms.
There's no software fix for this. It's a hardware limitation.
How to Get TV Content on a 4K Monitor
This is the core of the whole setup. You need a source device that delivers content to your monitor through HDMI. You've got several options, and the right one depends on what you want to watch.
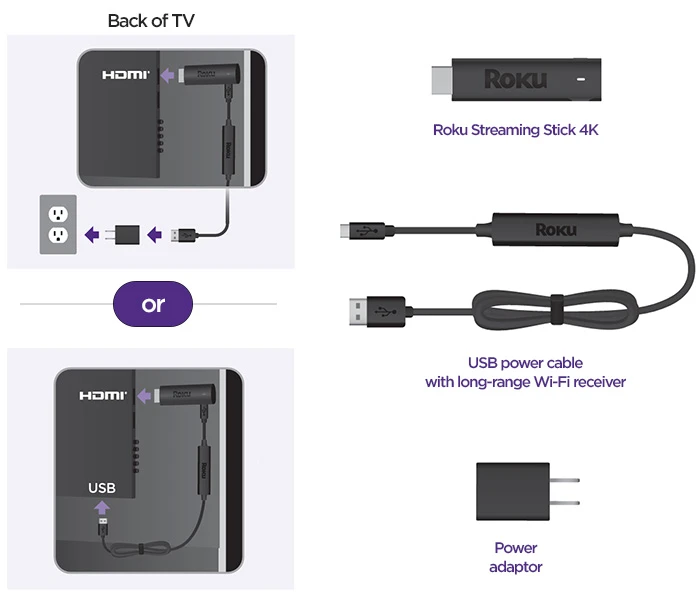
Image source: Bing (Web (fair-use with source credit))
Option 1: Streaming Stick or Box (Best for Most People)
This is the simplest path. A streaming device gives you access to Netflix, YouTube, Hulu, Disney+, HBO Max, and dozens of other apps. It handles the smart TV part your monitor can't do on its own.
Popular choices:
- Roku Streaming Stick 4K ($50). Works with virtually every streaming service. Simple interface. Comes with a remote that controls volume and power if your TV supports HDMI-CEC (most monitors don't, but we'll get to that).
- Amazon Fire TV Stick 4K Max ($60). Alexa integration. Good if you're already in the Amazon ecosystem.
- Chromecast with Google TV ($50). Clean interface. Cast from your phone easily.
- Apple TV 4K ($130+). Best performance and picture quality. Ideal if you're deep in the Apple ecosystem.
How to set it up:
- Plug the streaming device into your monitor's HDMI port.
- Connect the device's power cable to a USB port on the monitor (if available) or a wall adapter.
- Switch the monitor's input to the correct HDMI port.
- Follow the on-screen setup: connect to Wi-Fi, sign into your streaming accounts.
- Adjust picture settings on the monitor for video content (more on this later).
That's it. You now have a functional TV replacement.
Option 2: Cable or Satellite Set-Top Box
If you already pay for cable or satellite service, your existing box is all you need. Run an HDMI cable from the box's output to your monitor's input.
Most cable boxes from the last decade have HDMI output. Some older ones only have component or composite outputs, which won't give you 4K. In that case, you'd need a converter box, but honestly, it's easier to call your provider and request a newer box.
One thing to note: cable boxes usually handle channel switching and volume through their own remote. You won't need to touch the monitor's buttons much once it's set up.
Option 3: Digital TV Tuner (For Free Over-the-Air Channels)
Want local broadcast channels without paying a subscription? You need an ATSC tuner (in the US) or a DVB-T2 tuner (in Europe and the UK).
How it works:
- Connect an antenna to the tuner box.
- Connect the tuner box to your monitor via HDMI.
- Scan for channels using the tuner's interface.
Tuner options:
- HDHomeRun Flex 4K ($200). Network-based tuner. Streams to multiple devices. Overkill if you only need one screen.
- Digital converter box ($30, $50). Simple, standalone device. Channels are controlled via the tuner's remote. Works with any HDMI display.
The budget converter boxes work fine for basic viewing. The interface won't be pretty, and you won't get a slick program guide unless you pay for a subscription service like Schedules Direct. But the channels themselves are free.
Option 4: Game Console as Media Hub
A PlayStation 5 or Xbox Series X is a surprisingly capable media center. Both support every major streaming app. Both have 4K Blu-ray disc drives (the standard models, not the digital editions).
Both output through HDMI.
If you already own one, you don't need a separate streaming device. Just download your apps and you're set.
Solving the Audio Problem
Here's the part that frustrates people the most. You get a beautiful 4K picture on your monitor, and then you realize there's no sound. Or there is sound, but it sounds like a tin can.
Most monitors either have no speakers or have speakers that are barely functional. Even monitors with "built-in speakers" usually deliver 2W to 5W of underwhelming audio. It's fine for system notifications.
It's not fine for watching a movie.
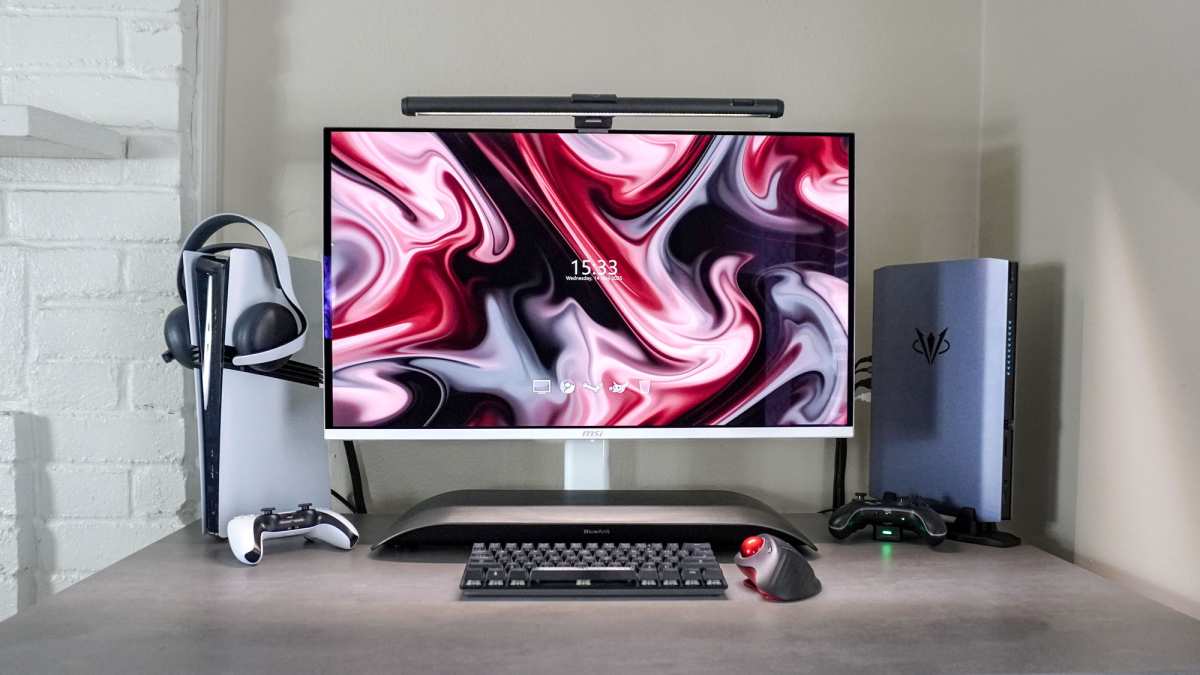
Image source: Bing (Web (fair-use with source credit))
Your Audio Options, Ranked
1. External soundbar (best overall experience)
A basic soundbar connects to your monitor's audio output. Check for one of these on your monitor:
- 3.5mm headphone jack. Most common. Run a 3.5mm aux cable from the monitor to the soundbar.
- Optical (TOSLINK). Found on some monitors. Digital audio, slightly cleaner signal.
- HDMI ARC. Rare on monitors. If yours has it, this is the ideal connection.
- Bluetooth. Some monitors support Bluetooth audio output. Pair your soundbar or headphones directly.
A decent soundbar in the $50 to $100 range will transform your setup. The Roku Streambar, Vizio V-Series, and TCL S-Series are all solid budget picks.
2. Powered desktop speakers
If you're using the monitor at a desk, a pair of powered bookshelf speakers or computer speakers works well. The Audioengine A2+, Edifier R1280T, or even a basic Logitech pair will outperform any monitor speaker.
Connect them to the monitor's 3.5mm audio out or headphone jack.
3. Bluetooth headphones
Simple and private. If your monitor supports Bluetooth, pair your headphones directly. If not, you can get a Bluetooth transmitter that plugs into the 3.5mm jack and sends audio wirelessly to your headphones.
4. Monitor built-in speakers (last resort)
If your monitor has speakers and you're just testing the setup, go ahead and use them. They'll work. But plan to upgrade.
You'll want better audio within a week.
A Note on Audio Sync
Some users report slight audio delay when routing through external speakers, especially with Bluetooth. If you notice lip-sync issues, check your soundbar or receiver for a "lip sync" or "audio delay" adjustment setting. Most modern devices handle this automatically, but it's worth knowing about.

Similar Posts