How to Test Color Accuracy on Monitor
Most people who search how to test color accuracy on monitor end up running a quick online pattern test and calling it done. That approach misses the actual errors that ruin print matches or video grades. A Delta E of 2.0 looks fine on a web page but shifts skin tones in a way no browser test catches.
This guide walks through the decision logic that matches your workflow to the right verification method.
Manufacturer specs cite coverage percentages like 99 percent sRGB or 95 percent DCI-P3 but those numbers describe volume not accuracy. A display can hit 100 percent sRGB volume and still show a white point of 7200K instead of D65. Per ISO 3664:2009 a proofing monitor must hold Delta E under 1.0 for white point and under 2.0 for colors.
The next section breaks down which path fits your actual use case.
Quick Answer
Testing color accuracy requires a hardware colorimeter and verification software. Visual tests only catch large errors. Measure Delta E against sRGB or DCI-P3 targets.
Calibrate to D65 white point and 120 cd/m² brightness. Verify with a full 3D LUT profile. Recertify monthly.
Why Most Monitor Color Tests Give You False Confidence
Browser-based test patterns only reveal gross failures. They cannot measure Delta E because the browser color management chain adds unknown transforms. A monitor showing a perfect gray ramp in Chrome may still drift magenta in the shadows when viewed in a color managed application like Lightroom or DaVinci Resolve.
Aggregate review data shows that factory calibration reports often measure a single center patch at 100 nits. Real world uniformity errors across the panel frequently exceed Delta E 3.0 at the edges. That discrepancy explains why prints look different than the screen even on a supposedly calibrated display.
The core problem is that a pass/fail green checkmark tells you nothing about the magnitude or direction of the error.
The Real Question: What Are You Actually Trying to Achieve?
Your goal determines the verification method. Photo editors targeting sRGB prints need Delta E under 1.5 across the gamut. Video editors grading for Rec.709 broadcast need 100 percent Rec.709 coverage with a stable 2.4 gamma curve.
HDR content creators targeting P3-D65 at 1000 nits need a spectrophotometer that can read high luminance patches without clipping. Web designers only need consistent sRGB appearance across common browsers. Print shops following ISO 12647-2 require contract proof validation with a measurement report.
Each workflow has a different tolerance budget and a different measurement geometry. Matching the test to the deliverable saves hours of rework.
Color Accuracy 101: Delta E, White Point, Gamut, and What the Numbers Mean
Delta E 2000 is the industry standard metric for perceptual color difference. A value below 1.0 is considered a visual match. Values between 1.0 and 2.0 are acceptable for most professional work.
Values above 3.0 indicate a visible mismatch. White point defines the chromaticity of the brightest white the display produces. D65 (6504K) is the standard for photography and web.
D50 (5003K) is the standard for soft proofing under ISO 3664. Gamut volume describes the percentage of a reference color space the monitor can reproduce. Coverage describes the overlap area.
A monitor with 100 percent sRGB volume but only 90 percent coverage leaves holes in the gamut that cause clipping. Gamma or EOTF defines the luminance response curve. sRGB uses a 2.2 approximate gamma. Rec.709 uses 2.4.
PQ (ST 2084) is the perceptual quantizer for HDR.

Your Decision Variables: Use Case, Monitor Type, Budget, and Workflow
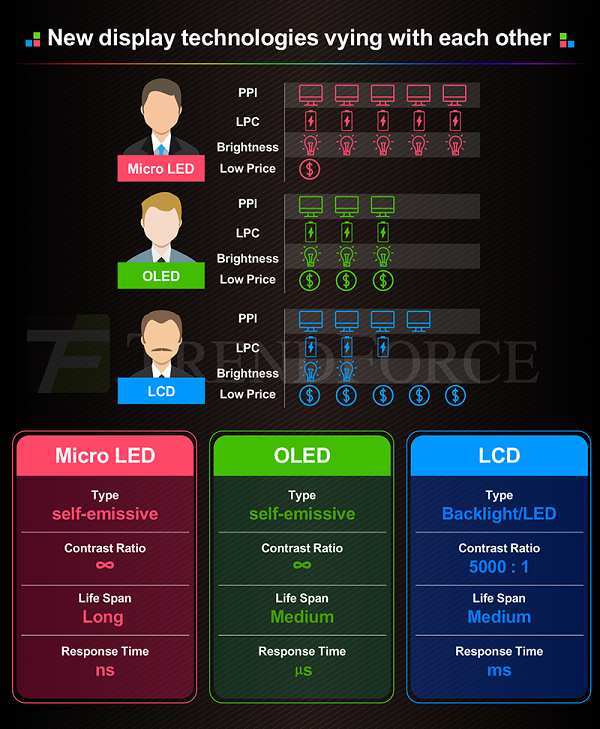
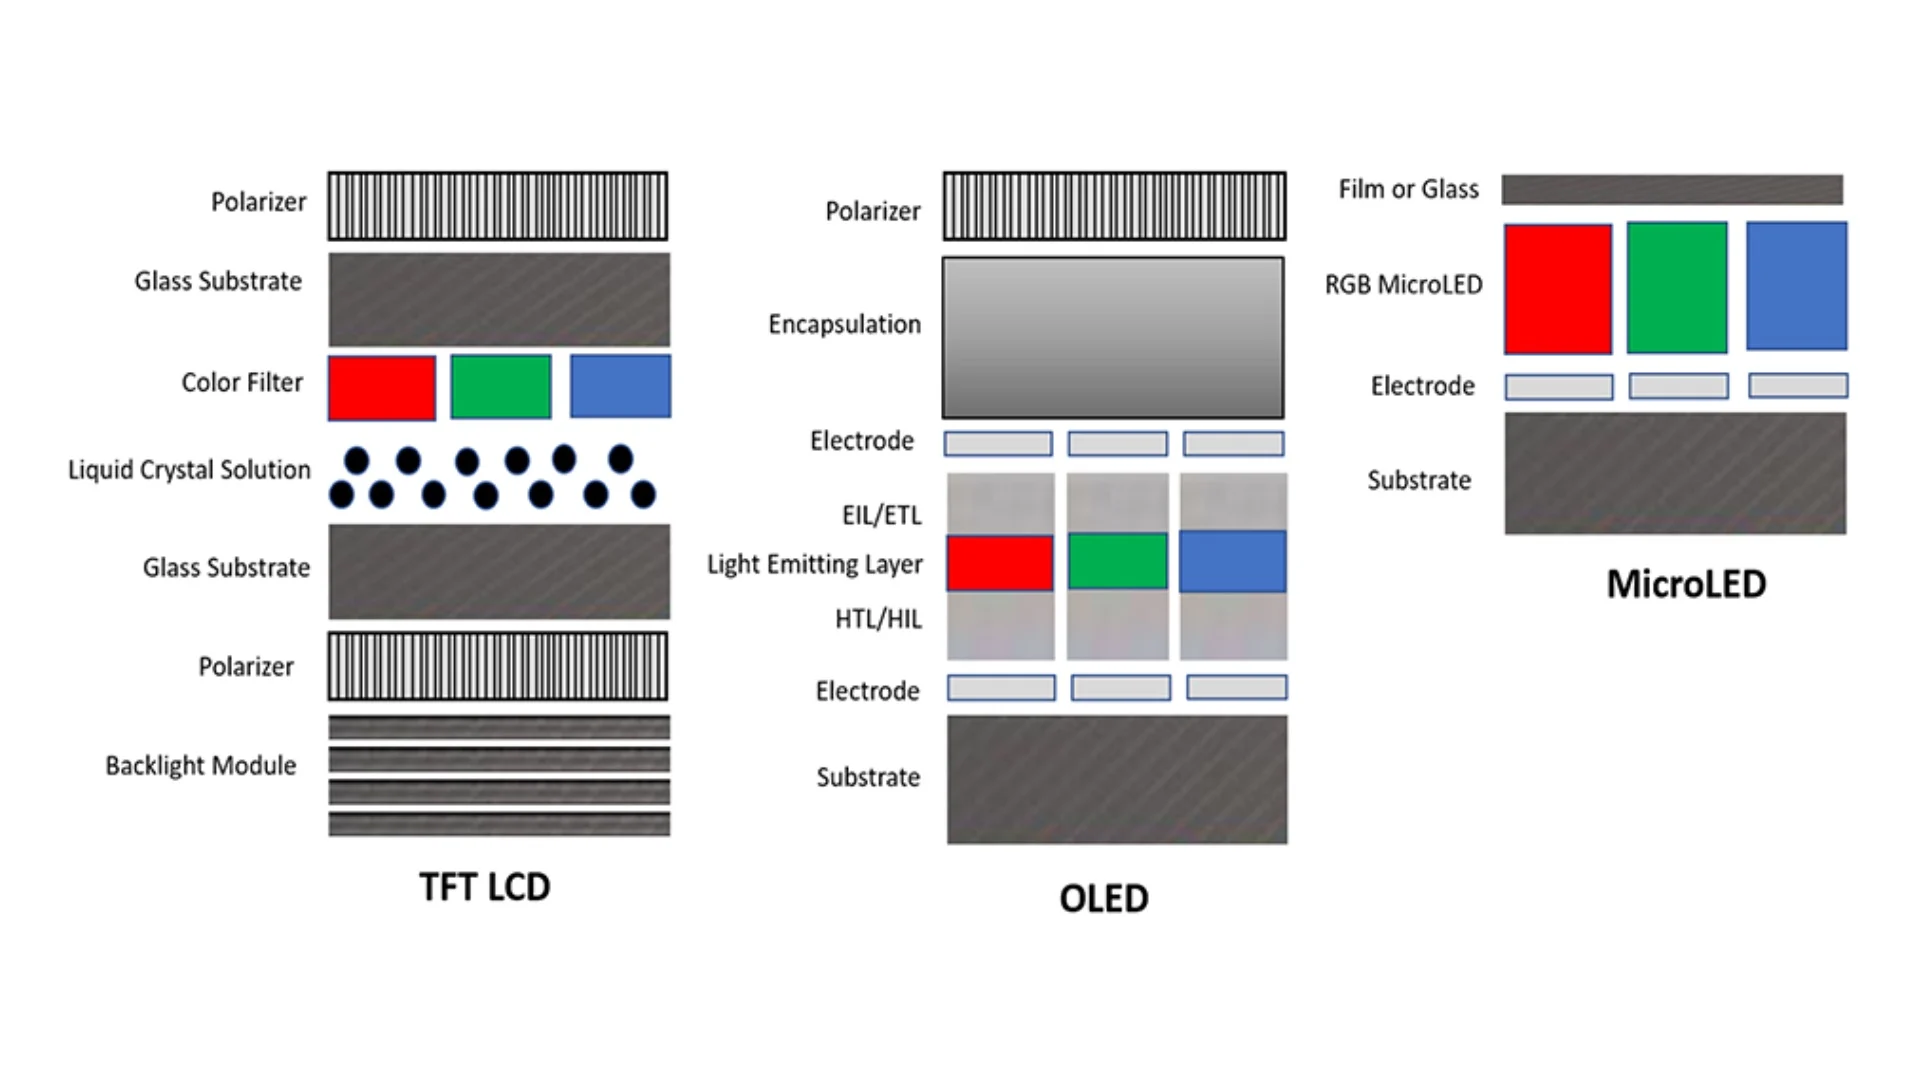
The testing path branches on four variables. First the use case: photo print soft proofing, video Rec.709 grading, HDR P3 mastering, web design, or general office work. Second the monitor type: standard gamut IPS, wide gamut with hardware LUT, OLED with per-pixel emission, or mini-LED with local dimming.
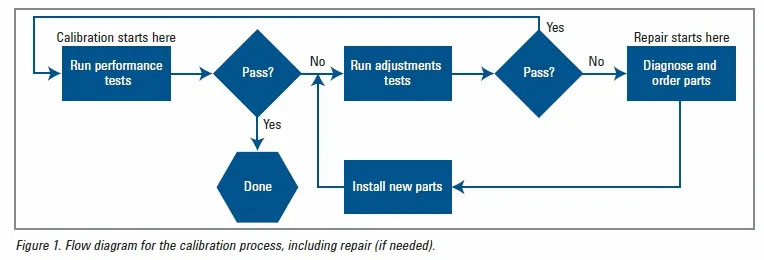
Third the budget: zero cost (visual only), existing colorimeter (software only), new entry colorimeter ($150-250), or spectrophotometer ($1500+). Fourth the workflow: ICC profile only, hardware LUT calibration, 3D LUT generation for Resolve, or verification report for ISO compliance. The flowchart below maps each combination to a recommended path.
A photo editor on a wide gamut hardware LUT monitor with a $200 budget should follow Path B. A video colorist on an OLED reference monitor with a $2000 budget should follow Path C with a spectro.
Path A: Quick Visual Check — No Hardware, Just Test Patterns and Eyes
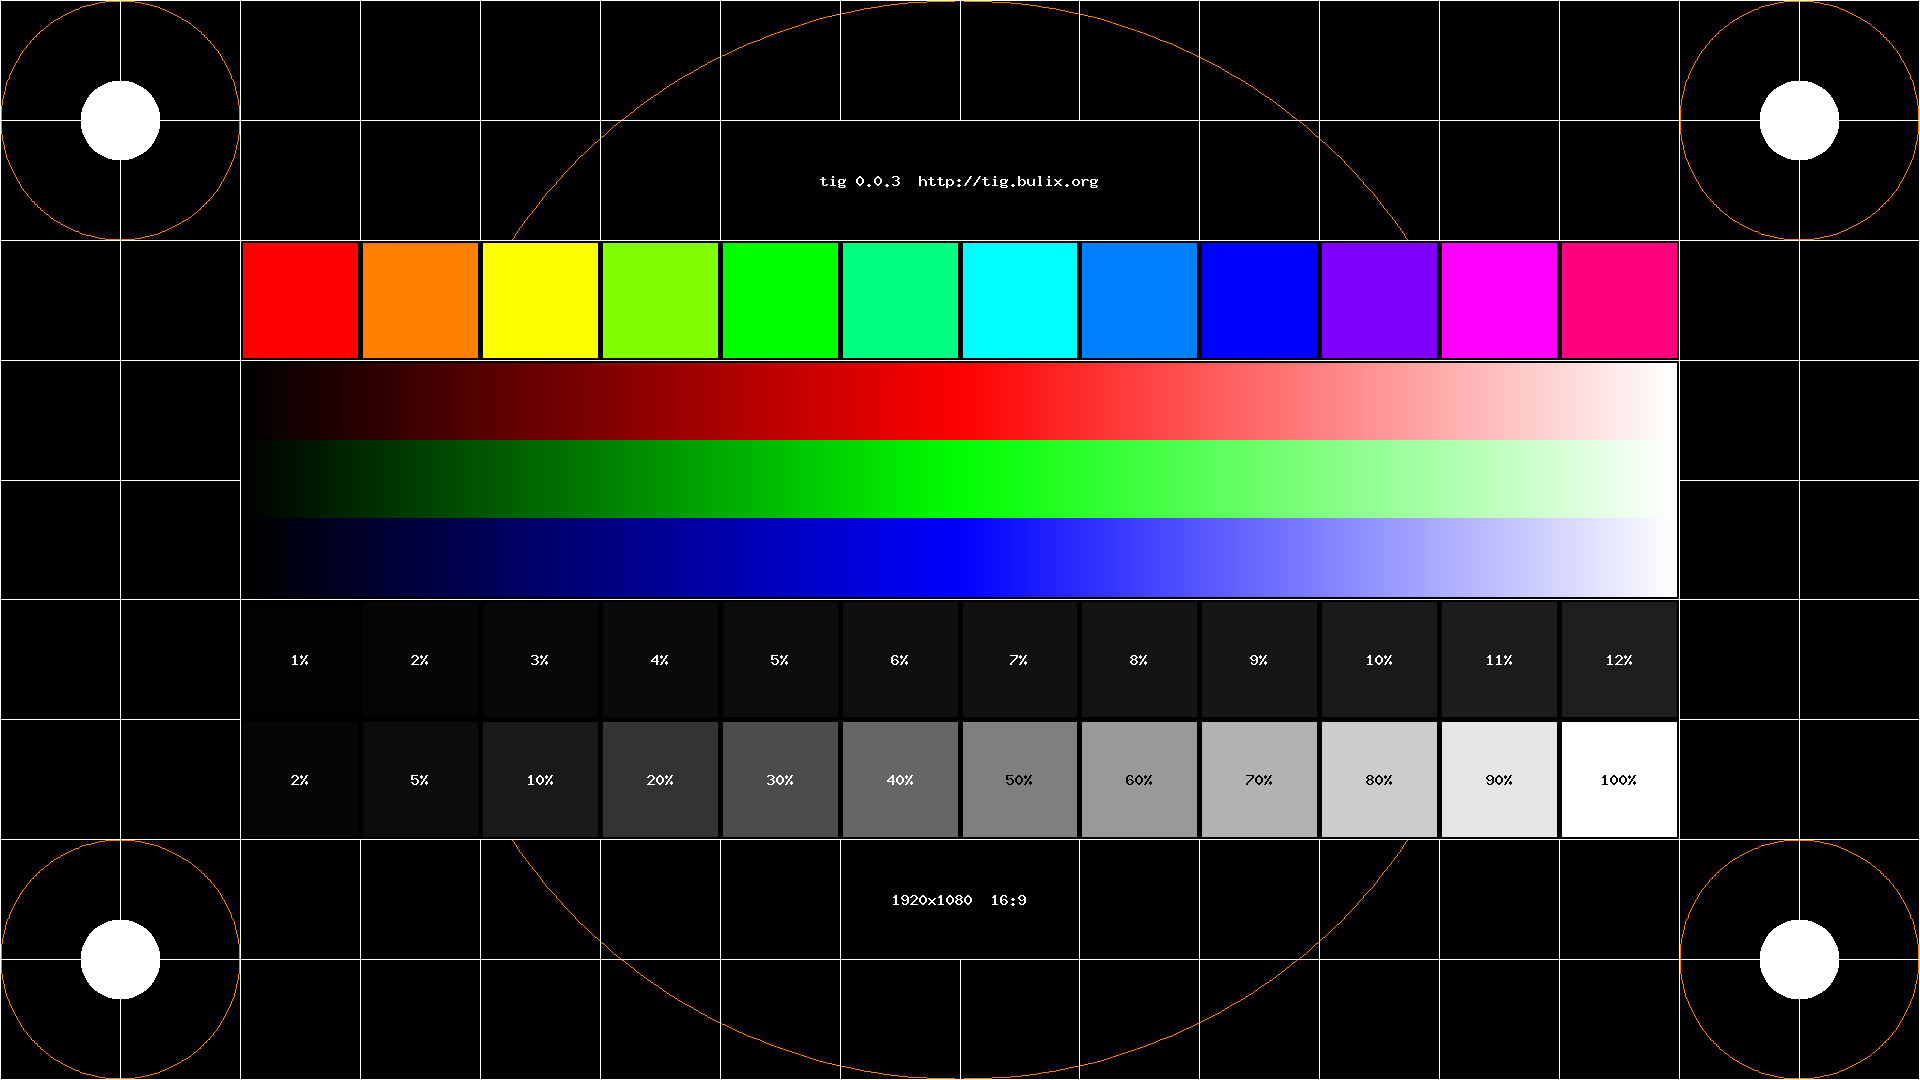
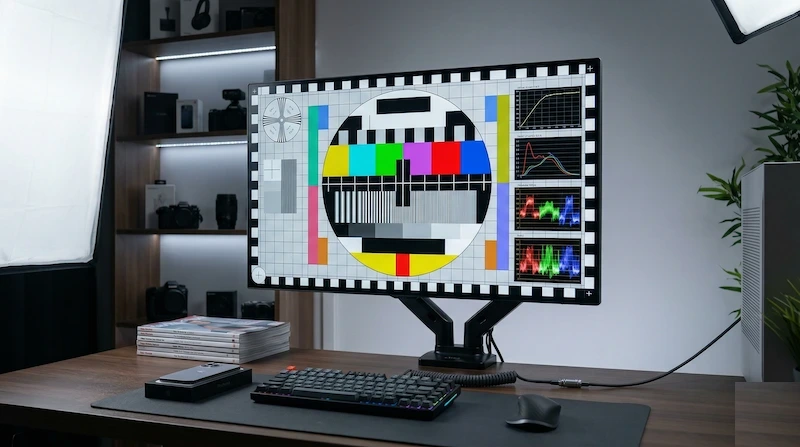
Visual checks catch catastrophic failures like a swapped red and blue channel or a crushed black point. They cannot quantify Delta E. Use the Lagom LCD test suite or the EIZO Monitor Test pages in a color managed browser like Firefox with gfx.color_management.mode set to 1.
Check the gray ramp for banding or color casts at each step. Verify the white saturation scale shows distinct steps up to 253. Confirm the black level scale shows steps starting at 1.
View the gamma chart at a distance; the center square should blend with the surrounding pattern. Look for uniformity issues by displaying a full screen 50 percent gray and viewing from angles. Note any green or magenta shift in the corners.
This method takes five minutes and costs nothing. It is sufficient for confirming a monitor is not broken before investing in hardware. It is not sufficient for any professional deliverable.
Path B: Software-Only Measurement — Using a Colorimeter You Already Own
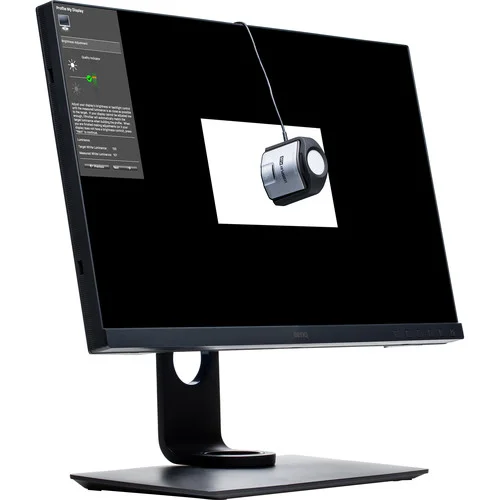
If you own an X-Rite i1Display Pro, Datacolor SpyderX, or Calibrite ColorChecker Display you can run a verification pass without recalibrating. Install DisplayCAL or the vendor software. Set the measurement mode to match your monitor type: LCD White LED for standard IPS, LCD WLED PFS phosphor for wide gamut, or OLED for organic emitters.
Run a verification profile with at least 1728 patches covering the full 3D volume. Target D65 white point, 120 cd/m² luminance, and gamma 2.2 or sRGB tone curve. The software will output a Delta E 2000 report with max, average, and 95th percentile values.
Pass criteria: max Delta E under 2.0, average under 0.8. If the report fails, run a full calibration and re-verify. This path takes 30 to 45 minutes.
It assumes your colorimeter correction matrix matches the display spectral power distribution. Mismatched matrices introduce systematic errors up to Delta E 3.0.
Path C: Hardware Calibration — Full Profiling with Spectrophotometer or High-End Colorimeter
Hardware calibration writes correction curves directly into the monitor internal LUT. This bypasses the graphics card LUT and preserves 10-bit precision. Monitors with hardware calibration support include EIZO ColorEdge, NEC SpectraView, BenQ SW series, ASUS ProArt PA series, and Dell PremierColor models.
Connect a spectrophotometer like the X-Rite i1Pro 3 Plus or a high accuracy colorimeter like the Calibrite ColorChecker Display Plus. Run the vendor calibration software (ColorNavigator, SpectraView, Palette Master). Target D65, 120 cd/m², gamma 2.2 for photo or 2.4 for video.
Enable black level calibration if supported. After calibration run a verification pass with 5000+ patches. Generate an ICC profile for OS level color management.
Export a 3D LUT (.cube) for DaVinci Resolve if grading video. Archive the measurement report for ISO 12647-7 compliance. This path takes 60 to 90 minutes.
It delivers the highest accuracy and stability.
Path D: HDR and Video Workflows — Rec.709, DCI-P3, PQ, and HLG Verification
HDR verification requires a meter that reads up to 4000 nits without clipping. The i1Pro 3 Plus and Klein K-10A meet this. SDR video verification targets Rec.709 primaries, D65 white, 100 cd/m², gamma 2.4.
HDR PQ verification targets P3-D65 primaries, D65 white, PQ EOTF per ST 2084, with peak luminance at the display rated maximum (typically 1000 or 4000 nits). HLG verification uses the HLG OETF with a system gamma of 1.2. Measure a 10 percent window pattern at each luminance step: 0, 100, 200, 400, 1000, 2000, 4000 nits.
Verify Delta E 2000 under 2.0 for color patches at each luminance level. Check tone mapping rolloff above the display peak. Confirm metadata flags (MaxCLL, MaxFALL) match the mastered values.
This path requires a pattern generator (Murideo, HDFury, or Resolve internal) and a meter with high dynamic range linearity. It takes 90 to 120 minutes.
Step-by-Step: Running a Proper Verification Pass (Any Path)
Warm the monitor for 30 minutes at target brightness. Disable dynamic contrast, local dimming, eco modes, and any auto brightness features. Set the OS color management to use the monitor native profile or a generic sRGB profile.
Place the meter on the center of the screen using the supplied counterweight. Block ambient light with a calibration hood or a dark room. Run the verification patch set appropriate to your target standard.
Record max Delta E 2000, average Delta E 2000, white point delta CCT, gamma deviation, and luminance error. Compare against your workflow tolerance table. If any metric fails, calibrate and re-verify.
Save the report with date, monitor serial, meter serial, software version, and patch count. Schedule re-verification at 30 day intervals for critical work. Drift typically exceeds Delta E 1.0 after four weeks on wide gamut IPS.
The Mistakes That Waste Time and Give Wrong Results
Measuring with an unmatched correction matrix is the most common error. A generic "LCD" matrix on a wide gamut quantum dot display can report Delta E 1.0 while the real error is Delta E 4.0. Always select the specific spectral mode or upload a custom spectral correction file.
Measuring without warm up adds luminance instability of 5 to 10 percent in the first 15 minutes. Using the graphics card LUT for calibration on a hardware LUT monitor wastes bit depth and introduces banding. Verifying with a different patch set than the calibration target hides gamut clipping errors.
Ignoring ambient light contamination raises black level readings and skews contrast ratio. Skipping the verification step after calibration assumes the process succeeded; firmware bugs occasionally write incorrect LUT values. For photographers pairing a wide gamut monitor with an sRGB workflow, soft proofing setup matters as much as calibration.
Video editors should confirm their monitor size and curve suit the grading suite geometry.
Pro Habits: Warm-Up, Ambient Control, Drift Tracking, and Recertification
Professional studios treat verification as a recurring process not a one-time event. They log every measurement in a spreadsheet tracking max Delta E over time. A rising trend signals backlight aging or LUT drift.
They maintain a reference spectrophotometer sent annually for NIST traceable recalibration. They use D50 bias lighting at 2000 lux for print evaluation per ISO 3664. They disable OS night shift, f.lux, and True Tone globally.
They profile each monitor individually even in matched pairs. They verify after any firmware update, driver update, or cable change. They keep a spare calibrated meter on site for cross-checks.
These habits reduce surprise reprints and rejected deliverables to near zero. The 27-inch form factor remains the sweet spot for dual-monitor proofing stations. Wide gamut support is essential for modern print workflows.
Tool Comparison: Colorimeter vs Spectrophotometer vs Built-In Sensors
A filter colorimeter like the i1Display Pro Plus costs $250 and reads 30 patches per minute. A spectrophotometer like the i1Pro 3 Plus costs $2,500 and reads 3 patches per minute. The colorimeter is faster but relies on a correction matrix matched to your backlight type.
The spectrophotometer measures spectral power distribution directly so it works on any display technology including OLED, QD-OLED, and mini-LED without matrix errors. Built-in monitor sensors on EIZO ColorEdge and NEC SpectraView models are convenient for daily recalibration but they cannot verify absolute accuracy against an external reference. For critical print work you need an external spectrophotometer verification at least quarterly.
For video grading a high-end colorimeter with the correct matrix is usually sufficient. Choose based on your display technology and how often you need to reverify.
| Instrument | Cost | Speed | Best For | Limitation |
|---|---|---|---|---|
| Filter colorimeter | $150–300 | Fast | Routine calibration, sRGB/DCI-P3 | Matrix mismatch on new backlights |
| Spectrophotometer | $1,500–3,500 | Slow | Absolute verification, any display | Overkill for daily use |
| Built-in sensor | Included | Automated | Daily maintenance, hardware LUT | No independent verification |
Interpreting Your Verification Report: Pass, Fail, and What to Do Next
The report shows max Delta E 2000, average Delta E 2000, and 95th percentile Delta E 2000. Max under 1.0 is reference grade. Max under 2.0 is professional pass.
Max 2.0, 3.0 is acceptable for web design. Max over 3.0 fails for any color-critical work. White point delta CCT should be under 50K.
Gamma max deviation should be under 0.1. Luminance error should be under 5 percent. If only max Delta E fails but average is good, check the failing patches, usually saturated cyans or magentas on wide gamut displays.
That indicates gamut clipping in the profile. If white point fails, recalibrate the RGB gains in the monitor OSD. If gamma fails, verify the tone curve setting matches your target.
If uniformity fails (corner Delta E > 2.0), the panel itself has consistency issues no calibration can fix. Document the decision and the reason.
When to Recalibrate vs When to Just Reverify
Reverify monthly with a 500-patch set. Takes 15 minutes. Recalibrate when reverify max Delta E exceeds 2.0 or when white point drifts more than 100K.
Recalibrate after any firmware update, graphics driver update, or cable change. Recalibrate after 500 hours of use on OLED to compensate for differential aging. Recalibrate when ambient lighting conditions change permanently, moving from a dark suite to a window-lit office shifts perceived white point.
Do not recalibrate just because the calendar says so. Unnecessary recalibration wears the monitor LUT write cycles and introduces risk of a bad calibration. Profile validity expires when the measurement data no longer matches the display behavior.
Trust the verification numbers not the schedule.
Workflow Integration: OS Color Management, Browser Settings, and App Profiles
Windows 10/11 loads the default ICC profile into the system VCGT but many apps ignore it. Firefox honors the system profile when gfx.color_management.mode is 1. Chrome uses the system profile only if forced with –enable-color-correct-rendering.
Safari on macOS uses the system profile automatically. Lightroom and Capture One use the monitor profile assigned in preferences. DaVinci Resolve uses the 3D LUT loaded in the project settings or the OS display LUT.
Premiere Pro relies on the OS color management chain which is unreliable on Windows. For critical video work use a dedicated hardware LUT box like an AJA LUT-box or Blackmagic Teranex. For photo work assign the verification profile in your raw processor and enable soft proofing with the printer profile.
Test the chain with a known reference image containing memory colors (skin, foliage, sky). If it looks wrong in one app but right in another the profile assignment is broken not the calibration.
Frequently Asked Questions
How often should I verify my monitor color accuracy?
Monthly for professional work. Quarterly for casual use. After any hardware or driver change.
Can I use my phone camera to calibrate my monitor?
No. Phone cameras lack spectral sensitivity calibration and IR filtration. Results are random.
Do I need a spectrophotometer for an OLED monitor?
Yes. Filter colorimeters without an OLED-specific matrix read OLED primaries incorrectly. A spectro measures the actual SPD.
What Delta E is good enough for web design?
Max Delta E 2000 under 3.0 across sRGB. Average under 1.5. White point within 100K of D65.
Does HDR calibration require different hardware?
Yes. You need a meter rated for at least 2000 nits linearity. The i1Display Pro Plus clips at 1000 nits.
The i1Pro 3 Plus or Klein K-10A handle full HDR range.
Path A: Quick Visual Check — No Hardware, Just Test Patterns and Eyes
Load the Lagom LCD test suite in a color managed browser. Set the monitor to sRGB mode if available. Disable Night Light and f.lux.
View the white saturation, black level, and gamma patterns. Check for banding in the gradient ramps. Look for color tints in the neutral gray squares.
This catches gross errors like a stuck green channel or crushed shadows. It cannot measure Delta E. It cannot verify white point accuracy.
Use it only as a sanity check before shipping work to a calibrated display.
Path B: Software-Only Measurement — Using a Colorimeter You Already Own
Connect the meter. Run DisplayCAL or Calman Home. Choose the sRGB or Rec.709 target.
Set white point to D65. Set luminance to 120 cd/m². Run a 500 patch verification.
Review the Delta E 2000 summary. If max Delta E exceeds 2.0 investigate the failing patches. Recalibrate using the software LUT loader if the monitor lacks hardware LUT.
Apply the resulting ICC profile in OS color management. Verify in a color managed application. This path works for photographers delivering sRGB web files.
Path C: Hardware Calibration — Full Profiling with Spectrophotometer or High-End Colorimeter
Use a monitor with a 3D LUT engine like EIZO ColorEdge or Dell PremierColor. Launch the vendor software or Calman Studio. Select the target colorspace: Adobe RGB for print, DCI-P3 for video.
Choose hardware calibration mode. The software drives the monitor OSD directly. It writes the 3D LUT into the monitor.
Then it creates an ICC profile for the OS. Run a full 17³ or 33³ verification after. This path is required for soft proofing wide gamut print workflows.
It is the only way to get accurate per channel tone response on wide gamut panels.
Path D: HDR and Video Workflows — Rec.709, DCI-P3, PQ, and HLG Verification
Set the monitor to HDR mode in Windows. Target ST.2084 PQ curve for Dolby Vision or Netflix. Target HLG for broadcast.
Use the Calman HDR workflow or ColourSpace HDR. Measure a 1000 nit window if the display supports it. Verify MaxCLL and MaxFALL compliance.
Check Rec.709 SDR reference white at 100 nits inside HDR mode. Confirm BT.2390 tone mapping behavior. Video colorists need this path.
Photographers do not.
Step-by-Step: Running a Proper Verification Pass (Any Path)
Warm the monitor for 60 minutes. Set ambient light to 64 lux D50 bias lighting. Disable all OS night shift features.
Launch verification software. Select the correct display instance. Choose the target colorspace and EOTF.
Run the measurement set. Save the report PDF. Compare max Delta E to your pass threshold.
Document the result in your calibration log. Schedule the next verification.
The Mistakes That Waste Time and Give Wrong Results
Using an unmatched colorimeter correction matrix on wide gamut or OLED panels introduces systematic Delta E errors of 3.0 or more. Skipping the 60 minute warm up shifts luminance by 5 to 10 percent. Calibrating with the GPU LUT on a hardware LUT monitor wastes bit depth and causes banding.
Verifying with the same patch set used for calibration hides gamut clipping. Ignoring ambient light raises black level readings and skews contrast. Assuming calibration succeeded without a verification pass misses firmware LUT write failures.
Trust the numbers not the green checkmark.
Pro Habits: Warm-Up, Ambient Control, Drift Tracking, and Recertification
Log every verification in a spreadsheet tracking max Delta E over time. A rising trend signals backlight aging. Send reference meters annually for NIST traceable recertification.
Use D50 bias lighting at 2000 lux for print evaluation per ISO 3664. Disable OS night shift globally. Profile each monitor individually.
Verify after firmware or driver updates. Keep a spare calibrated meter for cross checks. These habits reduce surprise reprints to near zero.
Decision Guide: Match Your Situation to the Right Testing Method
Photo print workflow on wide gamut hardware LUT monitor: Path C with spectrophotometer verification. Web design on standard gamut laptop: Path A visual check monthly. Video Rec.709 grading on reference OLED: Path C with high end colorimeter. HDR P3 mastering on 1000 nit mini-LED: Path D with Klein K-10A. No budget but need sRGB confidence: Path B with used i1Display Pro. ISO 12647 contract proofing: Path C with full documentation. Pick the path that matches your deliverable not your wish list.

Similar Posts