How to Setup External 4K Monitor on Laptop
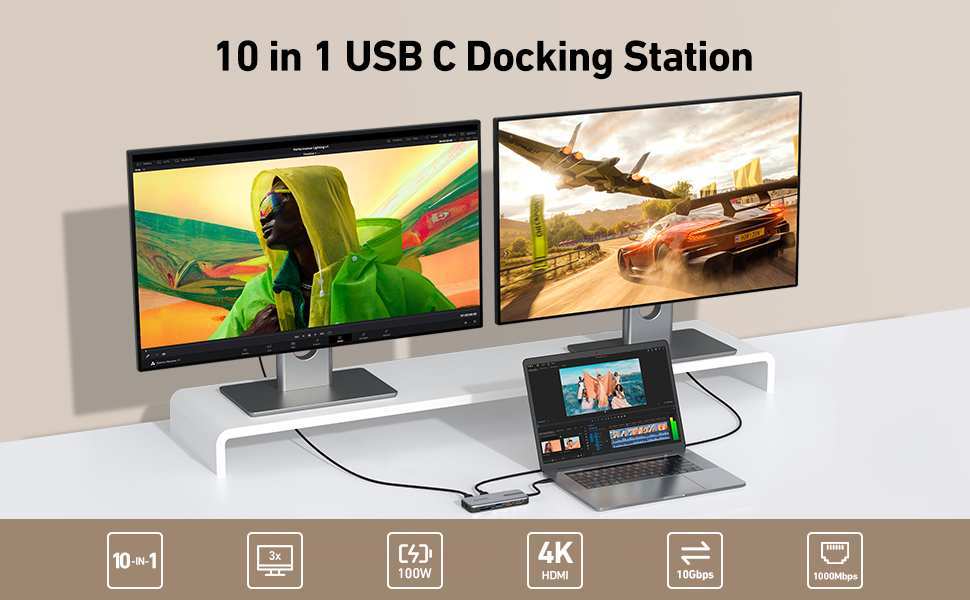
So you've got a shiny new 4K monitor sitting on your desk and you're ready to supercharge your laptop setup. Learning how to setup external 4k monitor on laptop hardware isn't complicated, but there are a few things that can trip you up if you don't know what to look for. The most common headache?
You plug everything in and either get no signal, a blurry mess, or your display stuck at a choppy 30Hz refresh rate.
The good news is that most of these problems come down to using the wrong cable, the wrong port, or missing a quick settings tweak. 4K at 60Hz requires at least HDMI 2.0 or DisplayPort 1.2 bandwidth, and not every USB-C port on your laptop actually supports video output. Let's walk through exactly what you need to check, what to buy, and how to get everything running smoothly.
Image source: Bing (Web (fair-use with source credit))
Quick Answer
Connect your 4K monitor to your laptop using a compatible cable or adapter. Open your display settings and choose between mirroring or extending your screen. Set the resolution to 3840 × 2160 and the refresh rate to 60Hz if supported.
Adjust scaling so text and icons look comfortable at 4K.
Why Your 4K Monitor Isn't Working (And How to Fix It First)
Before you dive into settings, let's address the most common frustrations people run into. If you've already plugged things in and something looks off, one of these is probably the culprit.
You're stuck at 30Hz. This is the single most common complaint. Everything feels sluggish, the cursor drags, and video playback looks rough. It almost always means you're using an older HDMI cable (pre-2.0) or your connection path doesn't have enough bandwidth for 4K at 60Hz.
The monitor says "No signal." This usually means the cable isn't seated properly, the adapter doesn't support video passthrough, or you're plugged into a USB-C port that only handles data and charging, not display output.
Text looks tiny or blurry. At 4K resolution on a 27-inch screen, Windows or macOS defaults can make everything look microscopic. You need to adjust the scaling percentage in your display settings.
The screen flickers or drops out. Cheap cables, uncertified USB-C adapters, or outdated GPU drivers are the usual suspects here.
The fix for almost all of these starts with understanding what your laptop can actually output. That's what we'll tackle next.
Quick Checklist: What You Need Before You Start
Don't just grab any cable from your drawer. The connection type matters a lot when you're pushing 4K resolution, and the wrong cable will bottleneck your entire setup.
Check Your Laptop's Ports and GPU Capabilities
Look at the sides of your laptop and identify what you're working with. Here's a quick breakdown of what you might find:
- USB-C with DisplayPort Alt Mode. This is the most common modern connection. It carries video, data, and power over one cable. Look for a small lightning bolt or "DP" icon next to the port.
- Thunderbolt 3 or 4. Uses the same USB-C connector but offers even more bandwidth. Fully supports 4K at 60Hz and often dual 4K displays.
- HDMI port. Check whether it's HDMI 2.0 or newer. HDMI 1.4 can only do 4K at 30Hz, which feels awful for desktop use.
- DisplayPort or Mini DisplayPort. Less common on laptops but excellent for 4K output. DisplayPort 1.2 or higher handles 4K at 60Hz without issues.
- USB-A only. No video output here. You'll need a DisplayLink adapter, which uses software to push video through a data-only connection.
You also need to check your GPU. Most modern integrated graphics (Intel Iris Xe, AMD Radeon 780M) handle a single 4K display at 60Hz just fine. Older Intel HD Graphics (pre-2020) may struggle or cap out at 30Hz.
Dedicated GPUs from NVIDIA or AMD have no problem at all.
Identify the Right Cable or Adapter for Your Setup
Once you know your ports, match them to the right cable:
| Laptop Port | Best Cable/Adapter | Supports 4K 60Hz? |
|---|---|---|
| USB-C (DP Alt Mode) | USB-C to USB-C cable (included with most 4K monitors) | Yes |
| Thunderbolt 3/4 | Thunderbolt 4 cable or USB-C to DisplayPort cable | Yes |
| HDMI 2.0+ | High-speed HDMI cable (18 Gbps rated) | Yes |
| HDMI 1.4 | High-speed HDMI cable | No (30Hz only) |
| USB-A only | DisplayLink USB adapter | Yes (with driver software) |
A few things to keep in mind. Not all USB-C cables are created equal. Many phone charging cables don't carry video signals at all.
You need a cable rated for "DisplayPort Alt Mode" or one that explicitly lists video support. For HDMI, look for cables labeled "Premium High Speed" or "Ultra High Speed" to guarantee enough bandwidth.
If you're using an adapter or dongle, check the product specs carefully. Many cheap multi-port hubs only support 4K at 30Hz through their HDMI port. The product listing should explicitly state "4K@60Hz" if it supports the higher refresh rate.
Step-by-Step Connect: How to Hook Up Your 4K Monitor
Here's the full process from cable to a properly configured desktop. Follow these in order and you'll avoid 90% of common issues.
Step 1: Connect the Cable or Adapter
Plug one end into your laptop and the other into the monitor. If you're using a USB-C connection, make sure it's going directly to the monitor's USB-C input, not through an unpowered hub first.
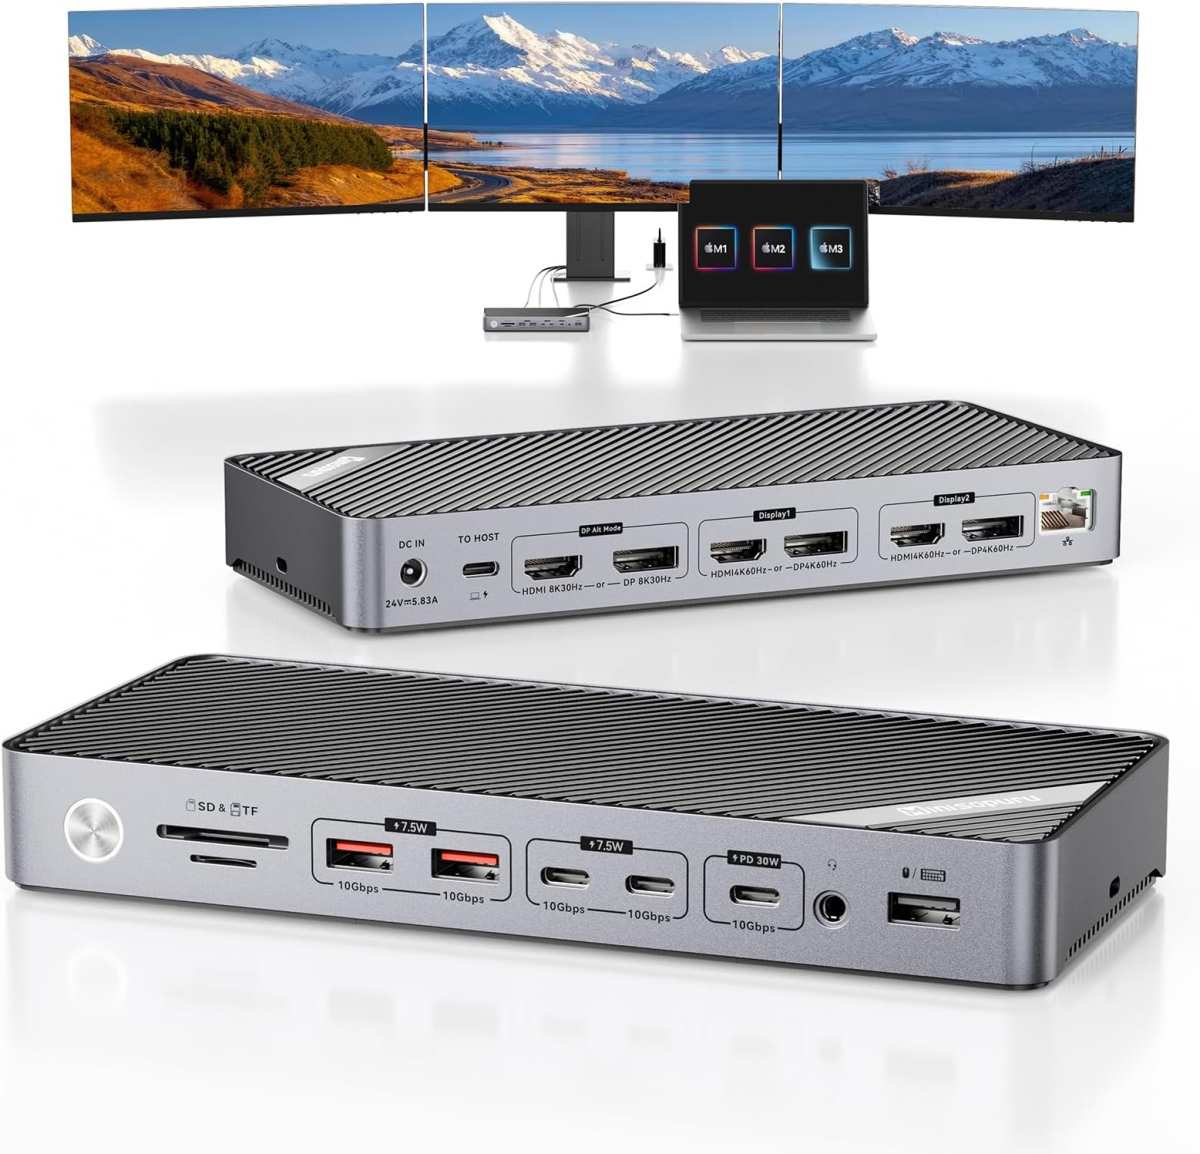
Image source: Bing (Web (fair-use with source credit))
Power on the monitor and select the correct input source using the monitor's on-screen display menu. Most monitors auto-detect the active input, but it doesn't hurt to manually select it.
If your laptop has a dedicated GPU (NVIDIA or AMD), some older models route video output through the integrated graphics. In rare cases, this can limit your output capabilities. If you're not getting a signal, try connecting to a different port if one is available.
Step 2: Configure Display Settings on Windows
Right-click on your desktop and select Display settings. Windows should detect the external monitor automatically. If it doesn't show up, click the Detect button.
You'll see two rectangles labeled "1" and "2" representing your screens. Click Identify if you're not sure which is which.
Key settings to adjust:
- Display arrangement. Drag the rectangles to match the physical layout of your monitors. If your external monitor is to the left of your laptop, drag screen 2 to the left of screen 1.
- Resolution. Click on the external monitor's rectangle, then scroll down to Display resolution. Select 3840 × 2160 if it's not already selected.
- Multiple displays. Choose Extend these displays for a dual-screen workspace, or Duplicate these displays if you want the same image on both screens.
- Make this my main display. Check this box if you want the external monitor to be your primary screen with the taskbar and Start menu.
Step 3: Configure Display Settings on macOS
Open System Settings (or System Preferences on older macOS versions) and go to Displays. Your Mac should recognize the external monitor automatically.
Hold down the Option key and click the Detect Displays button if the monitor isn't showing up.
Key settings to adjust:
- Resolution. Click on the external monitor window, then select Default for display or choose Scaled and pick 3840 × 2160.
- Arrangement. Click the Arrange button and position the display rectangles to match your physical setup. The white menu bar at the top of one rectangle indicates your primary display.
- Mirror displays. Uncheck this box if you want an extended desktop rather than a mirrored image.
macOS handles scaling quite well at 4K by default. It uses a HiDPI mode that renders text sharply. If things look too large or too small, go back into the Scaled options and try a different setting.
Step 4: Set the Correct Refresh Rate (30Hz vs. 60Hz)
This is the step most people skip, and it makes a huge difference in how smooth everything feels.
On Windows: Go to Display settings > Advanced display settings (or Display adapter properties). Select the external monitor, then look for Refresh rate. Choose 60Hz if it's available.
If you only see 30Hz, your cable or connection doesn't have enough bandwidth for 4K at 60Hz.
On macOS: Go to System Settings > Displays, click on the external monitor, and look for the Refresh rate dropdown. Select 60Hz.
If 60Hz isn't an option, here's what to check:
- Your cable. Swap it for a certified high-speed cable.
- Your adapter. Many USB-C hubs cap HDMI output at 30Hz. Try a direct USB-C to USB-C connection or a DisplayPort cable instead.
- Your GPU. Very old integrated graphics may not support 4K at 60Hz at all.
Step 5: Fix Scaling So Text Isn't Tiny or Blurry
At 4K on a 27-inch screen, Windows defaults to 100% scaling, which makes everything painfully small. Bump it up to 150% or 200% in the display settings.
On Windows: In Display settings, find the Scale dropdown under the external monitor. 150% works well for 27-inch 4K screens. 200% is better for smaller displays or if you prefer larger UI elements.
On macOS: The system handles this more gracefully. If you want to fine-tune it, go to Displays > Scaled and choose from the options. macOS renders at a higher internal resolution and scales down, so text stays sharp.
Some older Windows apps will look blurry at non-standard scaling percentages. Right-click the app's shortcut, go to Properties > Compatibility > Change high DPI settings, and check Override high DPI scaling behavior.
Step 6: Arrange Your Displays to Match Your Desk Layout
This sounds minor, but getting the arrangement right saves you from that annoying moment where your mouse goes the wrong direction between screens.
In your display settings, drag the screen rectangles so they mirror your physical desk layout. If your external monitor sits to the right of your laptop, position screen 2 to the right of screen 1. If it's above, stack them vertically.
You can also set which screen gets the taskbar, the lock screen, and new app windows. On Windows, scroll down to Multiple displays and check Make this my main display on whichever screen you want as your primary workspace.
USB-C vs. HDMI vs. DisplayPort: Which Connection Should You Use?
Not all connections are equal when you're pushing 4K resolution. Here's how the three main options stack up.
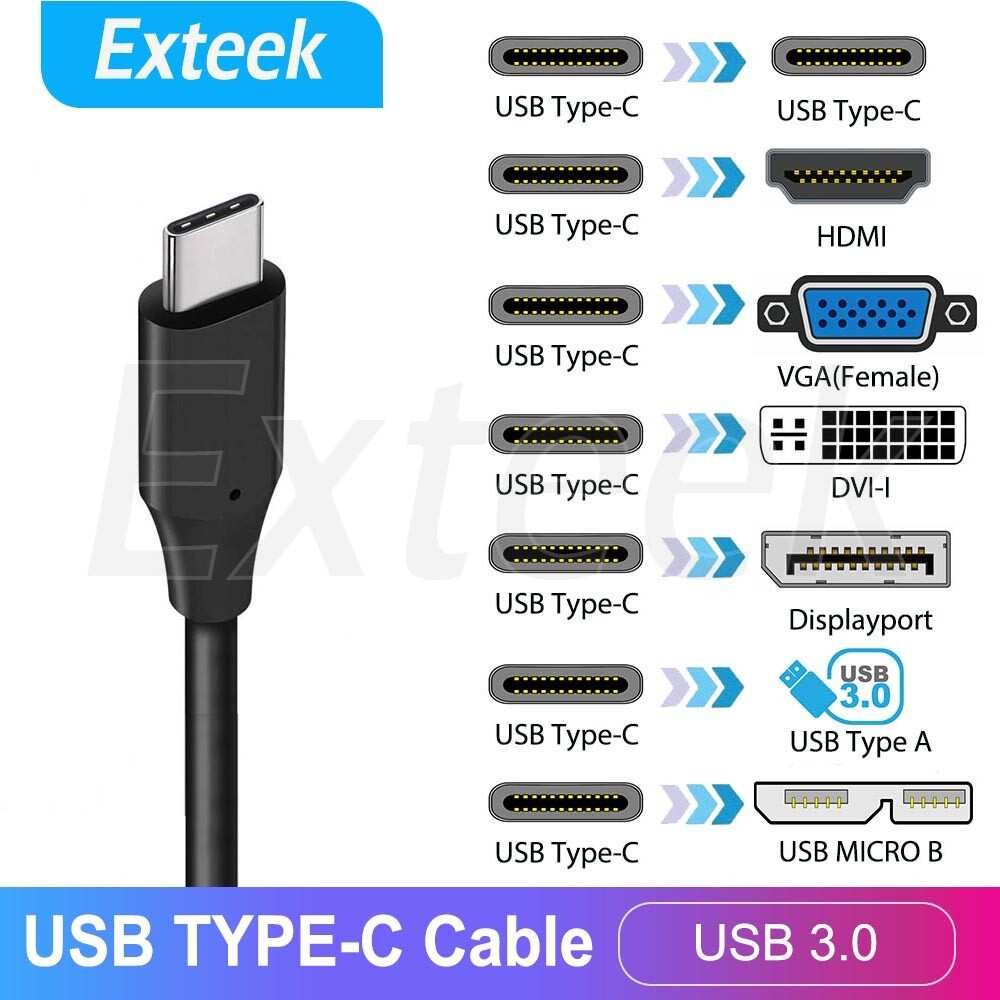
Image source: Bing (Web (fair-use with source credit))
| Feature | USB-C (DP Alt Mode) | HDMI 2.0 | DisplayPort 1.4 |
|---|---|---|---|
| Max Resolution | 4K at 60Hz (single cable) | 4K at 60Hz | 4K at 120Hz or 8K at 60Hz |
| Carries Power | Yes (up to 100W) | No | No |
| Carries Data | Yes | No | No |
| Cable Length Limit | ~2 meters for full bandwidth | ~5 meters | ~3 meters |
| Best For | Single-cable docking setups | TVs and monitors with HDMI | High-refresh 4K or multi-monitor |
| Adapter Needed? | Only if monitor lacks USB-C | Only if laptop lacks HDMI | Only if laptop lacks DisplayPort |
USB-C with DisplayPort Alt Mode is the cleanest option if your laptop and monitor both support it. One cable handles video, data, and charging. It's the closest thing to a plug-and-play experience you'll get.
HDMI 2.0 is the most universal option. Almost every monitor and laptop has an HDMI port. Just make sure you're using a high-speed cable and that your laptop's HDMI port is version 2.0 or newer.
DisplayPort 1.4 offers the most bandwidth and is the best choice if you want 4K at high refresh rates for gaming or if you're running multiple external monitors. It's less common on thin-and-light laptops, so you may need a USB-C to DisplayPort cable.
If your laptop only has USB-C and your monitor only has HDMI or DisplayPort, a simple adapter cable works perfectly. Just verify it supports 4K at 60Hz before buying.
Common Problems and How to Solve Them
Even when you've done everything right, things can still go sideways. Here are the most frequent issues and their fixes.
"My Monitor Says No Signal"
- Make sure the monitor is set to the correct input source.
- Reseat both ends of the cable.
- Try a different cable to rule out a faulty one.
- If using an adapter, make sure it's plugged in and powered (if required).
- Restart your laptop with the monitor connected.
"I'm Stuck at 30Hz and Everything Feels Laggy"
- Check your cable. HDMI 1.4 cables cap at 30Hz for 4K. You need HDMI 2.0 or DisplayPort 1.2+.
- Check your adapter. Many USB-C hubs only support 4K@30Hz through HDMI.
- Update your GPU drivers. Outdated drivers can limit output options.
- Try a direct USB-C to USB-C connection if both devices support it.
"Text Looks Blurry or the Wrong Size"
- Adjust scaling in your display settings (150% is a good starting point for 27" 4K on Windows).
- On Windows, check that the resolution is set to the monitor's native 3840 × 2160.
- For individual blurry apps, use the DPI override in the app's compatibility settings.
"My External Screen Keeps Flickering or Disconnecting"
- Replace the cable. Intermittent signal issues are almost always cable-related.
- Update your graphics drivers from the manufacturer's website.
- Disable any power-saving settings that might turn off the display port.
- If using a docking station, make sure it's adequately powered.
"I Plugged In USB-C but Nothing Happens"
- Not all USB-C ports support video output. Check your laptop's specs for "DisplayPort Alt Mode" or a DP/Thunderbolt icon next to the port.
- Some USB-C cables are charge-only and don't carry video signals. Try a different cable rated for video.
- Restart the laptop with the monitor connected.
"My Laptop Doesn't Recognize the Second Screen"
- Press Windows + P and select Extend or Duplicate.
- In display settings, click Detect.
- Update your GPU drivers.
- Try the monitor with a different device to confirm it works.
Best 4K Monitors for Laptops by Use Case
The right monitor depends on what you're doing with it. Here are solid picks across different use cases as of 2026.
For Productivity and Office Work
Look for an IPS panel with good color accuracy, USB-C power delivery, and a comfortable 27-inch size. The Dell U2723QE and LG 27UK850 are popular choices. They offer clean image quality, built-in USB hubs, and single-cable connectivity.
You want at least 60Hz refresh rate and good sRGB coverage for everyday tasks.
For Creative Work (Photo/Video Editing)
Color accuracy matters most here. Look for monitors covering at least 95% of the DCI-P3 color space with factory calibration. The ASUS ProArt PA279CRV and BenQ PD2700U are strong options.
HDR support is a bonus for video work, though true HDR requires a display with local dimming.
For Developers and Coders
Screen real estate and sharp text are priorities. A 27-inch 4K display at 150% scaling gives you plenty of room for code editors, terminals, and documentation side by side. High pixel density means crisp text without eye strain during long coding sessions.
USB-C connectivity keeps your desk clean.
For Gaming on External Display
You'll want a high refresh rate (120Hz or 144Hz) at 4K, which requires DisplayPort 1.4 with DSC or HDMI 2.1. Look for monitors with low response times (1ms to 5ms) and adaptive sync support (G-Sync or FreeSync). The input lag should be under 10ms for competitive gaming.
Pro Tips Most Guides Skip
These are the small details that make a big difference in daily use.
Update Your GPU Drivers First
Before you even plug in the monitor, make sure your graphics drivers are current. Visit Intel, NVIDIA, or AMD's website and download the latest drivers for your specific GPU. Outdated drivers are behind a surprising number of detection and refresh rate issues.
Use the Right Cable (Not All USB-C Cables Carry Video)
This catches so many people. The USB-C cable that came with your phone charger almost certainly does not support video output. You need a cable explicitly rated for DisplayPort Alt Mode or Thunderbolt.
When in doubt, use the cable that came with your monitor.
Set Your Monitor as the Primary Display for Better Performance
If you're using the external monitor as your main workspace, set it as the primary display. This routes the taskbar, Start menu, and new app windows to the bigger screen. On Windows, this also ensures GPU-accelerated rendering prioritizes the correct display.
Configure Lid-Close Behavior to Keep Working With the Lid Shut
Want to use your laptop as a desktop with the lid closed? On Windows, go to Control Panel > Power Options > Choose what closing the lid does and set it to Do nothing when plugged in. On macOS, just connect an external keyboard and mouse, close the lid, and the Mac will stay awake with the external display active.
Frequently Asked Questions
Can I run a 4K monitor from any laptop?
Not every laptop can output 4K. You need a GPU and port that support it. Most laptops made after 2018 with USB-C DisplayPort Alt Mode, Thunderbolt, or HDMI 2.0 can handle 4K at 60Hz.
Older machines may be limited to 4K at 30Hz or may not support external 4K at all.
Do I need a special cable for 4K?
Yes. For 4K at 60Hz, you need at least an HDMI 2.0 cable, a DisplayPort 1.2 cable, or a USB-C cable rated for DisplayPort Alt Mode. Older or cheap cables may only support 4K at 30Hz, which feels sluggish for desktop use.
Why is my 4K monitor only showing 30Hz?
Your cable, adapter, or port is likely the bottleneck. HDMI 1.4 caps at 30Hz for 4K. Many USB-C hubs also limit HDMI output to 30Hz.
Try a direct USB-C to USB-C connection or swap to a higher-speed cable.
Can I use two external 4K monitors with my laptop?
It depends on your laptop's GPU and port bandwidth. Thunderbolt 4 laptops can typically drive two 4K displays at 60Hz through a docking station. Some USB-C laptops with DP Alt Mode can do one 4K display natively.
Check your laptop's specs for multi-display support.
Does USB-C to HDMI support 4K?
It depends on the adapter. Many USB-C to HDMI adapters support 4K at 60Hz, but cheaper ones may only handle 4K at 30Hz. Check the product specifications before buying.
Look for "4K@60Hz" explicitly listed.
How do I fix blurry text on my 4K monitor?
Adjust the scaling settings in Windows or macOS. On Windows, go to Display settings and increase the scale to 150% or 200%. On macOS, use the Scaled resolution options.
For individual apps that still look blurry, use the high DPI override in the app's compatibility settings.
Final Decision Guide: Your Setup Path Based on What You Have
Your ideal setup depends entirely on what ports your laptop has and what you want to do. Find your scenario below and follow the recommended path.
Scenario 1: Laptop Has USB-C with DisplayPort Alt Mode
This is the easiest path. Grab a USB-C to USB-C cable (one probably came with your monitor). Plug it in, and you get video, data, and power delivery over a single cable.
Set your resolution to 3840 × 2160, refresh rate to 60Hz, and adjust scaling. You're done.
If your monitor doesn't have USB-C input, use a USB-C to DisplayPort cable instead. It's just as clean and supports 4K at 60Hz without any adapter hassle.
Scenario 2: Laptop Has HDMI Port
Check whether your laptop's HDMI port is version 2.0 or newer. You can usually find this in the laptop's technical specifications on the manufacturer's website. If it's HDMI 2.0, a standard high-speed HDMI cable will give you 4K at 60Hz.
If your laptop only has HDMI 1.4, you'll be limited to 4K at 30Hz. That's fine for watching videos or static work, but desktop use will feel sluggish. In that case, consider using a USB-C to DisplayPort cable instead if your laptop has a USB-C port with video support.
Scenario 3: Laptop Only Has USB-A or Older Ports
You'll need a DisplayLink adapter. These adapters use software to push video through a USB data connection. Install the DisplayLink driver from the manufacturer's website before connecting the adapter.
Performance is good for productivity work, but it's not ideal for gaming or video playback.
DisplayLink adapters support 4K at 60Hz on most modern units. They're a solid solution for older laptops that lack native video output options.
Scenario 4: You Want a Clean Single-Cable Docking Setup
A Thunderbolt or USB-C docking station is the way to go. Connect the dock to your laptop with one cable, then plug your monitor, keyboard, mouse, and other peripherals into the dock. When you sit down, one connection gives you a full desktop setup.
Make sure the dock supports 4K at 60Hz output. Many budget docks cap at 30Hz. Look for docks explicitly rated for 4K@60Hz, such as those using Thunderbolt 4 or USB4 chipsets.
These typically run between $150 and $250 as of 2026, but they clean up your desk and simplify your workflow significantly.

Similar Posts