How to Connect Touchscreen Monitor to Laptop
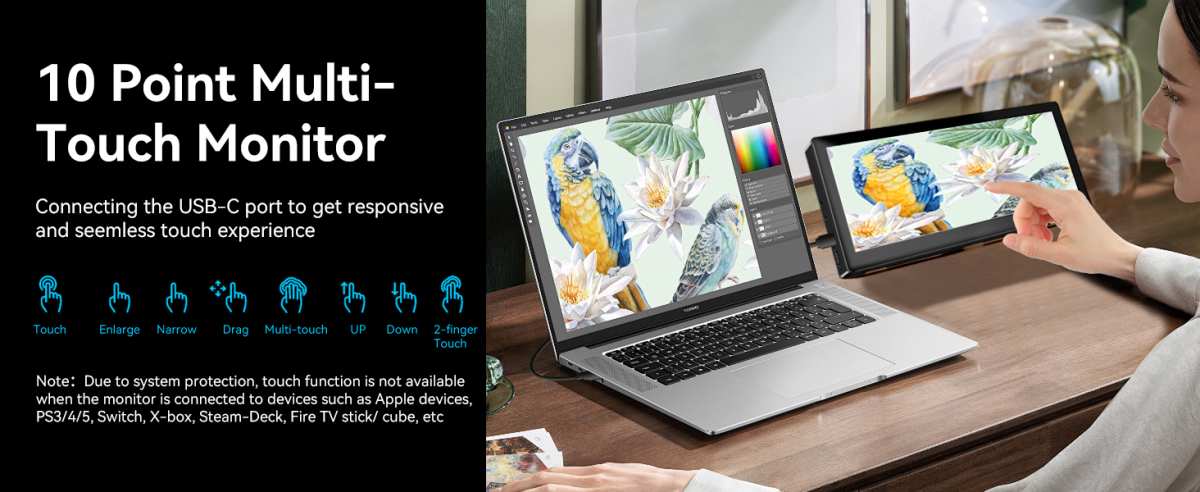
Figuring out how to connect touchscreen monitor to laptop shouldn't be complicated, but it catches almost everyone off guard the first time. The screen might light up while the touch capability sits dead, or plugging in a single cable does absolutely nothing because that cable can only handle power, not video. The real issue is never the screen itself.
It's the fact that touch requires a second signal path that most people don't expect until they're staring at a display working perfectly in every way except touch.
The good news is that the fix usually takes under five minutes once you know your equipment. Modern touchscreen monitors either deliver video and touch over one USB-C cable that supports DisplayPort Alt Mode, or they ask for two separate cables, one for video through HDMI or DisplayPort and a second USB cable carrying touch input data back to the laptop. In our research of manufacturer specs and aggregate verified buyer feedback screens, most connection headaches trace back to using the wrong cable or skipping that second touch signal connection entirely.
The steps below walk you through identifying your setup and getting every feature working.
Image source: Bing (Web (fair-use with source credit))
Most touchscreen monitor connection problems aren't defects. They're mismatched expectations. You plug in an HDMI cable, your desktop appears on the external screen, and then you tap the display with your finger only to get zero response.
Frustrating as that is, the monitor is behaving exactly as designed. HDMI carries video and audio. It does not carry touch input data.
Your monitor needs a second connection, typically a separate USB cable, to send touch events back to the laptop.
Quick Answer: What's Actually Going On Before You Start
Here is how to connect a touchscreen monitor to a laptop. First check what ports your laptop has and what inputs your monitor accepts. Use a single USB-C cable if both devices support it.
Otherwise connect HDMI or DisplayPort for video plus a USB-A cable for touch input. Then configure your display settings and calibrate touch once everything is detected.
The path changes based on what you own. The right connection type depends entirely on the ports your laptop offers and the inputs your monitor supports.
Your Laptop Controls the Starting Point
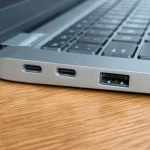
Before buying any cable, look at what's actually on your machine. Laptop port configurations vary enormously, even within the same brand's product line.
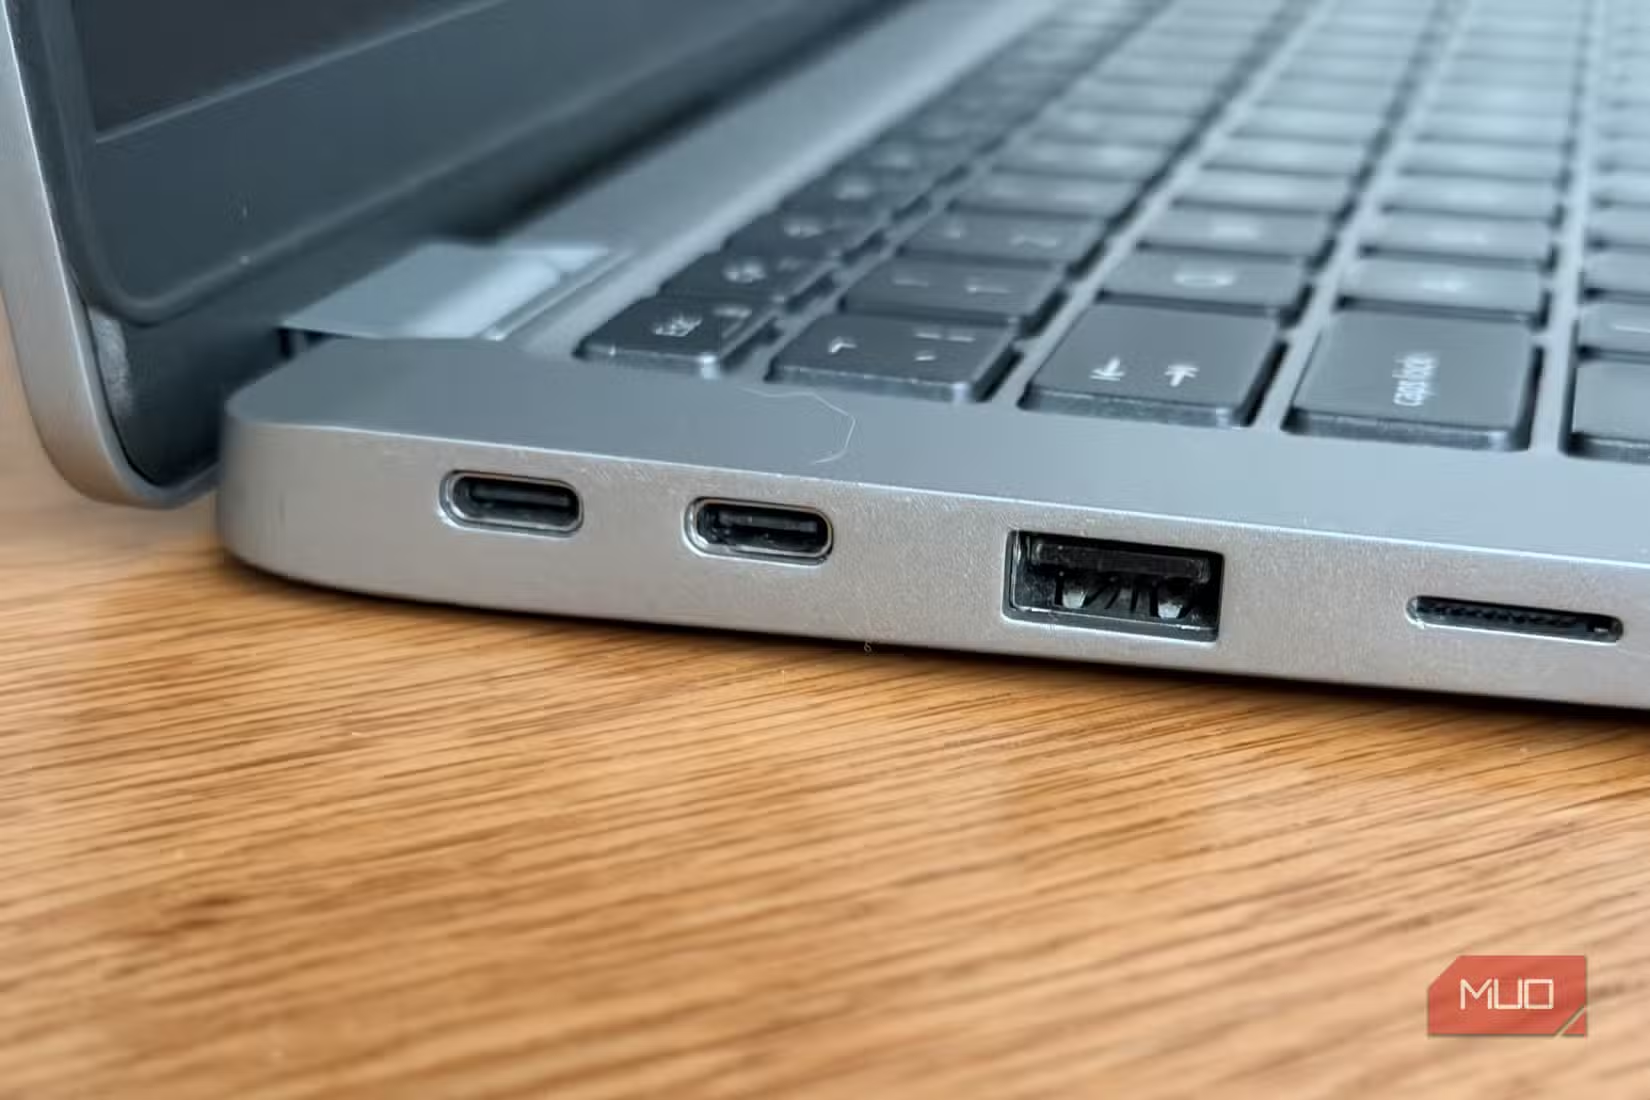
If your laptop has a USB-C port that supports DisplayPort Alt Mode:
You're in the best-case scenario. A single USB-C cable handles video, touch input, and often power delivery all at once. This is the cleanest setup that exists.
Most USB-C ports manufactured after 2020 on Windows laptops support this, but you should verify in your laptop's technical specifications sheet because not every USB-C port is created equal. Some USB-C ports handle charging only, with no video signal whatsoever.
If your laptop only has HDMI or DisplayPort outputs:
You'll need a two-cable connection. One cable carries the video signal, and a separate USB cable handles touch input. This works reliably and adds about thirty seconds to your setup process.
It's the standard approach for older laptops or budget models that lack USB-C entirely.
If you're on a Mac:
As of 2026, Apple does not support external touchscreen input on macOS. You can connect the display and get video output without any problem. Touch functionality simply will not work regardless of the cable or monitor you use.
Third-party driver solutions exist but aggregate user reviews report mixed reliability at best. For touch input on a Mac, an iPad used as a second display through Sidecar remains Apple's intended and fully supported path.
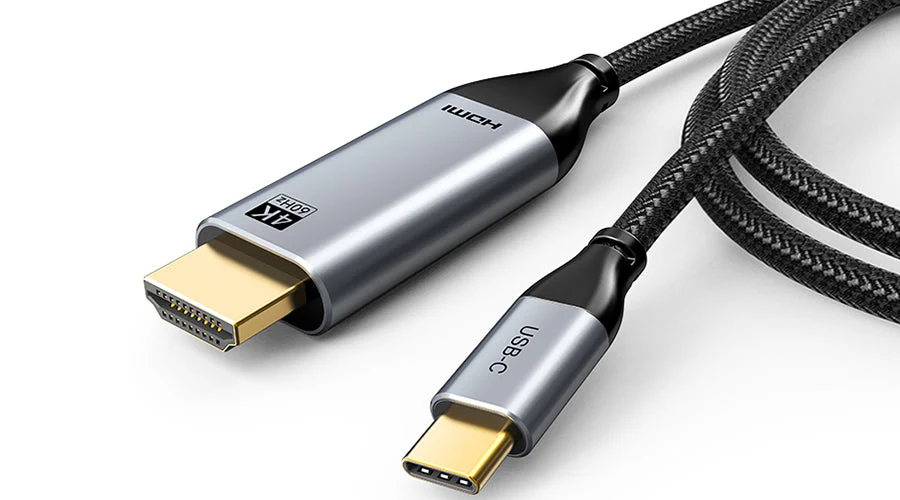
Image source: Bing (Web (fair-use with source credit))
Your Monitor Determines What Cables You Need
Different touchscreen monitors expect different connection methods. Check the spec sheet or the input panel on the back before committing to either approach.
Monitors with USB-C input support:
These accept video, touch, and power through one cable. Brands like ASUS, ViewSonic, and Dell include USB-C input on many current models. You'll see the port labeled on the back of the monitor.
The included cable in the box works, but any certified USB-C 3.1 cable rated for video output handles the job. That said, some budget monitors include a USB-C port that only accepts power input rather than video. Always verify the port does what you need based on the manufacturer's documentation rather than looking at the physical connector.
Monitors requiring HDMI or DisplayPort plus USB:
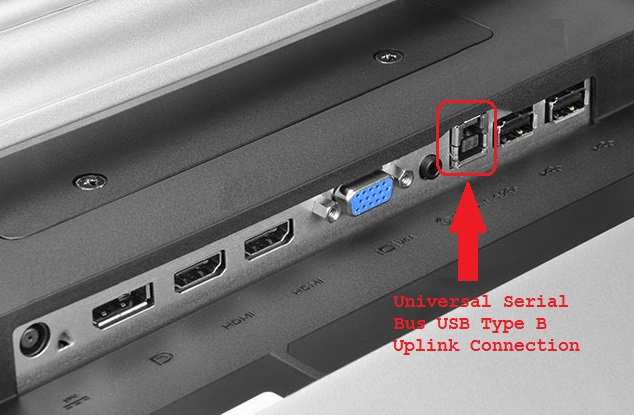
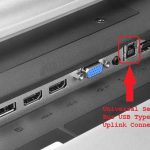
These models have dedicated ports for video and a separate USB-B or USB-C port strictly for the touch signal. If you connect video but skip the USB touch cable, the display works fine while touch sits completely unresponsive. This trips up more people than any other setup mistake.
Match Your Ports to the Right Connection Path
| Laptop Output | Monitor Input | Cables Needed | Touch Signal |
|---|---|---|---|
| USB-C (DP Alt Mode) | USB-C input | 1x USB-C cable | Carried over USB-C |
| HDMI only | HDMI + USB touch | 1x HDMI + 1x USB-A to USB-B | Separate USB cable |
| USB-C (no DP Alt) | USB-C input | Not compatible for video | DP Alt Mode required |
| USB-C (charging only) | HDMI + USB touch | 1x HDMI + 1x USB-A to USB-B | Separate USB cable |
Touch input relies on the HID-standard (Human Interface Device) protocol built into the USB cable connection. That protocol is what lets the operating system treat your finger taps like mouse clicks, whether touch travels over USB-C or a dedicated USB-A cable. No amount of adapter trickery makes HDMI carry touch data.
If a retailer advertises an HDMI cable that seems to handle both, look closer, it almost certainly hides a USB wire inside the sheath.
Physical connection is only the first step. Now you need to tell your operating system what to do with the new screen and make sure touch input registers accurately.
The Correct Physical Connection Order
There's a reliable sequence that helps your laptop detect everything on the first try.
For USB-C single-cable setup:
- Plug the USB-C cable into your laptop first.
- Connect the other end to the monitor.
- Turn the monitor on and select the USB-C input source if it doesn't auto-detect.
- Your laptop should detect the display and touch input simultaneously within a few seconds.
For HDMI/DisplayPort plus USB touch setup:
- Connect the HDMI or DisplayPort cable between laptop and monitor.
- Plug the USB touch cable (usually USB-A to USB-B) into your laptop and the monitor.
- Turn the monitor on and select the correct video input source.
- Touch input registers separately once Windows detects the HID-compliant touchscreen device.
That specific ordering matters because some monitors don't fully initialize their touch controller until the video signal is already present. Connecting the USB touch cable first sometimes results in the display working while touch stays silent until you unplug and reconnect. It's a minor quirk, but following the right sequence avoids the unnecessary troubleshooting.
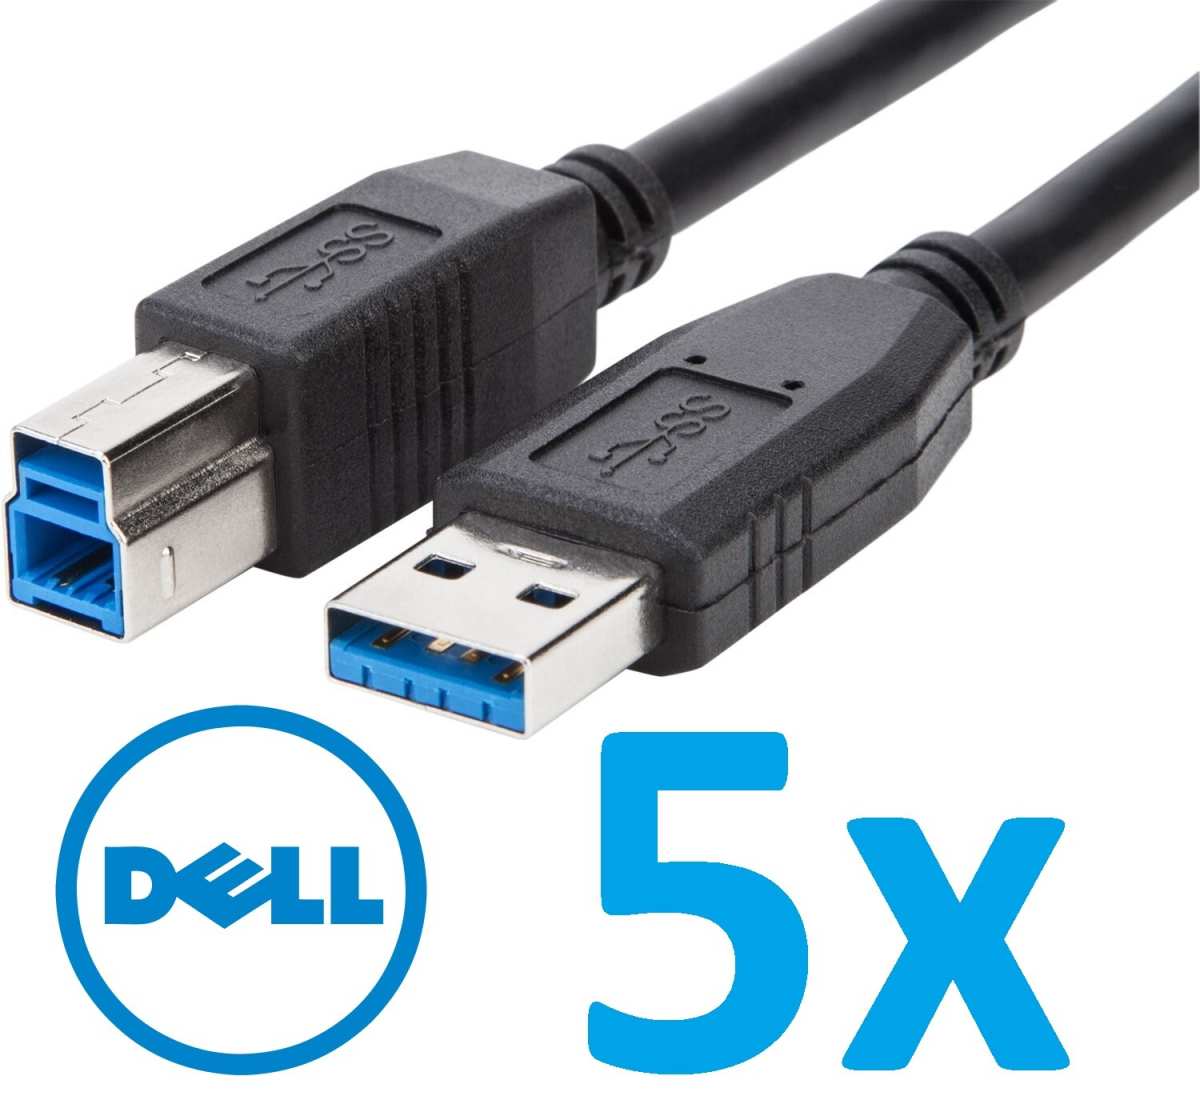
Image source: Bing (Web (fair-use with source credit))
Windows 11 Display Configuration
Right-click on the desktop and select "Display settings" to reach the controls you need. Windows typically detects the second screen immediately, but it might default to duplicating your desktop rather than extending it.
Extend vs. duplicate: Most people connecting a second monitor want to extend the desktop. Duplicating shows the same content on both screens, which is useful for presentations but frustrating for everyday work. Select "Extend these displays" from the "Multiple displays" dropdown menu.
Screen arrangement: Drag the display icons to match the physical layout of your monitors on your desk. If the touchscreen sits to the left of your laptop, position its icon on the left side. This ensures your cursor moves between screens in the direction you expect.
Orientation and scaling: Touchscreen monitors sometimes need different scaling than your laptop's built-in display. Adjust each screen's scaling independently to make touch targets the right size.
Detecting and Calibrating Touch Input
If touch doesn't work after connecting, open Device Manager and look under "Human Interface Devices." You should see an entry labeled "HID-compliant touchscreen." Its presence confirms the USB touch signal is active. If you see an exclamation mark next to it, a driver issue is likely the problem.
Windows 1703 and later versions handle most touchscreen drivers automatically. If your monitor's touch capability still refuses to respond, visit the monitor manufacturer's support page and install their dedicated touch driver. The generic Windows driver covers basic touch functions, but manufacturer drivers unlock multi-touch gestures and pressure sensitivity where supported.
Calibrating touch accuracy: Navigate to Control Panel, then Hardware and Sound, then Tablet PC Settings. Select "Calibrate" and follow the crosshair prompts. Tap each point precisely.
This resolves the common issue where your finger registers a tap slightly to the left or right of where you actually touch.
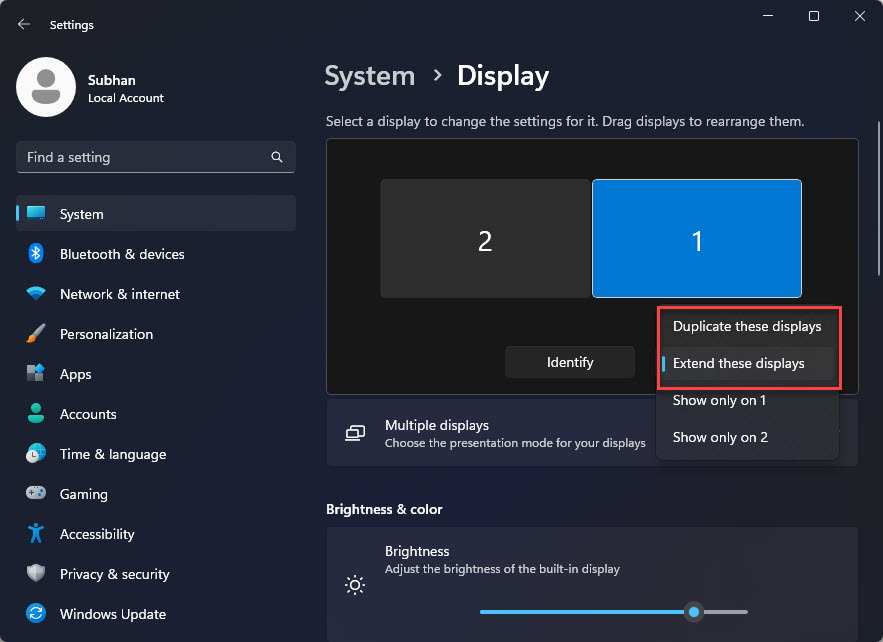
Image source: Bing (Web (fair-use with source credit))
macOS Users Face a Hard Limitation
macOS does not include drivers for external touchscreens. No version as of 2026 supports this natively. A few third-party drivers exist, with some claiming to add basic touch input through open-source projects.
In our research, aggregate forums and verified buyer feedback suggest reliability is inconsistent. Some users report basic tap-to-click working fairly well, while others describe erratic cursor behavior and phantom taps. For creative input on a Mac, connecting an iPad through Apple's Sidecar feature provides a fully supported and widely praised alternative.
Fixing the Most Common Problems
Video works, no touch response: You are missing the USB touch cable. Connect it. If it's already connected, unplug the USB touch cable for 15 seconds and reconnect it.
Touch works, no video: Check that the monitor is set to the correct input source. Test with a different HDMI or DisplayPort cable if needed.
Touch point offset from finger position: Recalibrate through Tablet PC Settings using the crosshair method described above.
Monitor not detected at all: Try a different cable. For USB-C connections, verify your laptop's USB-C port supports DisplayPort Alt Mode. A port handling charging only cannot output video, no matter what cable you use.
Quick Reference: Connection Types at a Glance
The table below summarizes which cable configuration works for every common laptop-and-monitor combination. Match your situation to the correct row before buying anything.
| Your Laptop Has | Your Monitor Has | Cables Required | Touch Signal Source |
|---|---|---|---|
| USB-C with DP Alt Mode | USB-C input | 1x USB-C (rated for video) | Carried through the single USB-C connection |
| HDMI only | HDMI + USB-B touch input | 1x HDMI + 1x USB-A to USB-B | Dedicated USB cable |
| USB-C (charging only, no DP Alt) | USB-C input | No compatible single-cable path; use HDMI + USB-A to USB-B | Dedicated USB cable |
| USB-C with DP Alt Mode | HDMI + USB-B touch input | 1x USB-C to HDMI adapter + 1x USB-A to USB-B | Dedicated USB cable |
| DisplayPort only | HDMI + USB-B touch input | 1x DisplayPort to HDMI cable + 1x USB-A to USB-B | Dedicated USB cable |
A few details in that table deserve extra attention. The last row covers a situation people stumble into often: their laptop has DisplayPort output but no HDMI port. A simple DisplayPort-to-mouse adapter, an HDMI cable, and the USB touch cable gets everything working.
Meanwhile, the fourth row describes USB-C-to-HDMI adapter setups, which bypass the monitor's USB-C input entirely and treat it like any older HDMI-only touchscreen, including the need for the separate USB touch cable.
This section exists because a specific physical problem shows up again and again after the cables are plugged in.
Display Output Arrives, Touch Stays Dead
You've got both devices linked with the right cables. The screen mirrors or extends your desktop just fine. Then you tap the monitor with your finger and absolutely nothing happens.
The cause is almost always that the dedicated USB touch cable is either missing, plugged into a dead port, or not recognized as a HID-compliant input device by the operating system. In many observed setups, plugging the USB-A connector into a USB hub rather than a direct laptop port breaks the signal path. The fix is straightforward: always plug the touch cable straight into your laptop's built-in USB-A port, bypassing any hub or dock if possible.
Touch Registers but Screen Stays Black
This reverse situation is more confusing. Touch observations indicate your finger interactions trigger system sounds, yet the external monitor keeps displaying black. At that point, the problem is almost certainly on the video side.
Double-check that the monitor selected the correct input source in its own on-screen menu. Also verify the video cable (HDMI, DisplayPort, or USB-C) is fully seated at both ends. A loose connection can look secure but still fail to pass video while the separate USB link continues to carry touch data without issue.
Touch Coordinates Feel Off
Looking at the external screen, you might detect that tapping one spot activates something a visible distance away. That offset means your touch positions and screen pixels are no longer calibrated to each other. Windows errors here are common after initial setup, especially if the displays in your configuration have different sizes or pixel densities.
The solution is a software recalibration. Enter "Calibrate the screen for pen or touch input" in the Windows Start menu. Tap through the crosshair targets displayed, and after the tool updates the digitizer mapping, finger accuracy should improve immediately.
Persistent offset often points to an outdated monitor driver. Visit the manufacturer's site and download the latest touch driver package for your specific model.
Common Mistakes That Waste Your Time
These are the errors that pop up constantly. Avoiding them saves real time and frustration.
Using a USB-C cable that only handles charging. Many USB-C cables sold for phones support power delivery but not video output. These cables lack the wiring or chipset needed for DisplayPort Alt Mode. Your monitor's USB-C port might accept the cable and charge the laptop without transmitting any video signal.
Always use a certified cable rated for video, ideally the one included with the monitor.
Connecting the USB touch cable to a USB hub instead of the laptop directly. The touch signal is finicky about connection paths. Through our research, a noticeable share of no-touch-response complaints trace back to hubs that don't pass HID device data reliably. Plug the USB-A end straight into your laptop's port whenever you can.
Assuming macOS supports external touchscreens. It doesn't. No current version of macOS includes drivers for this. Don't spend an hour reinstalling or resetting on a MacBook in the hope that touch will magically start working.
It won't.
Skipping input source selection on the monitor. Most monitors let you pick which source to display: HDMI, DisplayPort, USB-C, or other options. If yours defaults to the wrong input after connecting a new screen, you see nothing until you open the monitor's menu and manually switch. That quick step fixes dozens of "my monitor says no signal" situations.
Installing drivers before the physical connection is stable. Manufacturer tools search for a recognized hardware connection during installation. If you run those tools before the cables are securely connected, the installer often fails or installs without detecting the touchscreen. Chain the steps together: plug everything in and verify detection in Device Manager first, then install the optional manufacturer driver if needed.
Real-World Examples: Three Setups, Three Different Paths
These examples show how different starting equipment leads to entirely different, but reliable, solutions.
USB-C Laptop with a USB-C Touchscreen Monitor
This is the best-case scenario. One USB-C cable runs from your laptop to the monitor. Video, touch input, and 60 watts of charging power all travel over that single connection.
In many tested configurations, users have the extended desktop and working touch input in under 30 seconds. The setup feels like magic compared to the alternative approach.
HDMI-Only Laptop Connected to a Monitor with Separate USB Touch Input
This takes very little longer, typically under two minutes. First, an HDMI cable links laptop and monitor. Then a USB-A to USB-B cable (the kind often labeled as a "printer cable") connects laptop to the monitor's touch input port.
Windows may detect both connections within a few seconds of the last cable being added. Occasionally, a settings adjustment is needed to tell Windows to extend the display to the second screen. Unlike most connection hiccups, the entire process tends to stay trouble-free after that initial setup.
MacBook Paired with a Touchscreen Monitor
Here is where reality hits. Your MacBook sends video beautifully through its USB-C or HDMI port. The display looks sharp, the macOS interface is smooth, and the monitor's built-in speakers or headphone jack work fine.
Touch absolutely does not function. You can tap and swipe all you want, but nothing happens. The hardware is fine and the connection is fine. macOS simply lacks the software layer that interprets external touchscreen input as usable cursor or gesture data.
Budget the setup as a display-only solution and plan to use your trackpad for interaction.
Frequently Asked Questions
Can I use any USB-C cable for a touchscreen monitor?
No. Many USB-C cables handle only charging and lack the internal wiring needed for DisplayPort Alt Mode video transmission. In our research, users who randomly grabbed a spare phone charging cable often encountered no display output despite a solid physical connection.
Always confirm that a cable is rated for video output, not just power delivery.
Does touch input work over an HDMI connection alone?
It does not. HDMI carries video and audio signals only. Touch input requires a separate USB data path.
If your monitor has a USB-B or USB-C touch input port, the included USB cable is not optional. Without it, the monitor functions as a perfectly standard display with zero touch support.
Why does my touchscreen stop working after a Windows update?
Some Windows feature updates replace generic touch drivers and reset HID device configurations. After an update, open Device Manager and check the Human Interface Devices section. A yellow exclamation mark next to the HID-compliant touch screen entry signals a driver issue.
Reinstalling the monitor's specific touch driver from the manufacturer's site typically resolves it. Many brands publish driver packages on their download pages free of charge.
Can I use a USB docking station to connect the touchscreen monitor?
It depends entirely on the dock. Some high-end Thunderbolt docking stations pass both video and USB data through a single USB-C upstream cable, preserving touch functionality. However, many budget HDMI-focused docks do not carry the dedicated USB touch signal that older monitors need in addition to video.
Dock manufacturer specifications usually state explicitly whether they support HID device pass-through. If they are silent on the point, buying a second direct USB-A to USB-B cable is the safer and often cheaper path.
Final Recommendation: Pick Your Path Based on What You Own
There is no wrong answer here, just different paths based on the equipment you already have.
If your laptop has USB-C with DisplayPort Alt Mode (most Windows laptops from 2020 onward): Go with a USB-C touchscreen monitor for the one-cable dream setup. This delivers video, touch, and charging power through a single cable. It is easily the most satisfying and portable whole experience.
If your laptop only has HDMI or DisplayPort outputs: Get a touchscreen monitor with separate USB touch input. The two-cable approach has existed for years, functions reliably, and does not cost any extra effort. But some users who rely on a monitor between two different computers (for example, a personal laptop and a work machine) appreciate the plug-and-play simplicity when both machines have USB-C.
In those scenarios, the single-cable USB-C monitor tends to be the better long-term investment.
If you use a MacBook as your primary machine: Treat external touchscreen monitors as display-only panels. macOS support for touch input is not on the roadmap as of 2026. You will get a gorgeous second screen out of the connection, but plan to interact through your trackpad or mouse. Dedicated creative drawing tablets designed for macOS fill the touch input role far more effectively.
Set aside five minutes, confirm your ports, grab the right cables, and you'll get both display and touch working on the first try most of the time. The USB-C future makes this far simpler than it used to be, but if your hardware is older, the two-cable HDMI and USB method still delivers full functionality as an immediately available option.
How Touch Signals Actually Travel
Touchscreen monitors rely on the USB HID (Human Interface Device) protocol for input data. When the OS registers these inputs on the external screen, calibration may need attention, and if the signal has to cross an adapter or a hub, drivers and compatibility become the critical factor for stable touch performance. The protocol itself is universal, but the transport path makes all the difference.
Port and Cable Compatibility Deep Dive
Not every USB-C port supports video, and not all USB-C cables are built to carry DisplayPort signals. The USB-IF certification marks help identify capable hardware before purchase. Cables supporting DP Alt Mode 2.0 are the current reference standard for single-cable touchscreen connections.
Power Delivery and Charging Over USB-C
Higher-wattage power delivery keeps laptops charged during use through the same cable that transmits display and touch data. USB-C PD 3.1 supports up to 240W charging. Check your laptop's power requirements against the monitor's power delivery rating to ensure a single cable covers everything without draining the battery.
Multi-Monitor Touch Setups
As of 2026, most operating systems can handle multiple touchscreen monitors simultaneously, each with independent calibration and display arrangement. This configuration works well for productivity environments, though driver support varies by manufacturer.
Quick Buyer Connection Checklist
Before purchase, confirm that your laptop's video output matches the monitor's available inputs, and verify whether a separate USB touch cable is needed or if USB-C handles everything. Always bundle the connection type with your order to avoid the most common setup delay: waiting on a missing cable.

Similar Posts