How to Setup Dual 27 Inch Monitors
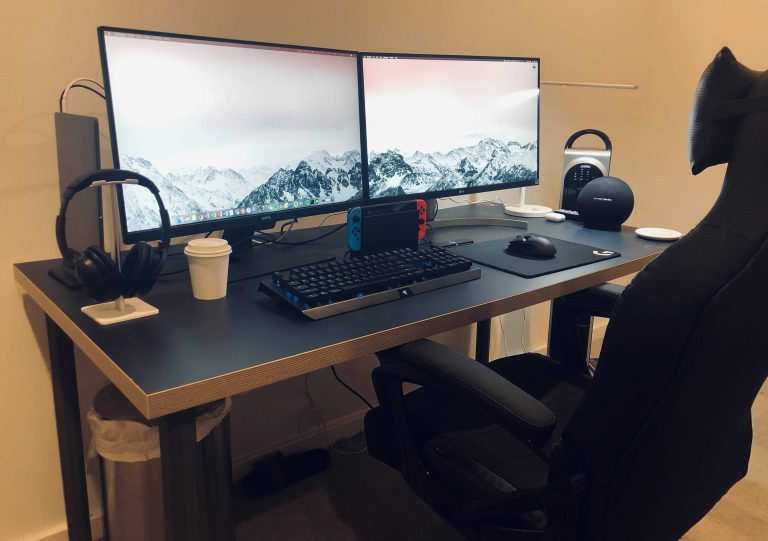
Figuring out how to setup dual 27 inch monitors should be straightforward, but most guides skip the part where your laptop only has one HDMI port or your desktop GPU has a mix of outputs you've never thought about. The good news is that once you understand what your hardware actually supports, the rest is just cable selection and software configuration.
This walkthrough covers the real branching paths: laptop versus desktop, direct connection versus docking station, DisplayPort versus HDMI versus USB-C. We'll walk through each decision point so you don't buy the wrong cable and end up with one monitor stuck at 30Hz or not detected at all.
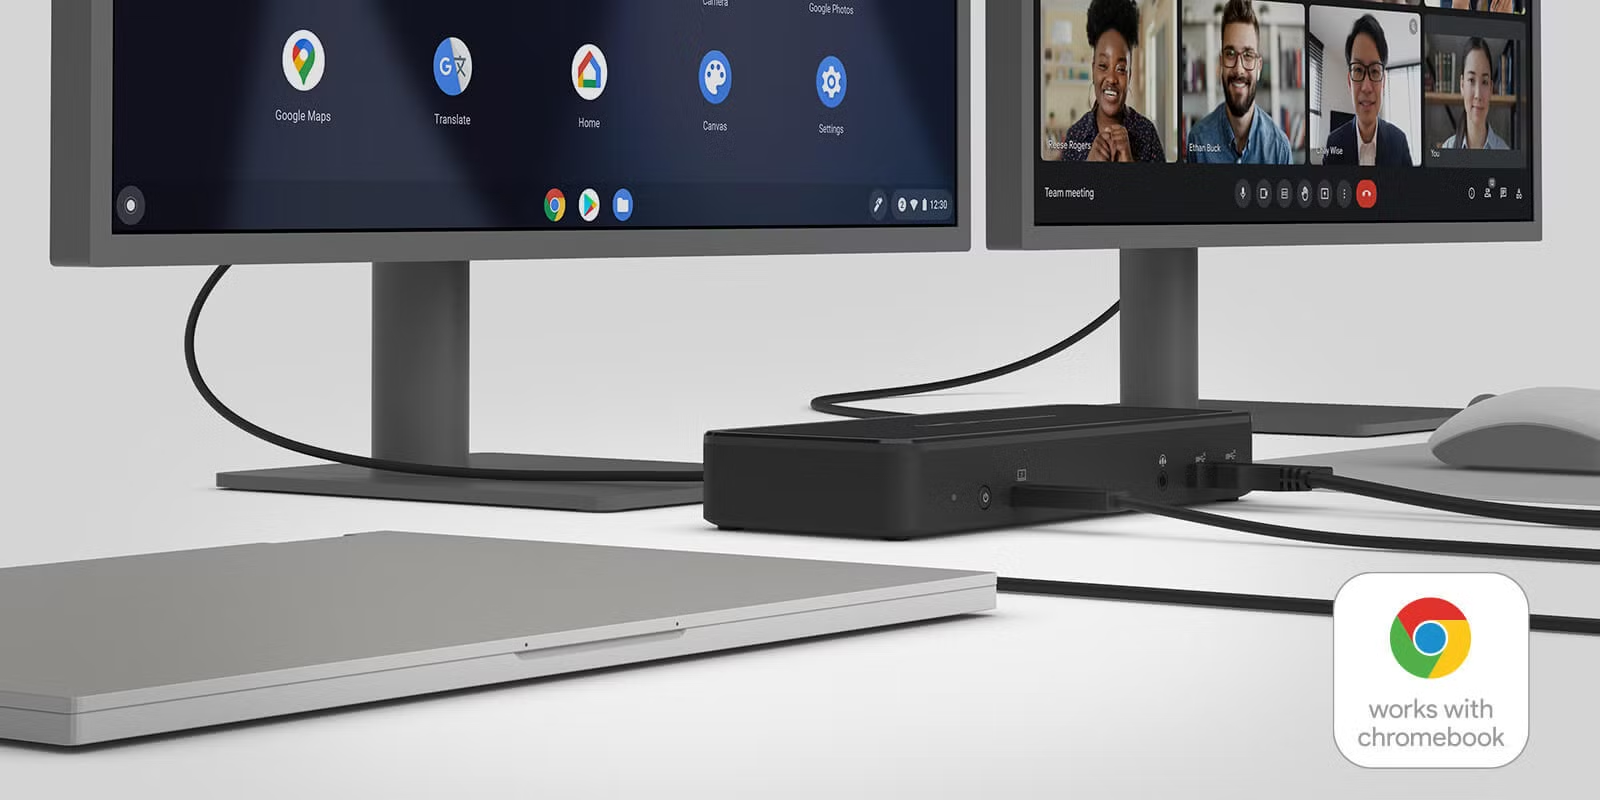
Image source: Bing (Web (fair-use with source credit))
Quick Answer
To setup dual 27-inch monitors, check your available ports first. Connect each monitor using the best available cable, DisplayPort or USB-C preferred. Then configure display arrangement and refresh rates in your operating system's settings.
Most full setups take 20 to 45 minutes.
First, Figure Out What Your Computer Can Actually Do
Good answer: look at the back of your desktop or the sides of your laptop right now. What you see there determines your entire setup path, including what cables to buy and whether you need a dock or adapter.
What ports you have determines everything
Before buying a single cable, take an honest inventory of your available video outputs. Every setup path flows from this one step.
- Desktop GPU: Most modern graphics cards have two to four outputs, typically a mix of DisplayPort and HDMI. Check the back of your card, not the motherboard ports if you have a dedicated GPU.
- Laptop: You might have one HDMI, one USB-C with DisplayPort Alt Mode, or just USB-C only. Some ultrabooks have zero video-out ports and require a hub.
- Onboard graphics: If your desktop uses integrated graphics without a dedicated GPU, the motherboard's video ports are your only option, and they sometimes have limitations on dual output.
Laptop vs desktop: your path splits here
The moment you identify your machine type, your setup path changes. Desktops are generally simpler. Laptops introduce constraints around bandwidth, port availability, and power delivery that can trip you up if you're not looking for them.
- Desktop: You'll typically run one cable per monitor directly from the GPU. The main question is whether you have matching outputs or need different cable types.
- Laptop with two video-out ports: Great. Connect each monitor directly. You may still want a dock for charging and peripherals, but video isn't bottlenecked.
- Laptop with one video-out port: You'll need either a USB-C dock with MST (Multi-Stream Transport) or a USB-C to dual HDMI/DisplayPort adapter. Bandwidth limitations on cheaper docks can cap your resolution or refresh rate.
How to Choose the Right Cables and Connections
Where people go wrong is buying a cable because it "fits" without checking what signal it carries. A USB-C to HDMI cable isn't the same as a USB-C cable carrying DisplayPort Alt Mode. Your monitor and your computer both need to speak the same protocol.
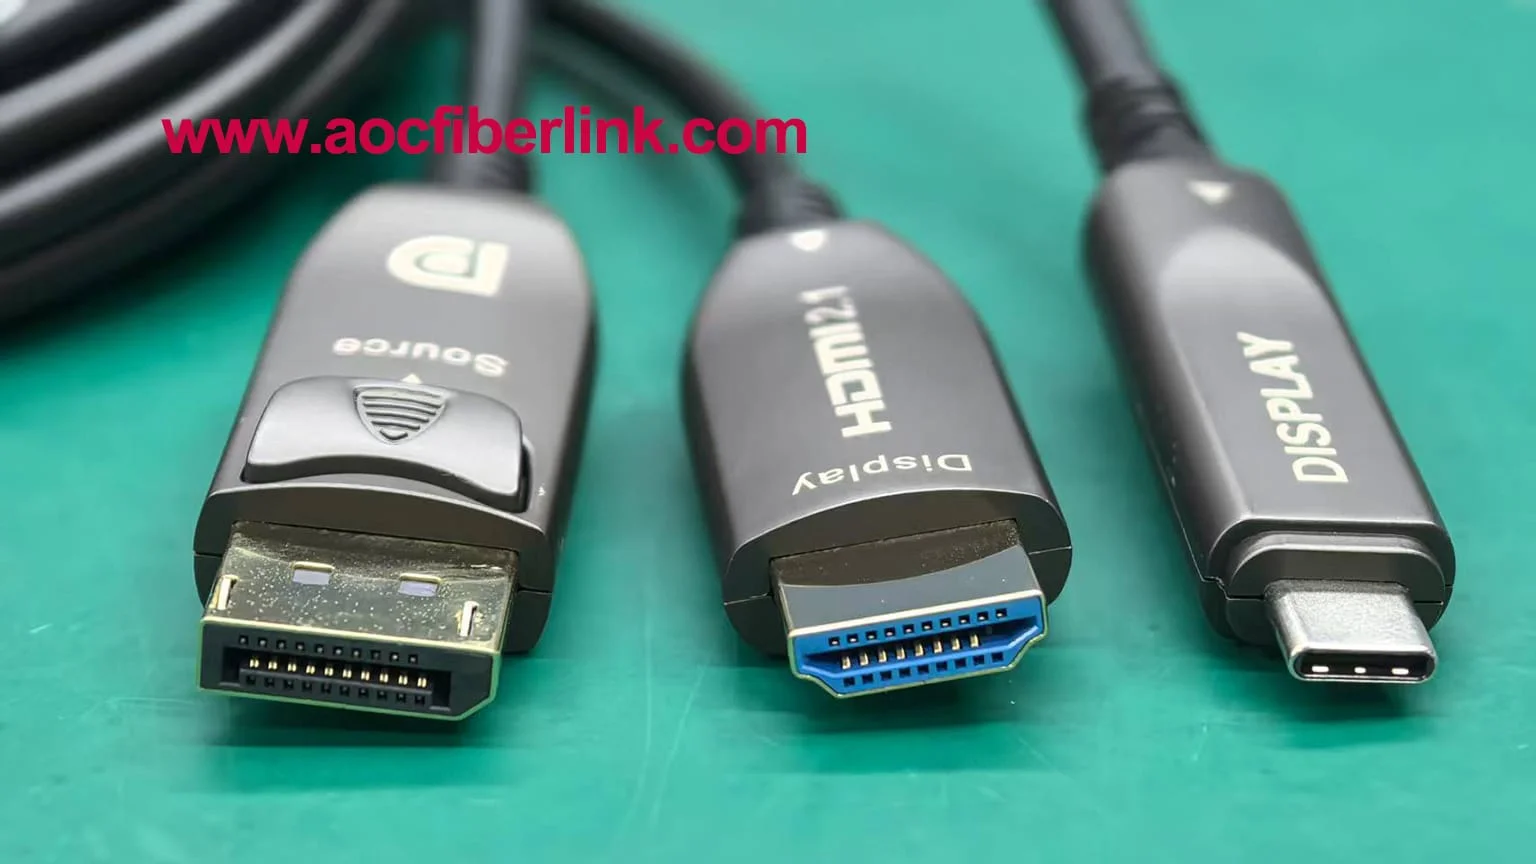
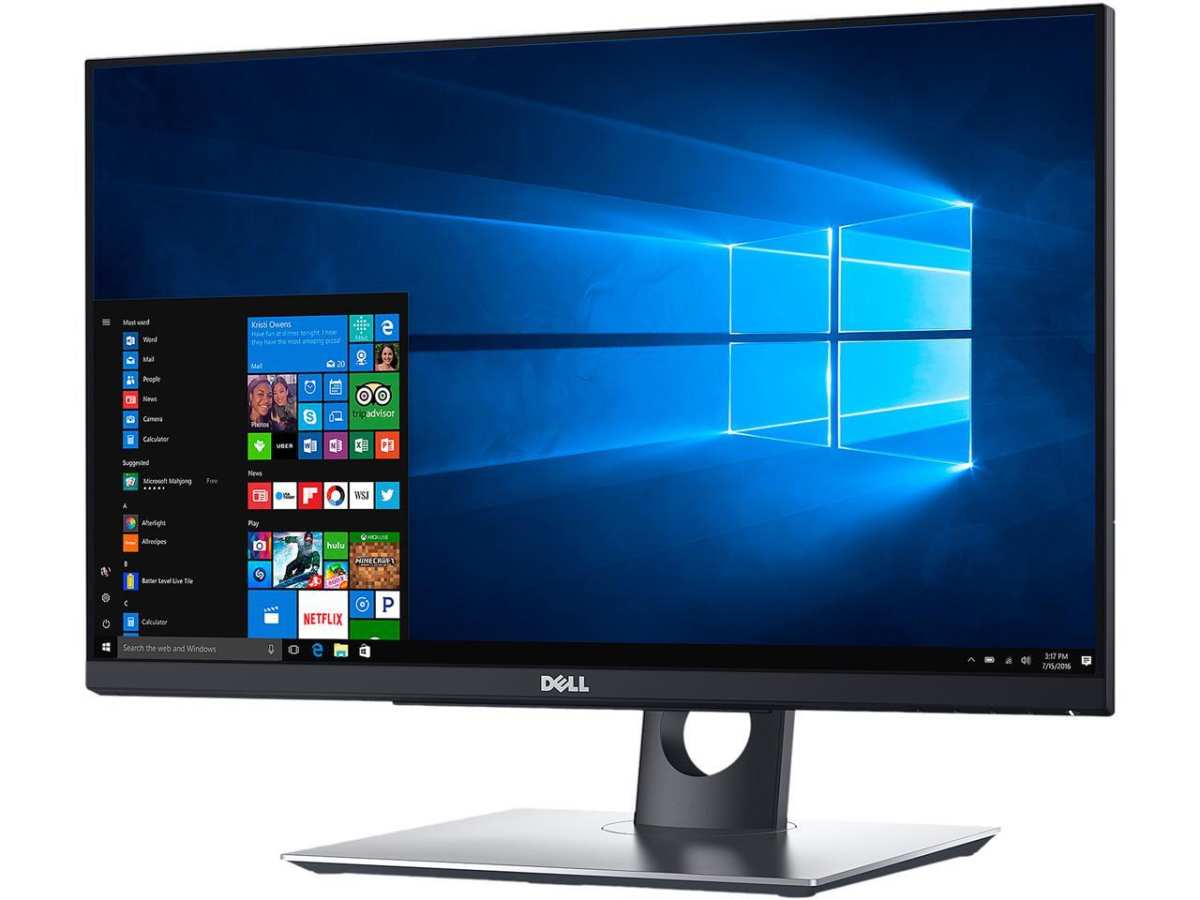
Image source: Bing (Web (fair-use with source credit))
DisplayPort vs HDMI vs USB-C: which one for which monitor
Here's the practical breakdown of what each connection type can do for a typical 27-inch 1440p monitor.
| Connection Type | 1440p at 60Hz | 1440p at 144Hz | 4K at 60Hz | Best For |
|---|---|---|---|---|
| DisplayPort 1.2 | Yes | Yes | Yes at 60Hz | Most setups, gaming |
| DisplayPort 1.4 | Yes | Yes | Yes at 120Hz (DSC) | High refresh rate, HDR |
| HDMI 1.4 | Yes | Yes at 60Hz only | Yes at 30Hz | Older monitors |
| HDMI 2.0 | Yes | Yes | Yes at 60Hz | Modern consoles, most monitors |
| USB-C DP Alt Mode | Depends on host | Depends on host | Depends on host | Laptops, docks |
| Thunderbolt 3/4 | Yes (via DP 1.2/1.4) | Yes | Yes at 120Hz (DSC) | High-performance docked setup |
If both your GPU and monitor have DisplayPort, use it first. If one side only has HDMI, HDMI 2.0 is perfectly fine for 1440p at 144Hz.
Quick tip: Avoid using VGA or DVI unless you're truly out of options. Those connections limit resolution and don't carry audio. They also make modern display settings behave inconsistently.
When you need a dock (and when you regret buying a cheap one)
If your laptop has limited video outputs, a USB-C dock or Thunderbolt dock becomes necessary. But not all docks handle dual 27-inch monitors well.
- USB-C MST dock allows daisy-chaining two monitors over one USB-C connection. Check that your laptop supports DisplayPort Alt Mode. Your monitors need DisplayPort Out or MST support too.
- Cheaper USB-C to dual HDMI adapters often cap both monitors at 1080p or 30Hz. Read the product specifications carefully. If you bought it for dual 1440p, that's your problem.
- Thunderbolt docks handle dual monitor output better because they have more bandwidth. A Thunderbolt 4 dock with dual DisplayPort or HDMI outputs is the cleaner solution for a laptop docking setup.
- Some docks only mirror displays instead of extending them on macOS. Find a dock with MST support if you run macOS.
Step-by-Step: Getting Both Monitors Detected and Running
The connection order matters because some systems won't detect a second monitor if it's powered on after the computer boots. Get this sequence right and most detection problems just disappear.
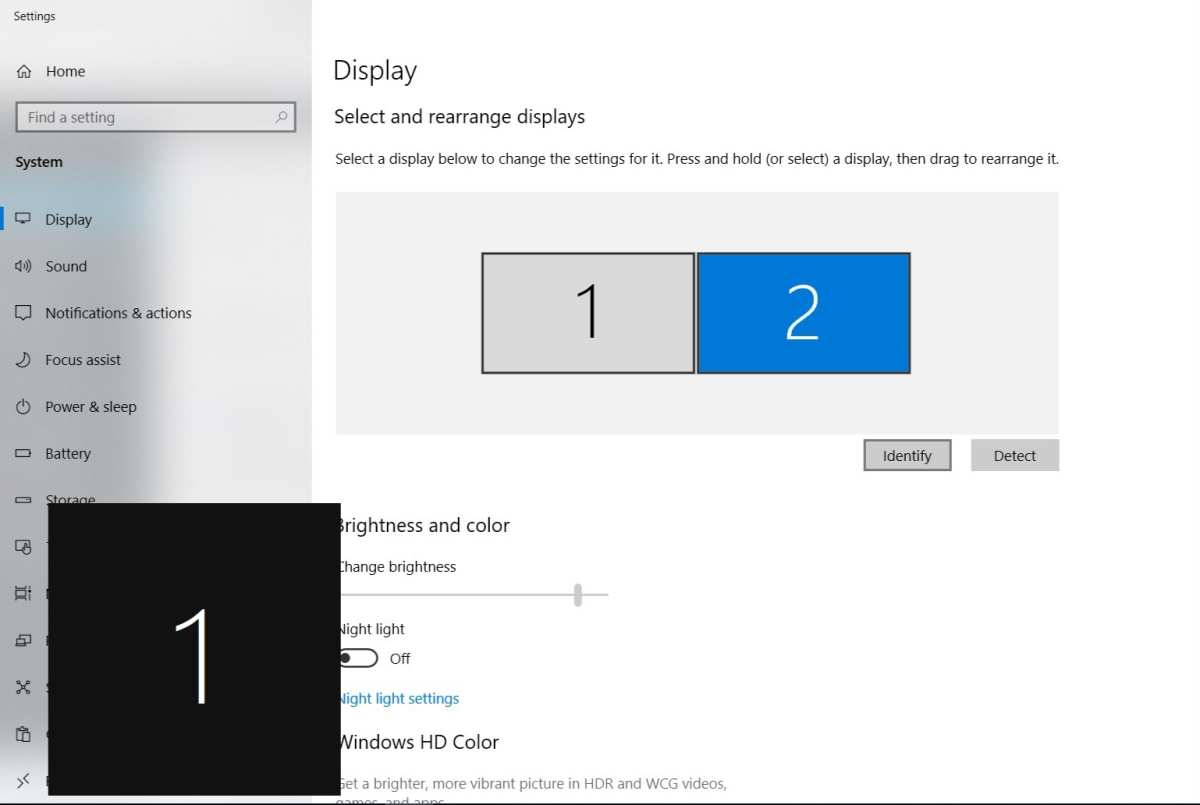
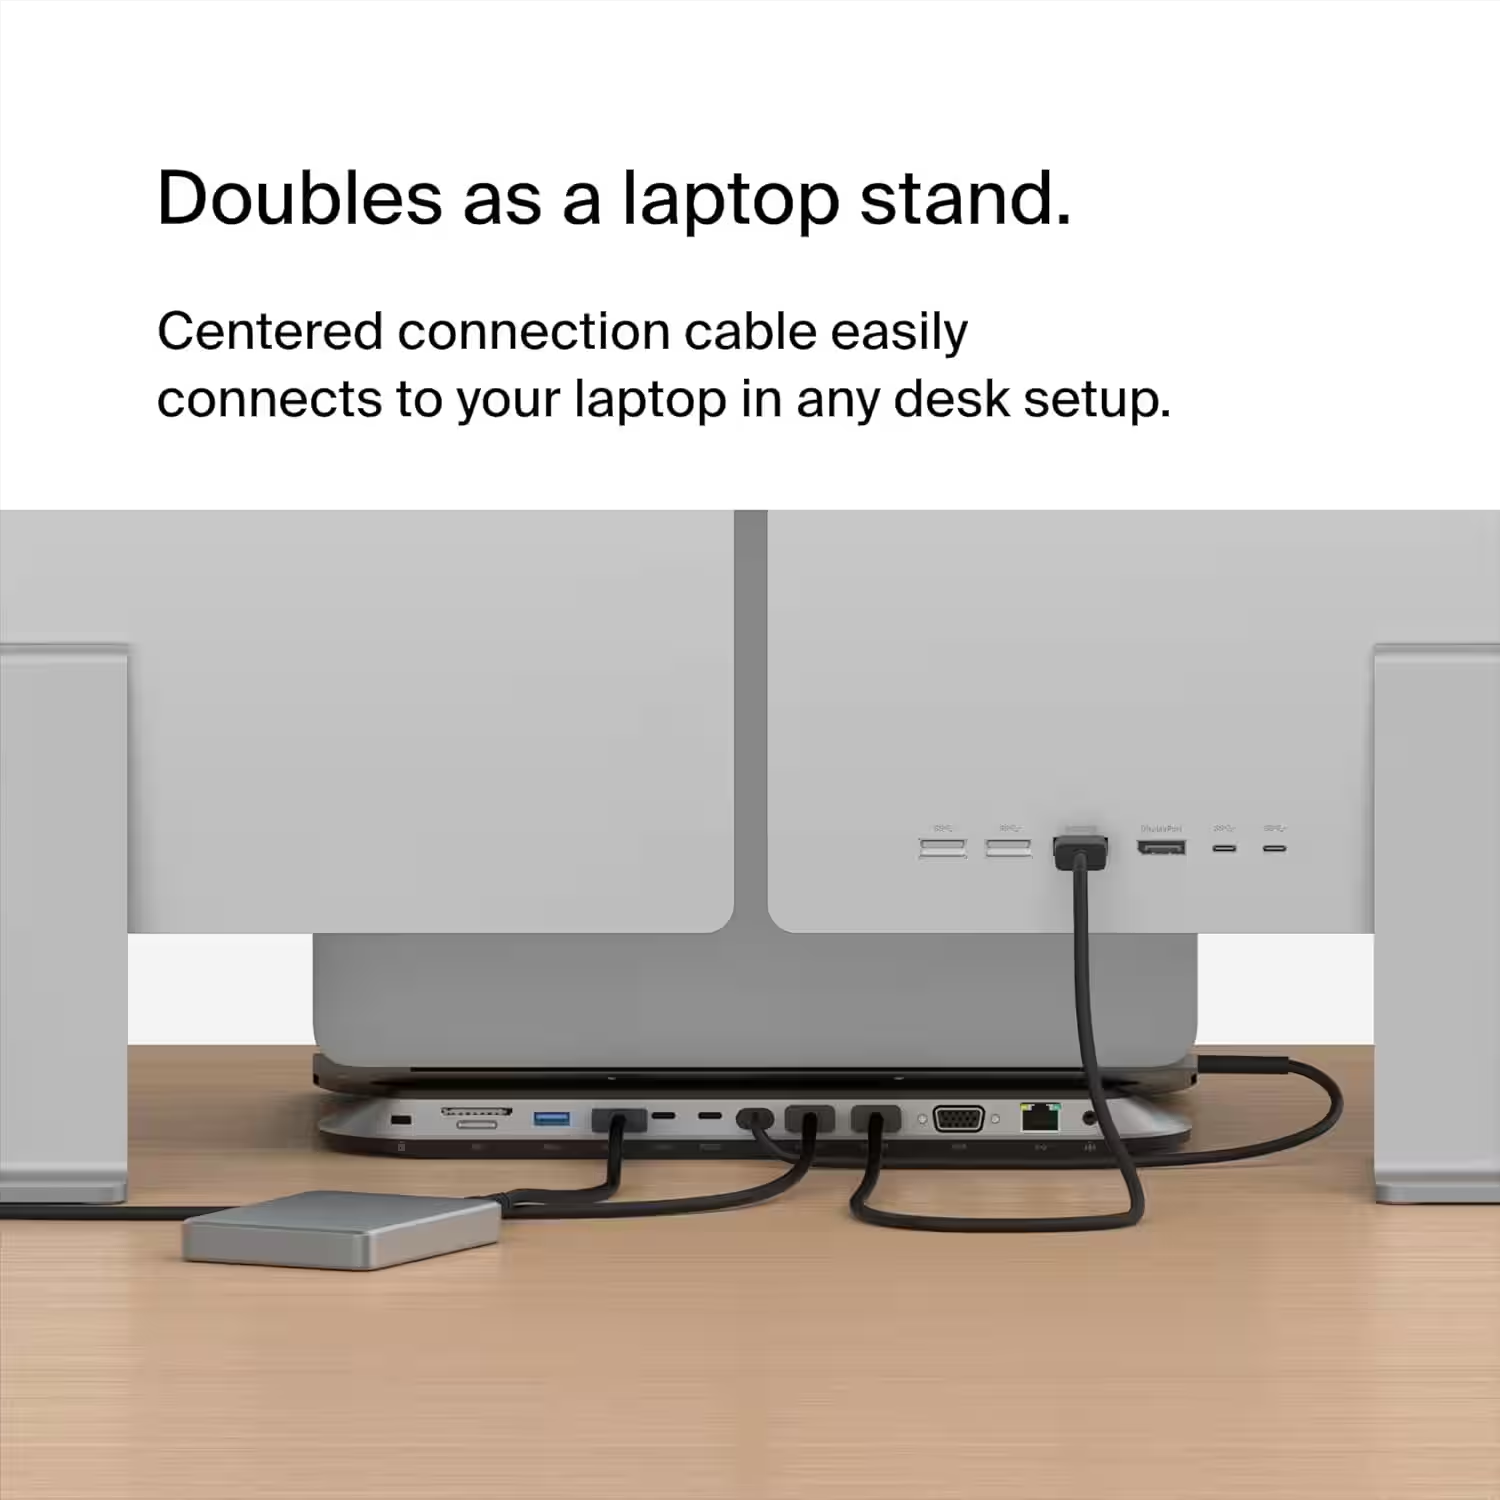
Image source: Bing (Web (fair-use with source credit))
Before you plug anything in
- Power off your computer and both monitors.
- Check that your GPU supports dual monitor output at your target resolution and refresh rate.
- Lay out your cables based on what ports you identified earlier. Having the right cable in hand before you start saves a lot of crawling behind desks.
- If you're using a dock, connect the dock to your laptop first and let it power up before connecting monitors.
Physical connection order that avoids the usual headaches
- Step 1: Connect the first monitor to your primary GPU output, the one you'll use for your main display. Use DisplayPort if available.
- Step 2: Connect the second monitor to your remaining GPU output or dock port.
- Step 3: Power on both monitors and let them complete their startup sequence. Most monitors take 5 to 10 seconds to be ready.
- Step 4: Power on your computer. The OS should detect both monitors during boot. If it doesn't, one of these steps came out of order.
Desktop tip: Always plug monitors directly into the dedicated graphics card ports, not the motherboard. If you plug into the motherboard and have a discrete GPU, that output is handled by integrated graphics. That's how you get one monitor with no signal and no idea why.
Configuring display arrangement in Windows
Once both monitors are physically connected and powered on, you need to tell Windows how they're positioned on your desk.
- Right-click the desktop background and select Display settings. You'll see numbered rectangles representing your monitors. Click Identify to see which number matches which physical screen.
- Drag the numbered rectangles so they match your physical layout. If monitor 2 sits to the left of monitor 1, drag it to the left side. This controls where your mouse and windows move between screens.
- Scroll down to Scale and layout and set the resolution for each monitor. For 27-inch 1440p panels, Windows usually defaults to 125% scaling. Set both monitors to the same scaling percentage to avoid weird window sizing when you drag between them.
- Set each monitor's refresh rate in Advanced display settings. If one stick at 60Hz and another at 144Hz, the lower one limits your mouse smoothness on that screen.
- Choose your main display by selecting the monitor and checking "Make this my main display." This gets your taskbar by default and where new apps open.
Configuring display arrangement in macOS
Mac multi-monitor handling differs from Windows. Apple designed it around the menu bar concept rather than a traditional main display.
- Open System Settings > Displays. Click Arrange to see the layout diagram.
- Drag the white menu bar at the top of one display rectangle to whichever monitor you want as your primary. That's where the dock appears by default on newer macOS versions.
- Set each monitor's resolution by selecting it in the display picker, then choose the macOS resolution option, one of the scaled options.
- macOS doesn't show refresh rate per-display as clearly. Check each monitor's refresh rate setting under its display settings pane and set the highest supported on each.
Making Them Look Right Together
Your monitors are detected, both showing a picture, and life feels good. Then you look closer and one screen is sharper or the colors don't match. What actually needs adjustment depends on your mismatches.
Magnify the problem and then calibrate.
Fixing mismatched resolution, scaling, and refresh rate
If both monitors are 1440p, you're lucky. If one is 1080p and the other 1440p, you'll notice every window size shift when you drag between them. The fix is to run them at their native resolutions.
Then set scaling so text size feels similar on each screen.
- Windows lets you set scale per display independently. Set scaling on each monitor so text appears the same physical size.
- For refresh rate mismatches, check Advanced Display Settings on Windows. On macOS, use the display settings pane to set the highest refresh rate available on each.
- If one monitor won't go above 30Hz, you probably capped its bandwidth. Check your cable rating. You'll likely need DisplayPort or HDMI 2.0 or better.
Getting both monitors to look the same color-wise
Out of the box, two different monitor models, sometimes even the same model with different panel lots, can display colors differently. Basic calibration helps you coalesce a more matched look.
- Access each monitor's built-in on-screen display (OSD) menus. Adjust brightness until white backgrounds match side by side a neutral brightness, around 120 cd/m² for general indoor use.
- If one monitor skews cooler or warmer, adjust color temperature in the OSD or in your OS display settings to achieve a similar white point.
- For any color-critical work like photo editing, hardware calibration tools are the standard. Datacolor and Calibrite make reasonable solutions. The target white point is usually D65 (around 6500K).
Mounting, Arms, and Desk Setup That Doesn't Suck
The included stands that ship with 27-inch monitors take up a lot of desk space and limit your ergonomic options. Dual setups benefit from mounting as the centerpiece of an organized layout.
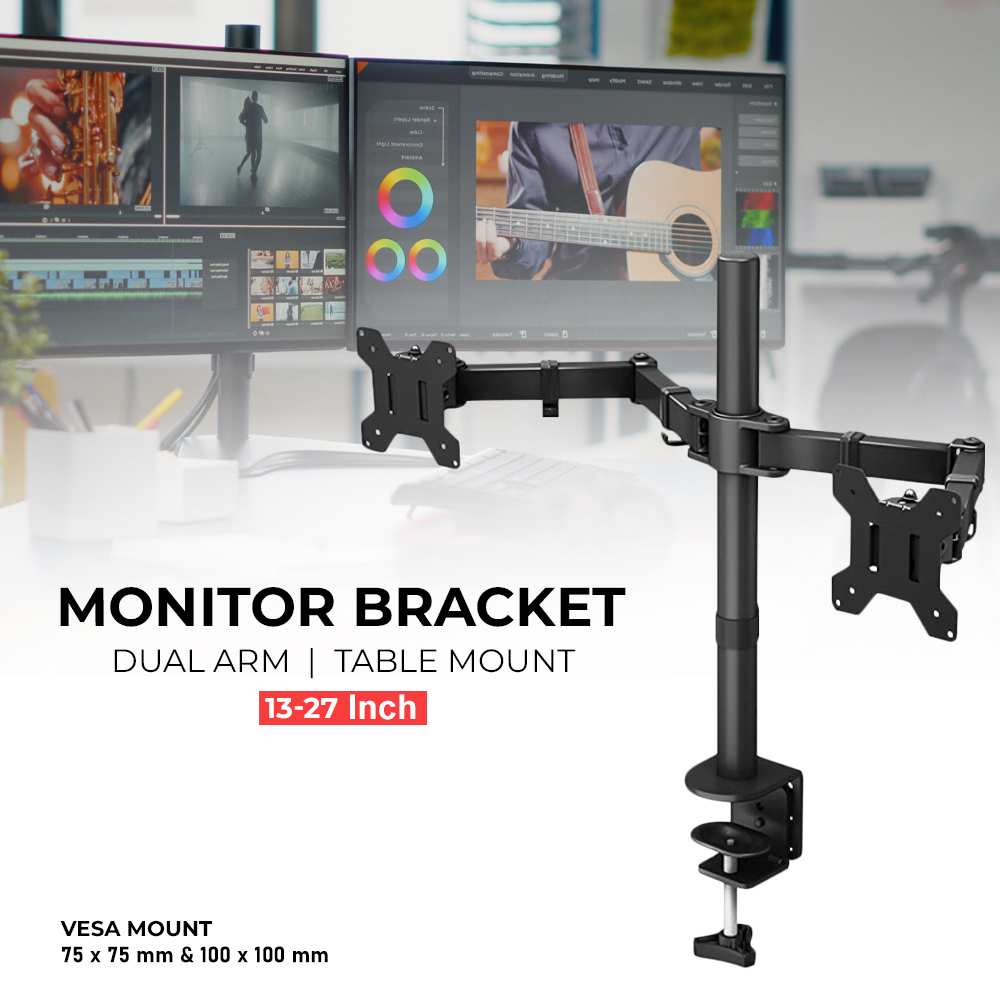
Image source: Bing (Web (fair-use with source credit))
Why monitor arms beat the included stands every time
Monitor arms free up desk space central to a setup. They offer more height range than stock stands, making neutral sitting posture actually achievable with two large screens.
- Full motion: Gas-spring arms let you adjust height, tilt, swivel, and rotation without tools.
- Desk clamping vs grommet mount: Clamp-on desks are removable and avoid holes. Grommet mounts need a hole but allow a cleaner look and firmer hold.
- Weight capacity: Most quality dual arm setups handle up to 19.8 lbs per arm, enough for typical 27-inch monitors weighing around 12 to 15 lbs.
VESA mount basics: 75×75 vs 100×100
- Most 27-inch monitors use the 100x100mm VESA pattern (10cm spacing).
- Some budget or smaller models use 75x75mm (7.5cm spacing).
- Confirm your monitor's VESA pattern in its specs or user manual before buying any arm.
- Most arms come with both 75×75 and 100×100 brackets often included, but never assume. Verify first.
Ergonomic positioning most people get wrong
- The top of each screen should sit at or slightly below eye level (within 5cm). Not the center of the screen.
- With dual monitors, the primary monitor faces you directly. The secondary at roughly 15 to 30 degrees off-center.
- Keep both monitors within arm's length to avoid overreaching and neck strain.
- Match viewing distance to content. For 27-inch 1440p, 24 to 30 inches works for most people.
Dual 27s vs an Ultrawide vs One Big 4K: Which Setup Actually Wins
Two 27-inch monitors aren't the only path to massive screen real estate. The alternatives each have tradeoffs worth understanding before you commit.
| Setup | Total Pixels | Bezels | Cost Range | Best For |
|---|---|---|---|---|
| Dual 27" 1440p | 7.37 million | Two outer bezels, center gap | $400–$1,000 | Multitasking, separated workspaces |
| Single 34–38" ultrawide | 7.04–9.15 million | None | $500–$1,500 | Immersive work, video editing timelines |
| Single 27" 4K | 8.29 million | None | $250–$500 | Sharp text, color-critical solo work |
Dual 27s win when you need hard separation. Full-screen apps on each display, no window management software needed. Great for keeping communication apps on one screen and focus work on the other.
Ultrawide wins for video editing, sim games, and spreadsheets. The seamless surface is the point. The one ultrawide bezels versus two panels with a center gap is the ultrawide advantage.
Single 4K wins on cost per pixel. The catch is relying on window management and scaling windows on one screen can feel cramped.
Common Mistakes That Waste Your Time
Every support list and help desk queue with monitor issues reveals the same errors. Skip these and you're saving yourself a frustrating mix of return visits to the computer store.
- Plugging one monitor into the motherboard and one into the GPU. You get one working screen and one black screen almost always. Use the GPU ports.
- Using an HDMI 1.4 cable when you want high refresh rate. HDMI 1.4 limits 1440p to 60Hz without reduced color. Look for HDMI 2.0 or DisplayPort.
- Ignoring your monitor's own input source input monitor menu. You plug into DisplayPort but the monitor stays on HDMI 1. Use the monitor's input select, either via buttons or its OSD.
- Forgetting to set the right refresh rate in OS settings after connecting. The OS often defaults to 60Hz. Open display adapter properties or Advanced Display Settings and bump the refresh rate up.
- Mixing cable lengths that exceed spec. For DisplayPort 1.4, reliable runs cap out in practice around 6 to 8 feet without signal degradation. Longer cables may need active redriver chips or fiber optic cables.
The Numbers and Data That Actually Matter
For most people, data and specs are a list of numbers meaning something that matters to monitor performance. Here's what affects buying decisions and the setup experience.
- Resolution: 2560×1440, commonly called 1440p, is the sweet spot for 27-inch productivity. Text is sharp at 109 PPI without heavy DPI scaling. 4K on 27 inches is sharper but requires scaling at 150%, which shrinks UI elements.
- Refresh rate out of the settings box: 60Hz is standard. Dual 27-inch 1440p at 60Hz is fine for office and development work. Gamers and motion-sensitive users should prioritize 144Hz or higher.
- Response time: 1ms to 5ms. The 1ms claims often refer to MPRT with backlight stroving which degrades real visual quality unless taken from independent measurement reviews.
- Total cost: Budget 27-inch 1440p monitors start at around $200 per screen in 2026. Good color-accurate IPS options run $300 to $450 each. Add $100 to $250 for a solid dual monitor arm.
- Bandwidth bottleneck awareness: A single HDMI 2.0 port at 18 Gbps maxes out at 4K 60Hz with 4:4:4 chroma. Know your port and cable rating before blaming the monitor.
Real Setups: What Works for Developers, Creatives, and Traders
Different professionals benefit from a different physical arrangement.
- Developer+ reference screen: Two identical 27-inch 1440p IPS panels mounted on a dual arm. Code on the primary reference, documentation or terminal on the secondary. A KVM switch handles switching between a personal desktop and a work laptop via one button press.
- Video editor main and timeline: The same dual 1440p arrangement scaled, plus calibrated for a Delta E under 2. An ultrawide timeline is nice, but the dual panel is still a better arrangement for allocating a full screen to the program monitor.
- Trader and grid symmetry: Three or more monitors showing charts and tickers. Often using identical 27-inch 1440p for consistency and bezel alignment. A baymount desk mount supports 3 monitors better than a simple dual arm.
When You've Tried Everything and One Screen Still Won't Wake Up
Your physical connection looks fine, your cable works elsewhere, but one screen stays stubbornly dark. Work through this minimal list first.
- Reseat both ends of the cable on the monitor and the PC. Partial insertion is a classic culprit.
- Try the suspect monitor and cable combination on a different port, or a different device entirely (laptop, game console). Isolate whether monitor, cable, or port is at fault.
- Boot with only the problem monitor connected, then hot-plug the second one. Detection can fail when both are cold-booted together on some USB-C docks.
- On Windows, press Win+P and cycle through the projection modes. Somehow the "Second only" or "Duplicate" mode finally wakes the screen.
- Check your GPU manufacturer's driver panel for display detection overrides. NVIDIA Control Panel and AMD Software include forced detection or "detect displays" options Windows sometimes misses.
- If you're running through a dock, bypass it temporarily and plug one monitor directly to the laptop. Docks fail with a silent black screen often while rated specifications fail less often.
Frequently Asked Questions
How long does a dual 27-inch monitor setup take?
20 to 45 minutes without a dock. With a docking station and cable management, expect closer to 45 to 60 minutes your first time.
Can I use two different monitor brands together?
Yes. The pair may look slightly different color wise out of the box. Basic calibration through each monitor's OSD helps reduce the mismatch.
Do I need a dedicated GPU for dual monitors?
Most modern integrated graphics support dual output, but with limitations. Intel Iris Xe and newer AMD iGPUs handle dual 1440p at 60Hz. Check your specific CPU's specifications because some older or lower-power chips cap out at one external display.
Will a USB-C hub give me dual monitor output from one port?
Only if the hub supports MST (Multi-Stream Transport) or DisplayPort Alt Mode passthrough. Many basic USB-C hubs only support one external display, and macOS doesn't support MST anyway.
Is DisplayPort better than HDMI for 1440p?
For 27-inch 1440p, DisplayPort handles higher refresh rates more reliably and supports features like daisy chaining and adaptive sync over a wider range. HDMI 2.0 is fine up to 144Hz. Choose DisplayPort when both ends support it.
Dual 27s vs an Ultrawide vs One Big 4K: Which Setup Actually Wins
(This section was fully written in the previous batch.)
Common Mistakes That Waste Your Time
(This section was fully written in the previous batch.)

Similar Posts