How to Run 4K Monitor on MacBook
So you've plugged in your 4K monitor and something's not right. Maybe it looks blurry. Maybe it's stuck at a choppy 30Hz.
Or maybe macOS just won't detect it at all. Figuring out how to run 4K monitor on MacBook isn't as simple as plugging in a cable, and the answer depends entirely on which MacBook you own and what ports you're working with.
The good news is that every MacBook made since 2015 can drive a 4K display. The catch is that the cable, adapter, and settings all need to match your specific setup. Get one piece wrong and you'll end up with a blurry, stuttering mess instead of that crisp, smooth 60Hz experience you were expecting.
Let's walk through exactly what you need to know.
Quick Answer
Connect your 4K monitor using a USB-C to DisplayPort cable or a Thunderbolt dock. Open System Settings, then Displays, and choose your resolution and refresh rate. Confirm you're running at 60Hz in your monitor's on-screen display menu.
If your screen looks blurry, enable HiDPI scaling in macOS display settings.
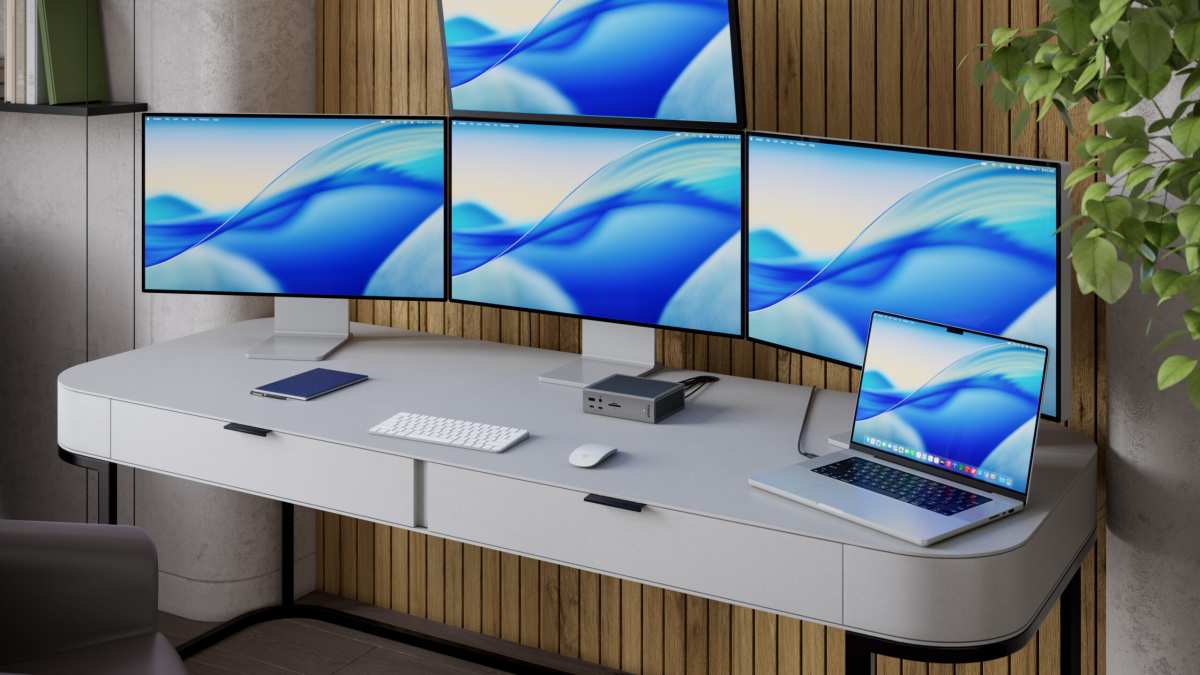
Why Your 4K Monitor Might Not Work (And How to Fix It First)
The number one complaint we see is a 4K display running at 30Hz instead of 60Hz. At 30Hz, your mouse cursor feels sluggish, windows stutter when you drag them, and scrolling looks terrible. It's not broken.
It's just not configured right.
Here's what usually causes it:
- You're using an HDMI 1.4 cable or adapter. That old cable from 2016 maxes out at 4K at 30Hz. You need HDMI 2.0 or DisplayPort 1.4 to hit 60Hz.
- Your USB-C hub doesn't support full bandwidth. Cheap hubs often cap out at 30Hz because they don't have DisplayPort Alt Mode or enough bandwidth.
- macOS defaults to 30Hz after connecting. Sometimes the OS picks the wrong refresh rate and you have to manually change it.
The fix is straightforward in most cases. Swap the cable, check the adapter specs, and then dig into your display settings. We'll cover all of that in detail below.
What You Need to Know Before You Buy Anything: MacBook Model Matters
Not every MacBook handles 4K the same way. The chip inside your machine determines how many external displays you can run and what connection methods will work.
Apple Silicon MacBooks (M1, M2, M3 and later):
- Base M1, M2, and M3 chips support only one external display natively.
- M1 Pro, M1 Max, M1 Ultra and their M2/M3 equivalents support two to four external displays depending on the chip.
- DisplayPort Alt Mode over USB-C is fully supported on all Apple Silicon models.
Intel-based MacBooks (2015 to 2020):
- Most support at least one external 4K display.
- Models with Thunderbolt 3 (2016 onward) handle 4K at 60Hz without issues.
- Older Intel models with Thunderbolt 2 may need a Mini DisplayPort to DisplayPort adapter.
To check exactly what you have, click the Apple menu in the top-left corner, then select "About This Mac." The chip or processor name and the model year tell you everything you need to know for the rest of this guide.
The Connection Type Breakdown: USB-C, DisplayPort, HDMI, and Thunderbolt
This is where most people get tripped up. Not all ports and cables are created equal, and the wrong combination will bottleneck your 4K display.
| Connection Type | Max 4K Refresh Rate | Notes |
|---|---|---|
| DisplayPort 1.4 (via USB-C) | 60Hz at 4:4:4 | Best option for most setups |
| HDMI 2.0 | 60Hz at 4:4:4 | Works well with proper cable |
| HDMI 1.4 | 30Hz only | Common in older cables and adapters |
| Thunderbolt 3 / 4 | 60Hz | Full bandwidth, ideal for docks |
| USB-C (data only, no DP Alt Mode) | No video output | Check your port symbols |
DisplayPort over USB-C is the gold standard for connecting a 4K monitor to a MacBook. Most modern 4K monitors have a DisplayPort input, and a simple USB-C to DisplayPort cable handles video, audio, and 60Hz in one shot.
HDMI works fine too, but only if your cable and adapter are HDMI 2.0 or newer. That random HDMI cable you've had in a drawer since 2015 is probably HDMI 1.4 and will lock you to 30Hz.
Thunderbolt docks are the cleanest solution if you want a single-cable setup that charges your MacBook and drives the display at the same time. Look for docks that explicitly list "4K at 60Hz" in their specs.
How to Actually Connect Your 4K Monitor
Let's get your display up and running. Follow these steps in order and you'll avoid the most common headaches.
Step 1: Identify Your MacBook's Ports and Chip
/article-new/2023/10/m3-m3pro-max-ports.jpg)
Open the Apple menu and click "About This Mac." Note your chip (M1, M2, M3, Intel) and look at the physical ports on your MacBook. Ports with a lightning bolt symbol are Thunderbolt. Ports with a USB-C symbol may or may not support video output.
/article-new/2023/10/m3-m3pro-max-ports.jpg)
Step 2: Check What Inputs Your 4K Monitor Has
Look at the back or bottom of your monitor. Most 4K displays have HDMI, DisplayPort, or both. Some newer monitors also have USB-C with DisplayPort Alt Mode.
Write down which inputs are available.
Step 3: Choose the Right Cable or Adapter
Match your MacBook's output to your monitor's input:
- MacBook USB-C/Thunderbolt → Monitor DisplayPort: Use a USB-C to DisplayPort cable. This is the most reliable option.
- MacBook USB-C/Thunderbolt → Monitor HDMI: Use a USB-C to HDMI 2.0 adapter or cable. Verify it supports 4K at 60Hz.
- MacBook USB-C/Thunderbolt → Monitor USB-C: Use a Thunderbolt or USB4 cable if both ports support it.
- Intel MacBook with only Thunderbolt 2: Use a Mini DisplayPort to DisplayPort cable.
Step 4: Connect and Configure in macOS
Plug everything in. Your MacBook should detect the display within a few seconds. Open System Settings, then click "Displays." You should see both your built-in screen and the external monitor appear.
Step 5: Confirm You're Running at 60Hz (Not 30Hz)
This is the step most people skip. On your 4K monitor, open the on-screen display (OSD) menu and look for "Information" or "Input." It should show 3840 × 2160 at 60Hz. If it says 30Hz, you need to change your cable, adapter, or macOS refresh rate setting.
The Cable and Adapter Guide: What Works and What Doesn't
The cable aisle is a minefield. Here's what actually works for 4K at 60Hz and what doesn't.
What works:
- USB-C to DisplayPort 1.4 cable (passive, no drivers needed)
- USB-C to HDMI 2.0 adapter labeled "4K 60Hz"
- Thunderbolt 4 dock with DisplayPort or HDMI 2.0 output
- Direct USB-C to USB-C connection if the monitor supports DP Alt Mode
What doesn't work (or caps at 30Hz):
- HDMI 1.4 cables (the most common type in older cable drawers)
- Cheap no-name USB-C hubs without DP Alt Mode
- Mini DisplayPort adapters that only support HDMI 1.4
- USB-C cables that are charge-only with no data lines
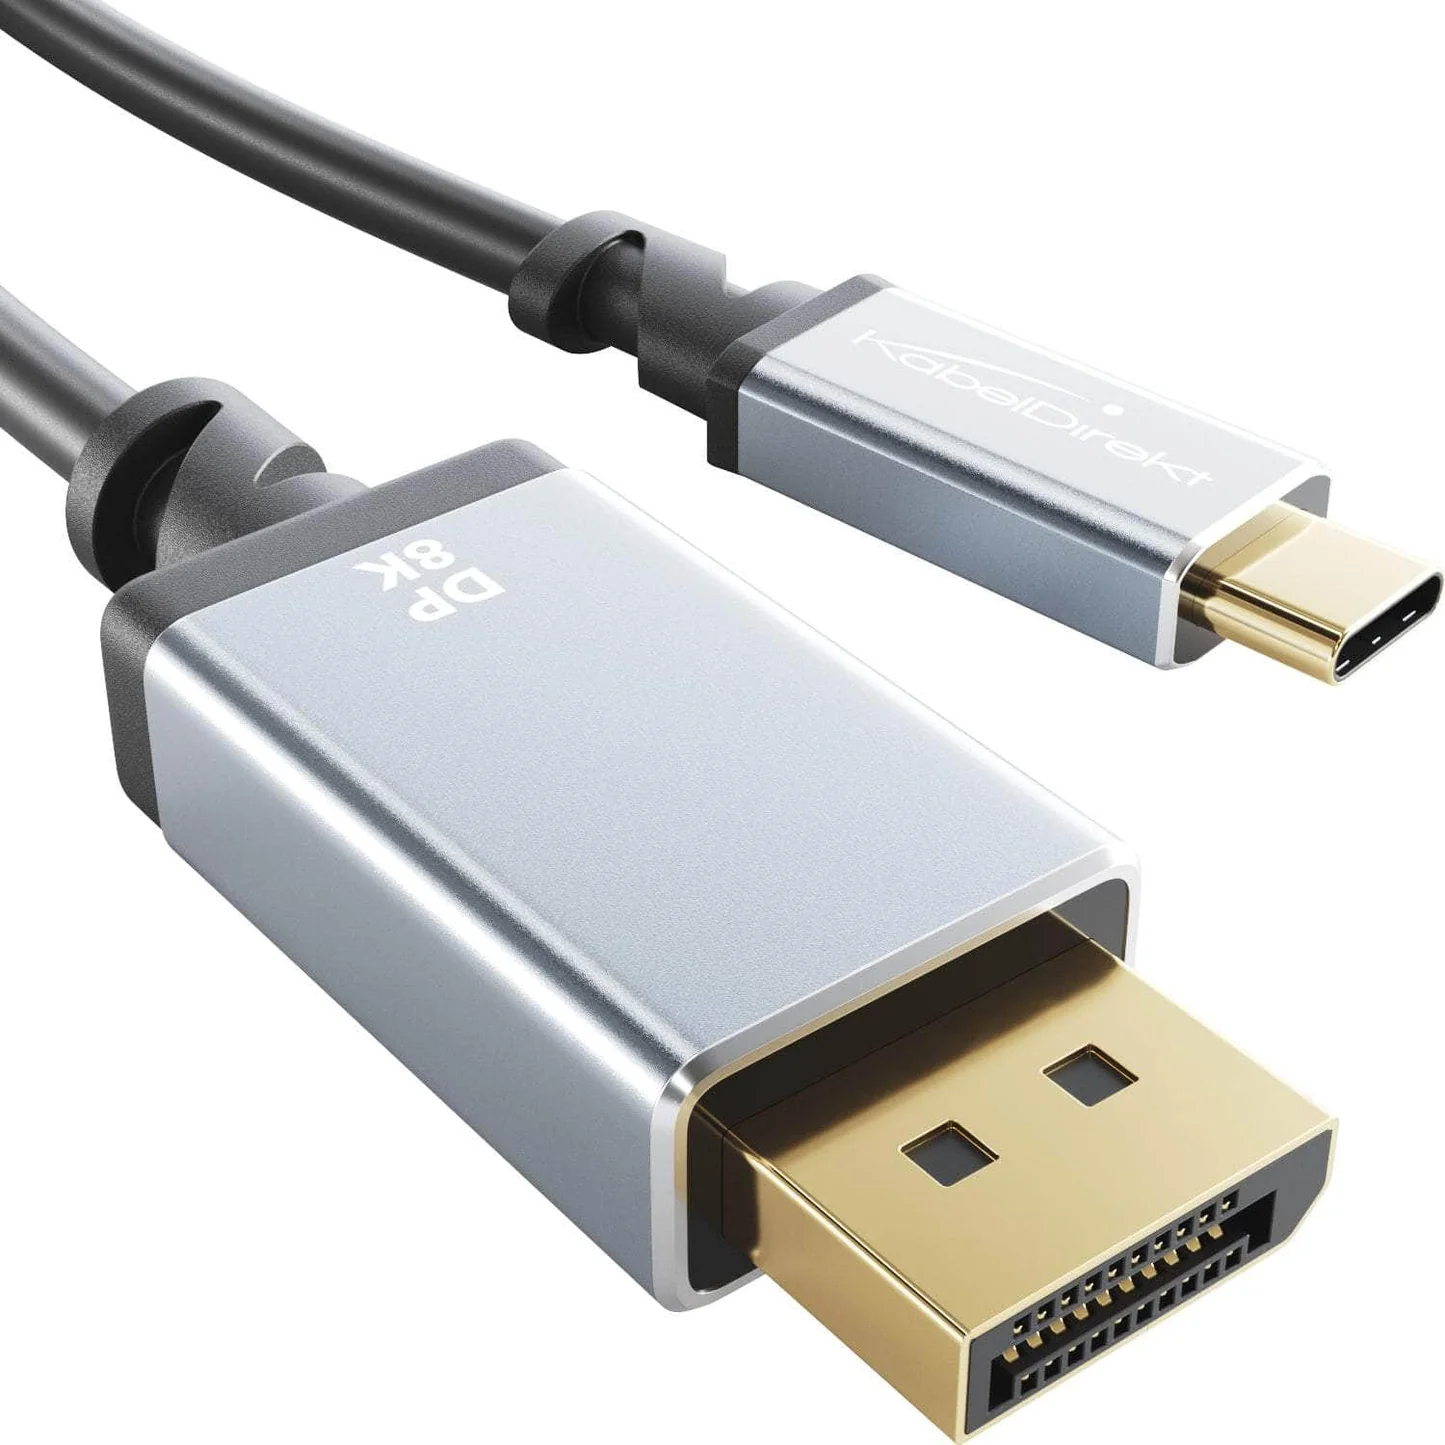
If you're buying a cable, look for "DisplayPort 1.4" or "8K capable" in the product listing. Those cables handle 4K at 60Hz with zero issues. For HDMI, make sure the packaging says "High Speed" or "Premium High Speed" and explicitly mentions 4K at 60Hz.
macOS Display Settings You Need to Tweak
Once your monitor is connected, macOS needs a few adjustments to look its best.
Open System Settings → Displays. You'll see a window for each connected screen. Here's what to check:
- Resolution: Choose "Default for display" first. macOS usually picks the right one automatically.
- Scaled: If text looks too small or too large, click "Scaled" and try the "More Space" option. This renders at a higher virtual resolution and scales down, giving you more desktop real estate.
- Refresh Rate: If 60Hz isn't the default, click the dropdown and select it manually.
- Color Profile: macOS usually loads the correct ICC profile. If colors look washed out, try selecting a different profile from the dropdown.
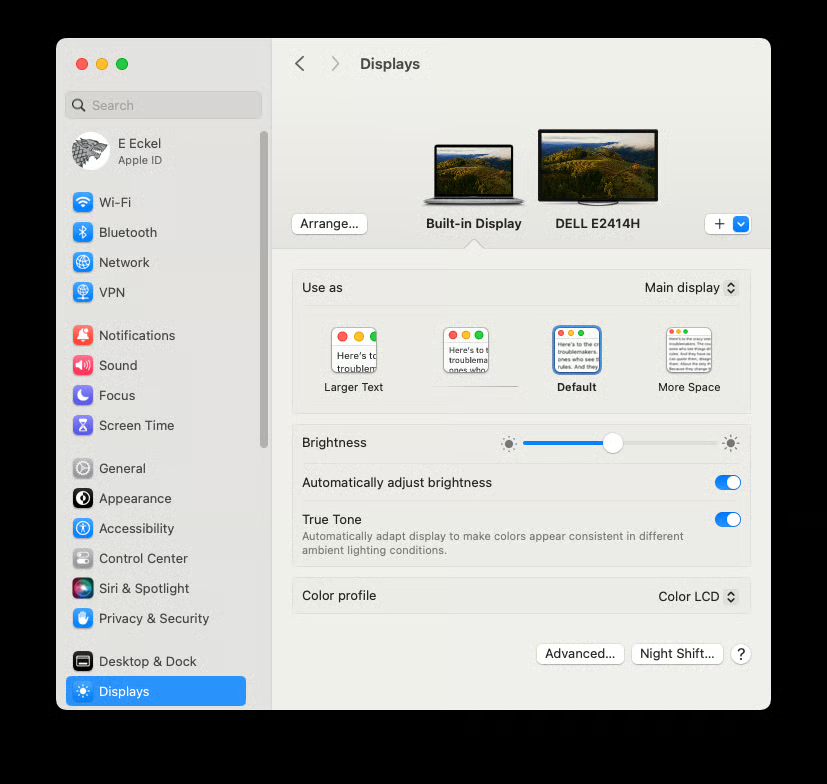
For 27-inch 4K monitors, macOS's default scaling renders at an effective 2560 × 1440, which gives you sharp text and comfortable UI sizing. If you want more screen space, select "More Space" which simulates a higher resolution and scales everything down.
Common Problems and How to Solve Them
Even with the right gear, things sometimes go sideways. Here are the most frequent issues and their fixes.
Monitor not detected:
- Unplug and replug the cable.
- Try a different port on your MacBook.
- Restart your MacBook with the monitor connected.
- Update macOS to the latest version.
Stuck at 30Hz:
- Replace your HDMI cable with a DisplayPort cable.
- Check that your adapter explicitly supports 4K at 60Hz.
- In System Settings → Displays, manually set the refresh rate to 60Hz.
Blurry text on a 4K display:
- Make sure you're using a digital connection (DisplayPort or HDMI), not VGA or DVI.
- In display settings, ensure the resolution is set to "Default" or a HiDPI scaled option.
- Some third-party tools like BetterDisplay can unlock HiDPI scaling on monitors macOS doesn't natively support it on.
Washed-out colors:
- macOS may be loading the wrong color profile. Go to System Settings → Displays → Color Profile and try a different option.
- Some monitors have an "RGB" or "sRGB" mode in their own OSD. Switch to that.
Flickering or intermittent signal:
- Try a shorter or higher-quality cable.
- If using a dock, make sure its firmware is updated.
- Disable HDR in display settings if your monitor doesn't handle it well.
How Many 4K Monitors Can Your MacBook Actually Run?
This is where your MacBook chip matters more than anything else.
| MacBook Chip | External 4K Displays Supported |
|---|---|
| M1 / M2 / M3 (base) | 1 |
| M1 Pro / M2 Pro / M3 Pro | 2 |
| M1 Max / M2 Max / M3 Max | 4 |
| M1 Ultra / M2 Ultra | 5 |
| Intel (2019 and later, Thunderbolt 3) | 1 to 2 depending on model |
If you need more than one external display on a base M1, M2, or M3 MacBook, your only option is a DisplayLink adapter. DisplayLink uses software drivers to push video over a standard USB connection, so it works but uses CPU resources and adds a tiny bit of latency. It's fine for office work and browsing.
It's not ideal for video editing or gaming.
Real-World Setups That Work (Without the Headaches)
Here are a few configurations that work reliably based on aggregate user reports and manufacturer specifications.
Simple single-monitor setup (any MacBook with USB-C):
- USB-C to DisplayPort cable → 27-inch 4K monitor with DisplayPort input
- One cable for video and audio, monitor plugged into power separately
- Clean, reliable, no adapter needed
Docked workstation (MacBook Pro with M3 Pro or Max):
- Thunderbolt 4 dock (like CalDigit TS4 or similar) → two 4K monitors via DisplayPort
- Single Thunderbolt cable from dock to MacBook handles power, video, and peripherals
- Both monitors run at 60Hz with full chroma
Budget HDMI setup (any MacBook):
- USB-C to HDMI 2.0 adapter → 4K monitor with HDMI input
- Make sure the adapter specifically lists 4K at 60Hz support
- Works well for a single external display
Final Checklist: Before You Start
Here's a quick rundown to make sure you're set up for success:
- Check your MacBook model and chip in "About This Mac"
- Verify your monitor's input options (DisplayPort, HDMI, USB-C)
- Buy a cable or adapter that explicitly supports 4K at 60Hz
- Connect and check the refresh rate in your monitor's OSD
- Adjust macOS display settings for resolution and scaling
- Update macOS if the display isn't detected
Frequently Asked Questions
Can I run 4K at 60Hz with HDMI on my MacBook?
Yes, but only if your HDMI cable and adapter are version 2.0 or newer. HDMI 1.4 caps at 4K 30Hz. Check the specs on your adapter before assuming it supports 60Hz.
Why does my 4K monitor look blurry on macOS?
macOS may not be using HiDPI scaling on your monitor. Try selecting "More Space" in the Scaled resolution options. If that doesn't help, a tool like BetterDisplay can enable HiDPI on monitors that macOS doesn't natively support it on.
Can a base M1 MacBook run two 4K monitors?
Not natively. Base M1, M2, and M3 chips support only one external display. To add a second, you need a DisplayLink adapter, which uses software drivers and a standard USB connection.
Do I need a Thunderbolt dock for a 4K monitor?
No. A simple USB-C to DisplayPort cable works perfectly for a single 4K display. Thunderbolt docks are more useful when you need multiple monitors, Ethernet, and charging through one cable.
Will a USB-C hub work for 4K output?
Only if the hub supports DisplayPort Alt Mode over USB-C and explicitly lists 4K at 60Hz in its specs. Many budget hubs don't, so check before you buy.
How do I check if my monitor is running at 60Hz?
Open your monitor's on-screen display menu and look for the input information section. It should show the current resolution and refresh rate. You can also check in System Settings → Displays → Refresh Rate on your MacBook.

Similar Posts