How to Record Screen on 4K Monitor

Image source: Bing (Web (fair-use with source credit))
Figuring out how to record screen on 4k monitor isn't as straightforward as hitting a record button. The resolution itself creates a cascade of problems most guides completely ignore.
The core issue is that 4K produces four times the pixels of 1080p, which means massive file sizes, heavier GPU load, and software that often downscales your footage without telling you. As of 2026, hardware encoding from NVIDIA, AMD, and Intel has made single-PC 4K recording viable, but only if your settings are right from the start.
The Quick Answer: What Actually Works for 4K Screen Recording
Use OBS Studio with your GPU's hardware encoder. Set your canvas to 3840 × 2160. Set bitrate between 40 and 130 Mbps depending on frame rate.
Record in MKV format to avoid losing footage if your system crashes. Remux to MP4 afterward if you need broader compatibility.
First, Check What You're Working With
Before touching any software, you need to know what hardware you're working with. Your GPU determines which encoder you can use, and that choice affects both quality and performance.
Your GPU Determines Everything
Your graphics card is the single most important factor in 4K recording. Modern GPUs have dedicated encoding chips that handle video compression without taxing your main processor. Here's what matters:
NVIDIA (NVENC): GTX 10-series and newer support H.264 encoding. RTX 20-series and newer support HEVC (H.265). RTX 40-series and newer support AV1 encoding.
NVENC is widely considered the best hardware encoder for quality-to-performance ratio.
AMD (AMF): RX 5000-series and newer handle 4K encoding well. AMD's HEVC encoder has improved significantly since the RDNA architecture launch. AV1 encoding arrived with RX 7000-series.
Intel (Quick Sync): 11th-gen Intel CPUs and newer offer solid HEVC encoding. Intel Arc GPUs support AV1 encoding. Quick Sync is a viable option if you don't have a dedicated GPU.
| GPU Generation | H.264 | HEVC | AV1 | 4K60 Viable? |
|---|---|---|---|---|
| NVIDIA GTX 10-series | Yes | No | No | Marginal |
| NVIDIA RTX 20-series | Yes | Yes | No | Yes |
| NVIDIA RTX 40-series | Yes | Yes | Yes | Excellent |
| AMD RX 5000-series | Yes | Yes | No | Yes |
| AMD RX 7000-series | Yes | Yes | Yes | Excellent |
| Intel 11th-gen+ (iGPU) | Yes | Yes | No | Yes |
| Intel Arc A-series | Yes | Yes | Yes | Yes |
What If You Don't Have a Dedicated GPU?
If you're relying on integrated graphics, your options narrow. Intel Quick Sync handles 4K recording at 30fps without much trouble. AMD's integrated graphics on Ryzen 7000-series APUs can manage 40 encoding.
You'll need to use software encoding (x264) on older systems, but that hits your CPU hard and isn't practical for gaming or heavy workloads.
The Decision Tree: Which Method Should You Use?
Your situation dictates the right tool. Here's how to figure out what actually fits your needs.
You're a Gamer Who Wants Highlight Clips
Use NVIDIA ShadowPlay (GeForce Experience) if you have an NVIDIA card. It's lightweight, runs in the background with minimal performance impact, and the instant replay feature captures the last few minutes of gameplay without constant recording. AMD ReLive serves the same purpose for AMD users.
Both tools use your GPU's hardware encoder, so you lose maybe 3-5% of your frame rate. That's negligible for most people.
You're Making Tutorials or Online Courses
OBS Studio is your best bet. It's free, open-source, and gives you full control over every recording parameter. You can capture specific windows, overlay webcam footage, mix multiple audio tracks, and record at exact 4K resolution with custom bitrates.
Camtasia works if you want an all-in-one solution that includes editing. It costs around $300, but the learning curve is gentler than OBS plus a separate video editor.
You're Recording Professional Demos or Client Work
OBS Studio with NVENC HEVC encoding at 60 Mbps or higher gives you broadcast-quality footage. If you need guaranteed zero-frame-drop recording, a dual-PC setup with a capture card eliminates any performance concern on your main machine.
The Elgato 4K60 Pro MK.2 or AVerMedia Live Gamer 4K are solid internal capture cards. They capture 4K60 HDR footage and pass the signal through to your monitor with no perceptible lag.
You Just Need a Quick Clip With No Setup
Windows Xbox Game Bar (Win + G) works for basic captures. macOS QuickTime Player handles screen recording natively. Both are limited in control and quality options, but they work when you need something fast and don't care about fine-tuning.
Setting Up OBS for 4K (The Right Way)
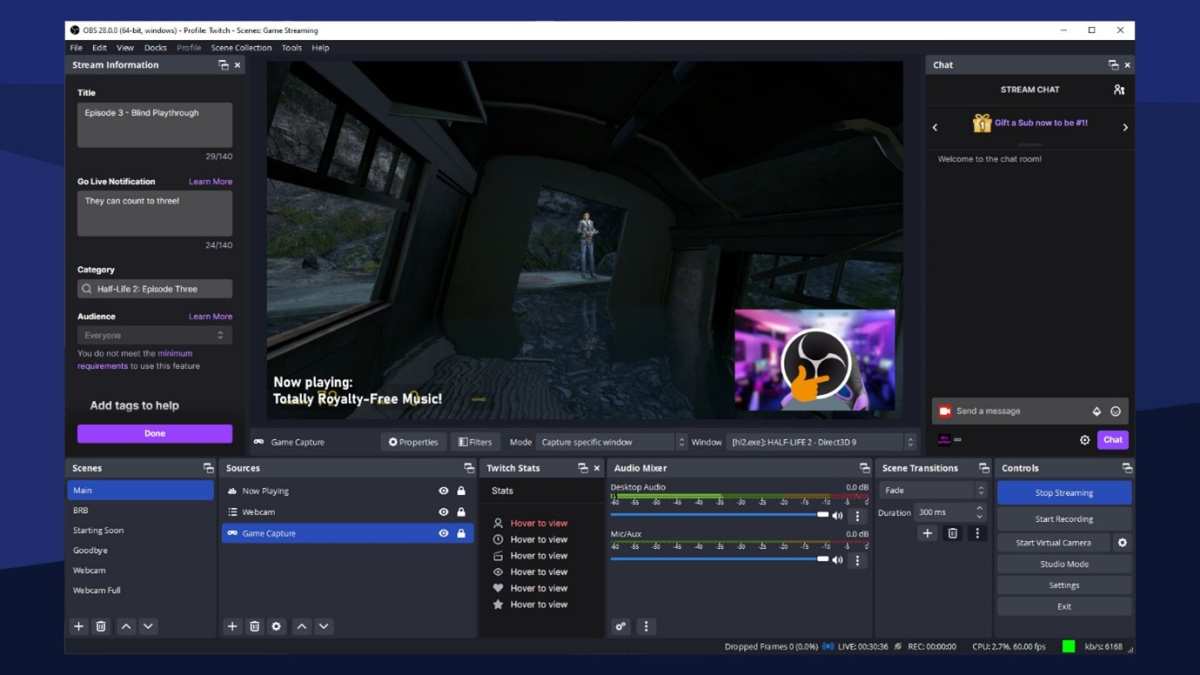
Image source: Bing (Web (fair-use with source credit))
OBS Studio is the most powerful free tool for 4K recording, but default settings won't cut it. You need to configure it properly or you'll end up with blurry, stuttery footage that looks worse than 1080p.
Canvas vs. Output Resolution — Don't Skip This
This is where most people mess up. OBS has two resolution settings, and confusing them ruins your recordings.
Canvas (Base) Resolution: Set this to your monitor's native resolution, which is 3840 × 2160 for a 4K display. This is what OBS captures from your screen.
Output (Scaled) Resolution: This is what gets written to your file. If you want true 4K footage, set this to 3840 × 2160 as well. If you want to downscale to 1080p for smaller files, set it to 1920 × 1080.
Downscaling from 4K to 1080p actually produces sharper 1080p footage than native 1080p recording because of the supersampling effect. It's a legitimate technique if you don't need 4K delivery.
Encoder Settings That Actually Matter
Go to Settings > Output and select your encoder. Here's the priority order:
- NVIDIA NVENC H.264 (best compatibility, good quality)
- NVIDIA NVENC HEVC (better quality at lower bitrates, less compatible with older devices)
- AMD AMF H.264 (solid for AMD users)
- Intel Quick Sync H.264 (best option for iGPU systems)
- x264 (software encoding, only use if hardware encoding isn't available)
Set the rate control to CBR (constant bitrate) for consistent quality or CQP (constant quantization) if you want quality to vary based on scene complexity. CQP 18-22 is a good range for 4K.
Bitrate: The Number That Makes or Breaks Your Footage
Bitrate determines how much data gets allocated per second of video. Too low and your 4K footage looks like a blocky mess. Too high and you're wasting storage space.
| Content Type | 30fps Bitrate | 60fps Bitrate |
|---|---|---|
| Static (tutorials, presentations) | 25-40 Mbps | 40-60 Mbps |
| Moderate motion (browsing, design work) | 40-60 Mbps | 60-90 Mbps |
| High motion (gaming, video playback) | 50-80 Mbps | 90-130 Mbps |
These are H.264 numbers. If you're using HEVC, you can cut these bitrates roughly in half while maintaining similar quality.
Container Format: MKV vs. MP4
Always record in MKV. If OBS crashes or your system loses power, an MP4 file becomes corrupted and unrecoverable. MKV files survive crashes because they don't require a finalization step.
After recording, use OBS's built-in Remux tool (File > Remux Recordings) to convert MKV to MP4. This takes seconds and gives you a universally compatible file.
The Storage Problem Nobody Warns You About
Here's the reality that catches everyone off guard. 4K footage eats storage at an alarming rate.
How Much Space Do You Actually Need?
At 100 Mbps bitrate (a solid setting for 4K60 gaming footage), you're looking at roughly 4.5 GB per 5 minutes. That's about 54 GB per hour.
| Bitrate | File Size per Minute | File Size per Hour |
|---|---|---|
| 40 Mbps | ~300 MB | ~18 GB |
| 60 Mbps | ~450 MB | ~27 GB |
| 100 Mbps | ~750 MB | ~45 GB |
| 130 Mbps | ~975 MB | ~58 GB |
If you record regularly, a dedicated 2TB drive for footage is a smart investment. Recording to the same drive your OS runs from also causes stutters on slower hard drives. Use a separate SSD if possible.
Where to Store Your Recordings
An NVMe SSD is ideal for active recording. It handles the sustained write speeds that 4K recording demands. Once footage is done, move it to a larger HDD for archival.
External USB 3.2 Gen 2 drives work too, but make sure they're SSDs, not spinning hard drives. The sustained write speed of a spinning drive can drop below what 4K recording needs, causing dropped frames.
Capture Cards: When and Why You'd Need One
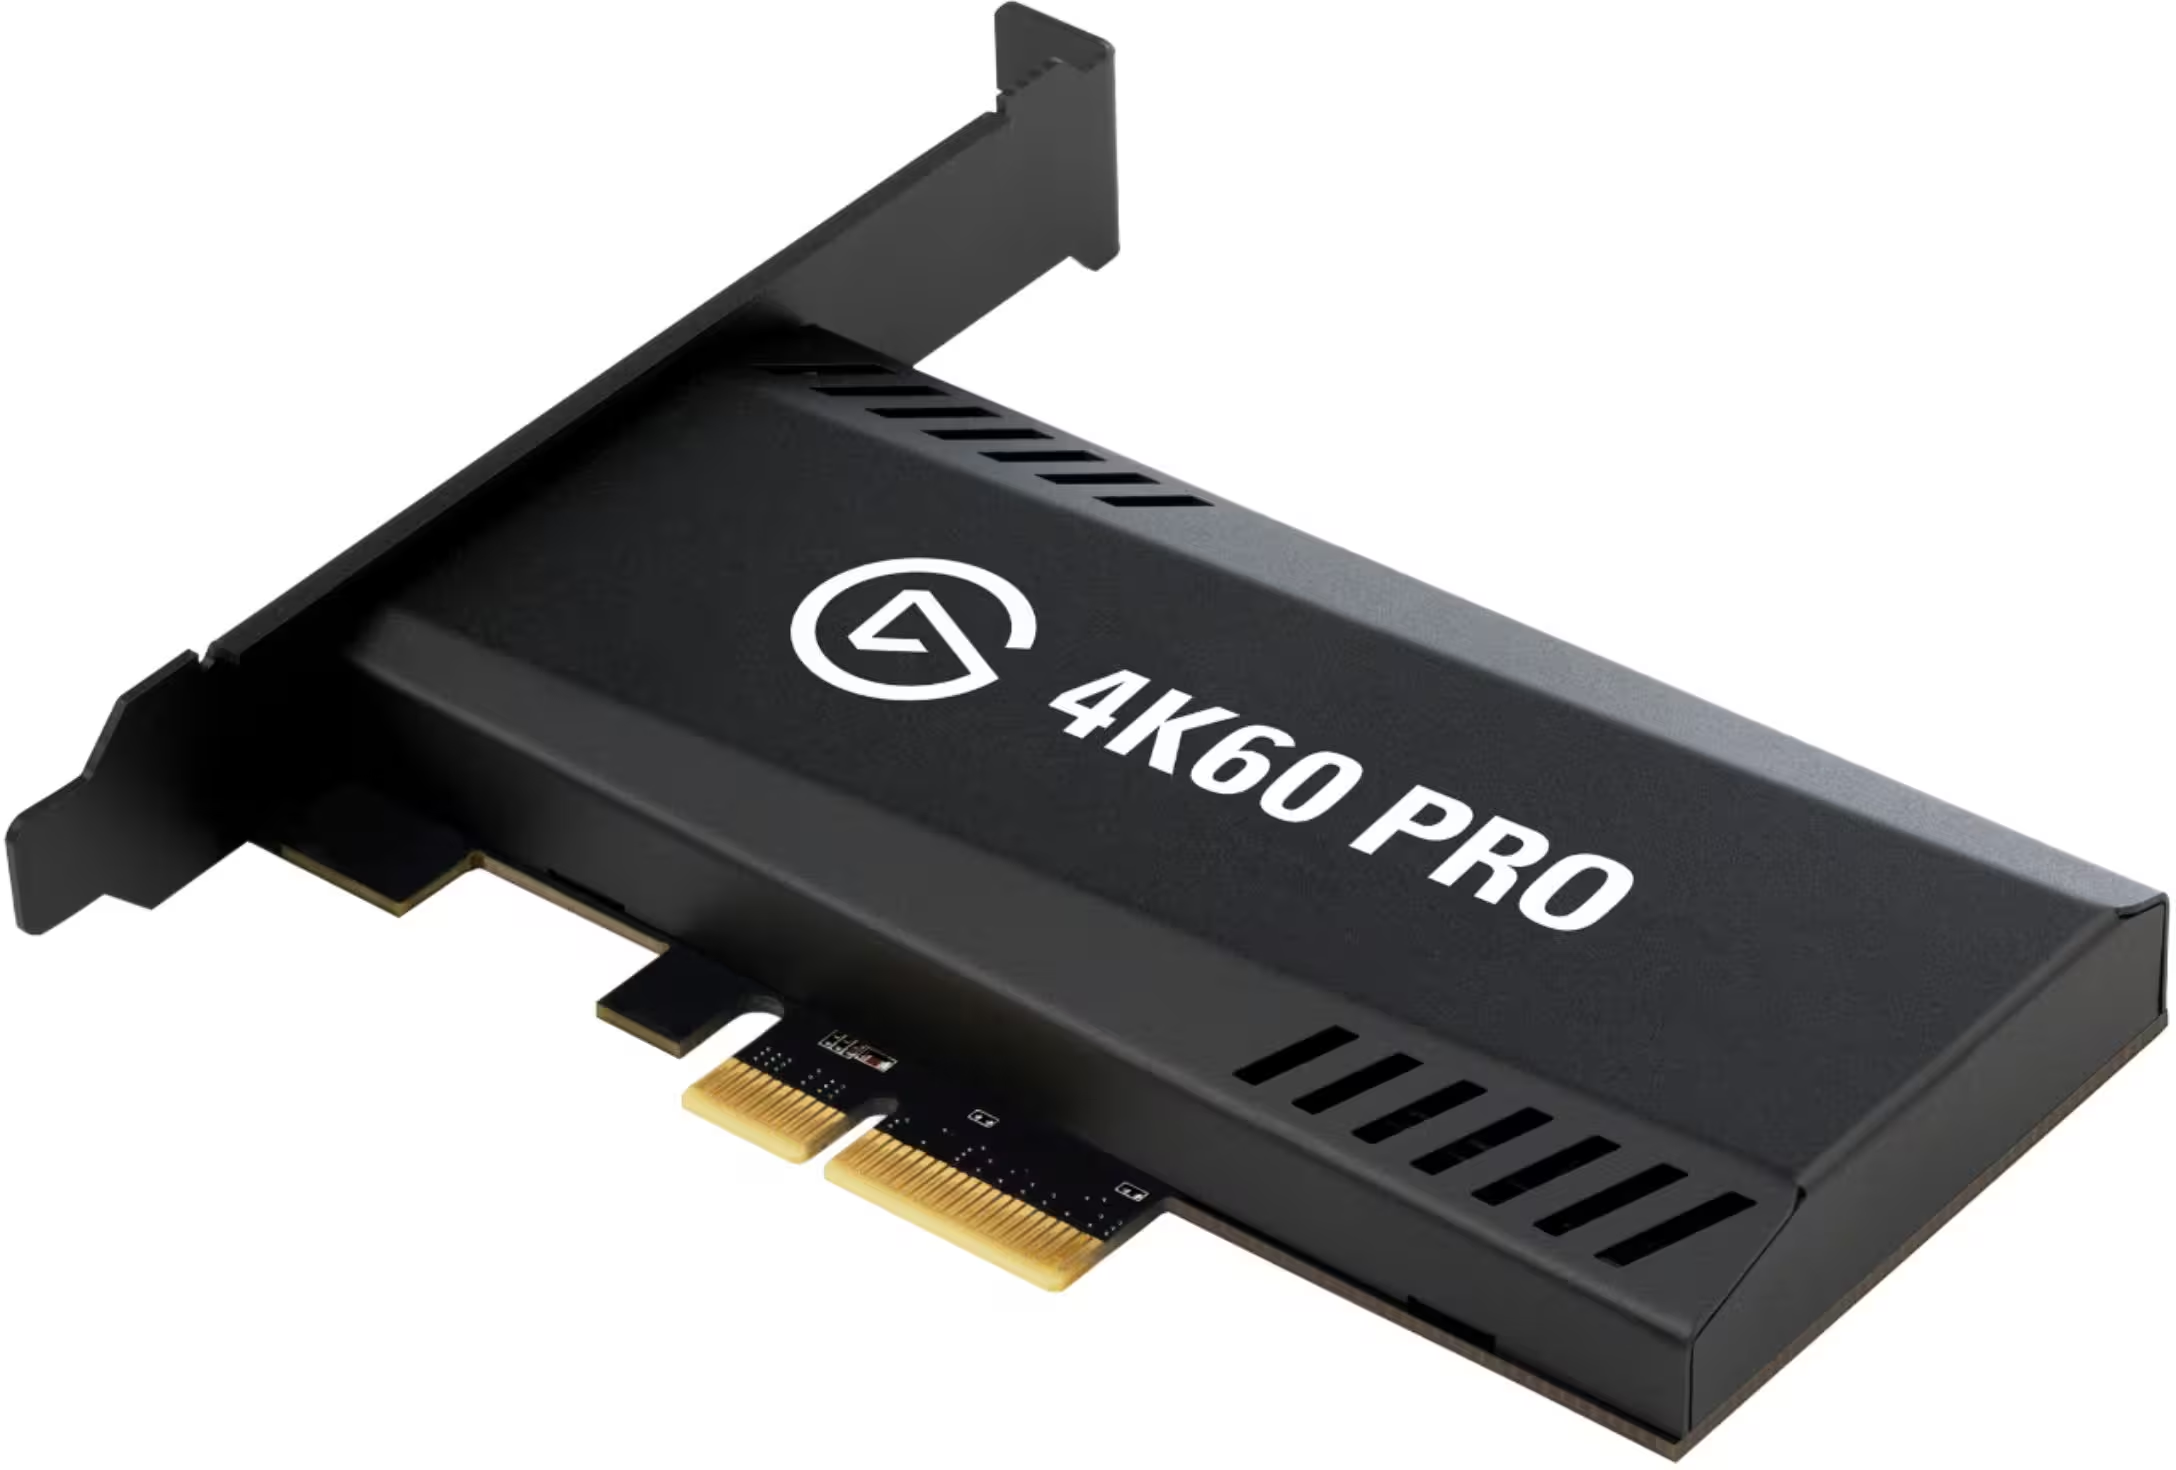
Image source: Bing (Web (fair-use with source credit))
Most people don't need a capture card for 4K screen recording. Software encoding handles the job fine on a single PC. But there are specific situations where a capture card becomes the right solution.
Single PC vs. Dual PC Setup
Single PC recording works when you're recording non-gaming content or games that don't push your GPU to its limits. NVENC handles encoding on a separate chip on your GPU, so the performance hit stays small.
Dual PC recording makes sense when you're playing demanding AAA titles at 4K with max settings and already hitting 90-95% GPU usage. Adding recording on top causes frame drops and stutters. A capture card moves all recording overhead to a second machine.
The setup is straightforward. Your gaming PC outputs HDMI to the capture card in your streaming PC. The capture card passes the signal through to your gaming monitor with no visible lag.
The streaming PC runs OBS and handles all encoding.
Internal vs. External Capture Cards
Internal PCIe cards like the Elgato 4K60 Pro MK.2 or AVerMedia Live Gamer 4K offer the lowest latency and highest reliability. They sit directly in a PCIe x4 or x16 slot on your streaming PC.
External USB capture devices like the Elgato 4K60 S+ work with laptops or situations where you can't open up a desktop. They're more convenient but occasionally introduce compression artifacts or connection issues.
| Feature | Internal PCIe | External USB |
|---|---|---|
| Latency | Lowest | Low to moderate |
| Max resolution | 4K60 HDR | 4K60 (some 4K30 only) |
| Portability | Desktop only | Portable |
| Price range | $200-350 | $150-400 |
| Setup complexity | Moderate | Simple |
Common Mistakes That Ruin 4K Recordings

Image source: Bing (Web (fair-use with source credit))
Silent Downscaling
This is the most common issue. You set your monitor to 4K, open OBS, and hit record. The footage looks soft.
You check the file and it's 1080p. OBS defaulted your output resolution to match common settings from someone with a 1080p monitor.
Always verify both your canvas and output resolution are set to 3840 × 2160 before recording. Check the actual file properties afterward to confirm.
Bitrate Too Low for the Resolution
People copy 1080p bitrate settings and apply them to 4K. At 15 Mbps, 1080p looks acceptable. At 4K, that same bitrate produces visible blocking in high-motion scenes, color banding in gradients, and text that's hard to read.
Double your bitrate when moving from 1080p to 4K. If you recorded at 15 Mbps for 1080p, use at least 30-40 Mbps for 4K.
Wrong Capture Source in OBS
OBS offers three main capture sources, and choosing the wrong one causes problems:
- Display Capture records your entire monitor. Use this for tutorials or when you need everything visible.
- Game Capture hooks directly into a game's rendering pipeline. It's the most efficient for gaming but only works with fullscreen or borderless games.
- Window Capture records a specific application window. Use this when you want to record one program without capturing your entire desktop.
Game Capture is almost always the best choice for gaming. It has the lowest overhead and avoids capturing notifications or other windows accidentally.
Forgetting to Check for Dropped Frames
OBS shows dropped frames in the status bar at the bottom. If you see dropped frames above 0.5%, something is wrong. Common causes include:
- Recording drive too slow (use an SSD)
- GPU overloaded (switch to hardware encoding)
- Bitrate too high for your storage write speed
- Background processes consuming CPU or disk I/O
Recording HDR Content Without Understanding the Consequences
If your monitor supports HDR and you're recording HDR content, the footage looks washed out when played back on SDR displays. You need to apply HDR-to-SDR tone mapping in OBS using the color settings, or record in SDR mode by disabling HDR in Windows before recording.
Quick Comparison: Every Major 4K Recording Method
| Method | Best For | Max Resolution | Cost | Ease of Use | Quality |
|---|---|---|---|---|---|
| OBS Studio | Everything | 4K60+ | Free | Moderate | Excellent |
| NVIDIA ShadowPlay | Gaming highlights | 4K60 | Free | Very easy | Very good |
| AMD ReLive | Gaming highlights | 4K60 | Free | Very easy | Very good |
| Xbox Game Bar | Quick clips | 1080p (some 4K) | Free | Easiest | Good |
| Bandicam | Simple recording | 4K | $40 | Easy | Good |
| Camtasia | Tutorials + editing | 4K | $300 | Easy | Very good |
| ScreenFlow (macOS) | Tutorials + editing | 4K | $170 | Easy | Very good |
| Capture card (dual PC) | Pro gaming streams | 4K60 HDR | $200-350+PC | Complex | Excellent |
Real-World Scenarios: What Works Best for You?
"I Record Gameplay for YouTube"
Use OBS with NVENC HEVC at 60 Mbps for 4K60 footage. Record in MKV, remux to MP4, then edit in your preferred video editor. If you want instant replays of unexpected moments, enable OBS's replay buffer and assign a hotkey.
"I Make Software Tutorials"
OBS with Display Capture at 4K30 and 40 Mbps bitrate gives you crisp text and small enough files for easy editing. Add a webcam overlay if you want face cam. Record system audio and mic on separate tracks so you can adjust levels independently in post.
"I Record Client Presentations and Demos"
OBS with Window Capture targeting your presentation app keeps the recording clean. Set 4K30 at 30 Mbps since presentations are low-motion. Test your audio setup beforehand.
Nothing kills a professional demo faster than audio issues.
"I Just Want to Save a 30-Second Clip"
Windows Game Bar (Win + Alt + R) starts and stops recording instantly. macOS users can use QuickTime's screen recording. Both options sacrifice control for speed, but they work when you need something right now.
Frequently Asked Questions
Can I record 4K on a 1080p monitor?
No. Your recording resolution is limited by your monitor's native resolution. To record in 4K, you need a 4K monitor.
Some software lets you set a higher canvas resolution, but you're just upscaling, not capturing true 4K detail.
Does 4K recording affect game performance?
Yes, but the impact varies. Hardware encoding (NVENC, AMF, Quick Sync) typically costs 3-5% of your frame rate. Software encoding (x264) can cost 20-40% depending on your CPU.
A capture card on a second PC eliminates the performance hit entirely.
What bitrate should I use for 4K recording?
Start at 40 Mbps for 4K30 or 80 Mbps for 4K60. Increase if you notice blocking in high-motion scenes. Decrease if file sizes become unmanageable and quality looks acceptable.
Why does my 4K recording look blurry?
Check that your output resolution in OBS is actually set to 3840 × 2160. Verify your bitrate isn't too low. Make sure you're not viewing the footage zoomed in on a 1080p screen, which can make 4K look soft due to downscaling artifacts in the player.
Should I use HEVC or H.264 for 4K recording?
HEVC gives you better quality at lower bitrates, but not all video editors and devices support it natively. H.264 plays everywhere. If your editing software supports HEVC, use it.
If you want maximum compatibility, stick with H.264.
How do I record just one window in 4K?
Use Window Capture in OBS and select the specific application. Set your canvas to 4K. The captured window records at full resolution even if the window itself is smaller on screen, as long as the application renders at high resolution internally.
The Bottom Line: Your 4K Recording Setup in 30 Seconds
Here's the fastest path to solid 4K recordings. Pick your scenario and go.
For gaming: OBS Studio, NVENC HEVC, 4K60, 80 Mbps, MKV format. Done.
For tutorials: OBS Studio, NVENC H.264, 4K30, 40 Mbps, Display Capture source. Done.
For quick clips: Xbox Game Bar or QuickTime. No configuration needed.
For professional work: Dual PC with Elgato 4K60 Pro, OBS on the streaming PC, HEVC at 100 Mbps.
The single biggest mistake is not verifying your output resolution matches your monitor. Check it once before every session and you'll avoid the most common pitfall. Everything else we've covered builds on that one habit.
Now go record something. You've got the settings.

Similar Posts