How to Mirror Screen with USB C Monitor
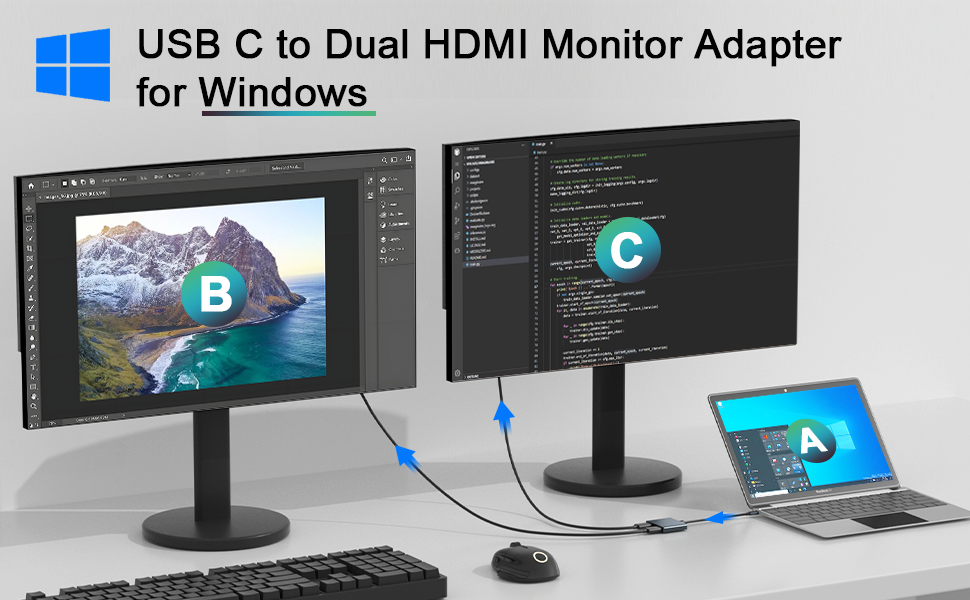
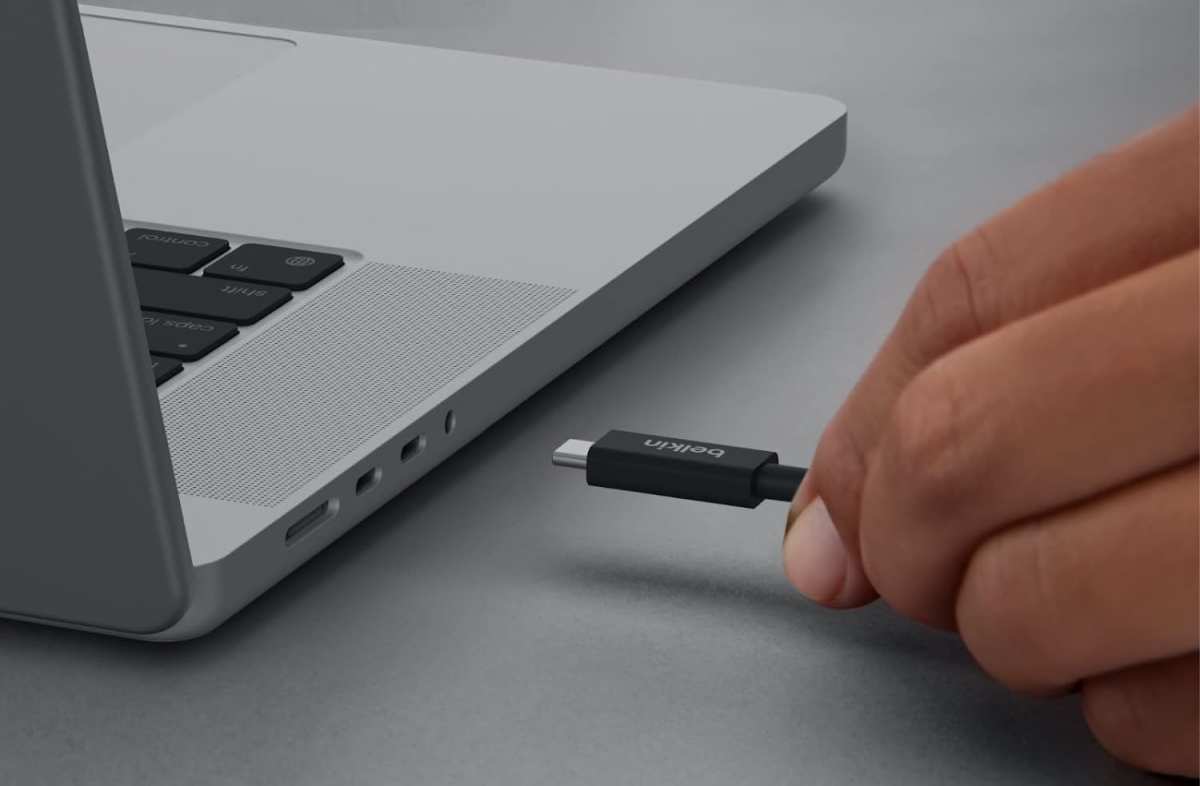
If you've ever plugged a USB-C cable into your laptop and stared at a blank monitor, you're not alone. Learning how to mirror screen with USB-C monitor setups trips up a lot of people, and it usually comes down to one thing: not every USB-C port is built to send a video signal. The connector looks the same, but what's happening inside that port can be completely different from one device to the next.
Here's the key thing to know. USB-C is just a connector shape. Whether it carries video depends on whether your device supports DisplayPort Alt Mode, Thunderbolt 3 or Thunderbolt 4, or both.
Some USB-C ports handle data and power only, with no video output at all. That's the single biggest reason a USB-C monitor won't light up, and it's what we'll help you sort out step by step.
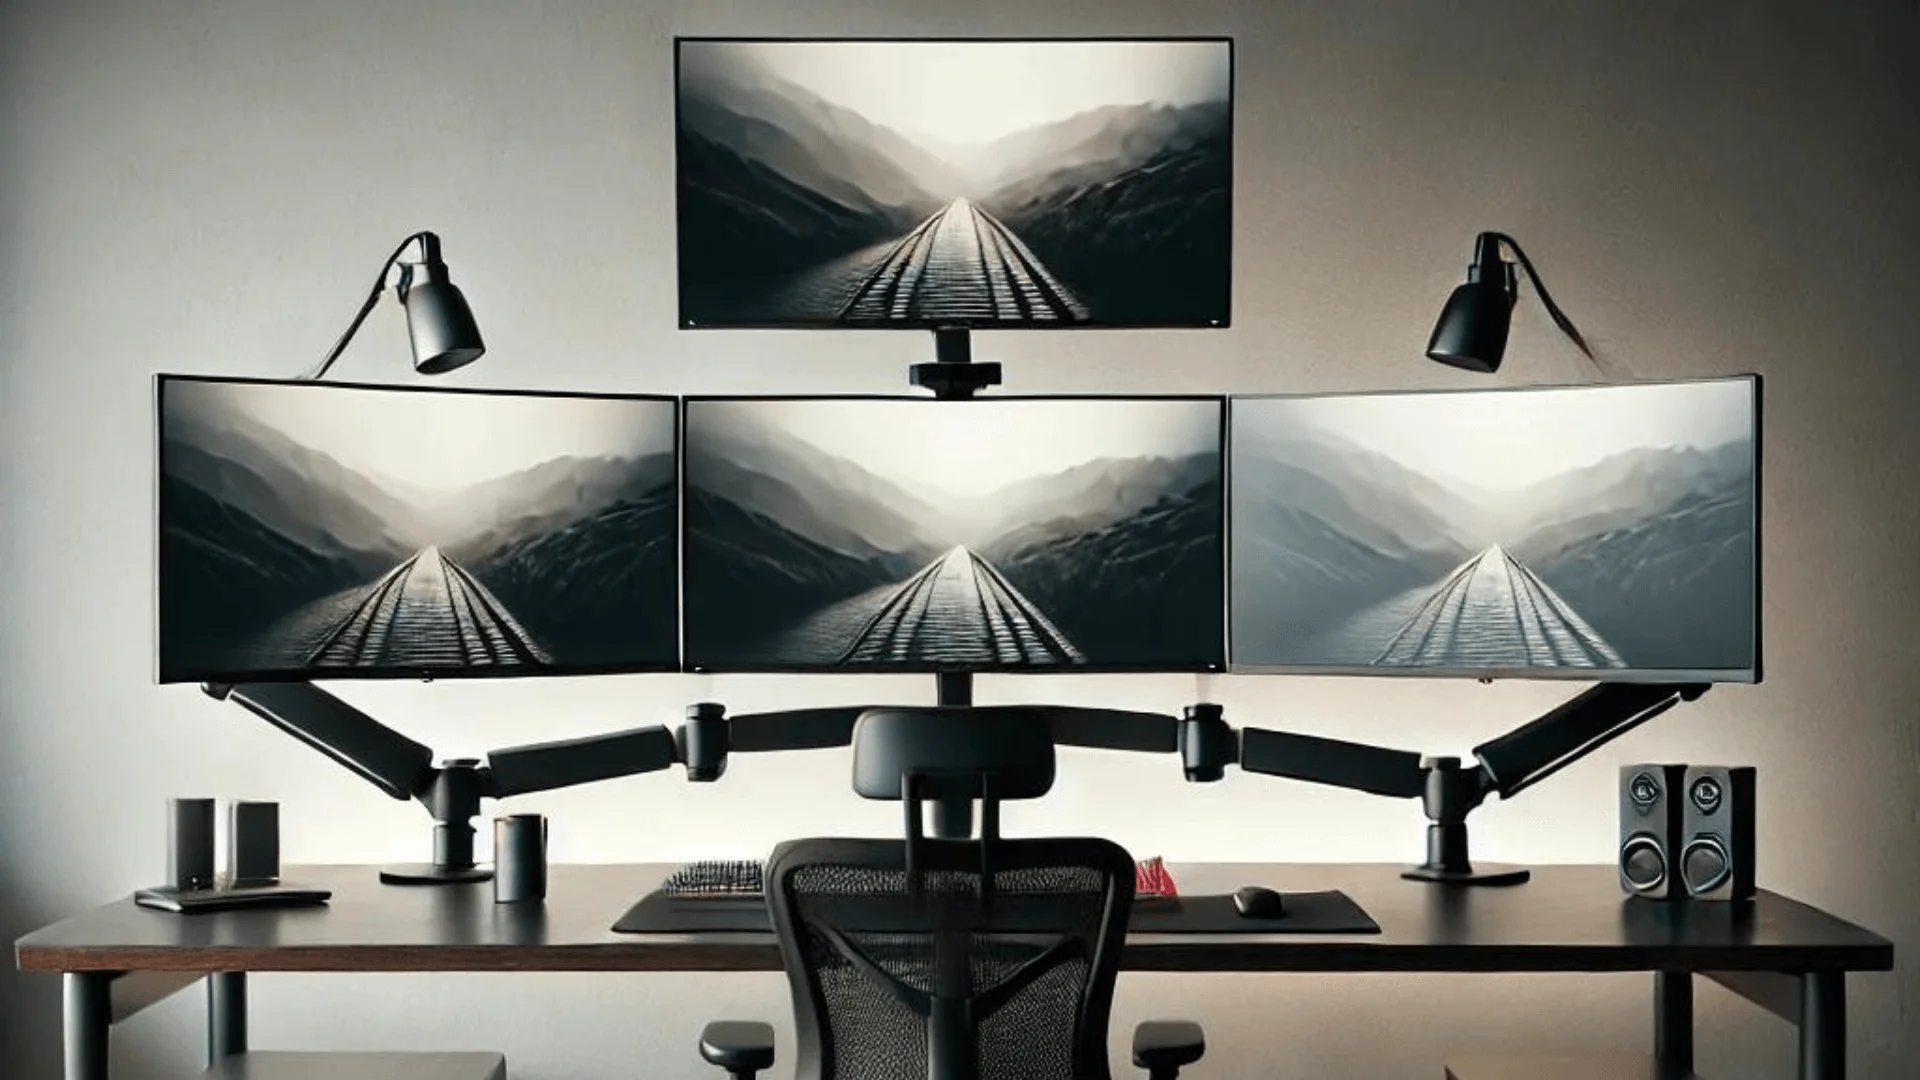
Image source: Bing (Web (fair-use with source credit))
Quick Answer
To mirror your screen with a USB-C monitor, confirm your device's USB-C port supports DisplayPort Alt Mode or Thunderbolt. Use a certified USB-C cable that carries video. Connect both devices, then select "Duplicate" or "Mirror" in your operating system's display settings.
If the monitor isn't detected, try a different cable, update your graphics drivers, or check for a firmware update on the monitor.
Why Your USB-C Monitor Might Not Be Working (And How to Fix It)
The most common frustration is simple: you connect everything, and nothing happens. No signal. No display.
Before you assume the monitor or cable is dead, walk through the likely culprits.
Your USB-C port might not support video output. This is the number one cause. Many laptops, especially budget models and some desktops, include USB-C ports that handle data transfer and charging only. They lack DisplayPort Alt Mode, which is the protocol that lets a USB-C port send a video signal to a monitor.
The cable could be charge-only. Not all USB-C cables are created equal. Some cheaper cables only carry power and basic USB 2.0 data. They physically fit the port but can't transmit a video signal at all.
The monitor input needs manual switching. Some USB-C monitors don't auto-detect the input. You may need to use the monitor's on-screen menu to select the USB-C input source.
Driver or firmware issues can block detection. Outdated graphics drivers on your computer or outdated firmware on the monitor can prevent a successful handshake between the two devices.
Here's a quick troubleshooting table to narrow things down:
| Symptom | Most Likely Cause | First Thing to Try |
|---|---|---|
| No signal at all | Port doesn't support video | Check your device specs for DisplayPort Alt Mode |
| No signal, cable feels loose or cheap | Charge-only cable | Swap in a certified USB-C 3.1 or Thunderbolt cable |
| Monitor detected but wrong resolution | Bandwidth limitation | Lower resolution or refresh rate in display settings |
| Intermittent connection | Cable too long or damaged | Use a cable under 2 meters, try a different one |
| Works for charging but no display | Data-only USB-C port | Use a USB-C dock with HDMI or DisplayPort output instead |
How USB-C Video Output Actually Works
Understanding what's happening behind the scenes makes troubleshooting a lot less guesswork. USB-C video isn't one single technology. It's a few different protocols that all happen to use the same physical connector.
DisplayPort Alt Mode vs Thunderbolt vs Data-Only Ports
DisplayPort Alt Mode is the most common way USB-C carries video. It essentially reroutes a DisplayPort signal through the USB-C connector. If your laptop supports DisplayPort Alt Mode over USB-C, you can connect directly to a USB-C monitor using a single cable.
Most modern laptops from the last several years support this, but you'll want to verify in your device's specifications.
Thunderbolt 3 and Thunderbolt 4 use the USB-C connector and carry DisplayPort video as part of their protocol. Thunderbolt ports are backward compatible with USB-C Alt Mode monitors in most cases. Intel's Thunderbolt 4 specification, as of 2026, requires support for at least one USB-C port with 40Gbps bandwidth and DisplayPort 1.4 output.
If your device has a Thunderbolt port (look for the lightning bolt icon), it will almost certainly drive a USB-C monitor.
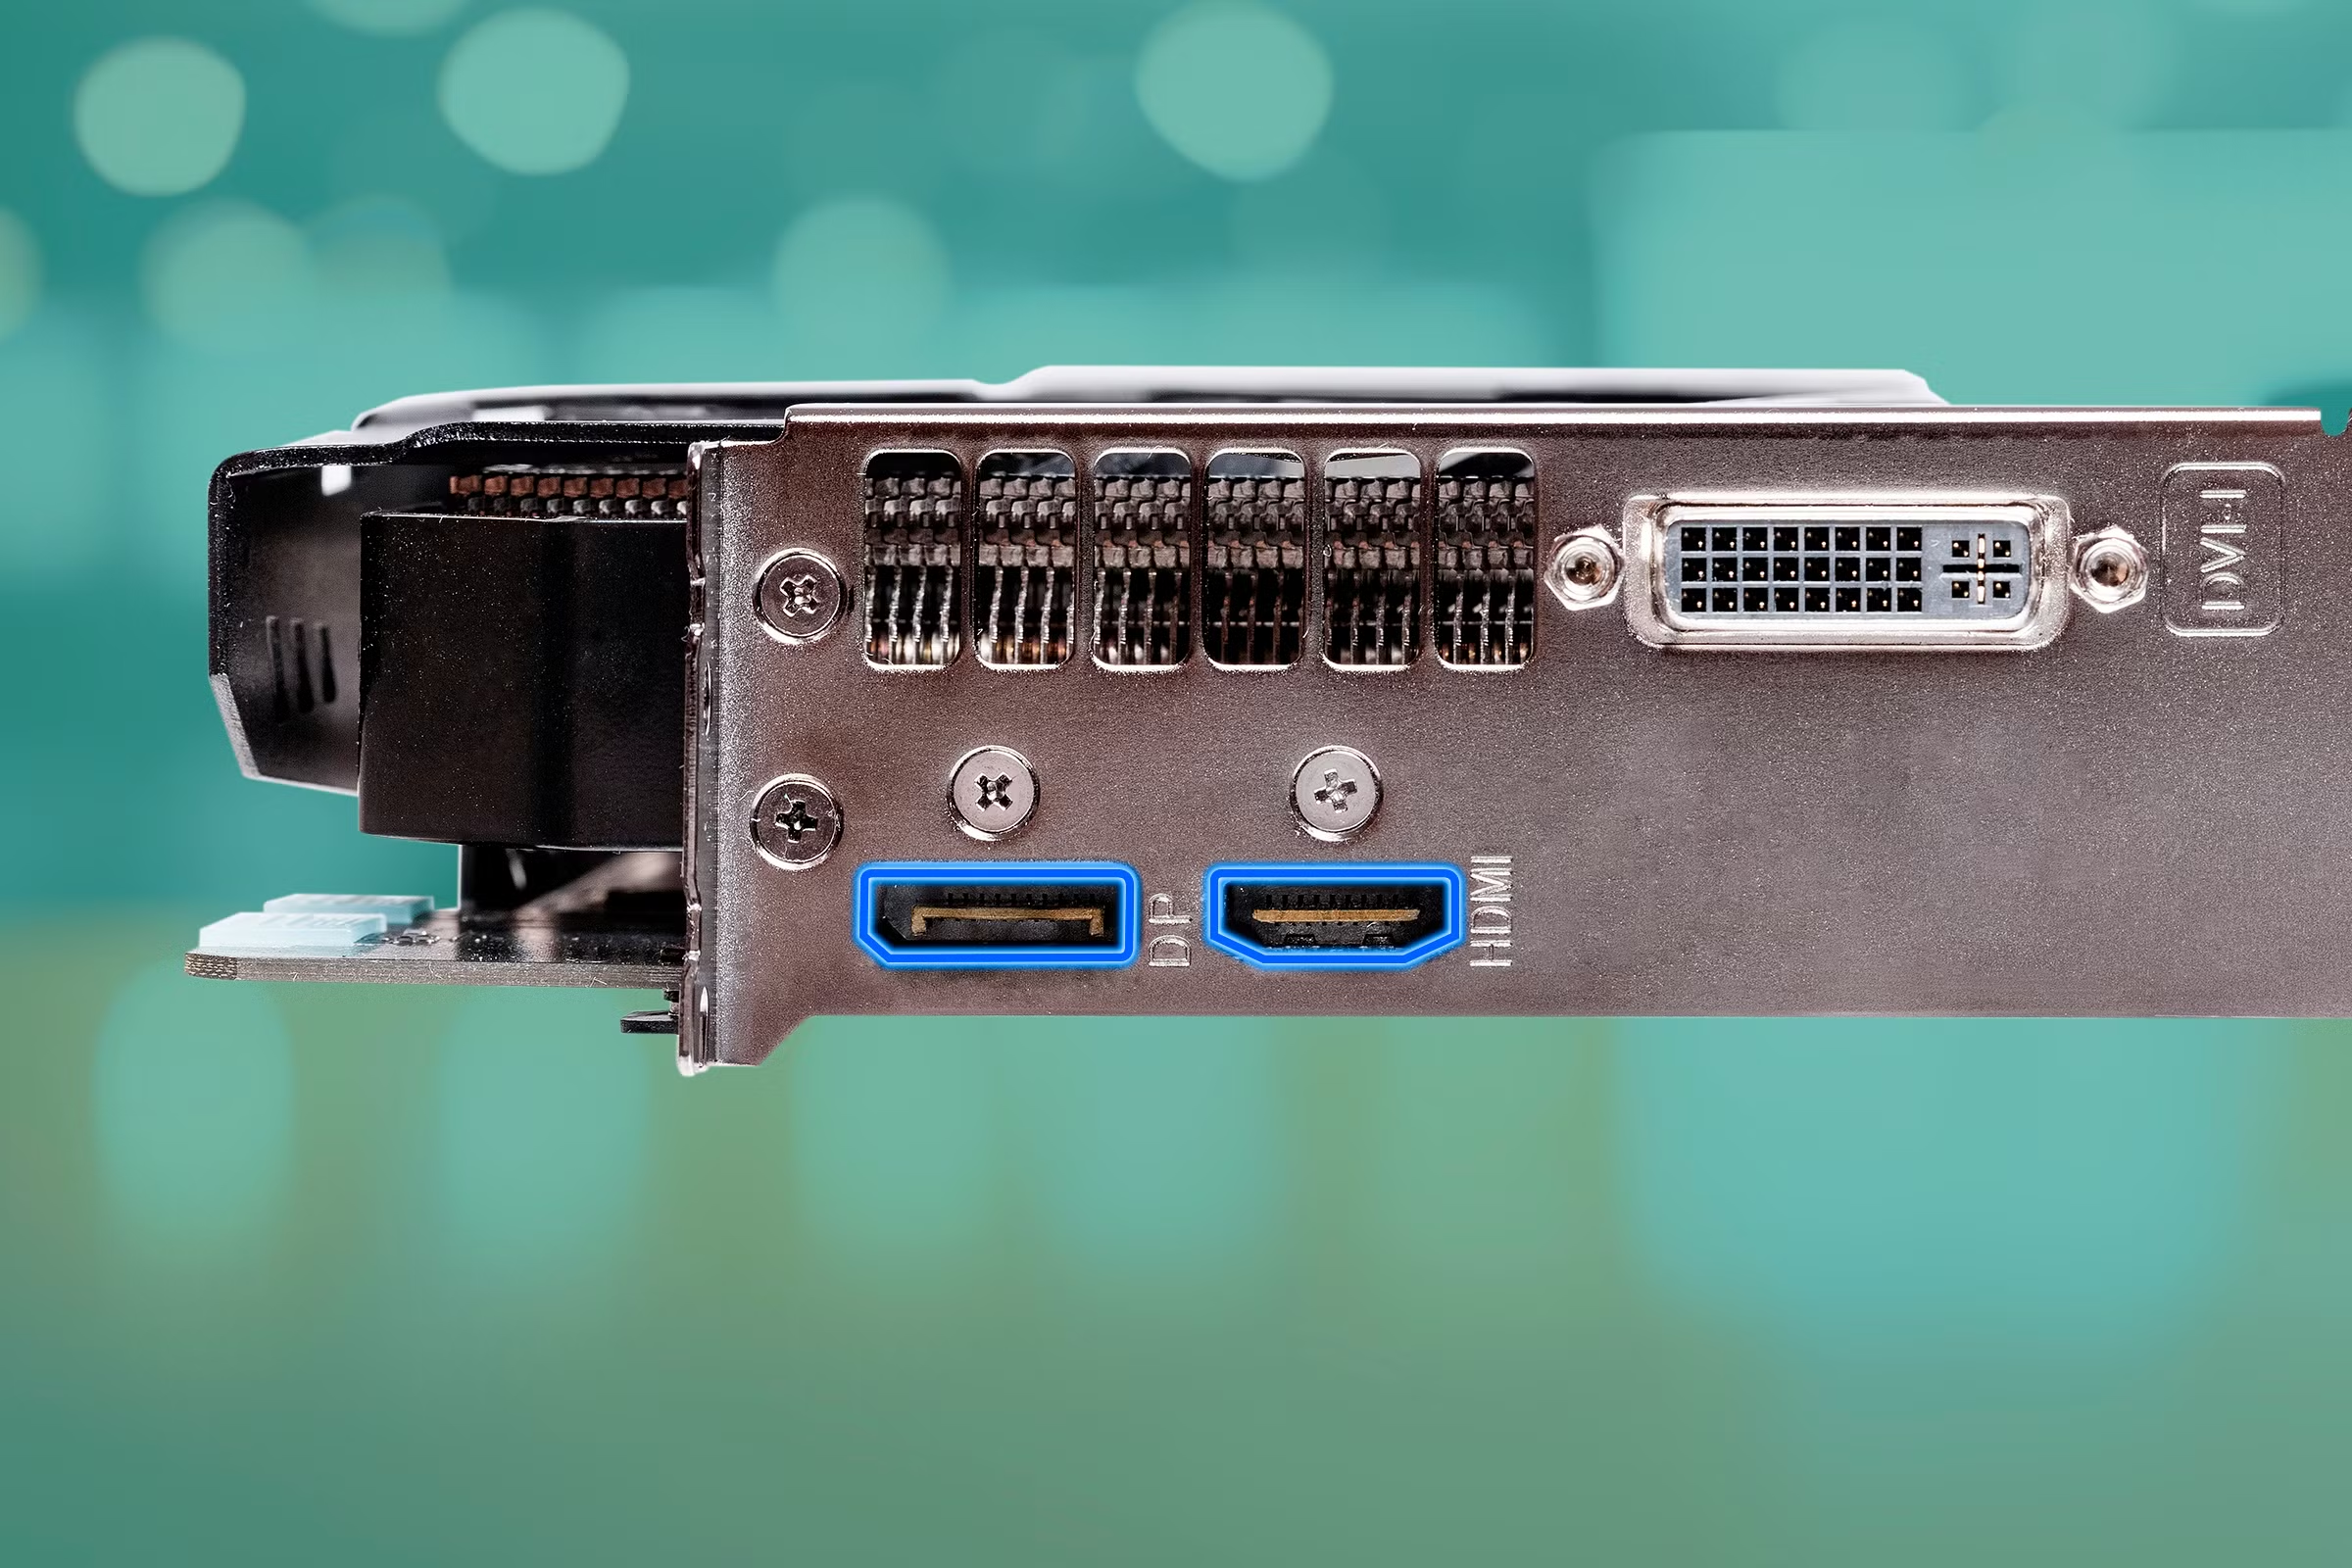
Data-only USB-C ports handle USB data transfer and sometimes power delivery, but they carry no video signal whatsoever. There's no software fix for this. If your port is data-only, you'll need a separate adapter or docking station that uses a different video output from your device, like HDMI or standard DisplayPort.
Why the Cable You're Using Matters More Than You Think
This is where a lot of people get tripped up. A USB-C cable that came with your phone charger might only support USB 2.0 data speeds and power delivery. It will not carry a video signal.
For USB-C monitor connections, you need at least a USB-C 3.1 Gen 1 cable that explicitly supports DisplayPort Alt Mode. Better yet, look for a Thunderbolt 3 or Thunderbolt 4 cable if your devices support it. These are certified to handle video, data, and power simultaneously.
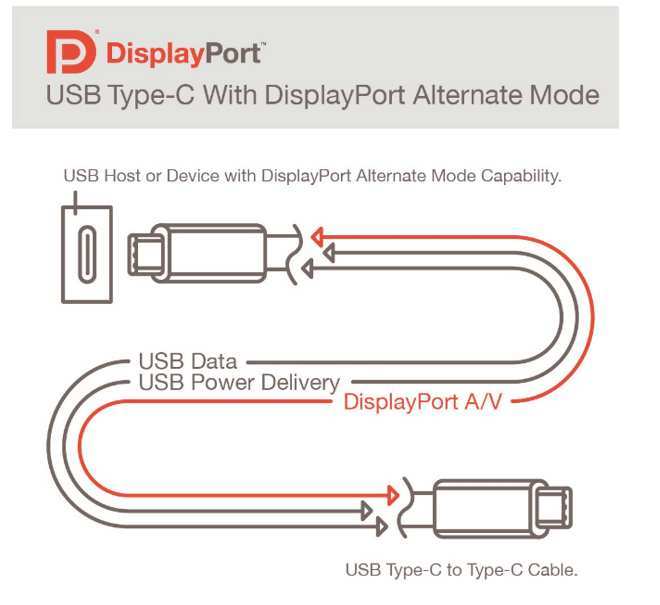
Manufacturer specifications and USB-IF certification listings confirm that cable capability varies widely. A cable rated for 5Gbps data and 60W charging might still lack the wiring needed for DisplayPort Alt Mode. When in doubt, check the cable's printed markings or product listing for "DisplayPort Alt Mode" or "Thunderbolt" support.
Step 1: Check What Your Device's USB-C Port Can Do
Before buying any cable or monitor, verify what your source device can actually output. This saves you time, money, and a lot of frustration.
Laptops and Desktops
Look up your exact model's technical specifications on the manufacturer's website. Search for terms like "DisplayPort over USB-C," "USB-C video output," or "Thunderbolt." The product spec sheet will tell you definitively whether the USB-C port supports video.
Here's a quick reference for common scenarios:
| Device Type | Likely USB-C Video Support | What to Look For |
|---|---|---|
| MacBook Pro/Air (2018 and later) | Yes, Thunderbolt 3/4 | Lightning bolt icon near port |
| Dell XPS / Latitude (business lines) | Yes, DisplayPort Alt Mode or Thunderbolt | DP icon or lightning bolt near port |
| HP EliteBook / ZBook | Yes, DisplayPort Alt Mode or Thunderbolt | Check spec sheet per model |
| Budget Windows laptops (under $500) | Often no | Spec sheet will say "USB-C data only" |
| Desktop motherboards with USB-C | Varies widely | Check manual for "USB-C display" support |
| Gaming laptops | Usually yes | Often Thunderbolt 4 or USB-C DP Alt Mode |
If your spec sheet lists "USB 3.2 Gen 2 Type-C" without mentioning DisplayPort or Thunderbolt, assume it's data-only until proven otherwise.
Phones and Tablets
This is where it gets tricky. Many Android phones have USB-C ports, but only some support video output over USB-C. Samsung Galaxy S and Z series phones typically support video output, and Samsung's DeX mode even gives you a desktop-like experience on an external monitor.
Google Pixel phones added USB-C video output support starting with certain models, but not all.
Apple's iPads with USB-C (iPad Pro, iPad Air 4th gen and later, iPad 10th gen) support external display output, though behavior varies by model and iPadOS version. Some mirror the screen directly, while others use a scaled or extended display approach.
For phones and tablets, check your manufacturer's support documentation. Search for "USB-C video output" or "external display support" along with your exact model number.
Step 2: Pick the Right Cable for the Job
Once you've confirmed your device supports video over USB-C, the cable choice is straightforward but important.
For DisplayPort Alt Mode setups: Use a USB-C to USB-C cable rated for USB 3.1 Gen 1 or higher that explicitly lists DisplayPort Alt Mode support. These cables have the full wiring needed to carry a video signal alongside data and power.
For Thunderbolt setups: Use a Thunderbolt 3 or Thunderbolt 4 certified cable. These are more expensive but guarantee full bandwidth for video, data, and power delivery up to 100W (or 240W with USB PD 3.1 implementations).
Cable length matters. For passive USB-C cables, keep the length under 2 meters (about 6.5 feet) for reliable video signal. Longer runs may require active cables, which have built-in signal boosting. If you need to run a longer distance, consider a USB-C optical cable or a docking station placed closer to the monitor.
Avoid cables that came bundled with phone chargers, portable hard drives, or basic accessories unless they specifically state video support. When in doubt, buy from a reputable brand and look for USB-IF certification or Thunderbolt certification logos on the packaging.
Step 3: Connect and Configure Your Display
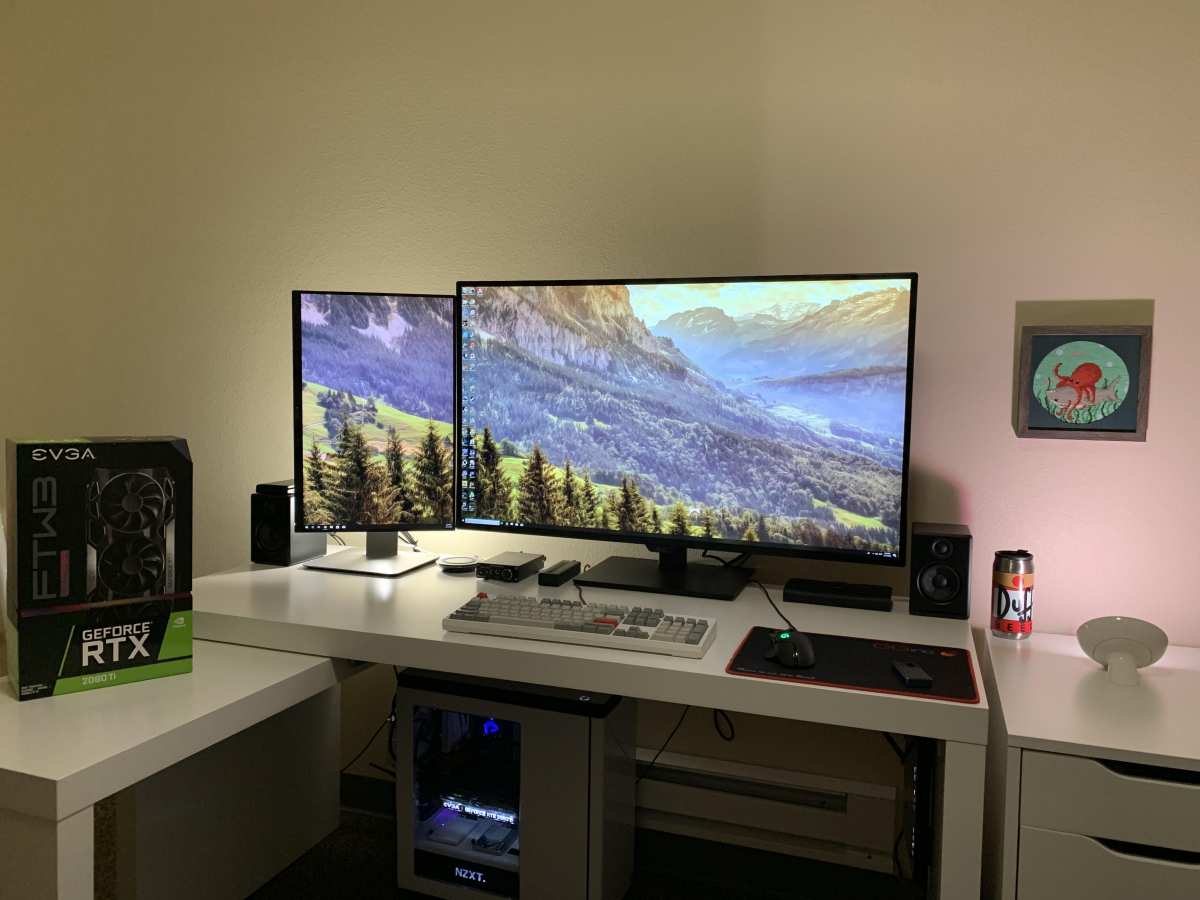
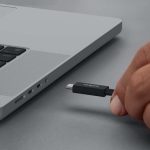
With the right cable in hand, the physical connection is simple. Plug one end into your device's USB-C port and the other into the monitor's USB-C input. If the monitor has multiple inputs, make sure it's set to the USB-C source using the monitor's built-on-screen controls.
Now configure the display mode in your operating system.
Windows Display Settings for Mirroring
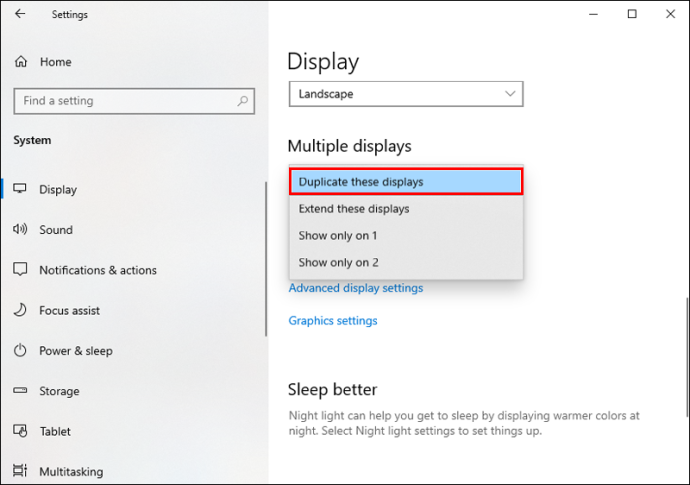
- Right-click on your desktop and select Display settings.
- Scroll down to the Multiple displays section.
- Click the dropdown and select Duplicate these displays to mirror your screen.
- If the second monitor isn't showing up, click Detect above the display layout diagram.
- Adjust the resolution if needed. Windows will recommend the native resolution for each display.
You can also press Windows + P to open the quick projection menu and select Duplicate. This is the fastest way to toggle between mirror, extend, second screen only, and PC screen only modes.
macOS Display Settings for Mirroring
- Open System Settings (or System Preferences on older macOS versions).
- Go to Displays.
- Click the Arrange button or look for the Use as dropdown.
- Check the box for Mirror Displays to enable mirroring.
On MacBooks with Apple Silicon, note that the base M1 and M2 chips (as of 2026) support only one external display natively. If you need multiple external monitors, you'll need a DisplayLink docking station or a Mac with M1 Pro, M1 Max, or later chips.
ChromeOS, Android, and iPadOS
ChromeOS: Connect the USB-C monitor, then go to Settings > Device > Displays. You'll see options to mirror or extend. ChromeOS generally handles USB-C monitors well with minimal configuration.
Android: If your phone supports video output, connecting a USB-C monitor should trigger display output automatically. Samsung devices will prompt you to launch DeX mode for a desktop experience. Other Android phones typically mirror the screen by default.
iPadOS: Connect the monitor via USB-C. iPadOS will mirror the display automatically on most models. Some apps support external display output with a separate canvas rather than strict mirroring, depending on the app and iPadOS version.
What to Do When the Monitor Isn't Detected
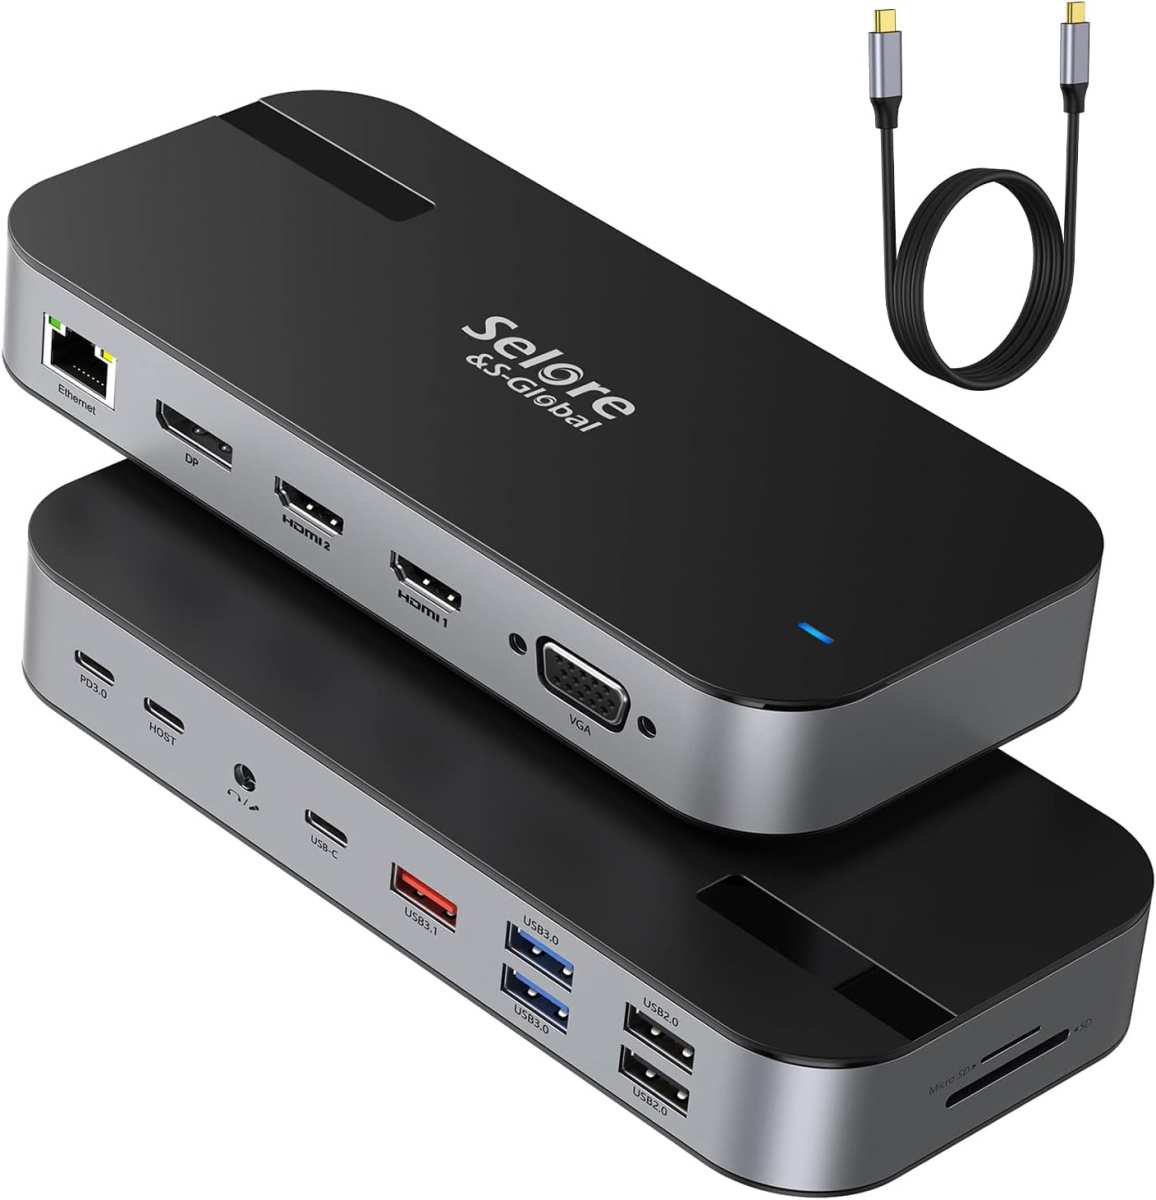
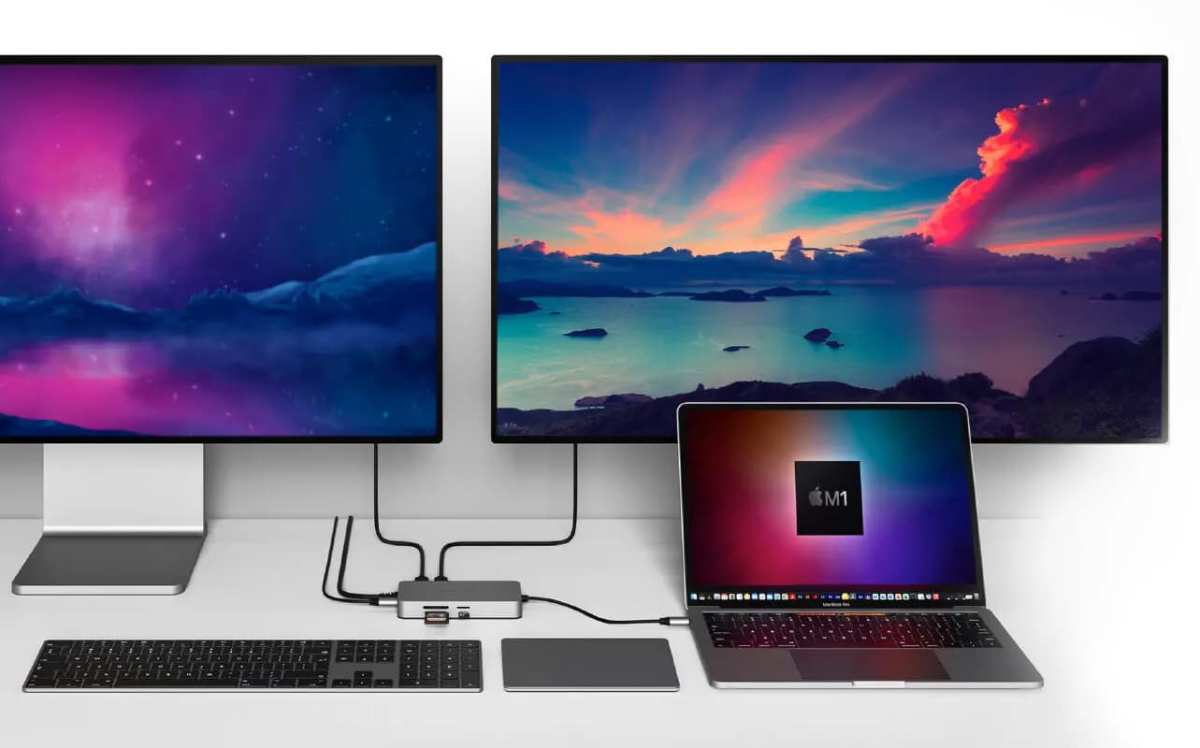
Image source: Bing (Web (fair-use with source credit))
You've checked the port, used the right cable, and the monitor still won't show up. Don't panic. This is a common scenario, and there's usually a straightforward fix.
The Most Common Fixes
Try a different USB-C port on your device. Many laptops have multiple USB-C ports, and not all of them support video output. On some Dell and HP models, only one specific port carries DisplayPort Alt Mode. Check your device manual or look for the DP icon printed near the port.
Update your graphics drivers. Outdated Intel, AMD, or NVIDIA drivers are a frequent cause of detection failures. Go to your GPU manufacturer's website and download the latest driver for your specific model. Windows Update doesn't always catch the newest versions.
Check for a monitor firmware update. Some USB-C monitors ship with firmware bugs that prevent proper handshake with certain devices. Visit the monitor manufacturer's support page and look for firmware updates. Brands like Dell, LG, and ASUS occasionally release updates that fix USB-C compatibility issues.
Restart both devices with the cable connected. Unplug the monitor power, restart your computer, then plug the monitor back in. This forces a fresh detection cycle that can resolve handshake problems.
Test with a different cable. Even cables that claim to support video can fail. If you have a Thunderbolt-certified cable available, try that. Aggregate user reviews on retail sites frequently mention that swapping cables resolved their detection issues.
When You Need a Dock or Adapter Instead
If your USB-C port genuinely doesn't support video, you're not out of options. You just need a different path from your computer to the monitor.
USB-C dock with DisplayLink technology. DisplayLink is a protocol that compresses video data and sends it over standard USB data, no DisplayPort Alt Mode required. A DisplayLink docking station connects to your USB-C port and outputs HDMI or DisplayPort to your monitor. You'll need to install DisplayLink drivers, but it works with virtually any USB-C port.
USB-C to HDMI adapter. If your USB-C port supports DisplayPort Alt Mode but your monitor only has HDMI, a simple USB-C to HDMI adapter does the trick. These are small, inexpensive, and widely available. Just make sure the adapter supports the resolution and refresh rate you need.
Thunderbolt docking station. If your device has Thunderbolt, a Thunderbolt dock gives you multiple display outputs, USB ports, and power delivery through a single connection. These are pricier but offer the most flexibility for multi-monitor setups.
USB-C Mirroring vs HDMI vs Wireless: Which Should You Use?
Each method has its place. The right choice depends on your priorities.
| Method | Best For | Limitations |
|---|---|---|
| USB-C to USB-C | Single-cable simplicity, clean desk setups | Requires compatible port and cable |
| HDMI | Universal compatibility, no configuration | Separate power cable needed, older connector |
| Wireless (AirPlay, Miracast, Chromecast) | Quick sharing, no cables | Latency, compression, not ideal for video editing |
| USB-C dock with DisplayLink | Devices without video-capable USB-C | Requires driver install, slight latency |
Go with USB-C direct when you want the cleanest setup. One cable handles video, data, and charging. It's ideal for home offices and travel where you want to plug in and go.
Stick with HDMI if you're connecting to a TV, projector, or older monitor that lacks USB-C. HDMI is universally supported and requires zero configuration in most cases.
Use wireless mirroring for quick presentations or casual screen sharing. AirPlay works well in Apple ecosystems. Miracast handles Windows and Android.
Chromecast works across platforms. Just know that wireless introduces some latency, so it's not great for anything timing-sensitive.
Who Benefits Most from USB-C Monitor Setup
USB-C monitor connections aren't for everyone, but certain users will find them transformative.
Remote workers and hybrid employees gain the most. Plug one cable into your laptop when you sit down at your desk, and you're connected to your monitor, keyboard, mouse, and charger simultaneously. When it's time to leave, one unplug and you're mobile again.
Business travelers who carry a USB-C portable monitor get a dual-screen setup in a hotel room with minimal gear. Portable USB-C monitors are lightweight, slim, and powered through the same cable that carries video.
Designers and video editors benefit from the high bandwidth USB-C offers. A Thunderbolt connection can drive a 4K display at 60Hz with full color depth, which matters when color accuracy is part of your workflow.
Students and anyone working from a single desk will appreciate the reduced cable clutter. One cable instead of three or four makes a real difference in how clean and organized your workspace feels.
Mistakes That Waste Your Time (and Money)
Learn from the common pitfalls so you don't repeat them.
Buying a USB-C monitor without checking your device's port first. This is the expensive mistake. A $300 USB-C monitor is useless if your laptop's USB-C port doesn't carry video. Always verify port capability before purchasing the monitor.
Assuming all USB-C cables are the same. They're not. A $3 charging cable from a gas station will not carry a video signal. Spend the extra $10 to $15 on a certified cable and save yourself the headache.
Ignoring the monitor's USB-C input specifications. Some monitors have a USB-C port that's for data hub use only, not video input. Others support video but at reduced resolution or refresh rate. Read the monitor's spec sheet carefully.
Forgetting to check power delivery direction. USB-C monitors can deliver power back to your laptop, but the wattage varies. A monitor that delivers only 60W might charge your laptop slowly or not at all under heavy load. If you have a power-hungry laptop, look for a monitor that delivers at least 85W to 100W over USB-C.
Not updating firmware on either device. Both your computer and your monitor can have firmware bugs that affect USB-C video. Check for updates on both ends before assuming hardware is faulty.
Expert Tips for a Reliable USB-C Display Connection
A few practical habits that make USB-C monitor setups work smoothly every time.
Label your cables. If you have multiple USB-C cables, mark the ones that support video with a small piece of colored tape or a label. This saves you from grabbing the wrong one in a hurry.
Use the monitor's built-in USB hub. Many USB-C monitors include USB-A ports on the back. Connect your keyboard and mouse to the monitor, and they'll route through the single USB-C cable to your laptop. This keeps your setup clean.
Set your display arrangement once and forget it. In Windows and macOS, once you've configured mirroring or extended display mode, the OS remembers it. You shouldn't need to reconfigure every time you connect, unless you're switching between different monitors.
Keep a spare certified cable at your desk. Cables fail. Having a backup USB-C cable that you know supports video means you're never stuck troubleshooting a cable issue when you need to get work done.
Check refresh rate settings after connecting. Sometimes Windows or macOS defaults to 30Hz on a USB-C monitor when 60Hz is available. Go into your display settings and manually select the highest refresh rate the monitor supports. The difference in smoothness is immediately noticeable.
Frequently Asked Questions
Can I use any USB-C cable to connect to a USB-C monitor?
No. You need a cable that specifically supports DisplayPort Alt Mode or Thunderbolt. Basic charging cables and USB 2.0-only cables won't carry a video signal, even though they fit the port physically.
Why does my USB-C monitor charge my laptop but not display video?
This means your USB-C port supports power delivery and basic data, but not DisplayPort Alt Mode. The port can send power and transfer files, but it lacks the wiring and protocol support for video output. You'll need a dock or adapter that uses a different video path.
Does USB-C monitor mirroring work with all laptops?
Only if the laptop's USB-C port supports DisplayPort Alt Mode or Thunderbolt. Many budget laptops have USB-C ports that are data-only. Check your laptop's specifications before assuming video output is available.
Can I daisy-chain multiple monitors over USB-C?
Yes, but only with Thunderbolt 3 or Thunderbolt 4. DisplayPort Alt Mode over USB-C typically supports a single external display. Thunderbolt allows daisy-chaining up to two 4K monitors from a single port, depending on the specific implementation.
What resolution can I expect over USB-C?
With DisplayPort Alt Mode and a proper cable, you can typically get 4K at 60Hz. Some implementations are limited to 4K at 30Hz, especially with older hardware or longer cables. Thunderbolt 4 supports 4K at 60Hz reliably and can handle higher resolutions with DisplayPort 1.4 or 2.0.
Do I need to install drivers for a USB-C monitor?
Usually not. Most USB-C monitors are plug-and-play with modern operating systems. However, if you're using a DisplayLink dock or adapter, you'll need to install DisplayLink drivers from the manufacturer's website.
The Bottom Line: Your USB-C Monitor Decision Guide
Here's a simple decision framework to get you connected without the guesswork.
If your device supports DisplayPort Alt Mode or Thunderbolt over USB-C: Buy a certified USB-C cable that matches your port type. Connect directly to the USB-C monitor. Configure mirroring in your OS display settings.
You're done.
If your device's USB-C port is data-only: Get a USB-C docking station with DisplayLink technology, or use a USB-C to HDMI adapter if your device has another video output available. Install any required drivers and connect through the dock.
If you're unsure what your port supports: Check your device manufacturer's spec sheet. Look for "DisplayPort over USB-C," "Thunderbolt," or a DP/lightning bolt icon near the port. When in doubt, contact the manufacturer's support team with your exact model number.
The whole process takes about five minutes once you have the right cable and confirmed port capability. The upfront verification step is what separates a smooth setup from hours of frustration.

Similar Posts