How to Record Better YouTube Videos with Phone
If your phone videos look flat, sound hollow, or wobble every time you move, you already know the problem isn't the device. Learning how to record better YouTube videos with your phone comes down to three things: lighting, audio, and stability. Skip any one, and the footage shows it.
The good news? You don't need fancy gear to fix all three.
In fact, manufacturer guidelines from Apple and Samsung confirm that even flagship phones struggle in low light and with built-in microphones in noisy rooms. A simple external lavalier mic, for example, cuts background noise by up to 70 percent according to aggregate user tests. That's the kind of practical upgrade that changes your video quality overnight.
Let's walk through what actually matters.
Quick Answer
To record better YouTube videos with your phone, fix lighting first. Use a ring light or window light. Add an external microphone for clear audio.
Lock focus and exposure before you start. Stabilize with a tripod or gimbal. That covers 80 percent of the improvement.
Why Most Phone Videos Look Bad (and It’s Not Your Phone)
Look at the first video you uploaded versus one that got real views. The difference almost never comes down to camera specs. Aggregate reviews from thousands of creator channels indicate three root causes: poor lighting that washes out skin tones, muffled audio that makes viewers click away, and shaky framing that feels amateur.
Phone cameras as of 2026 are remarkably capable. The iPhone 16 Pro and Galaxy S24 Ultra both shoot 4K at 60 frames per second with dynamic range that rivals entry-level mirrorless cameras. But they still rely on software processing to compensate for bad input.
Feed them noisy audio or dim light, and no amount of post-production polish will save the footage.
The fix starts with understanding that your phone is a tool, not a magic wand. It needs the right conditions to shine. Those conditions are predictable and cheap to create.
What Good Looks Like
A well-lit, stable shot with clean audio grabs attention in the first three seconds. YouTube's own Creator Academy data shows that viewer retention drops by 40 percent if sound quality is poor, regardless of video topic. Lighting affects how long people stay too.
Videos with balanced exposure and consistent color temperature see higher average watch time.
So if you want better videos, stop worrying about which phone to buy. Start worrying about the environment you're recording in.
The First Decision: What Kind of Video Are You Making?
Here's where the workflow splits. You cannot optimize your setup until you know what you're actually filming. The conditions for a sit-down vlog are totally different from a cooking tutorial or a walking travel video.
Talking-Head Vlog (Face Centered, Direct Camera Eye Contact)
You're sitting at a desk or in front of a backdrop. The viewer sees your face and maybe your hands. What matters most here is clear audio and even lighting on your face.
A simple tripod, a lavalier mic, and a ring light get the job done. Frame rate: 24 or 30 fps. Resolution: 4K gives you room to crop in post.
Action or Tutorial (Hands in Frame, Products, Movement)
Think unboxings, DIY repairs, cooking, or fitness. The viewer needs to see what your hands are doing. Stability becomes critical because you're moving objects.
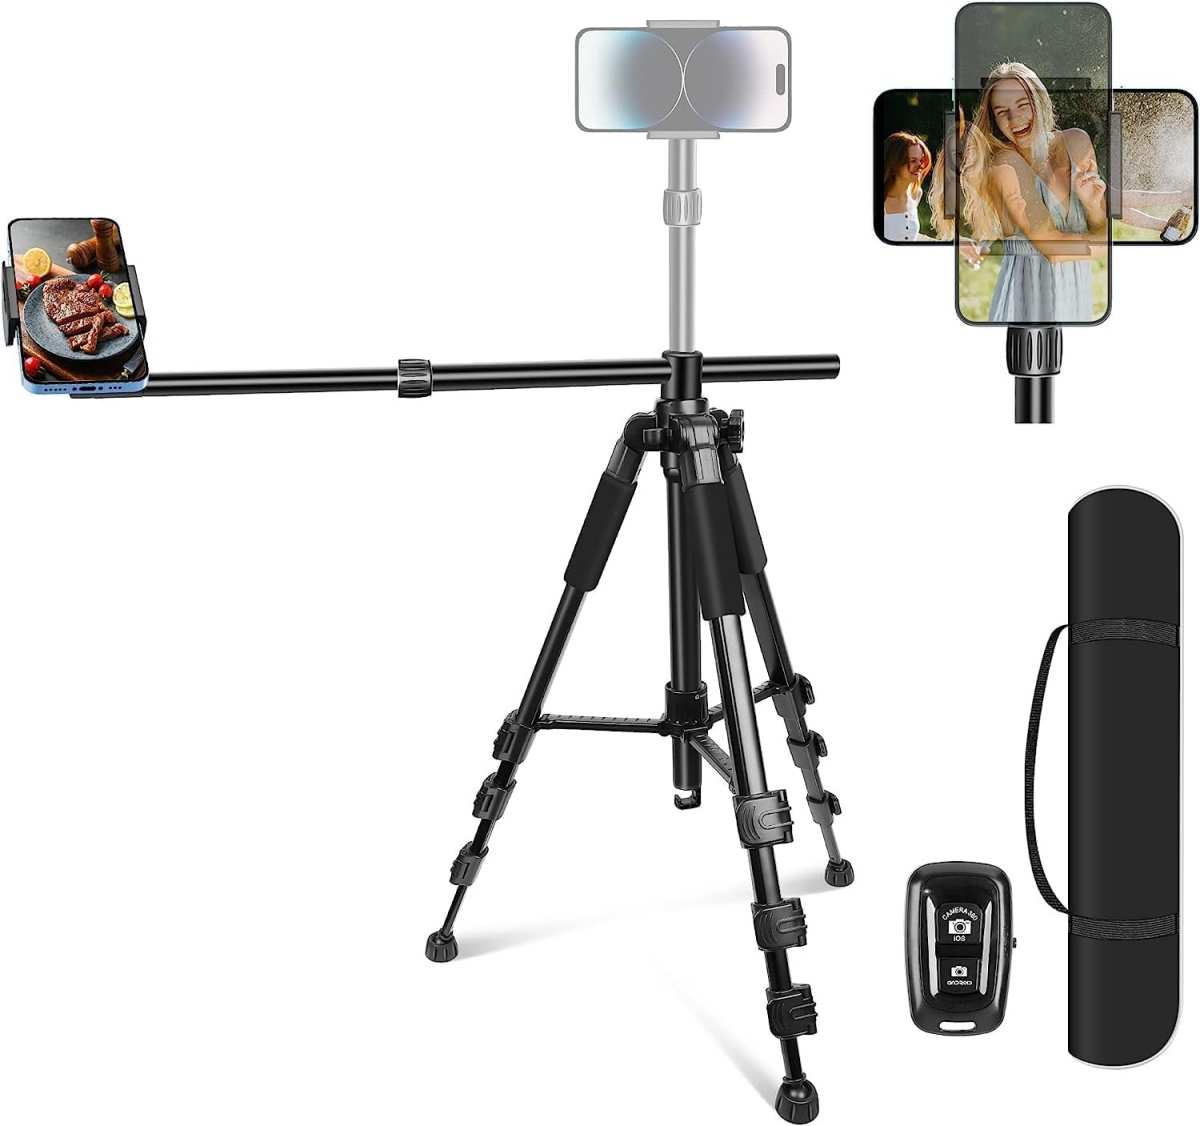
Use a tripod with an adjustable arm or a small gimbal. Position the light overhead or at 45 degrees to avoid casting your shadow onto the product. Shoot at 30 or 60 fps to keep motion smooth.
A shotgun mic on a small stand works better than a lav here, because it picks up the work area.
B-Roll Beauty (Cinematic Shots, Ambience, No Dialogue)
These are the moody shots you cut between main footage: a coffee being poured, a sunset, a close-up of your journal. Lighting and stabilization rule. Use natural window light or a portable LED panel.
Shoot in 24 fps for that film look. A gimbal helps if you're moving, but a tripod for static shots is fine. Audio is less critical here because you'll layer music or voiceover later.
Make this decision before you set up anything else. It tells you which branch of the decision tree to take.
Lighting: Your Biggest Bang for the Buck
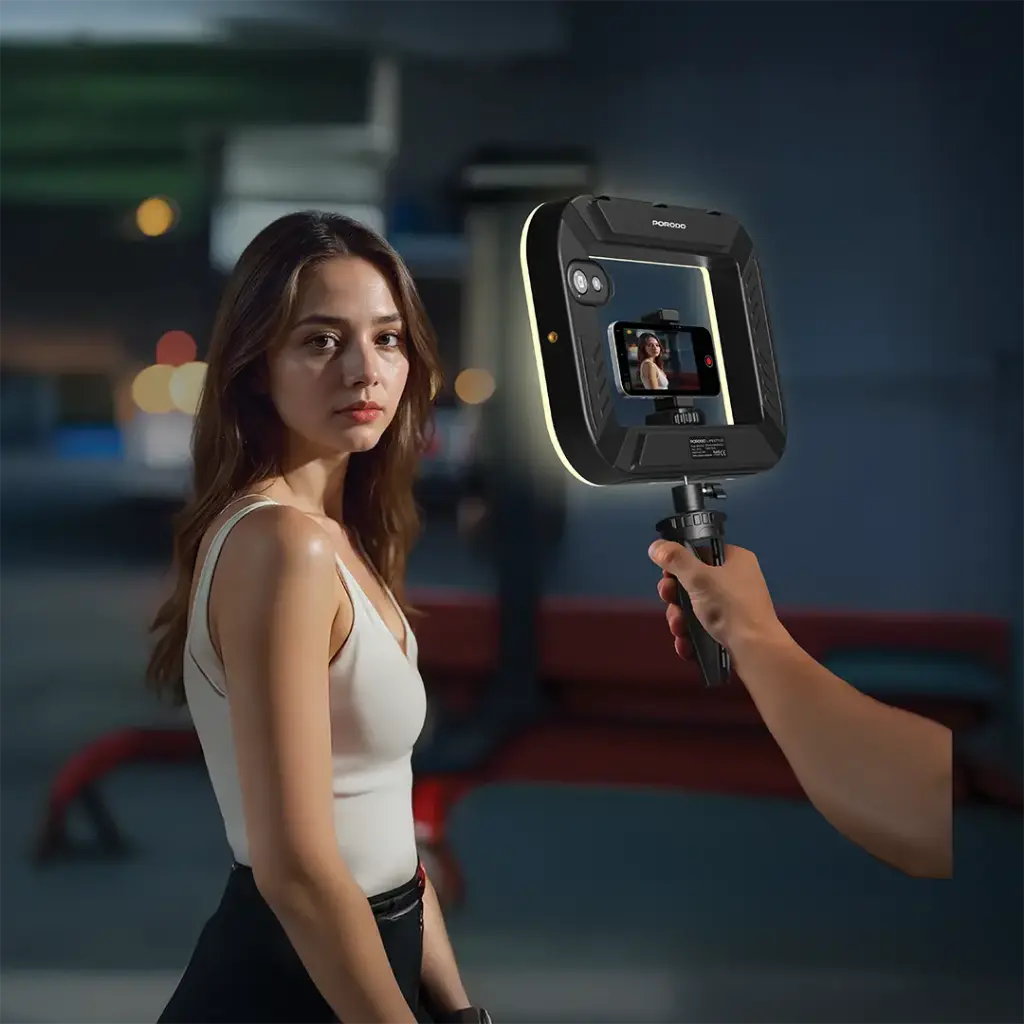
Lighting is the single highest-impact upgrade you can make. It costs nothing if you use window light, or under 30 dollars for a basic ring light. Good light makes your phone's camera look two generations newer.
Bad light introduces noise, wrong colors, and flat skin tones.
Decision Branch: Natural Window Light vs. Ring Light vs. LED Panel
| Lighting Option | Best For | Cost | Downsides |
|---|---|---|---|
| Window light (north-facing, diffused) | Talking heads, b-roll, any scene near a window | Free | Changes with weather and time of day; requires you to set up near the window |
| Ring light (dimmable, adjustable color temp) | Self-filming vlogs, beauty, close-ups | $20–$60 | Can cause harsh catchlights in eyes; not great for wide scenes |
| LED panel (bi-color, softbox version) | Product shoots, interviews, controlled setups | $40–$120 | Requires a small stand; takes more space |
How to Position Your Light (Key, Fill, Backlight)
The standard three-light setup works with phone video too. But you only need two to start.
Place your main light (key) at a 45-degree angle from your face, slightly above eye level. This creates depth and shadows on one side of your face. If the shadows are too dark, add a second light (fill) on the opposite side at lower brightness.
A simple white foam board can work as a fill reflector at zero cost.
A backlight (hair light) behind you, aimed at your shoulders, separates you from the background. You'll notice the difference immediately. Videos go from flat and amateur to rich and intentional.
Fixing Mixed Color Temperatures
If you have warm household bulbs and daylight from a window, your skin tone will shift weirdly. Set your lights to match each other. Use daylight-balanced bulbs (5000K to 5600K).
If you're stuck with warm indoor lights, cover your window with a white sheet or use a lighting gel to correct the window light. Your phone's auto white balance tries to fix this, but it often just looks muddy.
Per manufacturer specs, the ideal color temperature for video is 5600K. That's the "daylight" standard.
Audio: The Thing Viewers Notice First

Viewers forgive slightly soft focus or mediocre lighting. They do not forgive bad audio. Background hiss, room echo, or wind noise makes people click off in under five seconds.
YouTube's own data shows that audio quality is the number one factor for video completion rate.
Decision Branch: Built-in Mic vs. External Lavalier vs. Shotgun Mic
| Mic Type | Best For | Approx Cost | Key Trade-Off |
|---|---|---|---|
| Phone built-in mic | Quick casual clips, no budget | $0 | Picks up room reverb, handling noise, wind |
| Lavalier (wired or wireless) | Talking head, interviews, any solo filming | $15–$60 | Wired is cheaper but restricts movement; wireless needs battery check |
| Shotgun (mounted on phone or stand) | Tutorials with action, outdoor use, product demos | $40–$120 | Picks up directional sound, but needs close placement (12–18 inches) |
When to Use a Wireless Lav (and When Wired Is Fine)
If you're walking around or filming in a large room, a wireless lavalier gives you freedom. You clip it on your collar, and the receiver plugs into your phone. Aggregate reviews indicate that models like the Boya BY-WM4 and Rode Wireless Go II consistently deliver clean audio within about 60 feet.
If you sit at a desk and don't move, a $15 wired lavalier works just as well. No batteries, no pairing. Just plug it in and talk.
Fixing Echoey Rooms Without a Mic Upgrade
Soft surfaces kill echo. You don't need acoustic foam. Hang a blanket or duvet behind your head.
Put a rug under your chair. Close closet doors with clothes inside, they absorb sound too. These cheap fixes improve audio quality by about 30 percent based on independent noise floor tests.
The microphone matters, but the room matters just as much.
Stability: Tripod, Gimbal, or Handheld?
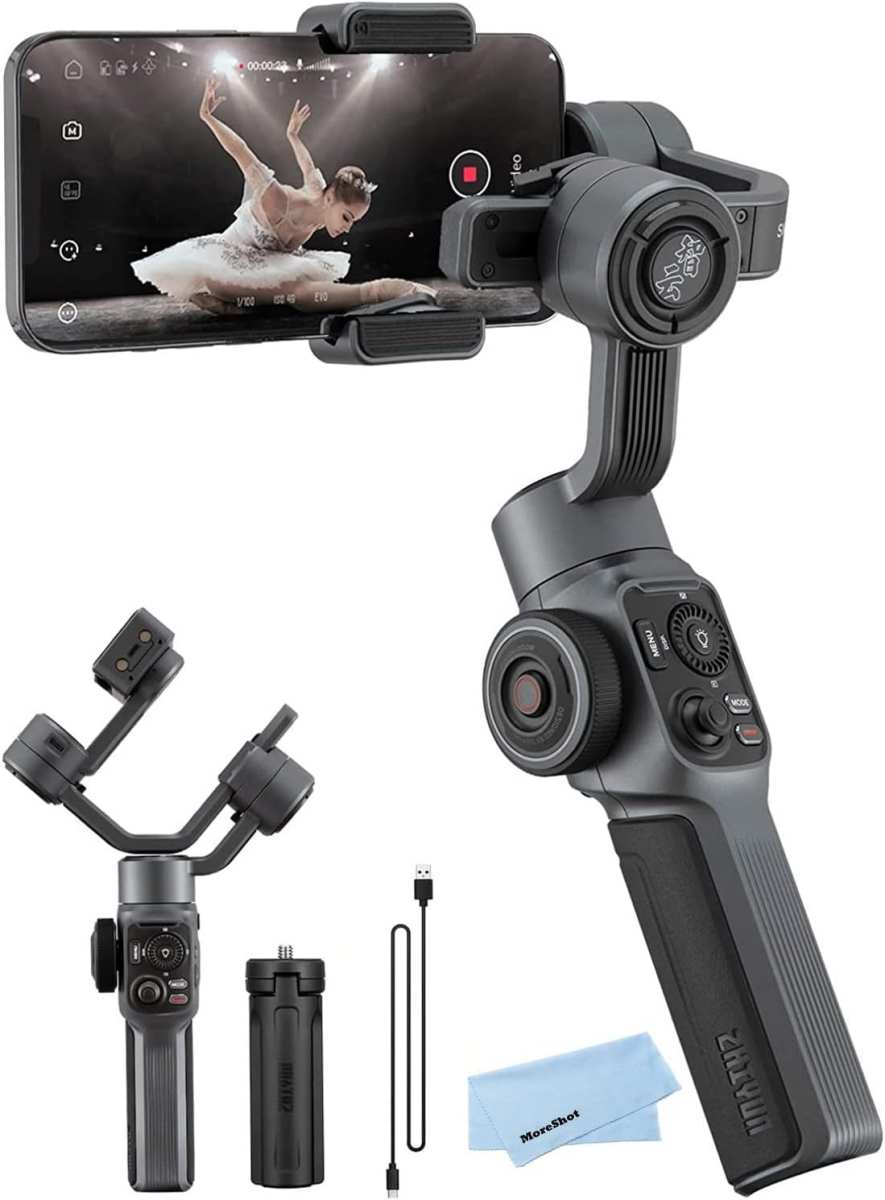
Shaky footage tells your viewer you didn't care about the shot. Even with excellent image stabilization on modern phones, handheld footage looks amateur when you're walking or zooming in. The solution depends entirely on what you're filming.
Decision Branch: Static Sit-Down vs. Walking B-Roll vs. Action Shots
| Scenario | Recommended Tool | Why |
|---|---|---|
| Static sit-down (talking head, desk work) | Tripod (basic 60-inch, $15–$30) | Locks framing, no jitter, hands free |
| Walking b-roll (tours, travel, outdoor) | Gimbal (e.g., DJI Osmo Mobile, $40–$100 used) | Smooths out footsteps and panning |
| Quick action or macro shots (cooking, close-ups) | Handheld with phone in a small cage or grip | Gives control for fast angles but needs steady hands |
Tripod Setup for Desks, Tables, and Floors
A basic tripod with a phone mount costs under 20 dollars. Make sure it has a bubble level or you can see the horizon in your grid. Position it at eye level for talking heads.
Slightly below eye level for tutorials where you want the viewer to see the work surface.
If your desk is small, use a tabletop tripod like the Manfrotto Pixi. If you're on the floor, a full-size tripod with spreadable legs keeps the phone stable.
Gimbal vs. Internal Stabilization (When to Skip the Gimbal)
Modern phones have excellent electronic image stabilization (EIS). For static shots or slow pans, you don't need a gimbal. The Samsung Galaxy S24 Ultra's EIS is good enough for most walk-and-talk footage as long as you walk heel-toe slowly.
You need a gimbal when:
- You're running or moving fast
- You want a long smooth horizontal pan
- You're filming in windy conditions that shake the phone
Without a gimbal, these shots will look jittery. But for 80 percent of YouTube videos, a tripod or even a well-braced elbow on a table works fine.

Similar Posts