How to Fix USB C Monitor Scaling Issues
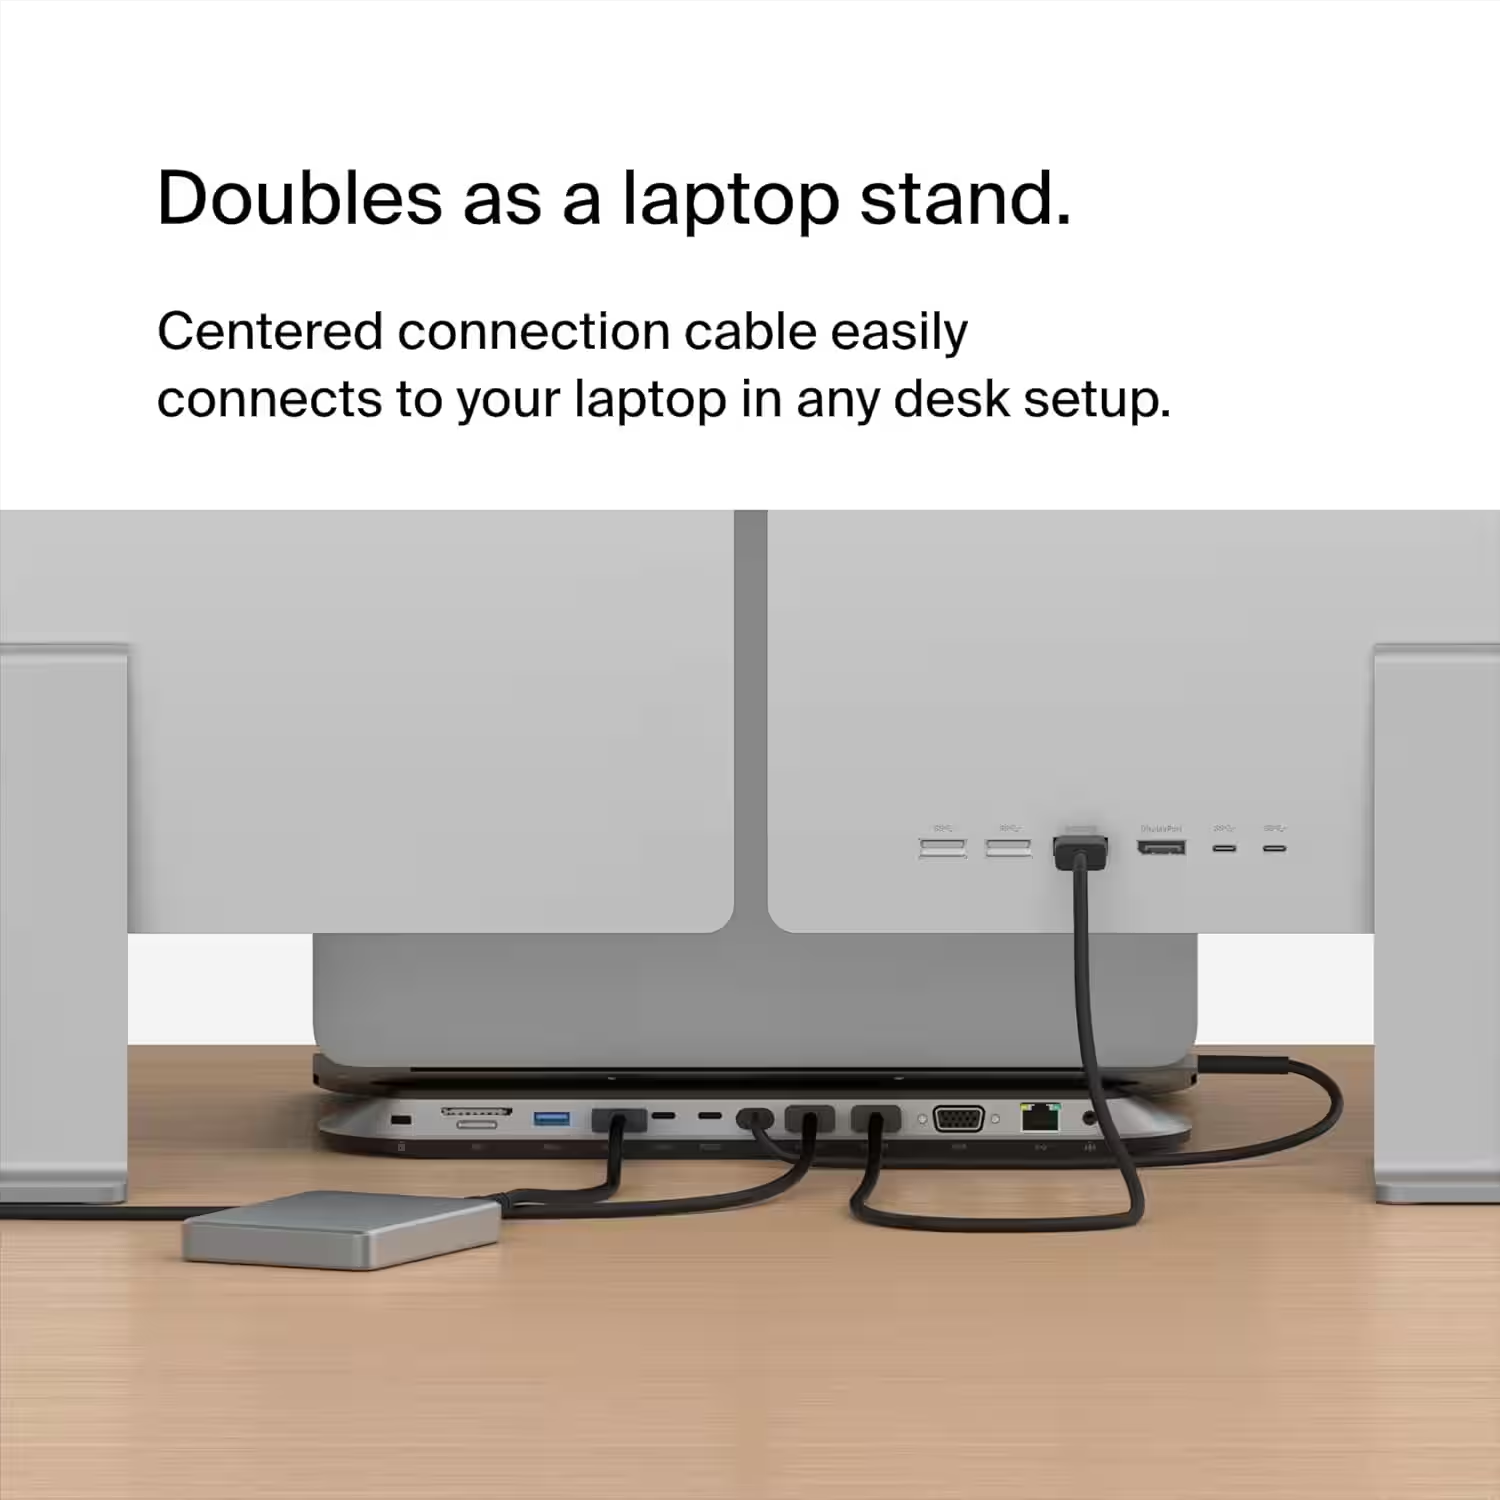
You plug your laptop into a USB-C monitor and the text looks like it's been smeared with Vaseline. Figuring out how to fix USB-C monitor scaling issues usually isn't about one bad setting; it's about your cable, your dock, your operating system's DPI handling, and whether your monitor even told your computer its correct native resolution. Let's walk through it step by step so you're actually looking at a sharp display by the end of this.
The fix changes depending on your hardware and OS. That's why most guides online fall short, they give you a Windows checklist and call it done. Real causes range from a $5 cable that can't carry enough bandwidth, to macOS refusing to render HiDPI on a third-party panel, to your GPU's scaling engine silently overriding everything Windows tries to do.
Quick Answer: To fix USB-C monitor scaling issues, first confirm your monitor is running at its native resolution and correct refresh rate. Then update your GPU driver, verify your USB-C cable supports DisplayPort Alt Mode, and adjust per-monitor scaling in your OS. macOS users may need a free tool called BetterDummy to force HiDPI on non-Apple monitors.
Image source: Bing (Web (fair-use with source credit))
Why Your USB-C Monitor Looks Blurry (And How to Actually Fix It)
Let's start with the real problem, not the symptom. Blurriness on a USB-C monitor almost always comes from one of these three things:
- Wrong resolution. Your OS is rendering at 1920×1080 on a 3840×2160 panel, then the monitor upscales it. Everything looks soft.
- Missing HiDPI (Retina) scaling. macOS and Windows both need to render at 2x resolution and downscale for crisp text. If that pathway isn't available, you get sharp-but-tiny or big-and-blurry.
- Chromatic subsampling from a bad cable. Your cable can't carry the full 4K 60Hz 4:4:4 signal, so it compresses color data. Text edges turn fuzzy and colored fringing appears.
The annoying part: two of these three problems can exist at the same time.
Manufacturer specifications for DisplayPort 1.4 over USB-C indicate up to 32.4 Gbps of bandwidth, which is enough for 4K at 120Hz with Display Stream Compression. In practice, a passive cable longer than 2 meters, or one that's only rated for USB 3.1 Gen 1, will choke that signal down to 4:2:2 chroma subsampling or drop the refresh rate to 30Hz. Both make text and fine UI elements look terrible.
The #1 Reason Scaling Breaks Over USB-C
Here's what nobody tells you first: the single biggest cause of USB-C scaling problems is the EDID (Extended Display Identification Data). This is the small data block your monitor sends over the USB-C connection that tells your computer its native resolution, supported refresh rates, and preferred timing. If your EDID handshake fails, gets corrupted, or runs through a dock that doesn't pass it through correctly, your computer literally doesn't know what resolution the monitor wants.
It guesses. And it guesses wrong.
How to check if EDID is your problem:
- Open your display settings.
- Look at the list of available resolutions.
- If your monitor's native resolution isn't listed at the top (or isn't listed at all), the EDID path is broken.
Common EDID break points:
- USB-C docks with older chipsets (DisplayLink DL-3500 series, for example)
- Cables that only carry USB 2.0 signals (no DisplayPort Alt Mode)
- Monitors that use HDMI-over-USB-C internally instead of native DisplayPort Alt Mode
If you're seeing 1080p as the maximum option on a 4K panel, stop adjusting scaling settings. Fix the EDID path first. No amount of DPI tweaking will make a 1080p signal look sharp on a 4K screen.
First, Figure Out Your Setup: A Quick Diagnostic
Before you touch any settings, you need to know exactly what signal path you're working with. The fix is completely different depending on your configuration.
What video signal path are you actually using?
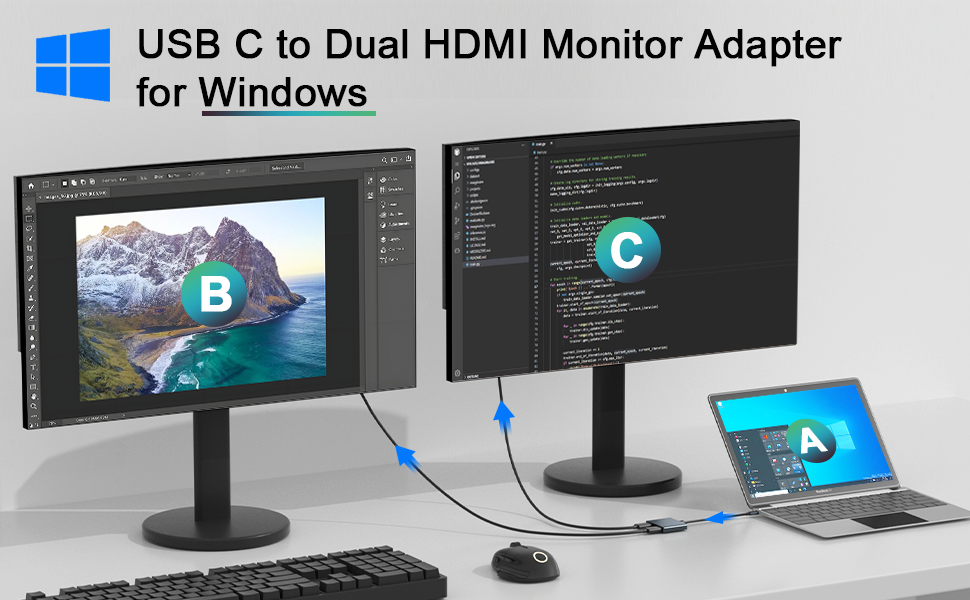
There are four common USB-C video configurations, and they behave very differently:
| Configuration | How it works | Scaling behavior |
|---|---|---|
| Native DisplayPort Alt Mode | USB-C cable carries DP signal directly from GPU | Best. Full EDID, full bandwidth, OS sees a "normal" monitor |
| Thunderbolt 3/4 tunneling | DP signal wrapped in Thunderbolt protocol | Excellent. Same as above, plus power delivery and data |
| HDMI-over-USB-C | GPU outputs HDMI, monitor converts internally | Decent. Sometimes EDID gets mangled in conversion |
| DisplayLink (USB graphics) | Compressed video sent as USB data, decoded by dock chip | Worst. Software-driven, bypasses GPU scaling entirely |
How to tell which one you have:
- If your monitor shows up in Nvidia Control Panel or AMD Radeon Software as a display, you're on native DP or Thunderbolt.
- If it shows up as a "DisplayLink" device in Device Manager, you're on DisplayLink.
- If your dock requires a driver download to get video working, that's DisplayLink.
What's your monitor's native resolution and pixel density?
This matters because scaling math changes at different pixel densities. A 27-inch 4K panel at 163 PPI needs different treatment than a 24-inch 1080p panel at 92 PPI.
Quick reference:
| Monitor size | Resolution | PPI | Recommended scaling |
|---|---|---|---|
| 24" | 1920×1080 | 92 | 100% (no scaling) |
| 27" | 2560×1440 | 109 | 100-125% |
| 27" | 3840×2160 | 163 | 150-200% (HiDPI ideal) |
| 32" | 3840×2160 | 138 | 125-150% |
| 34" ultrawide | 3440×1440 | 110 | 100-125% |
If you're running a 4K panel at 100% scaling, everything will be tiny but sharp. If you're running it at 100% with the monitor internally upscaling from 1080p, it'll be large and blurry. Know which situation you're in.
What OS and GPU are you running?
This determines which tools you have available:
- macOS + Apple Silicon: Excellent HiDPI support for Apple displays, frustratingly limited for third-party panels. You'll likely need a helper tool.
- Windows 11 + Nvidia/AMD/Intel: Good per-monitor DPI scaling, but GPU driver settings can override or conflict. Lots of knobs to turn.
- ChromeOS + any GPU: Limited scaling options. You get a slider, not percentages. Workarounds are minimal.
Now let's get into the OS-specific fixes.
macOS: Forcing HiDPI on a USB-C Monitor That Won't Give It to You
Why macOS refuses to render Retina on third-party panels
Apple's HiDPI (Retina) rendering works by rendering the desktop at 2x resolution, then downscaling to the panel's native resolution. This is what makes text look crisp at 150% or 175% scaling on a 4K monitor. The problem: macOS checks for a specific Apple display identifier in the EDID before it enables HiDPI modes on external displays.
Third-party monitors don't have that identifier, so macOS defaults to 1x rendering at whatever scaling percentage you pick. The result is either too small or blurry.
This has been macOS behavior since at least 2019, and as of 2026 Apple hasn't changed it. The workaround is to trick macOS into thinking your monitor is an Apple display by providing a custom EDID.
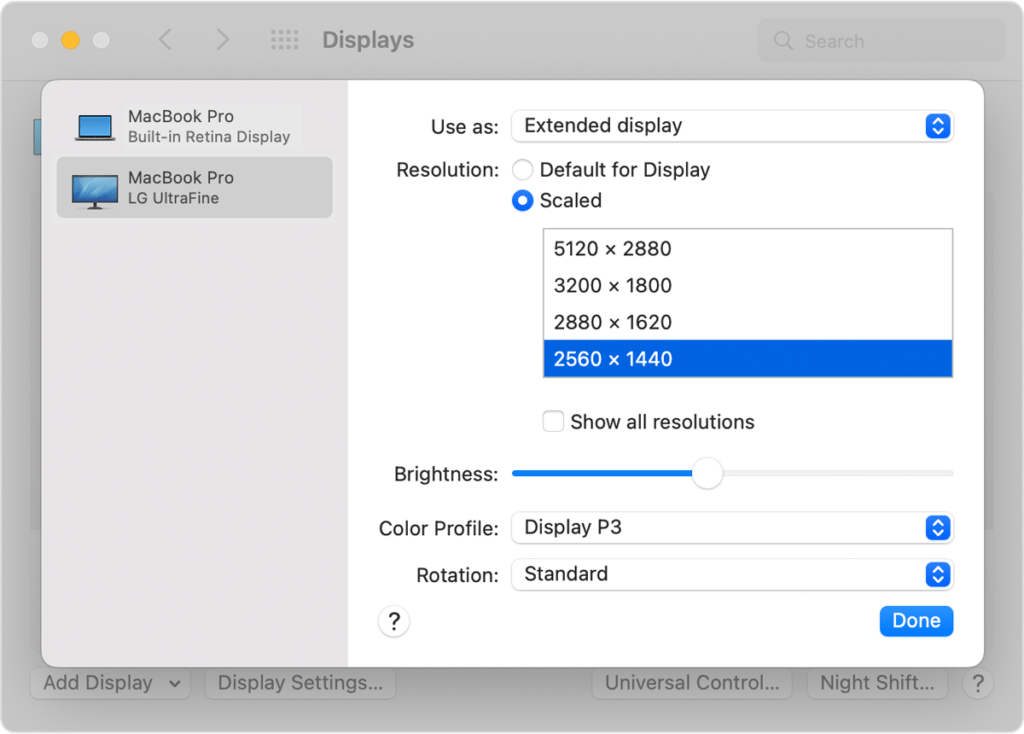
Image source: Bing (Web (fair-use with source credit))
The BetterDummy / one-key-HiDPI method (step-by-step)
BetterDummy is a free macOS utility that creates a virtual display with Apple's EDID signature, then mirrors it to your real USB-C monitor at HiDPI resolution. It's the most reliable fix for this problem as of 2026.
Steps:
- Download BetterDummy from its official GitHub repository.
- Install and grant it screen recording permissions (System Preferences → Privacy & Security → Screen Recording).
- Open BetterDummy and click "Create Dummy" for your monitor's native resolution (e.g., 4K HiDPI).
- Set the dummy as your primary display in macOS Displays preferences.
- Your real USB-C monitor now mirrors the HiDPI output.
Pros: Free, works on Apple Silicon and Intel Macs, no EDID editing required.
Cons: Uses a small amount of GPU overhead for the virtual display. Some users report minor wake-from-sleep issues.
Alternative: one-key-HiDPI is a simpler menu-bar tool that does essentially the same thing with fewer options. Good if you want a set-it-and-forget-it solution.
SwitchResX EDID override — for stubborn cases
If BetterDummy doesn't work (some monitor/dock combinations fight with it), SwitchResX lets you create a custom HiDPI resolution directly and inject it into the display's profile.
Steps:
- Purchase and install SwitchResX (around $15, one-time).
- Open SwitchResX → select your USB-C monitor → Custom Resolutions.
- Create a resolution at half your panel's native resolution with "HiDPI" flagged (e.g., 1920×1080 HiDPI for a 3840×2160 panel).
- Save and restart.
- Select the new HiDPI resolution in System Preferences → Displays.
This method is more permanent than BetterDummy but requires a paid tool and a restart. Use it if you want the HiDPI option baked into your display profile rather than running a background utility.
Windows: Fixing Blurry Scaling on a USB-C External Display
Set the right native resolution first (this gets overlooked)
Before touching any scaling percentage, make sure Windows is outputting your monitor's native resolution. This sounds obvious, but it's the step most people skip.
Check and fix:
- Right-click desktop → Display settings.
- Under "Scale & layout," check the Display resolution dropdown.
- Select the resolution marked "(Recommended)", this is the native resolution reported by EDID.
- If the recommended resolution doesn't match your panel's specs, your EDID path is broken. See the cable and dock section below.
Also check your refresh rate: Settings → Display → Advanced display → Refresh rate. If you're stuck at 30Hz, your cable or dock is bandwidth-limited. 30Hz makes everything feel sluggish and can compound the perception of blurriness during motion.
Fix per-monitor DPI scaling in Windows 11 / 10
Windows 11 handles per-monitor DPI scaling much better than Windows 10 did, but it's still not perfect, especially with mixed-DPI setups (laptop screen at 200%, external at 100%).
Steps:
- Settings → System → Display.
- Click the monitor you want to adjust (Windows shows numbered boxes representing each display).
- Under "Scale & layout," choose a scaling percentage. Windows usually recommends one based on pixel density.
- If an app looks blurry on the external monitor, right-click the app's .exe → Properties → Compatibility → Change high DPI settings → check "Override high DPI scaling behavior" → set to "Application."
The "System (Enhanced)" option: In Windows 11 22H2 and later, you can also try "Override high DPI scaling behavior" with "System (Enhanced)" instead of "Application." This uses Windows' newer DPI scaling engine and fixes blurriness in many older apps without requiring per-app configuration.
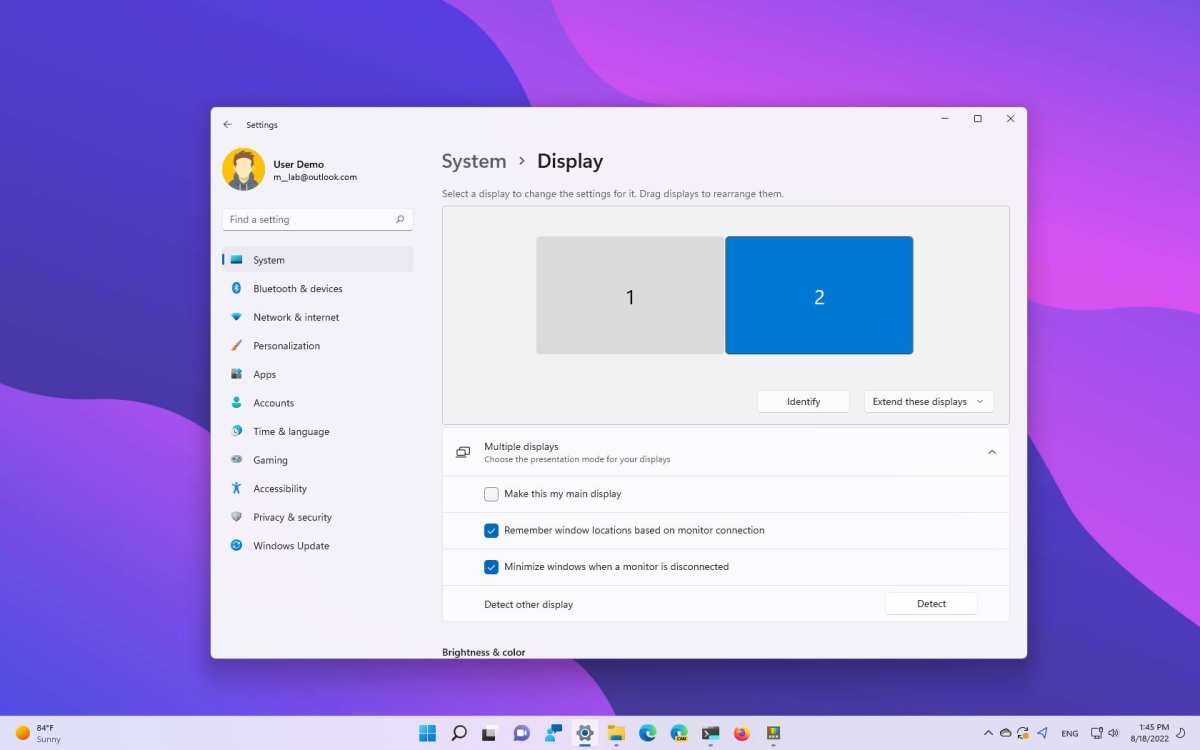
Image source: Bing (Web (fair-use with source credit))
When GPU scaling fights Windows scaling — who wins?
This is where things get messy. Nvidia, AMD, and Intel all have their own GPU scaling engines that can override or interfere with Windows' DPI scaling. If you've ever set Windows to 150% but everything still looks wrong, your GPU driver is probably the culprit.
Nvidia:
- Open Nvidia Control Panel → Adjust desktop size and position.
- Check "Scaling" tab. Set to "Aspect ratio" or "No scaling."
- Uncheck "Override the scaling mode set by games and programs" if it's checked.
AMD:
- Open AMD Radeon Software → Display → GPU Scaling.
- Turn GPU Scaling OFF if you want Windows to handle it. Turn it ON if you want the GPU to handle it (useful for older apps).
Intel:
- Open Intel Graphics Command Center → Display → Scale.
- Set to "Maintain display scaling" or "Center image" depending on preference.
The rule of thumb: Pick one scaling engine and stick with it. Either let Windows handle DPI scaling and disable GPU scaling, or let the GPU handle everything and leave Windows at 100%. Mixing them causes blurriness.
Using Custom Resolution Utility (CRU) to fix EDID problems
If your monitor's native resolution isn't showing up in Windows, CRU can inject the correct EDID data directly.
Steps:
- Download Custom Resolution Utility (CRU) by ToastyX.
- Open CRU → select your USB-C monitor from the dropdown.
- Under "Detailed resolutions," click "Add."
- Enter your monitor's native resolution and preferred refresh rate. Use "CVT-RB" (Reduced Blanking) timing.
- Click OK, then run restart64.exe (included with CRU) to restart your graphics driver.
- Check Display settings, your native resolution should now appear.
Warning: CRU modifies EDID data at the driver level. It won't damage your monitor, but incorrect values can cause "no signal" errors. If that happens, boot into Safe Mode and run reset-all.exe (also included with CRU) to revert changes.
The Cable and Dock Mistake That Causes Most Scaling Problems
Not all USB-C cables carry video
This catches people constantly. A USB-C cable can be charge-only, data-only, or fully featured with DisplayPort Alt Mode. The cable that came in the box with your phone or earbuds almost certainly does not support video output.
What to look for on the cable:
- "USB 3.1 Gen 2" or "USB 3.2" rating
- "DisplayPort" or "DP" in the description
- Thunderbolt 3 or Thunderbolt 4 certification (the lightning bolt logo)
- "Supports 4K@60Hz" or "Supports 8K" in specs
If your cable only says "USB 2.0" or "charging cable," it cannot carry a video signal. You need a different cable.
How a cheap cable forces chroma subsampling (and makes text look awful)
Even cables that do support video have bandwidth limits. Here's the breakdown:
| Cable spec | Max video bandwidth | 4K@60Hz 4:4:4? | 4K@60Hz 4:2:2? |
|---|---|---|---|
| USB-C USB 2.0 | None (no DP Alt Mode) | No | No |
| USB-C USB 3.1 Gen 1 (passive, 1m) | DP 1.2 (17.28 Gbps) | 4K@30Hz only | 4K@60Hz yes |
| USB-C USB 3.1 Gen 2 (passive, 2m) | DP 1.4 (25.92 Gbps) | 4K@60Hz yes | Yes |
| Thunderbolt 4 (passive, 0.8m) | 40 Gbps | 4K@120Hz+ | Yes |
| Thunderbolt 4 (active, 2m) | 40 Gbps | 4K@120Hz+ | Yes |
When bandwidth is insufficient, the monitor or GPU falls back to chroma subsampling (4:2:2 or 4:2:0). This reduces color resolution while keeping luminance sharp. Photos and video still look fine.
Text, especially colored text on colored backgrounds, looks blurry and fringed.
The fix: Use a cable rated for at least DisplayPort 1.4 or Thunderbolt 4. For runs over 2 meters, use an active cable.
When a dock is the bottleneck — and when it isn't
USB-C docks add another potential failure point. The dock's chipset determines whether it passes through the native DisplayPort signal or converts it.
Dock chipsets and their video handling:
| Chipset family | Video method | EDID passthrough | Known issues |
|---|---|---|---|
| Intel JHL8400 (TB3) | Native DP tunneling | Yes | Generally reliable |
| Intel JHL8540 (TB4) | Native DP tunneling | Yes | Best compatibility |
| DisplayLink DL-3500/3900 | USB graphics (compressed) | No | Software-driven, scaling issues common |
| Realtek RTD2173 | HDMI-over-USB-C | Partial | EDID mangling reported |
| VIA VL822 | USB hub + DP Alt Mode | Varies | Budget docks, inconsistent |
If you're using a DisplayLink dock, you're not getting a native video signal. DisplayLink uses software compression to send video data over USB, which bypasses your GPU's display pipeline entirely. This means GPU scaling settings don't apply, and you're at the mercy of DisplayLink's driver for image quality.
The fix for DisplayLink users: Install the latest DisplayLink driver from Synaptics (the manufacturer). Use the DisplayLink Manager app to adjust scaling. Accept that this will never look as sharp as a native connection.
Dock firmware updates that fix display issues
Many people forget that docks have firmware, and that firmware updates can resolve display compatibility issues. This is especially common with Dell, CalDigit, and Plugable docks.
How to check:
- Dell docks: Use Dell Command | Update or the Dell Display Manager app.
- CalDigit docks: Use the CalDigit Docking Station Utility.
- Plugable docks: Check the manufacturer's support page for firmware tools.
A firmware update from late 2024 for the CalDigit TS4, for example, fixed an issue where 4K monitors would not report HiDPI resolutions to macOS over the dock's downstream USB-C ports. If you've been fighting scaling issues through a dock, a firmware update might solve it in five minutes.
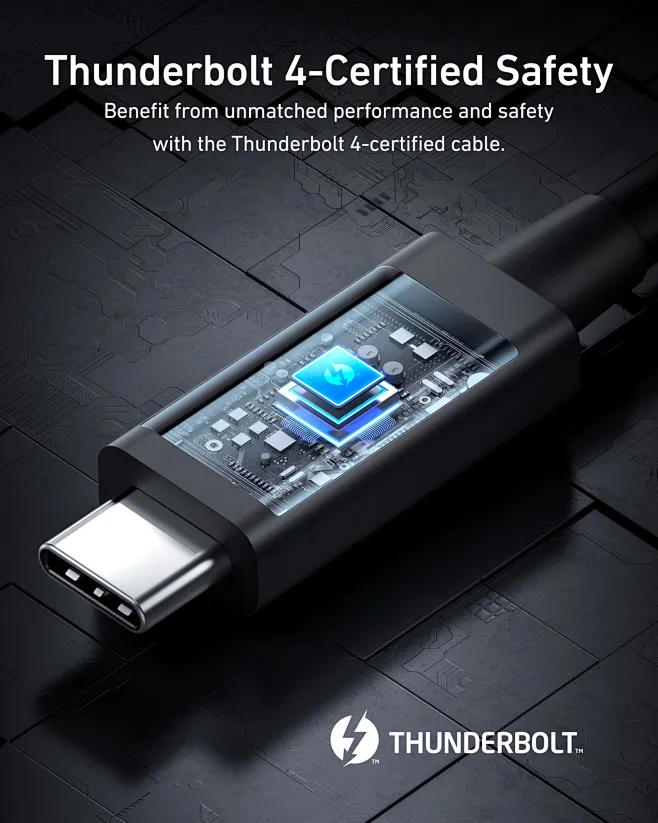
Image source: Bing (Web (fair-use with source credit))
Hardware + Software Matrix: Where to Look First
Here's a quick-reference table that maps your situation to the most likely fix:
| Your situation | Most likely cause | First thing to try |
|---|---|---|
| 4K monitor stuck at 1080p | Bad cable or dock EDID failure | Swap cable, bypass dock |
| Text looks fuzzy at correct resolution | Chroma subsampling from cable | Use DP 1.4 or TB4 cable |
| macOS: no HiDPI option on external | Apple EDID check blocking it | Install BetterDummy |
| Windows: blurry apps on external only | Per-monitor DPI mismatch | Set per-display scaling, restart |
| Windows: everything blurry including desktop | GPU scaling overriding OS | Disable GPU scaling in driver |
| ChromeOS: everything too small | Limited scaling options | Adjust display size slider in Settings |
| Blurry after waking from sleep | EDID handshake failure on wake | Unplug/replug USB-C or restart monitor |
| Blurry only in specific apps | App not DPI-aware | Override high DPI scaling in app properties |
Common Mistakes That Waste Everyone's Time
Adjusting scaling before fixing resolution. If your monitor isn't at native resolution, scaling percentage doesn't matter. Fix the resolution first.
Using the monitor's built-in scaling. Many monitors have an "Aspect Ratio" or "Scaling" option in their on-screen display (OSD) menu. If your computer is outputting 1080p and the monitor is upscaling to 4K, you're double-processing the image. Always output native resolution from the computer and set the monitor to 1:1 pixel mapping or "Just Scan."
Assuming all USB-C ports support video. On many laptops, only one or two USB-C ports support DisplayPort Alt Mode. Check your laptop's manual. The port might have a DP icon next to it, or it might not.
Plugging into a data-only USB-C port will either give you no display output or fall back to DisplayLink if the dock supports it.
Ignoring driver updates. GPU driver updates frequently include fixes for display scaling and EDID handling. Nvidia's driver release notes from 2024 and 2025 specifically mention fixes for USB-C monitor detection and HiDPI behavior. Update your GPU driver before you start tweaking settings.
Forgetting about mixed-DPI setups. If your laptop screen is at 200% scaling and your external monitor is at 100%, Windows will try to scale apps differently on each display. Some apps handle this well. Many don't.
If you're getting blurriness only when moving windows between screens, this mixed-DPI conflict is your problem. The fix is to set both displays to the same scaling percentage, or use the "System (Enhanced)" DPI override for problematic apps.
Frequently Asked Questions
My 4K USB-C monitor looks fine at 100% but everything's tiny — what do I do?
Your monitor is working correctly at native resolution. You just need to increase the scaling percentage. On Windows, go to Display settings and set scaling to 150% or 200%.
On macOS, hold Option while clicking "Scaled" in Displays preferences to see more resolution options, including HiDPI ones.
Why does my monitor look sharp in BIOS/UEFI but blurry in the OS?
The BIOS outputs at a basic resolution without scaling. Once your OS loads and applies DPI scaling, any mismatch between the rendered resolution and the panel's native resolution becomes obvious. This confirms it's a software scaling issue, not a hardware one.
Does cable length affect picture quality over USB-C?
Yes. Passive USB-C cables longer than 2 meters often can't maintain full DisplayPort 1.4 bandwidth. For runs of 2-3 meters, use an active cable.
For runs over 3 meters, consider a Thunderbolt 4 active cable or a fiber-optic USB-C cable.
Is DisplayLink the same as native USB-C video output?
No. DisplayLink is a software-driven USB graphics protocol that compresses video and sends it as data. Native USB-C video (DisplayPort Alt Mode) passes the GPU's display signal directly through the cable with no compression.
DisplayLink will never match native output for sharpness and latency.
My Mac won't output 4K to my monitor — cable issue or port issue?
Most likely a cable issue. Verify your cable supports DisplayPort 1.4 or Thunderbolt 3/4. If it does, check that your Mac's USB-C port supports video output (all Apple Silicon Macs do, but some Intel Macs have data-only ports).
Try a different cable first, it's the culprit 80% of the time.
Decision Flowchart: Start Here, End With a Sharp Display
If you've read this far and still aren't sure where to start, follow this path:
- Is your monitor at its native resolution? If no, fix that first. Check cable, dock, and driver.
- Is the correct resolution available in settings? If no, your EDID path is broken. Try a different cable or bypass the dock.
- Is text blurry at native resolution? Check for chroma subsampling. Upgrade to a DP 1.4 or Thunderbolt 4 cable.
- Are you on macOS without HiDPI? Install BetterDummy. It's free and takes two minutes.
- Are you on Windows with blurry apps? Set per-monitor scaling, then override high DPI scaling in app properties for stubborn apps.
- Is a dock in the chain? Update its firmware. If it's a DisplayLink dock, accept the limitations or switch to a direct connection.
The good news: USB-C monitor scaling issues are almost always fixable without buying new hardware. The bad news: you'll probably spend an hour figuring out which specific combination of cable, setting, and software is causing it. Now you know exactly where to look.

Similar Posts