How to Fix USB C Monitor Brightness Problem

Image source: Bing (Web (fair-use with source credit))
Why Your USB-C Monitor Brightness Is Broken (And How to Actually Fix It)
Figuring out how to fix USB-C monitor brightness problems is maddening because the slider just disappears or stops responding for no obvious reason. You'll plug in the same cable, same monitor, same laptop, and one day the brightness control works and the next day it's gone. The root cause almost always comes down to how USB-C carries display signals differently than HDMI or DisplayPort, and how your operating system talks to the monitor through that connection.
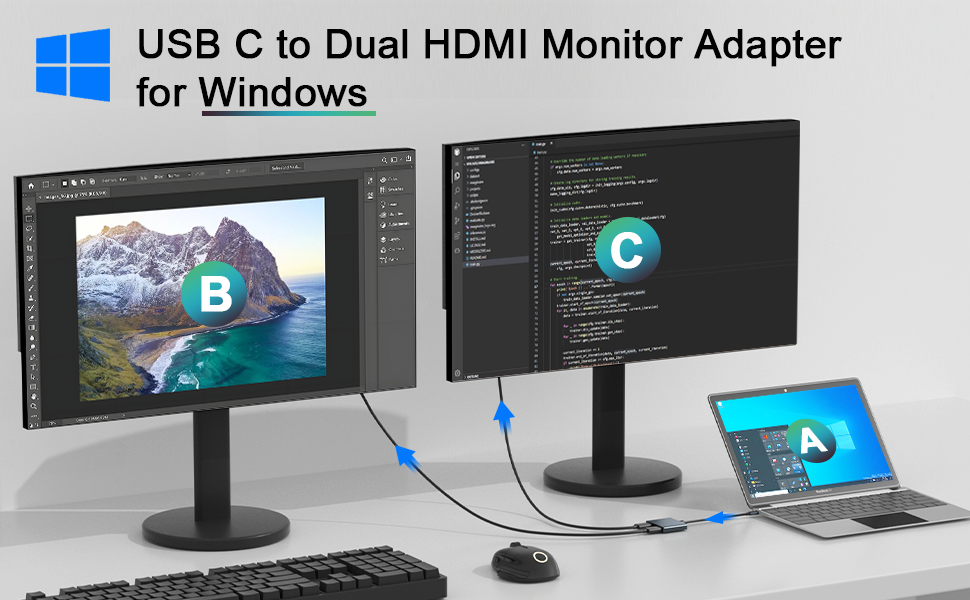
USB-C DisplayPort Alt Mode routes video through a different internal pathway than a dedicated DisplayPort cable, and that pathway requires a feature called DDC/CI (Display Data Channel/Command Interface) to let your computer adjust brightness in software. If any link in that chain fails, whether it's the cable, the port, a driver setting, or the monitor's own firmware, you lose software brightness control entirely. Let's walk through each possible cause in order, so you can find yours and fix it.
")
Quick Answer
To fix a USB-C monitor brightness problem, check your cable first. Make sure it supports DisplayPort Alt Mode and has all pins intact. Enable DDC/CI in your monitor's on-screen display settings.
Update your GPU drivers and disable adaptive brightness in your operating system. On macOS, use a third-party app like MonitorControl if your monitor doesn't support native brightness control.
First: Does This Sound Like Your Situation?
Before diving into fixes, it helps to pinpoint exactly which problem you're seeing. USB-C brightness issues aren't all the same, and the fix depends heavily on which symptoms match your setup.
Here's what people run into most often:
- The brightness slider is missing entirely. Windows or macOS shows no brightness control when the USB-C monitor is connected. This usually means DDC/CI isn't communicating properly.
- The slider exists but does nothing. You drag it and the screen doesn't change. This often points to EDID communication issues or a driver that isn't properly exposing the brightness interface.
- Brightness is stuck at 100% or 0%. The monitor ignores all software commands and locks at one extreme. This is frequently a cable or port capability problem.
- Brightness resets after sleep or reboot. It works until the computer sleeps, then defaults back to maximum. This is commonly an OS power management or GPU driver issue.
- Brightness flickers or jumps erratically. The display changes brightness on its own, often caused by adaptive brightness features conflicting with monitor-side controls.
If your situation matches any of these, the steps below are ordered by likelihood. Start at the top and work down. Most people resolve it within the first three steps.
Why USB-C Brightness Control Is Different From HDMI or DisplayPort
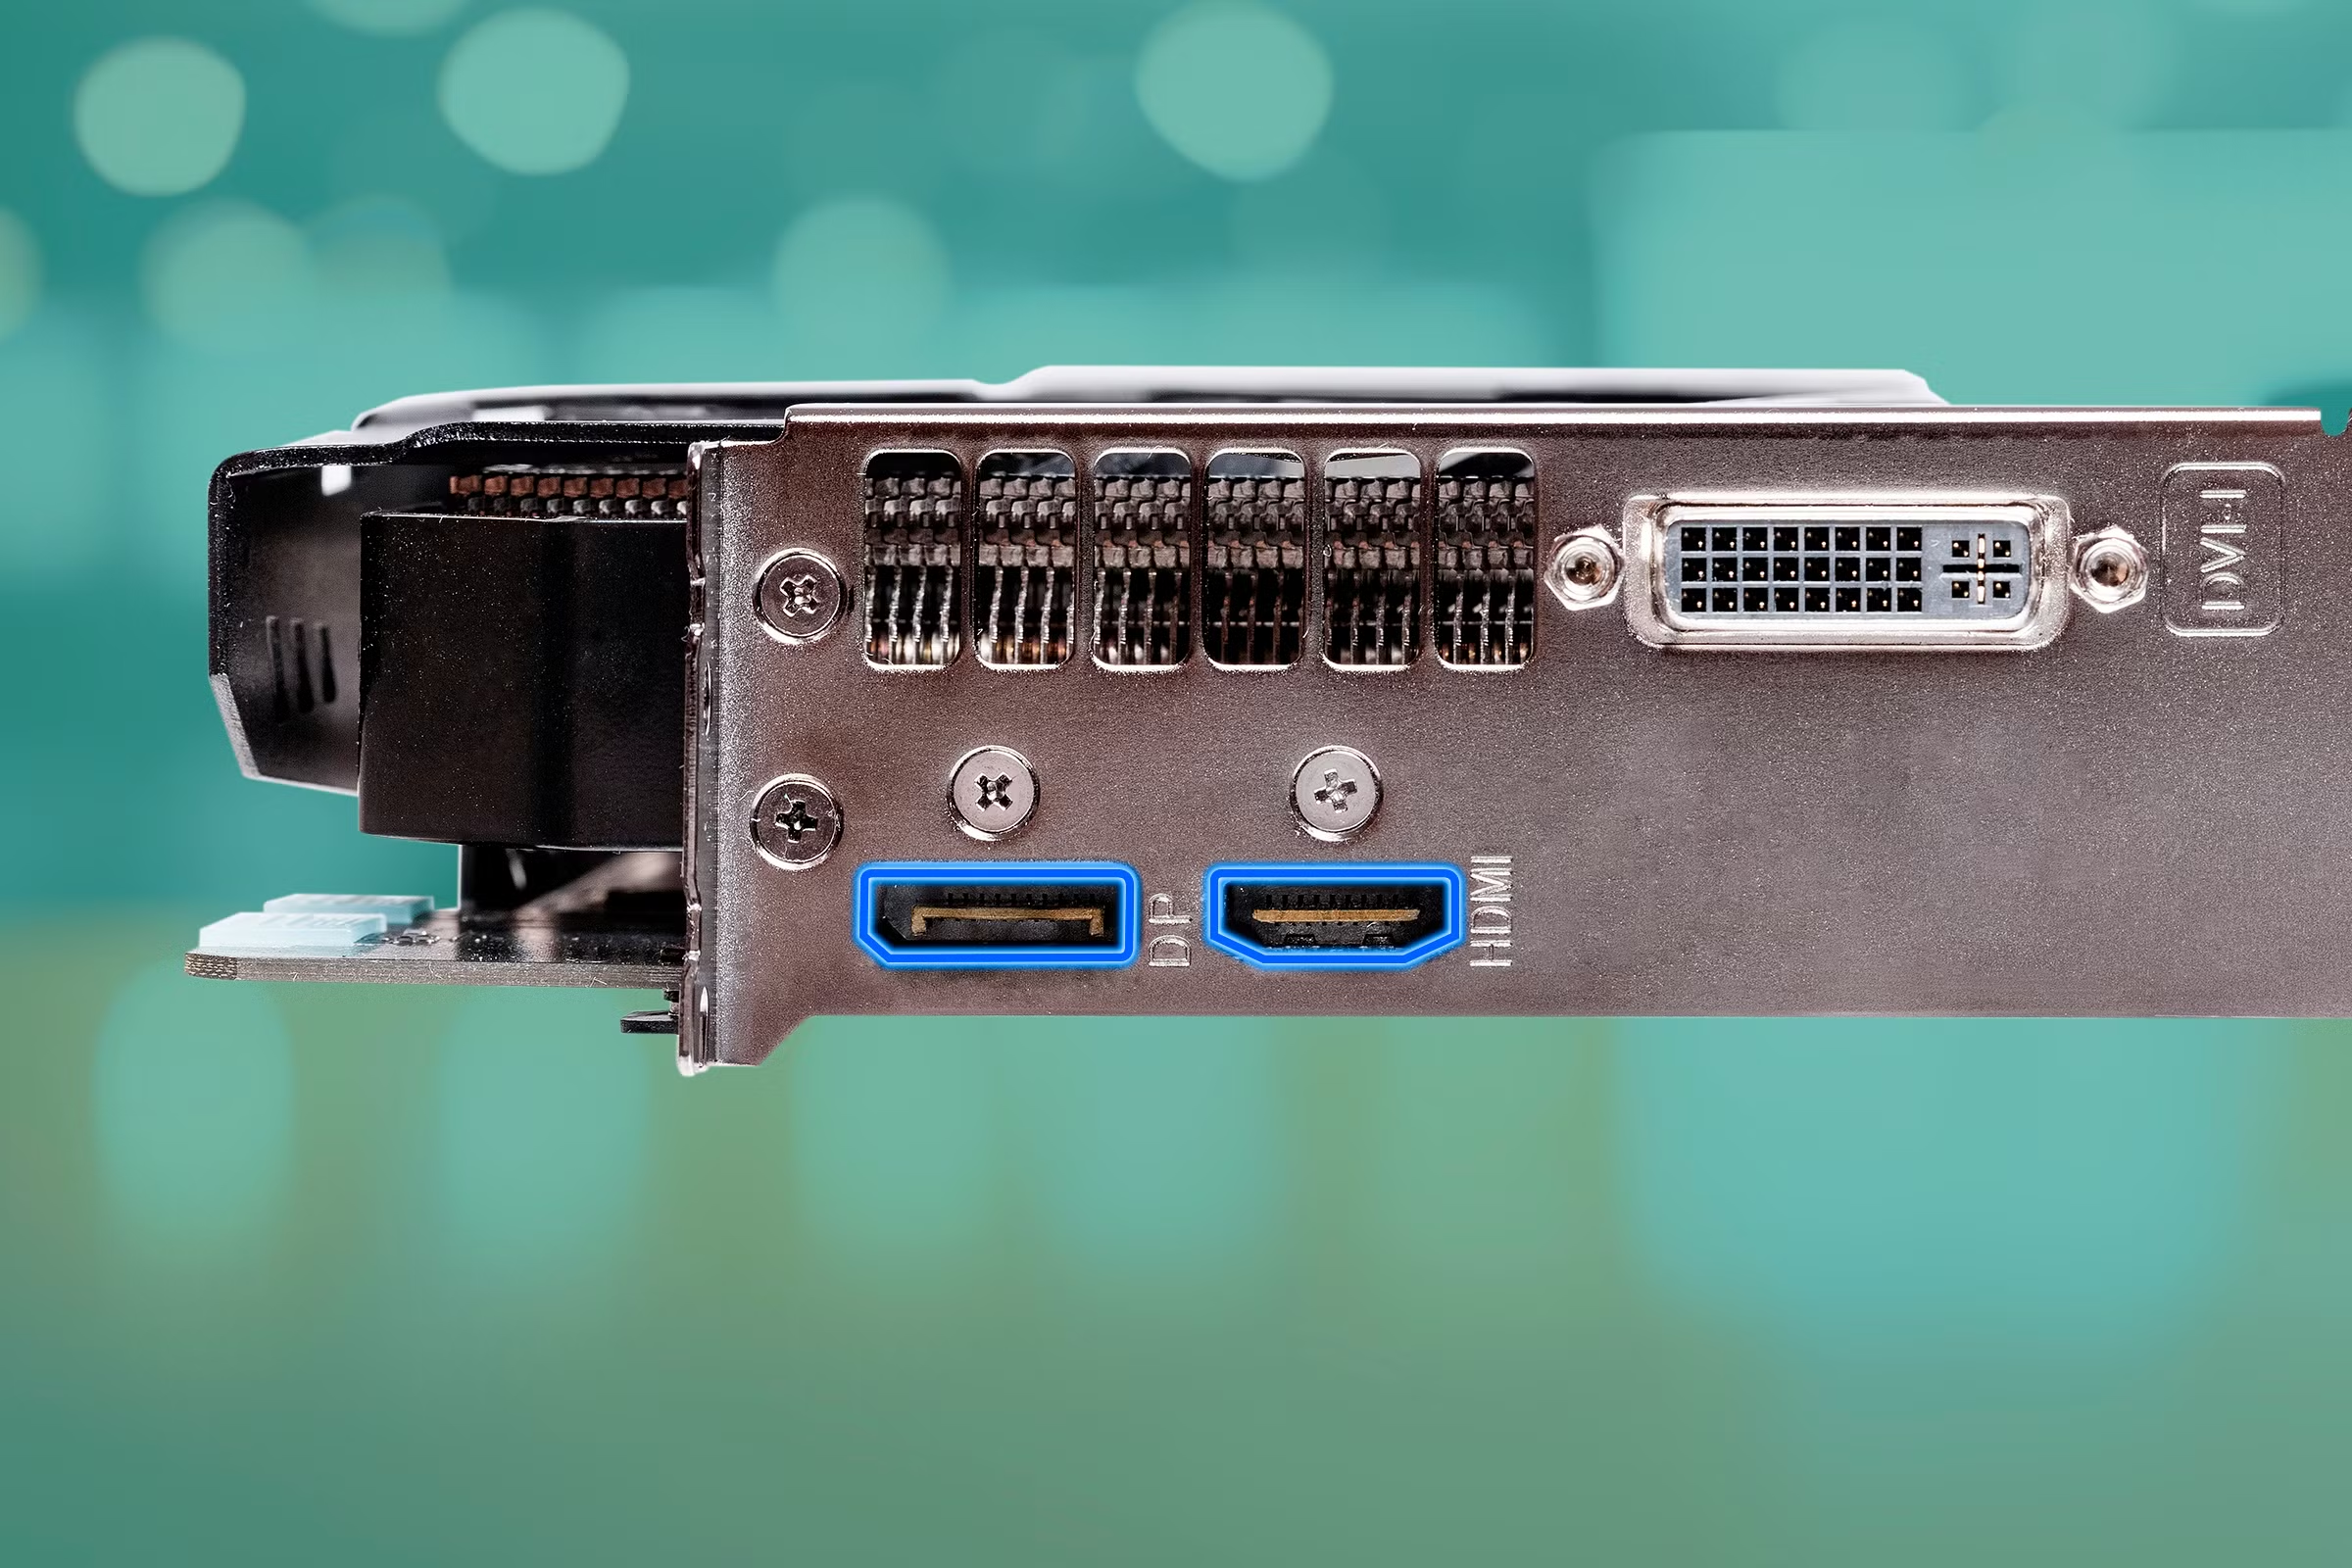
This is the part most troubleshooting guides skip, and it's exactly why USB-C brightness issues are so confusing. When you plug in a regular DisplayPort or HDMI cable, your GPU sends the display signal through a well-established pathway with dedicated pins for DDC/CI communication. The operating system has a clear line to the monitor for brightness commands.
USB-C changes the whole picture.
A USB-C connector has 24 pins, and depending on what your cable and port support, those pins carry different signals simultaneously: USB data, power delivery, and DisplayPort video. The video signal uses something called DisplayPort Alt Mode, which reassigns some of those pins to carry DisplayPort lanes. This works fine for video.
But the DDC/CI communication that controls brightness has to travel through the DisplayPort AUX channel, which requires specific pins to be wired and active in the cable.
Here's where it breaks down. Not every USB-C cable has all pins connected. Many USB-C cables are wired only for USB 2.0 data and charging.
They physically fit the port. They might even carry a display signal if they're "full-featured" cables, but they won't necessarily support the full AUX channel needed for brightness control.
On top of that, your laptop's USB-C port needs to support DisplayPort Alt Mode output. Many laptops have multiple USB-C ports, and only one or two of them support video output. The others are data and charging only.
Plugging into the wrong port will charge your laptop and might even extend your display through a dock, but brightness control won't work.
There's also an operating system layer. Windows and macOS handle USB-C display brightness differently. Windows relies on the GPU driver's ability to communicate DDC/CI over the USB-C connection. macOS has native brightness support for Apple displays and a small number of third-party displays, but most USB-C monitors need third-party software to get a brightness slider.
Understanding this chain (cable, port, monitor firmware, GPU driver, OS) makes the troubleshooting process feel a lot less random. Each step below targets a specific link in that chain.
Step 1: Check Your Cable — This Is the Problem More Often Than You Think
If there's one thing that causes USB-C brightness problems more than anything else, it's the cable. People grab whatever USB-C cable is lying on their desk, plug it in, and assume it works because they see a picture on the screen. Seeing a video signal doesn't mean the cable supports everything your monitor needs.
Here's what to look for:
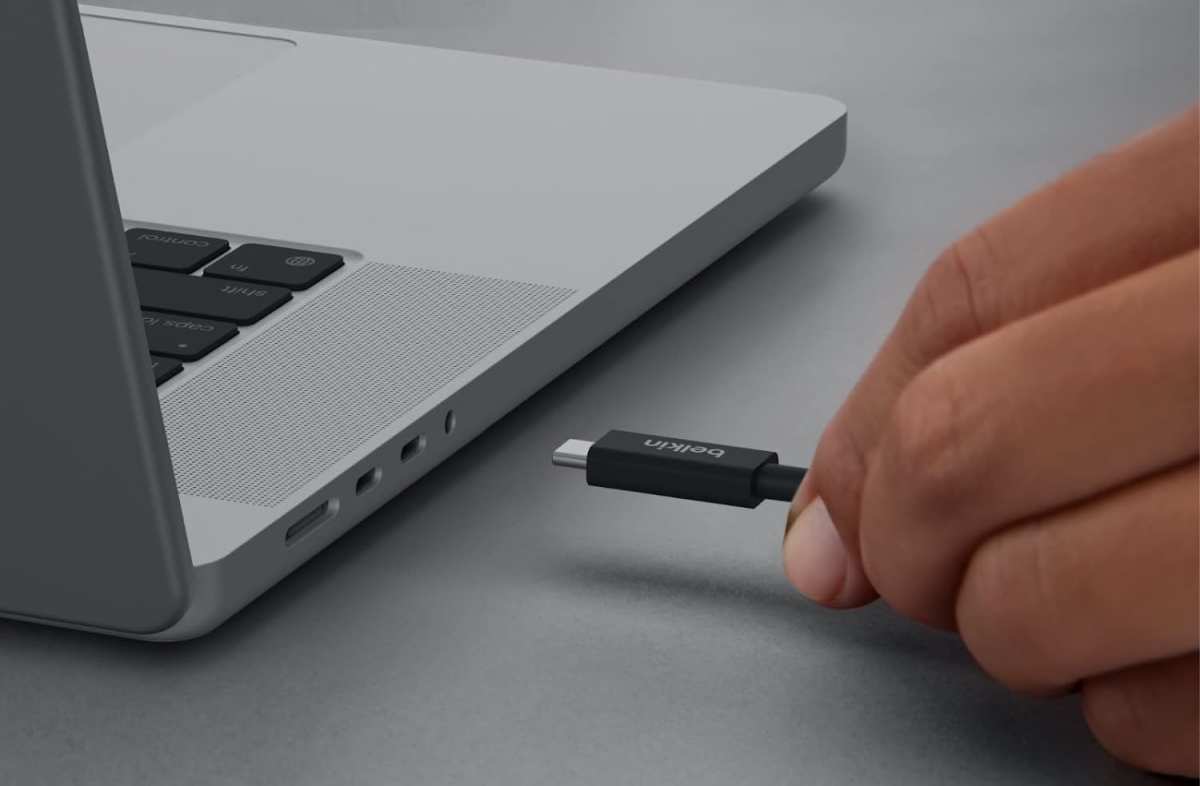
The cable needs to be a full-featured USB-C cable that supports DisplayPort Alt Mode. These cables are often labeled as "Thunderbolt 3," "Thunderbolt 4," "USB4," or "DisplayPort Alt Mode" in their product specifications. A cable that only says "USB-C charging cable" or "USB 3.1 Gen 1" almost certainly does not support DDC/CI properly.
How to tell if your cable is the problem:
- Look for markings on the cable itself. Certified Thunderbolt cables have a small lightning bolt logo. USB-IF certified cables often have the USB trident logo with speed ratings printed on them.
- Check the manufacturer's specifications. A proper full-featured USB-C cable supporting DP Alt Mode and DDC/CI will explicitly list these features. If the product page doesn't mention video output, assume it doesn't support it.
- Try a different cable you know is rated for video output. If brightness control comes back with a different cable, you've found your culprit.
Cable specifications that matter:
| Cable Type | Supports Video | Supports DDC/CI | Notes |
|---|---|---|---|
| USB-C charging-only cable | No | No | Power and basic data only |
| USB-C USB 2.0 data cable | No | No | Data and power, no alt mode |
| USB-C USB 3.1 Gen 2 cable | Sometimes | Rarely | Must explicitly support DP Alt Mode |
| Thunderbolt 3/4 cable | Yes | Yes | Fully featured, guaranteed support |
| USB4 cable | Yes | Yes | Full feature set |
| Certified DP Alt Mode cable | Yes | Yes | Specifically rated for display output |
If you're using a USB-C docking station or hub between your computer and monitor, try connecting the cable directly to your laptop and the monitor first. Docks and hubs sometimes strip out DDC/CI communication even when the video signal passes through fine. This is one of the most commonly overlooked causes of USB-C brightness issues.
")
Step 2: Verify Your USB-C Port Actually Supports Display Output
You've probably got more than one USB-C port on your laptop. Most modern ultrabooks, MacBooks, and mobile workstations do. And here's the thing that trips people up: not all of those ports are the same.
Many laptops mix USB-C port capabilities across their chassis. One port might support full DisplayPort Alt Mode video output, Thunderbolt 4, and USB4, while another only supports USB data and charging. The port names and icons aren't always clearly labeled either.
Check your laptop's documentation for which specific USB-C port supports DisplayPort output. Look for specs like "USB-C with DisplayPort 1.4" or "Thunderbolt 4 with DP Alt Mode" listed next to individual port descriptions. On some laptops, there's a small DisplayPort icon or a lightning bolt icon (for Thunderbolt) printed next to the correct port.
On Mac: Every Thunderbolt 3 / Thunderbolt 4 port on Intel and Apple Silicon Macs supports DisplayPort Alt Mode. The limitation is usually not the port itself but the macOS software support for brightness control on third-party monitors.
On Windows laptops: This varies enormously by manufacturer. Dell, Lenovo, HP, and ASUS often have specific USB-C ports designated for display output. Some only support video output on one particular side of the laptop.
Some require the port to be used directly rather than through a dock.
A good test: if you've been using a USB-C dock or hub, unplug it entirely. Connect your monitor directly to your laptop with a known-good USB-C cable. If brightness control comes back, the dock or hub is the issue, not your settings.
If you're not sure which port supports video, try each USB-C port one at a time while watching your display settings. When you hit the right port, your operating system will recognize the monitor properly and may even show different EDID information in Device Manager or System Report.
Step 3: Enable DDC/CI in Your Monitor's OSD
DDC/CI stands for Display Data Channel / Command Interface. It's the communication protocol that lets your computer send brightness commands digitally to your monitor. Without it enabled, your monitor is essentially deaf to any software brightness adjustment.
Many modern monitors ship with DDC/CI enabled by default. But some have it disabled out of the box, and others lose the setting after a firmware update or factory reset. It's worth checking even if your monitor worked fine before.
How to check and enable DDC/CI:
- Open your monitor's on-screen display (OSD) menu using the physical buttons on the monitor (usually on the bottom edge or back panel).
- Navigate to the system or settings section. The exact menu name varies by manufacturer.
- Look for an option labeled "DDC/CI," "MCCS" (Monitor Control Command Set), or sometimes "Software Control."
- Make sure it's toggled to On or Enabled.
- There's usually no need to restart your monitor, but you can power-cycle it if you want to be thorough.
DDC/CI location by common brand:
| Brand | Typical OSD Location |
|---|---|
| Dell | Menu > Display Settings > DDC/CI |
| LG | General > Additional Settings > DDC/CI |
| Samsung | System > DDC/CI Control |
| ASUS | System Setup > DDC/CI |
| BenQ | System > DDC/CI |
| HP | Management > DDC/CI |
| Acer | Settings > DDC/CI |
After enabling DDC/CI, check your operating system's brightness controls. On Windows, the brightness slider should reappear in Settings > System > Display when the monitor is selected. On macOS, you'll need third-party software unless it's a monitor Apple natively supports.
If DDC/CI was already enabled and you're still having issues, try toggling it off, waiting a few seconds, and toggling it back on. This can sometimes reset the communication channel between the monitor and the computer.

Image source: Bing (Web (fair-use with source credit))
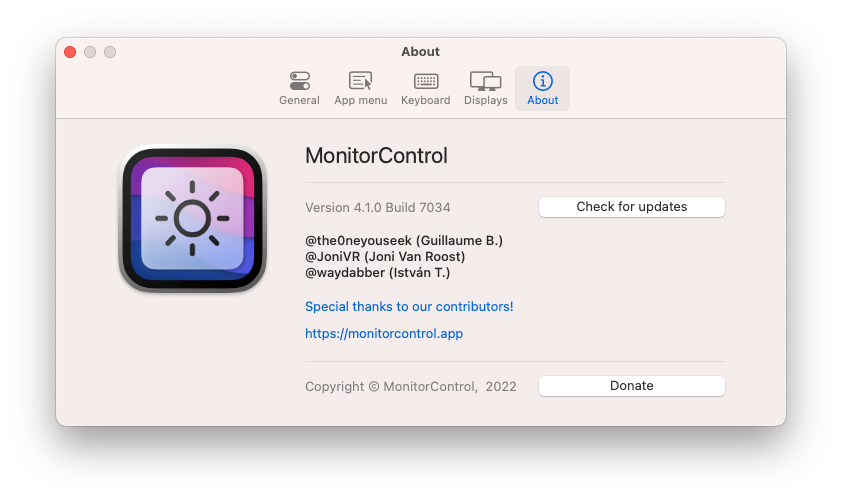
Image source: Bing (Web (fair-use with source credit))
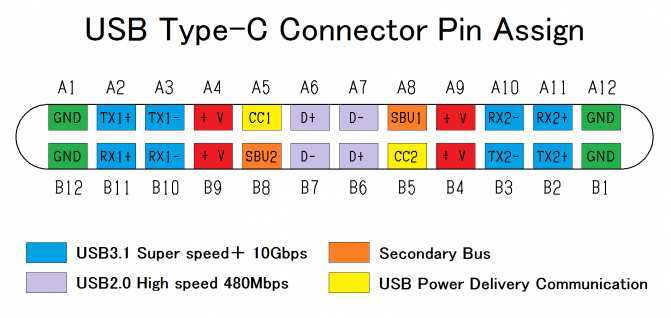
Image source: Bing (Web (fair-use with source credit))

Similar Posts