How to Enable HDR on USB C Monitor

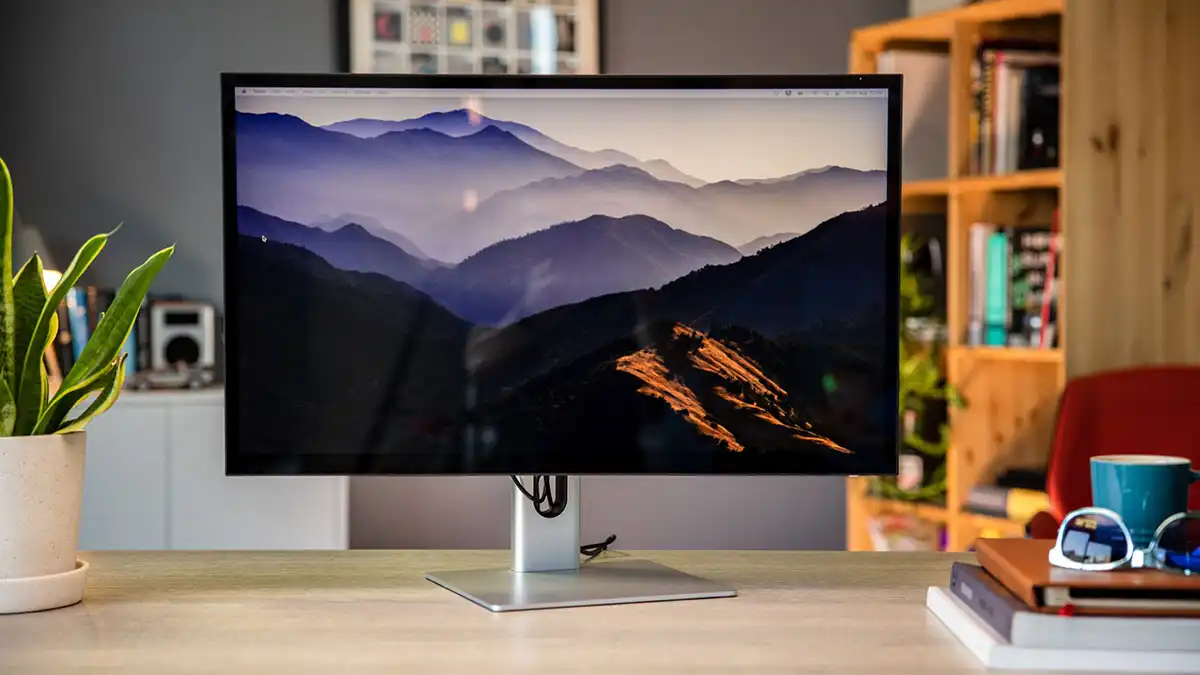
If you've plugged your laptop into a USB-C monitor and the HDR option just won't show up, you're not alone. It's one of the most common display headaches people run into, and the fix isn't always a simple toggle in your operating system. Learning how to enable HDR on USB-C monitor setups means understanding a chain of requirements, and if any single link in that chain is missing, HDR simply won't appear.
The good news is that once you know what to check, the process is straightforward. The tricky part is that your cable, your laptop's GPU, your monitor's own settings, and your operating system all need to agree before HDR kicks in. DisplayPort 1.4 over USB-C, which is what carries the HDR signal in most cases, needs enough bandwidth for 10-bit color depth at your target resolution and refresh rate.
Let's walk through exactly what to check and in what order.
Image source: Bing (Web (fair-use with source credit))
Quick Answer
To enable HDR on a USB-C monitor, you need a cable that supports DisplayPort Alt Mode, a GPU that outputs HDR over USB-C, and HDR mode turned on in your monitor's own on-screen display. Then toggle HDR in your operating system's display settings. If any one of those four conditions isn't met, the HDR option won't appear.
Why HDR Over USB-C Is Hit or Miss (And What Actually Controls It)
HDR over USB-C fails for one reason: a broken link in the signal chain. Unlike plugging in an HDMI cable where the path is simple, USB-C is a multipurpose port. It can carry video, data, power, or some combination of all three.
Whether it carries an HDR video signal depends on several things lining up.
Here's the chain that needs to hold:
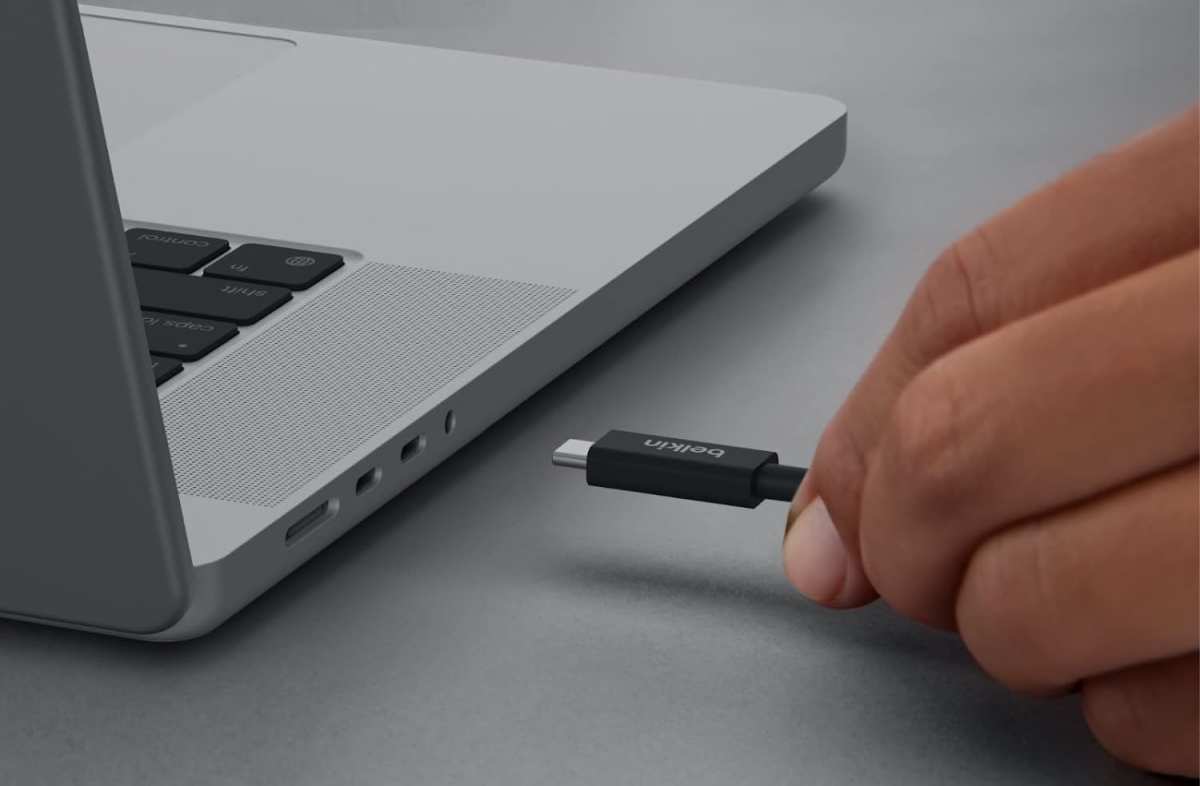
- Your USB-C cable must support DisplayPort Alt Mode (not every USB-C cable does)
- Your laptop's GPU must support HDR output over its USB-C port
- Your monitor must have HDR mode enabled in its own on-screen display menu
- Your operating system must detect all of the above and offer the HDR toggle
If you're missing even one of those, you'll never see the HDR option. Most people jump straight to Windows or macOS settings and wonder why nothing's there. The real issue is almost always upstream, either the cable or the GPU's capabilities.
Another thing that trips people up is bandwidth. HDR10 at 4K 60Hz with 10-bit color needs more data than standard dynamic range content. If your cable or port can't handle DisplayPort 1.4 speeds, the system may fall back to a lower bandwidth mode that doesn't include HDR.
That's why a cheap charging cable that physically fits the port won't get you there.
The Quick Check: Will Your Setup Actually Do HDR Over USB-C?
Before you dig into settings, run through this checklist. It'll save you a lot of frustration.
Check your cable first. Look for markings on the cable itself or the product listing. You want a cable that explicitly supports "DisplayPort Alt Mode" or "DP Alt Mode." Cables labeled only as "USB-C charging cable" or "USB 2.0 Type-C" won't carry a video signal at all, let alone HDR.
Check your laptop's USB-C port spec. Not every USB-C port on a laptop supports video output. Some are data-only or charge-only. Look up your exact laptop model's specifications from the manufacturer.
You're looking for "DisplayPort over USB-C" or "Thunderbolt 3/4" in the port description. Thunderbolt ports always support DisplayPort Alt Mode, so if you've got Thunderbolt, you're good on this front.
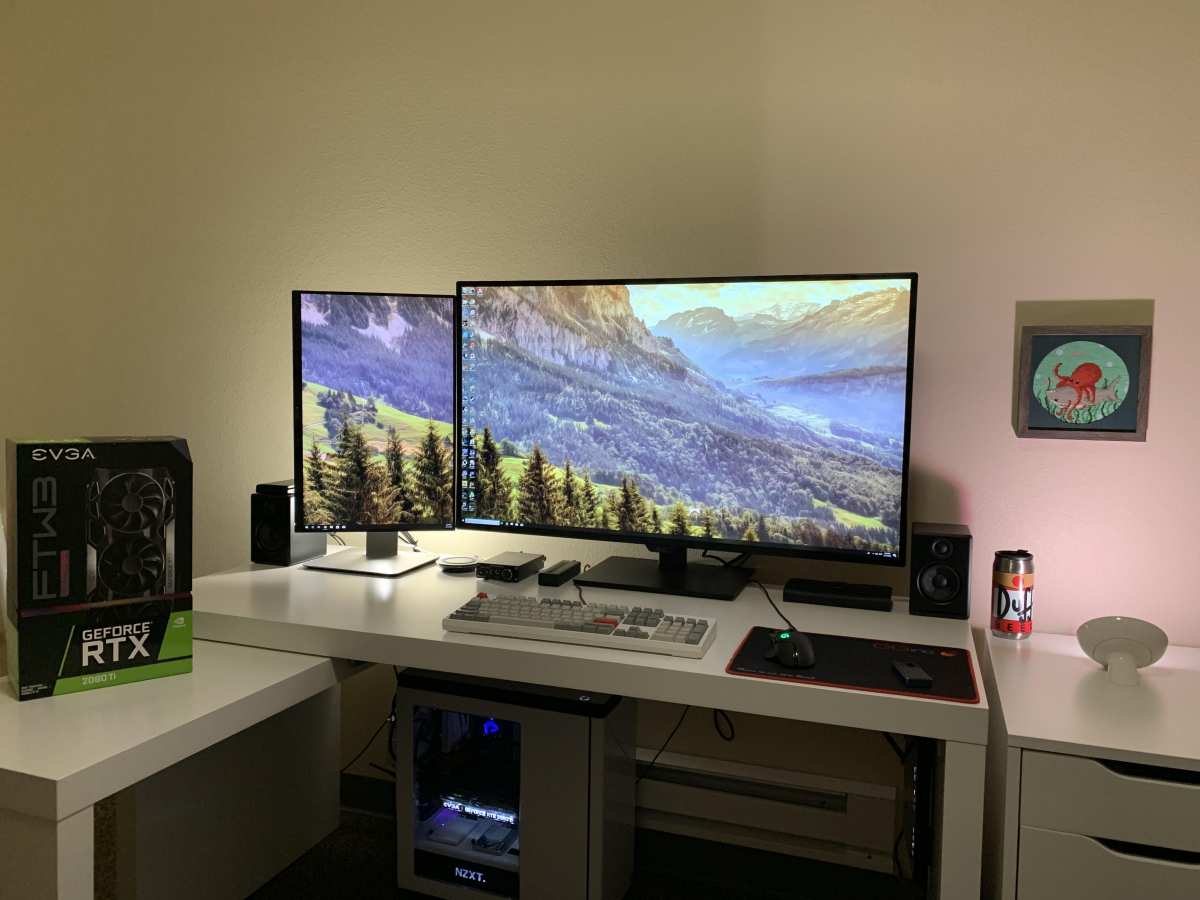
Check your GPU. This is the one people overlook most. Some older Intel integrated GPUs, particularly those before the 11th-gen Core series, don't output HDR over USB-C even if the port supports DisplayPort Alt Mode. Dedicated NVIDIA and AMD GPUs from the last several years generally do, but integrated graphics can be hit or miss.
Check your monitor's specs. Your monitor needs to actually support HDR input. A monitor that only lists "HDR Effect" or "HDR Simulation" in its specs is faking it through software processing. Real HDR support means the monitor accepts an HDR10 signal, and you'll usually find that listed clearly in the specifications.
How HDR Over USB-C Actually Works (The Signal Chain Explained)
Understanding the signal path helps you troubleshoot faster. Here's what happens when HDR works over USB-C.
Your GPU renders an HDR frame with expanded brightness and color data. That frame gets packaged into a DisplayPort signal. Instead of coming out of a DisplayPort connector, the signal is tunneled through the USB-C port using DisplayPort Alt Mode.
The cable carries that signal to your monitor. The monitor receives it, reads the HDR metadata, and maps the content to its panel's capabilities.
The key standard here is DisplayPort Alt Mode, defined by the USB Implementers Forum and VESA. When a USB-C port supports DP Alt Mode, it physically reconfigures some of the pins in the connector to carry a native DisplayPort signal. That's why it works, the video signal isn't being converted or compressed in some lossy way.
It's real DisplayPort, just through a different-shaped connector.
Thunderbolt 3 and 4 work slightly differently. They tunnel DisplayPort data through the Thunderbolt protocol rather than using Alt Mode pin reassignment, but the end result is the same. Your monitor receives a DisplayPort signal and displays it.
Thunderbolt 4, as of 2026, guarantees at least one DisplayPort 1.4 stream with HDR support, which is why Thunderbolt docks and monitors tend to be more reliable for HDR setups.
The bandwidth math matters here. DisplayPort 1.4 offers 32.4 Gbps of total bandwidth. A 4K 60Hz HDR10 signal with 10-bit 4:4:4 chroma needs roughly 17.8 Gbps.
That fits comfortably. But if you're pushing 4K 120Hz with HDR, you'll need either Display Stream Compression (DSC) or a drop to 4:2:2 chroma subsampling. Not all monitors and GPUs handle DSC over USB-C, which is another reason HDR might silently fail at higher refresh rates.
Step 1: Confirm Your Cable Supports DisplayPort Alt Mode
This is where most setups fail, and it's the easiest thing to fix.
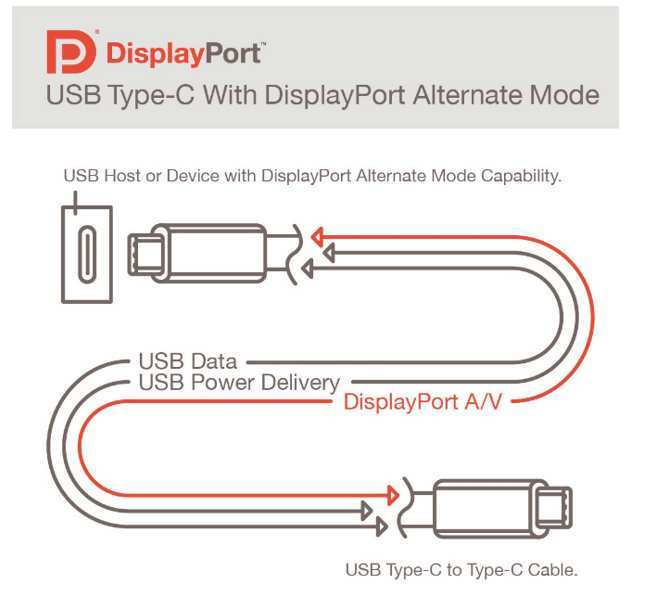
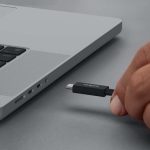
Not all USB-C cables are created equal. The USB-C connector shape tells you nothing about what the cable can actually do. A cable that came bundled with a phone charger might only handle power and USB 2.0 data.
It physically fits your monitor's port, so it seems like it should work, but it can't carry a video signal.
What to look for on the cable or packaging:
- "DisplayPort Alt Mode" or "DP Alt Mode" support explicitly listed
- "SuperSpeed USB 10Gbps" or higher (though this alone doesn't guarantee video)
- Thunderbolt 3 or Thunderbolt 4 certification (these always support video)
- VESA-certified DisplayPort cable markings
Cables that will NOT work for HDR over USB-C:
- USB-C charging cables (power only)
- USB 2.0 Type-C cables (data and power, no video alt mode)
- Cables that only list "USB 3.1 Gen 1" without mentioning DP Alt Mode
If you're unsure about your cable, the safest bet is to buy one that's explicitly rated for DisplayPort Alt Mode or Thunderbolt. Manufacturer sites like Cable Matters, Anker, and Belkin list this clearly in their product specifications. A proper DP Alt Mode cable typically costs between $10 and $25 as of 2026, so it's not an expensive fix.
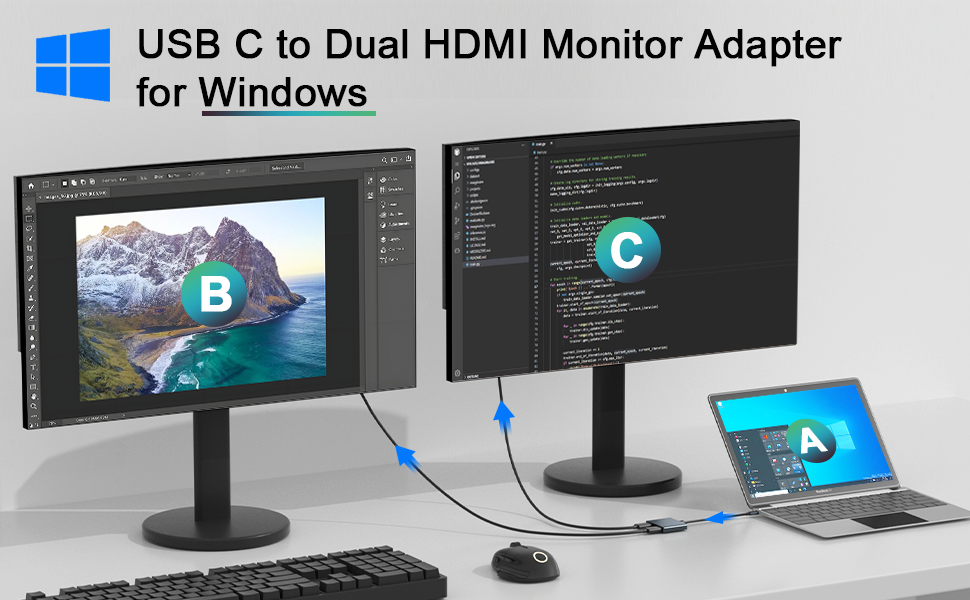
One more thing. If you're running through a USB-C hub or dock, the dock itself needs to support DisplayPort Alt Mode passthrough or Thunderbolt tunneling. Some budget USB-C hubs strip out video capability entirely or limit it to standard dynamic range.
Check the dock's specs for HDR or 10-bit color passthrough support before assuming the chain is intact.
Step 2: Verify Your GPU Can Output HDR Over USB-C
Your cable might be perfect, but if your GPU doesn't push an HDR signal out through the USB-C port, you're stuck. This is especially common with laptops that have multiple USB-C ports where only one supports video output.
How to check on Windows:
Open Device Display and look at your GPU name. Then search the manufacturer's specifications page for that exact GPU model. You're looking for "HDR over DisplayPort" or "HDMI 2.0b / DP 1.4 HDR output" in the feature list.
For NVIDIA GPUs, anything from the GTX 10-series onward supports HDR10 output over DisplayPort. AMD's RX 400-series and newer handle it fine. Intel is where things get messy.
Intel UHD Graphics 620 and older, found in many 8th and 9th-gen Core laptops, often don't output HDR over USB-C even when the port supports DP Alt Mode. Intel Iris Xe and Arc GPUs from 11th-gen onward generally do.
How to check on macOS:
Apple handles this more transparently. If your Mac supports HDR and the monitor is connected via USB-C or Thunderbolt, the option appears automatically. MacBook Pro models from 2018 onward and MacBook Air models with M1 or later support HDR over USB-C.
The M1 MacBook Air is a notable exception, it drives HDR on its built-in display but has limited external HDR support depending on the monitor.
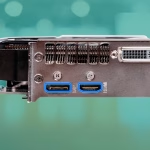
The port matters as much as the GPU. Some laptops have two USB-C ports where only one carries a DisplayPort signal. Check your laptop's manual or spec sheet. The port that supports video is usually marked with a small DisplayPort icon or listed as "Thunderbolt" in the specifications.
Step 3: Enable HDR Mode in Your Monitor's OSD First
This is the step most people skip, and it's the reason HDR doesn't show up in their operating system settings. Many monitors ship with HDR mode turned off in their on-screen display menu. Until you enable it there, the monitor doesn't advertise HDR capability to your computer, so Windows or macOS never offers the toggle.
What to look for in your monitor's OSD:
Navigate through the physical buttons on your monitor to find the picture or display settings. Look for an option labeled "HDR Mode," "HDR10," "HDMI HDR," or sometimes just "HDR." Turn it on.
Some monitors have confusing labels here. "HDR Effect" or "HDR+" on budget monitors is usually a software simulation, not true HDR signal processing. True HDR modes are typically labeled plainly as "HDR" or "HDR10" and are found on monitors that actually support HDR input in their specifications.
Monitor-specific quirks to know:
- Dell monitors often have HDR settings under "Display" in the OSD, with options for "HDR Standard" and "HDR Movie"
- LG monitors may list HDR under "Picture Mode" as an available preset
- Samsung monitors sometimes require you to enable "Input Signal Plus" or "HDMI UHD Color" even for USB-C inputs before HDR becomes available
- ASUS and Acer monitors frequently have HDR toggled off by default in the "Color" or "Image" menu
Once you've enabled HDR in the monitor's OSD, you may need to disconnect and reconnect the USB-C cable or restart your laptop for the operating system to re-detect the monitor's capabilities.
Step 4: Turn On HDR in Windows or macOS
Now that your cable, GPU, and monitor are all configured, it's time to flip the switch in your operating system.
Windows 10 and Windows 11
Go to Settings, then System, then Display. If your setup is correct, you'll see an HDR section with a toggle for "Use HDR." In Windows 11, there's also an "Auto HDR" toggle that applies HDR-like processing to SDR games.

Windows 11 also offers an HDR calibration tool in the Microsoft Store. It walks you through setting peak brightness, black saturation, and color balance for your specific monitor. Running this calibration makes a noticeable difference, especially on monitors that don't have factory-calibrated HDR profiles.
One thing to watch for: Windows sometimes enables HDR but leaves the SDR content brightness slider too low. If your desktop looks washed out after enabling HDR, go back to the HDR settings and adjust the "SDR content brightness" slider upward until the desktop looks normal.
macOS
On a Mac, go to System Settings, then Displays. If your monitor supports HDR and the connection is working, you'll see an "High Dynamic Range" toggle. macOS tends to handle HDR more seamlessly than Windows, but it's also pickier about which monitors it recognizes as HDR-capable.
If the toggle doesn't appear on macOS, try disconnecting the cable, enabling HDR in the monitor's OSD, then reconnecting. macOS sometimes caches the monitor's EDID data and won't re-detect HDR capability without a fresh connection.
Step 5: Calibrate and Test Your HDR Output
HDR is enabled, but does it actually look right? This is where testing matters, because a bad HDR implementation can look worse than SDR.
Quick visual tests:
Play an HDR video on YouTube. Search for "HDR 4K demo" and make sure the player shows "HDR" in the quality settings. If the video looks noticeably brighter in highlights and deeper in shadows compared to the SDR version, you're getting real HDR.
For gaming, launch a title with native HDR support. Cyberpunk 2077, Forza Horizon 5, and Horizon Zero Dawn all have reliable HDR implementations. If the in-game HDR toggle appears and the picture looks correct, your chain is working end to end.
Windows HDR calibration:
Open the HDR Calibration app from Microsoft Store. It guides you through three steps: minimum brightness, peak brightness, and color saturation. Follow the instructions precisely.
This creates a color profile that tells Windows exactly what your monitor can do, which improves HDR rendering across all apps.
Common calibration issues:
- If HDR looks dim or washed out, your monitor's peak brightness might be too low for convincing HDR. This is common with DisplayHDR 400 monitors.
- If colors look oversaturated or neon, the monitor might be applying its own HDR tone mapping on top of the GPU's output. Try switching the monitor's HDR mode between available presets.
- If the screen flickers or drops to 30Hz after enabling HDR, you're hitting a bandwidth limit. Drop your refresh rate to 60Hz or lower your resolution to restore HDR at a stable frame rate.
When HDR Still Won't Enable: Troubleshooting the Common Blockers
You've checked the cable, confirmed the GPU, enabled HDR in the monitor's OSD, and the toggle still won't appear. Here's where to look next.
Update your GPU driver. Outdated drivers are a surprisingly common cause. NVIDIA and AMD both added HDR output fixes in driver updates over the past few years. Grab the latest driver from the manufacturer's site, not the generic one Windows Update provides.
Try a different USB-C port. If your laptop has multiple USB-C ports, the other one might support DP Alt Mode when the first one doesn't. This is common on business laptops where one port is Thunderbolt and the other is USB data only.
Bypass any dock or hub. Plug the monitor directly into the laptop's USB-C port. If HDR works directly but not through the dock, the dock is the bottleneck. Many USB-C docks, especially older or budget models, don't pass through HDR signals even if they handle standard video fine.
Check your refresh rate. HDR at high refresh rates needs more bandwidth than some cables and ports can deliver. Drop to 60Hz in your display settings and see if the HDR option appears. If it does, your cable or port can't handle HDR at the higher refresh rate.
Reset the monitor's EDID handshake. Disconnect the USB-C cable, power cycle the monitor, enable HDR in the OSD, then reconnect. Sometimes the monitor and GPU get stuck in a handshake that doesn't include HDR capabilities.
USB-C vs. HDMI vs. DisplayPort: Which Connection Gives You the Best HDR?
If USB-C is giving you trouble, it's worth knowing how the alternatives stack up for HDR.
| Connection | Max Bandwidth | HDR Support | Notes |
|---|---|---|---|
| USB-C (DP Alt Mode 1.4) | 32.4 Gbps | HDR10, 10-bit | Single cable for video and power |
| Thunderbolt 3/4 | 40 Gbps | HDR10, 10-bit | Most reliable for HDR over USB-C |
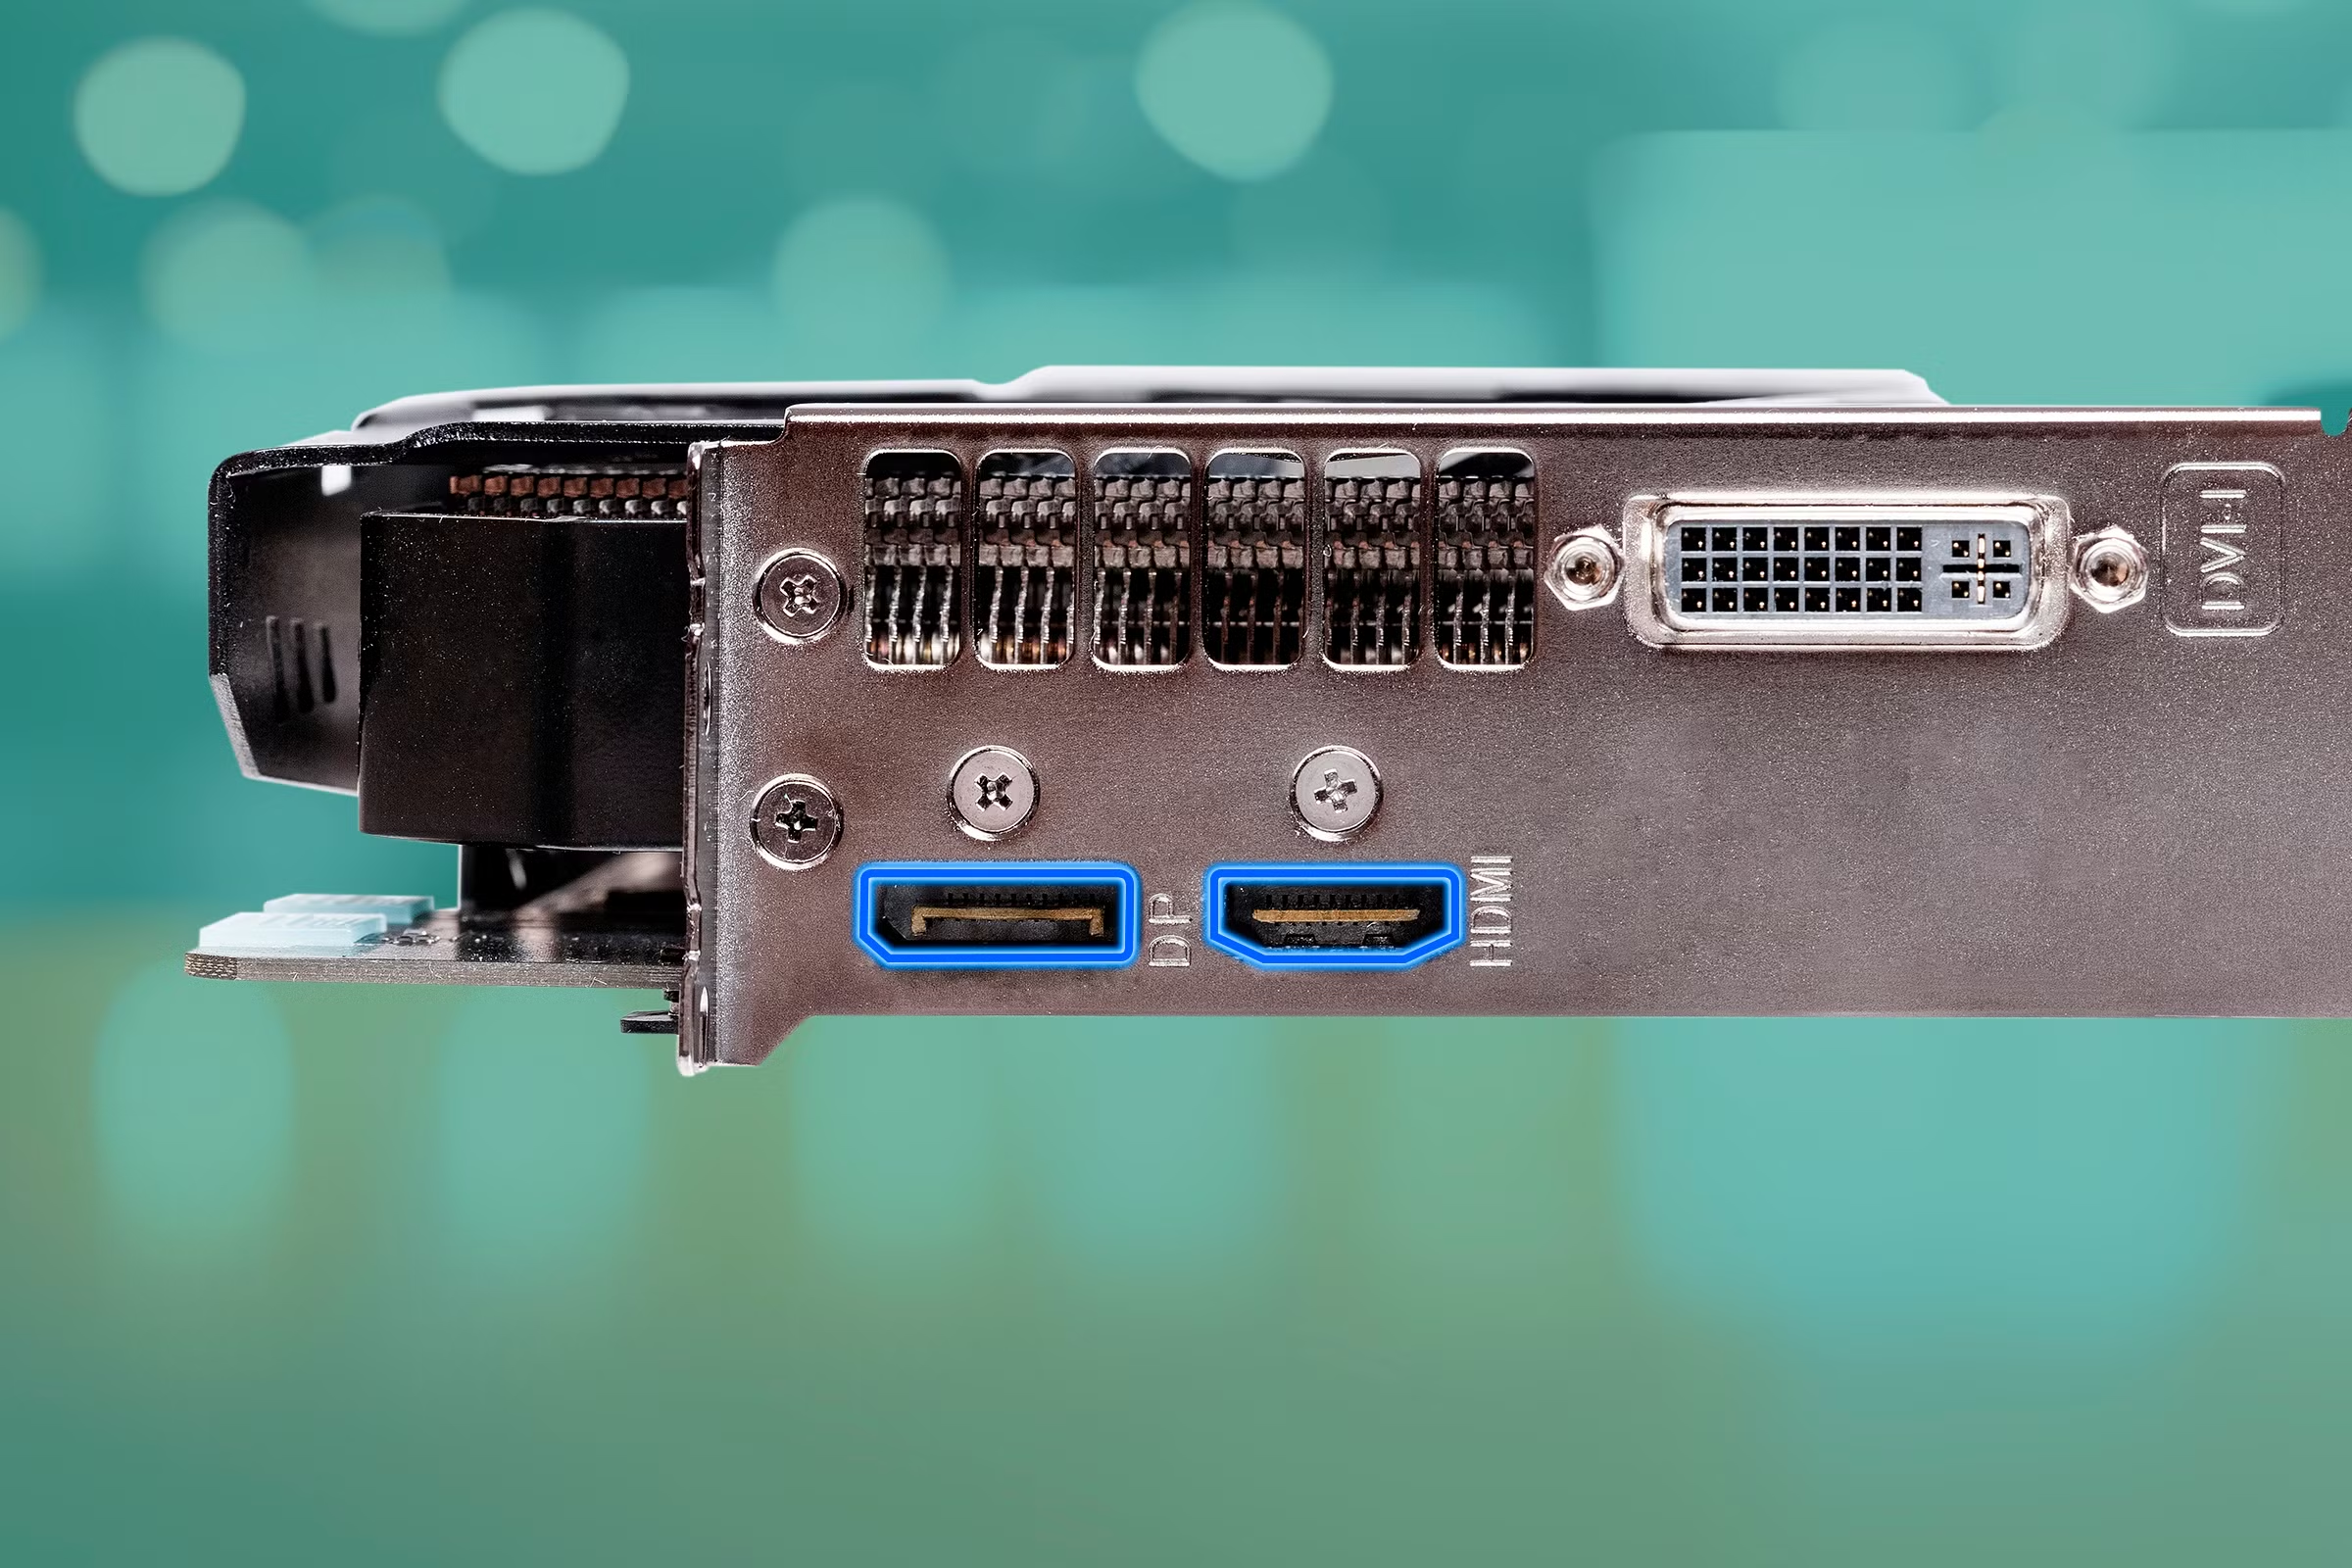
| DisplayPort 1.4 | 32.4 Gbps | HDR10, 10-bit | Best compatibility, no power delivery |
| HDMI 2.0 | 18 Gbps | HDR10, 10-bit | Bandwidth-limited at 4K 60Hz |
| HDMI 2.1 | 48 Gbps | HDR10, Dolby Vision | Highest bandwidth, no power delivery |
USB-C with DisplayPort Alt Mode and native DisplayPort 1.4 offer identical HDR capability. The difference is convenience, USB-C carries power and data alongside video. HDMI 2.1 actually offers more bandwidth, but you lose the single-cable docking benefit.
For most people, USB-C is the right choice if the chain is intact. If you're troubleshooting and just want HDR working, a direct DisplayPort cable eliminates the USB-C variable entirely.
Fake HDR vs. Real HDR: How to Tell If Your Monitor Is Actually Displaying HDR
Not all HDR is created equal, and some monitors advertise HDR they can't actually deliver.
Look for VESA DisplayHDR certification. VESA defines specific tiers: DisplayHDR 400, 600, and 1000. Each tier sets minimum requirements for peak brightness, color gamut, and black level. A monitor with DisplayHDR 400 certification meets a real, tested standard.
A monitor that just says "HDR Ready" or "HDR Effect" with no VESA badge is almost certainly faking it.
The brightness test. Real HDR needs high peak brightness to make highlights pop. DisplayHDR 400 requires 400 nits, which is modest but visible. DisplayHDR 600 and 1000 are where HDR starts looking genuinely impressive.
If your monitor's peak brightness is under 300 nits, even with HDR enabled, you won't see a meaningful difference from SDR.
Check for local dimming. True HDR needs the monitor to brighten some areas while keeping others dark. Without local dimming, the entire backlight brightens uniformly, which defeats the purpose. Edge-lit local dimming is the minimum.
Full-array local dimming with many zones is where HDR really shines.
Expert Tips for Getting the Best HDR Experience Over USB-C
A few things that make a real difference once you've got HDR running.
Use the right HDR mode in your monitor's OSD. Many monitors offer multiple HDR presets like "HDR Game," "HDR Movie," and "HDR Photo." These apply different tone mapping curves. Pick the one that matches what you're doing. The wrong preset can make HDR look either crushed or washed out.
Keep your USB-C cable short. Longer cables, over about 6 feet, can degrade the signal enough to cause dropouts or force a lower bandwidth mode. If you need a longer run, use an active cable rated for DisplayPort 1.4.
Don't leave HDR on for desktop use. HDR on the Windows desktop often looks washed out because SDR content isn't tone-mapped well. Windows 11 handles this better than Windows 10, but it's still imperfect. Toggle HDR on when you're watching HDR content or playing an HDR game, then toggle it off for general productivity.
Check for DSC support if you're running high refresh rates. Display Stream Compression lets you run 4K 120Hz HDR over a single USB-C connection without visible quality loss. Both your GPU and monitor need to support it. NVIDIA RTX 20-series and newer support DSC.
AMD RX 5000-series and newer do too.
Frequently Asked Questions
Does every USB-C cable support HDR?
No. Only cables that explicitly support DisplayPort Alt Mode or are Thunderbolt certified can carry an HDR video signal. Basic USB-C charging cables and USB 2.0 Type-C cables cannot.
Why is HDR grayed out in Windows display settings?
Windows grays out the HDR toggle when it doesn't detect an HDR-capable display. This usually means HDR isn't enabled in your monitor's OSD, your cable doesn't support DP Alt Mode, or your GPU can't output HDR over that specific USB-C port.
Can I use a USB-C hub and still get HDR?
Only if the hub explicitly supports HDR passthrough or DisplayPort Alt Mode tunneling. Most budget USB-C hubs strip out HDR capability. Thunderbolt docks are more reliable for HDR passthrough.
Does macOS support HDR over USB-C?
Yes, on MacBook Pro models from 2018 onward and Macs with M1 or later chips. The HDR toggle appears in System Settings when a compatible monitor is connected via USB-C or Thunderbolt.
Is DisplayHDR 400 good enough for HDR?
DisplayHDR 400 meets the minimum VESA standard, but the effect is subtle. The 400-nit peak brightness and lack of mandatory local dimming mean you'll see some improvement over SDR, but it's not the dramatic HDR experience that DisplayHDR 600 or 1000 delivers.
Do I need to enable HDR on both the monitor and in Windows?
Yes. The monitor's OSD HDR mode tells the monitor to accept and process an HDR signal. The Windows toggle tells the GPU to send one.
Both need to be on for HDR to work.

Similar Posts