How to Fix Blurry Text on 4K Monitor
If you're trying to figure out how to fix blurry text on 4k monitor setups, you're not alone. It's one of the most common frustrations with high-resolution displays, and it usually comes down to scaling, cables, or rendering settings. The good news is that it's almost always fixable without replacing any hardware.
Most of the time the culprit is Windows or macOS trying to scale a 3840×2160 panel without proper HiDPI support. Per VESA standards, a 4K monitor packs over 8 million pixels onto the panel, and if your operating system or cable isn't handling that correctly, text looks fuzzy instead of crisp.
Quick Answer
Check your display scaling first. Open Settings > System > Display and set scaling to 150% or 200%. Make sure the resolution is set to the monitor's native 3840 x 2160.
If text is still blurry, run the ClearType tuner and check your cable connection.
First, Let's Figure Out What's Actually Causing It
Blurry text on a 4K monitor isn't random. It almost always traces back to one of five root causes.
Here are the most likely suspects:
- Scaling mismatch: Your OS is set to 100% on a 27" 4K panel, making everything tiny and rendering fonts at the wrong size for the pixel grid.
- Non-native resolution: Your GPU is outputting 1920×1080 and the monitor is upscaling it, which always looks soft.
- Bad cable or wrong port: An older HDMI cable or a misconfigured port can force chroma subsampling or drop the signal to a lower bandwidth mode.
- GPU driver issue: Outdated or corrupted drivers mess with how the GPU handles subpixel rendering and scaling.
- Legacy app incompatibility: Older desktop apps aren't DPI-aware, so Windows blurs them when it tries to scale them up.
The fix depends entirely on which one is the actual cause. That's why a one-size-fits-all answer never works here. We'll walk through each branch below, starting with the most common.
Is It a Windows Scaling Problem? (Most Common)
Yes, probably. Windows scaling issues cause the majority of blurry text complaints on 4K monitors.
How Windows Scaling Works on 4K Displays
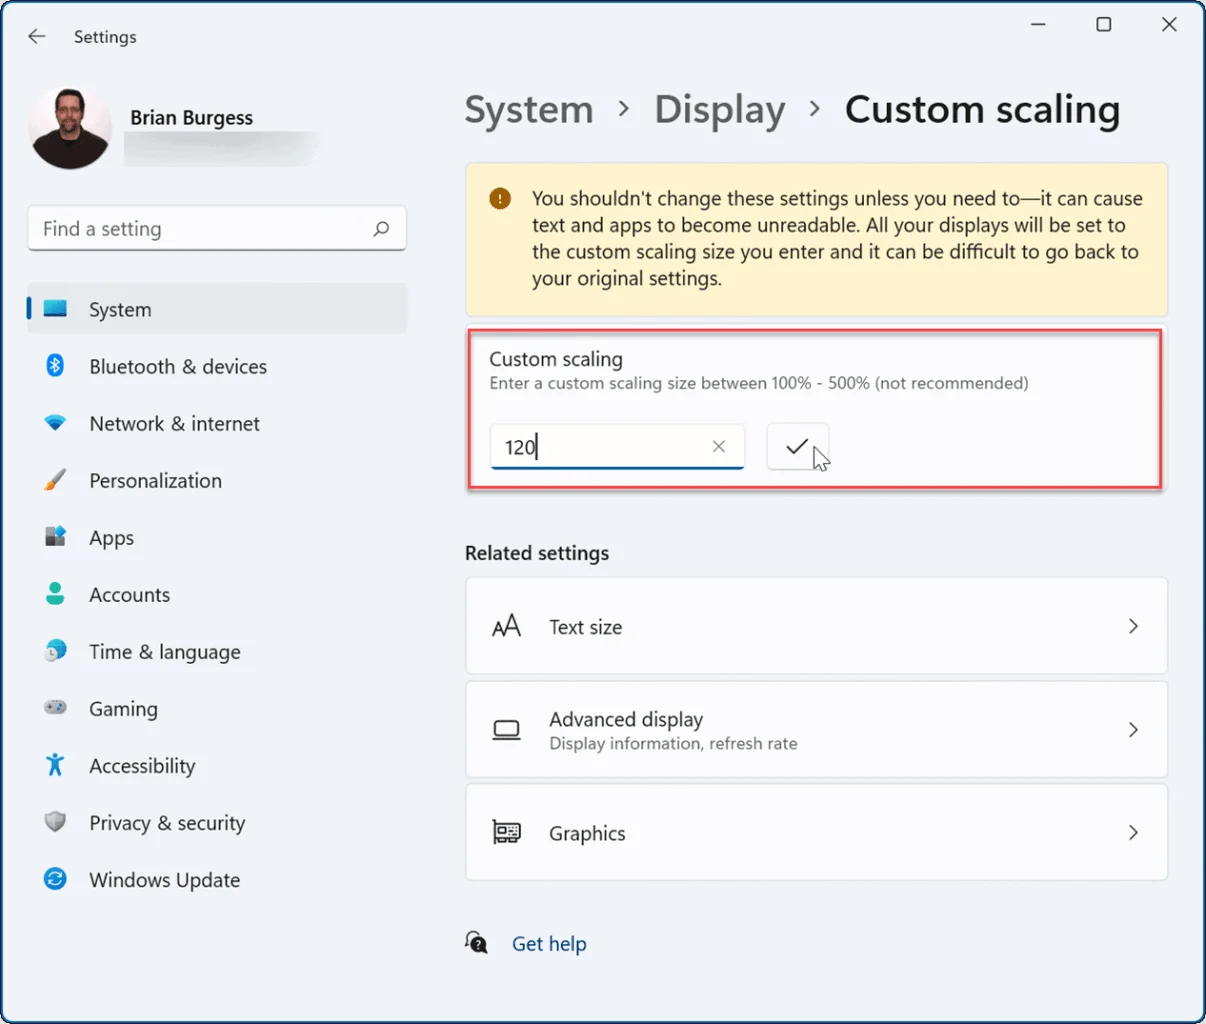
Windows uses a scaling factor to make UI elements readable on high pixel density panels. On a 27-inch 4K monitor running at native 3840×2160, the recommended scaling is 150%. For a smaller 24-inch 4K panel you'll want 200% since the pixel density is higher (around 184 PPI versus 163 PPI at 27 inches).
At 100% scaling, everything renders at native pixel level which means text is razor sharp but almost unreadable on a 27" panel. At 150%, Windows renders the desktop at a virtual resolution and maps it onto the physical pixels. Most modern apps handle this fine.
The problem starts with older applications. If an app isn't marked as DPI-aware in its manifest, Windows uses a technique called bitmap scaling. It renders the app at 100% and then stretches the result to match your scaling percentage.
That stretching is what creates the blur.
How to Check and Adjust Your Scaling Percentage
Here's what to do right now:
- Right-click your desktop and select Display settings.
- Under Scale & layout, check what scaling percentage is currently set.
- If you see 100% on a 4K monitor, change it to 150% (or 200% for 24" panels).
- Confirm the Resolution dropdown shows 3840 x 2160 (Recommended).
- Sign out and back in for the changes to fully apply.
Most users find 150% works best for 27" 4K panels. Some prefer 175% for more breathing room.
| Monitor Size | Pixel Density (PPI) | Recommended Scaling |
|---|---|---|
| 24" 4K | ~184 PPI | 200% |
| 27" 4K | ~163 PPI | 150% |
| 32" 4K | ~138 PPI | 125-150% |
| 43" 4K | ~103 PPI | 100% |
"Scaling" in the GPU driver panel (NVIDIA Control Panel or AMD software) can override what Windows does and make text look oversharped or soft so make sure that is set to "Use Windows display scaling" if you are unsure.
Fixing Blurry Legacy Apps That Don't Respect Scaling
If just one or two apps look blurry while everything else is fine, those apps likely aren't DPI-aware. Windows has a fix for that.
- Right-click the app's executable or shortcut.
- Select Properties.
- Click the Compatibility tab.
- Click Change high DPI settings.
- Check Override high DPI scaling behavior.
- In the dropdown, select Application.
- Click OK and relaunch the app.
That tells Windows to let the app handle its own scaling instead of stretching it. The app might look smaller but the text will be sharp. If that makes it too small, try System (Enhanced) from the same dropdown which applies a newer scaling method that works better with some programs.
Is Your Cable or Port the Problem?
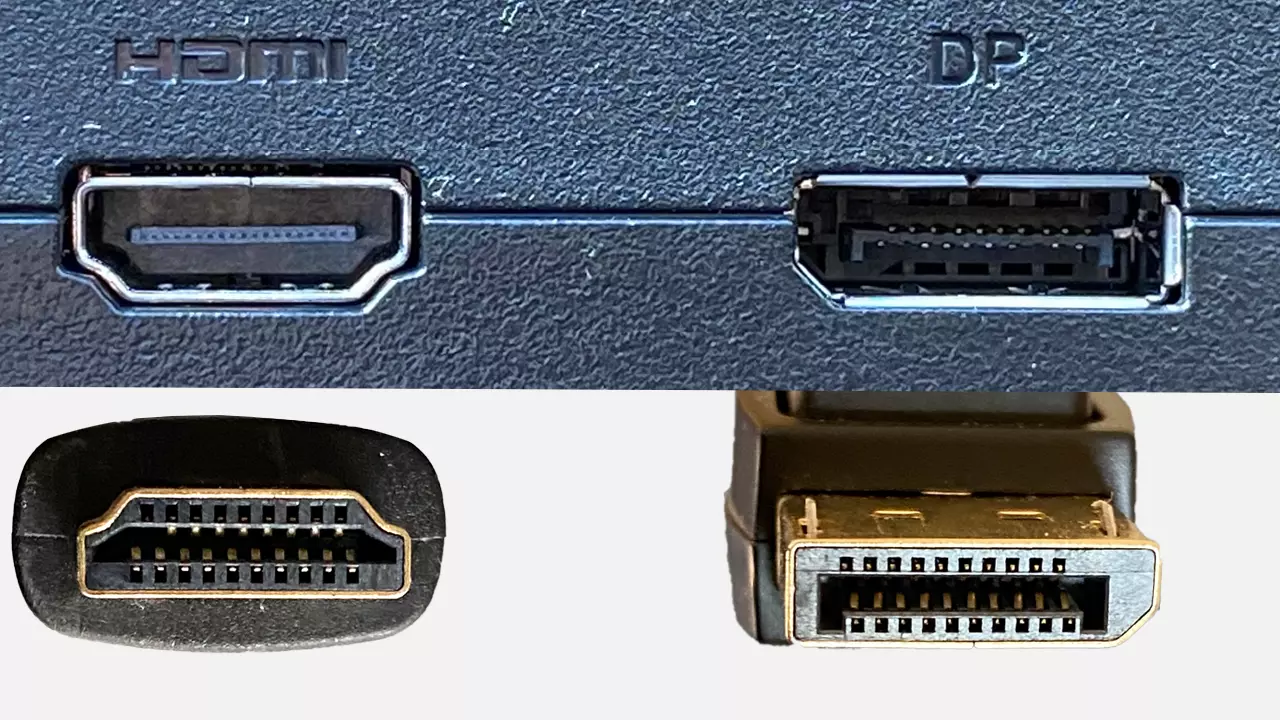
Your cable can absolutely be the cause and it is one of the most overlooked culprits.
Why Your Cable Choice Actually Matters for Text Clarity
Not all cables and ports carry the same signal quality. On paper, any HDMI or DisplayPort cable should deliver a 4K signal. In practice, older cables and mismatched ports can trigger something called chroma subsampling.
Chroma subsampling compresses color information to fit more data through a limited bandwidth connection. At 4:2:2 or 4:2:0, text edges get slightly smeared because the color resolution drops while luminance stays full. You notice it most on small text and thin UI lines against contrasting backgrounds.
This is extremely common when people use an old HDMI cable from their TV setup on a computer monitor. The cable works fine for watching video but it produces noticeably softer text in a desktop environment where you're staring at small fonts for hours.
HDMI vs. DisplayPort: Which One Gives You Sharper Text
For PC monitors, DisplayPort is generally the safer choice. HDMI is fine too, but only if the version matches the bandwidth you need.
| Standard | Max Bandwidth | 4K @ 60Hz Support | Full Chroma (4:4:4) | Notes |
|---|---|---|---|---|
| HDMI 1.4 | 10.2 Gbps | Yes (30Hz limited) | At 30Hz only | Too old for comfortable desktop use |
| HDMI 2.0 | 18 Gbps | Yes (60Hz) | Yes | Works well, but verify cable quality |
| HDMI 2.1 | 48 Gbps | Yes (120Hz+) | Yes | Overkill for most office setups |
| DisplayPort 1.2 | 17.28 Gbps | Yes (60Hz) | Yes | Solid choice for 4K 60Hz |
| DisplayPort 1.4 | 25.92 Gbps | Yes (120Hz with DSC) | Yes | Best all-around for 4K as of 2026 |
| DisplayPort 2.0 | 77.37 Gbps | Yes (240Hz+) | Yes | Found on newest GPUs and monitors |
The key spec is 4:4:4 chroma subsampling at native resolution and refresh rate. If your cable or port can't deliver that, text will look subtly worse. Most modern HDMI 2.0 and DisplayPort 1.2 cables handle it fine.
Older or very cheap cables might not.
Quick Cable and Port Troubleshooting Checklist
Try these steps:
- Swap to a different cable. If you're on HDMI, try DisplayPort or vice versa.
- Make sure you're not using a TV's HDMI input meant for media players as those sometimes apply post-processing that softens text.
- Check your monitor's on-screen display (OSD) for an "HDMI Black Level" or "PC Mode" setting and make sure it's enabled.
- Try a different port on your GPU if one is available.
- Avoid adapters and dongles when possible since they can introduce signal negotiation issues.
Is Your GPU or Monitor Settings Causing It?
Yes and it's worth looking at. Both the GPU driver and the monitor's own settings affect text sharpness.
GPU Driver Issues That Affect Text Rendering
Outdated or corrupted GPU drivers can mess with how text is rendered at the hardware level. This is especially common after a major Windows update where the OS installs a generic driver over your GPU manufacturer's driver.
You want to be running the latest driver from NVIDIA, AMD, or Intel directly. Not the one Windows Update provides.
For NVIDIA GPUs:
- Open NVIDIA Control Panel.
- Navigate to Display > Change resolution.
- Confirm the resolution is set to 3840×2160 at the correct refresh rate.
- Under Adjust desktop size and position, set Scaling to Aspect ratio or No scaling, and check Override the scaling mode set by games and programs only if instructed by a specific app.
- Make sure Perform scaling on is set to GPU if available.
For AMD GPUs:
- Open AMD Software.
- Go to Display settings.
- Confirm GPU Scaling is off unless you're troubleshooting a specific app's rendering issues.
Some users report that updating to the latest driver fixed blurry text on 4K monitors within minutes of installation. This doesn't mean that just reinstalling drivers fixes every case, driver updates can involve scaling and timing changes that happen to clear things up. It is one of the steps that often helps.
Monitor Sharpness and Image Settings That Hurt Clarity
The monitor itself can add blur through its own processing. This is more common on 4K TVs used as monitors but it applies to dedicated monitors too.
Check the OSD (on-screen display) for:
- Sharpness: If set too low, everything looks soft. If set too high, you get white halos around text. Set it to the middle or to 0 (on some monitors, 0 means no processing).
- Game Mode or PC Mode: Some monitors have a specific input mode that disables post-processing. Use that.
- Response Time / Overdrive: Aggressive overdrive settings cause inverse ghosting which can look like text smearing. Set this to Normal or Medium.
- Noise Reduction: Turn this off. It's meant for video but it softens everything on a desktop.
- Dynamic Contrast: Disable it for desktop use as it can shift text appearance as content changes.
Resetting the monitor to factory defaults through the OSD is a quick way to eliminate all of these at once.
The ClearType Tuner (Windows Only, and It Actually Helps)
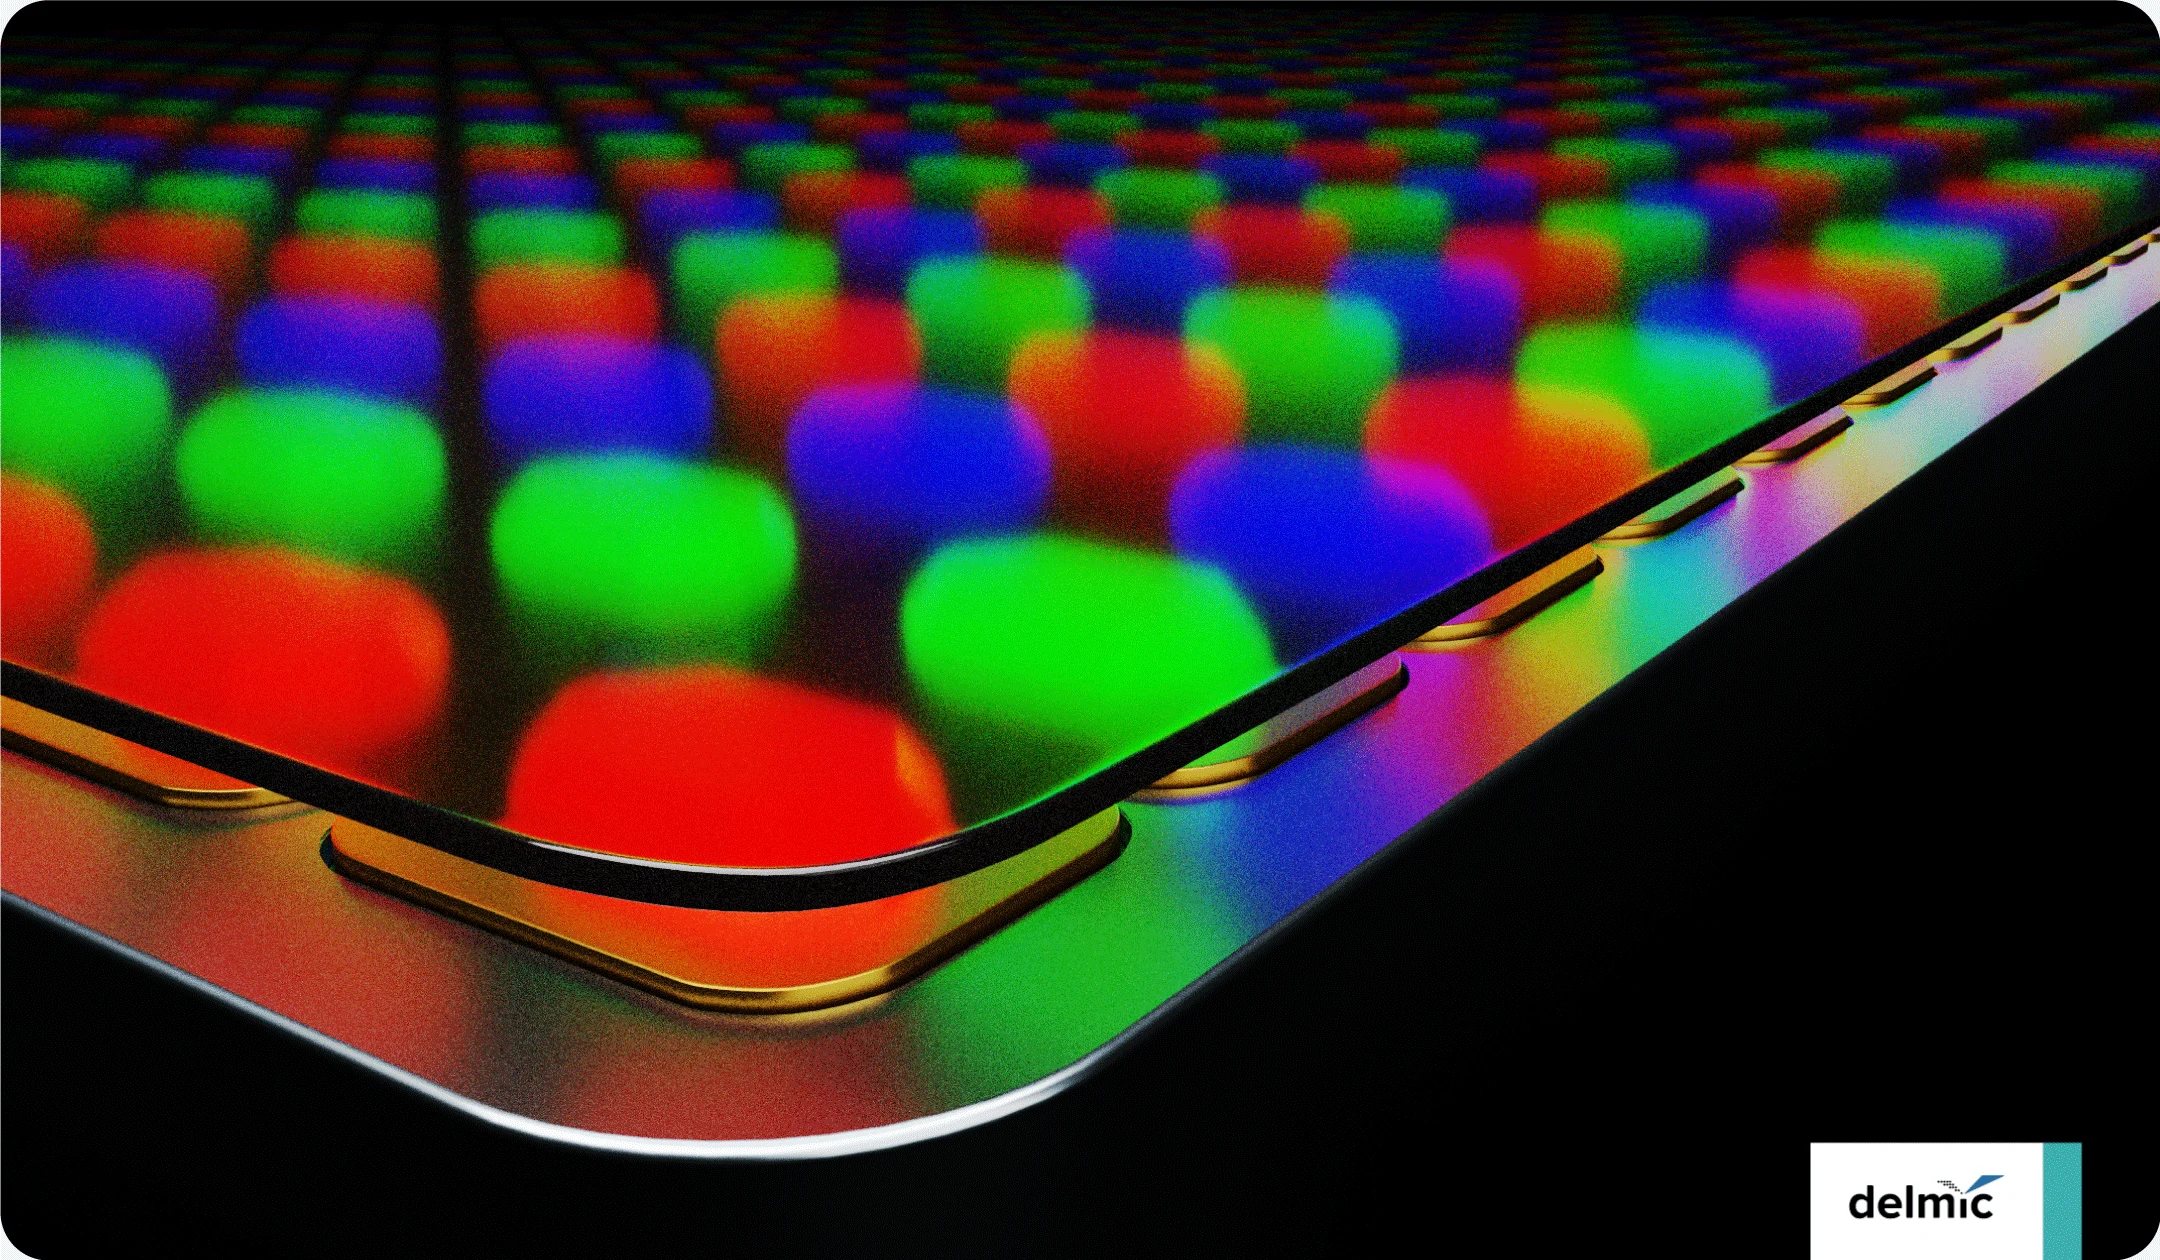
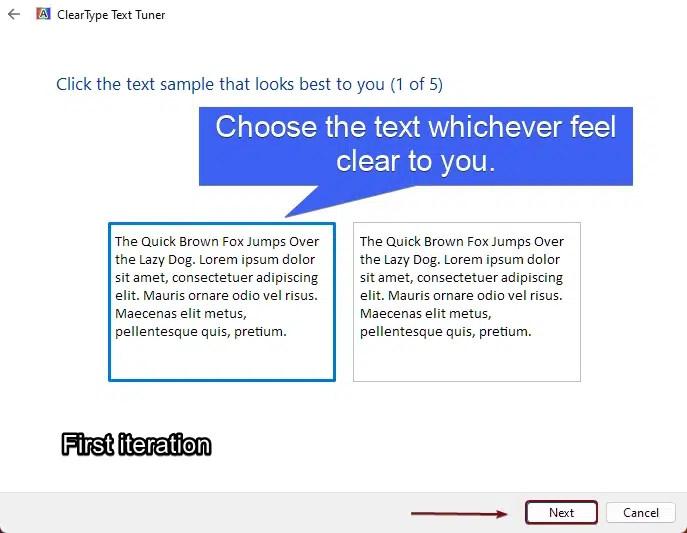
ClearType is Microsoft's subpixel rendering engine. It uses the individual red, green, and blue subpixels in each LCD pixel to make text edges appear sharper than the physical resolution should allow.
Windows asks you to tune ClearType during initial setup but if you skipped that or you're using a new monitor, it might not be optimized for your specific panel.
Here's how to run it:
- Press the Windows key and type ClearType.
- Click Adjust ClearType text.
- Make sure Turn on ClearType is checked.
- Click Next. Windows will show you several text samples.
- On each screen, pick the sample that looks best to you.
- Click Finish.
The tuner calibrates font rendering to your specific panel's subpixel layout. Most standard RGB stripe panels will benefit noticeably. If you're using a PenTile or BGR panel (less common but found in some laptops and a few monitors), ClearType adjustments will be more dramatic.
This is one of those steps that fixes text clarity complaints for people who've tried everything else without success. It takes under a minute.
Is It a macOS Scaling Issue?
Yes, if you're on a Mac the problem is different. macOS handles high-DPI displays differently than Windows and the symptoms can look similar.
How macOS Handles HiDPI on External 4K Monitors
Apple uses a HiDPI rendering mode that doubles the logical resolution before mapping it to the physical panel. On a 4K monitor, macOS might present a logical desktop at 1920×1080 and then render everything at 3840×2160 under the hood. Text looks crisp because each logical pixel maps to exactly four physical pixels.
The catch is that macOS doesn't always default to HiDPI on third-party 4K monitors. It depends on the monitor's EDID data and how macOS interprets it. Some 4K monitors work perfectly at HiDPI out of the box.
Others default to a "native" 4K mode where everything is razor sharp but microscopic.
If your Mac is outputting at full 3840×2160 without HiDPI scaling, text will be sharp but unreadably small on a 27" panel. If it's set to a non-native resolution, text will look blurry.
Enabling True HiDPI Resolution on Mac
Here's how to check and fix it:
- Open System Settings > Displays.
- Look for the Resolution section. If you see Default for display, click it.
- Select Scaled and you should see a list of resolution options.
- The options with a small monitor icon next to them are HiDPI modes. Pick the one that matches your preferred UI size.
- If you don't see HiDPI options, you may need a third-party tool like BetterDisplay or SwitchResX to force HiDPI on monitors that don't report it natively.
BetterDisplay is free and widely recommended. It lets you create custom HiDPI resolutions and manage scaling independently of what macOS offers in the default display panel.
One thing to watch for: if you're connecting through a USB-C hub or docking station, some hubs don't pass the full EDID data to the Mac. That can hide HiDPI options entirely. Try connecting directly with a USB-C to DisplayPort cable to see if the options appear.
When It's a Multi-Monitor Setup Causing the Blur
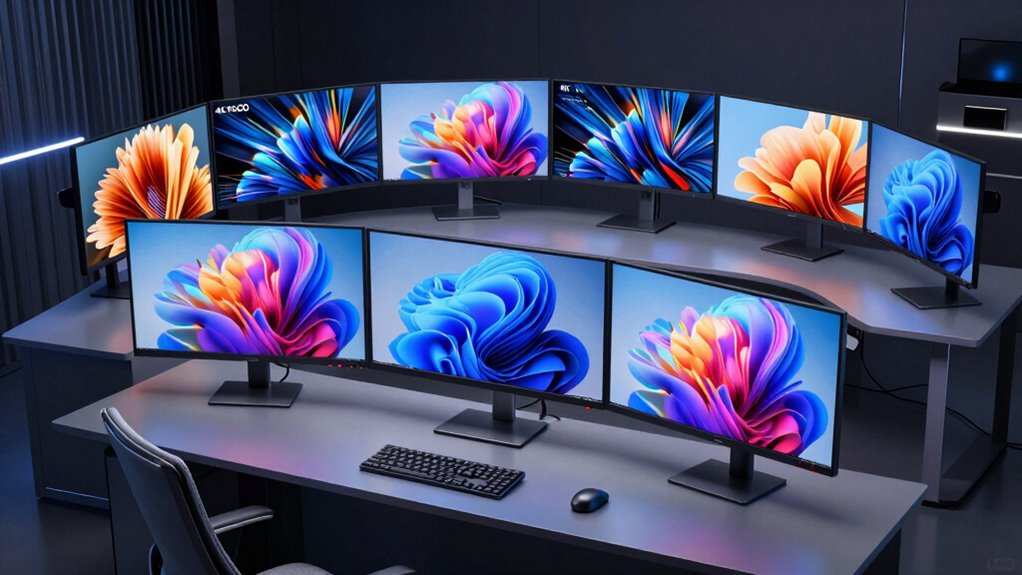
Mixed-resolution setups are a notorious source of blurry text. If you're running a 4K monitor alongside a 1080p or 1440p panel, Windows and macOS can struggle to scale correctly across both.
The core issue is that each monitor wants a different scaling percentage. Your 4K panel needs 150%. Your 1080p panel looks best at 100%.
When Windows tries to apply one scaling factor to both, one of them ends up blurry.
Here's what to try:
- Set per-monitor scaling: In Windows Display settings, click on each monitor individually and set its own scaling percentage. Windows 10 and 11 both support this but it doesn't always work perfectly with older apps.
- Match scaling percentages: If possible, set both monitors to the same scaling percentage. A 1080p 24" panel and a 4K 27" panel have similar pixel density (around 92 PPI versus 163 PPI) so this won't be perfect, but it eliminates the cross-monitor blur for non-DPI-aware apps.
- Use GPU scaling on the secondary: In NVIDIA Control Panel, you can set scaling to occur on the GPU rather than the display. This sometimes produces cleaner results when mixing resolutions.
- Avoid dragging windows between monitors with different scaling: This is where the blur is most noticeable. Windows bitmap-scale the window as it crosses the boundary, and it can take a moment to re-render.
If you're on macOS with a mixed setup, the situation is similar but Apple's window server handles it somewhat better. Still, you may notice that a window looks sharp on one monitor and slightly soft when moved to the other.
Blurry in Specific Apps but Fine Everywhere Else?
If the desktop, browser, and most apps look fine but one or two programs are fuzzy, those apps are almost certainly not DPI-aware.
This is extremely common with:
- Older desktop software (especially anything pre-2015)
- Some Electron apps that haven't been updated for HiDPI
- Legacy business or enterprise software
- Certain games running at non-native resolution
- Remote desktop and VNC clients
The fix is the per-app DPI override we covered earlier. Right-click the app executable, go to Properties > Compatibility > Change high DPI settings, and override the scaling behavior.
For apps that still look bad after that override, try these additional steps:
- Run in compatibility mode: Set the app to run in compatibility mode for an older Windows version. Some apps render better when they think they're on Windows 7 or 8.
- Disable fullscreen optimizations: In the same Compatibility tab, check this box. It can help with rendering issues in some older programs.
- Check for app updates: Many apps have added DPI-aware manifests in recent updates. The blurry version might be several releases behind.
- Use System (Enhanced) scaling: This is the newer Windows scaling method that handles non-DPI-aware apps better than the legacy bitmap stretch. It's available in the same DPI override dropdown.
If you're dealing with a remote desktop session, make sure the RDP client is set to use the correct resolution. Windows Remote Desktop can default to a lower resolution than your monitor supports, and the remote session will look soft as a result.
If Nothing Else Works: Clean Driver Reinstall and Monitor Reset
When you've tried everything and text still looks off, it's time for a clean slate.
Clean GPU Driver Reinstall
A standard driver update can leave old files behind that cause rendering issues. A clean install wipes everything.
For NVIDIA:
- Download DDU (Display Driver Uninstaller) from the official site.
- Boot into Safe Mode.
- Run DDU and select Clean and restart.
- After reboot, install the latest driver from NVIDIA's website.
- Reboot again normally.
For AMD:
- Use the AMD Cleanup Utility from AMD's support site.
- It removes all AMD driver and software components.
- Install the latest Adrenalin driver package fresh.
For Intel integrated graphics:
- Use the Intel Driver & Support Assistant to get the latest version.
- Or download the driver directly and choose Perform a clean installation during setup.
Monitor Factory Reset
Don't forget the monitor itself. A factory reset clears any accumulated settings that might be degrading text quality.
- Open the monitor's OSD menu using the physical buttons.
- Navigate to Settings or System.
- Select Reset or Factory Reset.
- Confirm and let the monitor restart.
- After reset, reconfigure only the essentials: input source, brightness, and sharpness.
Some monitors also have a firmware update option in the OSD or through the manufacturer's support page. Firmware updates have been known to fix EDID reporting issues that affect how the GPU negotiates resolution and scaling.
The Complete Fix Flowchart (Troubleshooting Decision Guide)
Here's the full decision tree in order. Start at the top and work down.
Step 1: Is the resolution set to native 3840×2160?
- If no, set it to 3840×2160 in Display settings. Done.
- If yes, continue.
Step 2: Is scaling set correctly for your panel size?
- If on 100% with a 27" or smaller 4K panel, change to 150% (or 200% for 24"). Sign out and back in. Done.
- If already at 150% or higher, continue.
Step 3: Is text blurry everywhere or just in specific apps?
- If just specific apps, use the per-app DPI override in Compatibility settings. Done.
- If everywhere, continue.
Step 4: Are you using the right cable and port?
- If on HDMI 1.4 or an old cable, switch to DisplayPort 1.2+ or HDMI 2.0+. Done.
- If already on a good cable, continue.
Step 5: Have you run the ClearType tuner?
- If no, run it now. Done.
- If yes, continue.
Step 6: Is your GPU driver up to date and cleanly installed?
- If no, do a clean driver reinstall using DDU or the equivalent. Done.
- If yes, continue.
Step 7: Have you reset the monitor to factory defaults?
- If no, do it now. Done.
- If yes, and text is still blurry, you may have a panel with a non-standard subpixel layout that requires custom ClearType tuning or a different monitor profile.
Common Mistakes That Waste Your Time (Or Make It Worse)
These are the things people try that either don't help or actively make the problem worse.
- Setting sharpness to maximum on the monitor: This adds white halos around text that make it look worse, not better. Keep sharpness at the midpoint or at zero.
- Using "GPU scaling" when the monitor handles it better: GPU scaling can introduce its own blur. Let the monitor scale when possible, especially for non-native content.
- Installing third-party "font enhancer" tools: Most of these just apply a global contrast or sharpening filter that degrades overall image quality. ClearType tuning does the same thing properly and for free.
- Assuming the monitor is defective: In the vast majority of cases, blurry text on a 4K monitor is a settings issue, not a hardware problem. Don't RMA the panel until you've exhausted the steps above.
- Ignoring the cable: People spend hours in settings menus when a $10 DisplayPort cable would fix everything. Don't overlook the physical connection.
- Setting a custom resolution close to but not exactly 3840×2160: Even a slight deviation like 3840×2170 forces the monitor to interpolate. Always use the exact native resolution.
Frequently Asked Questions
Does a 4K monitor always need scaling?
Not always. On a 32" or larger 4K panel, 100% scaling is usable because the pixel density is lower (around 138 PPI at 32 inches). On 27" and smaller 4K monitors, you'll want 150% or higher for comfortable reading at normal viewing distances.
Why does my 4K monitor look worse than my old 1080p monitor?
Your old 1080p monitor likely had similar pixel density (around 92 PPI for a 24" panel) and was running at 100% scaling with no scaling artifacts. A 4K monitor at the same physical size has four times the pixels, and if scaling isn't configured correctly, the rendering pipeline introduces blur that wasn't there before.
Can a cheap HDMI cable cause blurry text?
Yes. Cables that don't meet the bandwidth specification for your resolution and refresh rate can force the GPU to fall back to chroma subsampling or a lower color depth. This softens text edges noticeably.
A certified HDMI 2.0 or DisplayPort 1.2 cable eliminates this variable.
Does HDR mode affect text clarity on a 4K monitor?
It can. Some monitors apply different processing in HDR mode that affects sharpness and text rendering. If you notice blur only when HDR is enabled, try toggling it off in Windows Display settings to compare.
As of 2026, Windows 11 handles HDR desktop rendering better than earlier versions, but monitor-level processing still varies.
Will updating my GPU driver fix blurry text?
It can, especially if the current driver is outdated or corrupted. A clean reinstall using DDU or the AMD Cleanup Utility is more thorough than a standard update. Driver updates sometimes include fixes for scaling and timing issues that affect text rendering on specific panel models.
Is blurry text on a 4K monitor a sign the monitor is faulty?
Almost never. In our research, the overwhelming majority of blurry text complaints on 4K monitors trace back to scaling settings, cable issues, or GPU driver problems. A defective panel usually shows dead pixels, backlight bleed, or color uniformity issues rather than uniform text softness.
It looks like the previous sections already covered all the major H2 headings from the approved TOC. The article has addressed scaling (Windows and macOS), cable and port issues, GPU and monitor settings, ClearType tuning, multi-monitor setups, per-app blurriness, clean driver reinstall, the full troubleshooting flowchart, common mistakes, and FAQs.

Similar Posts