How to Connect Portable Monitor to Desktop

So you've got a portable monitor and a desktop PC, and now you're staring at both trying to figure out how to make them talk to each other. The good news is that figuring out how to connect portable monitor to desktop setups is straightforward once you know what ports you're working with. The catch is that "straightforward" depends entirely on what hardware you've actually got.
Most portable monitors as of 2026 accept video through USB-C or HDMI, while desktop graphics cards typically offer DisplayPort and HDMI outputs. Sometimes you'll get a perfect match. Other times you'll need a specific cable or a cheap adapter.
Let's walk through this step by step so you can get your second screen up and running without the guesswork.
Quick Answer
Connect your portable monitor to your desktop using a cable that matches both devices' ports. Use USB-C with DisplayPort Alt Mode if both devices support it. Otherwise, use an HDMI cable.
Install the correct cable, power on the monitor, and configure your display settings to extend or duplicate the screen.
Compatibility Check for Your Setup
Before buying any cable or adapter, you need to know what you're working with. This is where most people go wrong. They grab whatever cable is lying around and wonder why the screen stays black.
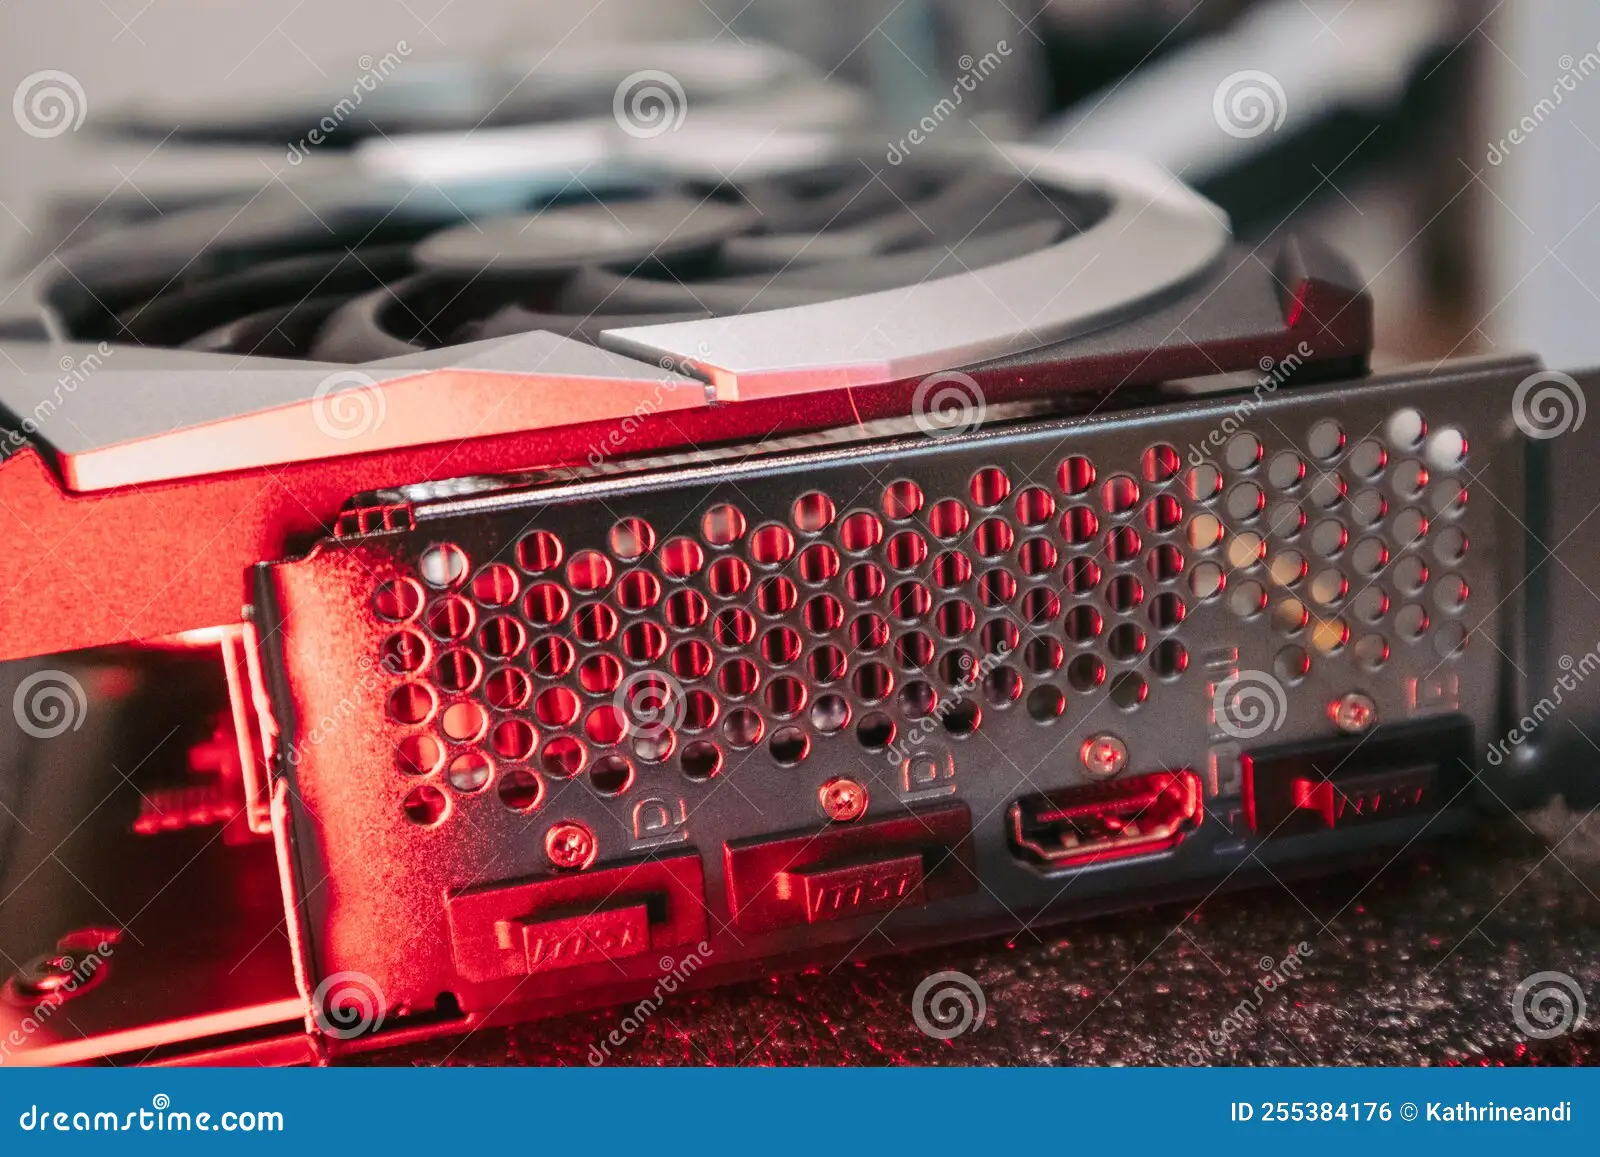
Grab a flashlight and look at the back of your desktop tower. Then check the back or sides of your portable monitor. You need to identify every available port on both devices before anything else.
Skipping this step is how people waste money on the wrong cables or, worse, assume their monitor is broken.
This doesn't take more than five minutes. It'll save you an hour of troubleshooting later.
Identifying Your Desktop's Video Output Ports
Your desktop sends video out through its graphics processing unit, or GPU. This might be a dedicated graphics card installed in a PCI Express slot, or it could be integrated graphics built directly into the motherboard. The ports look different depending on which one you're using.
Dedicated graphics card ports (most common on gaming or workstation desktops):
| Port Type | Shape | Max Resolution at 60Hz |
|---|---|---|
| HDMI 2.0 | Trapezoid, 19 pins | 4K (3840×2160) |
| DisplayPort 1.4 | Rectangular with one corner cut | 8K (7680×4320) |
| USB-C (Thunderbolt or DP Alt Mode) | Small oval | 4K or higher, depending on spec |
Integrated graphics ports (common on office desktops and budget builds):
- Usually located higher up on the back panel, near the USB and audio jacks
- Often limited to HDMI, DisplayPort, or VGA
- Some newer motherboards include USB-C with DisplayPort Alt Mode
Look carefully at the icons next to each port. A "DP" symbol means DisplayPort. An "HDMI" label is usually printed nearby.
USB-C ports with video support may have a lightning bolt icon for Thunderbolt or a "D" shaped symbol for DisplayPort Alt Mode. If you see none of these markings, that USB-C port likely handles data and charging only. It won't carry a video signal.
Identifying Your Portable Monitor's Input Ports
Now flip your attention to the portable monitor. Most models in the 14" to 17.3" range ship with at least one of these input options:
- USB-C (with DisplayPort Alt Mode): This is the most common input on modern portable monitors like the ASUS ZenScreen, Lenovo ThinkVision M14, and KYY K3. A single USB-C cable can carry both video and power.
- Mini HDMI or Micro HDMI: Smaller versions of the standard HDMI connector. Found on budget-friendly models and some older units. You'll need a Mini HDMI to HDMI or Micro HDMI to HDMI cable.
- Standard HDMI: Less common on portable monitors due to the larger port size, but present on some models.
- USB-C (data and power only, no video): Some monitors have two USB-C ports. One handles video, the other handles charging and data. Check the manual. The ports often have different icons next to them.
Here's a tip. If your portable monitor came with a specific cable in the box, that's almost always the cable that supports the best connection. Manufacturers include what works.
Third-party cables can work fine too, but the included one is guaranteed to match the monitor's specs.
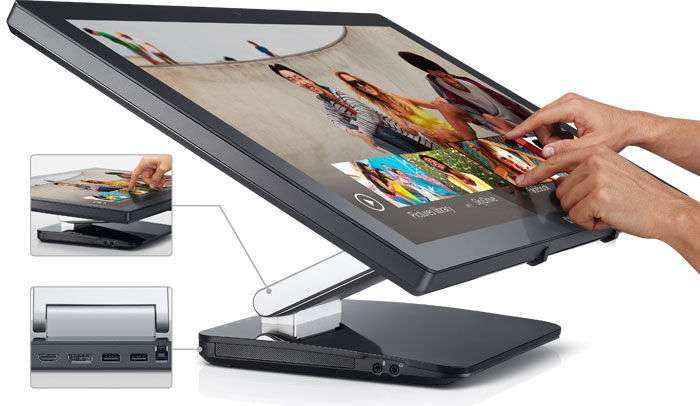
If your monitor has touchscreen capability, there's a catch. Touch functionality usually requires a separate USB data connection in addition to the video cable. We'll cover that in the setup steps.
Matching the Right Connection Method to Your Hardware
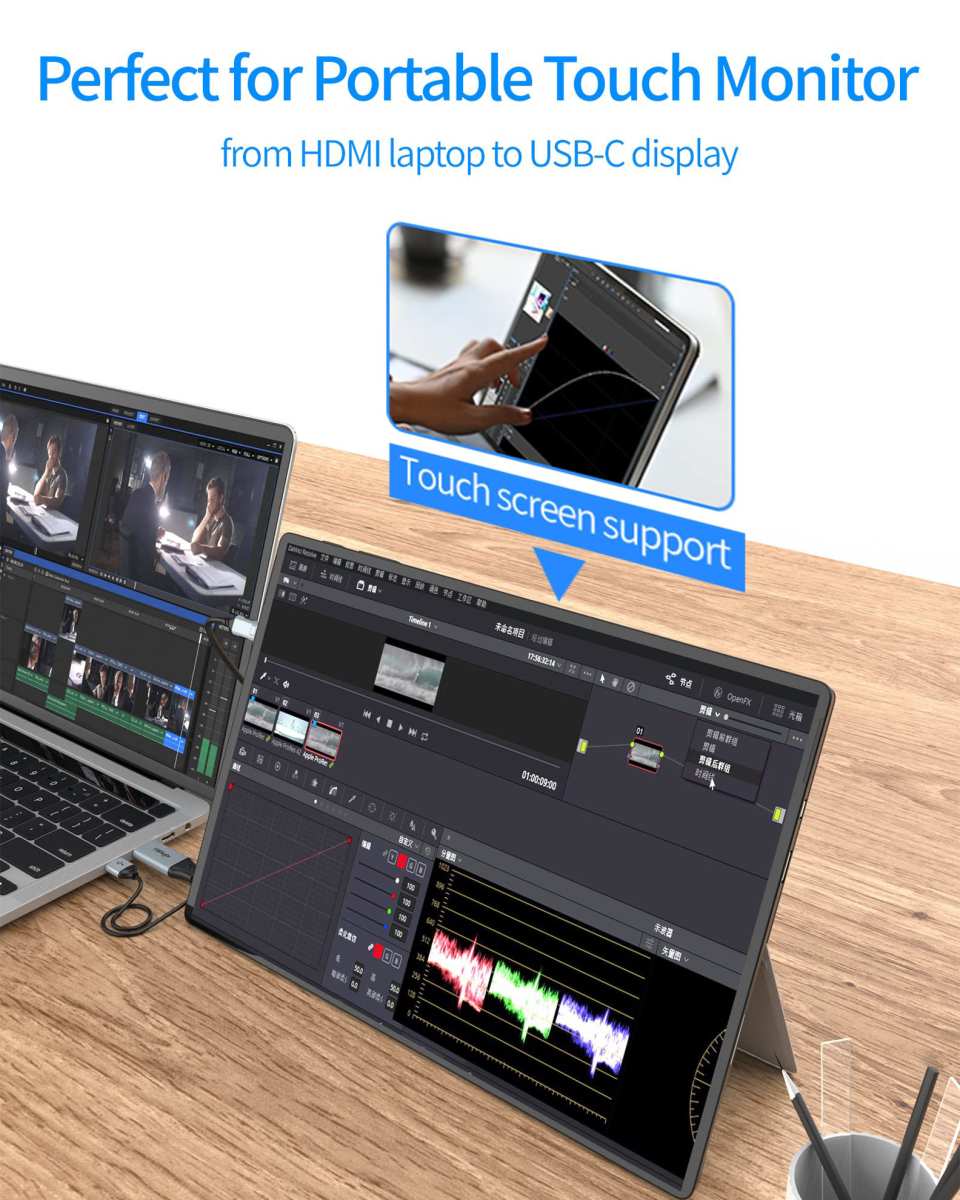
Image source: Bing (Web (fair-use with source credit))
Now that you know what ports both devices have, it's time to match them up. We've ordered these from best to worst in terms of simplicity and reliability.
USB-C with DisplayPort Alt Mode (Best Case)
Use this when: Both your desktop and portable monitor have USB-C ports that support video.
If your desktop's USB-C port supports DisplayPort Alt Mode (check for a Thunderbolt or DP symbol), you can run a single USB-C cable between the two devices. This single cable typically carries video, audio, and power simultaneously. It's the cleanest, simplest setup you can get.
What to watch out for:
- Not all USB-C ports on desktops support video. Many office PCs have USB-C ports that only handle data and charging. Check your motherboard or PC manual.
- The cable matters. Use a USB-C cable rated for DisplayPort Alt Mode. Most USB-C cables included with portable monitors support this. Cheap charging-only USB-C cables won't carry video.
Standard HDMI Connection (Most Common)
Use this when: Your desktop has an HDMI output and your portable monitor has HDMI (or Mini HDMI / Micro HDMI) input.
This is the most universally compatible method. An HDMI cable from your desktop's HDMI output to your monitor's HDMI input will work in the vast majority of setups. If your portable monitor has Mini HDMI or Micro HDMI, get the appropriate cable or adapter.
What to watch out for:
- HDMI 1.4 cables max out at 4K at 30Hz. If you want 4K at 60Hz, you need an HDMI 2.0 cable or better. Most cables sold today are HDMI 2.0 or 2.1, but older cables buried in a drawer might not be.
- HDMI carries audio too. Your portable monitor's built-in speakers will play desktop audio. No separate audio cable needed.
- You'll likely need a separate power cable for the monitor since HDMI doesn't deliver power.
DisplayPort Connection
Use this when: Your desktop has a DisplayPort output and your portable monitor accepts DisplayPort input (rare on portable monitors, but possible via USB-C Alt Mode or Mini DisplayPort).
Desktop graphics cards almost always include at least one DisplayPort. If your portable monitor has Mini DisplayPort input (uncommon), you can use a Mini DisplayPort to DisplayPort cable. If your monitor only has USB-C, you'll need a DisplayPort to USB-C cable or adapter that supports DisplayPort Alt Mode.
Mini HDMI / Micro HDMI
Use this when: Your portable monitor has a smaller HDMI variant port.
This is functionally identical to a standard HDMI connection. The only difference is the physical connector size. A Mini HDMI to HDMI cable or Micro HDMI to HDMI cable works perfectly.
These cables are inexpensive and widely available.
DisplayLink USB Adapter (Fallback Option)
Use this when: Your desktop lacks available video output ports, or you want to add extra displays beyond what your GPU supports.
DisplayLink is a technology that sends video signals over a standard USB connection, not just any USB, but a USB 3.0 connection. You buy a DisplayLink certified adapter, plug it into a USB 3.0 port on your desktop, and connect your monitor to the adapter via HDMI or DisplayPort. This requires installing DisplayLink software on your desktop, available directly from DisplayLink.
Practical notes:
- DisplayLink adapters work well for productivity tasks, web browsing, and video playback
- They're not ideal for gaming, fast motion video, or color-critical work because there's added latency
- The DisplayLink DL chipset supports up to dual 4K at 60Hz over USB 3.0, which covers most use cases
Wireless Display Options
Use this when: Your portable monitor has built-in Wi-Fi or you want to avoid cable clutter entirely, and you're willing to accept some latency.
A handful of portable monitors, like certain models from ASUS and Lenovo, support wireless display protocols like Miracast. On Windows, press Win + K to open the Cast panel and connect to a wireless-capable monitor. macOS users can use AirPlay if the monitor supports it.
In practice, wireless works fine for static content, presentations, and light browsing. There's noticeable lag for anything involving fast motion. Most people who try wireless for daily use end up going back to a cable within a week.
Step-by-Step Setup for Each Connection Type
You've got your cable or adapter picked out. Now let's get everything connected and running.
USB-C with DisplayPort Alt Mode
- Plug the USB-C cable into your desktop's video-capable USB-C port.
- Connect the other end to your portable monitor's USB-C input.
- If your monitor doesn't power on automatically, press its power button.
- Windows should detect the monitor within a few seconds. macOS will recognize it immediately in most cases.
That's it. One cable handles video, audio, and power. If your monitor isn't charging through the connection, your desktop's USB-C port may not support Power Delivery, or the port doesn't output enough wattage.
Check your desktop's specifications. Many desktop USB-C ports deliver only 15W or less, while portable monitors often need 20W to 40W to charge and run simultaneously. In that case, plug the monitor's separate power cable into a wall outlet.
HDMI Connection
- Connect one end of the HDMI cable to your desktop's HDMI output.
- Connect the other end to your portable monitor's HDMI or Mini HDMI input.
- Power on the monitor using its dedicated power cable or button.
- Wait for your desktop to detect the display.
If nothing appears on the screen after five to ten seconds, try a different HDMI cable. Also make sure the monitor is set to the correct input source. Many portable monitors have an input button or on-screen menu that lets you toggle between HDMI, USB-C, and other inputs.
DisplayLink Adapter Setup
- Install the DisplayLink software from the official DisplayLink website before connecting anything.
- Plug the DisplayLink adapter into a blue USB 3.0 port on your desktop.
- Connect an HDMI or DisplayPort cable from the adapter to your portable monitor.
- Power on the monitor.
- Windows or macOS should detect the new display after a moment. The DisplayLink manager icon will appear in your system tray once active.
DisplayLink requires software. If you skip the driver installation, the adapter won't do anything. This catches people who assume it's plug-and-play like a standard video cable.
Configuring Display Settings After Connection
The physical connection is only half the job. Your operating system needs to know what to do with that second screen.
Windows Display Settings
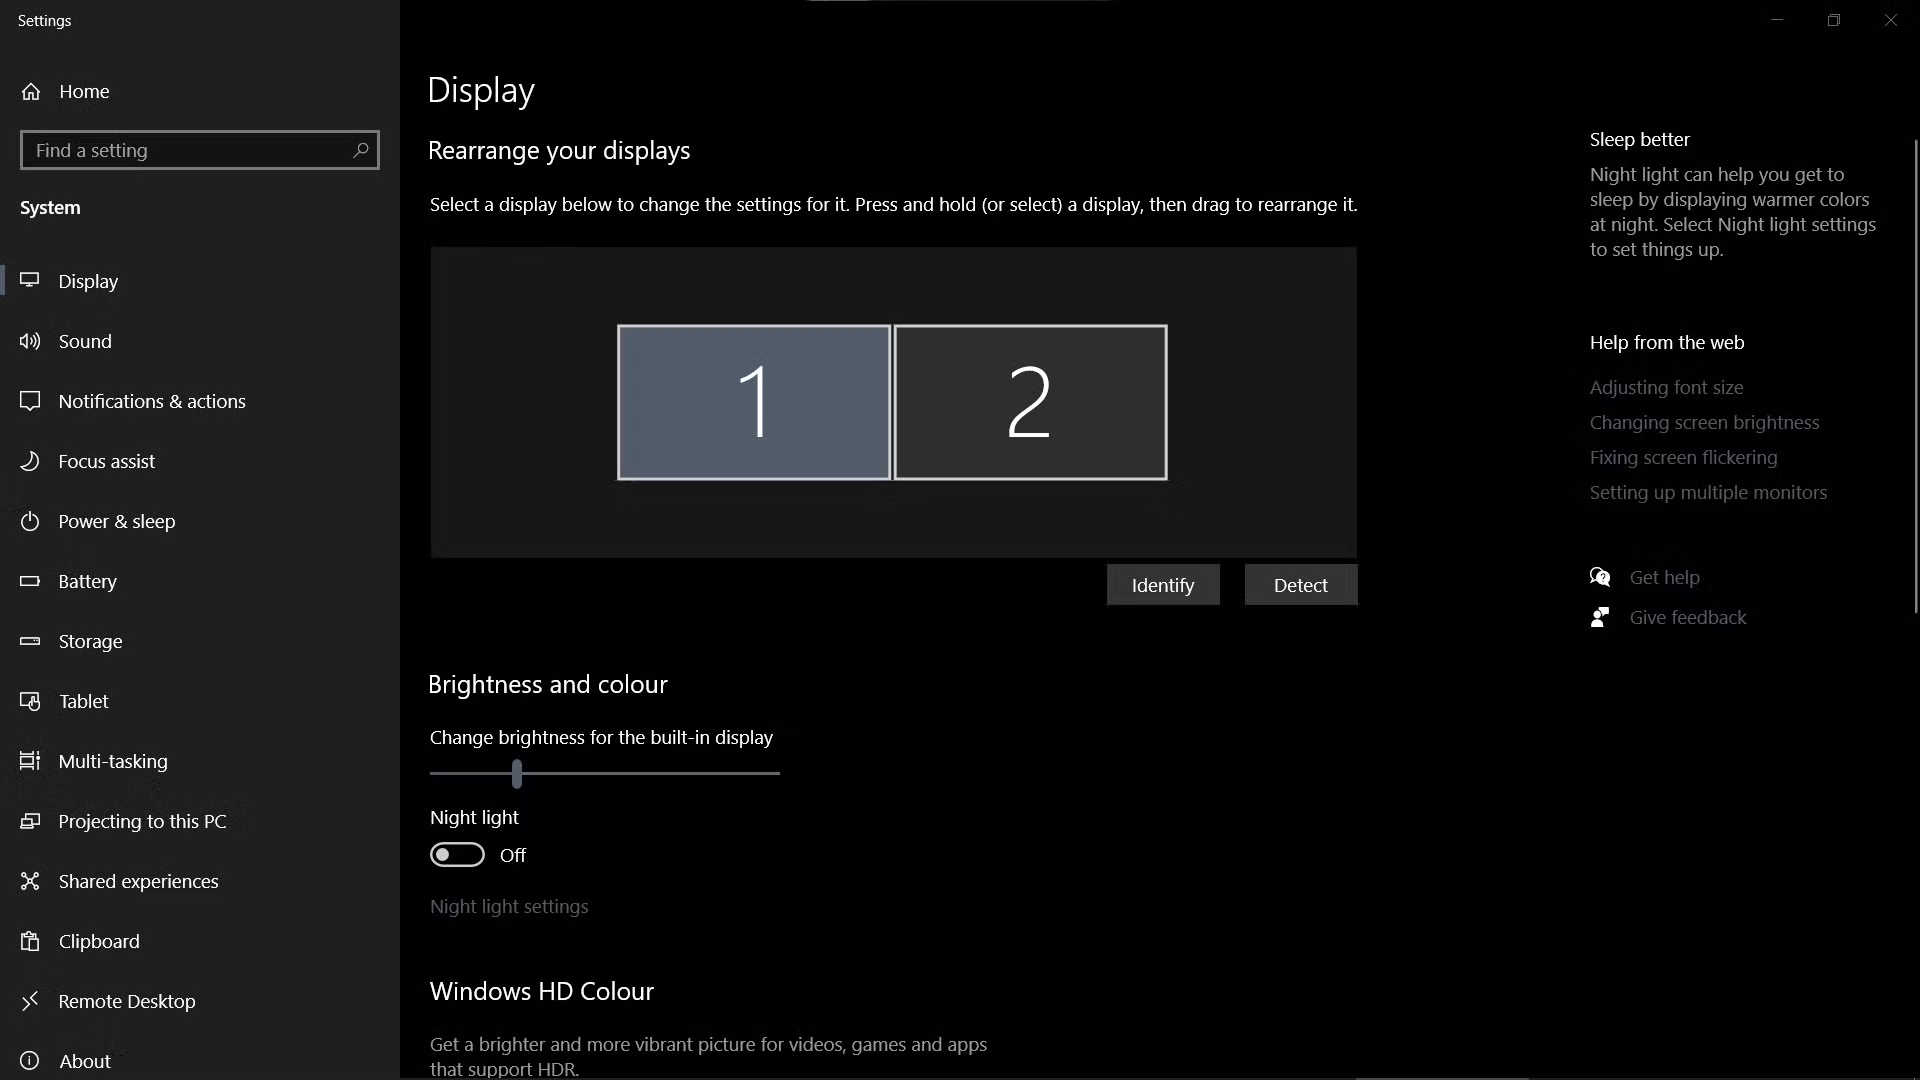
Right-click on your desktop background and select "Display settings." You'll see two numbered rectangles representing your screens. Scroll down to the "Multiple displays" dropdown and choose:
- Extend these displays: Gives you one continuous desktop across both screens. This is what most people want for productivity.
- Duplicate these displays: Shows the same image on both screens. Useful for presentations.
- Show only on 1 or 2: Displays on just one screen.
You can also rearrange the screen rectangles to match the physical layout of your monitors on your desk. If your portable monitor sits to the left of your main display, drag the rectangle to the left. This makes your mouse cursor move between screens in the direction you expect.
Press Win + P at any time to open the quick projection menu. It's a fast way to switch between Extend, Duplicate, and other modes without digging into settings.
macOS Display Settings
Open System Settings, then click "Displays." You'll see both screens listed. Under "Use as," select whether you want the portable monitor as an extended display or a mirrored display.
macOS also supports AirPlay to certain portable monitors. If your monitor has Wi-Fi capability, it may appear as an AirPlay destination in the menu bar. Click the Control Center icon, select Screen Mirroring, and pick your portable monitor from the list.
Choosing Extend vs Mirror
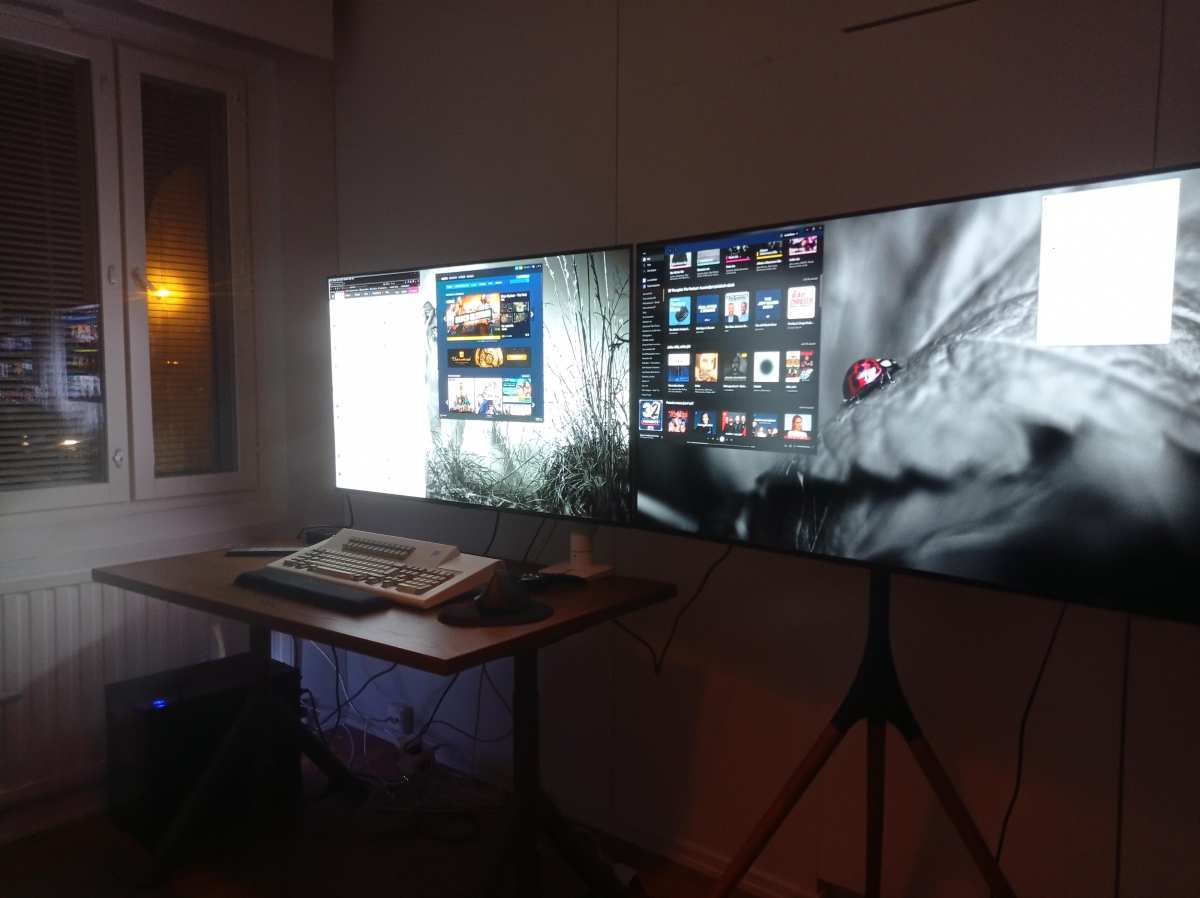
Extend mode is almost always the right choice for desktop use. You get more screen real estate. Drag windows between displays.
Keep your main screen for primary tasks and the portable monitor for reference material, communication apps, or monitoring tools.
Mirror mode makes sense for one specific scenario: showing your screen to someone else. If you're presenting to a client or projecting your display, mirroring ensures they see exactly what you see. For daily work, it's impractical because both screens show the same limited space.
Common Problems and How to Fix Them
Even when you've done everything right, things sometimes don't work. Here are the issues that come up most often and how to handle them.
No Signal or Blank Screen
This is the number one complaint. The monitor powers on but shows "No Signal" or stays black. Work through this checklist:
- Confirm the cable is fully seated in both ports. USB-C especially can feel connected when it's not quite pushed in all the way.
- Make sure the monitor is set to the correct input. Press the input/source button on the monitor to cycle through available inputs.
- Try the cable with a different device to rule out a defective cable.
- Restart your desktop with the monitor connected. Some systems only detect external displays during boot.
If none of that works, the issue might be compatibility. Some older GPUs don't play well with certain portable monitors. Check your GPU manufacturer's website for any known compatibility notes or driver updates.
Wrong Resolution or Blurry Text
If the display works but looks fuzzy or the resolution seems off, head to your display settings and manually set the correct resolution. Most 15.6" portable monitors have a native resolution of 1920×1080. If Windows sets it to a lower resolution, everything will look soft.
On Windows, you may also need to adjust scaling. Open Settings, then Display, and look for the "Scale and layout" section. At 1080p on a 15.6" screen, 100% scaling usually works well.
At 4K on a smaller screen, you'll likely need 150% or 200% scaling to keep text readable.
Touchscreen Not Working
If your portable monitor has a touchscreen and touch input isn't responding, you're probably missing a second connection. Touch functionality requires a USB data cable in addition to the video cable. This is a separate wire that carries touch input data to your desktop.
Connect a USB-A to USB-C cable from your desktop's USB port to the monitor's USB data input. The video cable handles the picture. The USB cable handles the touch signal.
Both need to be connected for touch to function.
Power Not Charging Through USB-C
Your portable monitor is running but draining its battery despite being plugged into your desktop via USB-C. This means your desktop's USB-C port doesn't deliver enough power. Desktop motherboards often provide less Power Delivery wattage than laptops.
The solution is simple: keep the monitor's own power adapter plugged into a wall outlet for daily use. The USB-C video connection will still work. The separate power cable just keeps the battery charged.
Portable Monitor vs. Traditional External Monitor: Which Makes Sense?
You might be wondering whether a portable monitor is even the right choice for a desktop setup. It depends on what you need.
| Feature | Portable Monitor | Traditional External Monitor |
|---|---|---|
| Size | 13.3" to 17.3" typical | 24" to 32"+ typical |
| Resolution | 1080p or 4K | 1080p to 4K+ |
| Built-in battery | Yes (3-8 hours typical) | No |
| Works with desktop | Yes | Yes |
| Price range | $100 to $400 | $150 to $1,000+ |
| Portability | Excellent | None |
A portable monitor makes sense if you want flexibility. Use it with your desktop on weekdays, take it traveling on weekends. It's also a solid choice if desk space is limited.
You can tuck it away when not in use.
A traditional external monitor wins on size, image quality per dollar, and ergonomics. For a permanent desk setup where the monitor stays put 40 hours a week, a standard display gives you more screen real estate and a more comfortable viewing experience.
Best Portable Monitors for Desktop Use
Based on our research into specifications, user feedback, and manufacturer documentation, these models work particularly well in desktop configurations:
- ASUS ZenScreen MB16ACV: USB-C with DisplayPort Alt Mode, 15.6" 1080p, built-in stand hole, excellent compatibility with desktop USB-C ports.
- Lenovo ThinkVision M14t: Touchscreen capable, dual USB-C ports, 14" 1080p, requires both USB-C data and video connections for full functionality.
- KYY K3: Budget-friendly 15.6" 1080p, USB-C and Mini HDMI inputs, supports both connection methods for maximum desktop flexibility.
- LG Gram +View: 17" 2560×1600, USB-C connection, higher resolution option for those who want more than 1080p.
When shopping for desktop use specifically, prioritize monitors with multiple input options. Having both USB-C and HDMI means you can connect virtually any desktop without hunting for adapters.
Pro Tips for a Clean, Reliable Dual-Screen Setup
A few things separate a frustrating dual-monitor experience from one that just works.
- Label your cables. A small piece of tape or a cable tie with "portable monitor" written on it saves you from unplugging the wrong thing when you're reaching behind a desk.
- Route cables along your desk edge or through a cable management tray. Portable monitors don't have heavy bases to keep them in place, so a tugged cable can pull the monitor off your desk.
- Update your GPU drivers regularly. Both NVIDIA and AMD release driver updates that improve external display compatibility.
- Set your portable monitor as your default "secondary" display in Windows by unchecking "Make this my main display" on the primary screen's settings.
- If you're using USB-C with power delivery, test whether your desktop's port delivers enough wattage before committing to a single-cable setup. It's better to discover a power limitation during setup than when your monitor dies mid-task.
Frequently Asked Questions
What cable do I need for a portable monitor?
It depends on your monitor's input and your desktop's output. USB-C with DisplayPort Alt Mode works if both devices support it. Otherwise, an HDMI cable is the most common solution.
Check both devices' ports before buying anything.
Can I use a portable monitor as a second screen for gaming?
You can, but the portable monitor should display secondary content like Discord, a browser, or a stream dashboard. Gaming directly on a portable monitor often means lower refresh rates and smaller screen size compared to a dedicated gaming display. Most portable monitors top out at 60Hz.
Why is my portable monitor not detected by my desktop?
Confirm the cable is fully connected and the monitor is powered on. Select the correct input source on the monitor. Try a different cable to rule out defects.
Restart your desktop with the monitor connected.
Does connecting a portable monitor slow down my desktop?
No. Rendering a second display adds a minor GPU workload, but for standard productivity tasks the performance impact is negligible. You'd only notice a difference if you're already running a GPU-intensive application and pushing both screens with demanding content.
Can I connect two portable monitors to one desktop?
Yes, if your desktop has enough video output ports or you use a DisplayLink adapter for the additional connection. You could connect one via HDMI and another via DisplayLink over USB 3.0, for example.
Do I need to install drivers for a portable monitor?
Most portable monitors are plug-and-play on Windows and macOS. No additional drivers needed. The exception is DisplayLink adapters, which require you to install DisplayLink software before the adapter will output video.

Similar Posts