How to Extend Display with Portable Monitor
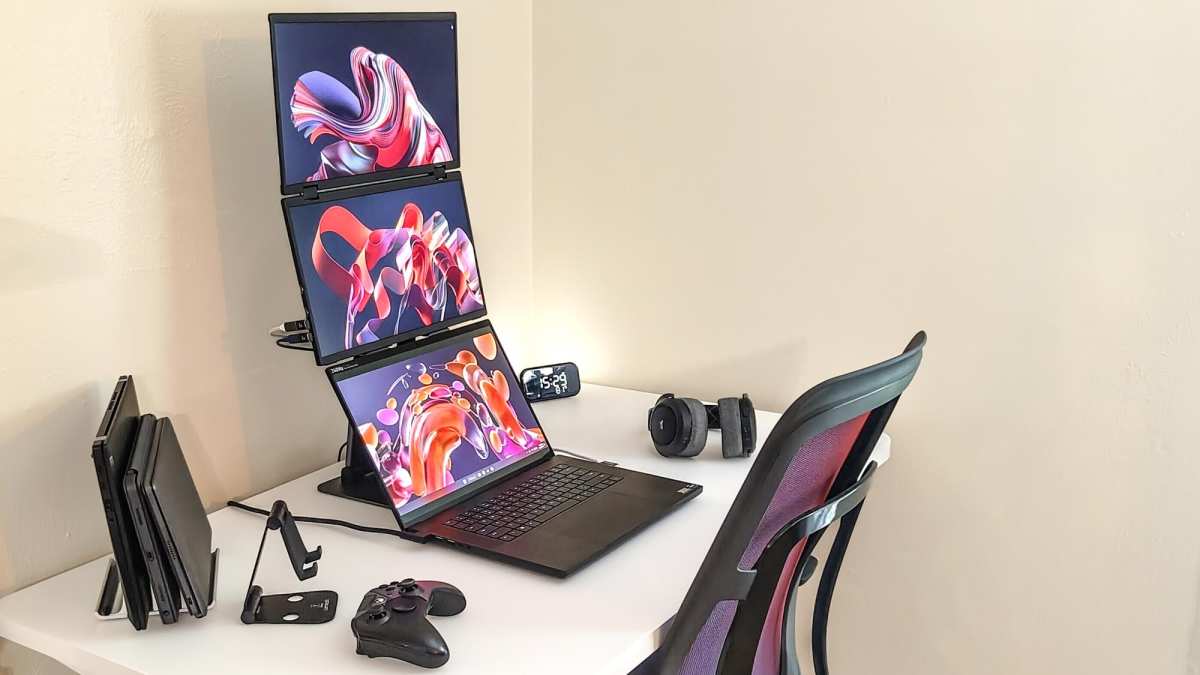
So you've got a portable monitor and you're ready to double your screen real estate. But plugging it in doesn't always mean it just works. Sometimes you get a mirrored display when you wanted an extended desktop.
Sometimes nothing shows up at all.
Learning how to extend display with portable monitor hardware is straightforward once you understand the compatibility factors. The real challenge is matching your laptop's output capabilities to the right cable, port, and operating system settings. Let's walk through it step by step so you're up and running in minutes.
Most quality portable monitors as of 2026 support USB-C DisplayPort Alt Mode, which lets you run video and power through a single cable. But not every laptop port handles video output, and that's where most people get stuck. Before you buy any cable or adapter, let's check what your system can actually do.
Quick Answer
To extend your display with a portable monitor, confirm your laptop's USB-C port supports DisplayPort Alt Mode. Connect the monitor using a compatible USB-C cable or HDMI cable. Open your operating system's display settings.
Select "Extend desktop" instead of "Mirror" or "Duplicate." Adjust resolution, scaling, and display arrangement to match your workflow.
Why Your Portable Monitor Might Not Extend (And How to Fix It)
The most common reason a portable monitor won't extend is simple. Your laptop is mirroring by default instead of extending. Windows and macOS both default to duplicating the screen on first connection.
Head into your display settings immediately after connecting. Look for the dropdown that says "Duplicate these displays" or "Mirror." Switch it to "Extend these displays" on Windows, or uncheck "Mirror Displays" on macOS.
The second most common issue is a port mismatch. Your laptop's USB-C port might only handle data and charging. It might not carry a video signal at all.
This happens frequently on budget laptops and some Chromebooks.
Check your laptop's spec sheet for one of these terms: "DisplayPort Alt Mode," "DP Alt Mode," or "video output over USB-C." If you don't see any of those, you'll need to use the HDMI port instead, assuming your laptop has one.
Step 1: Check What Your Laptop Can Actually Output
Before buying cables or adapters, verify what your laptop can physically output. This saves you from frustration and returns.
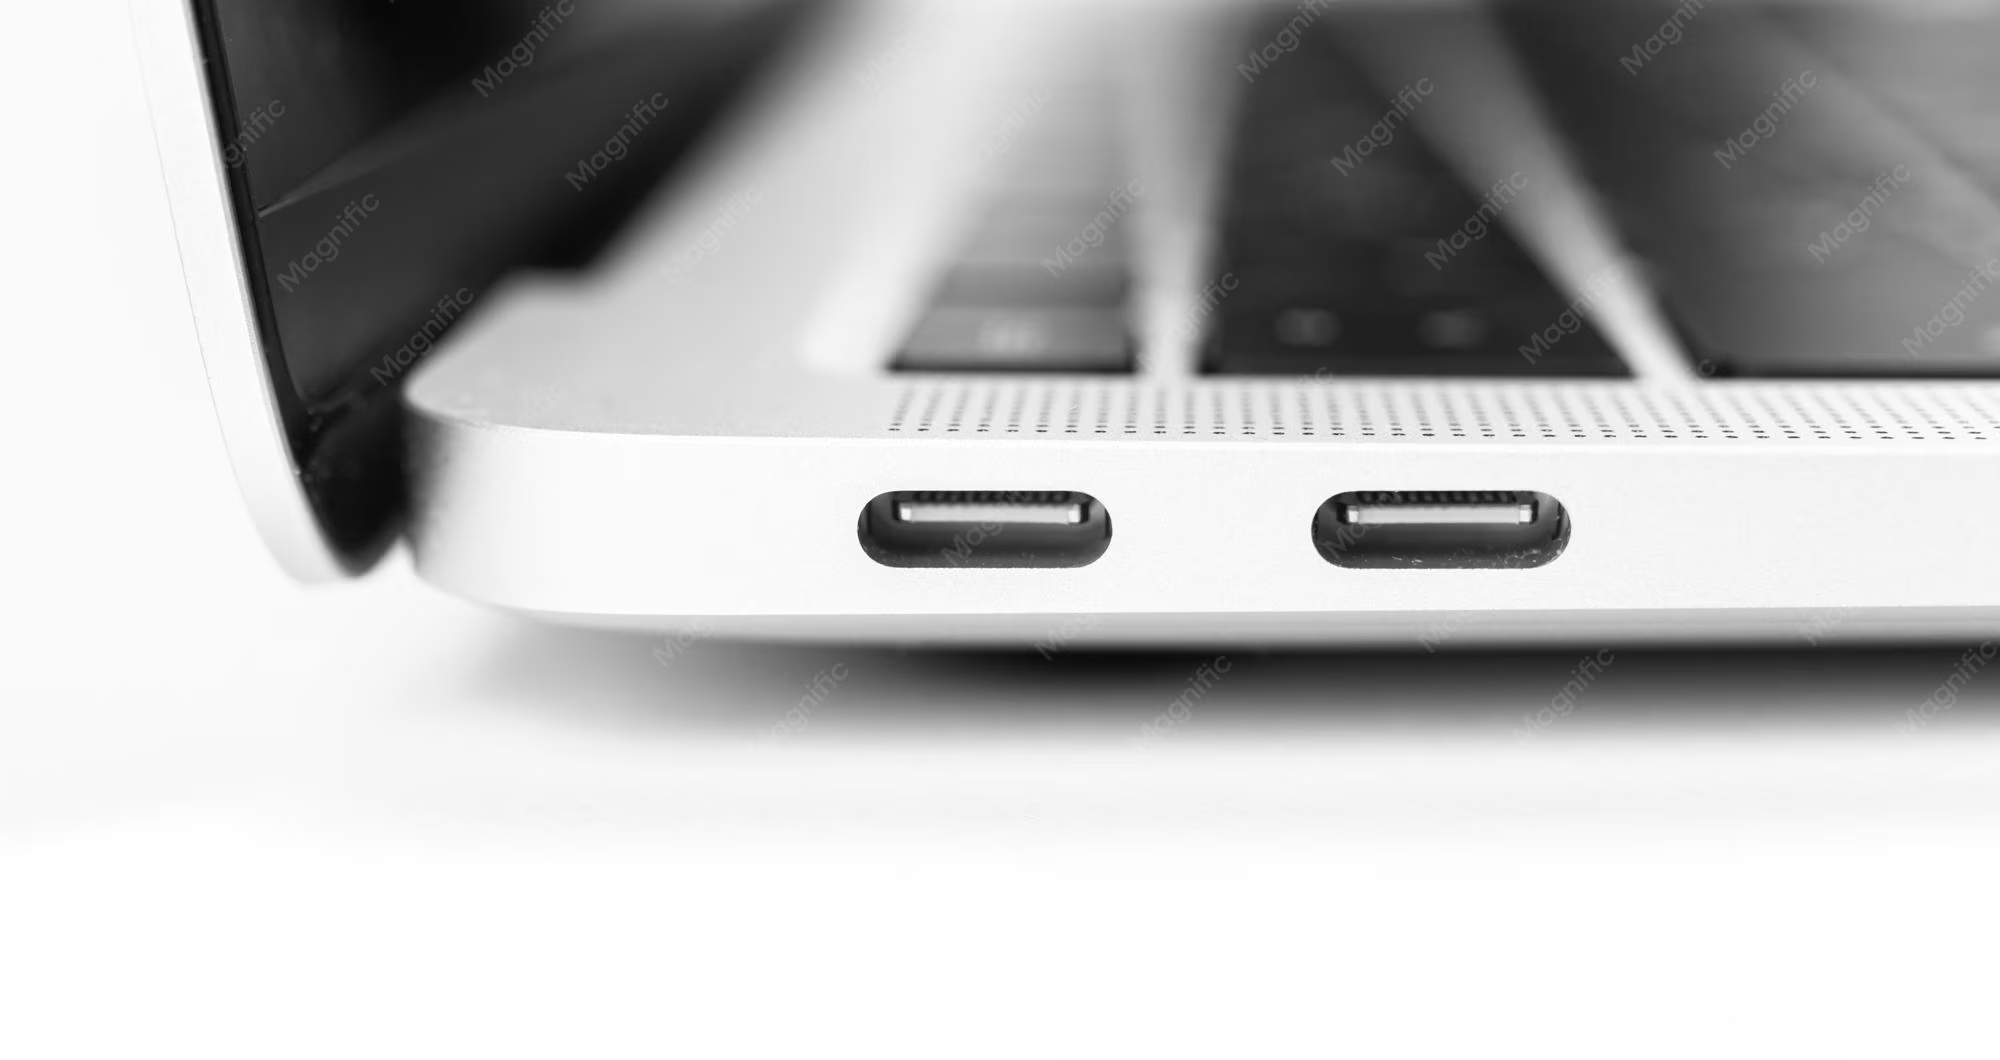
Does Your USB-C Port Support Video?
Not all USB-C ports are created equal. Some handle only USB data and power delivery. Others carry full DisplayPort video signals.
You need the latter for a single-cable portable monitor setup.
Look for a lightning bolt icon, a "D" symbol, or a DisplayPort icon next to the USB-C port. These indicate video support. If there's no symbol, check your manufacturer's specifications.
Here's a quick reference for popular laptop brands:
| Laptop Brand | USB-C Video Support | Notes |
|---|---|---|
| Apple MacBook (2018+) | Yes | Full Thunderbolt 3/4 with DP Alt Mode |
| Dell XPS series | Yes | Thunderbolt 4 on most models |
| Lenovo ThinkPad T/X series | Yes | Varies by model year |
| HP Spectre / EliteBook | Yes | Check for Thunderbolt logo |
| ASUS ZenBook | Partial | Some models data-only |
| Acer Swift / Aspire | Varies | Budget models often lack video |
| Chromebooks | Mixed | Check specific model specs |
If your laptop has Thunderbolt 3 or 4, you're in great shape. Thunderbolt carries DisplayPort natively and supports daisy-chaining multiple monitors.
When You Need a Thunderbolt Dock Instead
If your laptop lacks USB-C video output but has Thunderbolt, a Thunderbolt dock solves everything. It provides HDMI or DisplayPort outputs through the Thunderbolt connection.
Budget Thunderbolt docks start around $150. They're worth it if you're connecting multiple peripherals alongside your portable monitor. Look for docks with at least one HDMI 2.0 or DisplayPort 1.4 output.
Step 2: Pick the Right Connection Method
Your connection method determines cable quality, resolution limits, and whether you need a separate power source. Choose based on what ports your laptop and monitor both support.
Direct USB-C (Single Cable Setup)
This is the ideal scenario. One USB-C cable carries video, audio, and power simultaneously. Most portable monitors with USB-C input support power delivery passthrough.
Use the cable that came with your monitor. If you need a replacement, make sure it's rated for USB 3.1 Gen 2 or higher and explicitly supports "DisplayPort Alt Mode" or "4K 60Hz." Cheap USB-C cables often only handle USB 2.0 data speeds.
Pros:
- Single cable for video and power
- Cleanest setup
- Works with most modern laptops
Cons:
- Requires DP Alt Mode support on the laptop
- Cable quality matters significantly
- Some monitors need separate power at 4K resolution
HDMI Connection (Universal but Limited)
HDMI works with virtually every laptop made in the last decade. If your portable monitor has a full-size HDMI or mini HDMI port, this is your fallback option.
You'll need a separate USB-C power cable for the monitor since HDMI doesn't carry power. Most portable monitors include a USB-A to USB-C power cable for this purpose.
Pros:
- Universal compatibility
- No Alt Mode confusion
- Reliable plug-and-play detection
Cons:
- Requires two cables (video plus power)
- Full-size HDMI ports add bulk to slim monitors
- Limited to monitor's native HDMI version bandwidth
Wireless Display (Miracast / AirPlay)
Windows laptops can use Miracast to connect wirelessly to compatible portable monitors and TVs. Mac users can AirPlay to Apple TV or AirPlay-compatible displays.
Wireless adds latency. It's fine for presentations and static content. It's not ideal for video editing, gaming, or anything requiring real-time responsiveness.
Pros:
- No cables needed
- Quick for presentations
- Works with smart TVs and streaming sticks
Cons:
- Noticeable input lag
- Compression artifacts on text
- Requires compatible receiver on the display side
Connection Method Comparison
| Method | Cables Needed | Max Resolution | Latency | Best For |
|---|---|---|---|---|
| USB-C (DP Alt Mode) | 1 | 4K 60Hz | None | Daily productivity |
| HDMI | 2 (video + power) | 4K 60Hz (HDMI 2.0) | None | Universal fallback |
| Wireless (Miracast) | 0 | 1080p typical | 20-100ms | Presentations only |
| Thunderbolt Dock | 1 to dock, 1 to monitor | 4K 60Hz+ | None | Multi-monitor setups |
Step 3: Configure Your Display Settings
Once connected, your operating system needs to know how you want to use the second screen. This is where most people get stuck because the default is almost always mirroring.
Windows: Extending vs. Mirroring
Press Windows + P to open the Project menu. You'll see four options:
- PC screen only (laptop display only)
- Duplicate (same image on both screens)
- Extend (one continuous desktop across both screens)
- Second screen only (external monitor only)
Select Extend. Your portable monitor should now function as a separate workspace. Drag windows between screens freely.
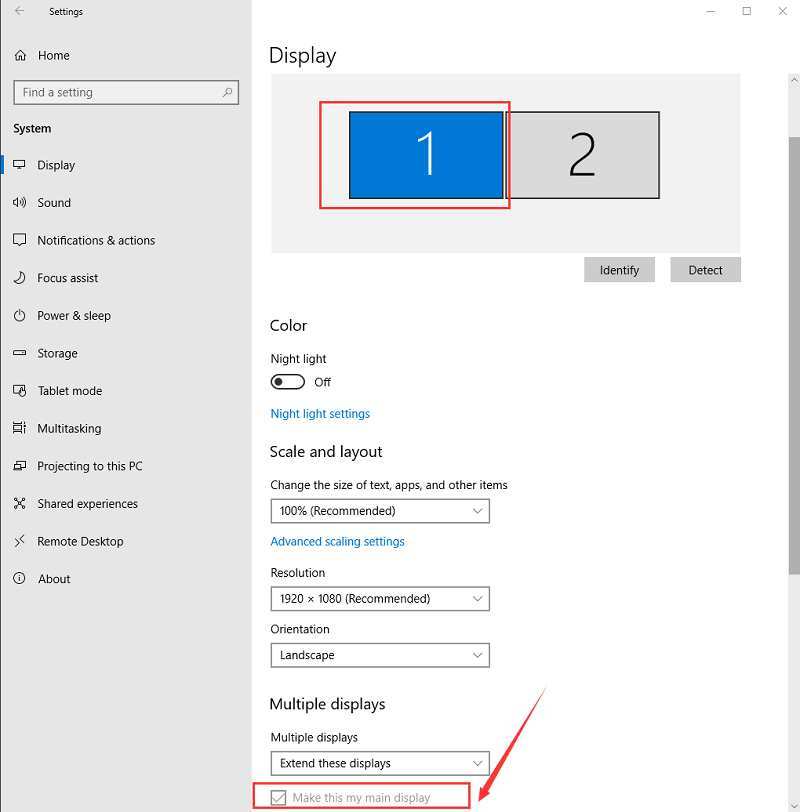
For more control, right-click the desktop and select Display settings. Here you can:
- Arrange displays by dragging the numbered boxes to match physical positions
- Set each monitor's resolution independently
- Choose which screen is your "main" display (where the taskbar and Start menu appear)
- Adjust scaling if text looks too small on one screen
macOS: Arrangement and Scaling
On your Mac, open System Settings > Displays. Click the dropdown menu that shows "Use As" and select your portable monitor.
Look for the "Mirror Displays" toggle near the bottom. Make sure it's turned off for extended desktop mode. When mirroring is off, macOS treats each screen as its own space.
The Arrangement window shows blue rectangles representing your screens. Drag them to match how your monitors sit on your desk. A white menu bar at the top of one rectangle indicates your primary display.
macOS also offers Display Resolution options. Choose "Default for display" first. If text looks blurry, try "Scaled" and test different resolutions until it looks sharp.
Step 4: Optimize Resolution, Scaling, and Refresh Rate
Getting the display extended is half the battle. Making it look good requires a few more adjustments.
Resolution: Set each monitor to its native resolution. For most 15.6-inch portable monitors, that's 1920×1080 (Full HD). Some newer models offer 2560×1440 or 3840×2160.
Running at non-native resolution causes blurriness.
Scaling: If your laptop screen is 13 inches at 2560×1600 and your portable monitor is 15.6 inches at 1920×1080, text and UI elements will look different on each. Windows scaling settings let you adjust this per monitor. Try 125% or 150% on the laptop and 100% on the portable monitor.
Refresh rate: Most portable monitors run at 60Hz. Some gaming-oriented models offer 144Hz or higher. Check your display settings to confirm you're not stuck at 30Hz, which makes everything feel sluggish. 30Hz usually means you're using an older HDMI cable or a USB-C cable that doesn't support full bandwidth.
Color calibration: Portable monitors often ship with default color profiles that look washed out. Use your operating system's built-in calibration tools to adjust gamma, brightness, and contrast. Windows has a "Calibrate display color" tool in the display settings. macOS has a "Calibrate" button in the display profile settings.
Common Problems and How to Solve Them
Even with the right setup, things occasionally go sideways. Here are the most frequent issues and their fixes.
Monitor Not Detected at All
If your laptop doesn't recognize the monitor, work through these steps:
- Check the cable. Try a different USB-C or HDMI cable. Not all cables support video.
- Check the port. Try a different USB-C port on your laptop if available.
- Check the input source. Some portable monitors have multiple inputs. Make sure it's set to the correct one (USB-C 1, USB-C 2, or HDMI).
- Restart with everything connected. Sometimes the laptop needs a reboot to detect the display.
- Update your graphics drivers. Outdated Intel, AMD, or NVIDIA drivers cause detection issues.
Stuck in Mirroring Mode
This isn't a problem, it's the default. Windows and macOS mirror displays on first connection. You have to manually switch to extend mode using the steps in the previous section.
On Windows, Windows + P then select Extend. On macOS, System Settings > Displays then turn off Mirror Displays.
Blurry Text or Wrong Resolution
Blurry text usually means one of two things. Either the resolution isn't set to the monitor's native spec, or scaling is mismatched between displays.
Right-click the desktop, go to Display settings, click on the portable monitor (labeled 1 or 2), and set the resolution to the "Recommended" option. Then adjust scaling until text looks crisp.
On a 15.6-inch 1080p monitor, 100% scaling usually works best. On a 13-inch 4K laptop screen, you might need 150% or 200% scaling. Mixing scaling values between monitors is normal and expected.
Refresh Rate Capped at 30Hz
A 30Hz refresh rate makes mouse movement feel jerky and video playback look stuttery. This happens when your cable or port can't handle the bandwidth for 60Hz at the monitor's native resolution.
Fixes:
- Use a certified HDMI 2.0 or higher cable
- Use a USB-C cable rated for DisplayPort 1.2 or higher
- Try a different USB-C port on your laptop
- Lower the resolution temporarily to test if bandwidth is the bottleneck
Audio Not Playing Through Monitor Speakers
If your portable monitor has built-in speakers but sound still comes from your laptop, you need to change the audio output device.
On Windows, click the speaker icon in the taskbar, then select the portable monitor from the output device list. It usually appears as the monitor's brand name or "USB Audio Device."
On macOS, open System Settings > Sound > Output and select the portable monitor. Not all portable monitors have speakers, so check your model's specs if you don't see it listed.
Who Benefits Most From a Portable Monitor Setup?
Portable monitors aren't for everyone. But for certain workflows, they're genuinely transformative.
Remote Workers and Digital Nomads
If you work from coffee shops, co-working spaces, or hotel rooms, a portable monitor gives you dual-screen productivity without lugging a full external display. Most weigh under 2 pounds and slide into a laptop bag.
Developers and Creative Professionals
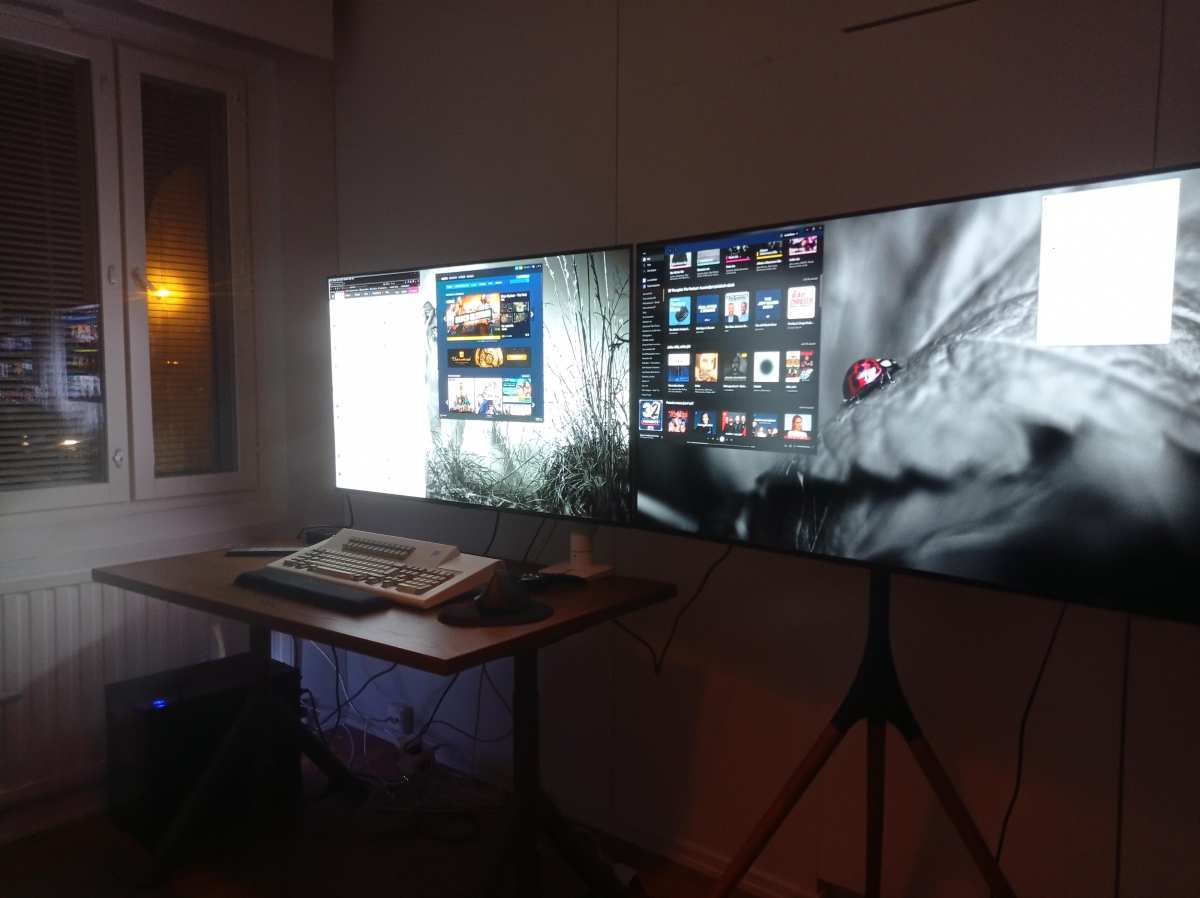
Code on one screen, preview on the other. Edit video on one screen, manage your timeline on the other. The extended desktop workflow is significantly more efficient than alt-tabbing on a single screen.
Business Travelers and Presentations
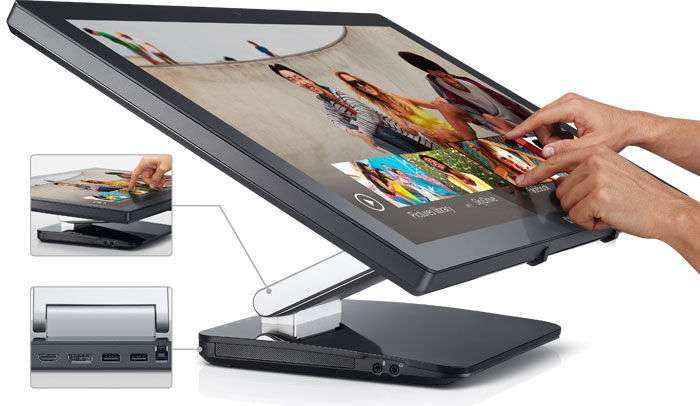
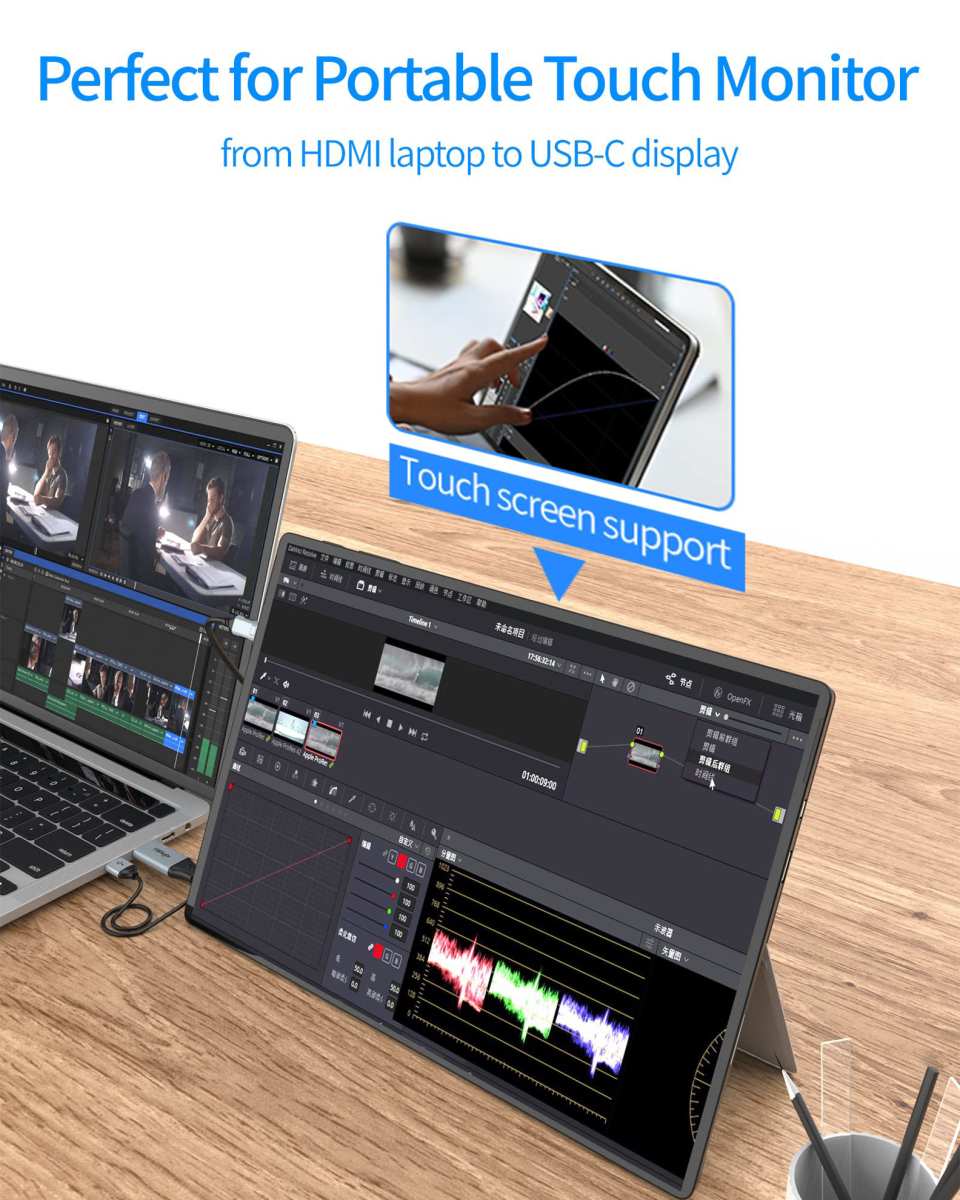
Pulling up a presentation on a client's screen while keeping your notes private on your laptop is a common use case. Some portable monitors support touchscreen input, which helps for interactive demos.
Students
Research on one screen, notes on the other. A portable monitor in a dorm room or library setup effectively doubles your workspace without requiring a permanent desk arrangement.
Portable Monitor Setup Options Compared
Not every connection method works for every situation. Here's how the main options stack up against each other.
Direct USB-C vs. HDMI vs. Thunderbolt Dock vs. Wireless
Direct USB-C wins for simplicity. One cable handles everything. But it requires your laptop's USB-C port to support DisplayPort Alt Mode.
If it doesn't, no cable swap will fix that.
HDMI wins for compatibility. Every laptop with an HDMI port can output video. The tradeoff is needing a separate power cable for the monitor, which adds clutter.
Thunderbolt dock wins for expandability. If you're connecting a monitor, external hard drive, keyboard, and mouse, a dock consolidates everything through one cable to your laptop. The downside is cost, typically $150 to $250 for a reliable unit.
Wireless wins for cable-free convenience. It loses for anything requiring precision or real-time responsiveness. Use it for presentations, not for daily work.
At a Glance: Which Setup Wins for Your Situation
| Your Situation | Best Connection Method |
|---|---|
| Modern laptop, single monitor, clean desk | Direct USB-C |
| Older laptop, HDMI available | HDMI + USB power cable |
| Multiple peripherals, desk setup | Thunderbolt dock |
| Presentations, no cables needed | Wireless (Miracast) |
| Gaming, high refresh rate | USB-C or DisplayPort via dock |
| Chromebook with limited ports | HDMI (if available) or check USB-C specs |
Common Mistakes People Make
Avoid these pitfalls and you'll save yourself hours of frustration.
Buying a cheap USB-C cable without checking specs. That $5 cable from an unknown brand might only support USB 2.0 data. It won't carry video. Look for cables explicitly rated for "4K 60Hz" or "DisplayPort Alt Mode."
Assuming all USB-C ports are the same. Many laptops have multiple USB-C ports with different capabilities. One might support video while another doesn't. Check your manual.
Forgetting to adjust display arrangement. If your portable monitor sits to the left of your laptop but Windows thinks it's on the right, mouse movement feels wrong. Drag the display icons in settings to match your physical setup.
Ignoring scaling differences. A 13-inch laptop at 2560×1440 and a 15.6-inch monitor at 1920×1080 have very different pixel densities. Without per-monitor scaling adjustments, one screen will look fine and the other won't.
Using the monitor's maximum brightness constantly. Portable monitors at full brightness drain your laptop's battery faster through power delivery. Drop brightness to 60-70% for indoor use.
Costs and What to Expect
Portable monitors range from around $90 for basic 1080p panels to $350 for 4K touchscreen models. Most people find the sweet spot between $150 and $220.
What you get at each price point:
- $90-$130: 15.6-inch 1080p, basic USB-C and HDMI, no touch, built-in speakers often mediocre
- $150-$220: 15.6-inch 1080p or 14-inch 1080p, better color accuracy, reliable USB-C PD passthrough, thinner bezels
- $250-$350: 4K resolution, touchscreen, higher brightness (350+ nits), better build quality, sometimes OLED
Cables add $10 to $25 if you need replacements. A Thunderbolt dock runs $150 to $250 if your setup requires one.
Expert Tips for a Reliable Dual-Screen Setup on the Go
These are the things that separate a frustrating experience from a seamless one.
Label your cables. If you travel with multiple USB-C cables, label the one that supports video. Not all your cables will, and guessing wastes time.
Create display profiles. Windows and macOS let you save display arrangements. If you use the same portable monitor in multiple locations, save a profile for each setup so you're not rearranging screens every time.
Carry a backup cable. Cables fail at the worst possible times. A spare USB-C cable weighing a few grams in your bag is cheap insurance.
Check power delivery wattage. If your portable monitor supports 60W passthrough but your laptop charger is 67W, charging may be slow while the monitor runs. Match the wattage or carry a higher-rated charger.
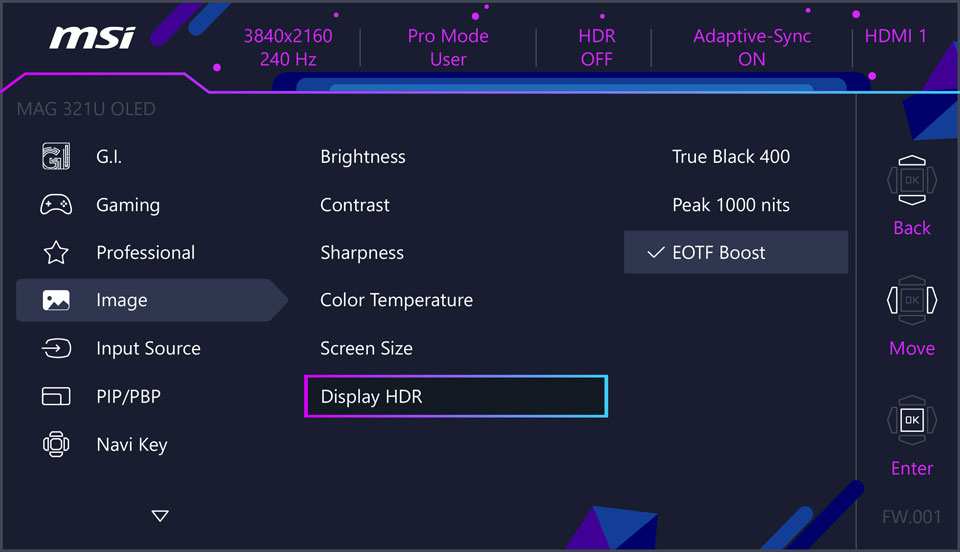
Use the monitor's on-screen display (OSD) menu. Most portable monitors have physical buttons for brightness, contrast, and input selection. Learn where they are so you can adjust settings without digging through software menus.
Frequently Asked Questions
Can I use a portable monitor with any laptop?
Most laptops made after 2018 support portable monitors. The key requirement is either a USB-C port with DisplayPort Alt Mode or an HDMI output. Check your laptop's specifications for video output capabilities before buying.
Why is my portable monitor showing a mirrored display instead of extending?
Mirroring is the default behavior on both Windows and macOS. You need to manually switch to "Extend" mode. On Windows, press Windows + P and select Extend.
On macOS, go to System Settings > Displays and turn off Mirror Displays.
Do I need a special cable for my portable monitor?
You need a cable that supports video output, not just data and charging. For USB-C connections, look for cables rated for DisplayPort Alt Mode or 4K 60Hz. For HDMI, use at least an HDMI 2.0 cable for 4K 60Hz support.
Can I extend my display wirelessly?
Yes, using Miracast on Windows or AirPlay on macOS. However, wireless display adds latency and compression. It works for presentations and static content but isn't ideal for video editing, gaming, or precision work.
Will a portable monitor drain my laptop battery?
It will increase power draw, yes. If your monitor supports USB-C power delivery passthrough, your laptop charger powers both the laptop and monitor. Without passthrough, the monitor draws from the laptop's battery directly, reducing battery life noticeably.
How do I fix blurry text on my portable monitor?
Set the monitor to its native resolution in display settings. Then adjust scaling. On a 15.6-inch 1080p monitor, 100% scaling typically works best.
If text still looks off, check that you're using a quality cable that supports the full resolution and refresh rate.
Common Mistakes to Avoid
Buying cheap USB-C cables without checking specs. That bargain cable might only support USB 2.0 data. It won't carry video signals. Always look for cables explicitly rated for DisplayPort Alt Mode or 4K 60Hz.
Assuming every USB-C port supports video. Many laptops mix video-capable and data-only USB-C ports. Check your specific port's capabilities in the laptop manual. Don't guess.
Ignoring scaling mismatches. A 13-inch 4K laptop screen and a 15.6-inch 1080p portable monitor have very different pixel densities. Without per-monitor scaling, one screen will look wrong. Adjust scaling in display settings for each screen independently.
Costs and What to Expect
Portable monitors range from around $90 for basic 1080p panels to $350 for 4K touchscreen models. Most people find the sweet spot between $150 and $220. Cables add $10 to $25 if you need replacements.
A Thunderbolt dock, if your setup requires one, runs $150 to $220 for a reliable unit.
Expert Tips for a Reliable Setup
Label your cables. If you carry multiple USB-C cables, mark the one that supports video. Not all cables are the same, and guessing wastes time when you're in a rush.
Create display profiles. If you use your portable monitor in multiple locations, save display arrangements for each spot. You won't have to rearrange screens every time.
Carry a backup cable. Cables fail at the worst possible times. A spare USB-C cable weighing a few grams in your bag is cheap insurance.
Check power delivery wattage. If your monitor supports 60W passthrough but your laptop charger is 45W, charging may be slow while the monitor runs. Match the wattage or carry a higher-rated charger.
Mistakes and tips were covered in the previous batch. Moving straight to remaining new material.
Making the Most of Extended Desktop Mode
Once your portable monitor is extending properly, a few workflow habits make a big difference.
Assign apps to specific screens. Keep communication tools on the laptop screen. Give browsers and primary work apps the larger portable panel. Consistency beats constant window dragging.
Use keyboard shortcuts. Windows key plus arrow keys snap windows to screen halves quickly. macOS users can grab window corners to assign apps to specific displays later.
Check taskbar behavior. Windows can show taskbars on both screens. macOS keeps the menu bar on the primary display only. Adjust these settings to match how you actually work, not how the OS defaults.
Managing Power and Heat on the Go
Portable monitors add load to your laptop. Power delivery passthrough helps, but it's not free.
Most USB-C portable monitors draw between 7 and 25 watts. That power comes from your laptop's battery unless your charger routes through the monitor. Aggregate user reports suggest budget monitors without PD passthrough can cut laptop battery life noticeably.
If you're running on battery, consider lowering monitor brightness. Dropping to 50% reduces draw and keeps the laptop running longer. Also, good ventilation helps.
These monitors have no fans. Don't wrap them in soft materials while in use.
Keeping Your Setup Reliable
Portable monitors are simple devices. They rarely fail on their own. Most problems come from cables, adapters, or driver issues.
Restart your laptop before troubleshooting further. A fresh boot often resolves detection problems caused by driver glitches. Verify that your graphics drivers are current, especially if you upgraded your OS recently.
Intel Arc, AMD Radeon, and NVIDIA driver updates sometimes change multi-monitor behavior without warning. If a setup that worked yesterday stops working today, check for sleep/wake glitches first. Both Windows and macOS can struggle with display detection after waking from sleep.
A quick display settings toggle fixes most of these.

Similar Posts