How to Connect 4K Monitor to Mac Mini
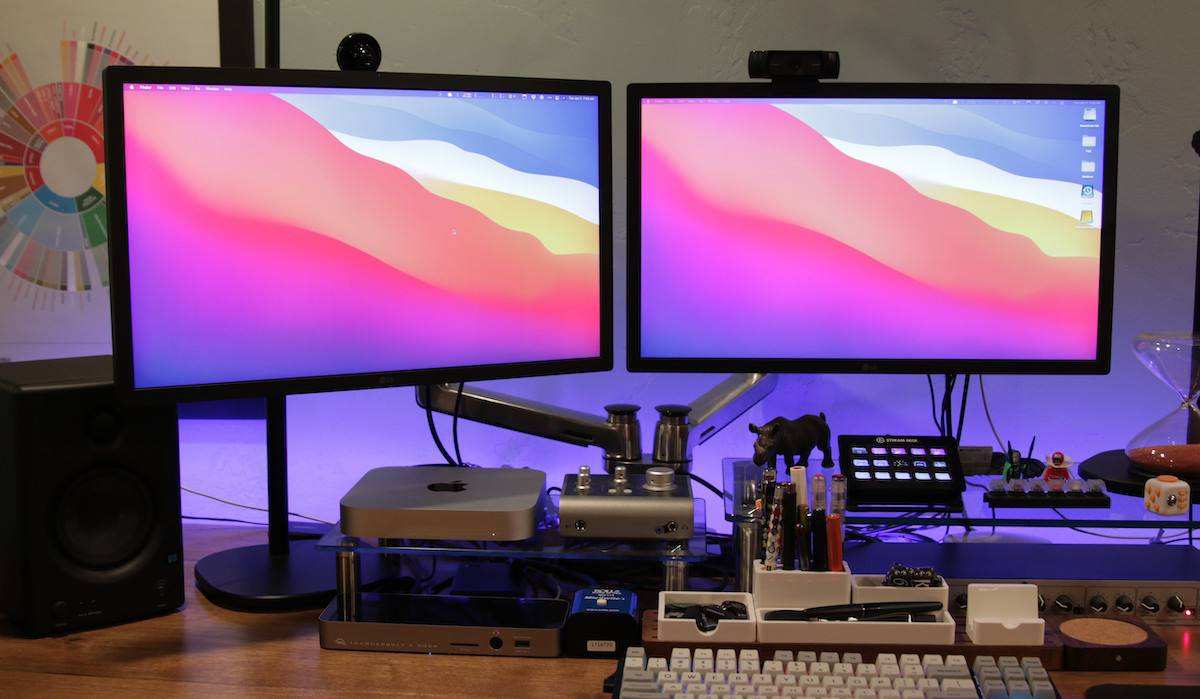
So you've got a Mac mini and a shiny new 4K monitor sitting on your desk. You plug in a cable, and… something looks off. Maybe you're stuck at 30Hz and everything feels sluggish.
Maybe the colors look washed out. Or maybe you just want to make sure you're doing it right the first time.
Learning how to connect a 4K monitor to a Mac mini isn't just about picking any cable. Your exact Mac mini model, the port you use, and even the cable spec all determine whether you get a crisp 60Hz experience or a frustrating mess. Let's walk through it step by step.
The key thing to understand upfront: not all Mac mini models support the same display output configurations. Apple's own specifications show that the base M1 chip limits you to a single external display, while the M2 Pro supports up to three. The port you choose matters just as much as the cable itself.
Quick Answer
Connect your 4K monitor to the Mac mini using either the built-in HDMI port or a Thunderbolt/USB4 port. Use an HDMI 2.0 cable or better for the HDMI port. For Thunderbolt, use a USB-C to DisplayPort 1.4 cable.
Open System Settings, Displays to confirm you're running at 60Hz. Your exact Mac mini model determines how many displays you can connect and which port gives you the best results.
First, Check Which Mac Mini You Actually Have
This matters more than you'd think. The Mac mini has gone through several hardware generations, and each one handles external displays differently. Grab this information before you buy any cable or adapter.
Click the Apple menu in the top-left corner of your screen. Select "About This Mac." You'll see the chip name (M1, M2, M2 Pro, or Intel) and the year. Write that down.
It determines everything.
Here's a quick breakdown of what each model supports:
| Model | Max External Displays | HDMI Spec | Thunderbolt Spec |
|---|---|---|---|
| M1 Mac mini (2020) | 1 | HDMI 2.0 | Thunderbolt 3 (USB4) |
| M2 Mac mini (2023) | 2 (1 via HDMI, 1 via Thunderbolt) | HDMI 2.0 | Thunderbolt 4 |
| M2 Pro Mac mini (2023) | 3 (1 via HDMI, 2 via Thunderbolt) | HDMI 2.1 | Thunderbolt 4 |
| Intel Mac mini (2018) | 2 | HDMI 2.0 | Thunderbolt 3 |
The M1 model is the most restrictive. You get one external display, period. If you need dual monitors on a base M1, you'll need a DisplayLink adapter, which uses software-driven rendering rather than native GPU output.
It works for productivity tasks but isn't ideal for video playback or color-critical work.
The M2 Pro gives you the most flexibility. Three native displays, HDMI 2.1 bandwidth, and two Thunderbolt 4 ports. That's the model most people running multi-display 4K setups should be looking at.
Why Your Setup Might Look Wrong (Even With the Right Cable)
You've connected everything. The monitor turns on. But something feels off.
The mouse cursor drags across the screen like it's moving through mud. Text looks slightly soft. The colors seem washed out compared to what you expected.
These are the three most common symptoms of a 4K monitor not running at its full potential. Each one has a different cause.
Stuck at 30Hz. This is the number one complaint. macOS defaults some 4K connections to 30Hz, especially over HDMI. At 30Hz, every mouse movement and window drag feels laggy. You want 60Hz for a smooth experience.
The fix is usually in System Settings, but sometimes the cable or port you're using physically can't deliver 60Hz at 4K.
Washed-out colors. This typically means macOS has detected your monitor as a TV instead of a computer display. When that happens, it switches to a limited RGB range (16-235 instead of 0-255). The result is blacks that look gray and colors that lack punch.
You can fix this in the display settings by selecting the correct color profile.
Wrong resolution. Sometimes macOS doesn't detect the monitor's native 3840 × 2160 resolution. It might default to a scaled resolution or even 1080p stretched to fill the screen. This is usually an EDID handshake issue.
The monitor tells the Mac what resolutions it supports, and sometimes that communication fails. A different cable or port often resolves it.
The Connection Decision Tree: HDMI vs. Thunderbolt vs. USB-C Adapter
Here's where most guides go wrong. They tell you to "just use HDMI" and leave it at that. But the best connection depends on what you're trying to achieve and what your specific Mac mini supports.
Let's break it down by scenario.
When to Use the Built-In HDMI Port
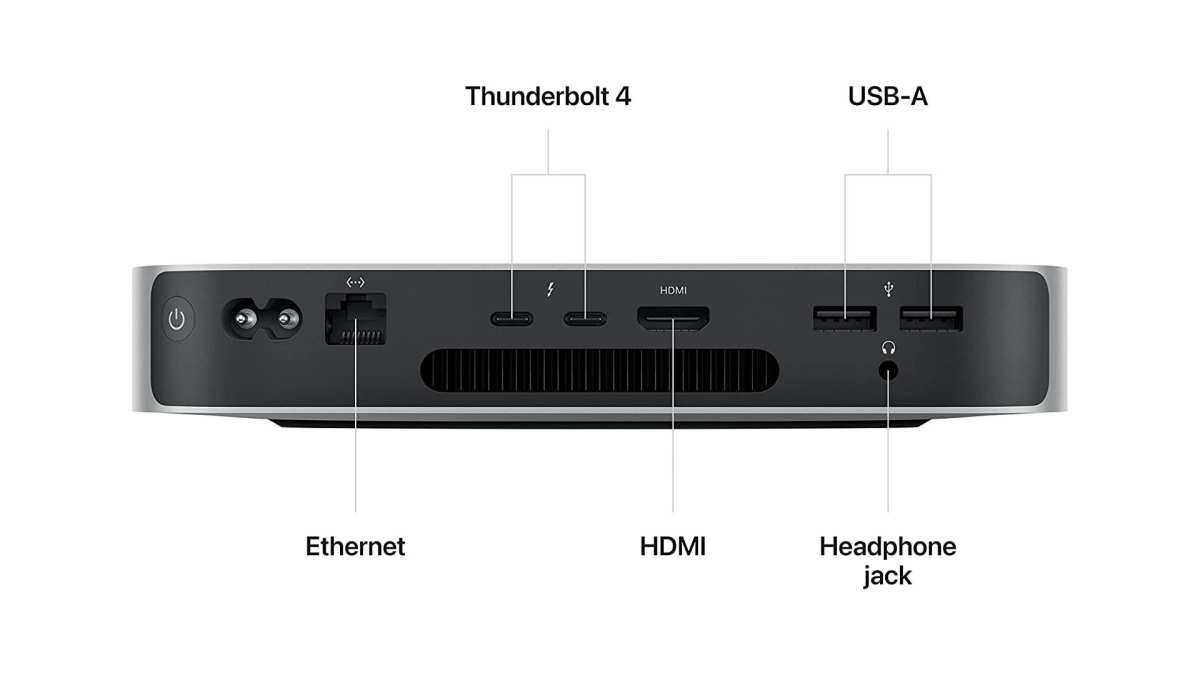
Use the HDMI port when you want the simplest, most plug-and-play connection. It works great for a single 4K monitor at 60Hz, provided you have the right cable.
The M2 Pro Mac mini has HDMI 2.1, which handles 4K at 120Hz with ease. The base M2 and M1 models have HDMI 2.0, which tops out at 4K 60Hz with 4:2:0 chroma subsampling or 4K 30Hz with full 4:4:4 color.
For most people running a standard 4K 60Hz monitor, the HDMI port on any recent Mac mini works fine. Just make sure your cable is rated for HDMI 2.0 or higher.
When to Use the Thunderbolt / USB4 Port Instead
Use Thunderbolt when you need the highest bandwidth or when HDMI isn't cooperating. Thunderbolt 4 on the M2 and M2 Pro Mac minis delivers up to 40 Gbps. That's more than enough for 4K at 60Hz with full 4:4:4 color and 10-bit depth.
Thunderbolt also lets you daisy-chain or connect through a dock if you're running multiple peripherals. If your monitor has a USB-C or DisplayPort input, a USB-C to DisplayPort cable is often the cleanest solution.
The M2 Pro model supports two displays over Thunderbolt. If you're running dual 4K monitors on an M2 Pro, one of them should connect via Thunderbolt to free up the HDMI port for the other.
When You Need an Adapter or Dongle
You need an adapter when your monitor only has DisplayPort and you want to use the Thunderbolt port. Or when your monitor only has HDMI and you've already used the built-in HDMI port for a second display.
In these cases, get a USB-C to DisplayPort 1.4 cable for the cleanest signal path. Avoid cheap passive adapters that don't support the full bandwidth. They'll often cap you at 30Hz or cause intermittent connection drops.
For HDMI connections from Thunderbolt, make sure the adapter explicitly supports 4K 60Hz. Many cheap USB-C to HDMI adapters only support 4K at 30Hz. They'll work, but you'll hate the experience.
Step-by-Step: Getting Your 4K Display Running at 60Hz
Here's the full process from unboxing to a properly configured 4K display.
Step 1: Identify your Mac mini model. Apple menu > About This Mac. Note the chip and year.
Step 2: Choose your port and cable. Use the decision tree above. For most single-monitor setups, HDMI with a certified HDMI 2.0 cable works. For maximum quality or multi-display, use Thunderbolt with a USB-C to DisplayPort 1.4 cable.
Step 3: Connect the cable. Plug one end into the Mac mini and the other into the monitor. Make sure the monitor is set to the correct input source.
Step 4: Open System Settings > Displays. You should see your monitor detected. If not, try a different cable or port. Check that the monitor's input matches the cable you used.
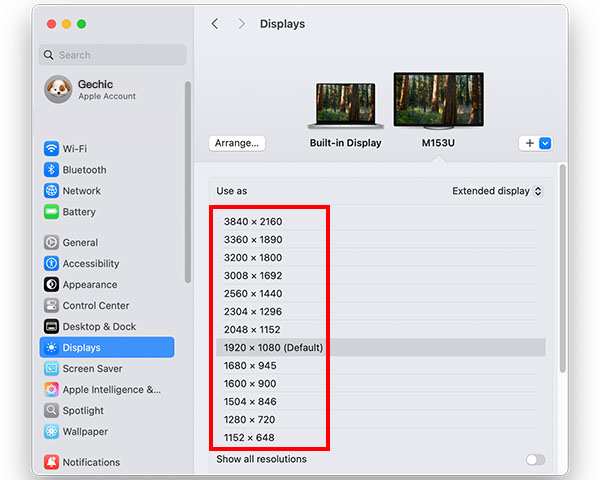
Step 5: Check the resolution. Click on the display name and look at the resolution options. Select "Default for display" first. If that doesn't look right, try the "Scaled" option and pick 3840 × 2160.
Step 6: Verify the refresh rate. Hold the Option key and click "Scaled" in the display settings. This reveals a list of available refresh rates. Select 60Hz if it's available.
If 60Hz doesn't appear, your cable or port can't deliver it.
Step 7: Configure color. In the display settings, check the color profile. Select the profile that matches your monitor model, or use "Default" if no specific profile is listed. If colors look washed out, try toggling between different profiles.
Step 8: Test with real content. Open a few apps, drag windows around, and play a video. If everything looks smooth and sharp, you're done. If not, move on to troubleshooting.
Make Sure You're Actually Getting 4K 60Hz (Not Stuck at 30Hz)
This is the step most people skip, and it's the reason so many forum posts complain about "laggy" 4K displays on Mac mini.
After connecting your monitor, go to System Settings > Displays. Look at the "Refresh Rate" dropdown. If it says 30Hz or 30 Hertz, you're not getting the full experience.
Change it to 60Hz.
If 60Hz isn't an option, the problem is one of three things:
- Your cable doesn't support it. HDMI 1.4 cables max out at 4K 30Hz. You need HDMI 2.0 or higher.
- Your adapter is the bottleneck. Many USB-C to HDMI adapters only support 4K 30Hz. Check the product specs.
- The port you're using has bandwidth limitations. On the base M2, the HDMI port and Thunderbolt port have different capabilities depending on what else is connected.
The easiest fix is usually swapping the cable. A certified Ultra High Speed HDMI cable (HDMI 2.1) costs under $15 and eliminates the cable as a variable. For Thunderbolt connections, a USB-C to DisplayPort 1.4 cable from a reputable brand handles 4K 60Hz without issue.
Fixing the "Washed Out" Color Problem
If your display looks like someone put a gray filter over it, macOS is probably outputting a limited RGB range. This happens when the OS thinks your monitor is a TV.
Here's how to fix it:
- Open System Settings > Displays.
- Click on your display's name.
- Look for "Color Profile" or "HDR" settings.
- Try selecting a different profile. "sRGB" or "Display P3" usually looks correct for computer monitors.
- If you see an "HDMI" or "TV" option, switch it to "PC" or "Monitor" mode in the monitor's own on-screen display (OSD) menu.
Some monitors have a setting in their own menu called "HDMI Black Level" or "RGB Range." Set this to "Full" or "Normal" instead of "Low" or "Limited." That alone often fixes the washed-out look.
If you're still seeing issues, try a different cable. A poor-quality cable can cause the Mac to misidentify the display type during the initial handshake.
What Changes Depending on Your Mac Mini Model
Not all Mac minis are created equal when it comes to driving 4K displays. Here's what you need to know for each model.
M1 Mac Mini (2020) — The One-Display Limit
The base M1 chip supports exactly one external display. You can connect it via HDMI or Thunderbolt, but not both simultaneously for extended desktop mode. If you need two displays, you'll need a DisplayLink adapter, which uses a software driver rather than native GPU output.
For a single 4K monitor, the M1 handles 60Hz fine over either port. Just don't expect to run high-refresh-rate gaming or HDR content smoothly. The M1's display engine is capable but not powerful enough for demanding workflows.
M2 Mac Mini (2023) — Two Displays, but Know the Rules
The base M2 supports two external displays. One connects via the HDMI port, the other via Thunderbolt. Both can run 4K at 60Hz simultaneously.
The catch: the HDMI port is only HDMI 2.0 on the base M2. That means 4K 60Hz with 4:2:0 chroma subsampling. If you want full 4:4:4 color at 60Hz, use the Thunderbolt port with a USB-C to DisplayPort cable instead.
For most office work and content consumption, 4:2:0 is fine. You won't notice the difference in text or UI elements. But for photo editing or design work where color accuracy matters, 4:4:4 is worth the extra cable.
M2 Pro Mac Mini (2023) — The One with Real Display Flexibility
The M2 Pro is the sweet spot for multi-display setups. You get HDMI 2.1 (which handles 4K 120Hz), two Thunderbolt 4 ports, and support for up to three external displays.
You can run two 4K monitors over Thunderbolt and one over HDMI. All at 60Hz. The HDMI 2.1 port even supports 4K at 120Hz if your monitor can handle it.
If you're buying a Mac mini specifically for a multi-monitor 4K setup, the M2 Pro is the model to get. The base M2 works for two displays, but the M2 Pro gives you room to grow.
Intel Mac Mini (2018) — Still Works, But Check Your Ports
The Intel Mac mini supports two displays via Thunderbolt 3. The HDMI port is 2.0, so 4K 60Hz works there too.
The main limitation is that Intel Macs don't support Display Stream Compression (DSC). That means 4K at high refresh rates with deep color depth can be bandwidth-constrained over Thunderbolt 3. Stick with 4K 60Hz and you'll be fine.
Cable and Adapter Cheat Sheet
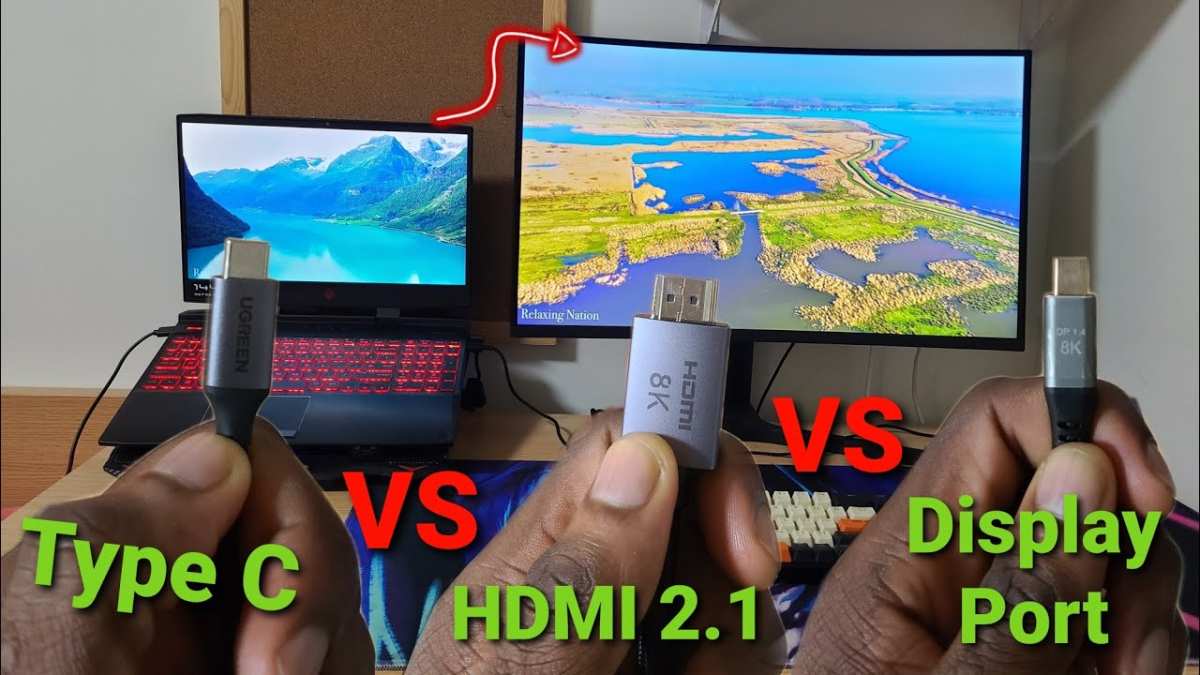
Choosing the right cable eliminates 90% of connection problems. Here's a quick reference.
Don't Cheap Out on Cables — Here's Here's Why
A $3 gas station HDMI cable might work for 1080p. It will almost certainly fail at 4K 60Hz. These cables often don't meet the bandwidth requirements and cause handshake failures, flickering, or no signal at all.
Certified cables cost $10 to $20 and save hours of troubleshooting. Look for "Premium High Speed" or "Ultra High Speed" certification on HDMI cables. For USB-C to DisplayPort, buy from a brand that explicitly lists DisplayPort 1.4 support.
USB-C to DisplayPort Cable vs. USB-C to HDMI Adapter
| Feature | USB-C to DisplayPort 1.4 | USB-C to HDMI 2.0 Adapter |
|---|---|---|
| Max Resolution | 4K 60Hz 4:4:4 | 4K 60Hz 4:2:0 |
| HDR Support | Yes | Limited |
| Color Depth | 10-bit | 8-bit |
| Best For | Design work, color-critical tasks | Office work, media playback |
| Typical Cost | $15-25 | $10-30 |
For most people, a USB-C to DisplayPort cable gives you the best results from the Thunderbolt port. It's a single cable, no adapter needed, and it supports full chroma sampling.
USB-C to HDMI adapters are useful when your monitor only has HDMI inputs. Just make sure the adapter explicitly supports 4K 60Hz. Many budget adapters cap at 30Hz.
Common Problems and How to Fix Them
Monitor Says "No Signal" After You Plug Everything In
First, check the input source on the monitor. Make sure it's set to the correct port. Then try these steps:
- Unplug the cable from both ends and reconnect firmly.
- Try a different cable.
- Try a different port on the Mac mini.
- Restart the Mac mini with the monitor connected.
- Reset NVRAM (Intel Macs only): shut down, then power on while holding Option + Command + P + R for about 20 seconds.
If none of that works, the monitor and Mac may have an EDID compatibility issue. Try connecting a different monitor or TV to isolate the problem.
Display Looks Blurry or Wrong Resolution After Wake From Sleep
This is a known macOS behavior with some monitors. The display wakes up at the wrong resolution or scaled incorrectly.
Fix it by going to System Settings > Displays and re-selecting your preferred resolution. If it keeps happening, disable "Power Nap" in Energy Saver settings. That prevents the Mac from doing background activity during sleep that can confuse the display handshake.
Some users report success by using a different cable brand. Certain monitors are picky about the EDID data they receive during wake, and a cable with slightly different electrical characteristics can make the difference.
Netflix or Apple TV Won't Play in 4K (HDCP Handshake Failure)
HDCP (High-bandwidth Digital Content Protection) is required for streaming protected content. If your cable or adapter doesn't support HDCP 2.2, you'll get a black screen or an error message when trying to play Netflix, Apple TV+, or other DRM-protected services.
The fix is straightforward: use a certified cable. Cheap, uncertified cables often don't implement HDCP correctly. A Premium High Speed HDMI cable or a VESA-certified DisplayPort cable resolves this in almost every case.
If you're running the monitor through a dock or KVM switch, make sure that device also supports HDCP 2.2. Many older docks don't, and they'll block protected content even if the rest of your setup is correct.
Real-World Setups That Work
Basic Productivity: One 4K Monitor, Clean and Simple
Connect a single 4K monitor to the Mac mini's HDMI port using a Premium High Speed HDMI cable. Set the resolution to 3840 × 2160 at 60Hz in System Settings. Use the default color profile.
Done.
This setup works great for email, web browsing, office apps, and coding. The mouse feels smooth, text is sharp, and you have plenty of screen real estate.
Creative Work: 4K Display + Proper Color and Scaling
Connect via Thunderbolt using a USB-C to DisplayPort 1.4 cable. This gives you full 4:4:4 chroma and 10-bit color depth if your monitor supports it. In System Settings, select the monitor's native color profile (usually Display P3 or the manufacturer's custom profile).
For photo editing in Lightroom or video editing in DaVinci Resolve, this connection path gives you the most accurate color reproduction. The difference over HDMI 2.0 is visible in gradients and fine color transitions.
Maximum Displays: Pushing the M2 Pro to Its Limits
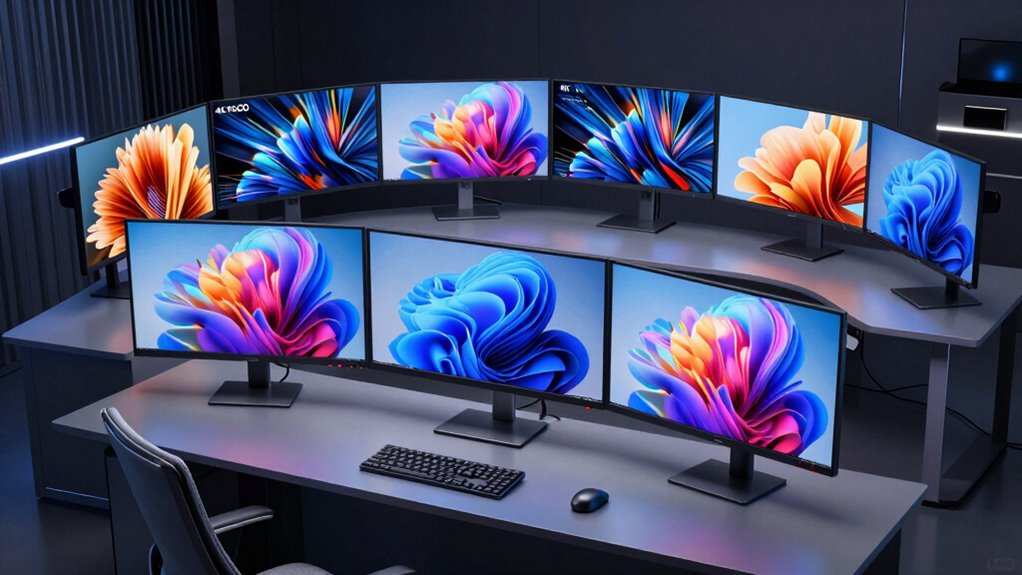
On the M2 Pro Mac mini, connect one 4K monitor to the HDMI 2.1 port and two more to Thunderbolt 4 ports using USB-C to DisplayPort cables. All three can run 4K at 60Hz simultaneously.
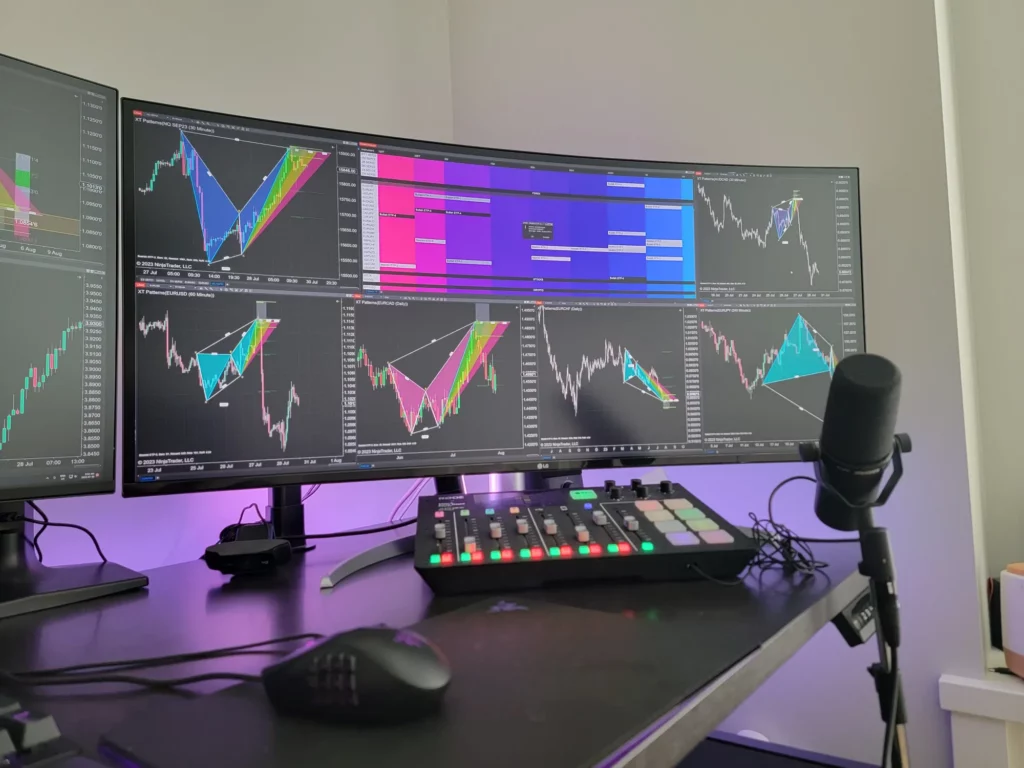
This is the setup for traders, developers, or anyone who needs maximum screen space. macOS handles three 4K displays smoothly on the M2 Pro. Just make sure your monitors have DisplayPort inputs, or use quality USB-C to HDMI adapters for the Thunderbolt connections.
Frequently Asked Questions
Can I connect a 4K monitor to the M1 Mac mini?
Yes, but only one. The M1 Mac mini supports a single external display at up to 4K 60Hz via either the HDMI port or Thunderbolt. If you need two monitors, you'll need a DisplayLink adapter, which uses software rendering rather than native GPU output.
Why is my 4K monitor stuck at 30Hz?
Your cable is probably the culprit. HDMI 1.4 cables max out at 4K 30Hz. Swap to an HDMI 2.0 or 2.1 certified cable.
Also check System Settings > Displays and manually select 60Hz from the refresh rate dropdown.
Do I need a special cable for 4K on Mac mini?
You need at least an HDMI 2.0 certified cable for the HDMI port. For Thunderbolt connections, a USB-C to DisplayPort 1.4 cable gives the best results. Avoid cheap uncertified cables.
They cause handshake failures and limit your resolution or refresh rate.
Can I use a USB-C to HDMI adapter for 4K 60Hz?
Only if the adapter explicitly supports 4K at 60Hz. Many budget USB-C to HDMI adapters cap at 4K 30Hz. Check the product specifications before buying.
Look for "4K 60Hz" or "HDMI 2.0" in the adapter's listed capabilities.
How many 4K monitors can I connect to a Mac mini?
It depends on the model. The M1 supports one. The base M2 supports two.
The M2 Pro supports three. The Intel Mac mini supports two via Thunderbolt 3 plus one via HDMI in some configurations. Always check your specific model's specs in About This Mac.
Expert Tips for the Best Experience
Use the native resolution first. Always run the monitor at its native 3840 × 2160 before trying scaled options. macOS renders scaled HiDPI resolutions by rendering at a higher internal resolution then downscaling, which uses more GPU power and can look slightly soft on some displays.
Check for firmware updates. Monitor manufacturers sometimes release firmware updates that fix macOS compatibility issues. LG, Dell, and Samsung have all updated EDID profiles in the past to resolve Mac-specific detection problems.
Avoid daisy-chaining through a hub for your primary display. Connect the main 4K monitor directly to the Mac mini whenever possible. Hubs and docks add another point of failure and can limit bandwidth. If you must use a dock, make sure it's Thunderbolt 4 certified and explicitly supports 4K 60Hz passthrough.
Set up your monitor arrangement early. In System Settings > Displays, click "Arrange" and drag the display representations to match your physical layout. This makes moving between screens feel natural. If your monitor is above the laptop-style arrangement, position it accordingly.
When to Call in a Pro
It's time to getprofessional help when you've tried two different cables and both ports and the monitor still won't detect. That suggests a hardware fault in either the Mac mini's output circuitry or the monitor's input board.
Also seek help if you need more displays than your chip supports natively. DisplayLink setups can be finicky. A certified AV integrator can recommend the right driver version and adapter for your specific workflow.
Another scenario: color-critical work for print or broadcast. The built-in macOS calibration tools are decent. But a professional calibrator with a hardware colorimeter will give you a profile that's accurate to Delta E < 1.
That matters when someone's paying you for accurate color.

Similar Posts