How to Configure Office Monitor Height
If you've ever ended a workday with a stiff neck or aching shoulders, learning how to configure office monitor height properly might be the single most impactful change you make. Most people don't realize that even a couple of inches off in either direction forces your body into a compensatory posture that compounds over hundreds of repetitions per hour.
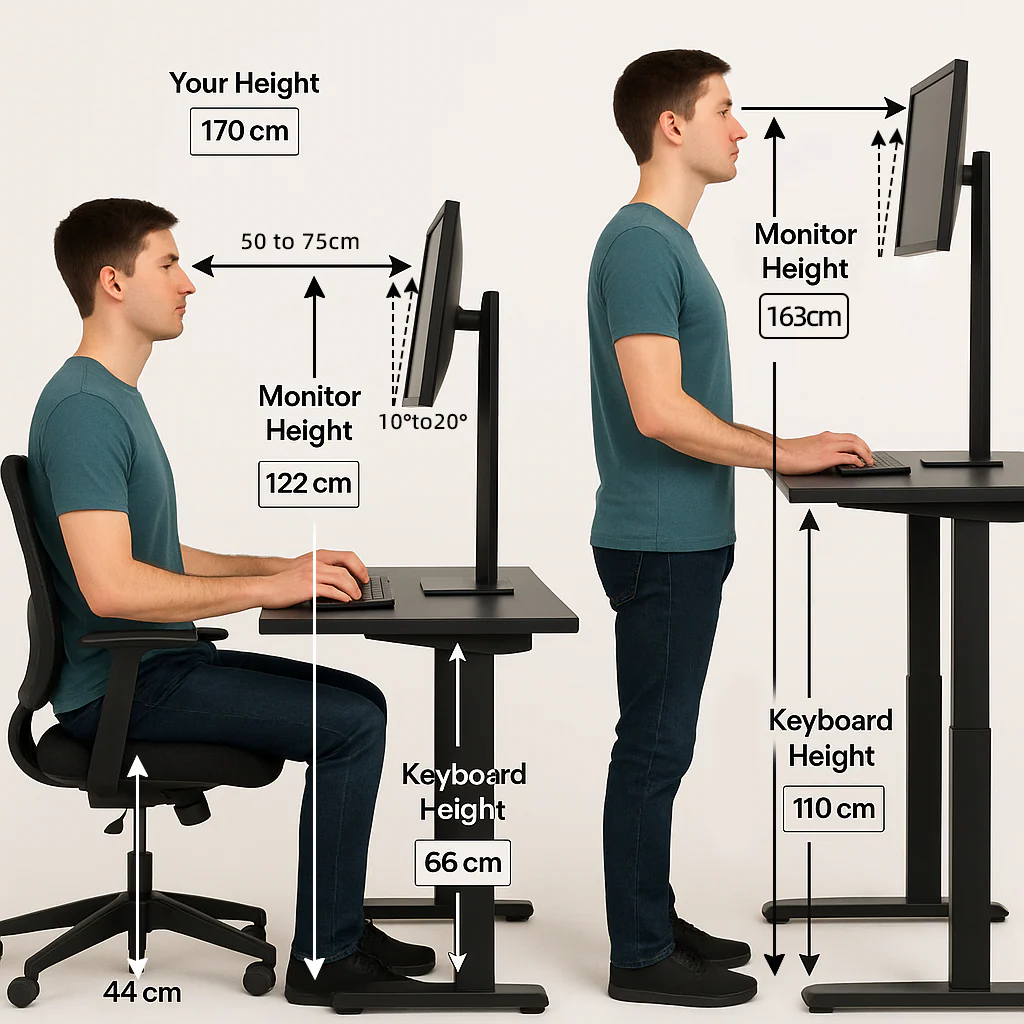
The research-backed standard is straightforward: the top of your screen should sit at or slightly below eye level, with your gaze angled roughly 15 to 20 degrees downward. ANSI/HFES 100-2007 and ISO 9241-5 both codify this positioning because it keeps your cervical spine in a neutral position. Let's walk through exactly how to get there for your body and your desk.
Quick Answer
Set the top of your screen at or just below your seated eye level. Position the monitor roughly 20 to 26 inches from your face. Tilt it back 10 to 20 degrees.
Your natural gaze should angle downward about 15 to 20 degrees without bending your neck.
Why Getting Monitor Height Wrong Is a Real Health Risk
This isn't about comfort. It's about preventing cumulative musculoskeletal damage that builds silently over months and years.
When your monitor sits too high, you tilt your head back and jut your chin forward. That forward head posture increases the effective load on your cervical spine dramatically. Research from Cornell University's Ergonomics Lab shows that for every inch your head moves forward from neutral alignment, the load on your neck muscles increases by roughly the weight of your head itself.
When your monitor sits too low, you hunch forward and round your upper back. That sustained flexion compresses thoracic vertebrae and strains the posterior chain muscles running along your spine. Neither extreme is sustainable.
The real danger is that your body adapts. You don't feel the damage happening in real time. You feel it six months later when turning your head becomes uncomfortable.
By then, you've logged thousands of hours in a harmful position.
OSHA's computer workstation eTool guidelines and the EU Display Screen Equipment Directive both treat monitor height as a primary risk factor for work-related musculoskeletal disorders. Employers who skip proper ergonomic setup face not just productivity losses but also workers' compensation claims tied to chronic neck and back injuries.
The One Rule Most People Get Wrong About Monitor Height
Here it is: "top of the screen at eye level" is incomplete advice that causes real problems.
Most generic guides tell you to align the top edge of the display with your eyes. That's close, but it ignores where your eyes naturally rest when you're relaxed. Your eyes don't stare straight ahead all day.
They drop. Your natural resting gaze angles downward 15 to 20 degrees when you're seated and relaxed.
If you set the top of the screen exactly at eye level, you'll end up tilting your head slightly downward to see the center of the screen. That sounds fine until you realize the center of the screen is where your eyes land 80% of the time. You're now holding a slight neck flexion for eight hours.
The correct target: the top third of your screen should align roughly with your seated eye level. That means the top edge sits at or up to about 5 centimeters (2 inches) below your eyes. Your natural downward gaze then falls right on the center of the display without any neck bending.
This distinction matters even more for bifocal and progressive lens wearers. If you read through the lower portion of your lenses, a monitor set at true eye level forces you to tilt your head back to see the screen clearly. That's a fast track to chronic neck pain.
How to Set Your Monitor Height: The Step-by-Step Process
Getting this right takes about ten minutes and requires no special tools. Follow these steps in order, because each one affects the next.
Step 1: Set Your Chair Height First
Your monitor height depends entirely on where your eyes are, and that starts with your chair. Adjust your chair so your feet rest flat on the floor with your thighs roughly parallel to the ground. Your knees should be at about a 90-degree angle.
If your feet dangle, use a footrest. Don't skip this. A footrest costs $15 to $30 and solves the problem completely.
Your eye height changes by several inches with chair height, so locking this down first prevents you from having to redo everything later.
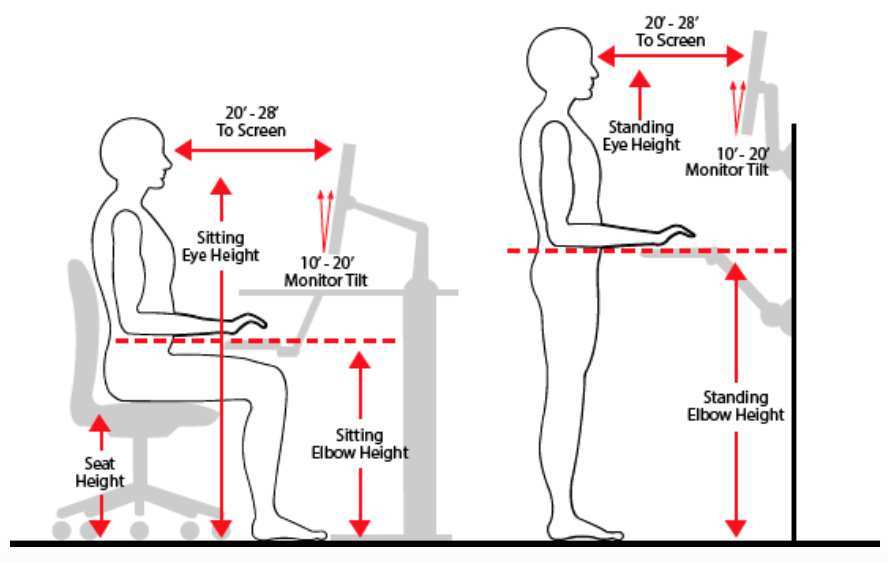
Step 2: Find Your Seated Eye Height
Sit in your normal working posture. Don't sit up straight like you're being photographed. Sit the way you actually sit when you're focused on your work.
Have someone measure from the seat surface to the center of your eye. If you're alone, use a mirror and a ruler. This number is your seated eye height from the seat.
For most adults, this falls between 42 and 50 inches from the floor, but your number is what matters.
Step 3: Position the Top of the Screen
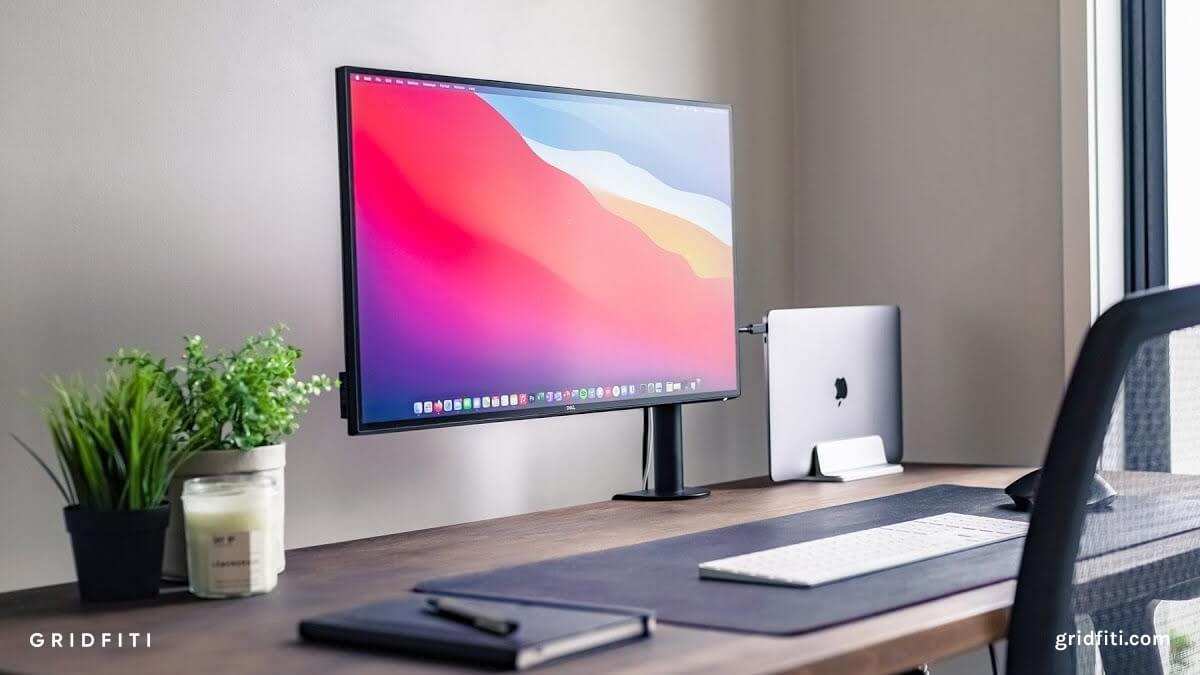
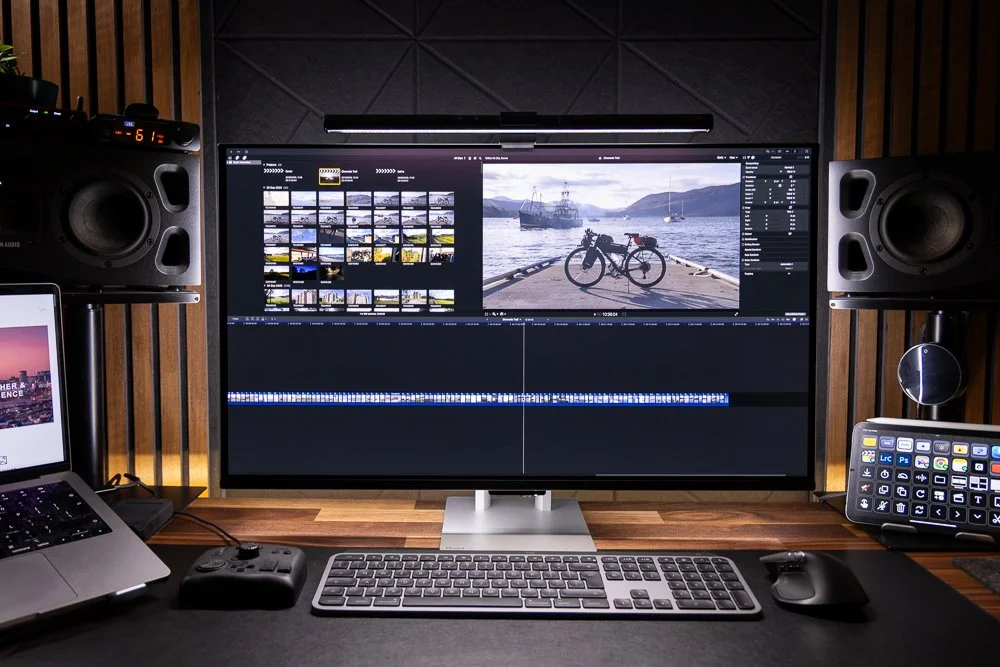
Now place the top edge of your screen at or up to 5 centimeters below your seated eye level. If you're using a monitor with a built-in stand, adjust the stand height or add a monitor riser to achieve this.
For most 24 to 27-inch monitors on a standard desk, the center of the screen should end up roughly 43 to 48 inches from the floor. But don't rely on floor measurements alone. Your body is the reference point, not the desk.
Step 4: Set the Right Distance
Your monitor should sit about an arm's length away. That's roughly 20 to 26 inches (50 to 65 centimeters) from your eyes to the screen surface.
Extend your arm. Your fingertips should just brush the screen. If you're squinting, move it closer.
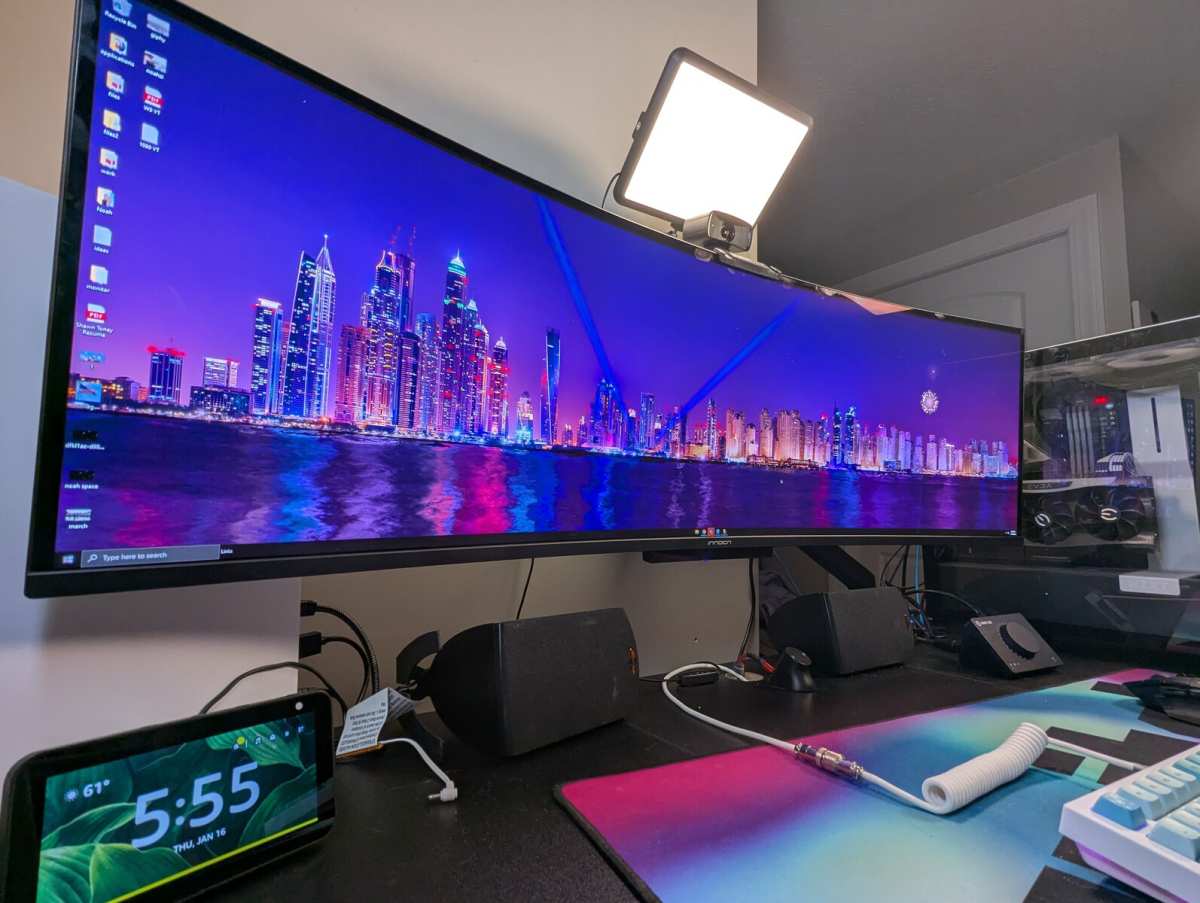
If you're leaning forward, push it back. Larger screens (27 inches and above) work better at the farther end of that range. Ultrawide monitors often need 26 to 30 inches.
Step 5: Adjust Tilt and Angle
Tilt the monitor back 10 to 20 degrees from vertical. This reduces glare and aligns the screen surface perpendicular to your downward gaze.
If you see reflections from windows or overhead lights, tilt slightly more until they disappear. Anti-glare screen protectors help, but adjusting the physical angle is more effective.
Step 6: Check Your Gaze Angle
Sit back in your working posture. Close your eyes for five seconds. Open them naturally.
Where do your eyes land first? That should be the upper third of your screen.
If you're looking at the center or lower portion, raise the monitor slightly. If you're looking at the very top bezel, lower it a bit. Make small adjustments.
Recheck after a few minutes of actual work. Your posture shifts subtly once you're engaged in a task.
Special Setups: Dual Monitors, Standing Desks, and Laptops
The basic rules above apply universally, but real-world setups introduce complications that change how you apply them.
Dual Monitor Configuration
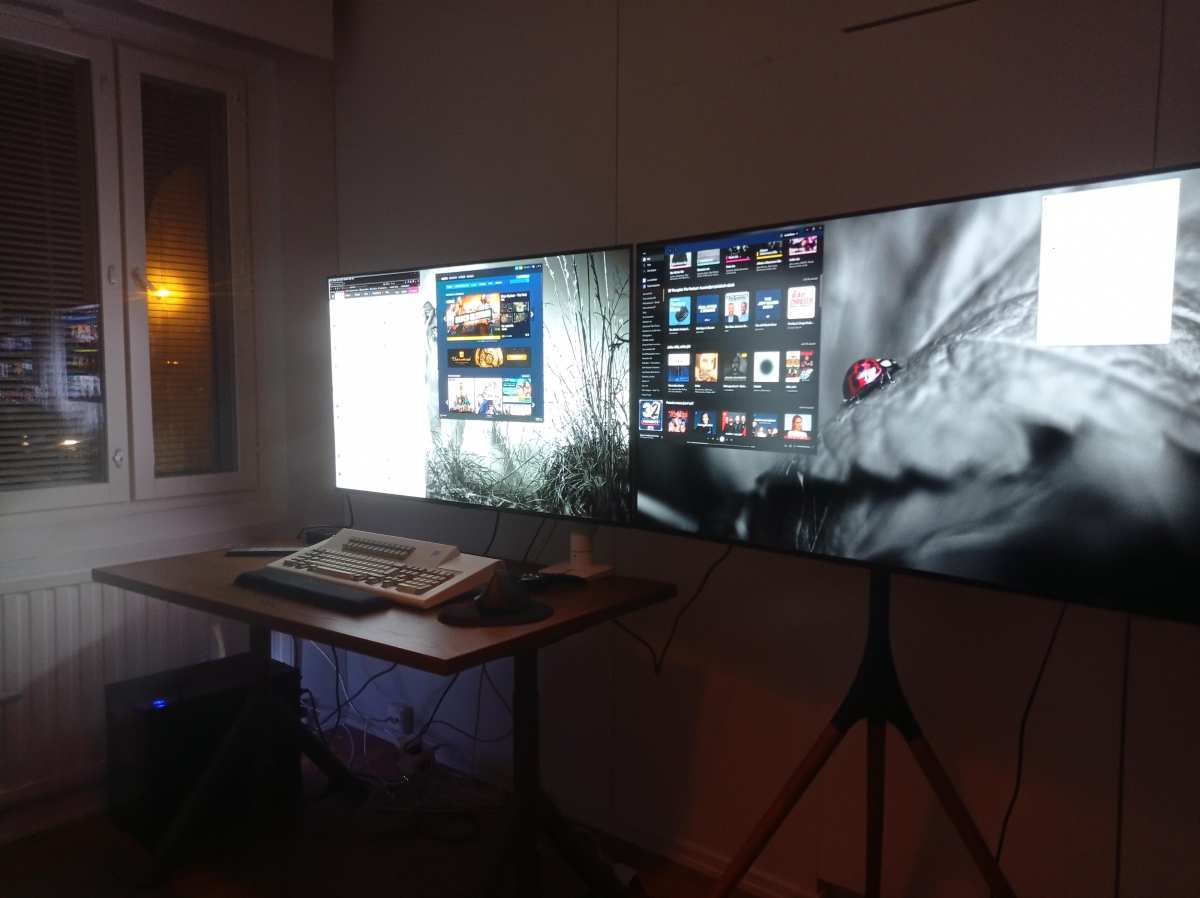
If you use both monitors equally, center the seam directly in front of you. Angle both screens slightly inward in a V-shape. Set both to the same height and distance.
Your head should rotate no more than 30 degrees to either side.
If you use one monitor 70% of the time or more, place that primary monitor directly in front of you. Position the secondary monitor to the side you use less. Angle it 15 to 30 degrees toward you.
The secondary can sit slightly lower since you're glancing at it, not staring.
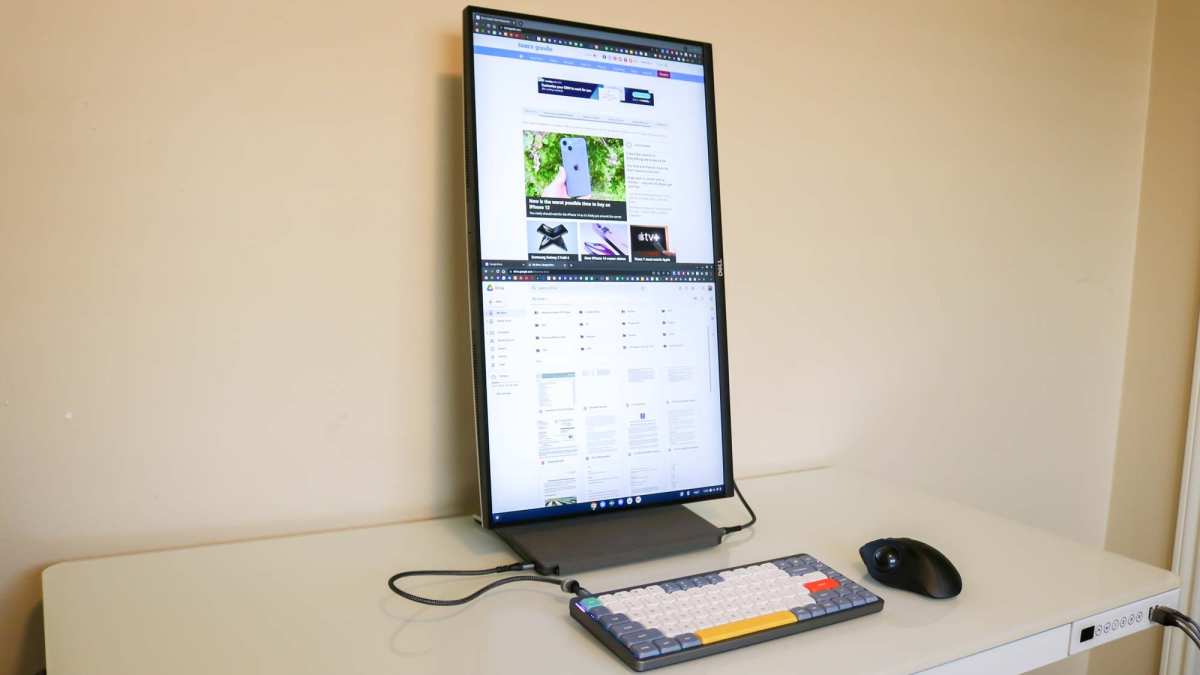
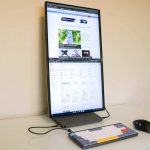
Never stack monitors vertically unless your job specifically requires it (like some video editing or coding workflows). Stacking forces sustained upward gaze that strains your neck extensors.
Standing Desk Monitor Height
When you stand, your eye level rises by roughly 3 to 5 inches compared to sitting. If your monitor is fixed in place, standing will put the screen too low. You'll hunch forward.
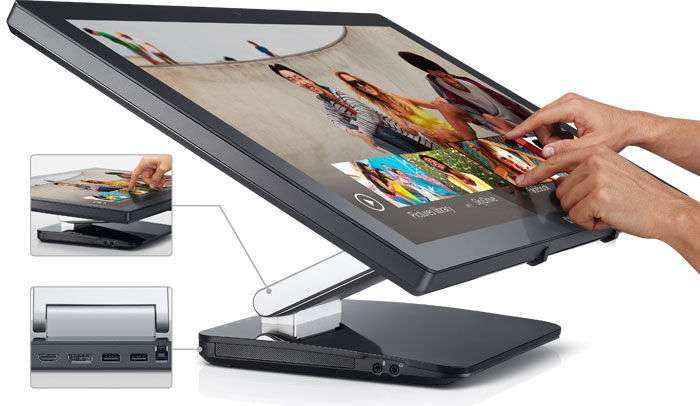
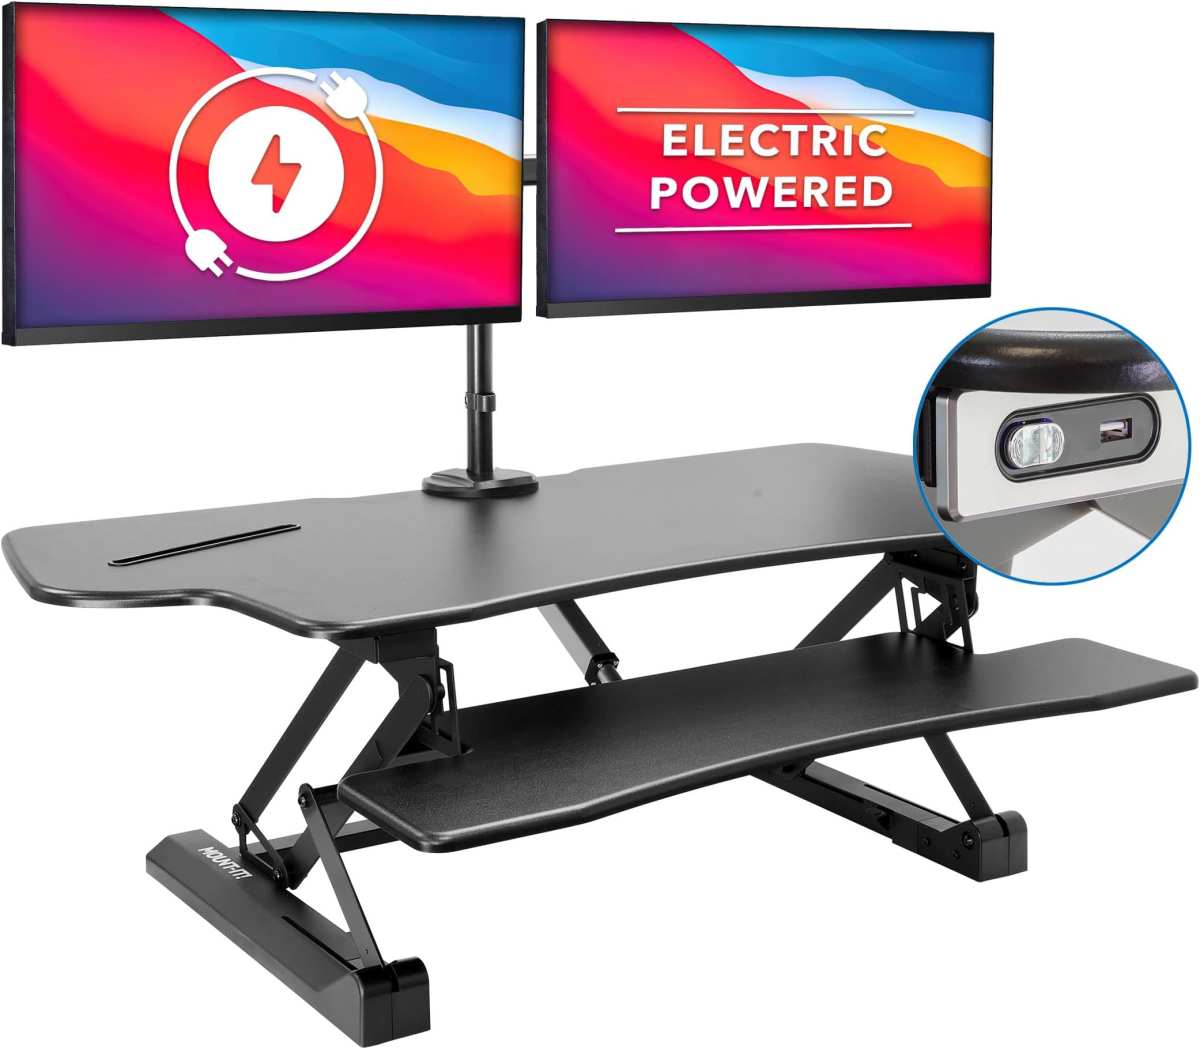
The solution: use a monitor arm with sufficient vertical range. A gas-spring arm rated for your monitor's weight lets you raise the screen 4 to 6 inches when you switch to standing. Some standing desks come with built-in monitor trays that sit higher than the desk surface, which also works.
Set your standing monitor height using the same principle. Top of screen at or slightly below your standing eye level. Your standing eye height is typically 46 to 56 inches from the floor for most adults.
Laptop + External Monitor Setups
A laptop screen is almost always too low when placed on a desk. The keyboard position forces the screen down to desk level, which is 10 to 12 inches below proper viewing height.
Use a laptop stand to raise the laptop screen to the same height as your external monitor. Pair it with an external keyboard and mouse. This is non-negotiable if you use your laptop as your primary display for more than an hour at a stretch.
If you use the laptop screen as a secondary display, place it to the side and angle it toward you. It can sit slightly lower than your primary monitor since you're only glancing at it.
Bifocal and Progressive Lens Wearers
If you wear bifocals or progressive lenses, standard monitor height advice can backfire. You likely tilt your head back to read through the lower portion of your lens. That sustained extension strains your cervical spine.
Lower your monitor 2 to 4 inches below the standard recommendation. This lets you read the screen through your lower lens segment without tilting your head back. Some wearers opt for single-vision computer glasses prescribed specifically for their monitor distance.
That eliminates the problem entirely.
Monitor Height Mistakes That Cause Neck and Back Pain
These are the errors I see most often, and they're all fixable once you know to look for them.
Setting the monitor too high. This is the most common mistake. People think "eye level" means the center of the screen. It doesn't. A monitor that's too high forces you into chin-up posture that loads your cervical extensors.
Setting the monitor too low. Stacks of books under the monitor, a laptop on a flat desk, or a monitor arm that's been cranked down all cause sustained forward head posture and thoracic flexion.
Ignoring the chair height first. If your chair is too low, your eye level drops. You set the monitor to match. Then you raise your chair the next day and suddenly the monitor is too high. Always set chair height before monitor height.
Using the monitor's OEM stand without adjustment. Most factory stands offer zero to 2 inches of height adjustment. That's rarely enough. The stand that came with your monitor is a starting point, not a solution.
Forgetting to recheck after switching between sitting and standing. Your eye level changes by several inches. A setup that's perfect for sitting will be wrong for standing, and vice versa.
Positioning the monitor too far away. When the screen is too far, you lean forward. That forward lean rounds your shoulders and loads your lumbar spine. Keep it at arm's length.
Ignoring glare and compensating with posture. If you can't see the screen clearly because of reflections, you shift your head and torso. Fix the glare instead. Adjust the tilt, reposition the monitor relative to windows, or use an anti-glare screen.
Copying someone else's setup. Your eye height, arm length, and torso proportions are different from your coworker's. A setup that's perfect for a 6'2" person will be wrong for someone who's 5'4". Configure for your body, not someone else's.
Monitor Arm vs. Riser Stand: Which One Actually Fixes the Problem?
Both solve the same core problem, but they do it differently. Your choice depends on your desk, your monitor, and whether you switch between sitting and standing.
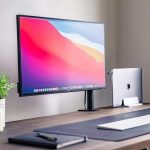
A monitor arm clamps or mounts to your desk and holds the monitor on an adjustable arm. Gas-spring models let you change height, tilt, swivel, and rotation with one hand. They free up desk space underneath the monitor and offer the widest range of adjustment.
A monitor riser (or riser stand) sits on your desk and elevates the monitor on a fixed or adjustable platform. It's simpler, requires no installation, and costs less. But it offers limited height range and takes up desk surface area.
Quick Comparison Table
| Feature | Monitor Arm | Monitor Riser |
|---|---|---|
| Height adjustment range | 6 to 12+ inches | 2 to 6 inches |
| Tilt and swivel | Full range | Limited or none |
| Desk space impact | Frees space underneath | Occupies surface area |
| Installation required | Yes (clamp or grommet) | No (place and use) |
| Price range | $25 to $400+ | $15 to $60 |
| Best for | Standing desk users, multi-user setups, heavy monitors | Fixed-height desks, budget setups, temporary solutions |
| VESA mount needed | Yes | No |
Choose a monitor arm if you use a standing desk, share your workstation, need frequent adjustments, or have a heavy monitor (27 inches and above). The gas-spring mechanism makes repositioning effortless.
Choose a monitor riser if you have a fixed-height desk, a limited budget, or a monitor under 24 inches. It's also the right choice if you can't or don't want to clamp anything to your desk.
Avoid stacking books or boxes as a permanent solution. It looks rough, offers zero adjustability, and the stack shifts over time. Spend $20 on a proper riser if a monitor arm isn't in your budget.
What the Research and Standards Actually Say
The ergonomic standards on monitor height aren't arbitrary. They're based on decades of biomechanical research into how the human body interacts with computer displays.
ANSI/HFES 100-2007 (the primary US standard for computer workstation ergonomics) specifies that the center of the display should be positioned so the user's line of sight angles 15 to 20 degrees below horizontal when in a neutral seated posture. This aligns with the natural resting gaze angle of the relaxed eye.
ISO 9241-5:1998 (the international equivalent) recommends the same downward gaze range and adds that the display should be positioned to avoid sustained head angles beyond 20 degrees from neutral in any direction.
OSHA's Computer Workstation eTool references both standards and provides specific measurement guidelines. It notes that the top of the viewing area should be at or below eye height, which directly contradicts the "center at eye level" myth.
Research published by the Human Factors and Ergonomics Society consistently shows that downward gaze angles between 15 and 25 degrees minimize cervical muscle activity and reduce reported neck discomfort compared to straight-ahead or upward gaze positions.
The practical takeaway: these standards converge on the same answer. Top of screen at or slightly below eye level. Gaze angled 15 to 20 degrees downward.
Monitor at arm's length. That's the evidence-based configuration, and it's what every credible ergonomics authority recommends as of 2026.
When to Call in a Professional Ergonomics Assessment
Most people can get this right using the steps above. But some situations warrant a professional assessment.
You should consider a certified ergonomist if you've already set up your monitor correctly and still experience persistent neck, shoulder, or back pain. There may be other factors at play, like desk depth, keyboard position, or an underlying condition that needs separate attention.
Employers should request formal assessments when setting up workstations for employees with existing musculoskeletal conditions, post-surgery recovery, or documented repetitive strain injuries. OSHA's General Duty Clause requires employers to address recognized hazards, and a documented ergonomic assessment provides legal protection.
A certified professional (CPE or CPEM credentialed) will measure your anthropometric dimensions, evaluate your full workstation, and provide a written recommendation. Assessments typically cost $150 to $500 for a single workstation, or less per station for bulk corporate assessments.
You don't need a professional for a standard single-monitor setup on a fixed-height desk. The steps in this guide cover that scenario completely. Save the professional assessment for complex setups, persistent pain situations, or employer compliance requirements.
Frequently Asked Questions
How do I know if my monitor is too high?
If you catch yourself tilting your head back or pushing your chin forward to see the screen comfortably, it's too high. You may also feel tension at the base of your skull by the end of the day.
How do I know if my monitor is too low?
If you hunch forward, round your upper back, or feel strain in your mid-back after working, your monitor is likely too low. You might also notice yourself lowering your chair to compensate.
Should my monitor be at eye level or below eye level?
Slightly below. The top of the screen should sit at or up to 2 inches below your seated eye level. This lets your natural downward gaze fall on the center of the screen without bending your neck.
Does monitor height change when using a standing desk?
Yes. Your eye level rises 3 to 5 inches when you stand. You need to raise your monitor by the same amount.
A gas-spring monitor arm makes this adjustment quick and easy.
What if I wear bifocals or progressive lenses?
Lower your monitor 2 to 4 inches below the standard recommendation. This prevents you from tilting your head back to read through the lower portion of your lenses. Single-vision computer glasses are another effective solution.
Can I use books instead of a monitor riser?
You can temporarily, but it's not a stable long-term solution. Books shift, stack unevenly, and offer no adjustability. A basic monitor riser costs under $20 and solves the problem properly.
Monitor Height Mistakes That Cause Neck and Back Pain
These are the errors I see most often, and they're all fixable once you know to look for them.
Setting the monitor too high. This is the most common mistake. People think "eye level" means the center of the screen. It doesn't. A monitor that's too high forces you into chin-up posture that loads your cervical extensors.
Setting the monitor too low. Stacks of books under the monitor, a laptop on a flat desk, or a monitor arm that's been cranked down all cause sustained forward head posture and thoracic flexion.
Ignoring the chair height first. If your chair is too low, your eye level drops. You set the monitor to match. Then you raise your chair the next day and suddenly the monitor is too high. Always set chair height before monitor height.
Using the monitor's OEM stand without adjustment. Most factory stands offer zero to 2 inches of height adjustment. That's rarely enough. The stand that came with your monitor is a starting point, not a solution.
Forgetting to recheck after switching between sitting and standing. Your eye level changes by several inches. A setup that's perfect for sitting will be wrong for standing, and vice versa.
Positioning the monitor too far away. When the screen is too far, you lean forward. That forward lean rounds your shoulders and loads your lumbar spine. Keep it at arm's length.
Ignoring glare and compensating with posture. If you can't see the screen clearly because of reflections, you shift your head and torso. Fix the glare instead. Adjust the tilt, reposition the monitor relative to windows, or use an anti-glare screen.
Copying someone else's setup. Your eye height, arm length, and torso proportions are different from your coworker's. A setup that's perfect for a 6'2" person will be wrong for someone who's 5'4". Configure for your body, not someone else's.
Monitor Arm vs. Riser Stand: Which One Actually Fixes the Problem?
Both solve the same core problem, but they do it differently. Your choice depends on your desk, your monitor, and whether you switch between sitting and standing.
A monitor arm clamps or mounts to your desk and holds the monitor on an adjustable arm. Gas-spring models let you change height, tilt, swivel, and rotation with one hand. They free up desk space underneath the monitor and offer the widest range of adjustment.
A monitor riser (or riser stand) sits on your desk and elevates the monitor on a fixed or adjustable platform. It's simpler, requires no installation, and costs less. But it offers limited height range and takes up desk surface area.
Quick Comparison Table
| Feature | Monitor Arm | Monitor Riser |
|---|---|---|
| Height adjustment range | 6 to 12+ inches | 2 to 6 inches |
| Tilt and swivel | Full range | Limited or none |
| Desk space impact | Frees space underneath | Occupies surface area |
| Installation required | Yes (clamp or grommet) | No (place and use) |
| Price range | $25 to $400+ | $15 to $60 |
| Best for | Standing desk users, multi-user setups, heavy monitors | Fixed-height desks, budget setups, temporary solutions |
| VESA mount needed | Yes | No |
Choose a monitor arm if you use a standing desk, share your workstation, need frequent adjustments, or have a heavy monitor (27 inches and above). The gas-spring mechanism makes repositioning effortless.
Choose a monitor riser if you have a fixed-height desk, a limited budget, or a monitor under 24 inches. It's also the right choice if you can't or don't want to clamp anything to your desk.
Avoid stacking books or boxes as a permanent solution. It looks rough, offers zero adjustability, and the stack shifts over time. Spend $20 on a proper riser if a monitor arm isn't in your budget.
What the Research and Standards Actually Say
The ergonomic standards on monitor height aren't arbitrary. They're based on decades of biomechanical research into how the human body interacts with computer displays.
ANSI/HFES 100-2007 (the primary US standard for computer workstation ergonomics) specifies that the center of the display should be positioned so the user's line of sight angles 15 to 20 degrees below horizontal when in a neutral seated posture. This aligns with the natural resting gaze angle of the relaxed eye.
ISO 9241-5:1998 (the international equivalent) recommends the same downward gaze range and adds that the display should be positioned to avoid sustained head angles beyond 20 degrees from neutral in any direction.
OSHA's Computer Workstation eTool references both standards and provides specific measurement guidelines. It notes that the top of the viewing area should be at or below eye height, which directly contradicts the "center at eye level" myth.
Research published by the Human Factors and Ergonomics Society consistently shows that downward gaze angles between 15 and 25 degrees minimize cervical muscle activity and reduce reported neck discomfort compared to straight-ahead or upward gaze positions.
The practical takeaway: these standards converge on the same answer. Top of screen at or slightly below eye level. Gaze angled 15 to 20 degrees downward.
Monitor at arm's length. That's the evidence-based configuration, and it's what every credible ergonomics authority recommends as of 2026.
When to Call in a Professional Ergonomics Assessment
Most people can get this right using the steps above. But some situations warrant a professional assessment.
You should consider a certified ergonomist if you've already set up your monitor correctly and still experience persistent neck, shoulder, or back pain. There may be other factors at play, like desk depth, keyboard position, or an underlying condition that needs separate attention.
Employers should request formal assessments when setting up workstations for employees with existing musculoskeletal conditions, post-surgery recovery, or documented repetitive strain injuries. OSHA's General Duty Clause requires employers to address recognized hazards, and a documented ergonomic assessment provides legal protection.
A certified professional (CPE or CPEM credentialed) will measure your anthropometric dimensions, evaluate your full workstation, and provide a written recommendation. Assessments typically cost $150 to $500 for a single workstation, or less per station for bulk corporate assessments.
You don't need a professional for a standard single-monitor setup on a fixed-height desk. The steps in this guide cover that scenario completely. Save the professional assessment for complex setups, persistent pain situations, or employer compliance requirements.
Final Checklist: Is Your Monitor at the Right Height Right Now?
Walk through these five checks at your desk right now. If any answer is no, you've found your problem.
Top of screen at or slightly below eye level. Not the center. The top edge. Close your eyes, sit naturally, and open them. Your gaze should land on the upper third of the screen.
Monitor at arm's length. Extend your arm. Your fingertips should just brush the screen surface. If you're leaning forward to read, it's too far.
Gaze angled 15 to 20 degrees downward. Your eyes should drop naturally to the screen without bending your neck. If you're looking straight ahead or up, the height is wrong.
No sustained head tilt. You shouldn't be tilting your head up or hunching down for more than a few seconds at a time. Occasional micro-movements are fine. Sustained positions are the problem.
Comfortable after 30 minutes of real work. The true test isn't how it feels during setup. It's how your neck, shoulders, and back feel after a half hour of actual focused work. If anything feels tight or strained, adjust and recheck in another 30 minutes.
If you pass all five checks, your monitor height is configured correctly. If you fail one or two, revisit the relevant step in the guide above. If you fail three or more, start the entire process from the beginning with your chair height first.

Similar Posts