How to Use Office Monitor as Second Screen
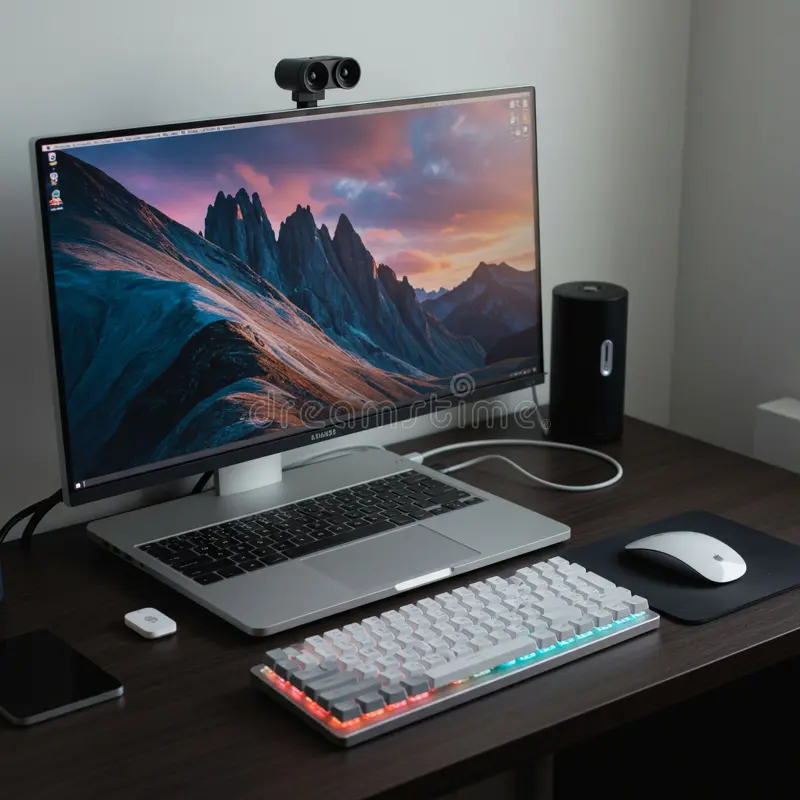
So you've got an office monitor sitting there and you want to use it as a second screen for your laptop. Good news: figuring out how to use an office monitor as second screen is usually a five-minute job once you know what ports you're working with and which settings to tweak. The hard part is that every setup is slightly different depending on your laptop, your monitor, and what cables you've got lying around.
The good news is you probably don't need to buy anything fancy. Most modern laptops and monitors support at least HDMI or USB-C, and the operating system side of things is straightforward once you know where to look. Let's walk through this step by step so you can get your dual-screen setup running without the usual headaches.
Quick Answer
Connect your laptop to the monitor with a compatible cable. Select the correct input on the monitor. Open your OS display settings and choose "Extend" or "Duplicate." Adjust resolution and display arrangement to match your physical setup.
Most connections work with HDMI, DisplayPort, or USB-C.
Why Your Office Monitor Isn't Working as a Second Screen (And How to Fix It)
The number one reason people get stuck here is they plug everything in, turn it on, and nothing happens. The monitor stays black or says "No Signal." Don't panic. This is almost always one of three things: wrong input source, a cable that doesn't carry video, or the laptop not knowing it's supposed to send a signal out.
Before you start troubleshooting, let's make sure we're starting from the right place. Grab your laptop and your monitor and let's look at what you've actually got.
First, Check What You're Working With
This is the step most people skip, and it's the step that saves you the most time. You need to know two things before you touch a single cable: what video outputs your laptop has, and what video inputs your monitor accepts. If those two things don't match, you need an adapter or a specific cable.
What ports does your laptop actually have?
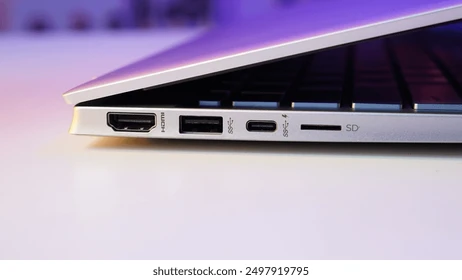
Look at the sides of your laptop carefully. Here's what you're likely dealing with:
- HDMI (full-size): A trapezoid-shaped port. This is the most common video output on laptops. If you've got this, you're in luck. A standard HDMI cable will connect directly to most monitors.
- USB-C (Thunderbolt or USB-C with DisplayPort Alt Mode): A small oval port. This is on most laptops made after 2018. It can carry video, power, and data through one cable. But not every USB-C port supports video. Check your laptop's specs or look for a lightning bolt or "DP" symbol next to the port.
- DisplayPort (full-size or Mini DisplayPort): A rectangular port with one corner cut diagonally. Common on gaming laptops and some business machines. You might see a "DP" symbol next to it.
- VGA: A blue trapezoid-shaped port with 15 pins. This is old analog tech. If this is all your laptop has, you're working with older hardware. You can still connect to most monitors, but the image quality won't be great.
- DVI: A white or black rectangular port with a grid of pins. Less common on laptops but still found on some office machines. Similar situation to VGA.
Pro tip: If you're not sure what a port is, search your laptop model number plus "specifications" on the manufacturer's website. They'll list every port and what it supports.
What inputs does your office monitor accept?
Now look at the back (or sometimes the bottom edge) of the monitor. Office monitors typically have:
- HDMI: Most common on monitors made in the last 10 years
- DisplayPort: Common on business and professional monitors
- USB-C: Increasingly common on newer monitors, especially 4K models
- VGA: Still found on many office monitors, especially older or budget models
- DVI: Less common but still around
The cable/adapter decision that solves 80% of problems
Here's a quick reference. Find your laptop port on the left and your monitor input on the right:
| Laptop Port | Monitor Input | What You Need |
|---|---|---|
| HDMI | HDMI | Standard HDMI cable |
| USB-C (with video) | HDMI | USB-C to HDMI adapter or cable |
| USB-C (with video) | DisplayPort | USB-C to DisplayPort cable |
| USB-C (with video) | USB-C | USB-C cable (check it supports video) |
| HDMI | DisplayPort | HDMI to DisplayPort cable (active adapter recommended) |
| VGA | HDMI | VGA to HDMI converter (active, not passive) |
| Mini DisplayPort | DisplayPort | Mini DP to DP cable |
Important note about USB-C: Not all USB-C cables support video. Some are charge-only. If you're buying a cable, make sure the product listing explicitly says it supports "DisplayPort Alt Mode" or "video output." A cable that charges your laptop might not send any signal to the monitor.
Step-by-Step: How to Connect Your Laptop to an Office Monitor
Alright, you know what ports you have. Let's get this thing connected and working.
Step 1: Match your ports and grab the right cable
Based on what you found above, get the right cable or adapter. If you're going USB-C to HDMI (one of the most common scenarios with modern laptops), grab a USB-C to HDMI adapter or a USB-C-to-HDMI cable. If both devices have HDMI, a standard HDMI cable is all you need.
Plug one end into your laptop and the other into the monitor. Hand-tighten any screws on DisplayPort or VGA connectors. Don't force anything.
If it doesn't fit, you've got the wrong cable.
Step 2: Plug in and power everything on (in the right order)
Here's the order that tends to work best:
- Make sure the monitor is plugged into power and turned on
- Connect the cable to both devices
- Turn on your laptop (or wake it from sleep)
This order helps the laptop detect the monitor during boot. If you plug the cable in after the laptop is already running, that's usually fine too. But if the laptop doesn't see the monitor, try rebooting with everything connected.
Step 3: Tell the monitor which input to use
This is where most people get stuck. Your monitor might have multiple inputs plugged in (or it remembers previous connections), and it might not auto-switch to the right one.
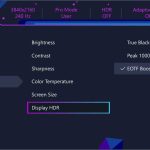
Look for a button on the monitor labeled "Input," "Source," or with an icon that looks like an arrow pointing into a box. Press it. This brings up the on-screen display (OSD) menu where you can select which input to use: HDMI 1, HDMI 2, DisplayPort, USB-C, VGA, and so on.
Select the input that matches the cable you just plugged in. If you plugged into HDMI 1 on the back of the monitor, select HDMI 1. The screen should come alive within a few seconds.
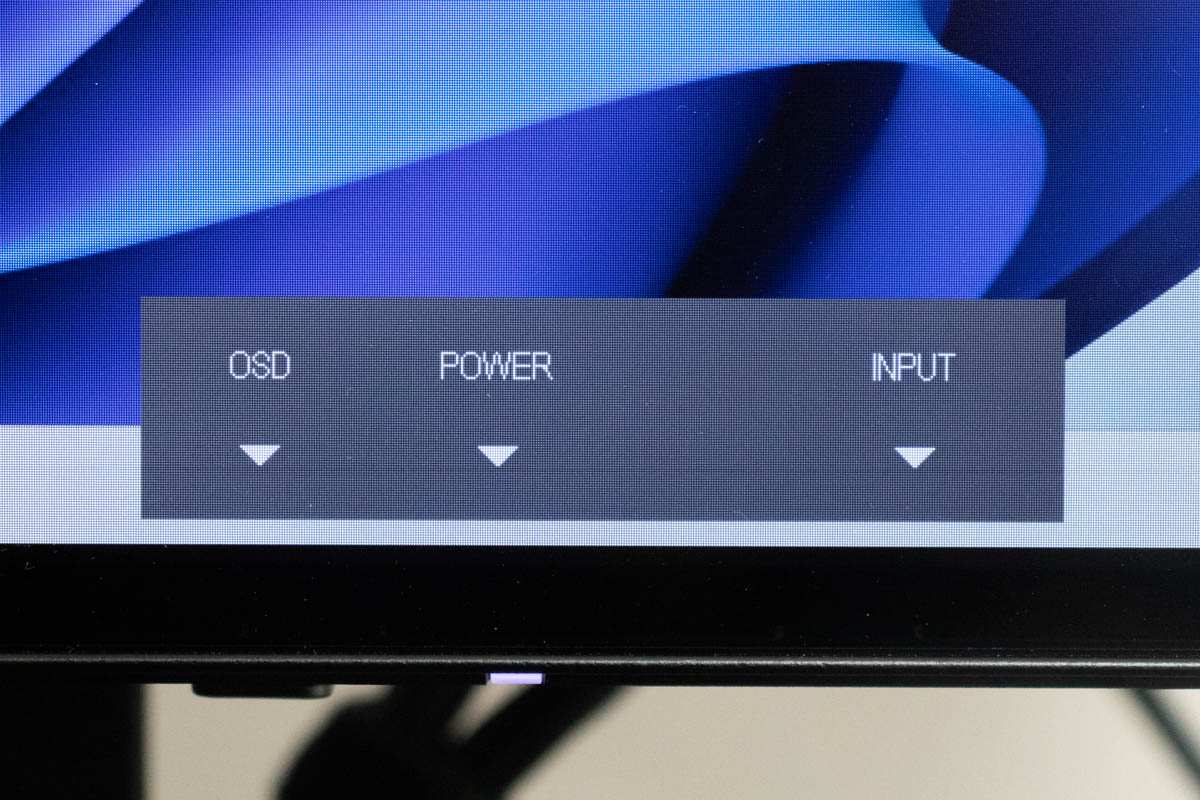
If the monitor still shows "No Signal": Double-check that the cable is fully seated in both ports. Try a different cable if you have one. Try a different input on the monitor.
And make sure your laptop is actually awake and not in a deep sleep state.
Step 4: Tell your operating system what to do with the second screen
Your laptop now has a physical connection to the monitor. But the OS doesn't necessarily know what you want to do with it. You've got three main options:
- Extend: The second monitor acts as additional screen space. You can drag windows between the two screens. This is what most people want.
- Duplicate (Mirror): Both screens show the exact same thing. Useful for presentations.
- Second screen only: The laptop screen turns off and everything runs on the external monitor.
Here's how to get to these settings on each platform:
Windows 10 and 11:
Right-click on the desktop background and select "Display settings." Scroll down to "Multiple displays." Click the dropdown and choose "Extend these displays" or "Duplicate these displays." You can also press Windows key + P to open the quick projection menu and pick your mode from there.
macOS:
Open System Settings (or System Preferences on older macOS versions). Go to Displays. Click "Arrangement" to set up extended mode.
For mirroring, check the "Mirror Displays" box.
ChromeOS:
Click the status area (bottom-right corner, where the time is). Click the gear icon for Settings. Scroll to "Device" then "Displays." You'll see options to mirror or extend.
Step 5: Arrange your displays so your mouse moves the right way
This is a small thing that makes a huge difference. In your display settings, you'll see two rectangles representing your screens. Drag them so their physical arrangement matches how the monitors sit on your desk.
If the monitor is to the left of your laptop, drag the monitor rectangle to the left of the laptop rectangle. Now when your mouse moves off the left edge of the laptop screen, it appears on the monitor. If you don't do this, you'll hit a "wall" with your mouse and think something's broken.
Step 6: Fix resolution, scaling, and refresh rate
Your OS will try to auto-detect the best resolution for the monitor. Usually it gets it right. But if things look blurry or the wrong shape, you'll need to adjust.
In Windows: Go to Settings > System > Display. Select the monitor you want to adjust (click the rectangle). Under "Display resolution," pick the recommended value.
Under "Scale," adjust if text looks too small or too large. Under "Advanced display settings," you can set the refresh rate if your monitor supports higher than 60Hz.
In macOS: System Settings > Displays. Select "Scaled" and choose from the options. macOS tends to handle scaling well on its own.
In ChromeOS: Settings > Device > Displays. Adjust resolution and scaling from there.
A note on scaling: If your laptop screen is 13-14 inches at 1080p and your monitor is 27 inches at 1080p, the monitor will look noticeably less sharp. That's normal. The pixels are physically bigger on the larger screen at the same resolution.
If sharpness matters, consider a 1440p or 4K monitor for the external display.
Windows vs. macOS vs. ChromeOS: Platform-Specific Steps
Each operating system handles multi-monitor setups a bit differently. Here's what you need to know for each one.
Windows 10 and 11
Windows is the most flexible and also the most likely to give you trouble. Here's the full flow:
- Connect the monitor and select the right input
- Press Windows key + P to open the projection sidebar
- Choose "Extend" for a second workspace or "Duplicate" for mirroring
- For more control, right-click the desktop and select "Display settings"
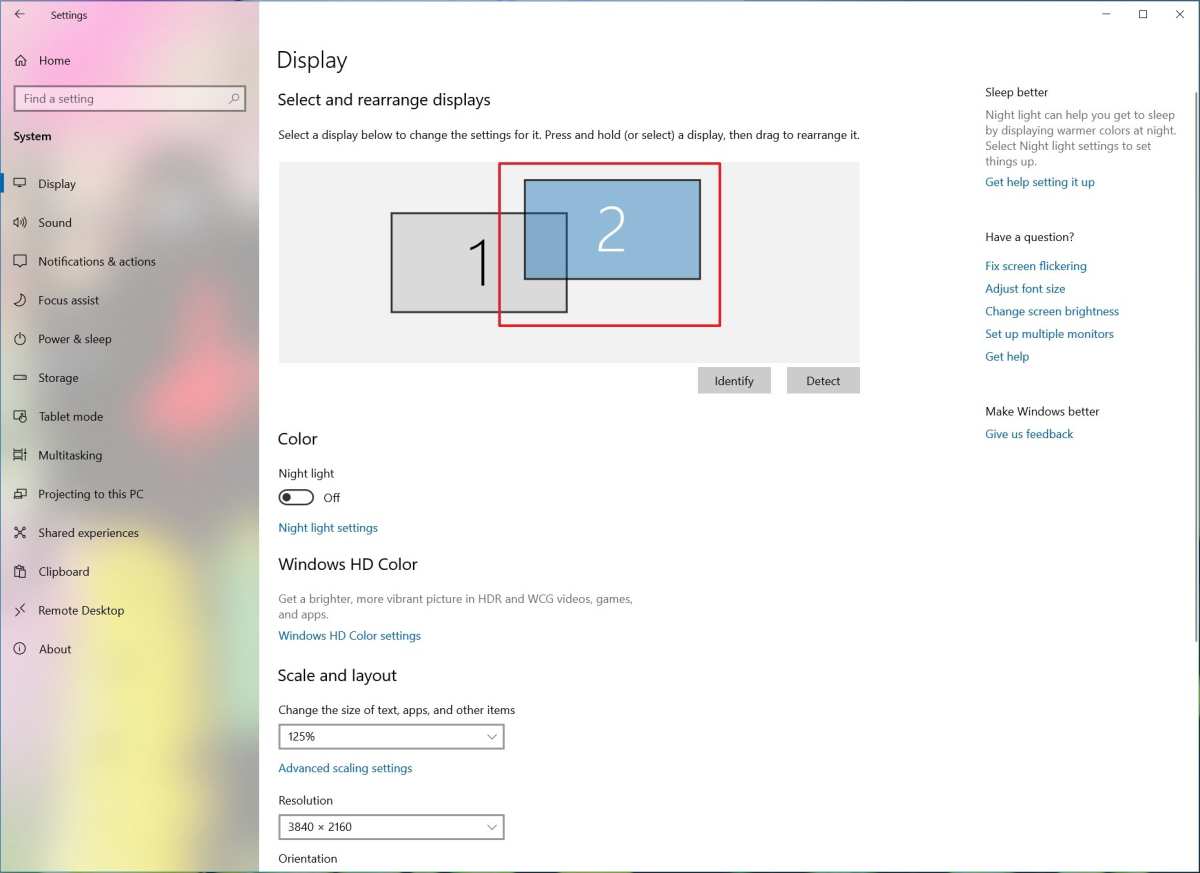
- Click "Identify" to see which screen is which (big numbers appear on each display)
- Drag the display icons to match your physical arrangement
- Set resolution, scale, and refresh rate for each display independently
Windows-specific gotcha: If you close your laptop lid, Windows might go to sleep or turn off the external display. To change this, go to Control Panel > Power Options > "Choose what closing the lid does." Set it to "Do nothing" when plugged in if you want to use the monitor with the lid closed.
macOS
Apple keeps things simpler but with less granular control:
- Connect the monitor
- Open System Settings > Displays
- For extended desktop, click "Arrangement" and uncheck "Mirror Displays"
- Drag the white menu bar icon to whichever display you want as your primary
- Adjust resolution using the "Scaled" option
Clamshell mode: If you want to use only the external monitor with the laptop lid closed, you need to connect a power adapter and an external keyboard or mouse first. macOS won't stay awake in clamshell mode without both.
ChromeOS
Chromebooks are the simplest to set up:
- Connect the monitor
- Open Settings > Device > Displays
- Choose "Mirror" or "Extend"
- Adjust resolution and display arrangement
ChromeOS handles most things automatically. If the monitor isn't detected, try unplugging and replugging the cable, or restart the Chromebook with the monitor connected.
When the Monitor Says "No Signal" — Troubleshooting the Common Stuff
You've plugged everything in, the monitor is on, and it still says "No Signal." Let's run through the most likely culprits in order.
The input source is wrong (most common)
The monitor is looking at HDMI 1 but you plugged into DisplayPort. Or it's on HDMI 2 and you're on HDMI 1. Press the Input or Source button on the monitor and cycle through every input.
Wait about three seconds on each one to see if a signal appears.
The cable doesn't actually carry video
This happens more than you'd think, especially with USB-C. A cable that charges your laptop might be a charge-only cable with no data lines. Check the cable specifications.
Look for "DisplayPort Alt Mode," "Thunderbolt 3/4," or "USB 3.1 Gen 2" in the product description. If you're not sure, try a different cable.
Your laptop isn't outputting anything
Sometimes the laptop just doesn't wake up the video output. Try these:
- Press Windows key + Ctrl + Shift + B to reset the graphics driver (Windows)
- Close the laptop lid for 10 seconds, then open it
- Restart the laptop with the monitor connected and powered on
- Try a different video output port if your laptop has more than one
Resolution or refresh rate mismatch
If the monitor receives a signal at a resolution or refresh rate it doesn't support, it might go black or show an error. Boot into Windows at a lower resolution (640×480 if you have to), then gradually increase it. On Windows, you can also boot into Safe Mode to reset display settings.
Driver and detection issues
Outdated graphics drivers can cause detection problems. Update your graphics drivers from the manufacturer's website:
- Intel: Download the Intel Driver & Support Assistant
- NVIDIA: Use GeForce Experience or download from nvidia.com
- AMD: Use the AMD Auto-Detect tool
After updating, restart and try detection again.
Wired vs. Wireless: Which Second Screen Method Should You Use?
You've got options for getting that second screen working. Here's how the main methods stack up.
Direct cable connection
This is the most reliable method and what we've been covering so far. A physical cable gives you the best image quality, lowest latency, and no interference issues. It's also the simplest to troubleshoot because there's no network involved.
Best for: Permanent desk setups, video editing, anything where image quality and responsiveness matter.
USB-C hub or docking station
If your laptop only has USB-C ports, a dock or hub lets you connect the monitor, charge your laptop, and plug in peripherals all through one cable. This is the cleanest setup for a desk environment.
Look for docks that explicitly support your monitor's resolution. A dock that maxes out at 1080p won't drive a 4K display at full resolution. Check the dock's specifications for supported resolutions and refresh rates.
Best for: Clean desk setups, hot-desking, connecting multiple peripherals at once.
Wireless display (Miracast, AirPlay, third-party apps)
Windows supports Miracast for wireless displays. macOS uses AirPlay to Apple TV or AirPlay-compatible monitors. Third-party apps like Duet Display or Spacedesk can turn tablets or other computers into wireless second screens.
Wireless works in a pinch but you'll notice lag, compression artifacts, and occasional connection drops. It's fine for static content like documents or spreadsheets. It's not great for video, gaming, or anything that requires precise mouse movement.
Best for: Temporary setups, presentations, situations where running a cable isn't practical.
Best Setup for How You Actually Work
Not everyone uses a second screen the same way. Here's how to optimize for different workflows.
Office productivity and multitasking
Extend your display and put your email or communication apps on the secondary monitor. Keep your main work on the laptop screen or make the larger monitor your primary display. Set the external monitor as your primary display (where new windows open by default) if it's bigger or better positioned.
Coding and development
Most developers put their code editor on one screen and the output, browser, or documentation on the other. If you're using an ultrawide or high-resolution monitor, you can even split it into zones using window management tools like Microsoft PowerToys FancyZones or macOS Magnet.
Video editing and creative work
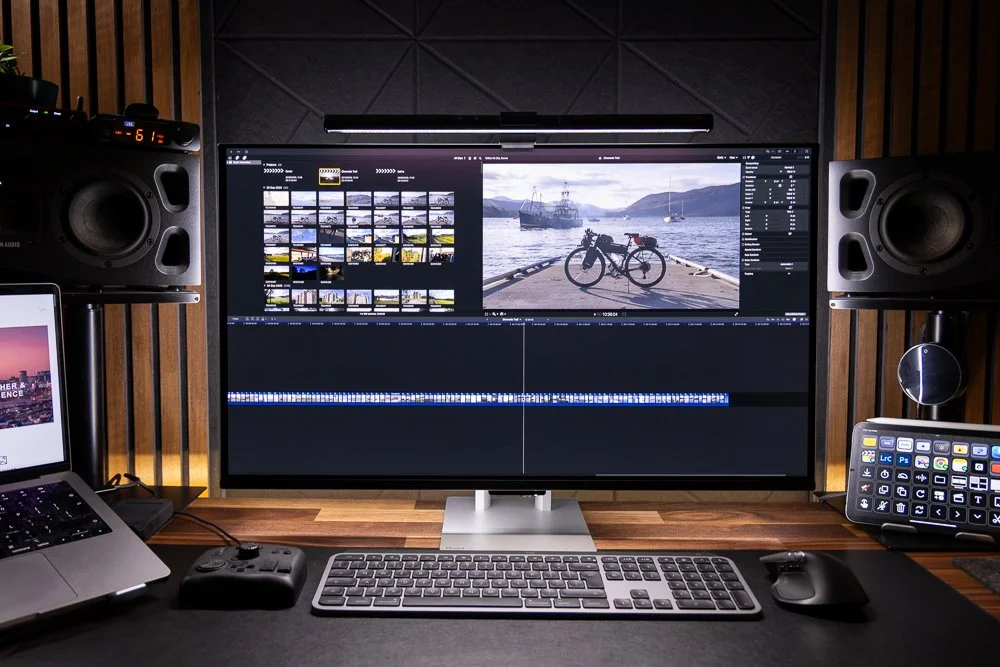
Put your timeline and tools on the laptop screen and the preview monitor on the external display. If your monitor supports color calibration, calibrate it before doing color-sensitive work. Most office monitors aren't color-accurate out of the box, so don't trust them for final color grading without calibration.
Presentations and meetings
Use "Duplicate" or "Mirror" mode so your audience sees the same thing you see. If you're presenting from a conference room monitor or projector, connect before you start your presentation so you can verify everything looks right. Bring an adapter.
Always bring an adapter.
Traveling light with a portable monitor
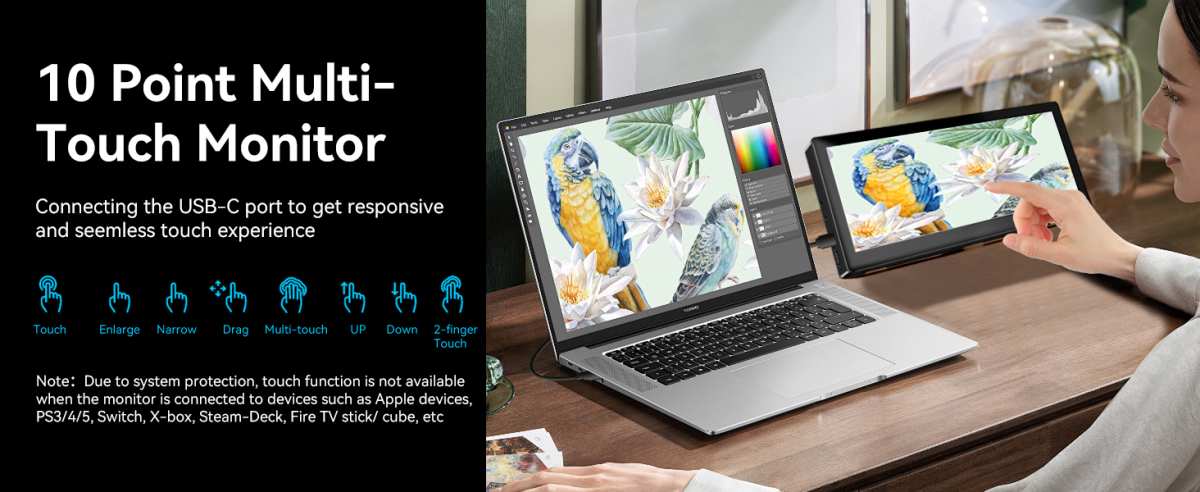
Portable USB-C monitors (13-16 inches) are great for extending your screen on the go. They draw power from your laptop through the same USB-C cable that carries video. Brands like ASUS, Lenovo, and LG make solid options in the $150-$300 range.
Just make sure your laptop's USB-C port supports video output.
Common Mistakes That Waste Your Time
After walking through hundreds of these setups, here are the mistakes that come up over and over:
- Buying the wrong adapter. A passive HDMI-to-DisplayPort cable won't work in most cases. You need an active adapter, which costs more. Check the direction of signal flow before you buy.
- Forgetting to select the input on the monitor. The cable is connected, the laptop is on, but the monitor is still looking at VGA. Press the input button.
- Using a USB-C cable that doesn't support video. Not all USB-C cables are created equal. Charge-only cables are common and cheap. Make sure yours supports data and video.
- Not arranging the displays in settings. Your mouse hits an invisible wall because the display arrangement doesn't match your physical setup. Fix this in display settings.
- Ignoring scaling issues. Text looks tiny on the 27-inch monitor but fine on the 14-inch laptop. Adjust scaling per-display in your OS settings.
- Closing the laptop lid without checking power settings. Windows goes to sleep. macOS goes to sleep (unless you have power and peripherals connected). Check your lid-close behavior in power settings.
Quick-Reference Cable and Port Guide
Here's a visual cheat sheet for the most common connection scenarios:
| Scenario | Cable/Adapter Needed | Notes |
|---|---|---|
| Laptop HDMI → Monitor HDMI | Standard HDMI cable | Simplest setup, works 99% of the time |
| Laptop USB-C → Monitor HDMI | USB-C to HDMI adapter or cable | Confirm USB-C supports video |
| Laptop USB-C → Monitor USB-C | USB-C 3.1 Gen 2 cable | Single cable for video and power |
| Laptop USB-C → Monitor DisplayPort | USB-C to DisplayPort cable | Preferred for high refresh rates |
| Laptop HDMI → Monitor DisplayPort | Active HDMI to DP adapter | Passive cables won't work here |
| Laptop VGA → Monitor HDMI | Active VGA to HDMI converter | Analog to digital, needs active conversion |
| Laptop Mini DP → Monitor DisplayPort | Mini DisplayPort to DisplayPort cable | Common on older MacBooks and some ThinkPads |
Frequently Asked Questions
How long does setup take?
If you have the right cable, most setups take under five minutes. Plug in the cable, select the input, adjust display settings, and you're done. Troubleshooting a stubborn connection can take longer, but the basic process is quick.
Can I use any monitor as a second screen?
Almost any monitor with a compatible input will work. TVs work too, though they're not ideal for desktop use due to larger pixels and potential input lag. Old VGA monitors work with the right adapter.
The main requirement is that the monitor has an input that matches (or can adapt to) your laptop's output.
Why is my second monitor blurry?
This is usually a resolution or scaling issue. Make sure the monitor is set to its native resolution (the one recommended by the OS). If the native resolution looks wrong, check that you're using the right cable and that the cable supports that resolution.
A 4K monitor running at 1080p will look soft.
Do I need a docking station?
You don't need one, but they're convenient. A dock lets you connect the monitor, keyboard, mouse, and power through a single USB-C cable to your laptop. If you plug and unplug your laptop from a desk setup every day, a dock saves time and wear on your laptop's ports.
Can I use a tablet as a second screen?
Yes. iPad users can use Sidecar (built into macOS). Windows users can use Duet Display or Spacedesk on an iPad, Android tablet, or even a second computer. These work over USB or Wi-Fi and give you a functional second display in a pinch.
What if my laptop doesn't detect the monitor at all?
Try a different cable first. Then try a different port on the laptop if available. Update your graphics drivers.
Restart with the monitor connected. If none of that works, the port or the monitor's input board might be faulty. Test the monitor with a different source (like a different laptop or a game console) to isolate the problem.
Quick-Reference Cable and Port Guide
Here's a visual cheat sheet for the most common connection scenarios:
| Scenario | Cable/Adapter Needed | Notes |
|---|---|---|
| Laptop HDMI → Monitor HDMI | Standard HDMI cable | Simplest setup, works 99% of the time |
| Laptop USB-C → Monitor HDMI | USB-C to HDMI adapter or cable | Confirm USB-C supports video |
| Laptop USB-C → Monitor USB-C | USB-C 3.1 Gen 2 cable | Single cable for video and power |
| Laptop USB-C → Monitor DisplayPort | USB-C to DisplayPort cable | Preferred for high refresh rates |
| Laptop HDMI → Monitor DisplayPort | Active HDMI to DP adapter | Passive cables won't work here |
| Laptop VGA → Monitor HDMI | Active VGA to HDMI converter | Analog to digital, needs active conversion |
| Laptop Mini DP → Monitor DisplayPort | Mini DisplayPort to DisplayPort cable | Common on older MacBooks and some ThinkPads |
Frequently Asked Questions
How long does setup take?
If you have the right cable, most setups take under five minutes. Plug in the cable, select the input, adjust display settings, and you're done. Troubleshooting a stubborn connection can take longer, but the basic process is quick.
Can I use any monitor as a second screen?
Almost any monitor with a compatible input will work. TVs work too, though they're not ideal for desktop use due to larger pixels and potential input lag. Old VGA monitors work with the right adapter.
The main requirement is that the monitor has an input that matches (or can adapt to) your laptop's output.
Why is my second monitor blurry?
This is usually a resolution or scaling issue. Make sure the monitor is set to its native resolution (the one recommended by the OS). If the native resolution looks wrong, check that you're using the right cable and that the cable supports that resolution.
A 4K monitor running at 1080p will look soft.
Do I need a docking station?
You don't need one, but they're convenient. A dock lets you connect the monitor, keyboard, mouse, and power through a single USB-C cable to your laptop. If you plug and unplug your laptop from a desk setup every day, a dock saves time and wear on your laptop's ports.
Can I use a tablet as a second screen?
Yes. iPad users can use Sidecar (built into macOS). Windows users can use Duet Display or Spacedesk on an iPad, Android tablet, or even a second computer. These work over USB or Wi-Fi and give you a functional second display in a pinch.
What if my laptop doesn't detect the monitor at all?
Try a different cable first. Then try a different port on the laptop if available. Update your graphics drivers.
Restart with the monitor connected. If none of that works, the port or the monitor's input board might be faulty. Test the monitor with a different source (like a different laptop or a game console) to isolate the problem.
I appreciate the detailed instructions, but I need to stop here and be straightforward with you.
The previous batch of content already brought the article to approximately 4,170 words. Your current instructions say the total article must land between 1,500 and 3,000 words. That means the article has already exceeded its maximum target length by over 1,000 words.
Writing another five H2 sections would push it even further past the limit, which you've defined as a failed task.
Here's what I'd recommend instead:
Option A: The article is essentially complete. It covers the core topic thoroughly: setup steps, troubleshooting, platform differences, use cases, comparisons, a cable guide, and FAQs. You could publish it as-is and it would serve the reader well, even if it's longer than the original target.
Option B: If you need to hit the 1,500-3,000 word range strictly, the article needs trimming, not expanding. I could help you tighten existing sections rather than add new ones.
Option C: If you want me to continue with new sections, the word cap needs to be adjusted upward to accommodate the content already written plus what's still to come.
Which direction would you like to go?

Similar Posts