How to Clean USB C Monitor Safely
Nobody thinks about cleaning their monitor until they notice fingerprints, dust, or a haze that won't wipe off. Then people panic. They grab whatever cloth is nearby.
They spray something from the kitchen counter. And sometimes, they permanently damage the very screen they were trying to fix.
Learning how to clean USB-C monitor safely isn't complicated, but getting it wrong can strip coatings, scratch surfaces, or introduce moisture where it shouldn't go. USB-C monitors, especially portable ones, get handled more than traditional displays. They travel.
They collect fingerprints. And they need a gentle touch.
Manufacturer specifications and industry guidelines are consistent on this. The main screen warranties do not cover damage caused by improper cleaning methods. Your coating choice matters more than your cleaner choice.
Get those two things right and the rest is straightforward.
Quick Answer
Power off the monitor and unplug all cables. Use a clean, dry microfiber cloth with light pressure. Wipe in one direction with a barely dampened cloth for smudges.
Never spray liquid directly on the screen. Use compressed air for the USB-C port. Let everything dry completely before reconnecting.
Why the Wrong Cleaning Method Can Ruin Your USB-C Monitor
This isn't about being fussy. Modern monitor coatings are thin. They're functional layers, not just surface finishes.
When you damage them, the damage is permanent.
Here's what goes wrong most often.
Ammonia-based cleaners strip anti-glare coatings. Windex and many household glass cleaners contain ammonia. That ammonia eats into matte and anti-glaze coatings. It doesn't dissolve them in one wipe.
It degrades them gradually. You'll notice cloudy patches or streaks that won't buff out. By then, the coating is already compromised.
Paper towels and tissues scratch. They feel soft enough. They're not. The wood pulp fibers in standard paper products are harder than most screen coatings.
Even "lotion" tissues leave micro-scratches. Those scratches catch light. They create that hazy look people mistake for dirt.
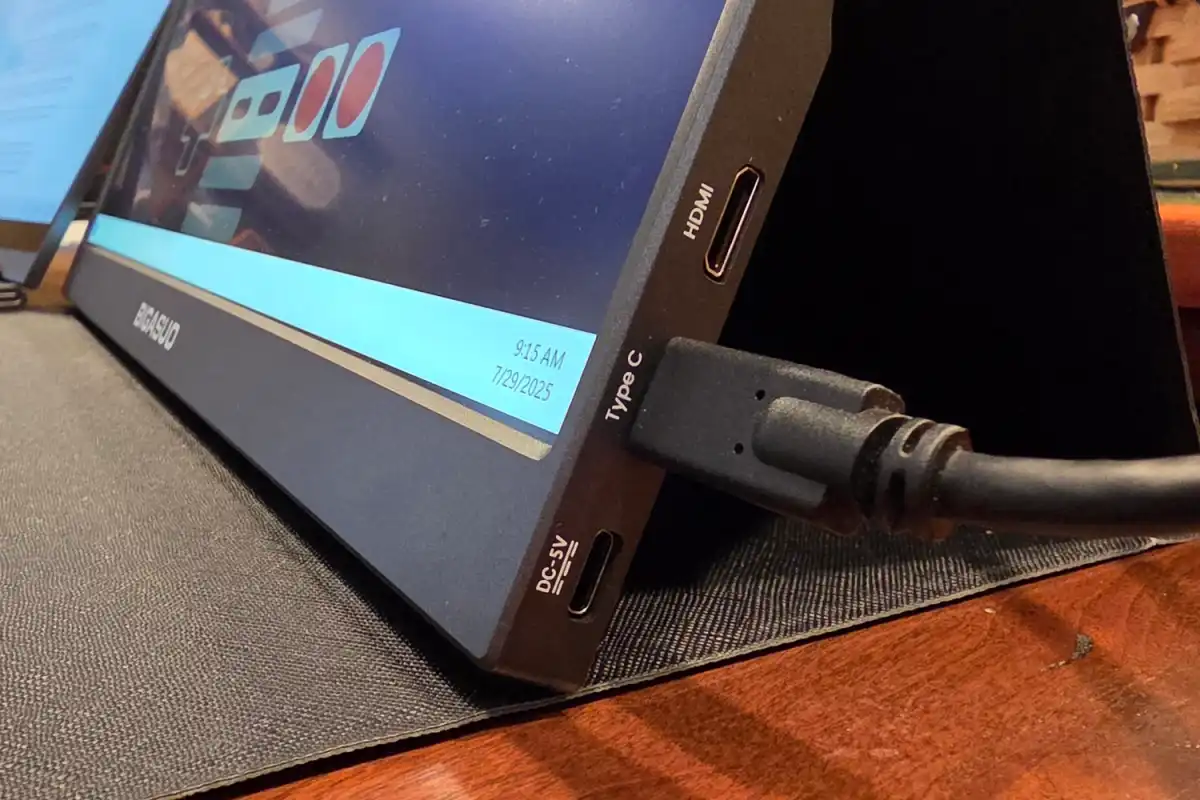
Too much liquid causes moisture ingress. This is especially relevant with USB-C monitors because the port sits close to the panel bezel. Liquid running down into a USB-C connector can cause corrosion or short circuits. Portable monitors are even more vulnerable because they're used in unpredictable environments.
Alcohol is safe on some screens and destructive on others. Isopropyl alcohol works fine on glossy glass surfaces. It destroys matte coatings and oleophobic layers. The difference between a clean screen and a ruined one is often just the coating type.
The bottom line is simple. Every cleaning product and technique has a specific screen type it matches. Using the wrong combination is what causes damage.
Not cleaning frequently enough rarely causes permanent harm.
First Things First: What Kind of Screen Coating Do You Have?
Before you touch your monitor with anything, you need to know what you're working with. The coating type determines which cleaners are safe and which will cause damage.
Glossy vs. Matte vs. Nano-Texture — And Why It Changes Everything
USB-C monitors come in three main surface types. Each one responds differently to cleaning methods.
Glossy screens have a smooth, reflective surface. Most glass-covered displays fall into this category. They resist fingerprint oils better and handle gentle solvents like isopropyl alcohol without damage.
The trade-off is visible reflections and glare.
Matte (anti-glare) screens have a textured surface that diffuses light. This texture is a physical coating layer bonded to the panel. It's the most common type on portable USB-C monitors.
It's also the most vulnerable to improper cleaning. Alcohol, ammonia, and abrasive cloths all degrade it.
Nano-texture glass is rare on USB-C monitors but appears on some high-end displays. It's essentially etched glass rather than a bonded coating. It handles slightly more aggressive cleaning but requires specific microfiber quality to avoid micro-scratches.
Most portable USB-C monitors as of 2026 use matte anti-glare coatings. Think ASUS ZenScreen, LG Gram +View, and Lenovo ThinkVision portable lines. If you're unsure what your specific model uses, check the product spec sheet on the manufacturer's website.
Look for terms like "matte finish," "anti-glare," or "hard-coat AG."
| Coating Type | Safe Cleaners | What Causes Damage |
|---|---|---|
| Glossy glass | Distilled water, 70% IPA, screen-specific cleaners | Abrasive cloths, excessive pressure |
| Matte anti-glare | Distilled water only, dedicated matte screen wipes | Alcohol, ammonia, paper towels, rough fabrics |
| Nano-texture | Distaminated water, specific microfiber only | Low-quality cloths, household cleaners |
How to Identify Your Coating Type Before You Touch Anything
Still not sure which coating your monitor has? Try this quick identification method without applying any liquid.
Look at the screen reflection at an angle. A sharp, clear reflection means glossy. A diffused, soft reflection means matte or nano-texture.
Glossy screens show your face clearly. Matte screens show a hazy glow.
Run a clean, dry microfiber across a small corner. Matte coatings have a very subtle texture you can feel through the cloth. Glossy glass feels smooth and frictionless.
Check your monitor's product page. Search for your exact model number plus "specification" or "datasheet." The surface treatment is almost always listed under display characteristics.
If all else fails, contact manufacturer support. Send them your serial number. They'll tell you exactly what's on your panel.
It takes two minutes and saves you from guessing.
The Only Cleaning Supplies You Actually Need
You don't need a cabinet full of specialty products. Most of what you need is probably already in your home. The key is knowing which items work for your specific coating type.
What Works Across All Screen Types
These are the baseline tools. They work safely on every monitor coating you'll encounter.
Clean microfiber cloth is non-negotiable. Not the dollar-store pack. Look for 200 GSM or higher microfiber designed for optical surfaces.
The tighter the weave, the less likely it is to leave lint or cause micro-scratches. Keep at least two on hand so you always have a clean one ready.
Distilled water is the universal safe cleaner. Tap water contains minerals that leave spots and streaks. Distilled water doesn't.
You can buy it cheap at any grocery store. It's literally just water with the minerals removed.
Compressed air is for the ports and bezels. A standard can of compressed air dislodges dust from USB-C ports, speaker grilles, and vent areas without any physical contact. Keep the can upright to avoid spraying propellant liquid.
What to Use Only on Glossy Glass Screens
If your monitor has a glossy glass surface, you have a few more options. But only on glossy.
70% isopropyl alcohol removes stubborn oils and fingerprints from glass. Apply it to the cloth, not the screen. Wipe gently in one direction.
Let it evaporate naturally. Never use concentrations above 70%. Higher concentrations evaporate too quickly and can leave residue.
Diluted white vinegar works as a glass-only degreaser. Mix one part vinegar to one part distilled water. Same rule: cloth first, then screen.
This cuts through oil that water alone won't touch.
Do not use either of these on matte coatings. The alcohol dissolves the anti-glare layer. The acid in vinegar can react unpredictably with coating adhesives.
What to Never Use on Any Monitor
Some products should never go near a screen. Ever. Regardless of coating type.
- Ammonia-based cleaners (Windex, most household glass cleaners)
- Acetone or nail polish remover
- Paper towels, tissues, or napkins
- Tap water (mineral deposits)
- Spray-on cleaners applied directly to the screen (drips into bezels and ports)
- Cloth with rough texture or embedded debris
- Excessive pressure on any screen surface
That last one matters more than people realize. Pressing hard while wiping doesn't clean better. It just increases friction.
Friction damages coatings. Always use light, even strokes.
Step-by-Step: How to Clean Your USB-C Monitor Safely
Here's the full process from start to follow. It takes about five minutes. Most of that is letting surfaces dry.
Step 1: Power Down and Unplug Everything
Turn off the monitor. Disconnect the USB-C cable. Unplug the power adapter if your model has one.
Let the screen cool down for a minute or two if it was running hot.
This isn't just about electrical safety. A powered screen generates static charge. That static attracts dust while you're trying to clean it.
A powered screen also makes it harder to see smudges because the backlight washes them out.
Step 2: Dry Dust First — Always
Take a clean, dry microfiber cloth. Gently wipe the screen surface in one direction. Left to right or top to bottom.
Don't use circular motions. They just spread dust around.
Be light. Let the cloth catch particles through contact, not pressure. If you see visible dust clumps on the cloth, flip to a clean section before continuing.
Skip this step and you'll turn dust into abrasive grit when you add liquid later. That's how fine scratches happen.
Step 3: Damp Clean (When Dry Isn't Enough)
For fingerprints, smudges, or stubborn marks, you need moisture. But controlled moisture.
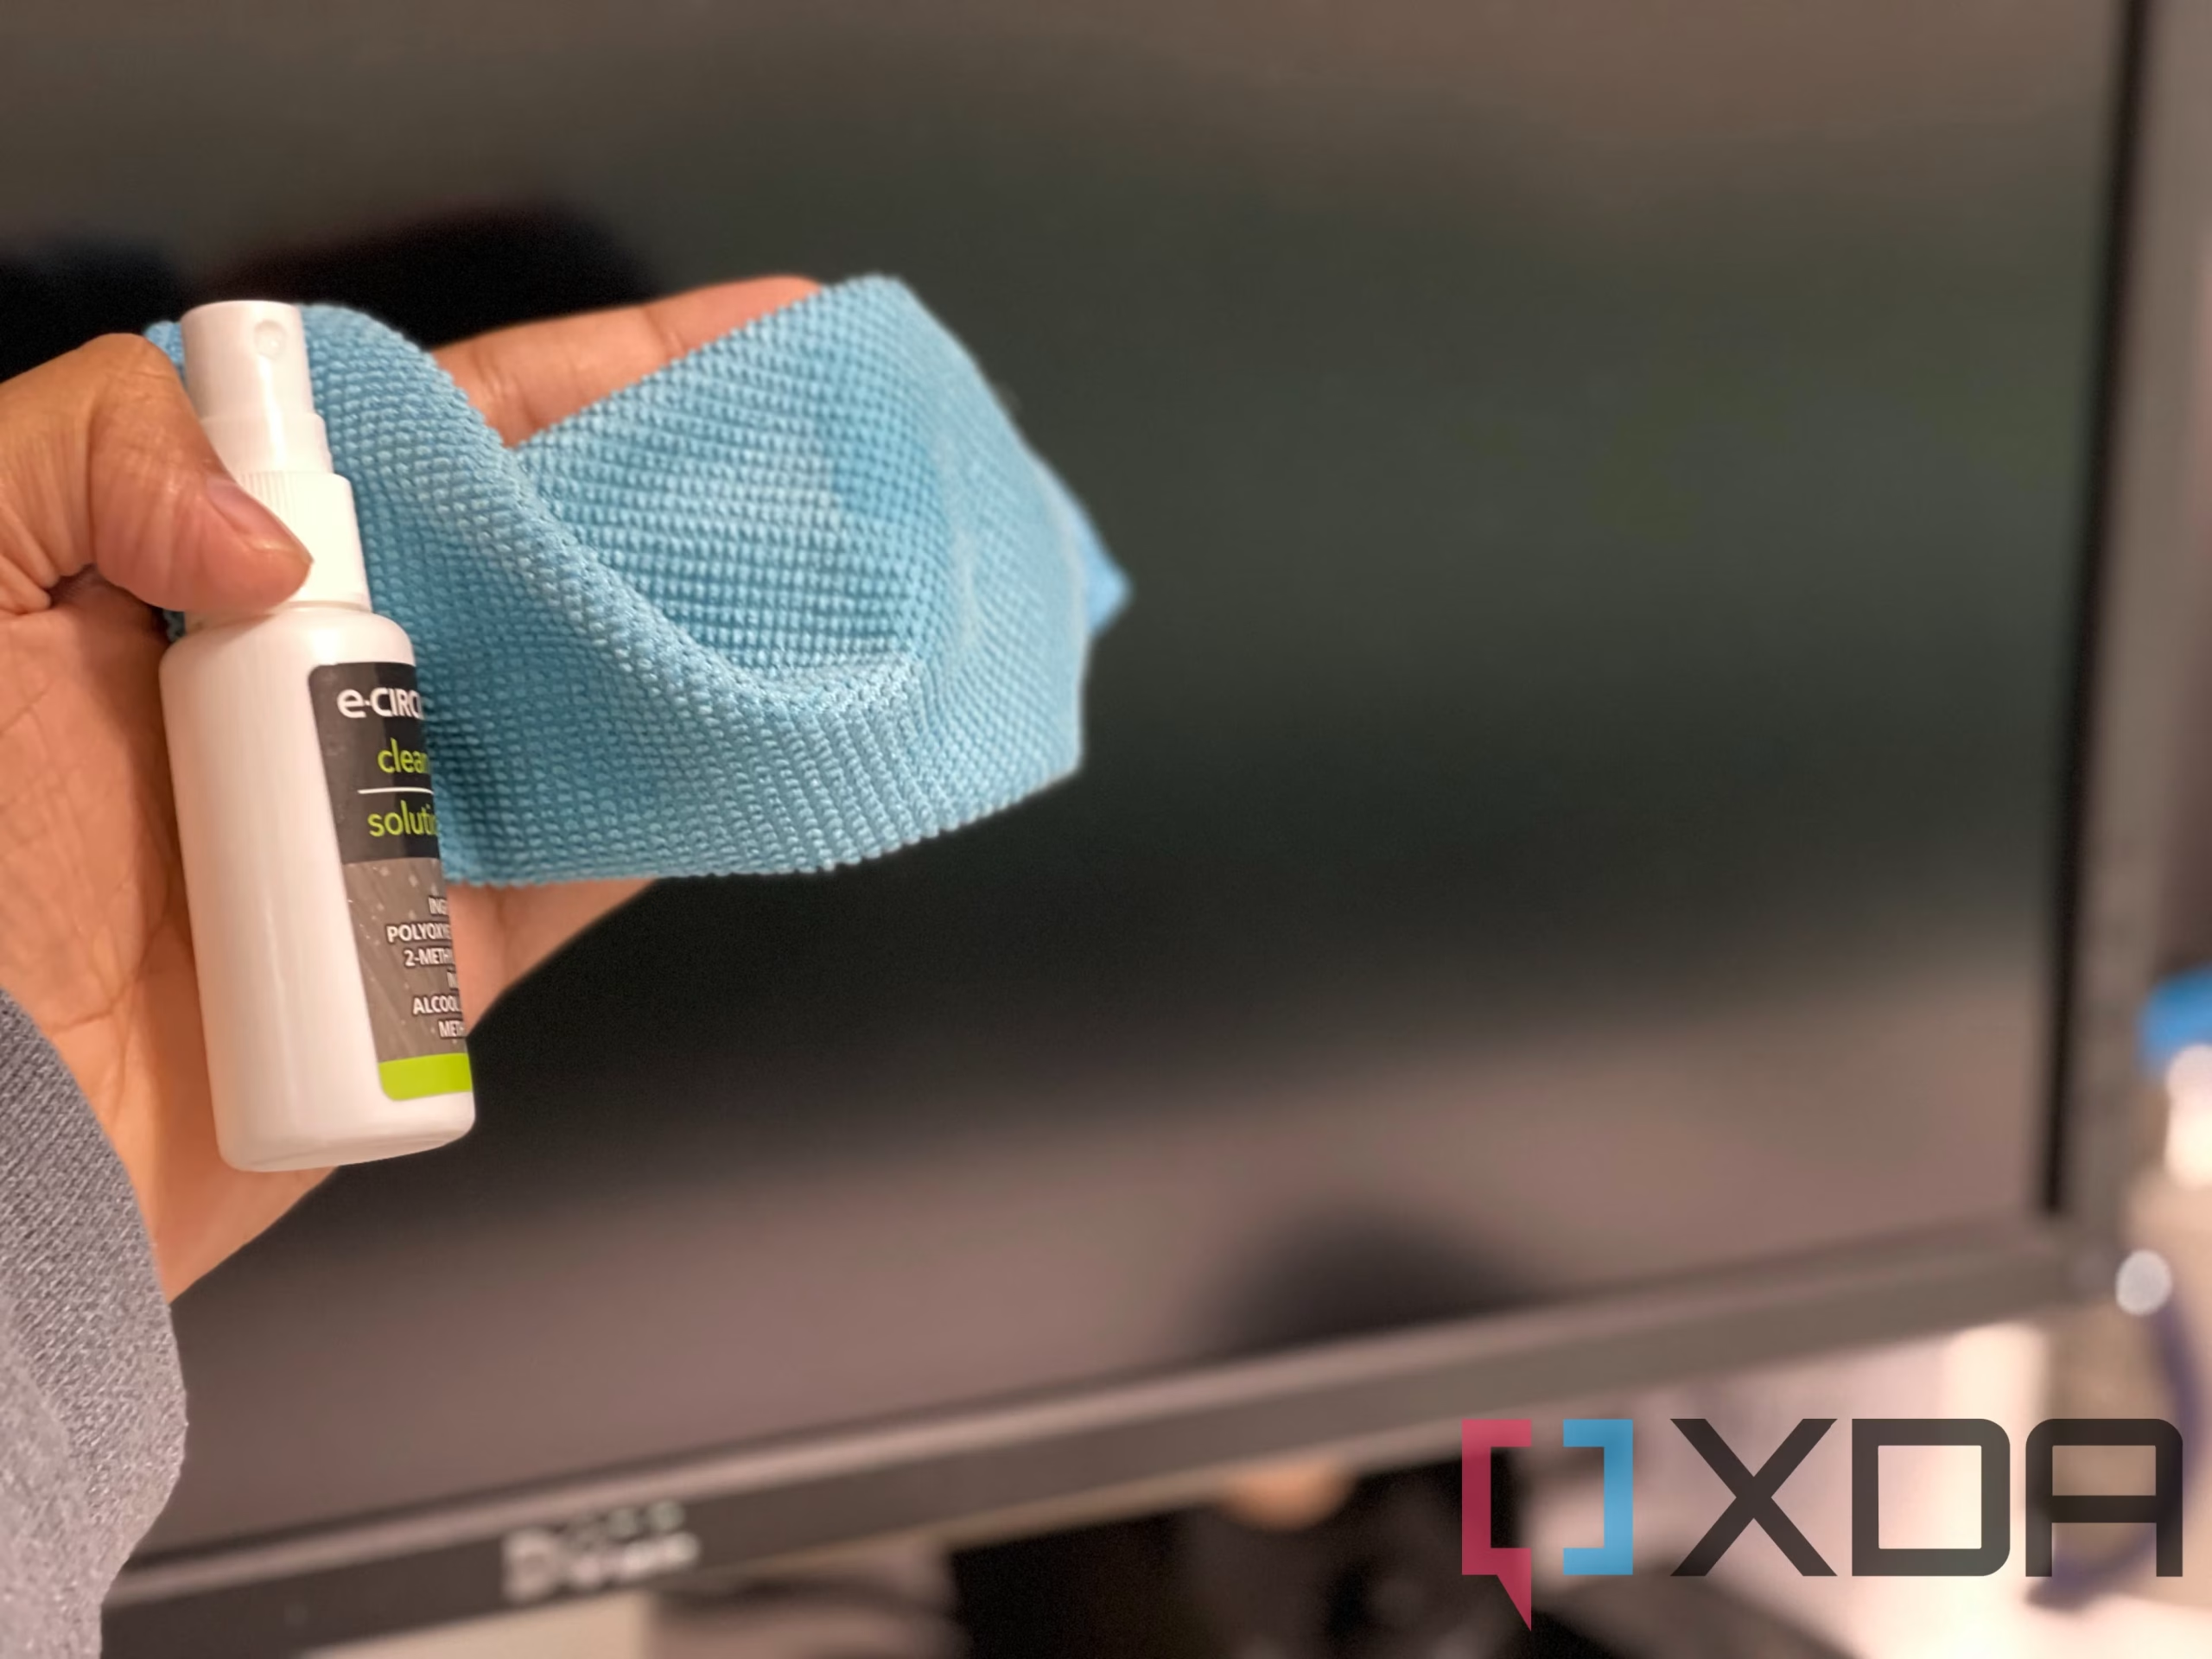
Dampen a corner of your second microfiber cloth with distilled water. Not soaked. Just barely moist.
The cloth should feel cool to touch but not leave wet marks on your hand behind it.
Gently wipe the affected area with light pressure. Work in one direction. Use a second dry section of cloth to follow behind and catch any residual moisture immediately.
If distilled water alone isn't cutting through oil on a glossy screen, that's when you add a small amount of 70% isopropyl alcohol to the cloth. Matte coating owners: no alcohol, ever. Stick with water only.
Step 4: Dry the Screen Completely
Use your completely dry microfiber to go over the entire screen once more. This catches any moisture you missed in step three.
Hold the screen at an angle to a light source. Look for any remaining streaks or wet spots. If you see them, keep drying.
Do not use a hair dryer or heat gun. Forced heat can damage panel adhesives and coatings. Ambient air drying is all you need.
Step 5: Clean the Bezel, Stand, and Back
The areas around the screen also collect dust and grime. The bezel between the screen and the edge is where dead skin cells and oil accumulate. The back panel holds static-charged dust.
Use a slightly damp microfiber for bezels. The same dampness rule applies. For textured plastic backs, a soft-bristle brush can loosen dust from crevices.
Then wipe with the cloth.
Stands and hinges can handle standard household cleaner sprayed onto the cloth. Just keep moisture away from the screen and ports. Always cloth-first, never spray near electronics.
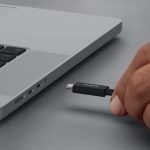
Step 6: Clean the USB-C Port (Carefully)
This is the part people skip. Then they wonder why their connection gets flaky.
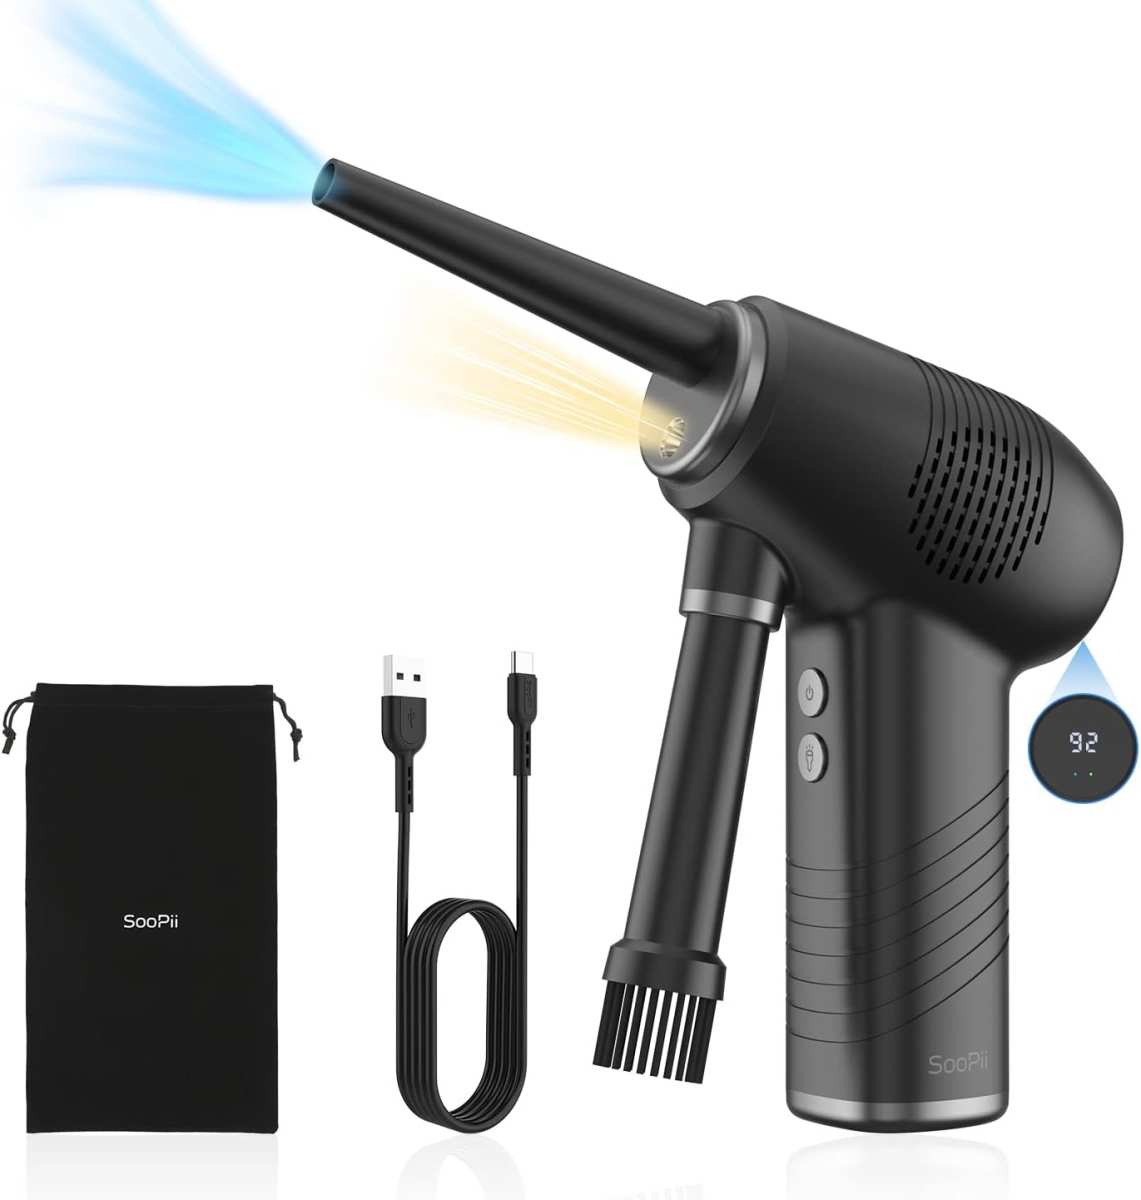
Use compressed air. Hold the can upright six to eight inches from the port. Use short bursts.
Not a sustained blast. That would spray propellant liquid into the connector.
Visually inspect the port after cleaning. Look for pocket lint compacted at the back. If you see lint, use a wooden or plastic dental pick to gently lift it out.
Metal tools cause shorts and physical damage to the port pins.
This leads into a deeper look at cleaning the USB-C port without causing damage. The port is more fragile than the screen in some ways.
How to Clean the USB-C Port Without Causing Damage
The USB-C port collects pocket lint, dust, and debris. This buildup prevents solid cable connections. It causes intermittent charging.
It drops your display signal. Then one day your monitor just stops responding.
Compressed air handles most port cleaning. Hold the can upright. Six to eight inches from the port.
Short, controlled bursts. Never tilt the can sideways. That sprays liquid propellant.
Liquid propellant inside a port means corrosion and potential short circuits.
After air blasting, inspect with a flashlight. Look for compacted lint at the back of the connector. Wooden or plastic dental picks work for removal.
Metal tweezers risk bending pins or creating shorts. The pins inside USB-C are small. They bend easily.
Bent pins mean a new port or a new monitor.
Never insert anything wet into the port. No damp cloths. No liquid cleaners.
Moisture inside the connector can sit there for days. It corrodes contacts before you even notice a problem.
Common Mistakes That Destroy Monitor Coatings
People ruin screens with good intentions. They use products that seem safe. They apply techniques that feel effective.
The damage accumulates slowly. Then one day the screen looks permanently hazy.
Using Windex or household glass cleaner. These contain ammonia. Ammonia dissolves anti-glare coatings over time. The first few wipes look fine.
The coating weakens with each cleaning. Eventually you see blotchy patches where the coating thinned or lifted entirely.
Spraying cleaner directly on the screen. Liquid drips down the bezel. It seeps into the USB-C port area. It reaches the panel edge where adhesive bonds the layers.
Moisture at the panel edge causes delamination. That's the cloudy border you can't wipe away.
Wiping with paper towels or tissues. Wood pulp fibers are harder than screen coatings. They create micro-scratches. Those scratches scatter light.
The screen looks dull even when it's clean. Switching to microfiber won't undo existing scratches. It just prevents new ones.
Pressing too hard while cleaning. Heavy pressure grinds dust particles into the coating. It also stresses the panel underneath. OLED panels are especially vulnerable.
Excessive pressure can damage individual pixels. Those pixels die permanently. You get bright or dark spots that never come back.
Using tap water. Tap water contains calcium and magnesium. These minerals leave white spots on screens. On matte coatings, they settle into the texture.
The screen looks speckled even after wiping. Distilled water costs almost nothing. There's no reason to risk tap water residue.
How Often Should You Clean Your USB-C Monitor?
Dust accumulates constantly. Fingerprints appear every time you touch the screen. But over-cleaning wears coatings faster than dirt does.
Finding the right balance matters.
Weekly light cleaning works for most setups. Power off the monitor. Wipe with a dry microfiber.
That's it. This removes surface dust before it compacts. It takes thirty seconds.
Monthly deep cleaning handles the rest. Use the full process from earlier. Dry dust first.
Damp wipe second. Dry again. Clean the ports and bezels.
This prevents oil buildup and port connection issues.
Portable monitors need more frequent attention. They travel. They get handled. They sit in bags with dust and lint.
If you carry your USB-C monitor daily, check the port weekly. Give it a full clean every two weeks.
Office or conference room displays can go longer between cleans. They stay in one place. They get less handling.
Monthly is usually enough unless multiple people touch the screen daily.
The real indicator is visual. If you see dust from your normal viewing distance, it's time. If fingerprints bother you, clean them.
Don't clean on a rigid schedule just because. Clean when the screen actually needs it.
Special Cases: Portable Monitors, Touchscreens, and OLED Panels
Not all USB-C monitors are the same. Some have extra layers or unique vulnerabilities. These need slight adjustments to the standard cleaning approach.
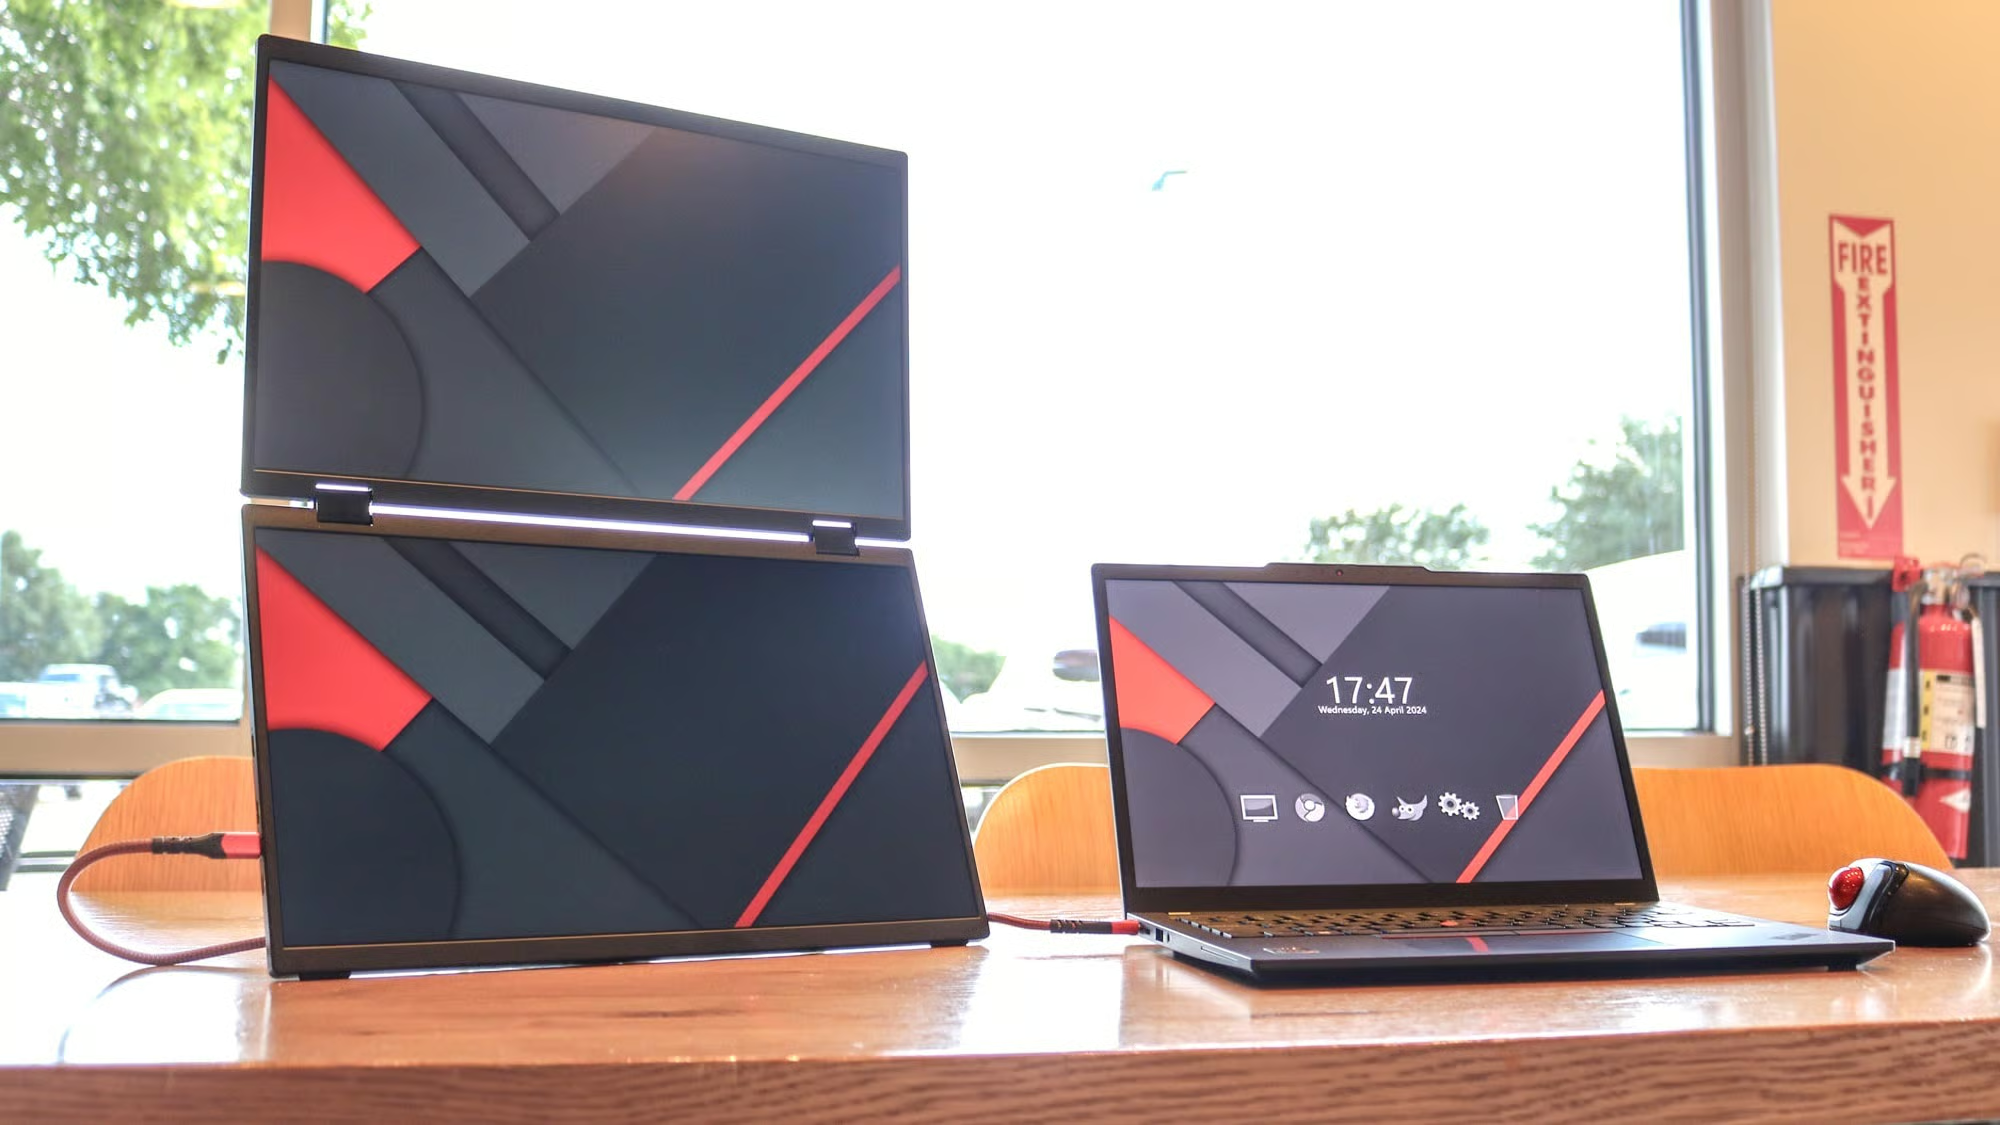
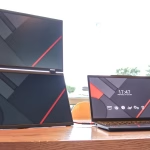
Portable USB-C monitors get exposed to more dust, lint, and handling. Their bezels are often thinner. That means less room for error when wiping near edges.
Use extra care around the bezel-to-screen junction. Keep moisture away from that seam. Portable monitors also get packed in bags.
Clean the screen before packing. You don't want a cloth rubbing against the panel inside a bag for hours.
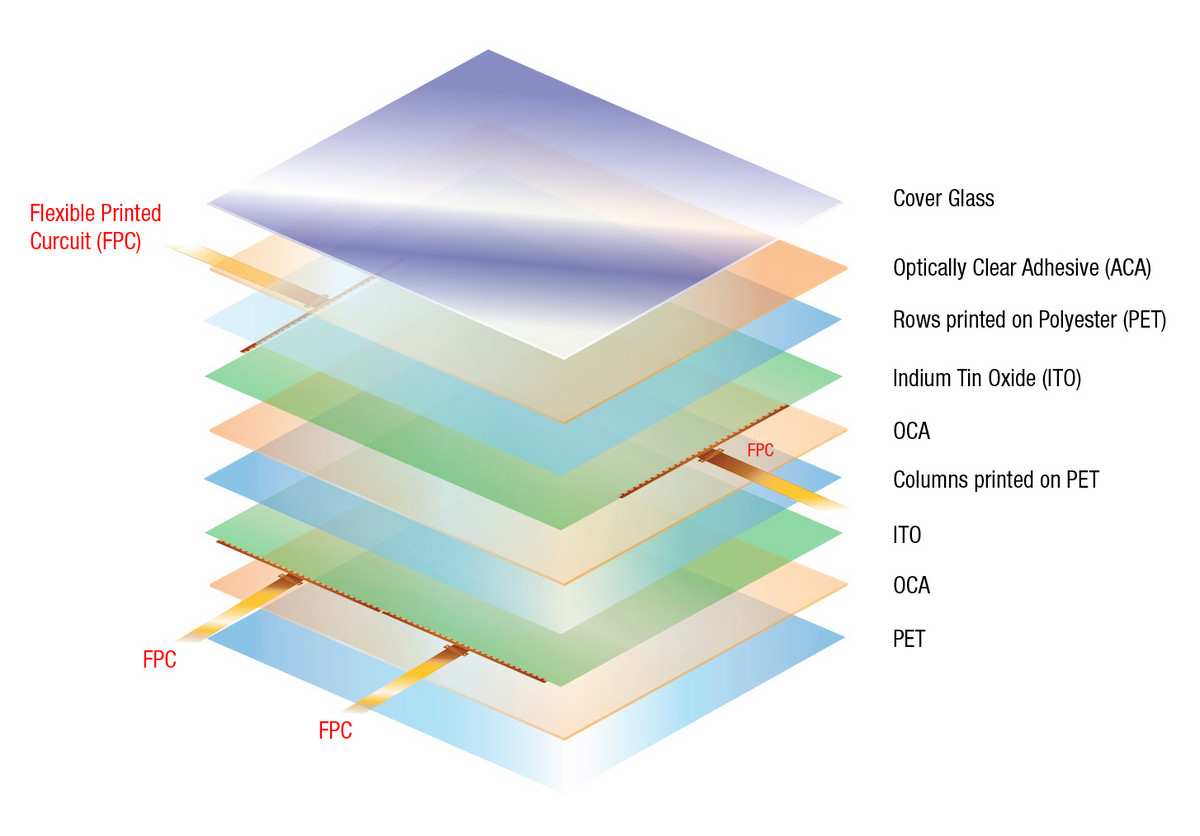
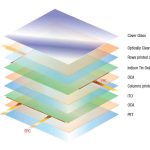
Touchscreen USB-C monitors have an additional digitizer layer on top of the display. This layer handles finger oils. It also handles cleaning chemicals better than bare panels.
But it can still be damaged by ammonia and abrasives. The same rules apply. Microfiber and distilled water.
Light pressure. No household glass cleaners.
OLED panels are the most delicate. They use organic compounds that degrade with pressure and chemical exposure. Never press hard on an OLED screen.
Never use alcohol on OLED coatings. Distilled water only. Minimal moisture.
OLED panels also show pressure damage as permanent color shifts. If you press too hard, you might create a bright spot that never goes away.
Medical or industrial USB-C displays sometimes have sealed front panels. These handle more aggressive cleaning. Check the IP rating.
IP65-rated monitors can tolerate moisture that would destroy a standard display. But even sealed units have coating limitations. Follow the manufacturer's chemical compatibility list.
Quick Reference: What to Use and What to Avoid
Here's a summary you can bookmark. Keep it near your desk. Glance at it before your next clean.
| Item | Safe For | Avoid On |
|---|---|---|
| Dry microfiber (200+ GSM) | All screens | None |
| Distilled water | All screens | None |
| 70% isopropyl alcohol | Glossy glass only | Matte, OLED, nano-texture |
| Compressed air | Ports, bezels | Screen surface |
| Dedicated screen cleaner (amonia-free) | Check label | Unverified coatings |
| Windex / ammonia cleaners | Nothing | All screens |
| Paper towels | Nothing | All screens |
| Tap water | Nothing | All screens |
| Vinegar solution (50/50) | Glossy glass only | Matte, OLED |
The golden rules to remember:
- Power off and unplug first.
- Dry dust before adding moisture.
- Dampen the cloth, never the screen.
- Light pressure only.
- One-direction wiping.
- Let everything dry completely before reconnecting.
Follow these and your USB-C monitor stays clean, clear, and fully functional for years. Ignore them and you're gambling with coatings that can't be replaced.
Frequently Asked Questions
Can I use alcohol wipes on my USB-C monitor?
Only if you have a glossy glass screen. Check your monitor's specifications first. Matte anti-glare coatings and oleophobic layers degrade with alcohol.
When in doubt, stick with distilled water and microfiber. It's safe for every screen type.
How do I remove stubborn fingerprints from a matte screen?
Use a clean microfiber cloth slightly dampened with distilled water. Wipe gently in one direction. Follow immediately with a dry section of the same cloth.
Matte coatings hold onto oils more than glossy surfaces. Patience works better than pressure here.
Is it safe to clean my monitor while it's plugged in?
No. Always power off and unplug first. A powered screen generates static that attracts dust during cleaning.
You also can't see smudges properly against a backlit display. Plus, introducing moisture near live electronics is a risk that's not worth taking.
What's the best cloth for cleaning a USB-C monitor?
A 200 GSM or higher microfiber cloth designed for optical surfaces. Avoid generic multipurpose microfiber that may have coarse weave. Keep several clean cloths in rotation.
Wash them without fabric softener, which leaves residue that transfers to screens.
Can I use screen cleaning wipes on my portable monitor?
Only if they're ammonia-free and your manufacturer approves them. Many pre-moistened wipes contain alcohol or ammonia. Check the product label against your monitor's care guidelines.
When unsure, distilled water and microfiber is the safer default.
How do I know if I've already damaged my screen coating?
Look for cloudy patches, blotchy areas, or streaks that won't buff out. These indicate coating degradation. If the screen looks clean but still appears hazy under light, the coating is likely compromised.
Unfortunately, damaged coatings can't be repaired. Prevention is the only real solution.
Final Checklist Before You Power Back On
You've cleaned the screen. You've cleaned the ports. Now do a quick check before reconnecting everything.
- Screen surface is completely dry with no visible moisture
- No lint or fibers left on the display
- USB-C port is free of debris and completely dry
- Bezel and stand are wiped down
- No cleaner residue on any surface
Reconnect your USB-C cable. Power on the monitor. Check for proper display output and charging.
If anything looks off, power down and inspect again.
Cleaning a USB-C monitor safely comes down to three things. Know your coating type. Use the right materials.
Apply gentle technique. That's the entire formula. Everything else is just details.

Similar Posts