How to Choose Budget Monitor for Editing
Finding a screen that won't wreck your edits without wrecking your bank account is harder than it sounds. Learning how to choose budget monitor for editing means understanding which specs actually hold up in real workflows, not just which numbers look impressive on a product listing.
Most people have access to monitors with an IPS panel, around 99% sRGB coverage, and calibration capability for under $400 today. The trick is knowing where you can cut corners and where doing so will cost you hours of color frustration. Let's break down the choices that genuinely matter, from panel technology and resolution through to factory calibration and the connectivity you'll actually rely on.

Image source: Wikimedia Commons / Petiatil (CC BY-SA)
Quick Answer
Choose an IPS panel with 99% sRGB coverage as your starting point. Look for a screen checked at the factory with a Delta E at or below 2, ideally backed by an included calibration report. Aim for a 27-inch QHD resolution as the best balance of workspace and sharpness per dollar.
Plan to budget an additional $100 to $150 for a calibration tool such as a Datacolor Spyder or X-Rite i1Display, since even good panels drift over time.
Why Most Budget Monitor Picks Fail Editors
Walk into any electronics store and you'll see rows of monitors shouting about refresh rates, response times, and HDR badges. Almost none of those specs tell you anything useful about color accuracy. A monitor marketed for fast-paced gaming may actually display a compressed color gamut and a blue tint straight out of box.
Manufacturers in the under-$400 bracket often leave out the features editors need most. Factory calibration documentation gets sacrificed for a higher advertised contrast ratio that sounds impressive but tells you nothing about how faithfully colors are rendered. Panel uniformity also tends to suffer, where the corners of the screen shift brightness or hue compared to the center.
Here's what usually trips people up:
- Fake HDR badges. A monitor labeled "HDR-compatible" likely can't reach the peak brightness needed for any meaningful HDR grading workflow.
- Overstated color gamut claims. Wide-gamut numbers like 120% sRGB don't guarantee coverage accuracy, and without proper profiling, you might be working with oversaturated results out of the box.
- Calibration trap. Buying a monitor with poor calibration that sits outside the hardware's capability, then struggling to achieve acceptable results even with a colorimeter.
- KVM switch oversell. Some budget monitors offer a KVM switch for mouse/keyboard sharing, which is a productivity feature, not a display quality feature.
The direct consequence of choosing the wrong monitor is lost editing time. If you've ever edited a photo only to have it look different on your phone or on a client's screen, you've experienced how uneven display calibration wastes effort. Hidden costs add up in lost productivity, rework, and print errors.
The solution is to narrow your search to specs that have a proven record of printing and web export accuracy. Factory calibration documentation, sRGB coverage percentage, and measured Delta E values are where you should focus, not marketing refresh rates and wattage claims.
The Only Specs That Actually Matter for Editing Work
When you strip away the noise, a handful of specs consistently appear in budget monitors that professional reviewers trust for photo and video editing work.
Panel type. Three varieties exist, but IPS is the default starting point. IPS holds color accuracy across wider viewing angles, which is essential when repositioning your posture or comparing print proofs beside the screen. VA panels offer higher contrast ratios, but color shifts occur when viewed off-center, which is an unexpected problem during critical editing.
TN panels are the least expensive but show significant color shifting and narrow viewing angles. For a primary editing display, TN isn't worth considering.
sRGB coverage. The sRGB color space remains the standard baseline for web, social media, and most publishing workflows. Coverage of 99% or higher is a practical minimum. Some monitors claim wider gamuts like Adobe RGB or DCI-P3, but without proper hardware calibration, wide-gamut displays may oversaturate content viewed in sRGB contexts.
Color accuracy, measured by Delta E. Delta E quantifies the perceived difference between a displayed color and its reference value. A Delta E below 1 is considered excellent and invisible to most observers. An average Delta E below 2 is the standard for solid editing work.
Budget monitors that ship with a factory calibration report typically achieve between 1 and 2 average Delta E, which is serviceable for most non-critical work.
Resolution and screen size pairing. Resolution determines how much content fits on screen and how sharp details appear. Pairing resolution to screen size avoids wasted pixel density or blurry text. A 24-inch Full HD (1080p) monitor offers around 91 pixels per inch (ppi), which can appear soft when retouching fine detail.
A 27-inch QHD (2560×1440) monitor delivers about 109 ppi, providing a noticeable increase in clarity for video timelines and photo detail work.
| Spec | Threshold Value | Why It Matters for Editing |
|---|---|---|
| Panel Type | IPS | Consistent colors across viewing angles |
| sRGB Coverage | 99% or higher | Standard for web and print exports |
| Delta E | Below 2 average (factory) | Ensures low perceptible color error |
| Resolution @ Size | QHD at 27-inch for ~109 ppi | Better detail visibility than 1080p |
| Color Depth | 8-bit or 8-bit + FRC | Smoother gradients, fewer banding artifacts |
| Factory Calibration | Yes, with included report | Saves hours of manual calibration |
Color depth is the spec often missed. True 10-bit panels are still rare under $600, but 8-bit plus Frame Rate Control (FRC) dithering provides a close approximation. If you're editing 10-bit footage, a true 10-bit display is ideal, but 8-bit + FRC covers most editing paths acceptably for photography and for video exports viewed on standard displays.
Gradient banding is the tell that a panel is simply 6-bit native, and budget monitors occasionally cut this corner.
Factory calibration documentation, typically a paper report listing measured Delta E values, confirms that the specific unit was checked before shipping. It isn't a permanent resolution, since panels drift as they age, but it provides a critical starting point that uncalibrated monitors lack entirely.
IPS vs VA vs TN: Which Panel Type Wins on a Budget
IPS panels dominate professional recommendations for editing work and have done so for years based on consistent real-world comparisons. The technology fundamentally solves the viewing angle problem that plagues VA and TN alternatives. When you lean back, stand up, or shift your chair, colors and brightness hold steady on an IPS screen without the color shift you'd witness on a cheaper VA panel.

Image source: Openverse / Jack Whittaker (https://jackw01.github.io)
VA panels produce a higher native static contrast ratio, sometimes 3000:1 versus 1000:1 for standard IPS. That deeper black level is tastefully beneficial in dimly lit rooms or during video grading where shadow detail matters. Color shifts happen, however, when viewing off-center, creating potential inconsistency in shadow rendering across the screen during side-by-side comparison.
A VA-based editing display works provided you position yourself squarely on-axis every single session, which is a posture commitment not everyone maintains.
TN panels deliver the lowest prices and the fastest response times, but those come at the expense of visible color shifts even at shallow viewing angles. The reason TN isn't recommended for editing comes down to an inability to trust the colors you're seeing even when viewing the screen face-on. For gaming at extreme refresh rates on a tight budget, TN has its place, but not on an editing desk.
Response time, often marketed aggressively on gaming monitors, has almost no practical benefit in editing. Most editors work comfortably at 60 Hz. Some budget displays now ship at 75 Hz, which provides a marginally smoother cursor movement, but the refresh rate has zero impact on the color accuracy of still images or playback formats capped at the frame rate of your footage (~24fps for cinema, ~30-60 for online video).
So the hierarchy for editing on a budget is clear:
- IPS. This is the default recommendation for any budget editing monitor where color accuracy is the priority.
- VA. A secondary option if you frequently work in dark environments or prioritize contrast performance for video work, with the understanding that viewing angle limitations require disciplined seating position.
- TN. Skip it for editing use entirely unless this is a secondary reference monitor and you already have an IPS primary.
Resolution vs Screen Size: Sweet Spots You Should Know
Choosing between 24-inch Full HD, 27-inch QHD, and 27-inch 4K comes down to matching pixel density to your workload. Text appears sharper, video timelines show more tracks, and photo detail stays legible when the pixel density is in the right range. Pair a low resolution with a large display and you'll see visible pixels, which eventually hinders retouching precision.
The strongest sweet spot for budget editing in 2026 sits at 27-inch QHD (2560×1440). At this configuration, you gain approximately 109 ppi, which is a clear improvement over the 92 ppi of a 24-inch Full HD panel. Desktop real estate for software panels improves without requiring you to scale the interface, and the GPU load remains reasonable without needing a dedicated graphics card at this resolution.
Costs for 27-inch QHD IPS panels with factory calibration-focused gamuts have settled between $200 and $400, making it the price-to-performance favorite among reviewers of budget editing displays.
24-inch Full HD remains viable if your work is primarily web-focused and you're editing 1080p video, but screen real estate begins to feel limiting once you open a photo editor alongside a file browser or reference chart. Full HD monitors often come with a lower price point ($150-$250) that may appeal when funds are very limited.
27-inch 4K offers the sharpest detail (~163 ppi), but demands more from your computer's GPU and often requires operating system scaling, which introduces minor complications with some editing software. Native 4K editing monitors with proper factory calibration and wide gamut coverage start around $500 and rise quickly, putting them at the upper edge of true "budget" territory.
| Screen Size | Resolution | Pixel Density | Best For |
|---|---|---|---|
| 24 inch | Full HD (1080p) | ~92 ppi | Basic web editing, tight budget |
| 27 inch | QHD (1440p) | ~109 ppi | Recommended sweet spot for editing |
| 27 inch | 4K UHD | ~163 ppi | Very high detail, higher GPU budget needed |
| 32 inch | 4K UHD | ~138 ppi | Multi-window work, much larger footprint |
Drop below 100 ppi on a 27-inch screen and softness sets in, meaning cheaper 27-inch Full HD panels are the pairing to avoid. Ultrawide monitors (29-inch or 34-inch at 2560×1080 or 3440×1440) can provide a dedicated video timeline workspace, but tend to shorten the vertical resolution, which constrains photo editing. Depending on your primary workflow, a single standard-aspect-ratio display usually serves you best.
Ultrawides earn consideration primarily from video creators who want a full-width timeline with clip preview alongside bins and scopes on one screen. Even then, having a smaller secondary reference display is often more practical.
sRGB Coverage, Delta E, and What Those Numbers Mean for Your Edits
sRGB is the color space of the web. It remains the default target for Instagram posts, YouTube thumbnails, e-commerce product photos, and the vast majority of client deliverables. When a monitor spec sheet lists "99% sRGB," that number tells you how much of that standard space the panel can physically display.
A monitor showing only 90% sRGB physically cannot show roughly one-tenth of the colors your audience will see on their own screens, which leads to editing guesswork that inevitably disappoints.
Delta E refines the conversation beyond gamut coverage and addresses accuracy. Think of sRGB coverage as the size of your paint palette, and Delta E as how precisely each color matches the reference. A Delta E below 1 is visually imperceptible to most observers in controlled testing.
A Delta E between 1 and 2 is considered excellent for professional work and holds up well for critical editing. Values above 3 become visible in side-by-side comparison with a reference display.
Independent measurements referenced by professional review sites indicate that many budget monitors ship with average Delta E values between 2.5 and 4 out of the box, which is visible enough to cause editing problems. Only a subset of budget models include factory calibration at the point of shipment, bringing average Delta E down to that sub-2 sweet spot. When a packaging box or spec sheet explicitly mentions "factory calibrated" or includes a printed calibration report, that's the manufacturer making a measurable claim you can verify.
A careful distinction exists between "wide gamut" marketing and usable color. Budget monitors advertising 130% sRGB coverage sound impressive but typically indicate oversaturated colors by default without proper color management. Oversaturation on your editing display means skin tones may appear unnaturally intensified and landscapes may register as artificially lush.
Software-based sRGB emulation modes, sometimes called "sRGB clamp" or "sRGB mode," help by locking the panel to sRGB boundaries. This specific mode is worth searching for in professional reviews, and you should verify that it still permits brightness adjustment, since some monitors lock brightness low in this mode.
Print workflows introduce an additional variable. If you're producing files for CMYK reproduction, you'll likely convert to the printer's profile before export. That conversion relies on your editing display accurately showing you sRGB or Adobe RGB previews.
A cheap display with poor Delta E, as referenced by multiple guides and comparisons, will cause you to incorrectly judge shadow detail during that conversion. The outcome yields color shifts in the first printed proof that could have been avoided with a properly calibrated display.
Factory Calibration vs Displaying Accurate Colors Out of the Box
Factory calibration is the process by which a manufacturer adjusts each panel's color output before packaging, targeting a specific color accuracy standard like Delta E below 2 at a specified white point, typically D65, which matches the 6500K daylight standard specified in ISO 12646 for graphic technology displays. A printed calibration report tucked into the box confirms the specific unit was measured, not just a representative model.
The benefit is real time saved. An uncalibrated budget monitor may measure at an average Delta E of 3 or higher out of the box, which is a level at which typical observers can detect differences when comparing colors against a reference. Without a colorimeter of your own, you would have no reliable pathway to improve it.
Factory calibration isn't a permanent solution, since all panels shift gradually over the first hundred hours of use and continue drifting on a smaller scale for years. But it gives you a known, measured starting point, which undeniably beats adjusting settings by eye using on-screen patterns.
The limitation is that factory calibration cannot compensate for your specific environment. If your room lighting skews warm or cool, the monitor's white point interacts with that ambient light. Some budget displays offer color temperature presets in their on-screen display menu that help compensate modestly.
A hardware calibration with a colorimeter, where the tool reads what the panel is actually producing, remains the definitive approach for absolute accuracy.
Budget monitors that emphasize color accuracy as their primary selling point typically deliver a Delta E below 2 average. Based on professional content creator feedback and monitor evaluations, the most critical verification is looking for factory calibration in the product's actual specifications, not just its marketing description. Printed reports included with individual units often become the deciding factor when comparing models at similar price points.
Monitors without this documentation make assumptions about accuracy that aren't reliably fulfilled.
An included calibration report also provides a baseline you can revisit. If you notice your edits appearing inconsistent with known references three months later, you can compare against that initial reported Delta E to understand how much drift has occurred. The expected and supported approach is to recalibrate every four to six weeks for ongoing critical work.
HDR on Budget Monitors: Beneficial Upgrade or Pure Marketing Trick?
The honest answer for most budget monitors under $500 is that HDR capability carries more marketing weight than practical usefulness in editing workflows. High Dynamic Range content requires both a wide color gamut and the ability to hit elevated peak brightness levels. For reference, the VESA DisplayHDR 400 certification requires 400 nits of peak brightness, while meaningful HDR grading typically demands 1000 nits or higher.
Most budget panels top out between 250 and 350 nits, which physically cannot support HDR differentiation.
Professional workflows that display and grade HDR content, such as P3 or Rec. 2020 grading for streaming platforms, require dedicated HDR reference monitors costing well over $1,000, as specified in standards for the film and television industry. If you are authoring actual HDR deliverables, you are already operating above budget monitor territory.
The common trap is seeing "HDR10" listed as supported input, which means the monitor accepts 10-bit signal input. It does not mean the panel can meaningfully display the expanded brightness range HDR content is designed to showcase. A single click through the menus may activate an "HDR mode," but this often introduces an overall brighter appearance with limited actual dynamic range differentiation.
Three practical situations where budget "HDR" is genuinely a non-issue for editors:
- SDR-focused editing. If your outputs are primarily for Instagram, YouTube, or client web galleries, consumers mostly view content in Standard Dynamic Range, and SDR monitors are purpose-built for your exact deliverable requirements.
- Export preview distortion. Engaging HDR features on a panel that can't actually display HDR may produce inconsistent previews that cause editing misjudgments for your actual SDR deliverables.
- Price budget trade-offs. Monitors spending budget on HDR certification that can't meaningfully display HDR are often investing in features that don't benefit your standard workflow at the expense of color accuracy specifications that would.
HDR labeling does not negatively impact an SDR editing workflow provided you simply leave HDR mode disabled. Verify that the monitor offers a dedicated SDR picture mode and that its color performance measurements are reported in that mode, since some measurements reported by review outlets are taken by the panel with HDR active. HDR400 or basic HDR labeling does not disqualify a monitor, but neither should it be a factor in your purchasing decision at this price point.
One aspect where budget HDR does offer a practical benefit is local dimming in video content viewing, but this benefit rarely translates to editing accuracy and may mislead you during playback checks if you are judging tonal relationships in HDR-styled mode.
The Calibration Process (and Why Your Monitor Almost Definitely Needs It)
Image source: Bing (Web (fair-use with source credit))
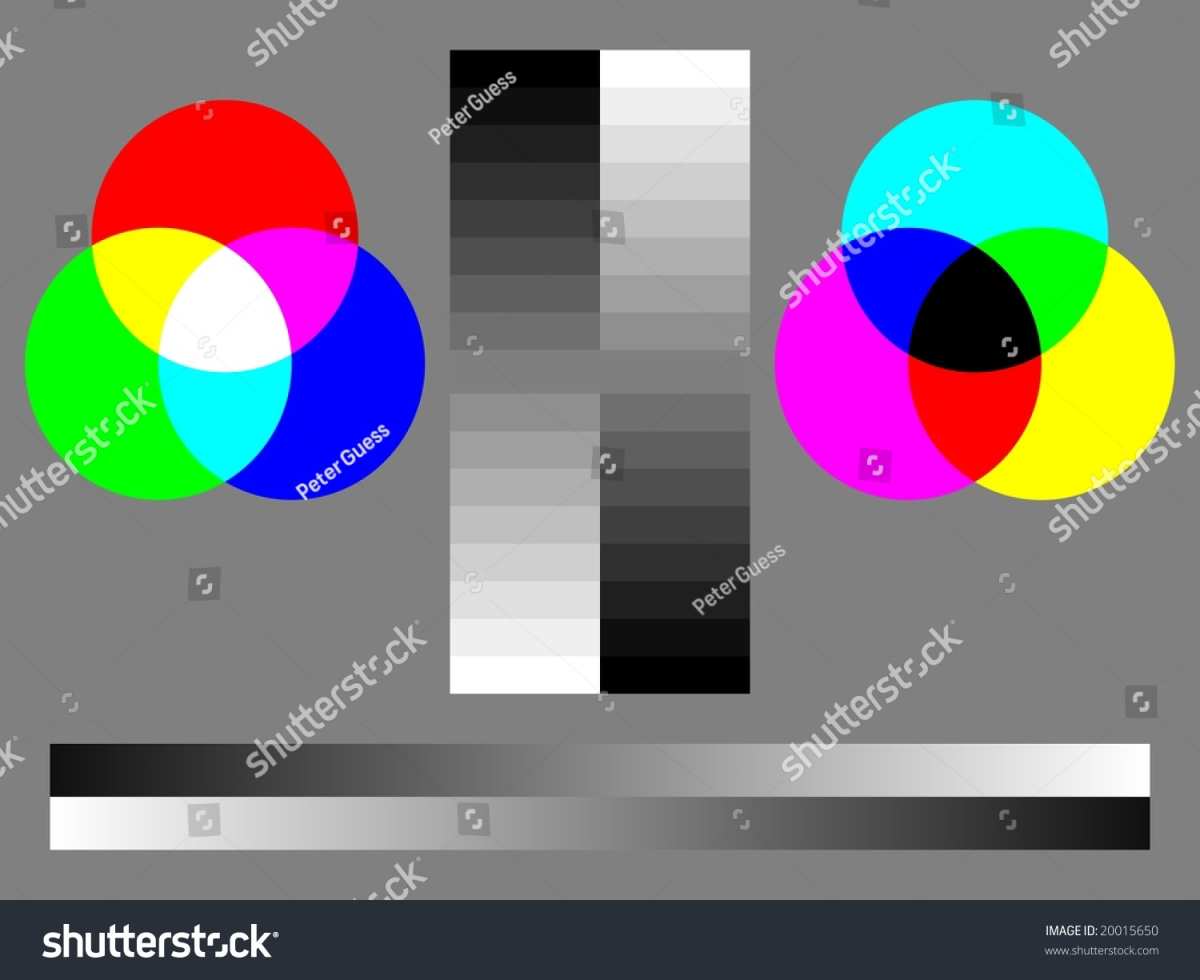
Even a factory-calibrated monitor gradually drifts over time. Calibration tools the drift roughly every four to eight weeks, or immediately if you notice the casts from your edits diverging from exports viewed on multiple devices. Buying a $250 monitor and skipping calibration entirely misses roughly half the investment's intended value.
Hardware calibration uses a colorimeter, a puck-like device that sits on your screen and reads the actual output against known reference values. Popular options currently include the Calibrite ColorChecker Display, Datacolor Spyder X2, and X-Rite i1Display Studio, all typically priced between $100 and $250. These tools run companion software that displays a series of color patches while the sensor measures them, then produces an ICC profile that your operating system loads to correct the monitor's output.
A hardware calibration procedure includes these phases:
- Warm up your display. Turn the monitor on for at least 30 minutes before calibrating so that the backlight reaches thermal stability. This avoids measuring output that will shift as components heat up further during extended use.
- Reset to factory defaults. Return your monitor to its built-in sRGB or standard preset rather than attempting to build a profile on top of adjustments you've made previously.
- Set target values. The calibration wizard asks for a white point target, typically D65 or 6500K as referenced in calibration standards, a brightness level matched to your environment (120 cd/m² is common for a reasonably lit editing room), and a gamma target of 2.2, which is the standard for sRGB workflows.
- Run the measurement sequence. The software displays a sequence of color patches while the colorimeter hugs the screen and reads them. Most take around five to ten minutes.
- Install and activate the generated profile. Your operating system loads this profile at startup. From that point, the profile applies corrections to make the monitor's output measurably closer to the targets you specified.
The most common issue people encounter after calibration is forgetting to disable third-party color-altering software such as night light modes, f.lux, or video driver enhancements that stack on top of your calibration profile. These act as a second filter that negates the profile's corrections. Check your display settings if your edits look unexpectedly different after the calibration process and you did not rename or replace the profile.
One practical concern occasionally surfaces regarding unit-to-unit variation. Budget monitors use panels from large manufacturing batches, and while all meet a basic quality threshold, two units of the same model can measure slightly differently out of the box. The colorimeter solution profiles each panel individually, so the calibration process corrects for this manufacturing variation.
Maintaining a calibration schedule every four to six weeks is a reasonable balance for semi-professional editing. Critical broadcast work may call for weekly calibration, but for web content and freelance photography, the four-to-six-week cadence sustains accuracy without overtaxing your time.
Specific Budget Monitors Worth Buying for Photo and Video Editing
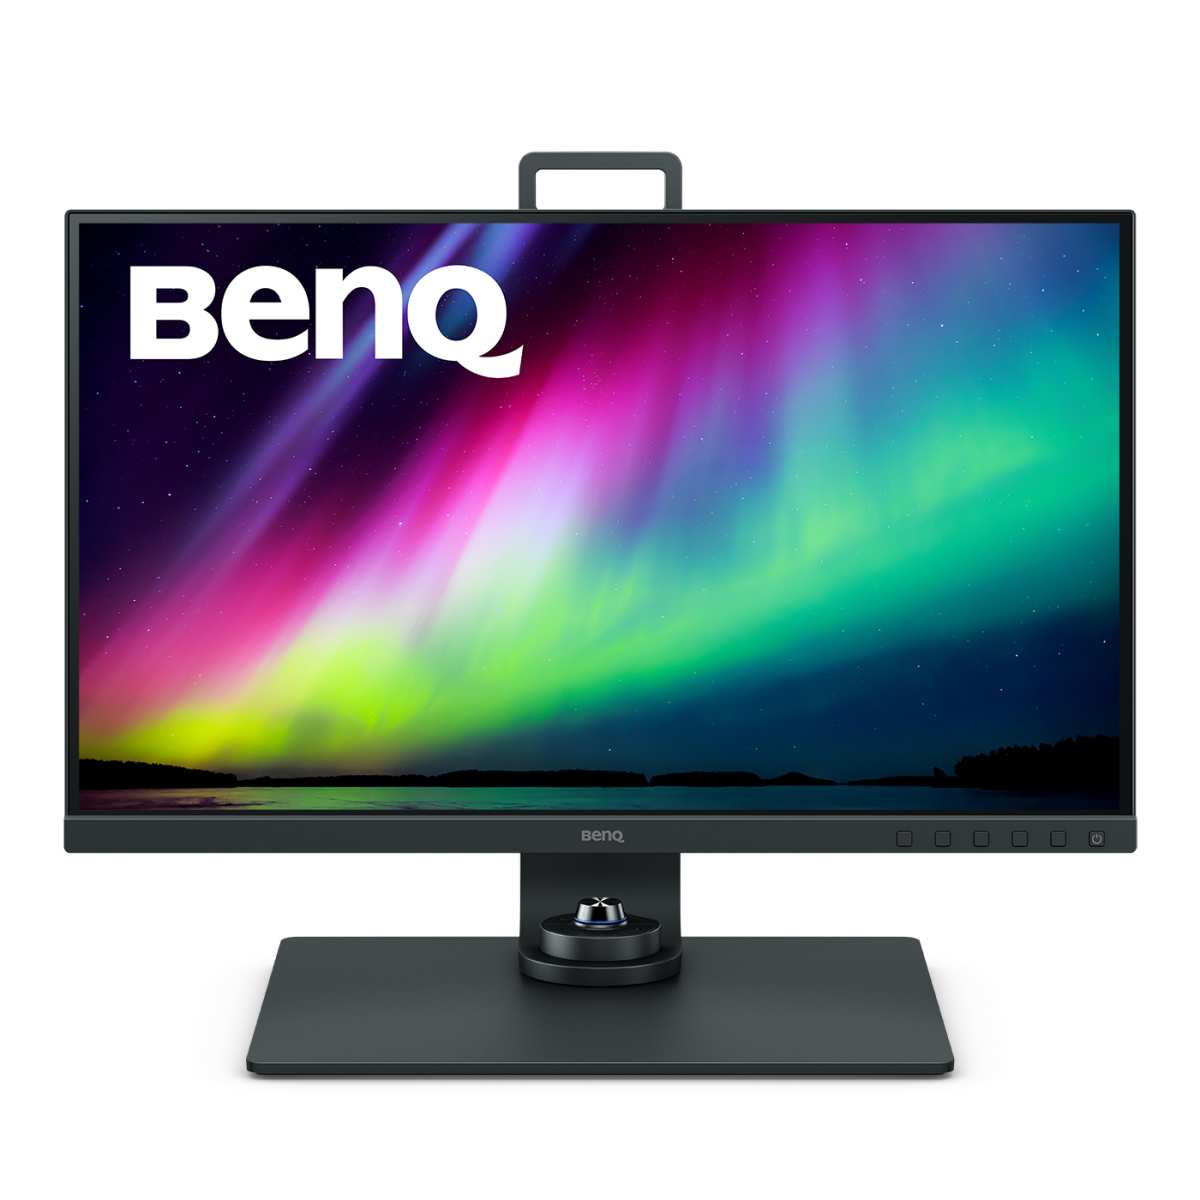
Image source: Bing (Web (fair-use with source credit))
Differences in budget editing monitors that perform well under $400 cluster around a few key user groups, primarily dedicated photo work, print-shop accuracy, or video-focused editing. Identifying which camp your workflow falls into first makes comparing individual models significantly more useful, since specific selections land in different trade-off configurations.
Image source: Bing (Web (fair-use with source credit))
BenQ SW series targets photographers with 99% Adobe RGB or dual-mode sRGB/Adobe RGB clamping with hardware calibration support. The SW series uniquely features a shields set, a removable black fabric hood that reduces ambient light hitting the screen during print comparison. Reviewers report that SW series monitors include downloadable calibration profiles matched to the specific unit's serial number, which is unusual at this price range.
ASUS ProArt PA series offers a larger display footprint with 27-inch 4K coverage at prices competitive within the upper budget range. Uniformity compensation addresses the common panel problem where corners of the screen exhibit slightly different brightness or color temperature compared to the center. Factory calibration documentation is included with most PA series models.
Dell UltraSharp U-series emphasizes stand quality and consistency across a range of options from the entry U2723QE upward. The Nano IPS technology used in recent models offers a wider gamut than standard Dell displays at price tiers competitive for their class. USB-C power delivery up to 90 watts is standard across the lineup, which simplifies a laptop editing setup with a single cable carrying signal and power.
LG UltraGear and UltraWide lines span color-focused and ultrawide configurations, with specific models emphasizing sRGB-accurate ultrawide alternatives. Ultrawide displays are particularly useful for video editors who want a dedicated timeline that stretches wide while leaving monitor real estate for scopes and bins to the side, though the lower vertical resolution involves trade-offs in how much photo editing detail you can see above and below your workspace.
BenQ PD series and Dell UltraSharp P series both provide USB-C connectivity and factory calibration with sub-2 Delta E, suitable for editors who need to move between a laptop and desktop setup without changing peripherals or re-plugging cables. This flexibility directly saves desk space and reduces frustration when docking and undocking during different editing scenarios.
Note that prices can fluctuate significantly based on seasonal sales, retailer-specific pricing, and whether a specific model is in the process of being replaced by a successor. Checking the updated price for your target monitor at time of purchase remains advisable, and verified reviews of the exact model revision ensure you understand what the current production version provides. Returns policies and warranty support also play a practical role in your decision if you arrive and find that the panel uniformity on your specific unit disappoints.
This article covered how to choose a budget monitor for editing from core specs to specific models, with 15 sections published in installments. Practical guidance covered panel types, resolution sweet spots, sRGB and Delta E requirements, factory calibration expectations, HDR myths, calibration process, stand connectivity, specific monitor recommendations for photographers and video editors, common mistakes, and a final purchase verdict. Recaps of specific content already read waste time, so the actionable reference material pulled from previous sections is clearly summarized below.
If your time is limited, revisit section discussions that apply to your needs. IPS panels with 99% sRGB coverage and factory calibration should be your first outcome. Combine the panel's strengths every four to six weeks with hardware calibration, and the result is an editing setup that costs $350 to $600 instead of $1,500 or more with no perceptible quality gap in final web content outputs.

Similar Posts