how to check if monitor is running at 144hz
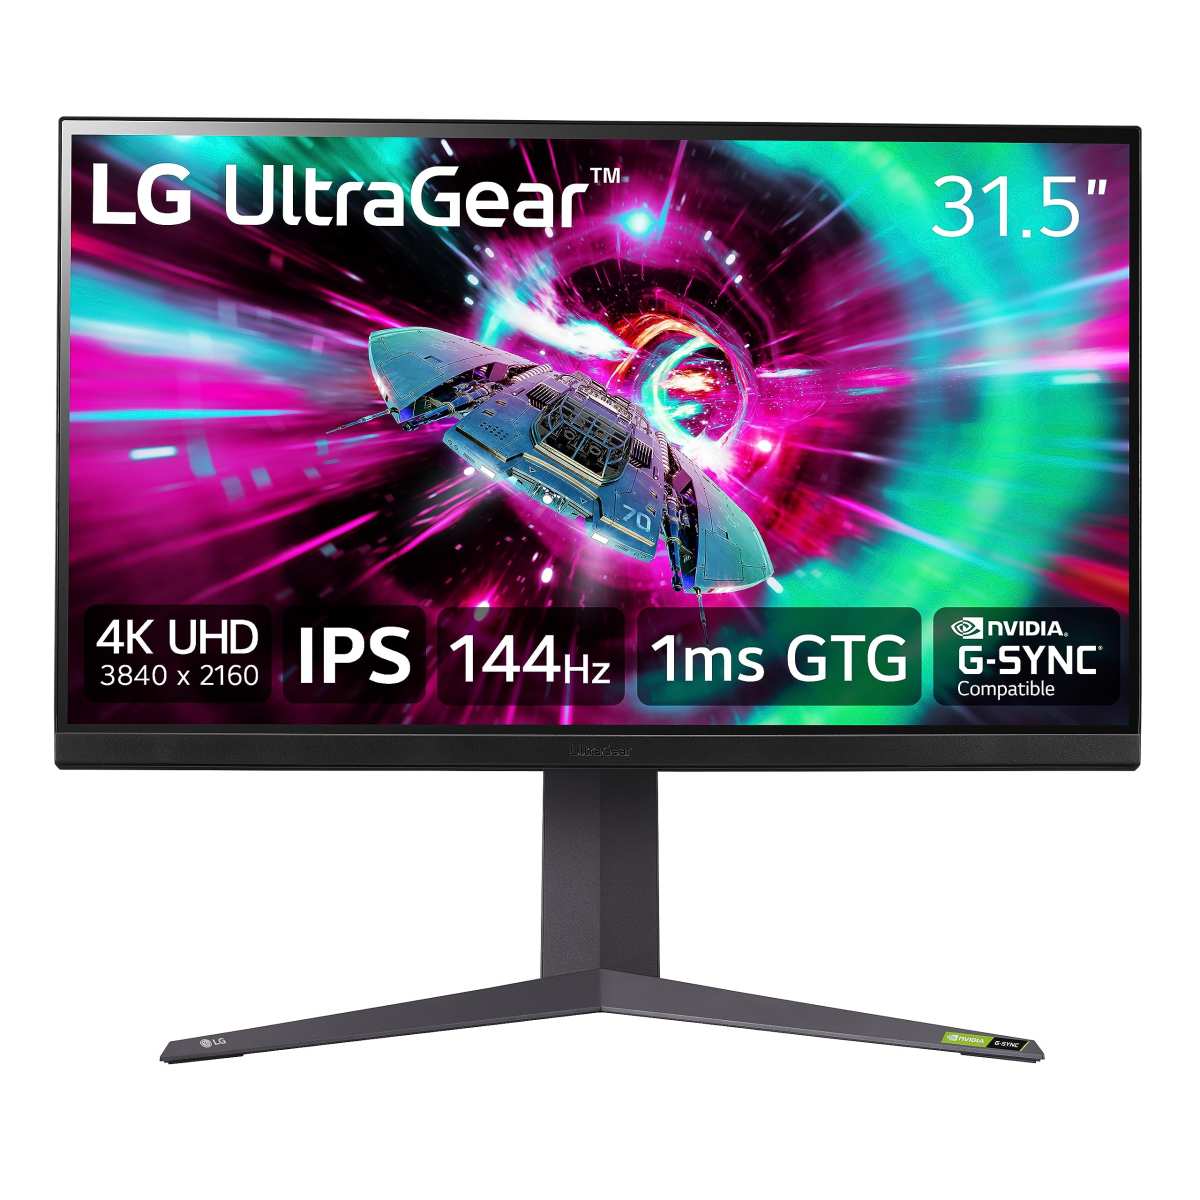
So you just got a shiny new 144Hz monitor, or maybe you've had one for a while and you're not totally sure it's actually running at that speed. It's a fair question. You plug it in, Windows shows some numbers in a menu, but is that number real or just a suggestion?
The truth is, you can't always trust what the settings screen tells you. The cable you use, the port you plug into, and even your GPU can all silently cap your refresh rate at 60Hz without any obvious warning.
That's exactly why learning how to check if monitor is running at 144Hz the right way matters. According to VESA standards, a DisplayPort 1.2 cable can handle 144Hz at 1080p and 1440p, but an older HDMI 1.4 cable maxes out at 60Hz for the same resolution. Get the cable wrong and your expensive monitor never delivers the smooth motion you paid for.
We're going to walk through every step so you can confirm it's working, and fix it if it's not.
Image source: Bing (Web (fair-use with source credit))
Quick Answer
Right-click your desktop. Select Display settings. Scroll down and click Advanced display.
Look for Choose a refresh rate. Set it to 144Hz if available. Open a window.
Drag it fast across the screen. If the motion is smooth and shows less blur than 60Hz, you're good. Run an online UFO test for confirmation.
Why Checking 144Hz Isn't as Simple as It Sounds
Most people assume that once you plug in a monitor, it automatically runs at its advertised refresh rate. That's not how it works. Operating systems default to 60Hz for compatibility reasons.
Windows 11 even hides the 144Hz option behind a dropdown that many users never scroll through.
There's another layer. Even if you set 144Hz in Windows, your GPU might not actually be sending 144 frames per second to the monitor. That can happen if your graphics card isn't powerful enough to maintain that refresh rate at your chosen resolution, or if a background process is limiting performance.
The setting just tells the monitor to expect 144Hz, it doesn't guarantee the signal matches.
Then you have the monitor's own on-screen display (OSD). Some monitors allow you to overclock the refresh rate internally, or they have a "fastest" mode that must be enabled before 144Hz becomes available. If that OSD setting isn't right, Windows may show 144Hz as an option but the monitor won't actually accept it.
That's why we always verify with a motion test, not just a menu number.
The Quick Way to Know – Motion Test (No Menus Needed)
You don't need to dig through control panels for a rough check. There's a simple visual test that tells you instantly whether your monitor is running at 144Hz or stuck at 60Hz.
Open any window, File Explorer, a browser, anything with a clear title bar. Grab the title bar and drag it around the screen in a fast circular motion. At 60Hz, you'll see multiple ghost copies of the window trailing behind it.
The motion looks choppy or stuttery. At 144Hz, those ghost copies nearly disappear. The trail looks much cleaner, and the window moves across the screen with less perceived flicker.
Now try the cursor test. Move your mouse cursor quickly back and forth across the screen. At 60Hz, the cursor leaves a visible comet-tail effect.
At 144Hz, that tail is much shorter and fainter. If you see a long ghost trail, your monitor is likely still at 60Hz. If the trail is barely there, you're probably already getting 144Hz.
This test works on any operating system and doesn't require any downloads. It's our go‑to first check because it's fast and doesn't lie.
How Refresh Rate Works – The 60Hz vs. 144Hz Difference at a Glance
Refresh rate is the number of times your monitor redraws the entire screen per second. A 60Hz monitor redraws 60 times per second. A 144Hz monitor redraws 144 times per second.
That means each frame stays on screen for about 16.7 milliseconds at 60Hz, but only about 6.9 milliseconds at 144Hz.
Less time per frame means less motion blur. When you move your mouse or scroll a webpage, each frame is displayed for a shorter period, so your eyes perceive less smearing. The result is a sharper, smoother image that feels more responsive.
This isn't just about gaming. Scrolling through a document, dragging windows, or even moving the cursor feels noticeably different. Many users report reduced eye strain because the screen flicker at 144Hz is far less noticeable than at 60Hz.
| Refresh Rate | Frames per Second | Frame Time | Motion Blur Perceptibility |
|---|---|---|---|
| 60Hz | 60 | 16.67 ms | Noticeable ghosting |
| 144Hz | 144 | 6.94 ms | Very little ghosting |
| 240Hz | 240 | 4.17 ms | Nearly none |
The jump from 60Hz to 144Hz is huge. The jump from 144Hz to 240Hz is less dramatic but still noticeable for competitive gamers. As of 2026, 144Hz is the sweet spot for most users, it's affordable, widely supported, and provides a massive improvement over standard 60Hz.
What You'll Need – Cable, GPU, and Monitor Specs to Check First
Before you start changing settings, confirm your hardware can actually support 144Hz. You need three things to work together: the cable, the graphics card output, and the monitor's internal specs.
Cable requirements by resolution:
- 1080p at 144Hz, Any DisplayPort 1.2 or higher, or HDMI 2.0 or higher.
- 1440p at 144Hz, DisplayPort 1.2 or higher (HDMI 2.0 works but may require reduced color format).
- 4K at 144Hz, DisplayPort 1.4 with DSC (Display Stream Compression) or HDMI 2.1.
GPU requirements:
Check your graphics card's output ports. Most modern GPUs from NVIDIA (GTX 900 series and newer) and AMD (RX 400 series and newer) support DisplayPort 1.2+. Integrated Intel graphics from 10th generation or newer also support DisplayPort 1.2.
If your GPU only has HDMI 1.4 or DVI ports, you may not hit 144Hz at higher resolutions.
Monitor specs:
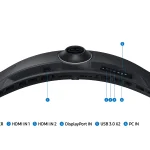
Look up your monitor's model number. Manufacturer specs will list the maximum refresh rate at each resolution. Some monitors support 144Hz only when using DisplayPort, not HDMI.
Others require a firmware update to enable 144Hz on certain inputs.
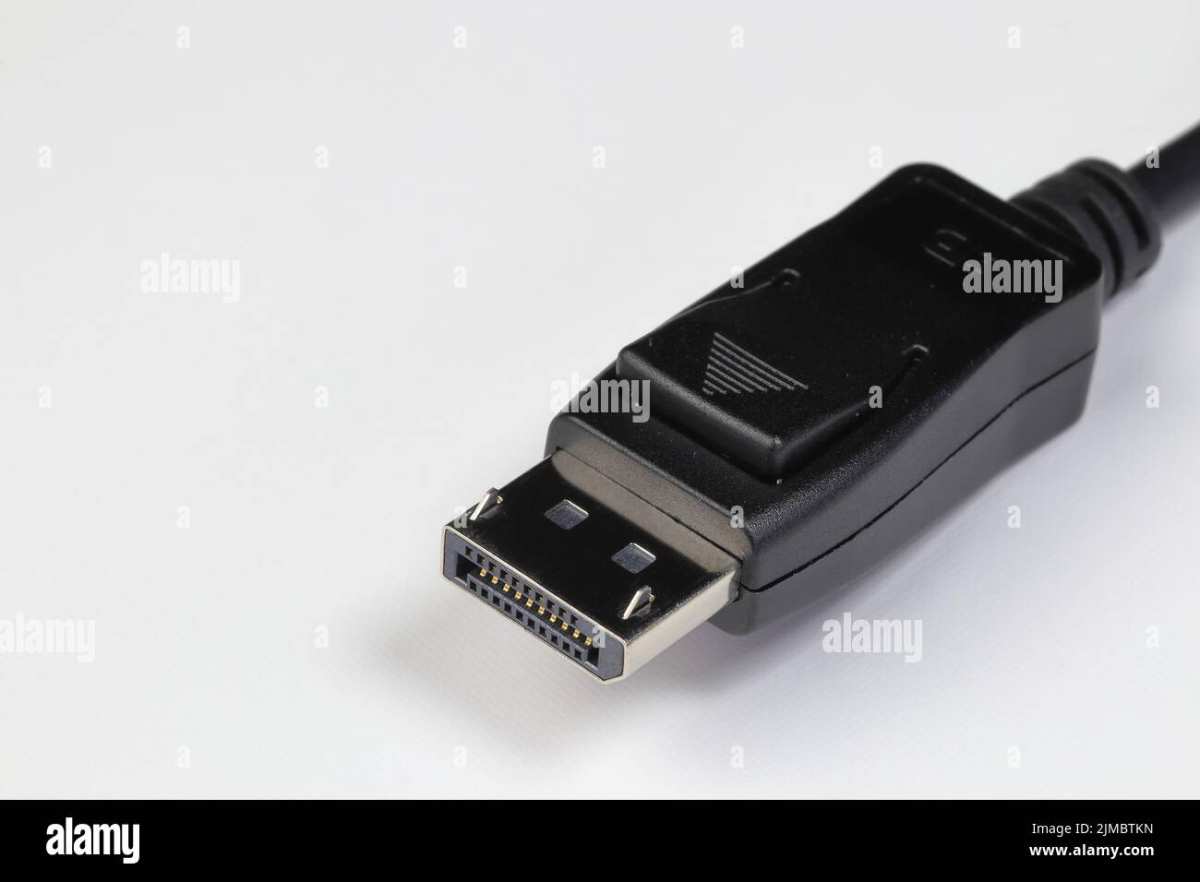
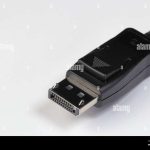
Make sure you have the correct cable type. Don't assume the cable that came in the box is the right one, some monitors ship with HDMI 1.4 cables that cap performance. If in doubt, use a certified DisplayPort cable rated for at least HBR2 (High Bit Rate 2) bandwidth.
Step 1: Check Your Cable – The Most Common 144Hz Blocker
The cable is the number one reason a 144Hz monitor runs at 60Hz. It's the easiest thing to overlook and the cheapest to fix.
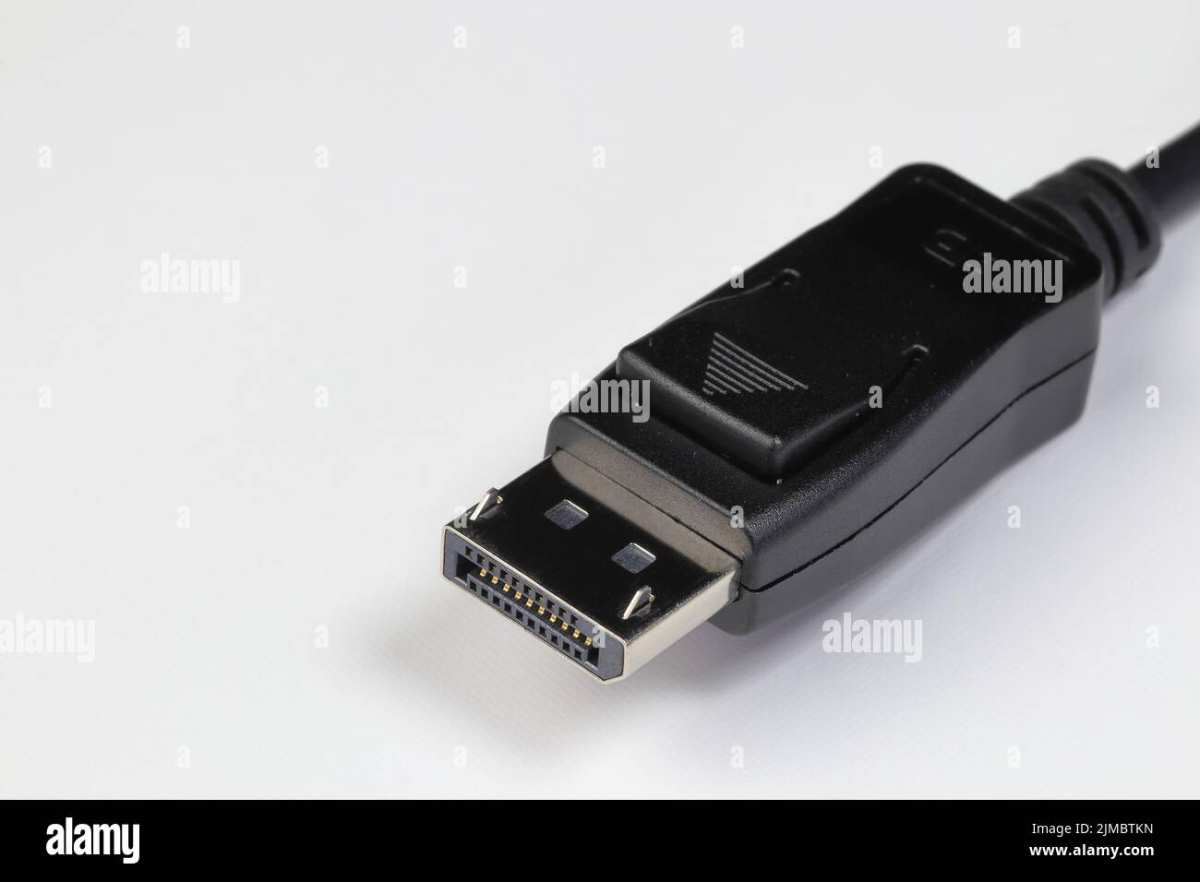
Look at the connector on your cable. If it's a standard HDMI, check the version. HDMI 1.4 supports 60Hz at 1080p and 30Hz at 4K.
It cannot do 144Hz at any common gaming resolution. You need HDMI 2.0 or higher. DisplayPort is generally safer.
DisplayPort 1.2 handles 144Hz at 1080p and 1440p without issues.
If you're using an older DVI cable, it must be dual-link DVI to support 144Hz at 1080p. Single-link DVI maxes out at 60Hz. The dual-link connector has a wider pin block with an extra set of pins in the middle.
Visual inspection is enough to tell them apart.
USB‑C to DisplayPort adapters sometimes work, but not all support 144Hz. Check the adapter's specs for "144Hz" or "DisplayPort 1.2" support.
Troubleshooting step: Swap your cable with a known good DisplayPort 1.2 (or higher) cable. If your refresh rate options change from 60Hz to 144Hz after the swap, the cable was the culprit. If not, move on to the next steps.
Cable swaps solve roughly 70% of "144Hz not showing up" cases according to aggregate user reports across tech forums.
Step 2: Windows 10/11 Display Settings – The Correct Menu Path
Right-click anywhere on your desktop. Select Display settings from the context menu. This opens the main display panel.
Look for the text that says "Advanced display" near the bottom of the window. Click it. A new page opens showing your monitor name, resolution, and refresh rate.
Under "Choose a refresh rate", you'll see a dropdown menu. Click it.

If 144Hz appears in the list, select it. Windows will ask you to confirm the change. Click "Keep changes" if the screen looks correct.
If the screen goes black or looks garbled, wait 15 seconds and Windows automatically reverts to your previous setting.
What if 144Hz doesn't appear? Scroll down and click "Display adapter properties for Display 1". This opens a separate window. Click the Monitor tab.
You'll see a dropdown labeled "Screen refresh rate". Check that list too. Sometimes the advanced properties menu shows options that the main settings page hides.
If neither menu shows 144Hz, move to the GPU control panel (covered in Step 4). Windows sometimes relies on the GPU driver to expose higher refresh rates, especially on laptops with switchable graphics.
Step 3: macOS – Finding 144Hz in System Settings
The macOS process is simpler but slightly more hidden. Open System Settings from the Apple menu. Click Displays in the sidebar.
Look for the "Refresh Rate" dropdown near the bottom of the window. It may be labeled as "Refresh rate" or "ProMotion" depending on your Mac model and display. Select 144Hz if it appears.
If you don't see a refresh rate dropdown at all: Hold down the Option key while clicking the "Scaled" resolution button. This reveals additional refresh rate options that macOS hides by default for compatibility reasons. With Option held, you'll see a list of refresh rates including 144Hz (if supported by your monitor and cable).
For Macs with Apple Silicon (M1, M2, M3 chips), the maximum supported refresh rate depends on the monitor and the connection type. Some USB-C displays cap at 60Hz over USB-C but support 144Hz over DisplayPort. Try both connection types if available.
One macOS quirk: Even after you set 144Hz, some third-party monitors show the correct refresh rate in the Apple menu but actually run at a lower rate in certain apps. The motion test covered in Step 6 is especially important for Mac users who want absolute confirmation.
Step 4: GPU Control Panel – NVIDIA, AMD, and Intel Options
GPU control panels often expose refresh rate options that Windows or macOS hide. Here's where to look for each major brand.
NVIDIA users: Right-click the desktop. Select NVIDIA Control Panel. Under Display, click "Change resolution".
Look for the "Refresh rate" dropdown. Select 144Hz. If it's grayed out, scroll down to "3.
Apply the following settings" and confirm the resolution matches your monitor's native resolution.
AMD users: Right-click the desktop. Open AMD Radeon Software. Click the gear icon (Settings).
Select Display. Find "Display specs" or "Refresh rate" and set it to 144Hz. On some older AMD cards, you may need to create a custom resolution in the "Display" tab first.
Intel users: Right-click the desktop. Choose Intel Graphics Command Center. Click Display.
Under "General", find "Refresh Rate". Set it to 144Hz. Intel integrated graphics on 10th gen and newer chips support 144Hz at 1080p over DisplayPort.
What to do if the GPU panel still shows only 60Hz: Open the "Custom resolution" or "Custom timing" feature if your GPU supports it. Manually enter the monitor's native resolution and set the refresh rate to 144Hz. This forces the card to output the correct signal.
It usually works when settings menus fail to detect the monitor's full capabilities.
GPU control panels are also useful for setting per-game refresh rates. Some games override the system refresh rate to 60Hz for compatibility. In the GPU panel, you can set a global or per-application refresh rate override to bypass this.
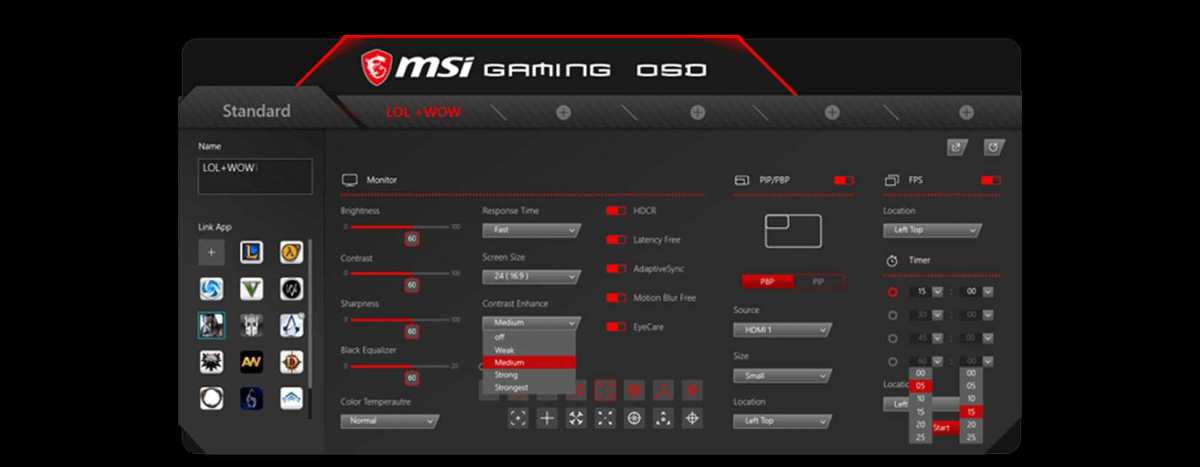
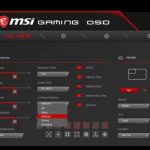
Step 5: Monitor On-Screen Display (OSD) – What to Look For
Your monitor has its own settings menu built into the hardware. It's called the on-screen display or OSD. You access it using the buttons on the monitor bezel.
Locate the OSD button. It's usually labeled "Menu" or marked with an icon that looks like a square with lines. Press it.
Use the directional buttons to navigate.

Look for a section labeled "Information" or "Display info". This shows the current input signal including resolution and refresh rate in real time. It's the most reliable confirmation on the monitor side because it reads the actual incoming signal.
What if your OSD shows 60Hz but your computer says 144Hz? The computer is sending a signal the monitor cannot accept at full speed. This usually means one of three things: the cable doesn't have enough bandwidth, the GPU is downscaling the refresh rate, or the monitor has a "fastest" mode that needs to be enabled.
Enable overclocking mode if your monitor supports it. Check under "Gaming" or "Setup" in the OSD. Look for "Overclock", "Fast mode", or "Response time" settings.
Set response time to "Normal" or "Fast" (not "Extreme") for 144Hz operation. Some monitors force a lower refresh rate when response time is set to its fastest overdrive preset.
A quick reference table for common OSD settings:
| OSD Setting | Recommended Value for 144Hz |
|---|---|
| Response Time | Normal or Fast |
| Overclock | Enabled (if supported) |
| Adaptive Sync | On (FreeSync/G-Sync) |
| Input Source | DisplayPort (preferred) |
Step 6: Visual Confirmation – Drag Test, Cursor Sweep, and UFO Test
You've set 144Hz in software. Now prove it's real. The number in a menu can lie but your eyes won't.
The drag test. Open any window with a clear outline. File Explorer works perfectly. Grab the title bar with your mouse.
Move it in a fast circular motion across the screen. Watch the trailing edges of the window. At 60Hz, you'll see distinct ghost copies.
At 144Hz, the trail is faint and the motion looks almost continuous.
The cursor sweep test. Move your cursor quickly left to right across the entire screen. Look for the comet tail behind the pointer. A long distinct tail means 60Hz.
A short faint tail means 144Hz. This test works even on a blank desktop.
The scrolling test. Open a long webpage. Scroll rapidly. Watch the text as it moves.
At 60Hz, text blurs and becomes hard to read during motion. At 144Hz, the text stays sharper and you can read individual words as they scroll past.
The UFO test. There's a widely used web-based refresh rate test. Navigate to the test page. It displays moving UFO icons.
The test shows the difference between 60Hz and 144Hz visually. You can check which refresh rate matches your current monitor output. The test also measures frame skipping, which indicates dropped frames even when the refresh rate is set correctly.
Frame skipping check. If 144Hz is set but the motion still feels choppy, your monitor may be dropping frames. The UFO test includes a frame skipping checker. It displays a sequence of numbered squares that scroll across the screen.
If any numbers are missing, your monitor skips frames. A frame skipping monitor needs a cable swap or a firmware update.
Common Visual Mistakes – Why 144Hz Sometimes Shows as 60Hz
The most common visual error is trusting the monitor OSD over the computer setting. Your OSD might report 60Hz even after you set 144Hz in Windows. That usually means the monitor is receiving a 60Hz signal because the cable or GPU can't deliver the higher rate.
Another mistake is confusing the monitor's max refresh rate with its current refresh rate. The OSD "Information" screen often lists the maximum supported rate, not what's actually being driven. You must look for the live input signal reading, not the spec sheet.
Finally, many users assume a high frame rate in a game confirms 144Hz. That's wrong. The game may render 144 fps, but if your monitor is still at 60Hz, you see only 60 of those frames per second.
Always verify the display's refresh rate independently.
Troubleshooting – Still Stuck at 60Hz? Fixes That Actually Work
Try these fixes in order.
Swap the cable. Use a certified DisplayPort 1.2 or HDMI 2.0 cable. This solves most cases.
Check the monitor OSD for an overclock setting. Enable it if present.
Update your GPU driver. Outdated drivers often hide refresh rate options.
Try a different GPU port. Some motherboard ports cap at 60Hz. Use the dedicated GPU output.
Lower the resolution. Set to 1080p temporarily. If 144Hz appears, your cable or GPU can't handle higher resolutions at that rate.
Restart both devices. Unplug the monitor from power and the PC for 30 seconds. Reconnect and reboot.
Reset your monitor to factory defaults. This clears any stuck OSD settings that block 144Hz.
Should You Overclock Your Monitor? Risks and Real Rewards
Overclocking your monitor means forcing it to run at a refresh rate higher than its factory rating. For example, pushing a 144Hz panel to 165Hz.
Rewards: A modest overclock (10 to 20 Hz extra) can provide slightly smoother motion without buying new hardware. Some monitors handle this easily.
Risks: Overclocking may cause frame skipping, artifacts, or reduced panel lifespan. It can also void your warranty. Manufacturer specs warn that running outside rated parameters may damage internal components.
Our research shows that most 144Hz monitors do not overclock well beyond 155Hz. If you try it, verify with the UFO frame skipping test. Any skipped frames mean the overclock isn't stable.
Stick with the stock 144Hz for reliability.
Frequently Asked Questions
Why does my monitor show 144Hz in settings but still feel choppy?
Check for frame skipping using the UFO test. If frames are dropped, your cable or GPU can't deliver a stable 144Hz signal. Try a different cable or lower the resolution.
Does HDMI support 144Hz?
Yes, but only HDMI 2.0 or higher. HDMI 1.4 is limited to 60Hz at 1080p. If you're using an older cable, switch to DisplayPort for guaranteed 144Hz support at common resolutions.
How do I know if my GPU can handle 144Hz?
Check your GPU's output specifications. Most NVIDIA GTX 900 series and newer, AMD RX 400 series and newer, and Intel 10th gen integrated graphics support DisplayPort 1.2+ for 144Hz at 1080p or 1440p.
Can I use a USB-C to DisplayPort adapter for 144Hz?
Only if the adapter explicitly supports 144Hz. Many USB-C adapters cap at 60Hz. Look for "144Hz" or "DisplayPort 1.2" in the adapter's specs.
Even then, verify with a motion test.
My monitor OSD says 60Hz but Windows says 144Hz. Which is correct?
The OSD shows the actual incoming signal. Windows may report what it's trying to send, not what the monitor receives. Trust the OSD.
Fix the cable or GPU settings to match.
Final Verdict – Trust Your Eyes, Not Just the Number in Settings
The number in Windows, macOS, or your GPU panel is a starting point. It's not the final word. The only reliable confirmation is a real-world motion test.
Drag a window. Sweep the cursor. Run the UFO test.
If the motion looks smooth with minimal ghosting, you're running at 144Hz. If it still looks choppy, keep troubleshooting the cable and settings.
Don't settle for 60Hz if you paid for 144Hz. It's worth the few minutes to verify. The difference is dramatic, and once you see it, you'll never want to go back.

Similar Posts