How to Arrange Dual Monitors Side by Side
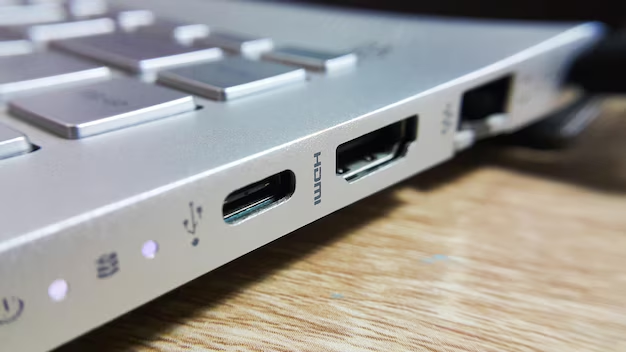

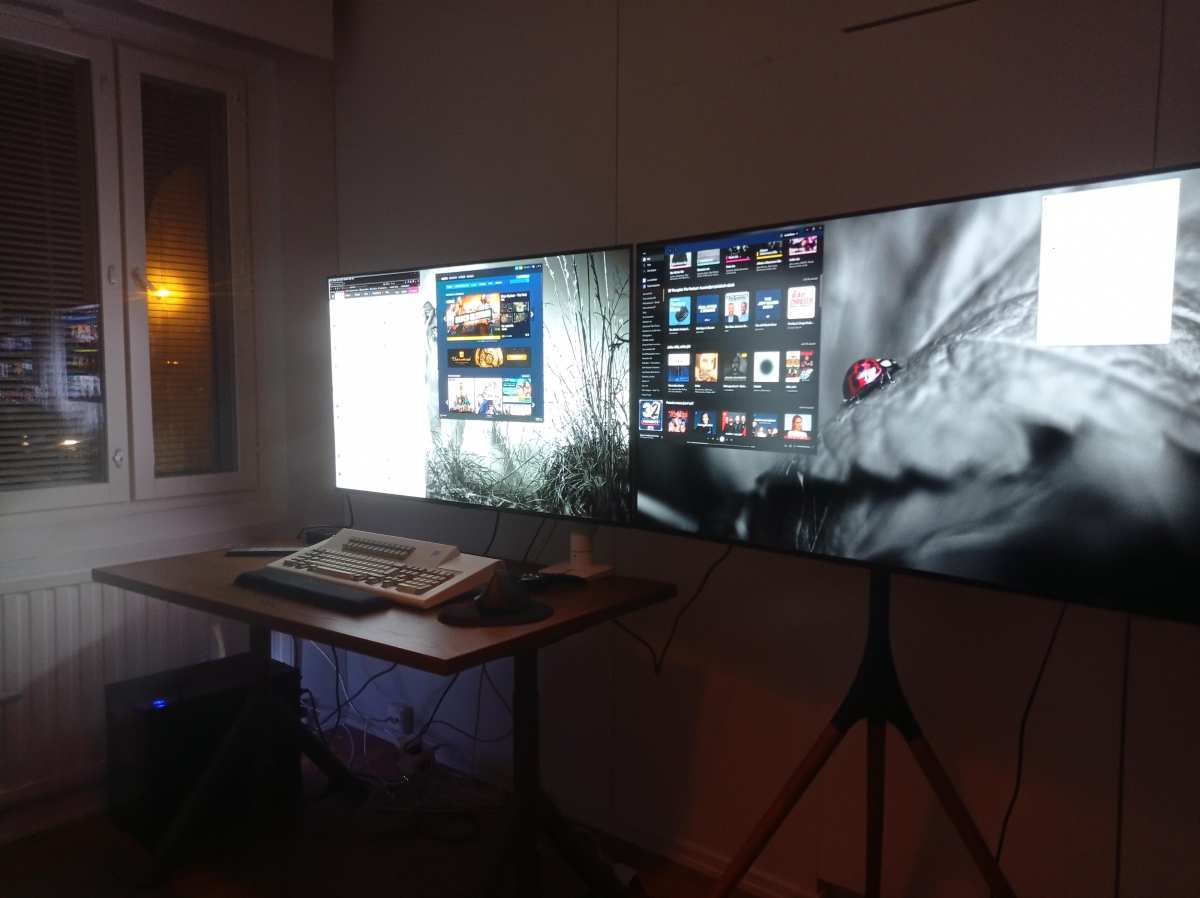
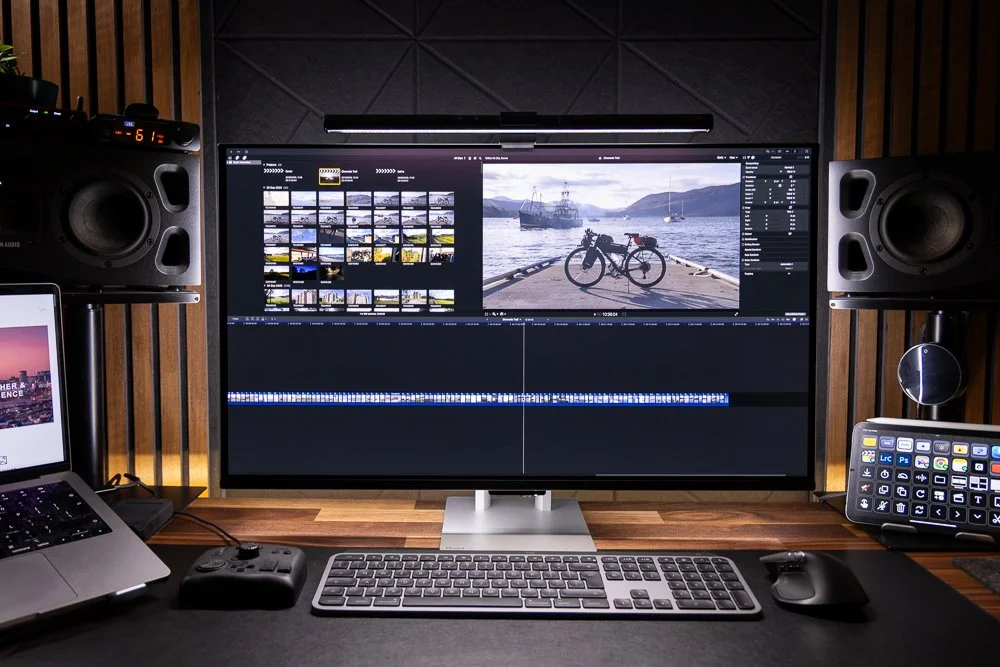
Image source: Wikimedia Commons / Mack Male from Edmonton, AB, Canada (CC BY-SA)
Figuring out how to arrange dual monitors side by side sounds simple until you're staring at a tangle of cables, mismatched screens, and a display settings panel that doesn't match your actual desk layout. The good news is that once you understand the decision points, the whole process takes about ten minutes.
Most issues come down to three things: the ports your computer has, the cables that actually work for your hardware, and how your operating system maps the displays. As of 2026, USB-C with DisplayPort Alt Mode is the standard on most laptops, but plenty of desktops and older monitors still rely on HDMI or DisplayPort. Let's walk through each step so your setup actually matches how you work.
Image source: Wikimedia Commons / Mack Male from Edmonton, AB, Canada (CC BY-SA)
Quick Answer
Connect both monitors to your computer's video outputs using the correct cables. Open your operating system's display settings. Drag the monitor icons to match your physical desk layout.
Set your primary display, adjust resolution and scaling for each screen, then apply the settings.
Step 1: Check What Your Computer Actually Supports
Before you buy a single cable, look at what your machine actually offers. This is where most people go wrong. They grab whatever cable is in the drawer and wonder why only one screen works.
On a laptop, you'll typically find one of these combinations:
- One HDMI port and one USB-C with DisplayPort Alt Mode
- Two USB-C/Thunderbolt ports that both carry video
- Just one video output (which means you'll need a dock or adapter)
On a desktop, your graphics card usually has multiple outputs. Most modern GPUs from NVIDIA and AMD offer a mix of DisplayPort and HDMI. Check the back of your tower.
The ports on the graphics card sit lower on the case, separate from the motherboard's video outputs near the top.
Here's a quick reference for what each port type supports:
| Port Type | Max Resolution (Typical) | Daisy Chaining | Common On |
|---|---|---|---|
| HDMI 2.0 | 4K at 60Hz | No | Most laptops and monitors |
| HDMI 2.1 | 4K at 120Hz | No | Newer GPUs and monitors |
| DisplayPort 1.4 | 4K at 120Hz | Yes (MST) | Desktop GPUs, pro monitors |
| USB-C (DP Alt Mode) | 4K at 60Hz | Varies | Laptops, MacBooks |
| Thunderbolt 4 | 4K at 60Hz+ | Yes | MacBooks, premium laptops |
| VGA | 1080p | No | Older equipment only |
If your computer only has one video output, that's not a dead end. A USB-C docking station or a DisplayLink adapter can add one or more external displays through a single port. Just make sure the dock explicitly supports multiple monitors, since some cheaper models only mirror to one external screen.
Image source: Bing (Web (fair-use with source credit))
Step 2: Choose the Right Cables and Adapters
Now that you know what ports you have, matching cables is straightforward. Use the highest-quality connection available on both ends. If your computer has DisplayPort and your monitor has DisplayPort, use a DisplayPort cable.
Don't downgrade to HDMI unless you have to.
When you need an adapter:
- USB-C to HDMI: Works for most laptops connecting to standard monitors
- USB-C to DisplayPort: Preferred when the monitor supports it
- DisplayPort to HDMI: Works in one direction only (DP source to HDMI monitor)
- VGA or DVI: Only as a last resort. These are analog signals and look soft at higher resolutions
Cable length matters more than people think. For desktop setups, 6-foot cables give you comfortable routing. If your monitors sit on a mount behind your desk, you might need 10 feet. Anything beyond 15 feet and you may need an active cable or a signal booster, especially at 4K resolution.
One more thing worth knowing: DisplayPort supports Multi-Stream Transport (MST), which lets you daisy chain two monitors from a single DisplayPort output on your computer. Both monitors need to support DisplayPort 1.2 or later with MST enabled. This is common on business and professional monitors but rare on budget consumer panels.
Step 3: Connect and Detect Both Monitors
Here's the sequence that saves the most headaches. Connect both monitors to your computer first. Then power on both monitors.
Then turn on or wake up your computer. This gives the operating system the best chance of detecting both displays during boot.
On Windows 10 and 11:
- Right-click the desktop and select "Display settings"
- If only one monitor appears, click "Detect" in the display panel
- Windows should show two numbered rectangles representing your screens
On macOS:
- Open System Settings (or System Preferences on older versions)
- Go to Displays
- If a second monitor isn't showing, hold the Option key and click "Detect Displays" in the bottom corner
When one screen stays black:
- Check that the monitor is set to the correct input source
- Try a different cable to rule out a bad one
- Restart the computer with both monitors powered on
- If using a dock, make sure it's connected and powered before booting
Most detection issues come down to a cable that isn't fully seated or a monitor that's on the wrong input. It sounds obvious, but it's the fix more often than not.
Step 4: Arrange Your Monitors to Match Your Desk
This is the step that actually answers the core question. Your operating system needs to know where each monitor sits physically, or your cursor will jump in weird directions when you move between screens.
In Windows:
- In Display settings, drag the numbered monitor rectangles so they match your physical layout
- If your left monitor is slightly behind the right one, offset the rectangles accordingly
- Click "Identify" to see which number corresponds to which physical screen
- Select which monitor you want as your "main display" (where the taskbar and Start menu appear)
In macOS:
- Open Displays in System Settings
- Click "Arrange" to see the monitor layout
- Drag the rectangles to match your desk setup
- The white menu bar at the top of the arrangement window indicates your primary display
When monitors are different sizes or resolutions:
- The rectangles in your display settings won't be proportional, and that's normal
- Align the tops of the rectangles if both monitors sit at the same height
- Align the edges where the screens physically meet on your desk
- Your cursor should move smoothly across that shared edge
If you're running a 27-inch 4K monitor next to a 24-inch 1080p panel, the cursor will feel like it "jumps" when crossing between them. That's a resolution mismatch issue, not an arrangement problem. We'll cover that in the next section.
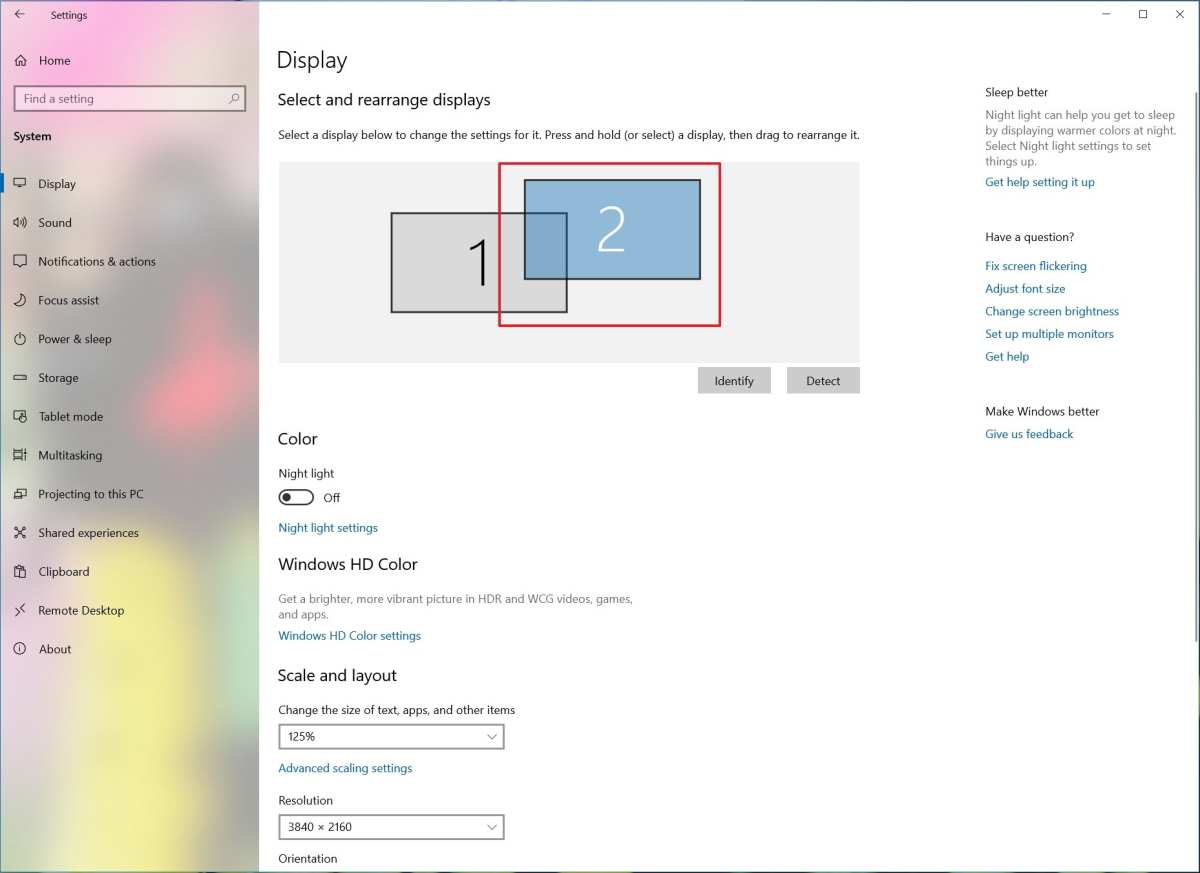
Image source: Bing (Web (fair-use with source credit))
Step 5: Fix Scaling, Resolution, and Alignment Issues
Once your monitors are arranged correctly, the visual experience still needs fine-tuning. This is where most setups feel "off" even after the arrangement is right.
Scaling problems:
Windows and macOS handle scaling differently. If your laptop screen is 13 inches at 2560×1600 and your external monitor is 27 inches at 2560×1440, text will look different on each screen. Windows lets you set scaling independently per display.
Look for the "Scale and layout" dropdown under each monitor in Display settings. Common values are 100%, 125%, 150%, or 200%.
macOS handles this automatically for Retina displays but can look odd when mixing Retina and non-Retina monitors. The "Default for display" setting usually works best, but you can manually adjust in the Displays preferences.
Resolution mismatches:
When one monitor runs at 1080p and the other at 1440p or 4K, windows will appear to resize when you drag them between screens. There's no perfect fix for this. Your best option is to run both monitors at the same resolution if possible, or at least at the same scaling percentage so the size difference is less jarring.
Color and brightness differences:
Two monitors from different brands or even different production runs can look noticeably different. For casual use, adjusting brightness and contrast manually gets you close enough. For photo editing or design work, you'll want a hardware color calibrator.
Tools like the X-Rite i1Display or Datacolor SpyderX can match both panels accurately.
Refresh rate mismatches:
If one monitor runs at 60Hz and the other at 144Hz, mouse movement can feel inconsistent when crossing between them. Set both to the same refresh rate if your hardware allows it, or at least be aware that the difference is normal and not a defect.
Side-by-Side vs. Stacked vs. Ultrawide: Which Layout Actually Works for You
Side-by-side is the default choice for most people, and for good reason. It gives you a clear left-right division that works well for reading, coding, and having two full applications visible at once. But it's not the only option, and depending on your work, it might not be the best one.
Side-by-side works best when:
- You frequently compare two documents or data sources
- You want one screen dedicated to communication tools (email, Slack, video calls)
- You have a wide desk with enough depth for two panels at comfortable viewing distance
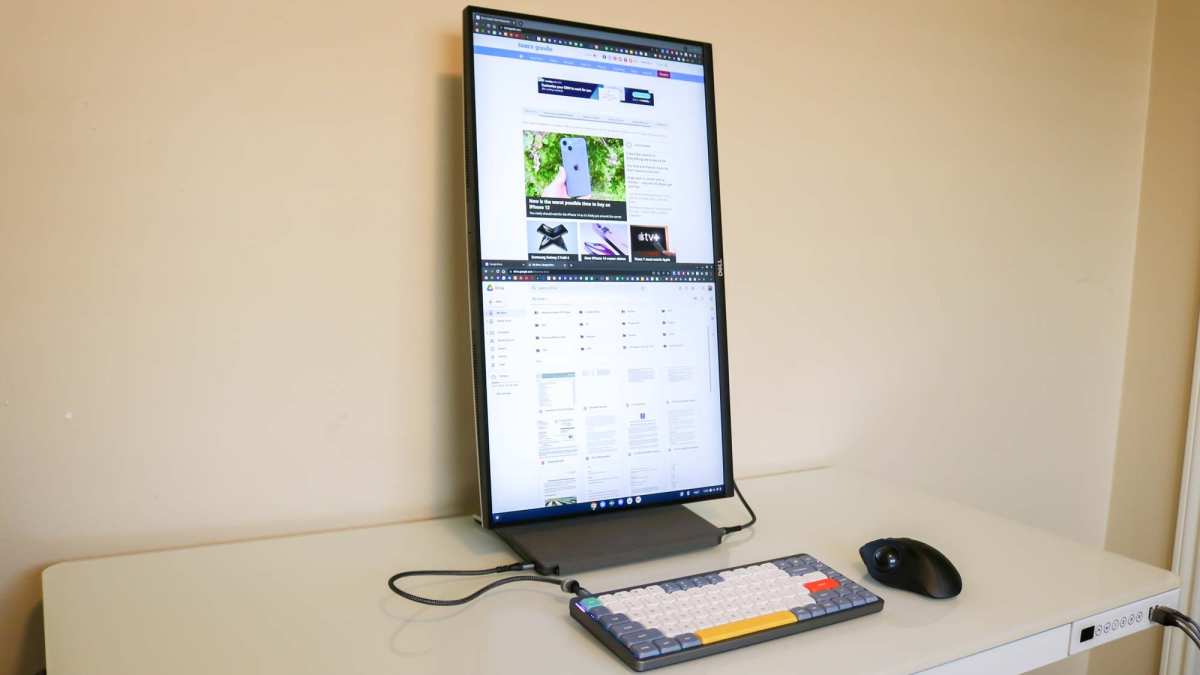
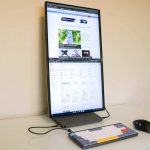
Stacked (one above the other) works best when:
- Your desk is narrow but has vertical space
- You primarily use one monitor as the main focus and the second for reference material
- You do portrait-oriented work like reading long documents or coding
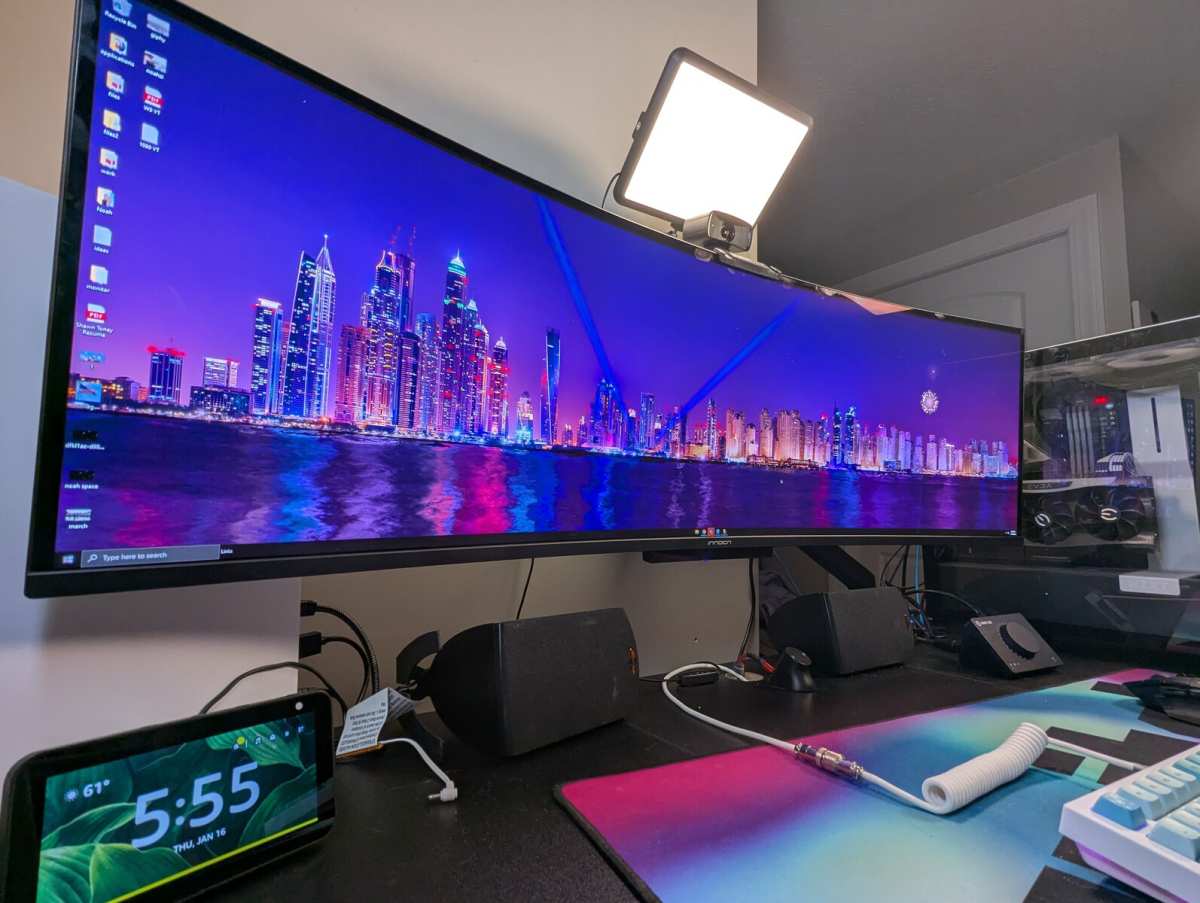
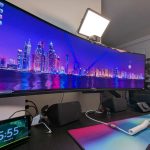
An ultrawide monitor works best when:
- You want seamless cursor movement without a bezel gap in the middle
- You work with timeline-based editing (video, audio)
- You prefer a single panel without the alignment headaches of two separate screens
Here's a quick comparison:
| Layout | Best For | Desk Space Needed | Bezel Gap |
|---|---|---|---|
| Side-by-side | General productivity, multitasking | Wide desk | Center |
| Stacked | Narrow desks, reference work | Deep desk | Center, vertical |
| Ultrawide | Immersive work, video editing | Moderate width | None |
Mounting, Stands, and Desk Setup
The physical arrangement of your monitors matters just as much as the software settings. A bad setup causes neck strain, wasted desk space, and cables everywhere.
Monitor arms vs. built-in stands:
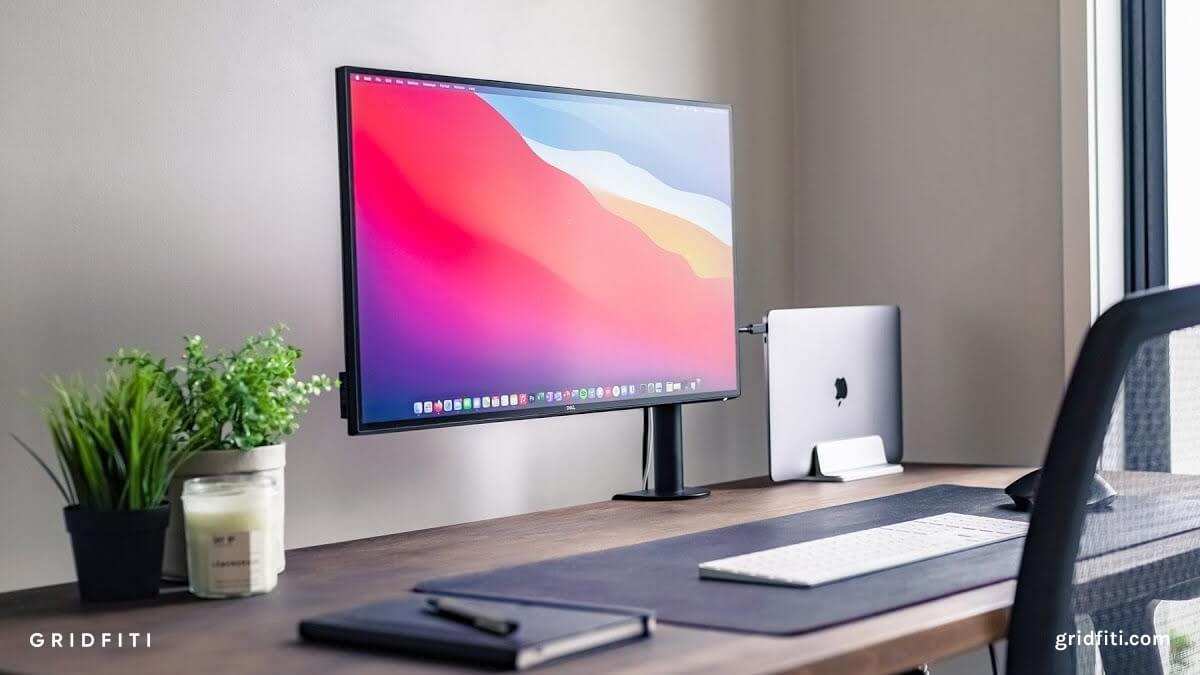
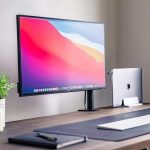
Most monitors come with a fixed or slightly adjustable stand. These work fine for a single screen but eat up desk space with dual setups. A dual monitor arm clamps to the edge of your desk and frees up the entire surface underneath.
Quality dual arms range from $30 for basic models to $200-plus for gas-spring arms with full articulation.
VESA mount basics:
Look at the back of your monitor. If you see four screw holes in a square pattern, it's VESA compatible. The most common patterns are 75x75mm (smaller monitors) and 100x100mm (24 inches and up).
Any monitor arm will specify which patterns it supports. Make sure your monitor's weight falls within the arm's rated capacity.
Ergonomic positioning:
The top of each screen should sit at or slightly below eye level. Your eyes should look slightly downward at the center of the panel, not up. If you're using a laptop alongside an external monitor, a laptop stand can raise the laptop screen to match the external display's height.
Cable management:
Two monitors means at least four cables (two video, two power). Route them through your monitor arm's cable channels if it has them. Otherwise, adhesive cable clips along the desk edge keep things tidy.
A power strip mounted under the desk gets power cables off the floor entirely.
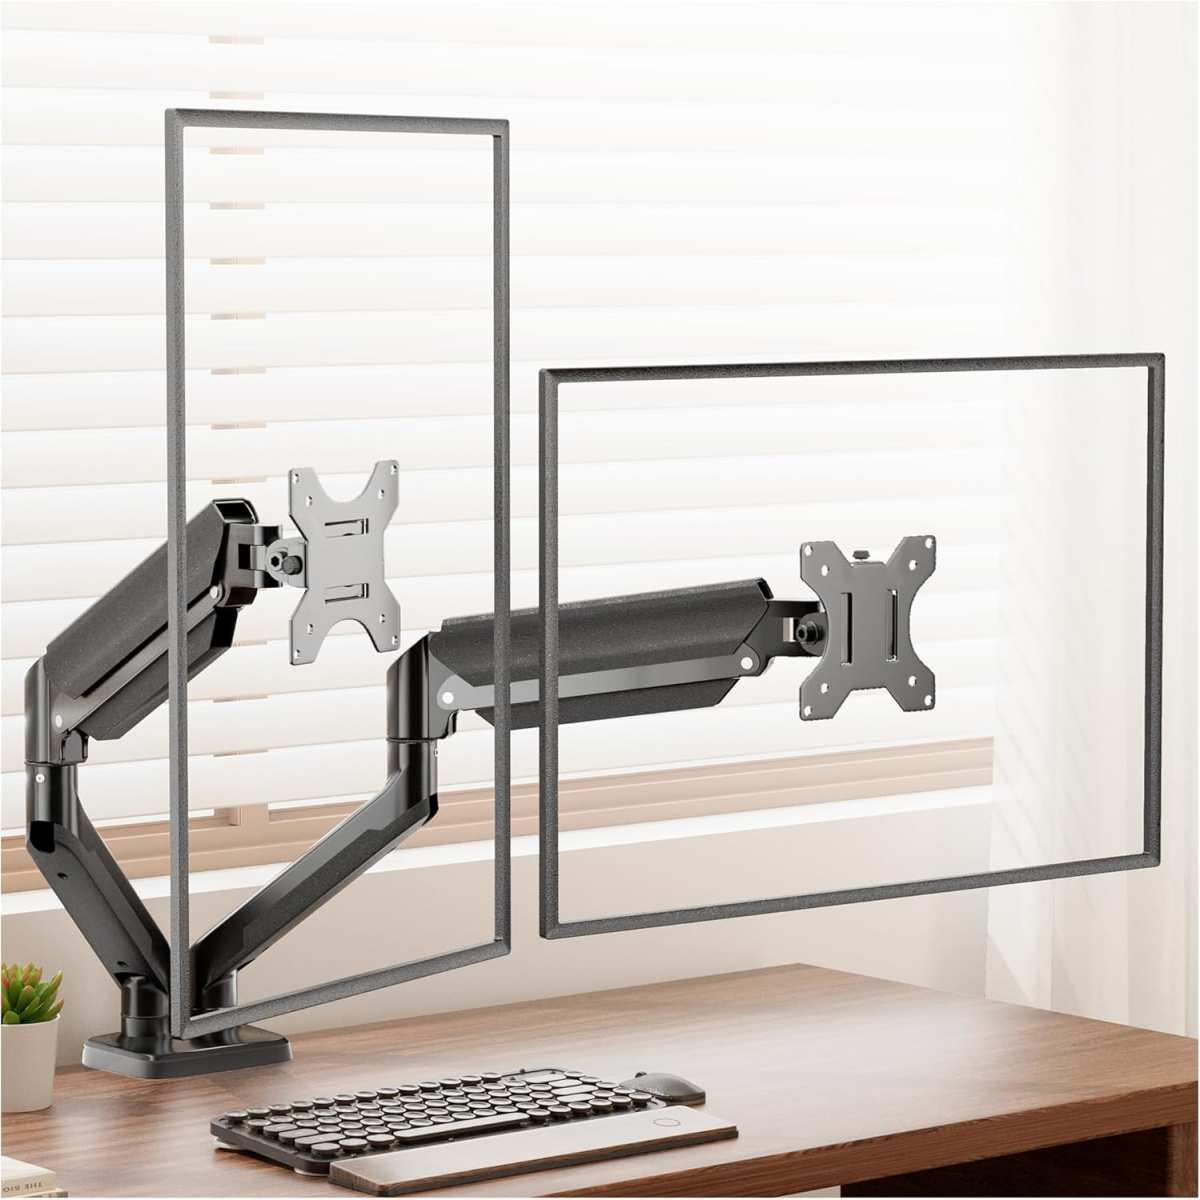
Image source: Bing (Web (fair-use with source credit))
Common Mistakes That Waste Your Time
After walking through hundreds of setups, the same mistakes come up over and over. Here's what to watch for.
Using the wrong cable for the job:
Plugging into your motherboard's video output instead of your graphics card is the most common one. If you have a dedicated GPU, the video ports on the motherboard are usually disabled. Always plug your monitors into the lower set of ports on a desktop.
Forgetting to update arrangement after moving monitors:
If you rearrange your desk or swap monitor positions, your OS still thinks the screens are in the old layout. Go back into display settings and re-drag the rectangles. It takes ten seconds and saves a lot of frustration.
Ignoring bezel offset:
If one monitor sits further back on your desk, the cursor won't transition naturally. In display settings, offset the rectangles vertically to match the physical depth difference. This is especially noticeable with thick-bezel monitors.
Mismatched refresh rates causing perceived stutter:
If your main monitor runs at 144Hz and your secondary at 60Hz, dragging windows across the boundary can look janky. This is a Windows limitation with mixed refresh rates. Setting both to 60Hz eliminates the issue, though you lose the high refresh on your primary.
Not setting a primary display:
Your OS needs to know which screen gets the taskbar, login screen, and new window defaults. Without this set, applications open on whichever monitor the system decides, and you'll spend time dragging windows over.
A Quick Note on Safety and Ergonomics
Dual monitors change how you sit and move. With more screen area, people tend to turn their heads more often or lean forward to see distant corners. Keep both monitors within a 35-degree angle from center to avoid repetitive neck strain.
Monitor arms need to be installed correctly. An arm that's overloaded or clamped loosely can tip or fall. Check the weight rating, tighten the clamp securely, and route cables so they don't pull on the monitor.
Electrical safety matters too. Two monitors plus a computer plus peripherals can draw significant power. Avoid daisy-chaining cheap power strips together.
A single quality surge protector with enough outlets is the safer approach.
Frequently Asked Questions
How long does it take to set up dual monitors?
The physical connection takes about five minutes. Configuring display settings and arranging the layout takes another five. If you need to install a monitor arm, add fifteen to twenty minutes for mounting and cable routing.
Can I use two different monitor sizes or resolutions?
Yes. Your operating system handles mixed setups fine. The cursor transition between screens may feel slightly off due to the size difference, but adjusting the arrangement in display settings fixes most of the awkwardness.
Do I need a dedicated graphics card for dual monitors?
Not necessarily. Many integrated GPUs support two external displays. Check your CPU or laptop specifications.
Intel's 11th-gen and newer integrated graphics typically support up to two external displays alongside the laptop screen.
Why is my second monitor not showing up?
Start with the basics. Check that the cable is fully connected at both ends. Make sure the monitor is on the correct input source.
Try clicking "Detect" in your display settings. If that fails, test the cable and monitor individually to isolate the faulty component.
Should I match both monitors for the best experience?
Matching monitors give you the most consistent experience. But it's not required. A 4K primary with a 1080p secondary works well for most tasks.
Just be prepared for some scaling and cursor transition quirks between the two panels.
Why Your Dual Monitor Setup Might Not Feel Right (Even When It Works)
You've connected both screens. The arrangement matches your desk. But something still feels off.
Usually it's one of three things.
The cursor jumps weirdly. Your rectangles in display settings don't match the physical edge where your monitors meet. Go back and re-align them so the shared border in software lines up with the actual bezel gap on your desk.
Text looks different on each screen. Mixed resolutions or scaling percentages cause this. A 4K monitor at 150% scaling next to a 1080p monitor at 100% scaling will make windows appear to resize when you drag them between screens. There's no perfect fix, but matching scaling percentages helps more than matching resolutions.
One screen looks washed out. Different panel types (IPS vs. TN vs. OLED) produce different color and contrast.
For casual use, manually adjusting brightness and color temperature gets them close enough. For color-critical work, hardware calibration is the only real solution.
Quick Answer: Start With Your Ports, Not Your Monitors
The single most important step happens before you touch a cable. Look at what video outputs your computer has. Then check what inputs your monitors accept.
The connection between those two points determines everything else.
If both your computer and monitors have DisplayPort, use DisplayPort cables. If one side only has HDMI, use HDMI for that connection. Avoid adapters when possible.
Each adapter is another potential point of failure.
Once connected, open your display settings, arrange the monitor rectangles to match your physical layout, set your primary display, and adjust scaling per screen. That's the entire process in under ten minutes for most setups.

Similar Posts