How to Connect Dual Curved Gaming Monitors
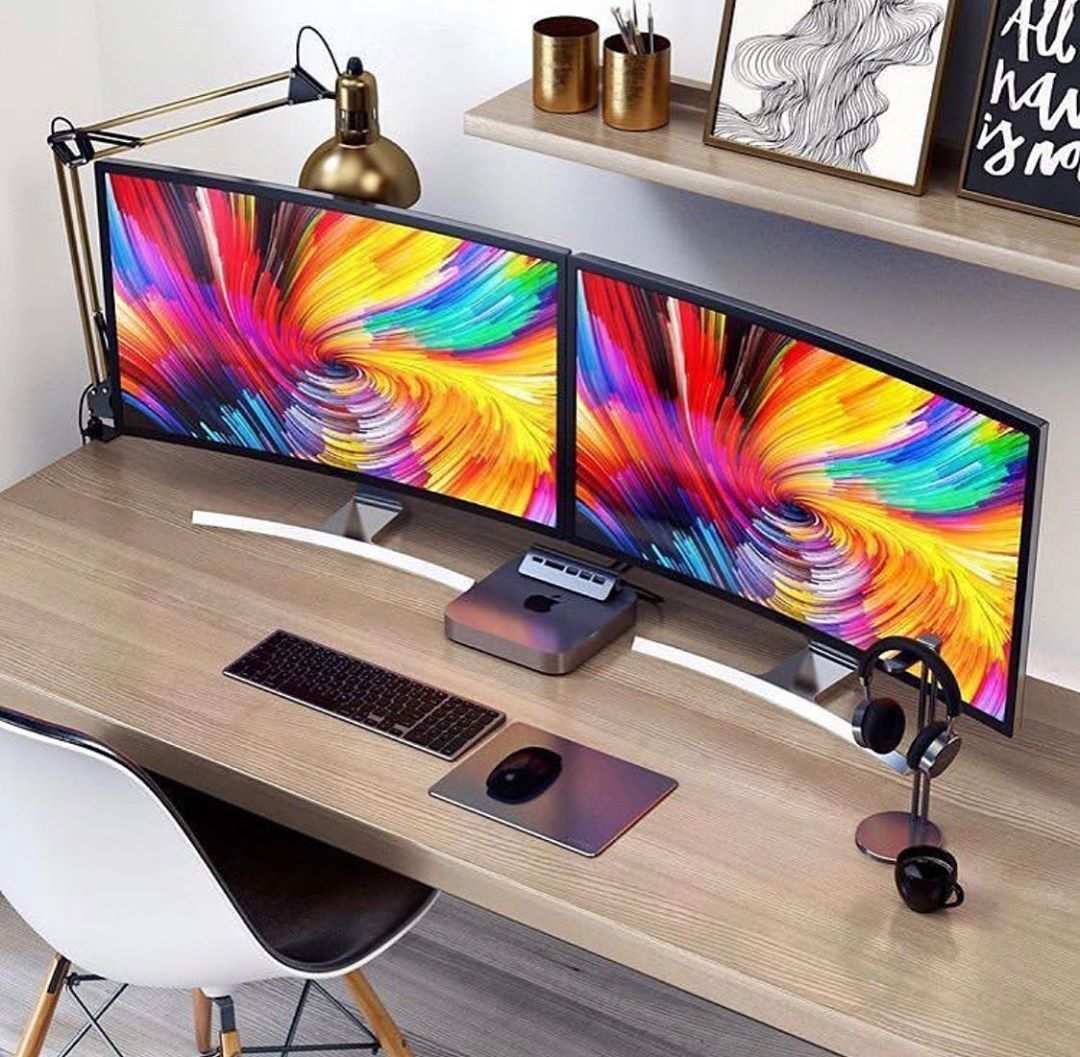
So you've picked up a pair of curved gaming monitors and you're ready to build that immersive setup you've been seeing online. The good news: connecting two curved panels isn't all that different from a standard dual monitor setup. The tricky part is knowing which cables, ports, and software settings actually unlock the experience you paid for.
Knowing how to connect dual curved gaming monitors the right way saves you from refresh rate caps, weird alignment headaches, and spending money on cables you don't actually need.
A few important details up front. As of 2026, most modern GPUs ship with at least two DisplayPort outputs and one HDMI port, and that single fact drives almost every decision in this guide. We'll walk through cable selection, connection types, NVIDIA Surround versus simple Windows spanning, and the bezel-to-curve alignment quirks that catch people off guard.
Once you finish reading, you'll know exactly which path matches your hardware.
Quick Answer
Connecting dual curved gaming monitors starts with checking your GPU's available outputs. You'll want two matching video ports, ideally DisplayPort 1.4 or HDMI 2.1 for high refresh rates. Use two separate cables, one per monitor.
Then configure your display mode in Windows, NVIDIA Control Panel, or AMD Software depending on whether you want spanned or extended desktops.
Why Dual Curved Monitors Need a Different Setup Approach
Dual curved monitors create an experience that's naturally more immersive than flat panels. But that curve introduces a few considerations that flat setups simply don't deal with. The physical angle of each monitor relative to your eyes affects how the bezels look at the seam, and getting that alignment dialed in matters more when the screen literally wraps around your field of vision.
From a connectivity standpoint, curved monitors use the same ports and cables as their flat counterparts. The curve itself doesn't change the signal. What changes is the user's tolerance for imperfection.
A slight color mismatch between two flat panels is easy to ignore. On a curved setup where both screens face you at an angle, that same mismatch becomes obvious because your eyes process the two panels as one continuous visual field.
There's also the question of use case. If you're just extending your desktop for productivity, the setup is straightforward. If you're spanning a single game across both screens, you're dealing with bezel correction, potential HUD placement issues, and the reality that many games don't natively support a 3840×1080 or 5120×1440 resolution without some tweaking.
Understanding your end goal before you start connecting cables saves a lot of frustration later.
First Things First: Check What Your GPU Actually Has
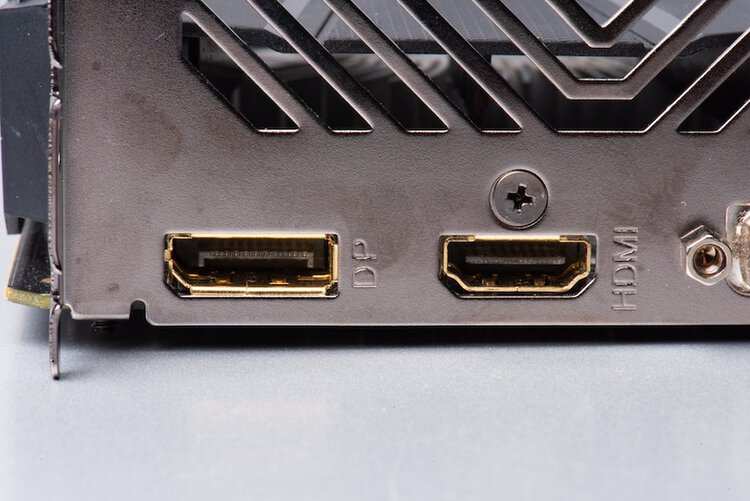
Before you buy a single cable, look at the back of your computer. You need to know exactly what video outputs your GPU provides, because this determines everything else. Most modern graphics cards from NVIDIA and AMD ship with a mix of DisplayPort and HDMI ports, but the specific combination varies by model and manufacturer.
Here's a quick breakdown of what you'll typically find on current-generation cards as of 2026:
| GPU Tier | Typical Outputs | Notes |
|---|---|---|
| Entry-level (e.g., RTX 4060, RX 7600) | 2x DisplayPort 1.4a, 1x HDMI 2.1 | Enough for dual monitors at 1440p 144Hz |
| Mid-range (e.g., RTX 4070, RX 7800 XT) | 3x DisplayPort 1.4a, 1x HDMI 2.1 | Plenty of headroom for dual high-refresh setups |
| High-end (e.g., RTX 4090, RX 7900 XTX) | 3x DisplayPort 1.4a, 1x HDMI 2.1 | Same port count, but more GPU power to drive dual 4K |
| Previous gen (RTX 30-series, RX 6000) | Varies, often DP 1.4a + HDMI 2.0/2.1 | Check HDMI version if targeting 4K high-refresh |
The key takeaway: you need one dedicated output per monitor for the best experience. Trying to split a single output between two monitors limits both panels and introduces latency. If your GPU only has one DisplayPort and one HDMI, you can still run dual monitors, but you'll want to use both rather than daisy-chaining unless your monitors explicitly support DisplayPort MST.
Choosing the Right Cables (This Is Where Most People Go Wrong)
Cable selection sounds simple until you realize that the wrong cable silently caps your refresh rate or limits your resolution. That old HDMI cable sitting in your drawer might technically "work," but it could be forcing you to run 1440p at 60Hz instead of the 144Hz you paid for.
Here's the practical breakdown:
DisplayPort 1.4 supports up to 4K at 120Hz or 1440p at 240Hz with Display Stream Compression (DSC). For dual 1440p 144Hz monitors, this is the sweet spot cable. Most monitors and GPUs from 2020 onward support DP 1.4.
HDMI 2.1 supports up to 4K at 120Hz without DSC and handles 1440p at 240Hz comfortably. If your monitor only has HDMI 2.0, you'll hit a ceiling at 4K 60Hz or 1440p 144Hz.
USB-C / Thunderbolt can carry a DisplayPort signal through Alt Mode. Some curved gaming monitors include USB-C input, which is handy for laptop setups. Just confirm the port supports video output, not just data and charging.
The rule of thumb that actually matters: match your cable to the highest spec that both your GPU and monitor support. If both ends are DP 1.4, use a DP 1.4 cable. If one end is HDMI 2.1 and the other is DP 1.4, use an HDMI 2.1 cable on the HDMI side and a DP 1.4 cable on the DP side.
Don't use a single adapter cable to convert between them unless you have to, because passive adapters can introduce signal issues at higher bandwidths.
Avoid buying the cheapest cable off a random listing. Certified cables from brands like Cable Matters or the ones included with your monitor are reliable. Manufacturer specifications indicate that uncertified cables sometimes fail to maintain stable signals at their rated bandwidth, which shows up as flickering or intermittent blackouts.
Daisy Chaining vs. Direct GPU Connections: Which Path Works for You
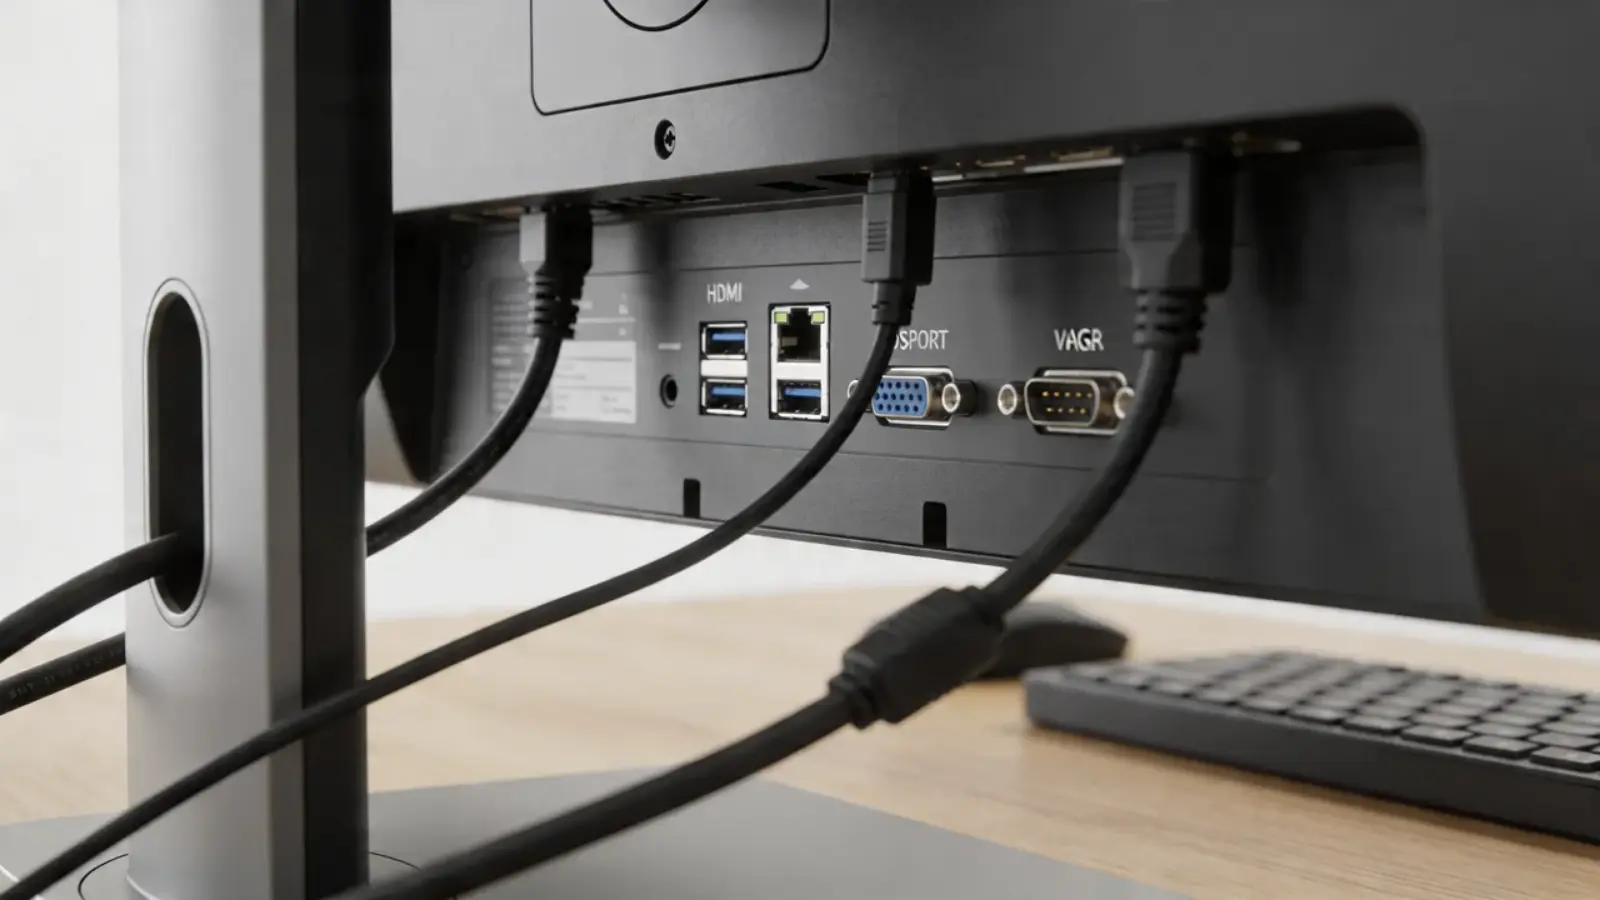
Daisy chaining lets you connect one monitor to your GPU, then connect the second monitor to the first monitor instead of running a separate cable back to your GPU. It uses DisplayPort Multi-Stream Transport (MST), and it sounds elegant on paper. In practice, it has real limitations for gaming setups.
Direct GPU connection means each monitor gets its own cable running straight to a separate port on your graphics card. This is the recommended approach for gaming. Each monitor gets full bandwidth, adaptive sync works reliably, and there's no added latency from passing a signal through an intermediary device.
Daisy chaining via MST works well for productivity setups where you're running office applications, browsers, and video playback. It reduces cable clutter and is genuinely useful when your GPU has limited outputs. But for gaming, the downsides pile up.
Many games don't handle MST-spanned displays well, G-Sync and FreeSync support becomes inconsistent, and you're limited by the total bandwidth of a single DisplayPort output shared between two monitors.
Here's a simple decision framework:
- If you have enough GPU outputs (at least two): run two separate cables. Done.
- If your GPU only has one usable output: daisy chaining via MST is your option, but verify both monitors support DP MST output (check the specs sheet for "DP out" or "MST hub").
- If you're using a laptop with one video output: a USB-C MST hub can drive two monitors, but treat this as a productivity solution, not a gaming one.
For curved gaming monitors specifically, direct connections are even more important. These panels are usually running at high refresh rates with adaptive sync enabled, and both features work best when each monitor has a dedicated pipeline to the GPU.
Step-by-Step: Connecting Your Dual Curved Monitors
Here's the full process from start to finish. Follow these steps in order and you'll avoid the most common setup headaches.
Step 1: Power down your PC. Not strictly required, but it prevents detection issues and protects ports during connection.
Step 2: Connect Monitor 1 to your GPU. Use your best cable (DP 1.4 or HDMI 2.1) and plug into the primary DisplayPort on your GPU. This will be your main display.
Step 3: Connect Monitor 2 to your GPU. Use a second cable of the same spec, plugged into a different GPU output. If you have three DisplayPorts, use DP1 and DP2.
Step 4: Power on both monitors, then boot your PC. Let Windows detect both displays before making any changes.
Step 5: Open Windows Display Settings. Right-click the desktop, select Display Settings. You should see two numbered displays. Drag them to match their physical arrangement on your desk.
For curved monitors, align them so the inner bezels are adjacent.
Step 6: Set the correct refresh rate for each monitor. Click each display in the settings, scroll to Advanced Display, and select the maximum refresh rate your panel supports. Windows sometimes defaults to 60Hz even on 144Hz panels.
Step 7: Choose your display mode. Press Windows + P to select between Duplicate, Extend, or Second Screen Only. For gaming across both screens, you'll want Extend first, then configure spanning in your GPU software.
Step 8: Configure NVIDIA Surround or AMD Eyefinity if spanning games. This is optional and only needed if you want a single game to stretch across both monitors. More on this in the next section.
Step 9: Adjust physical positioning. Angle each curved monitor so the inner edges face directly toward your eyes. Most curved monitors look best at a 15 to 20 degree inward angle per panel.
Step 10: Test and verify. Open a game, check that both screens display correctly, confirm your refresh rate is active (use the monitor's built-in OSD), and verify adaptive sync is engaged if applicable.
That's the core process. The details get more specific depending on whether you're spanning or extending, which is what we'll cover next.
Spanning vs. Extending: How You Use Your Setup Changes Everything
Once both monitors are connected and detected, you need to decide how they'll function. This choice affects everything from how games render to how you manage windows. There are two main modes, and each serves a different purpose.
Extended desktop treats both monitors as separate screens. You drag windows between them, keep your taskbar on one display, and run a game on one monitor while keeping Discord or a browser open on the other. This is the default Windows behavior and what most people use day to day.
Spanned desktop (called NVIDIA Surround on NVIDIA GPUs and AMD Eyefinity on AMD GPUs) combines both monitors into one giant resolution. A game sees a single display at 3840×1080 (two 1920×1080 panels) or 5120×1440 (two 2560×1440 panels). The game renders across both screens as if they're one ultrawide monitor.
Here's the honest truth about spanning for gaming. It looks incredible in supported titles, especially racing games, flight simulators, and first-person shooters. But it also puts the dead center of your view right at the bezel seam.
Some players love the immersion. Others find the bezel sitting directly crosshair-center to be a dealbreaker. It's a personal preference, and you should try both modes before committing.
For productivity, extended desktop is almost always the better choice. Spanning stretches your taskbar across two screens and makes window management awkward. Keep spanning reserved for gaming sessions.
Matching Color, Brightness, and Refresh Rate Across Both Panels
Two monitors sitting side by side should look like they belong together. When one panel runs slightly warm and the other runs cool blue, or one is noticeably brighter than the other, the whole setup feels off. Matching them takes a few minutes and makes a real difference.
Refresh rate matching is the easiest fix. Open Windows Display Settings, click each monitor individually, and confirm both are set to their maximum refresh rate. If one monitor is stuck at 60Hz while the other runs at 144Hz, you're likely dealing with a cable limitation or a port that doesn't support the higher rate.
Swap cables and check again.
Color and brightness matching requires a bit more effort. Start by setting both monitors to the same picture mode (sRGB or a standard preset works best). Then adjust brightness by eye using a white background open across both screens.
If your monitors support hardware calibration, that's the ideal route. Otherwise, use the on-screen display (OSD) menus to tweak RGB gains until both panels look consistent.
For G-Sync and FreeSync setups, confirm adaptive sync is enabled in both your GPU control panel and each monitor's OSD. NVIDIA Control Panel has a "Set up G-Sync" section under Display. AMD Software has a similar toggle under the Display tab.
Both monitors need to support the same adaptive sync standard for a trouble-free experience.
The Curved Monitor Alignment Problem Nobody Talks About
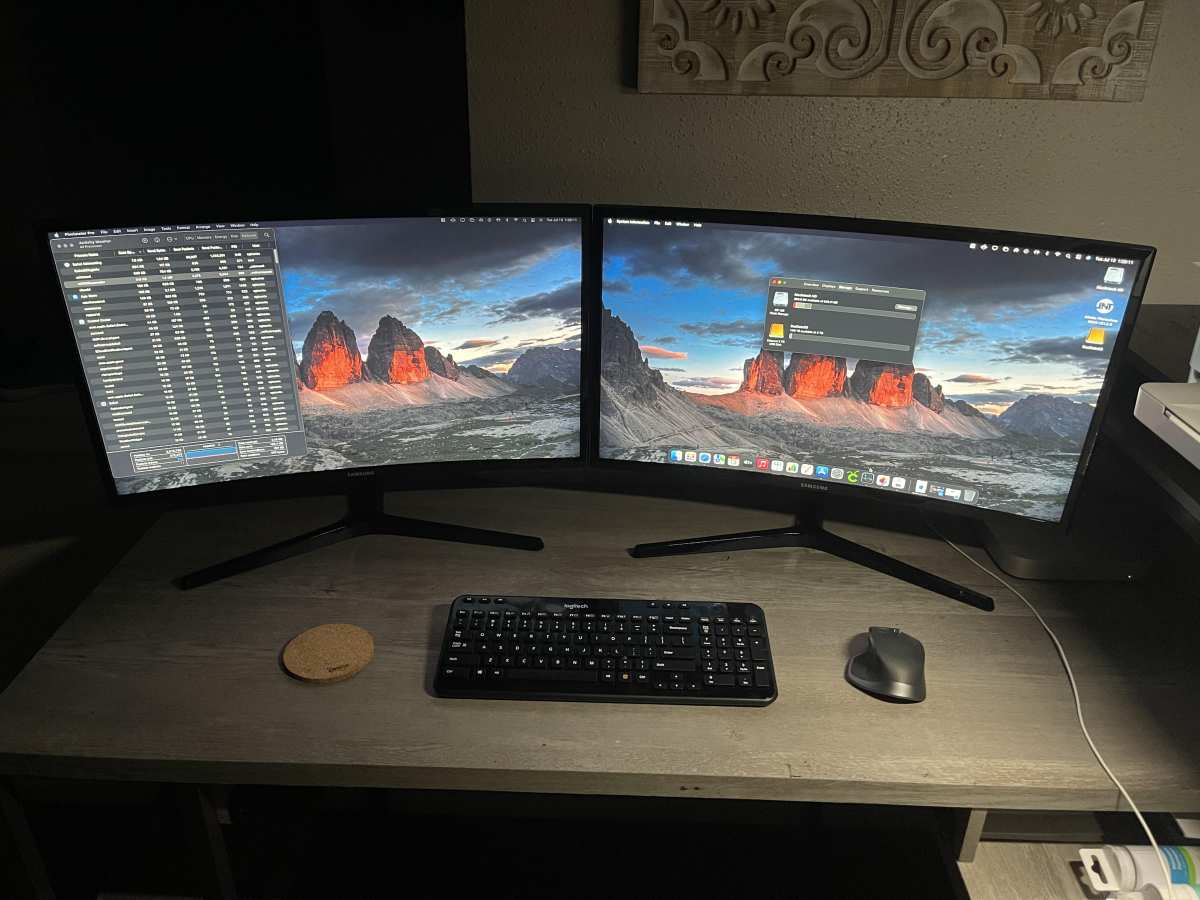
Here's something that catches almost everyone off guard with dual curved setups. The bezels don't sit flat against each other the way they do on flat monitors. Because each panel curves away from you at the edges, the inner bezels naturally angle outward, creating a visible V-shaped gap at the center seam.
This isn't a defect. It's just geometry. But it affects how the image looks at the join, especially in spanned gaming mode where content crosses from one panel to the other.
Objects passing through the seam will appear to bend slightly at the bezel line.
What actually helps:
- Angle each monitor inward so the inner bezels are as close to your face as possible. This minimizes the visible gap.
- Use a dual monitor arm with individual articulation rather than fixed stands. Arms let you fine-tune the angle of each panel independently.
- If your monitors have thin bezels (under 5mm on the inner edge), the gap is less noticeable. Thick bezels amplify the V-shape.
- For productivity, this alignment issue is barely noticeable. For sim racing or flight sims where the horizon line crosses the seam, it matters more.
Some users add a small piece of black gaffer tape across the inner bezels to visually blend the seam. It's a low-tech fix, but aggregate user feedback suggests it does help reduce the visual distraction during gaming.
Common Mistakes That Kill the Dual Curved Experience
After covering the right way, let's call out the mistakes that keep showing up in forum threads and support questions. Avoiding these will save you hours of troubleshooting.
Using mismatched cables. One DP 1.4 cable and one HDMI 2.0 cable on two identical monitors means one panel might cap at 60Hz while the other runs at 144Hz. Use two cables of the same spec.
Forgetting to set the refresh rate in Windows. Plugging in a 144Hz monitor doesn't automatically enable 144Hz. Windows often defaults to 60Hz. You have to manually select the higher rate in Display Settings.
Running both monitors off a single GPU output via a splitter. Splitters duplicate the signal, they don't extend it. You get the same image on both screens, not a dual desktop. Use separate GPU outputs.
Ignoring the monitor's built-in OSD settings. Many curved gaming monitors have refresh rate toggles, adaptive sync toggles, and overdrive settings buried in their on-screen menus. If something looks off, check the OSD before assuming it's a cable or GPU issue.
Placing the monitors too far back. Curved panels are designed for a specific viewing distance, usually between 2 and 4 feet depending on the curvature rating. Sit too far away and the curve effect diminishes. Sit too close and the bezel seam becomes overwhelming.
Assuming all games support spanned resolutions. Many titles need manual configuration file edits or third-party tools like Flawless Widescreen to work properly at 3840×1080 or 5120×1440. Check the game's community forums before assuming it'll just work.
Dual Curved vs. Single Ultrawide vs. Super Ultrawide: Which Setup Wins
If you're still deciding on your setup, here's how the main options stack up for gaming in 2026.
| Setup | Resolution | Bezel at Center | Game Support | Price Range |
|---|---|---|---|---|
| Dual 27" 1440p curved | 5120×1440 (spanned) | Yes, at seam | Good, some tweaking needed | $400–$800 total |
| Single 34" ultrawide curved | 3440×1440 | No bezel | Very good | $400–$900 |
| Single 49" super ultrawide curved | 5120×1440 | No bezel | Very good | $800–$1,500 |
| Dual 32" 4K curved | 7680×2160 (spanned) | Yes, at seam | Limited, very GPU-heavy | $1,000–$2,000 total |
Dual curved monitors give you more total screen real estate and the flexibility to use them as separate displays for work. The tradeoff is that bezel seam in the middle during spanned gaming.
A single super ultrawide eliminates the bezel problem entirely and matches the same effective resolution as dual 1440p panels. But you lose the ability to run one screen as a completely separate display for productivity tasks.
For sim racers and flight sim enthusiasts, dual curved panels often win because the wrap-around effect of two angled panels feels more immersive than a single flat ultrawide. For competitive FPS players, a single panel with no bezel at crosshair-center is usually the better call.
Real-World Setups: What Works for Different Types of Gamers
Different gaming genres benefit from different configurations. Here's what tends to work best based on community feedback and practical experience.
Sim racers and flight sim players get the most from dual curved panels in spanned mode. The wrap-around effect mimics a cockpit environment naturally. Titles like iRacing, Assetto Corsa, Microsoft Flight Simulator, and DCS World handle 3840×1080 or 5120×1440 well with minimal tweaking.
The bezel sits to the side of your view rather than dead center, which is less distracting.
Competitive FPS players usually prefer extended desktop mode. Run the game on one monitor at its native resolution with the crosshair centered on a single panel. Use the second monitor for Discord, stream overlays, or system monitoring.
Spanning an FPS across two screens puts the bezel right where your crosshair should be.
MMO and RPG players fall somewhere in the middle. Spanning works beautifully for exploration and immersion. But many MMOs anchor UI elements to screen edges, which can push critical HUD information toward the bezel seam.
Extended mode with the game on one panel and a wiki or guide on the other often works better.
Streamers almost always use extended desktop. Game capture on one monitor, OBS and chat on the other. Trying to span across both panels makes capture setup unnecessarily complicated.
Quick Decision Guide: Your Situation, Your Solution
Use this to find your path quickly.
You have a modern GPU with 2+ DisplayPort outputs and want to game across both screens:
Use two DisplayPort 1.4 cables. Enable NVIDIA Surround or AMD Eyefinity. Accept the bezel at center.
Best for sims and immersive single-player games.
You have a modern GPU and want one screen for gaming, one for everything else:
Use two matching cables. Keep extended desktop mode. No GPU spanning software needed.
Best for competitive gaming, streaming, and general use.
Your GPU only has one DisplayPort and one HDMI output:
Use both. One monitor on DP, one on HDMI. If your monitors only accept DisplayPort, you'll need an active HDMI-to-DisplayPort adapter on one end.
You're connecting a laptop with a single USB-C video output:
A USB-C MST hub can drive two monitors, but treat this as a productivity setup. For gaming, you'll want a dedicated GPU driving each monitor directly.
You're deciding between dual curved monitors and a single ultrawide:
Choose dual if you value separate screen flexibility for work. Choose a single ultrawide if you want zero bezel interference during gaming and simpler cable management.
Frequently Asked Questions
Can I use two different curved monitor models together?
You can, but matching models is strongly recommended. Different panels may have different color response, brightness curves, and refresh rate capabilities. Mixing a 144Hz panel with a 165Hz panel works in extended mode, but spanning them in Surround or Eyefinity forces both to run at the lower refresh rate.
Do I need a monitor arm for dual curved screens?
You don't need one, but a dual monitor arm makes alignment significantly easier. Fixed stands that come in the box often don't let you angle the panels inward enough to minimize the bezel gap. An articulated arm with VESA 100x100mm mounts gives you full control over tilt, swivel, and height.
Will running two 1440p 144Hz monitors tank my GPU?
It depends on what you're running. Desktop use and video playback are fine on any modern GPU. Gaming across both panels at 5120×1440 effectively doubles the pixel load compared to a single 1440p display.
For that workload, a mid-range GPU like an RTX 4070 or RX 7800 XT is a reasonable starting point.
Does daisy chaining work with G-Sync or FreeSync?
It's inconsistent. Some monitor and GPU combinations handle adaptive sync over MST without issues. Others drop to fixed refresh rates or introduce stuttering.
For a reliable adaptive sync experience, direct GPU connections to each monitor remain the recommended approach.
What curvature rating works best for dual setups?
1000R and 1500R panels curve aggressively and create a strong wrap-around effect when paired. 1800R and 3800R panels are gentler and have a wider sweet spot for viewing distance. For dual setups where the panels angle inward, 1500R tends to be the popular middle ground among gaming communities.
How long does the full setup take?
The physical connection takes about 10 minutes. Configuring display settings, refresh rates, and spanning software adds another 15 to 30 minutes. Color matching and physical alignment adjustments can take longer if you're particular about the result.
Budget about an hour for a complete, dialed-in setup.

Similar Posts