Can Mini LED Monitor Be Repaired
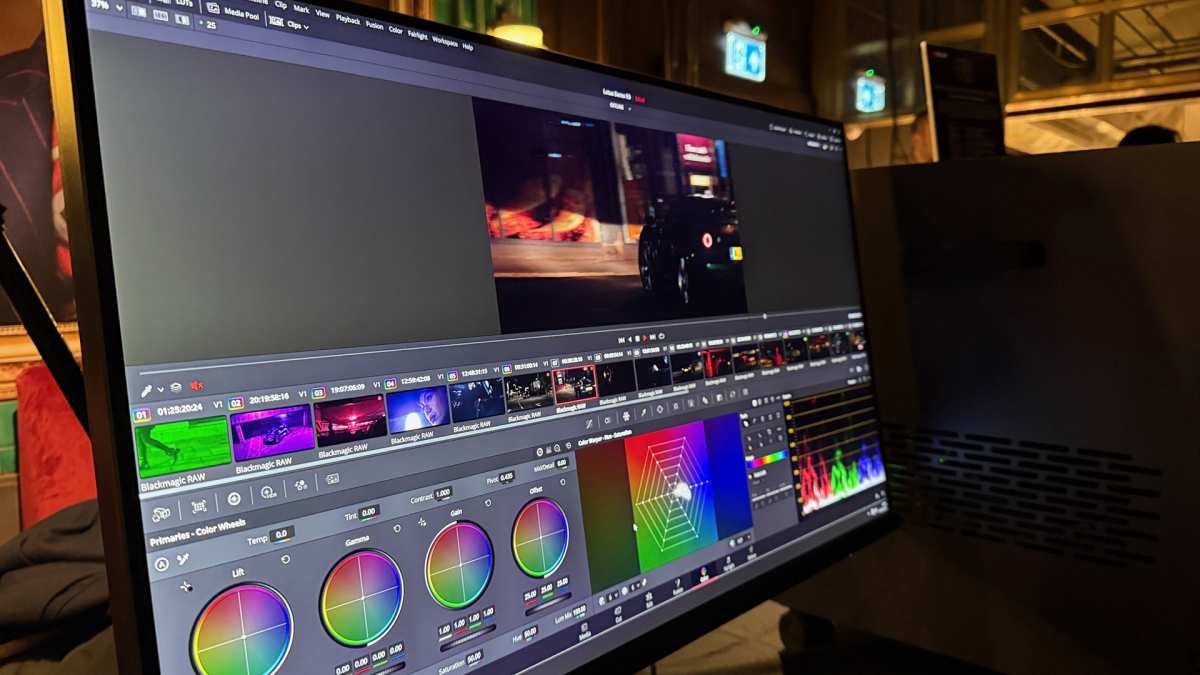
Yes, a Mini LED monitor can be repaired, but it depends entirely on what's broken. Power supply board failures and backlight driver issues are typically fixable for $20 to $80 in parts. A cracked LCD panel or shattered backlight layer, on the other hand, often costs more to replace than buying a whole new monitor.
The repairability comes down to identifying the specific fault and matching the fix to the value of the monitor itself.
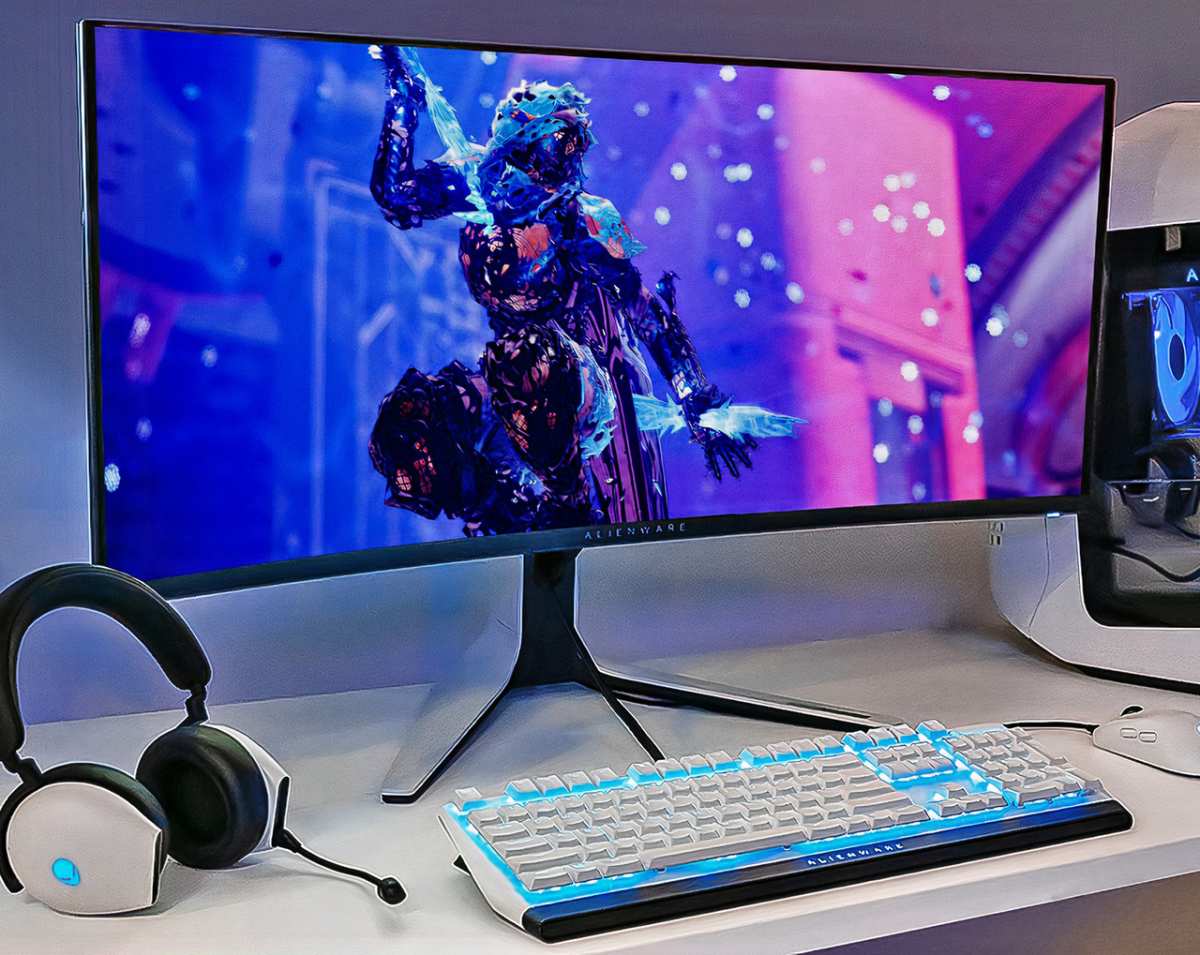
Image source: Bing (Web (fair-use with source credit))
So, can a Mini LED monitor be repaired? The short answer is yes, but whether it should be is a completely different question. The fix depends on what's broken, what the monitor is worth, and whether you're comfortable opening it up or paying someone who is.
Mini LED monitors use a full array of tiny LED zones behind an LCD panel, which gives you that gorgeous HDR brightness and deep contrast. But all those extra components, the power supply board, the backlight driver, the main logic board, and the panel itself, mean more potential failure points than a basic LED monitor. Some of those failures cost almost nothing to fix.
Others basically mean the monitor is done.
Let's walk through how to figure out which camp your monitor falls into.
What's Actually Broken? Identifying Your Monitor's Problem
Before you swap a single screw, you need to narrow down what's actually failing. Mini LED monitors fail in a handful of predictable ways, and the symptoms will point you toward the culprit pretty reliably.
Here's the behavior-to-fault mapping that matters:
| Symptom | Likely Fault | Repair Difficulty | Typical Cost |
|---|---|---|---|
| No power at all, no LED light | Power supply board (PSU) | Easy to moderate | $15–$50 parts |
| Power LED on, black screen, image faintly visible with flashlight | Backlight driver board or LED array | Moderate to hard | $20–$100 parts |
| Flickering screen or intermittent brightness | PSU capacitors or backlight driver | Easy to moderate | $15–$60 parts |
| Bright blooms or halos around objects (excessive blooming) | Firmware or local dimming algorithm | Easy (software fix) | Free via firmware update |
| Dead or stuck pixels | LCD panel physical defect | Not realistically repairable | Panel replacement only |
| Cracked screen or visible panel damage | LCD panel itself | Hard, often not worth it | $150–$600+ parts |
| Color banding or uniformity issues | Panel or firmware issue | Varies | Free to expensive |
| Monitor powers on then shuts off | PSU failure or short on main board | Moderate | $20–$80 parts |
The flashlight test is your single most useful diagnostic. If you turn the monitor on in a dark room and shine a flashlight at an angle onto the screen, and you can see a faint image (desktop icons, menus), then the logic board and panel are working. The backlight is dead.
That's the most common Mini LED failure, and it's usually the backlight driver board or a section of the LED array.
If you see nothing at all, not even a faint image, the problem is further upstream. Power supply board or main logic board.
When Repair Makes Sense (And When It Doesn't)
Here's where the math actually matters. A Mini LED monitor represents a significant investment. Models with 576 or 1152 dimming zones, like the ASUS ROG Swift PG32UQX or the Acer Predator X32 FP, can run $800 to $2,000-plus as of 2026.
On a monitor like that, spending $150 to $300 on a professional repair is a no-brainer.
But a budget Mini LED like the KTC M27T20 or the Cooler Master Tempest GP27U, which sells for $300 to $500, has a totally different equation. Once repair costs approach half the price of a new unit, replacement starts looking smarter.
Use this quick decision framework:
Repair is clearly the right call when:
- The monitor is under warranty (always go through the manufacturer first)
- The failure is a swappable board and the monitor retails above $600
- You can source the exact replacement part for under $50
- It's a premium model with 576 zones or more where panel matching matters
Replacement is probably the smarter move when:
- The LCD panel itself is physically damaged
- The monitor is a budget model under $400
- Parts are discontinued or unobtainable
- You'd need to replace more than one board at the same time
- The monitor is more than 5 years old and showing multiple age-related issues
The gray zone is where it gets tricky. A midrange $500 monitor with a dead backlight driver board, repairable for $40 in parts, makes sense if you're handy. That same monitor with a cracked panel probably isn't worth the $250-plus replacement cost plus labor.
When Repair Makes Sense (And When It Doesn't)
Now that you've identified the likely fault, let's categorize the repair paths by what's realistic.
Scenario 1: Power Supply Board Failure
This is your best-case scenario. The PSU board converts AC power from the wall into the DC voltages the monitor needs, typically 12V and 5V rails. When capacitors bulge, voltage regulators fail, or a power surge takes it out, the monitor dies.
Symptoms range from "completely dead" to "fliks on for a second then dies."
The fix is straightforward. Identify the monitor's internal PSU model number, order a replacement board, swap it in. For popular models like the LG 27GP950-B or Samsung Odyssey Neo G8, replacement boards are commonly available for $15 to $50 from electronics parts suppliers.
Scenario 2: Backlight Driver Board Failure
Mini LED monitors push a lot of current through hundreds of tiny LED zones, and the backlight driver board manages all of that. When it fails, you get a black screen with a working image underneath, which the flashlight test confirms.
Replacement driver boards for Mini LED monitors are pricier than standard LED boards, typically $25 to $100, because they manage zone-by-zone current control. Sourcing the exact board matters; you need one that matches your panel's zone configuration.

Image source: Wikimedia Commons / tormentor4555 (Note: representative industrial electronics board image; monitor PSU boards are physically smaller but share similar component architecture)
Scenario 3: Firmware or Software-Related Dimming Issues
Not all Mini LED problems are hardware failures. Excessive haloing, flickering in HDR mode, or zones behaving erratically can stem from firmware bugs. Manufacturers like ASUS and Samsung have pushed firmware updates specifically to refine FALD behavior on models like the PG27UQR and Odyssey Neo G7.
Before opening anything, check the manufacturer's support page for your exact model number. A firmware update can sometimes eliminate blooming complaints completely, and it costs nothing.
Scenario 4: Physical Panel Damage
Here's where repair stops making practical sense for most people. A cracked LCD layer, shattered glass, or a dead column driver bonded directly to the glass means the entire panel assembly needs replacement.
The issue is twofold. First, replacement panels for Mini LED monitors are expensive, often $150 to $600, and they're model-specific. You can't just drop in any panel; the eDP connector, mounting bracket, backlight connector, and zone count all need to match.
Second, the labor involved in a full panel swap on a Mini LED monitor is extensive. You're removing every component from the old frame and transferring it to a new one, which takes 2 to 4 hours even for experienced techs.
If your panel is damaged and the monitor is a budget or midrange model, you're almost always better off replacing the whole unit.
The Three Repair Paths: DIY, Professional, or Warranty
You've got options. Pick the path that matches your skill level, budget, and timeline.
Path 1: Warranty Service (Always Try First)
If your monitor is still covered, don't open it. A single broken seal or missing screw cover can void your warranty. Dell, ASUS, LG, and Samsung all offer 1 to 3 years of limited warranty coverage as of 2026.
Contact the manufacturer's support line with your serial number and a description of the problem. They'll typically do one of two things: ship you a replacement board you install yourself (some manufacturers actually send boards to end users now), or arrange a whole-unit replacement through their RMA process.
The downside is turnaround time. Expect 5 to 14 business days depending on parts availability and your location.
Path 2: DIY Repair at Home
If you're comfortable with a screwdriver and a multimeter, board-level repair is very doable. You don't need to solder anything for most fixes; the boards are modular and socketed.
Here's your DIY toolkit:
- Phillips #1 and #2 screwdrivers (most monitors use Phillips heads)
- Plastic spudger or guitar pick (for prying bezels without cracking them)
- Anti-static wrist strap (to prevent ESD damage to the logic board)
- Digital multimeter (for checking voltages on the PSU output)
- Phillips #00 for smaller internal screws

Image source: Wikimedia Commons / James Bastow (CC BY-SA) (A digital multimeter is your primary diagnostic tool for confirming whether the PSU board is outputting correct voltage)
Step-by-step diagnostic process:
- Confirm the symptom. Power on the monitor and note exactly what happens. No light? Flickering? Black screen with sound? Write it down before you open anything.
- Check the power cable and outlet. I know it sounds basic, but a faulty cable or tripped surge protector accounts for a surprising number of "dead monitor" diagnoses. Try a known-working cable and a different outlet.
- Perform the flashlight test. Turn the monitor on in a dark room. Shine a flashlight at an angle across the screen. If you can see your desktop faintly, the backlight is out but the panel and logic board are alive.
- Open the monitor. Remove the stand first. Then remove the rear screws (some are hidden under rubber pads or the stand mount). Use a plastic spudger to pop the bezel clips around the edge. Work slowly and evenly. These clips are fragile.
- Visually inspect the boards. Look for bulging or leaking capacitors (they should have flat tops), burn marks, or melted connectors. A bad capacitor is the most common failure on PSU boards and is easy to spot once you're in there.
- Test the PSU output with your multimeter. Set your meter to DC voltage. Find the output connector going to the main board. Measure the voltage on each pin against the silkscreen labels on the board. You should see stable 12V and 5V readings. If the voltages are absent, low, or unstable, the PSU is dead.
- Inspect ribbon cables. Reseat the eDP cable connecting the main board to the panel, and the backlight cable connecting the driver board to the panel. A loose connection can mimic a hardware failure.
- Source the exact replacement board. Find the part number printed on the failed board and order a matching replacement. Sites like Encompass, eBay, and AliExpress carry most boards for popular models.
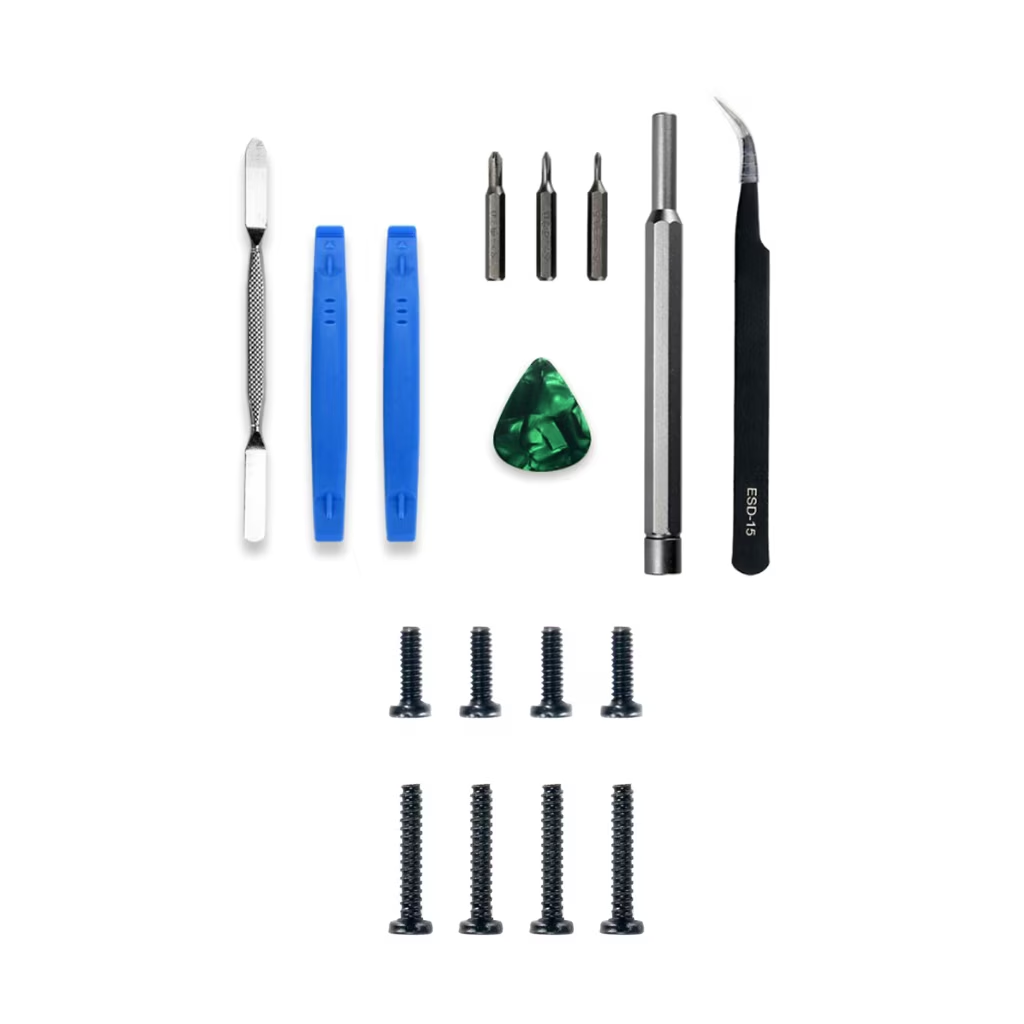
Image source: Bing (Web (fair-use with source credit))
A set of precision screwdrivers and plastic opening tools is the core of any monitor disassembly kit. Skip the metal pry tools, since they gouge plastic and short nearby components.
Path 3: Professional Repair Shop
If you're not comfortable going inside the monitor, or if you've opened it and the problem isn't obvious, a professional electronics repair shop is your next move. Look for shops that specifically advertise monitor or display repair. General computer repair shops sometimes lack the parts sourcing relationships for specific Monitor PSU and driver boards.
Expect to pay a diagnostic fee of $30 to $60, which is usually waived if you proceed with the repair. Labor runs $50 to $150 per hour, and most board swaps take 30 to 90 minutes once the part arrives. So a typical out-of-warranty professional repair lands in the $100 to $250 range including parts and labor.
Get the quote upfront before authorizing work. A reputable shop will diagnose the problem, tell you the fault, give you a total cost, and let you decide before ordering parts.
(Continue to the remaining H2 sections: What Mini LED Repair Costs vs Buying New, Step-by-Step: How to Diagnose What's Wrong, Can You Fix It Yourself?, Common Mini LED Monitor Failures, When the Panel It Is Damaged, Warranty Claims and Manufacturer Service, Mistakes That Make Things Worse, The Decision Framework, Real-World Scenarios, FAQs, and Final Verdict.)
What Mini LED Repair Costs vs Buying New
Let's talk numbers, because this is where the repair-or-replace decision gets real.
A replacement power supply board for a popular Mini LED monitor like the Samsung Odyssey Neo G7 or the ASUS ROG Swift PG27AQN typically runs $20 to $55 on parts sites. Backlight driver boards are a bit more, $30 to $90, because they're more complex and model-specific. Main logic boards, which handle the scalar and input processing, can run $40 to $150 depending on the model.
Now add labor if you're not doing it yourself. Professional repair shops charge $50 to $150 per hour, and most board swaps take under an hour once the part is in hand. So a typical professional board repair lands between $80 and $250 all-in.
Here's how that stacks up against replacement:
| Monitor Tier | Typical New Price | Board Repair Cost | Panel Replacement Cost | Verdict |
|---|---|---|---|---|
| Budget Mini LED (115 zones, 27") | $250–$400 | $20–$80 | $150–$300 | Repair boards, replace if panel is dead |
| Midrange Mini LED (336–576 zones) | $500–$900 | $30–$120 | $200–$500 | Repair almost always makes sense |
| Premium Mini LED (1152+ zones, 32"+) | $1,000–$2,500 | $40–$150 | $300–$700 | Repair is almost always worth it |
The pattern is clear. The more expensive your monitor, the more sense repair makes. A $1,200 monitor with a $40 PSU failure is a no-brainer.
A $300 monitor with a cracked panel is not.
One thing people forget to factor in: shipping. Monitors are heavy and fragile. Shipping a 32-inch Mini LED monitor to a repair shop or back to the manufacturer can cost $30 to $80 each way.
That adds $60 to $160 to the total cost of any non-DIY repair. For budget monitors, that shipping cost alone can tip the scales toward replacement.
Step-by-Step: How to Diagnose What's Wrong
If you're going to attempt any repair, you need to nail the diagnosis first. Ordering the wrong board wastes time and money. Here's the diagnostic sequence that works.
Step 1: Observe the power LED behavior.
No LED at all points to the power supply board or the wall power itself. A solid LED with a black screen points to the backlight or panel. A blinking LED often indicates a protection circuit has tripped, which usually means a short on one of the boards.
Step 2: Perform the flashlight test.
Turn the monitor on in a dark room. Shine a flashlight at a shallow angle across the screen. If you can see your desktop, a video, or the OSD menu faintly, the panel and logic board are working.
The backlight system is the problem.
Step 3: Listen and feel.
Put your ear close to the back of the monitor when you power it on. A faint high-pitched whine or buzzing from the backlight area suggests the driver board is at least partially functioning. Complete silence from the back area, combined with a black screen, often means the PSU isn't sending power to the backlight circuit at all.
Also feel the back cover after the monitor has been on for a few minutes. A warm PSU area means the power board is at least partially working.
Step 4: Open and inspect visually.
Once you've got the back cover off, look at the PSU board first. Bulging capacitors are the most common failure. They should have perfectly flat silver tops.
Any doming, leaking brown residue, or visible vent marks means that capacitor has failed. Also look for burn marks, discolored PCB areas, or cracked solder joints.
Step 5: Test voltages with a multimeter.
Set your multimeter to DC voltage. Find the output connector from the PSU that feeds the main board. The silkscreen on the PCB usually labels each pin: 12V, 5V, GND, and sometimes a standby voltage.
Probe each pin. If the 12V rail reads 8V or fluctuates wildly, the PSU is failing. If it reads 0V, the PSU is dead.
If voltages look stable, the problem is downstream on the backlight driver or the panel itself.
Step 6: Reseat every connector.
Before condemning any board, unplug and reseat every ribbon cable and power connector in the signal path. The eDP cable from the main board to the panel, the backlight cable from the driver to the LED array, and the button cable from the control board. Loose connections cause a surprising number of "dead monitor" symptoms.
Can You Fix It Yourself? Skill Level and Tools Needed
Board-level repair is doable for most people with basic technical confidence. You don't need to solder anything for a PSU or driver board swap. The boards are modular, connected by plugs and screws.
Here's what you actually need:
- Phillips #1 and #2 screwdrivers for the external and internal screws
- Plastic spudger set for popping bezel clips without cracking the housing
- Anti-static wrist strap clipped to the monitor's metal chassis
- Digital multimeter for voltage testing
- A clean, well-lit workspace with enough room to lay out screws in order
The skill level is moderate. If you've ever built a PC, replaced a laptop screen, or swapped a car battery, you've got enough technical ability. The hardest part is usually getting the bezel clips apart without breaking them.
Work slowly around the perimeter with a plastic tool, and don't force anything.
What you should NOT attempt at home: panel replacement, microsoldering on the main board, or any repair that requires reflowing BGA chips. Those jobs need specialized equipment and experience. A hot-air rework station and a preheater are not casual tools.
One important safety note. The PSU board contains large electrolytic capacitors that can hold a charge even when the monitor is unplugged. Discharge them by pressing the power button several times after unplugging, and avoid touching the large cylindrical components on the PSU directly.
The stored voltage won't typically be lethal, but it can give you a nasty shock and damage components if you short something.
Common Mini LED Monitor Failures and Their Fixes
Mini LED monitors share most failure modes with standard LED-backlit LCDs, but the added complexity of the local dimming system introduces a few unique issues.
PSU capacitor failure is the single most common repairable fault across all monitor types. Electrolytic capacitors degrade over time, especially in monitors that run hot. Mini LED backlights draw more power than standard edge-lit designs, which means the PSU runs warmer and capacitors age faster.
The fix is a $15 to $40 replacement board, or a $5 capacitor swap if you have soldering skills.
Backlight driver failure is more common on Mini LED monitors than on standard LED models because the driver board is managing hundreds of individual zones instead of a few edge-lit strips. When one zone driver IC fails, you might get a column of dead zones or a section of the screen that stays dark. The fix is a driver board replacement, $30 to $90 for most models.
Firmware-related blooming and flickering isn't a hardware failure at all, but it gets mistaken for one constantly. Some early Mini LED monitors shipped with aggressive local dimming algorithms that caused visible flickering in HDR mode or excessive haloing around bright objects. Manufacturers like ASUS, Dell, and Samsung have released firmware updates that significantly improve this behavior.
Always check for a firmware update before assuming hardware is dead.
eDP cable wear happens on monitors that get moved frequently. The flat ribbon cable connecting the main logic board to the panel can develop micro-fractures from repeated flexing. Symptoms include intermittent flickering, color artifacts, or the screen cutting out when the monitor is tilted to certain angles.
Reseating or replacing the cable, usually $5 to $15, fixes it.
LED array degradation is rare but possible. Individual LEDs in the backlight array can dim or fail over time, creating dark spots or uneven brightness across the screen. This isn't user-repairable.
It requires replacing the entire backlight assembly, which is essentially a panel replacement job.
When the Panel Itself Is Damaged
Physical panel damage is the point where repair stops making financial sense for most people. A cracked LCD layer, shattered glass, or impact damage to the panel means the entire display assembly needs to be replaced.
The problem is cost and availability. Replacement panels for Mini LED monitors are expensive, $150 to $600 or more, and they're specific to the exact model and panel manufacturer. A Mini LED panel from Innolux won't drop into a monitor that originally shipped with an AUO panel.
The mounting holes, connector positions, and zone configuration all differ.
Sourcing the right panel means finding the exact panel model number, which is printed on a label on the back of the panel itself. You'll need to disassemble the monitor far enough to read that label before you can even order the replacement.
Then there's the labor. A full panel swap means removing every component, the main board, PSU, backlight driver, speakers, and stand mount, from the old frame and transferring them to the new panel assembly. It's a 2 to 4 hour job even for experienced technicians.
At professional labor rates, you're looking at $150 to $400 in labor alone, on top of the panel cost.
For a $1,500 premium monitor, a $400 panel replacement plus $200 in labor is still a good deal. For a $350 budget monitor, it's not. The math is straightforward.
One exception: if the monitor is under warranty, let the manufacturer handle it. They'll typically replace the entire unit rather than repair it, and you get a fresh warranty on the replacement.
Warranty Claims and Manufacturer Service: What to Expect
If your monitor is still under warranty, this is your easiest path. Don't open the case. Don't attempt any repair.
Contact the manufacturer first.
Most major brands, Dell, ASUS, LG, Samsung, Acer, offer 1 to 3 years of limited warranty coverage as of 2026. Some premium models extend to 3 years or more. The process is straightforward: call or chat with support, provide your serial number, describe the symptom, and they'll initiate an RMA.
Manufacturers typically handle Mini LED monitor claims in one of two ways. For common faults like PSU or backlight driver failure, they may ship you a replacement board with installation instructions. For panel-level issues or when the fault isn't immediately clear, they'll usually replace the entire unit.
Cross-ship replacement programs, where they send the replacement before you return the defective unit, are common for premium models but may require a credit card hold.
The main downside is time. Expect 5 to 14 business days for a board shipment, and potentially longer for a full unit replacement. If you rely on the monitor for work, ask about expedited shipping or loaner options.
Some business-class lines, like Dell's UltraSharp series, include next-business-day replacement as part of their premium warranty tier.
Mistakes That Make Things Worse
A few common errors turn a simple repair into a dead monitor.
Opening the monitor while it's under warranty. One broken warranty sticker or missing screw cover and you're on the hook for the full replacement cost. Always check your warranty status first.
Forcing bezel clips. Mini LED monitor bezels are thin plastic with fragile retention clips. Using a metal tool or excessive force cracks the bezel, and replacement bezels are often impossible to source separately. Use plastic spudgers and work slowly around the perimeter.
Skipping ESD protection. The main logic board and backlight driver ICs are sensitive to static discharge. You might not feel the spark, but it can kill a board instantly. Wear an anti-static wrist strap clipped to the monitor's metal chassis throughout the entire process.
Ordering the wrong board. PSU and driver boards look similar across models but have different connector pinouts, voltage outputs, and mounting hole positions. Always match the exact part number printed on the failed board, not just the monitor model number.
Ignoring the flashlight test. People order a replacement panel when the actual problem is a $30 backlight driver board. The flashlight test takes 10 seconds and saves you hundreds of dollars.
The Decision Framework: Repair or Replace?
Here's the decision tree that ties everything together.
If the monitor is under warranty: Contact the manufacturer. Done.
If the monitor is out of warranty and the problem is a board failure (PSU, driver, or logic board): Repair it. Parts are cheap, the fix is straightforward, and it extends the life of your investment. DIY if you're comfortable, professional shop if not.
If the monitor is out of warranty and the panel is physically damaged: Check the monitor's current retail price. If the panel replacement cost plus labor exceeds 50% of a new unit, replace it. If it's a premium monitor where the panel is still cost-effective to replace, go for it.
If the monitor is out of warranty and you're seeing multiple unrelated failures: Replace it. Multiple failures at once usually mean the monitor is reaching end of life. Pouring money into a unit with cascading issues is a losing game.
If the problem is firmware-related: Update the firmware. It's free and takes 15 minutes.
Real-World Scenarios: What Actually Happens
A few common situations illustrate how this plays out in practice.
Scenario 1: Samsung Odyssey Neo G8, 2 years old, black screen, power LED solid. Flashlight test shows a faint image. Diagnosis: backlight driver board failure. The user orders a replacement driver board for $45, swaps it in 45 minutes, and the monitor works perfectly.
Total cost: $45 and an afternoon.
Scenario 2: Budget 27-inch Mini LED, 18 months old, cracked screen from an accident. The panel is physically damaged. A replacement panel costs $220, and the monitor originally sold for $350. The user buys a new monitor instead.
The old one gets sold for parts on eBay, recouping $40 for the working boards.
Scenario 3: ASUS ROG Swift PG32UQX, 6 months old, intermittent flickering in HDR mode. The user checks ASUS's support page and finds a firmware update that addresses HDR flickering. After updating, the problem disappears completely. Total cost: zero.
Scenario 4: Dell UltraSharp Mini LED, 4 years old, no power at all. Out of warranty. A local repair shop diagnoses a failed PSU board, replaces it for $35 in parts plus $80 in labor. The monitor runs for another 3 years without issue.
Total cost: $115.
Frequently Asked Questions
Is it worth repairing a Mini LED monitor?
It depends on what's broken and what the monitor is worth. Board-level failures on monitors above $500 are almost always worth fixing. Panel damage on budget monitors usually isn't.
How long does a Mini LED monitor repair take?
A DIY board swap takes 30 to 90 minutes once you have the part. Professional repair with parts ordering typically takes 3 to 7 business days. Warranty replacement can take 5 to 14 business days.
Can I replace a Mini LED backlight myself?
Replacing the entire LED backlight array is essentially a panel replacement job. It's technically possible but requires full disassembly and 2 to 4 hours of careful work. It's not a beginner-level repair.
What's the most common failure on Mini LED monitors?
Power supply board failure, specifically blown capacitors, is the most common. It's also the cheapest and easiest to fix.
Does opening a Mini LED monitor void the warranty?
On most brands, yes. Warranty stickers on screws or seals on the casing are designed to detect unauthorized opening. Always check warranty status before opening anything.
Are Mini LED monitors harder to repair than standard LED monitors?
Slightly. The backlight driver board is more complex due to zone management, and the PSU runs hotter. But the repair process is fundamentally the same.
The main difference is that replacement parts for Mini LED models can be a bit more expensive and harder to source for obscure brands.
Final Verdict: Should You Repair Your Mini LED Monitor?
The answer comes down to three things: what's broken, what the monitor is worth, and how much time you're willing to invest.
If it's a board failure on a monitor you paid good money for, absolutely repair it. The parts are affordable, the fix is well within reach for anyone with basic tools, and you'll get years more life out of a display that still performs well.
If the panel is cracked or shattered, run the numbers honestly. On a premium 32-inch Mini LED with 1152 zones, a panel replacement can still make financial sense. On a budget 27-inch model, it almost never does.
And if the monitor is under warranty, don't touch it. Let the manufacturer handle it. That's what the warranty is for.
Mini LED technology has matured significantly as of 2026, and these monitors are built to last. Most failures are fixable. The key is diagnosing the problem correctly before you spend a dime.

Similar Posts