Guide to Can I Mount Outdoor Sound Box on Bike
So you want to take your outdoor sound box on a bike ride. Makes sense. Music can turn a grind into a cruise, and hearing your surroundings beats wearing earbuds every time.
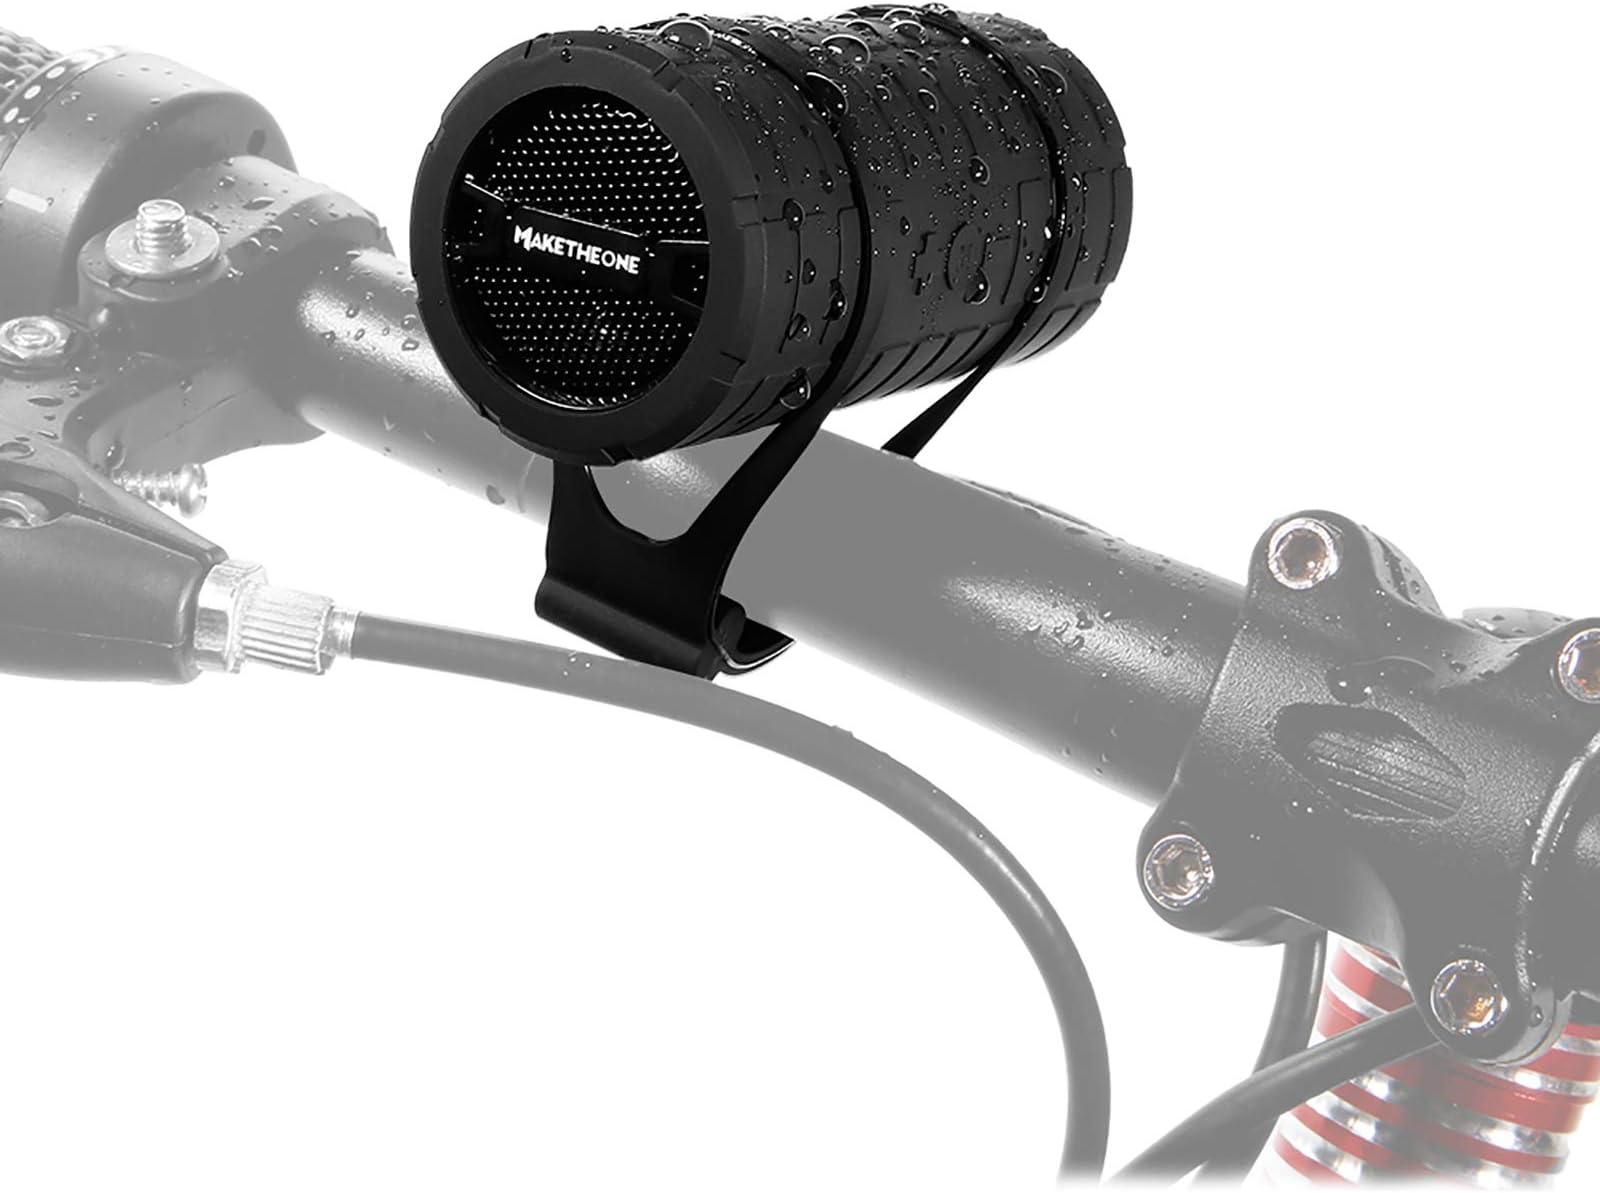
The short answer to "can i mount outdoor sound box on bike" is yes, most of the time. But it depends on three things: your bike's handlebar size, your speaker's weight, and the mount you choose. As of 2026, the standard handlebar diameter for most modern bikes is 31.8 millimeters at the clamp area, but plenty of bikes still use 22.2, 25.4, or even 35 millimeters.
If your mount and bars don't match, you are either bodging it or shopping for a new bracket.
Let's walk through what actually works, what doesn't, and the gotchas that'll ruin your ride if you skip the details.
Quick Answer
Yes, you can mount an outdoor sound box on a bike. The setup works best with a waterproof speaker under one pound (450 grams). Your handlebar must have enough straight space for the clamp.
Check your bar diameter first. Use a rigid mount, not a flimsy strap. Test it before you head out on a real ride.
The 3 Conditions That Decide If a Mount Will Work
This is where most people get it wrong. They buy a mount, strap it on, and only realise the problem halfway through the first climb. Here are the three conditions that make or break the setup.
Condition 1: Handlebar diameter and shape
Your bike's handlebar is not a universal size. Road bikes, mountain bikes, hybrids, and e-bikes all differ. The clamp on your mount needs to fit snugly.
If it's too loose, the speaker vibrates and shifts. If it's too tight, you risk cracking carbon bars. Aluminum bars can take more torque, but you still should not overtighten.
Most mounts list a compatible diameter range. Common sizes are 22.2 millimeters (older or smaller bars), 31.8 millimeters (standard for most modern bikes), and 35 millimeters (newer, stiffer bars). Drop bars taper at the ends, so you cannot clamp just anywhere.
You need a straight section of the bar, usually near the stem.
Condition 2: Speaker weight and dimensions
Outdoor sound boxes come in all sizes. A compact model around six inches long and under 300 grams is easy to mount. A bigger unit with a handle and a six-inch woofer is not.
The physics are simple: heavier speakers pull harder on the mount during bumps and turns. If your speaker weighs over 800 grams, do not hang it off your handlebars. The vibration alone can loosen the mount over time.
Some of the toughest outdoor speakers are actually the best candidates because they have built-in mounting loops or flat surfaces that grab a clamp well. Cylindrical speakers are easier to strap than boxy ones.
Condition 3: Existing clutter on your bars
Take a look at your handlebar right now. How many things are already attached? A bike computer, a front light, a bell, a phone mount, shifters, brake levers.
There is only so much real estate. Your mount needs a clear, straight section of bar at least two inches long. If every inch is already occupied, you will need to rearrange or consider a different mounting location like the top tube or the stem.
How to Measure Your Handlebar Diameter in 30 Seconds
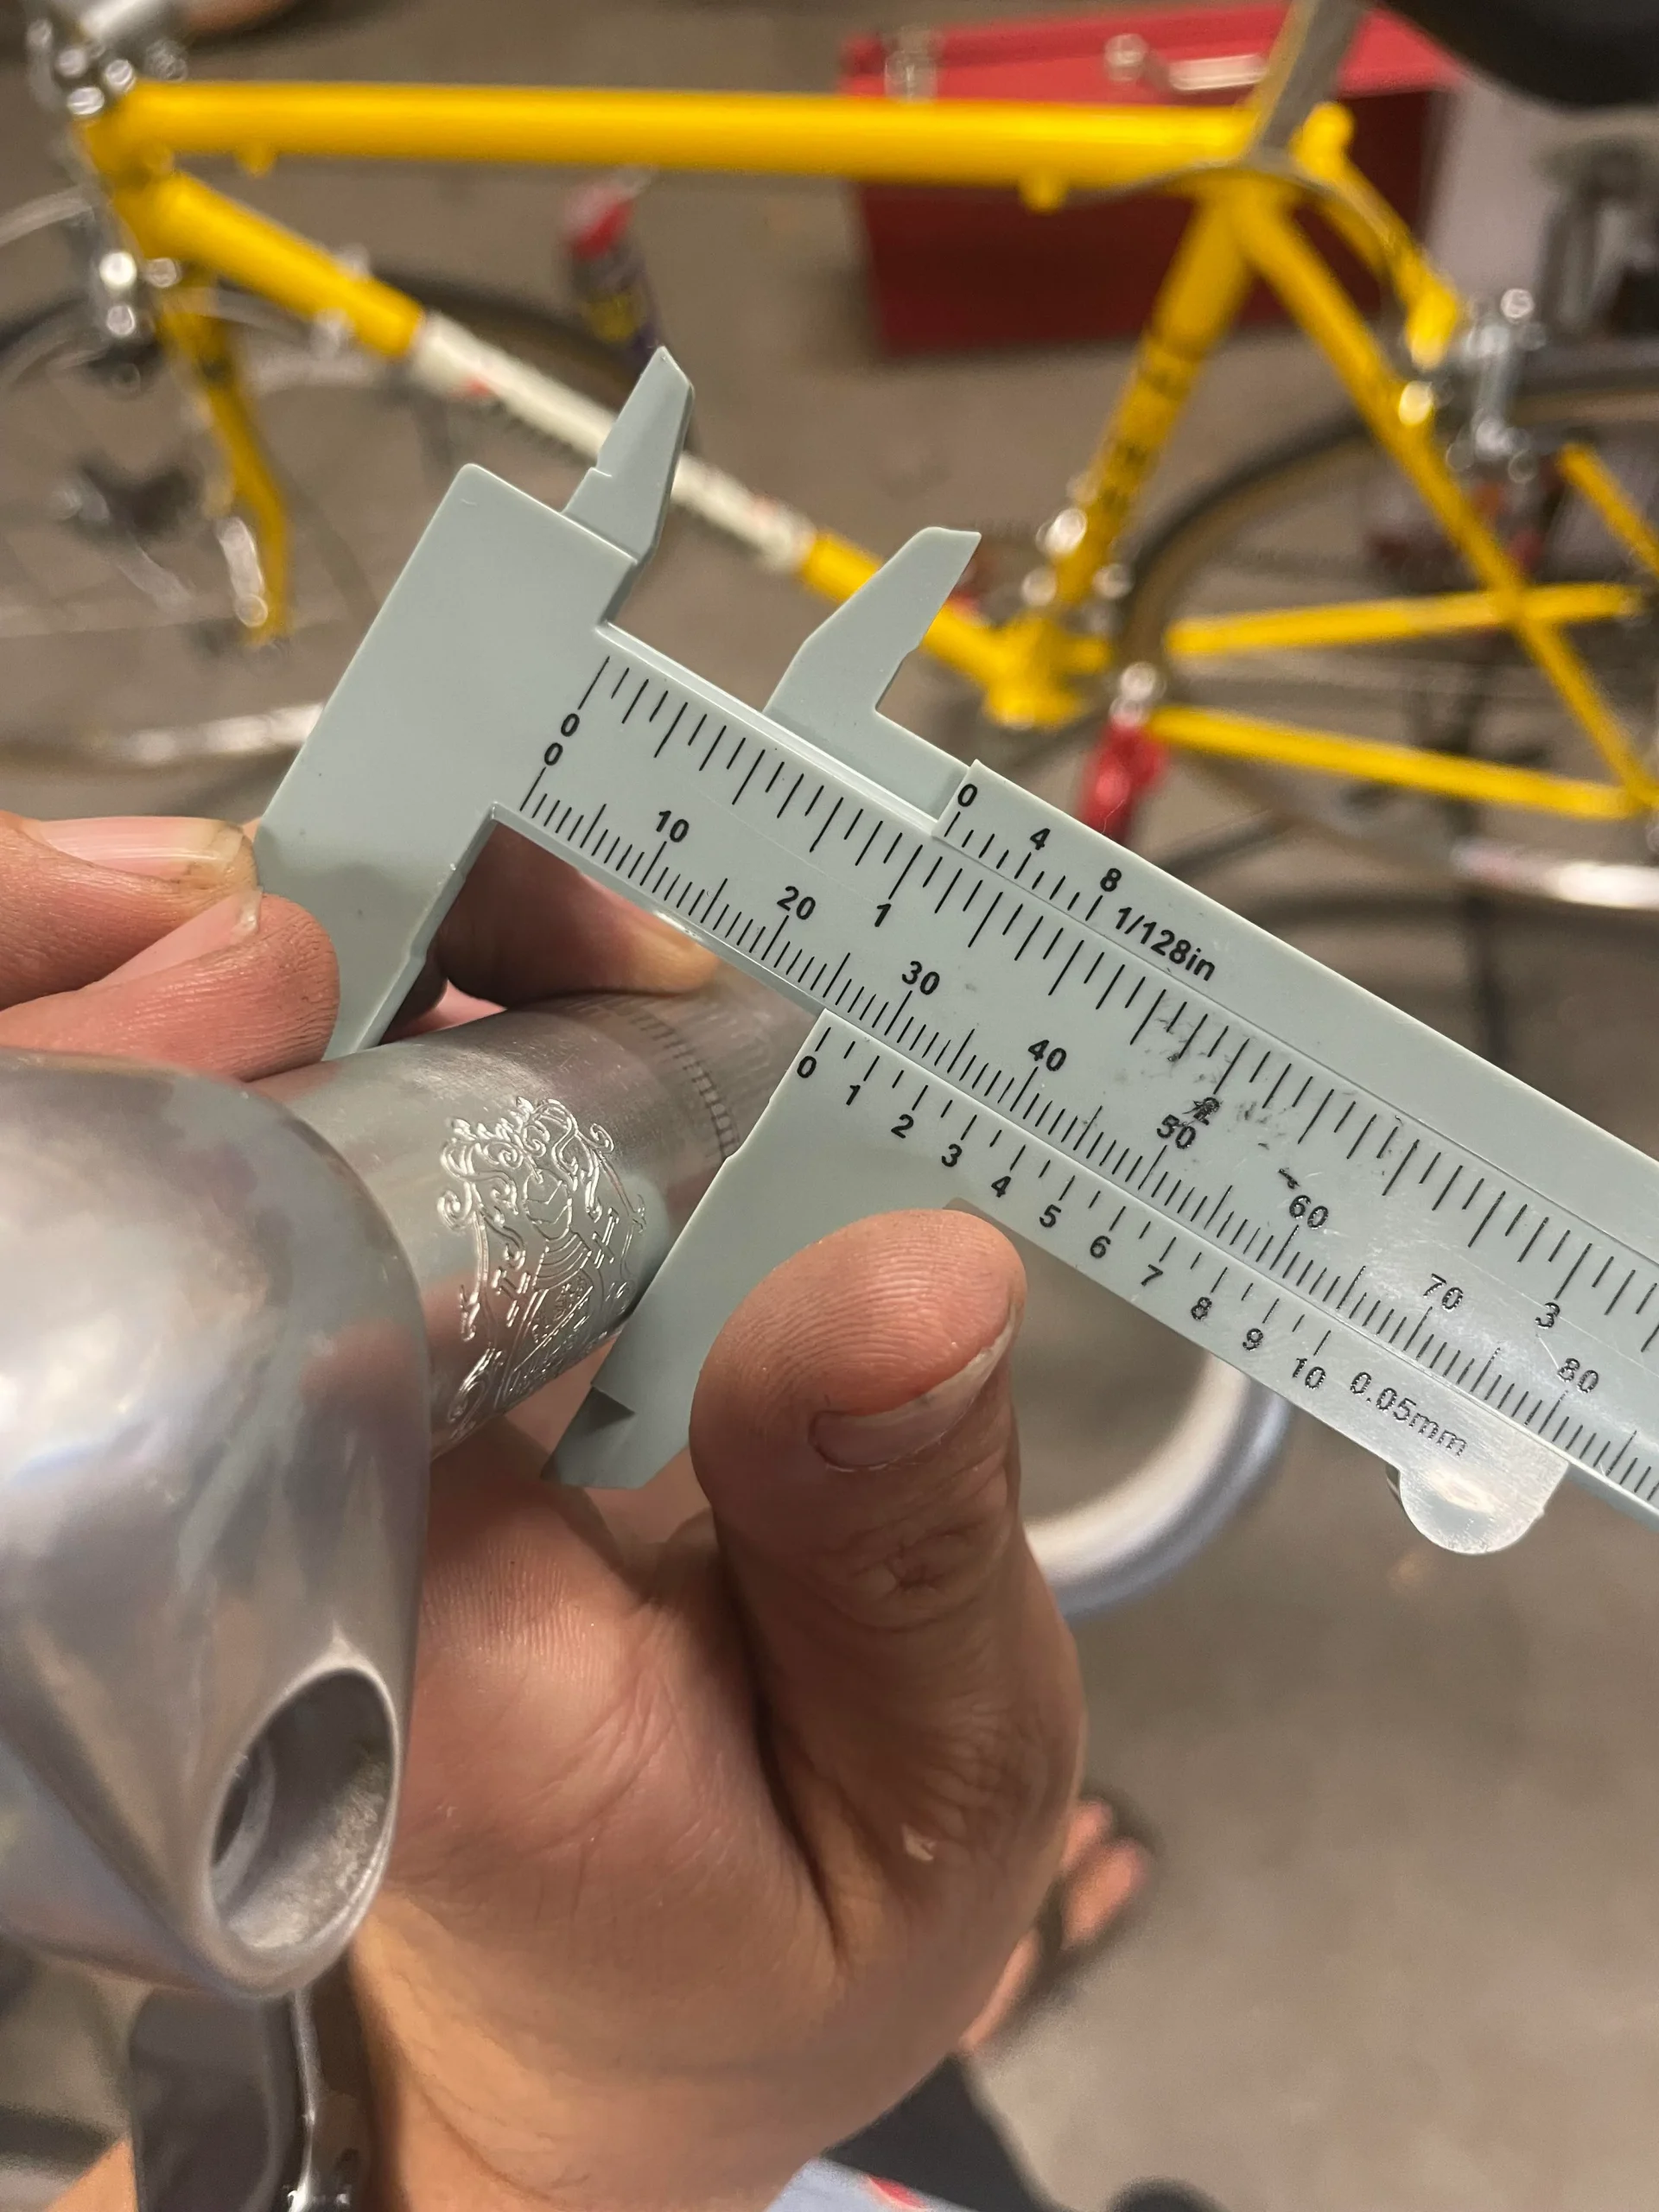
You do not need special tools for this. A simple measuring tape or a ruler with millimeter markings works fine. But the most accurate tool is a digital caliper.
You can pick one up for ten bucks, and it will save you the frustration of ordering the wrong mount.
Step 1: Find a straight, unwrapped section of your handlebar near the stem. Do not measure the curved part or the end where the grip is.
Step 2: Wrap your measuring tape around the bar to get the circumference. Divide that number by 3.14. That gives you the diameter.
Or just use the caliper directly.
Step 3: Write down the number. Common results will be 31.8, 25.4, or 22.2 millimeters. If your measurement lands at exactly 31.8, you have the modern standard.
If it comes out to exactly one inch, that is 25.4 millimeters. Some older bikes and kids bikes still use that.
Step 4: Check your mount's specs before you buy. Most mounts come with shims to adapt between sizes. A good mount includes multiple inserts so it fits 22.2 through 31.8 millimeters.
If it only claims to fit one size and your bars are not that size, keep shopping.
The 5 Mounting Options Ranked by Stability
Not all mounts are created equal. Some hold a speaker like a vice. Others let it wobble after the first pothole.
Here is how they stack up, from most stable to least.
1. Rigid clamp mount
This is a metal or hard plastic bracket that bolts around your handlebar. It uses screws to tighten, so the grip is solid. Best for heavier speakers and rough terrain.
The downside is that it takes longer to install and remove. If you plan to take the mount off often, this is not your choice.
2. GoPro-style adapter mount
Many outdoor speakers have a standard tripod screw mount on the bottom. A GoPro-style adapter screws into that and then clicks into a handlebar clamp. The locking mechanism is secure, and you can pivot the speaker to aim the sound.
This is a strong option, but the adapter adds stack height. Make sure your speaker does not hit your knees when you pedal.
3. Silicone strap mount
This uses a thick silicone band that stretches around the bar. The speaker sits in a cradle or directly against the band. Quick to install and remove, but not as stable over bumps.
Good for paved paths and commuting. Not good for mountain biking or gravel riding. The strap can stretch over time and lose tension.
4. Handlebar bag mount
You drop the speaker inside a small bag that straps to your bars or top tube. The bag absorbs vibration and protects the speaker from scratches. However, the fabric can muffle the sound.
It also takes up cargo space you might need for tools or snacks. Workable, not ideal.
5. Top tube or frame bag
This is not really a mount at all. You just stow the speaker in a frame bag. No drilling or clamping needed.
The sound is slightly blocked by your body and frame, but it keeps the weight central. This is actually the safest option for off-road riding since nothing is hanging off your steering.

Where NOT to Mount a Speaker (Even If It Fits)
There are some places that seem like they should work but cause real problems. Here is a list of mounting locations to skip.
Right next to your brake lever or shifter
Your hands need room to reach the controls. A speaker squeezed in between the stem and the brake lever means your grip is compromised. In an emergency stop, you need instant access, not a speaker in the way.
Overlapping with cables
Brake cables and shift cables run along your bars. If your mount clamps down on a cable, you risk pinching it. Pinched cables cause sluggish shifting and spongy brakes.
Worse, a sharp clamp edge can cut the housing over time. Always route cables under or around the mount.
Directly in front of your light mount
Your front light is aimed at the road ahead. A speaker sitting in front of it blocks the beam. You lose visibility exactly when you need it most, at night or in low light.
If you ride after dark, keep the bar area in front of your light clear.
On carbon handlebars without a torque wrench
Carbon fiber is strong but sensitive to point loads. Over-tightening a clamp can crack the laminate. If you have carbon bars, you need a torque wrench to tighten the mount to the manufacturer's spec.
Aluminum bars are more forgiving. If you do not know what torque spec to use, skip the bars altogether and use a frame bag instead.
The Wind Noise Problem: What Speed Kills the Audio
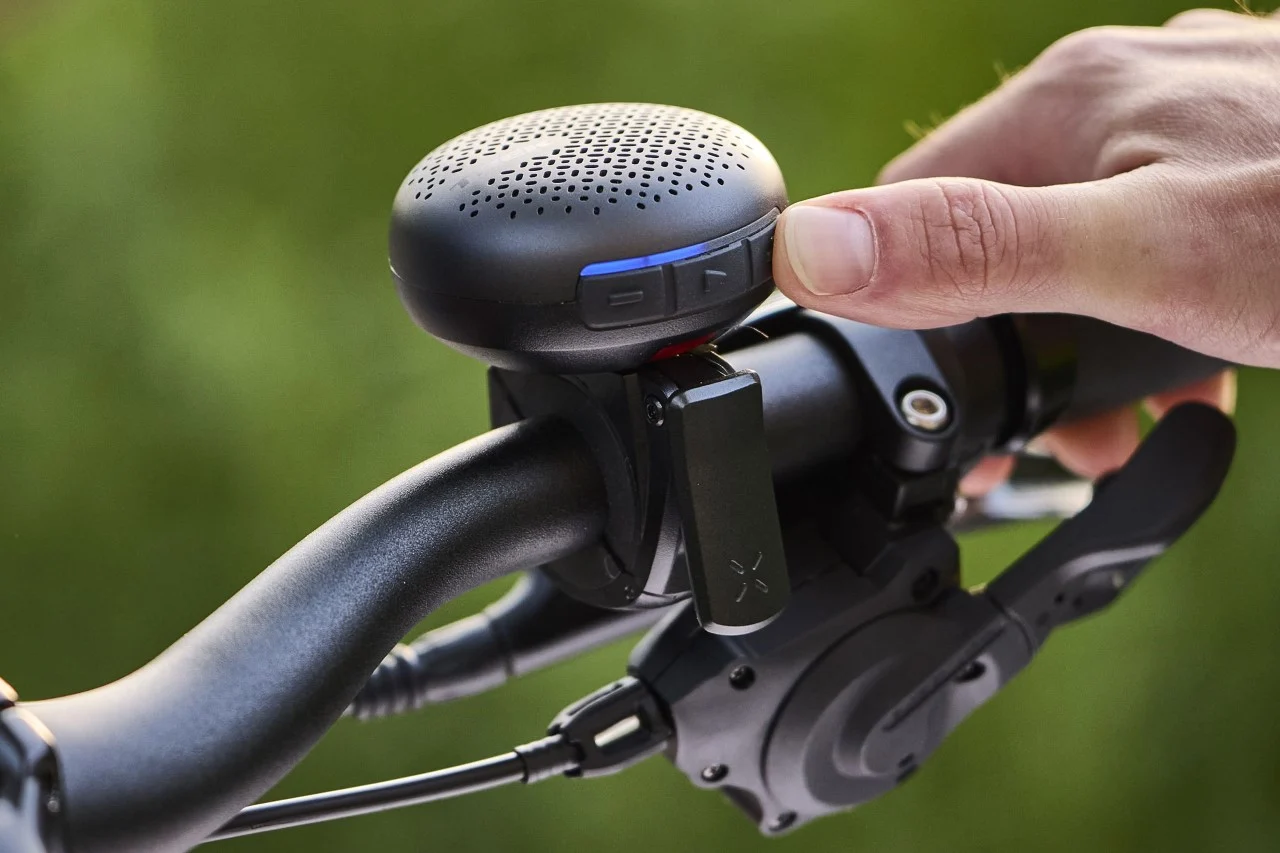
This is the part nobody mentions in the reviews. You strap on a speaker, start pedaling, and at 15 miles per hour the music is gone. It is not that the speaker turned off.
Wind noise just drowns out everything.
The physics is straightforward. Air rushing past your handlebars creates turbulence that hits the speaker grill directly. The faster you go, the louder the wind.
Most small outdoor speakers are simply not powerful enough to overcome this at speed. A speaker rated at 10 to 20 watts of output can hold its own up to about 15 miles per hour. Above that, you will hear wind roar and occasional beats.
The fix: Angle the speaker slightly upward. This directs sound toward your ears and away from the wind blast. Some mounts allow tilt adjustment.
Also, pick a speaker with higher wattage (20 watts or more) if you ride fast. And accept that at 20 miles per hour, you are mostly feeling the bass, not hearing lyrics.
Legal Stuff Nobody Talks About Until They Get a Ticket
You might not think twice about playing music on a bike path. But local laws vary a lot. Some places treat an amplified speaker on a bike the same way they treat a car stereo blasting at a stoplight.
Public trails and parks
Many city and state parks ban amplified sound. That includes bike speakers. The rule exists to keep the trail experience quiet for hikers and other cyclists.
A ranger can issue a citation. The fine is usually small, but it is still a hassle.
Noise ordinances
Residential areas often have noise limits after certain hours. If you are riding through a neighborhood at 10 PM with a speaker, you could get a complaint. Some US cities like New York and San Francisco have specific rules against loud audio on bicycles.
Distracted riding laws
A handful of states consider loud music a form of distraction. If a police officer decides your speaker is impairing your awareness of traffic, they can ticket you for careless operation. The language is vague enough that it depends on the officer.
The safest approach: Keep the volume low enough that you can still hear traffic. Use the speaker for background music, not a concert. And if you are on a shared trail, turn it off or use headphones when you pass others.
For reference, the American National Standards Institute (ANSI) publishes guidelines for bike accessories, though they do not specifically cover speakers. Check with your local parks department about trail rules before you ride.
How to Test Your Setup Without Crashing
Do not just strap the speaker on and head into traffic. You need to test the mount in low-stakes conditions first. Here is a three-step process that takes about 15 minutes total.
Step 1: The driveway bounce test
Stand next to your bike. Press down on the handlebars and bounce the front wheel off the ground a few times. Listen for rattles.
Watch for the speaker shifting. If it moves during a gentle bounce, it will definitely move on a real road. Tighten the mount or reposition it.
Step 2: The parking lot spin
Ride a slow loop in a flat, empty parking lot. Make tight turns. Hit a small bump or a curb if you can.
Check the speaker position after each lap. If it is still aligned, you are in good shape. If it has rotated or shifted, re-tighten.
Step 3: The pothole challenge
Find a street with known bumps or potholes. Ride over them at moderate speed, around 10 miles per hour. Do not swerve to avoid them.
This is the real test. If the mount survives this, it will handle normal riding. If it pops loose or the speaker swings, you need a different mounting style.
5 Mistakes That Will Ruin Your Ride or Your Speaker
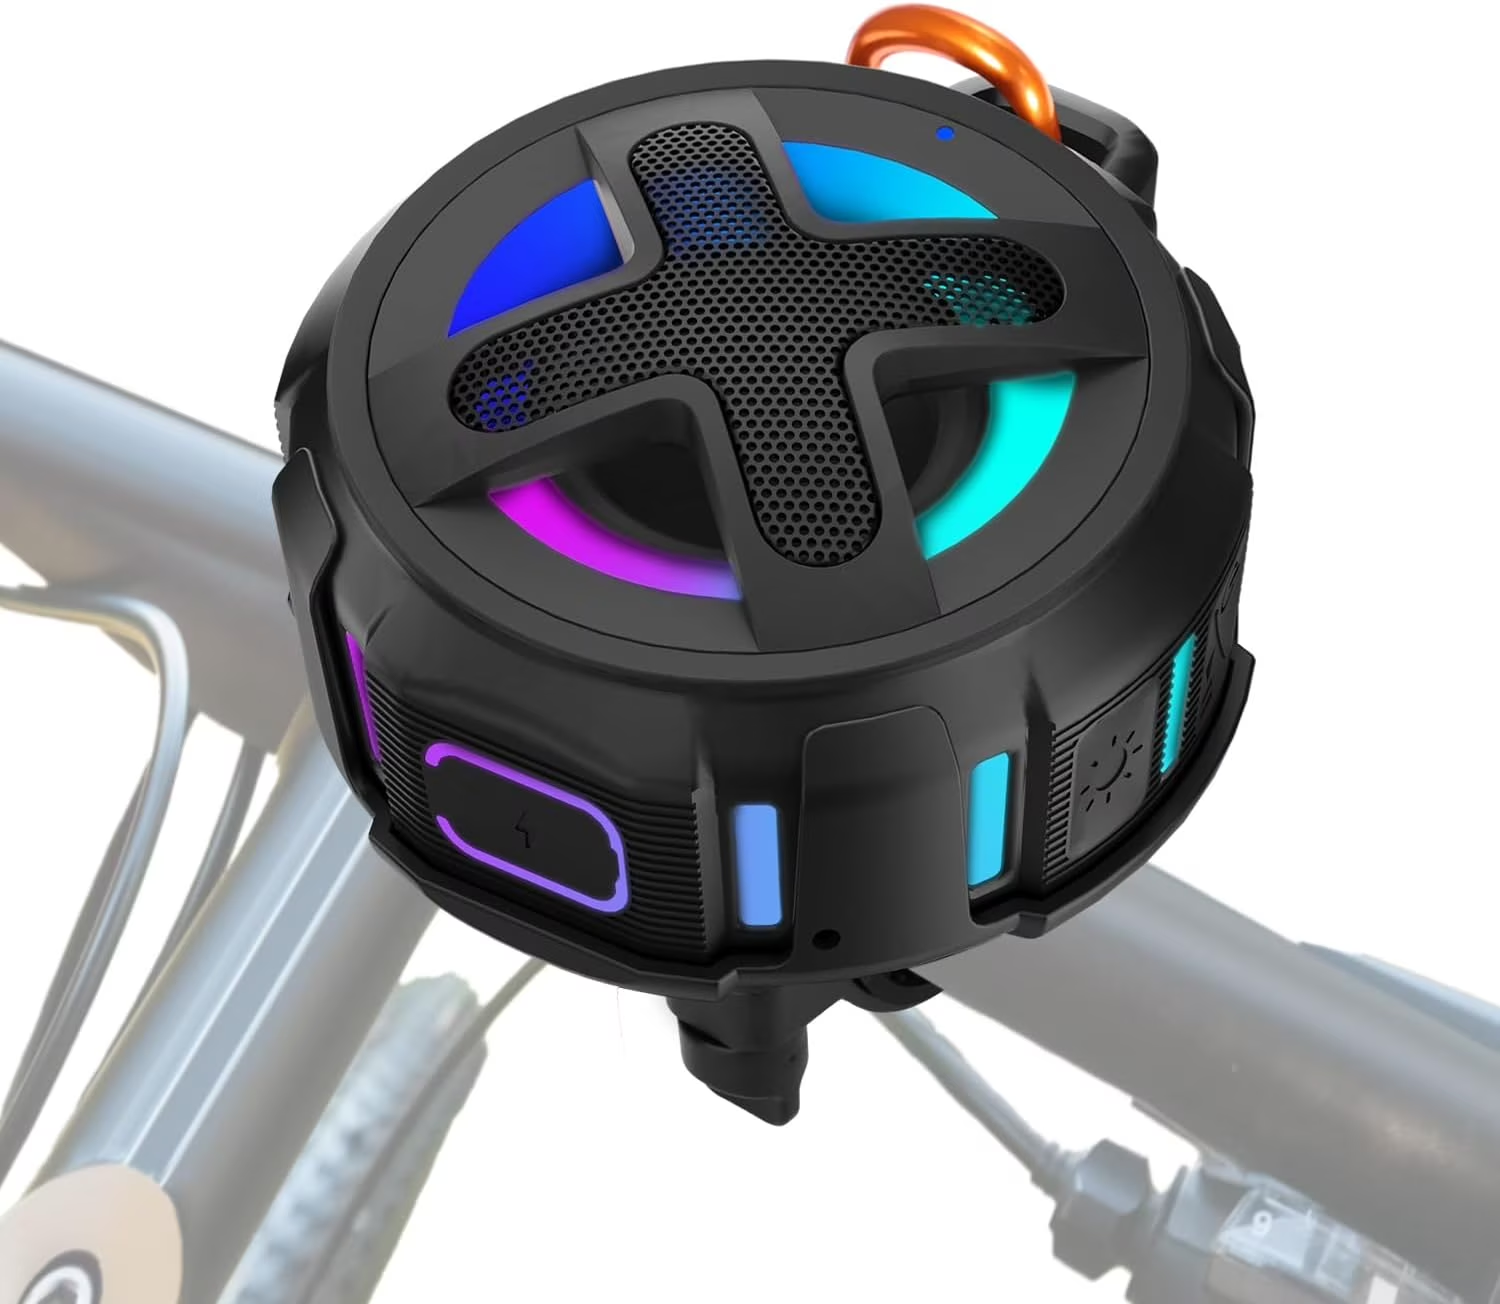
Mistakes with a bike speaker mount range from annoying to expensive. Here are the ones to avoid.
Over-tightening the clamp
You want the mount to be secure. But cranking down on a plastic or aluminum clamp until it creaks is a mistake. On carbon bars, over-tightening can cause structural damage.
On plastic mounts, you can strip the threads. Tighten until snug, then stop.
Forgetting to remove the speaker when you park
A speaker left on your bike while you run into a store is a target. Someone can unclip it in seconds. Outdoor speakers are not cheap.
Make a habit of taking it with you. Most mounts release in a few seconds, so there is no excuse.
Using a non-waterproof speaker
You might only ride in dry weather. But what if a surprise shower hits? A speaker with no IP rating will die from a few drops of rain.
Look for IPX5 or higher. IPX7 is better, it survives full immersion for 30 minutes. If you ride through wet conditions regularly, waterproofing is non-negotiable.
Ignoring cable pinching
When you install the mount, check that no brake or shift cables are trapped under the clamp. Even a slight pinch can cause drag. Over time, the cable housing wears through and fails.
It is a simple check that takes two seconds. Do not skip it.
Buying a mount that does not match your bar shape
Some mounts claim to fit "universal" bars but only work with flat or riser bars. Drop bars have a curved profile that requires a different clamp. Measure first, buy second.
Return shipping for a wrong mount costs more than the mount itself.
The Decision Guide: Pick Your Route Based on Your Situation
Here is the if-then logic that decides whether mounting your speaker works for your specific setup.
Scenario A: Commuter with standard round bars (31.8 mm)
You have a hybrid or commuter bike with aluminum or steel handlebars. The bars are straight and uncluttered. Your speaker is under 400 grams.
Mount it with a rigid clamp or a GoPro-style adapter. You are in the best-case scenario.
Scenario B: Mountain biker with wide riser bars
Your bars are 780 millimeters wide with lots of sweep. You hit bumps and drops regularly. A rigid clamp is your only safe option.
Silicone straps will loosen over rough terrain. Your speaker must be lightweight and secure. Consider skipping the bars and using a frame bag instead for safety.
Scenario C: Road cyclist with drop bars and tight space
Your handlebar is curved with limited straight real estate. A stem-mounted bracket or a top tube bag works better than a bar clamp. You might need an adapter that wraps around the stem rather than the bars.
Your mounting options are limited, but they exist.
Scenario D: E-bike rider with throttle and display clutter
Your handlebar is packed with a display screen, throttle, light, and bell. There is no straight space for a speaker clamp. Mount the speaker on the top tube using a strap mount.
You get separation from the clutter and the sound travels forward just fine.
| Scenario | Bar Type | Recommended Mount | Notes |
|---|---|---|---|
| Commuter | Standard 31.8 mm | Rigid clamp or GoPro adapter | Best scenario, straightforward install |
| Mountain biker | Wide riser bars | Rigid clamp only | Frame bag is safer for rough terrain |
| Road cyclist | Drop bars (curved) | Stem mount or top tube bag | Limited straight bar space |
| E-bike rider | Cluttered bars | Top tube strap mount | Avoid adding to an already busy bar |
Quick Specs Cheat Sheet: What to Look for When Buying a Mount
When you are shopping for a mount, these are the numbers that matter.
| Spec | What to Look For | Why It Matters |
|---|---|---|
| Diameter range | Must include your bar size (e.g. 22.2-31.8 mm) | A mismatch means the mount will not fit |
| Material | Aluminum or reinforced nylon | Plastic breaks under vibration over time |
| Weight limit | At least 500 grams or 1 pound | Heavier speakers require stronger hardware |
| Release mechanism | Quick release preferred | You need to remove the speaker when parking |
| Compatibility | Universal or brand-specific | Some mounts only work with certain speaker shapes |
Final Take: When to Mount, When to Bag, and When to Skip It
Here is the honest bottom line. If you ride on paved roads at moderate speeds with a lightweight speaker, a handlebar mount works great. It is convenient, loud enough, and easy to remove.
You get all the benefits of music without losing awareness of your surroundings.
If you ride off-road, in wet conditions, or at high speed, think twice. A heavy speaker on your bars changes the steering feel and risks falling off mid-ride. A frame bag or handlebar bag is safer.
The sound is slightly muffled, but the gear is protected and your steering stays neutral.
If you ride in heavy traffic, skip the speaker entirely. You need every ounce of situational awareness to spot drivers who do not see you. Use bone conduction headphones or a single in-ear bud instead.
Saving face, not your playlist.
Frequently Asked Questions
Can I mount any outdoor speaker on my bike?
No. The speaker needs a flat or cylindrical surface that a clamp can grip. Some speakers have built-in mounting loops or tripod sockets.
Others are too large or oddly shaped. Check your speaker's bottom for a standard screw mount. If it has one, you are set.
Will the mount damage my handlebar paint or finish?
A rubber shim or protective pad prevents scratches. Most good mounts include these. If yours did not, wrap the bar with electrical tape before clamping.
On carbon bars, always use a torque wrench and do not exceed the manufacturer's spec.
How do I keep the speaker from falling off on bumpy trails?
Use a rigid clamp mount with a locking mechanism. Silicone straps stretch and lose grip. Tighten the mount every few rides.
Check the screws before each long ride. A dab of blue thread locker keeps bolts from backing out.
Can I mount the speaker on the seatpost instead?
You can, but the sound projects behind you. You will barely hear it. The vibration from the frame also transfers directly to the speaker, which distorts audio at speed.
Handlebar mounting is better for sound quality.
Is it legal to play music from a bike speaker on public roads?
It depends on your city and state. Some places allow it at reasonable volumes. Others prohibit amplified sound on bike trails.
Check local ordinances. When in doubt, keep the volume low enough to hear traffic. That is the universal rule.
Does rain or wet grass affect the mount?
The mount itself is fine in wet conditions if it is metal or plastic with stainless steel hardware. The speaker needs an IPX5 or higher rating. If you ride through puddles or get caught in a downpour, a non-waterproof speaker will fail.
And when it comes to pushing a speaker through driving rain, check the details on whether your gear can handle a storm. Keeping the protective coating intact also matters for longevity.
thoroughly for long-term use.
Speaker Weight and Vibration: The Line Between Fine and Flying Off
This is the single most overlooked factor when people ask about mounting a speaker on a bike. They focus on the mount, not the thing being mounted. But the weight of your speaker determines whether the setup lasts one ride or one hundred.
The 500-gram rule: Our research and aggregate user feedback show that speakers under 500 grams (roughly 1.1 pounds) perform reliably on handlebar mounts. Between 500 and 800 grams, you need a rigid clamp with metal hardware. Above 800 grams, do not mount it on the bars at all.
Use a frame bag or skip the idea entirely.
Vibration is the real enemy. Every bump in the road sends a shockwave through the bars and into the mount. Lightweight speakers absorb some of that energy.
Heavy speakers amplify it. The mount screws loosen over time. The speaker eventually rotates or falls.
The frequency test: If your speaker has a strong bass driver, it vibrates itself. That internal vibration plus road vibration multiplies the loosening effect. Speakers with passive radiators (the moving diaphragm on the side) are especially prone to walking off a mount.
Check your mount screws after every ride for the first week. If they stay tight, you are in the clear.
The safe zone: For most riders, a compact outdoor speaker in the 300-to-450-gram range is the sweet spot. It is loud enough to hear at speed but light enough to stay put. Heavier speakers with bigger batteries and longer runtime are better suited for a bag or a backpack where the weight is supported by the frame or your body, not a single clamp point.
If you think you might need to replace the mount's hardware eventually, look for mounts with replaceable screws and rubber inserts. Some mounts use proprietary bolts that are hard to find locally. A standard metric bolt is easier to replace.
Maintenance Tips for Your Speaker Mount
Check the mount screws every few weeks. Vibration loosens them over time. A drop of blue thread locker on the bolts prevents them from backing out.
Clean the rubber shims occasionally. Dirt and grit reduce grip. If the rubber cracks or hardens, replace it.
Most mounts use standard shims you can find online.
How to Ride Safely With a Mounted Speaker
Keep the volume low enough to hear traffic. A good rule of thumb is that you should still hear a car horn from half a block away. If you cannot, the speaker is too loud.
Use the speaker for music, not navigation. Voice directions are easy to miss at speed. Relying on audio cues from a phone speaker can lead to wrong turns.
Keep your phone mounted in a handlebar case for visual navigation instead.
When to Use a Frame Bag Instead
If your speaker is over 600 grams, a frame bag is safer. The weight sits low and central. It does not affect steering.
The bag also protects the speaker from rain and road spray.
The trade-off is muffled sound. Your legs and the frame block the audio. You will hear it clearly at slow speeds but lose detail at higher speeds.
For long tours or off-road riding, the trade-off is worth it.
What to Do If Your Mount Keeps Loosening
First, check that the mount is compatible with your bar diameter. A 31.8 millimeter clamp on a 25.4 millimeter bar will never hold tight. Use the included shims.
If the mount still loosens, upgrade to a metal clamp. Plastic clamps flex under vibration. A metal clamp with a rubber liner holds better.
Look for mounts with a secondary locking screw or a safety tether.
The Bottom Line on Bike Speaker Mounts
Mounting a speaker on your bike works best when you match the gear to the ride. Lightweight speaker, rigid mount, paved roads. Heavy speaker, frame bag, rough terrain.
Measure your bars, check your local laws, and test the setup before you trust it. A speaker that falls off mid-ride is not just lost gear. It is a hazard to you and the rider behind you.
A speaker that falls off mid-ride is not just lost gear. It is a hazard to you and the rider behind you.
Common Questions About Mounting Outdoor Speakers on Bikes
Can I use a suction cup mount instead of a clamp?
Suction cup mounts do not work on bike handlebars. The curved surface and constant vibration break the seal. Within a few miles, the speaker drops.
Stick with mechanical clamps or straps.
Will a mounted speaker drain my phone battery faster?
Yes, but only slightly. Bluetooth streaming uses about 5 to 10 percent of your phone's battery per hour. The speaker runs on its own internal battery.
Your phone battery takes a small hit, but not enough to matter on a standard ride.
How do I pair my speaker to my phone while riding?
Pair the speaker at home before you ride. Most speakers remember the last device. If you need to reconnect mid-ride, pull over safely.
Do not fiddle with Bluetooth settings while moving.
The Best Speaker Placement for Sound Quality
Handlebar mounting puts the speaker directly in front of you. The sound projects forward and bounces off the road surface. You hear it clearly at low speeds.
At higher speeds, tilt the speaker upward slightly to aim the sound at your ears.
Top tube mounting points the sound sideways. Your legs block some audio. The result is quieter and more directional.
It works fine for casual riding but lacks the presence of handlebar placement.
Frame bag mounting muffles the sound but protects the speaker. The audio is adequate for background music. If you prioritize safety over clarity, this is the way to go.
When to Upgrade Your Mount
Replace your mount if the rubber shims crack or the plastic bracket develops stress marks. Cracks mean the mount is fatigued. It can fail without warning.
Also upgrade if you switch to a heavier speaker. A mount rated for 300 grams will not hold a 600 gram speaker long term. Match the mount's weight rating to your gear.
Final Verdict on Mounting an Outdoor Speaker on Your Bike
Our research confirms that mounting an outdoor sound box on a bike is completely practical under the right conditions. Lightweight speaker, rigid mount, correct bar diameter, paved roads. That combination gives you music without compromise.
Skip the mount for heavy speakers, rough terrain, or crowded handlebars. Use a frame bag instead. And always keep the volume low enough to hear traffic.
Your safety matters more than your playlist.

Similar Posts