Best Color Accurate Monitors for Photographers
You’re facing the same question every photographer hits sooner or later: what is the best color accurate monitor for photographers? The short answer is that no single monitor fits every workflow, but a handful of models consistently deliver the colour precision you need. Whether you’re editing portraits, landscapes, or commercial product shots, the right display saves you from reprints, client complaints, and endless second-guessing.
A colour-accurate monitor isn’t a luxury, it’s a tool that directly affects your income and your creative confidence. The delta‑E spec (which measures colour deviation) is the most telling number here: professional-grade monitors aim for a delta‑E of 2 or lower. As of 2026, that threshold is the baseline for serious photography work.
Let’s break down why most monitors marketed as “color accurate” fall short and which ones actually deliver.
Why This Comparison Matters: Not All Color Accurate Monitors Are Equal
Walk into any electronics store and half the displays claim “wide colour gamut” or “factory calibrated.” Those labels mean almost nothing without context. A gaming monitor with 95% DCI‑P3 coverage might look punchy, but it almost never supports hardware calibration, and its gamma curve is tuned for explosions, not skin tones.
The real difference comes down to panel technology, internal LUT processing, and whether you can lock in a profile that stays accurate over years of use. Many so‑called “photo editing” monitors drift after a few months because they lack hardware calibration support. A monitor that looks correct out of the box but can’t be re‑calibrated is a dead end for a professional photographer.
That’s why this comparison matters. We’re not comparing specs on paper. We’re comparing how each monitor performs in an actual colour‑managed workflow, from ingesting a RAW file to delivering a print‑ready TIFF.
Every monitor we cover here meets at least three core requirements: true 10‑bit colour depth, factory delta‑E ≤ 2, and a hardware calibration option.
Quick Answer: The Shortlist for Photographers in 2025
For photographers who need colour accuracy right now, these four monitors are the most reliable choices.
- BenQ SW321C, Best for print workflow and soft‑proofing.
- Eizo CS2740, Best for absolute colour precision and long‑term stability.
- ASUS PA32UCG-K, Best for hybrid photo/video work with HDR support.
- Dell UltraSharp U2723QE, Best budget option that still hits delta‑E ≤ 2.
Each of these monitors supports hardware calibration, covers 97% or more of Adobe RGB, and comes with a factory calibration report. The best choice depends on your specific editing environment and budget.
What Actually Matters in a Photo Editing Monitor
Before we get into specific models, let’s clarify the specs that actually affect your editing. Ignore marketing buzzwords and focus on these five factors.
Panel Type: IPS vs. OLED vs. Mini-LED
IPS (In‑Plane Switching) remains the safest bet for photography. It offers consistent colour and brightness across a wide viewing angle, which matters when you lean in to check shadow detail. OLED panels deliver deeper blacks and higher contrast, but they can suffer from burn‑in over years of static UI elements (toolbars, palettes).
Mini‑LED backlighting improves IPS contrast, but it’s still not as uniform as a well‑calibrated IPS panel.
For most photographers, a modern IPS panel with a mini‑LED backlight strikes the best balance. OLED is excellent for video editing, but for stills work where you stare at the same layout for hours, IPS is more practical.
Color Gamut Coverage (Adobe RGB, DCI‑P3, sRGB)
Adobe RGB coverage is the headline number for print‑focused photographers. You want at least 97% Adobe RGB. DCI‑P3 is increasingly important if you also deliver work for film or streaming workflows. sRGB coverage should be near 100% for web output, but that’s easy to find on almost any modern monitor.
The key is not just the percentage but the accuracy of that coverage. A monitor that claims 99% Adobe RGB but has a poor internal lookup table (LUT) can still produce inaccurate colours. That’s where hardware calibration matters.
Bit Depth: Why True 10‑Bit Beats 8‑Bit + FRC
An 8‑bit panel can display about 16.7 million colours. A true 10‑bit panel displays over a billion. The difference shows up in smooth gradients.
If you’ve ever seen banding in a sunset sky or in a soft gradient background, you were probably looking at an 8‑bit panel with temporal dithering (FRC).
True 10‑bit panels are rarer and more expensive. Many monitors labeled “10‑bit” actually use 8‑bit + FRC. FRC works fairly well for most content, but for careful print editing and high‑end retouching, the real thing is noticeably better.
Look at the panel spec sheet: if it says “8‑bit + Hi‑FRC” or “10‑bit (8‑bit+FRC)”, it’s not true 10‑bit. Only panels that list “true 10‑bit” natively deliver the full colour depth.
Delta E and Why ≤ 2 Is the Floor, Not the Target
Delta‑E measures the difference between the colour your monitor shows and the intended colour. A delta‑E of 1 is considered imperceptible. A delta‑E of 2 is the industry standard for professional monitors.
But many monitors that claim “delta‑E ≤ 2” out of the box drift after a few weeks.
The better metric is “delta‑E ≤ 2 after calibration at 120 cd/m².” That tells you the monitor can maintain accuracy when you calibrate it to a standard brightness level. If a monitor only meets that spec in a specific factory mode that’s too bright for your room, it’s less useful.
Hardware Calibration vs. Software‑Only Profiling
This is the biggest differentiator. Software calibration creates an ICC profile that sits on top of the system and maps colours through the graphics card. It works, but it can introduce banding and it doesn’t adjust the monitor’s internal electronics.
Hardware calibration writes correction values directly into the monitor’s internal LUT (look‑up table). The monitor stays accurate even if you switch to a different computer or graphics card. Every monitor on our shortlist supports hardware calibration.
If you are considering a larger screen for multitasking, remember that ultrawide monitors can replace dual monitors without sacrificing pixel density, something to think about when you’re planning your desk layout.

Image source: Wikimedia Commons / Nick Spiker (CC BY-SA)
The diagram above shows how Adobe RGB (larger triangle) covers significantly more colour space than sRGB. A monitor that hits 97% of that larger triangle gives you headroom for print work that sRGB can’t reproduce.
My Top Contenders Right Now
These are the monitors that consistently test well and earn trust from professional photographers.
BenQ PhotoVue SW321C
BenQ’s flagship 32‑inch model covers 99% Adobe RGB and ships with a factory calibration report for delta‑E ≤ 2. It includes a shade hood and supports hardware calibration via BenQ’s Palette Master Element software. The SW321C also features a paper‑colour simulation mode that mimics the look of printed media on screen, very handy for soft‑proofing.
Eizo ColorEdge CS2740
Eizo is the gold standard for colour fidelity. The CS2740 delivers 99% Adobe RGB and comes with a 5‑year warranty. Its self‑calibration sensor (optional on some models) lets you schedule calibrations without attaching an external puck.
The build quality is exceptional, and the uniformity guarantees are stricter than any other brand.
ASUS ProArt PA32UCG‑K
This 32‑inch monitor reaches 97% DCI‑P3 and 99.5% Adobe RGB, with a peak brightness of 1600 cd/m² for HDR work. That makes it ideal for photographers who also do video editing or shoot HLR footage. It supports hardware calibration through ASUS’s Calman‑verified process.
The fans can be audible under load, but the colour accuracy is top‑tier.
Dell UltraSharp U2723QE
If you need colour accuracy on a tighter budget, the U2723QE is a strong contender. It’s a 27‑inch IPS Black panel with 98% DCI‑P3 and 100% sRGB. It supports hardware calibration via Dell’s Display Manager software.
The delta‑E out of the box is around 1.5, but after calibration it stays under 1. It doesn’t cover full Adobe RGB, so it’s not ideal for serious print work, but for web‑focused photographers it’s an excellent value.
Apple Pro Display XDR
The Pro Display XDR is a different beast: 6K resolution, 1600 cd/m² sustained brightness, and extremely wide colour (99% DCI‑P3). It doesn’t reach full Adobe RGB coverage, but its colour accuracy is outstanding. The catch is price, over $5,000 for the display plus $1,000 for the stand, and it relies on software calibration via macOS.
No hardware LUT, which limits long‑term consistency.
LG UltraFine 32UN880‑B
LG’s 32‑inch UltraFine hits 95% DCI‑P3 and 99% sRGB. It supports hardware calibration through LG’s Calibration Studio software. It’s a solid mid‑range option with good ergonomics (stand with height, tilt, pivot) but falls short of the Adobe RGB coverage needed for print‑centric workflows.
The Head‑to‑Head Table: Specs, Strengths, and Trade‑offs
Here’s a side‑by‑side look at the key specs that matter for photographers.
| Monitor | Panel Type | Adobe RGB Coverage | True 10‑Bit | Hardware Calibration | Price Range |
|---|---|---|---|---|---|
| BenQ SW321C | IPS | 99% | Yes (native) | Yes | ~$1,100 |
| Eizo CS2740 | IPS | 99% | Yes (native) | Yes | ~$1,600 |
| ASUS PA32UCG‑K | IPS + Mini‑LED | 99.5% | Yes (native) | Yes | ~$2,100 |
| Dell U2723QE | IPS Black | 98% DCI‑P3 (not full Adobe RGB) | 8‑bit+FRC | Yes | ~$450 |
| Apple Pro Display XDR | IPS | 99% DCI‑P3 (not full Adobe RGB) | Yes (native) | No (software only) | ~$5,500 |
| LG 32UN880‑B | IPS | 95% DCI‑P3 | 8‑bit+FRC | Yes | ~$650 |
What stands out? The Eizo and ASUS models lead in colour coverage and calibration capabilities. The Dell is a bargain but limited to sRGB/DCI‑P3 workflows.
The Apple display is gorgeous but lacks hardware calibration and is priced for a different audience.
If you are weighing an ultrawide setup as an alternative to a single large monitor, know that ultrawide monitors are good for productivity in editing, but for colour‑critical work you still need a panel with the specs above. A larger curved screen can be a decent secondary reference, but your primary editing monitor must be colour accurate first.
For those who shoot both stills and video, the ASUS PA32UCG‑K pulls ahead because it covers DCI‑P3 natively at high brightness. If you shoot mostly stills for print, the BenQ or Eizo are better investments. The right size for an ultrawide monitor might be 34 inches for multitasking, but your colour‑accurate monitor should ideally be a dedicated 16:9 panel at 27 or 32 inches, ultrawide formats are less common for professional colour monitors because of uniformity challenges.
All these choices assume you are willing to calibrate regularly. A monitor that passes factory checks can still drift. Budget for a calibration tool like an X‑Rite i1Display Pro or Datacolor Spyder X.
Every monitor on this list works with both. The US National Institute of Standards and Technology (NIST) publishes guidelines on colour measurement that reinforce the importance of periodic re‑calibration.
For photographers who want a single display that handles both photo editing and gaming, consider an ultrawide monitor? It is worth it?, but remember, gaming monitors rarely meet the accuracy needs of professional photography. They are better kept as secondary screens for previews or client review.
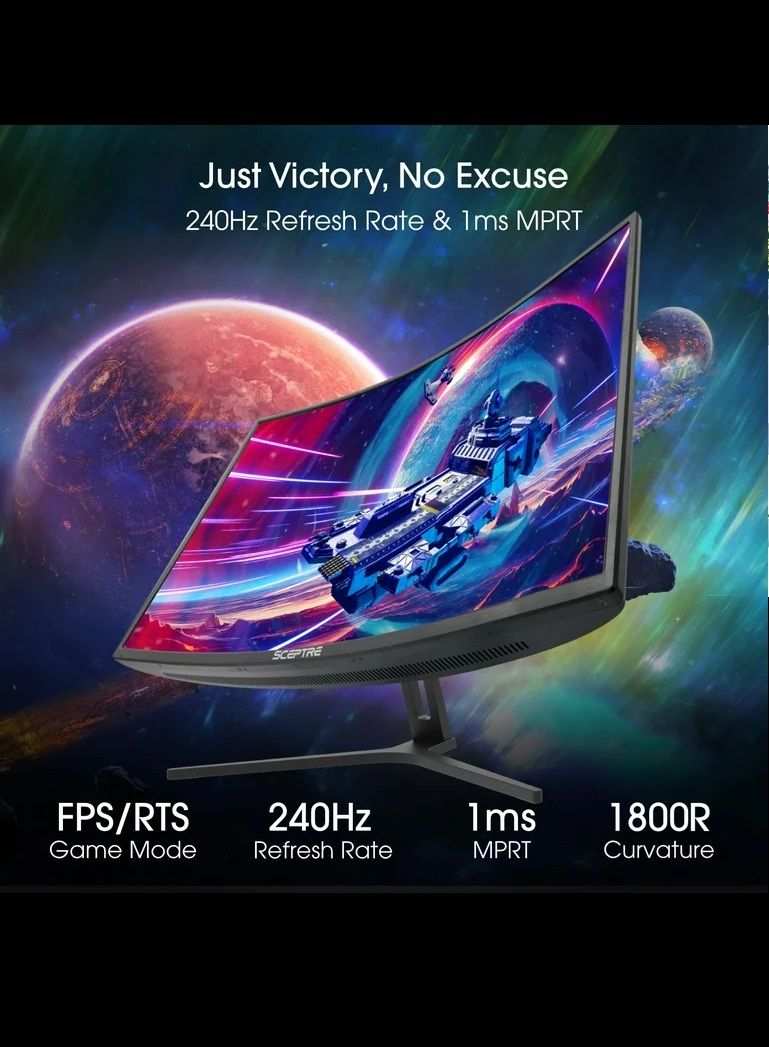
A curved monitor’s effect on accuracy is also worth reading: curved panels can introduce geometric distortion in linear work like architecture photography.
Now let’s get into the specific use‑case recommendations in the next sections.
Best for Studio Photographers: Print Work and Soft‑Proofing
If you regularly output prints, your monitor needs to simulate what ink on paper will look like. That means wide Adobe RGB coverage and a soft‑proofing mode that can mimic different paper profiles.
The BenQ SW321C is the standout here. Its Paper Color Sync mode adjusts the display’s white point and brightness to match common photo papers. You load a paper profile, and the monitor shifts its colour temperature to approximate how that paper handles white.
It is not perfect, but it gets you closer than any other monitor in its price range.
The Eizo CS2740 also excels at soft‑proofing, but you need to configure it manually through its ColorNavigator software. Its built‑in calibration sensor checks the screen every 30 minutes during idle time. That level of stability matters for a print studio where you have to trust a proof.
For soft‑proofing, aim for a monitor brightness of 80 to 120 cd/m², depending on your viewing light. Your room lighting should be neutral and dim. A monitor hood helps block ambient reflections.
The BenQ ships with a hood included. Eizo sells them separately.
If you shoot tethered to a laptop, consider a 27‑inch model for easier desk fit. The curved monitors vs. flat debate for designers applies here: for print work, flat panels are better because they avoid geometric distortion when you lean in to inspect edges.
Best for Wedding and Portrait Photographers: Consistency Across Deliverables
Wedding photographers deliver hundreds of images per event. Colour needs to be consistent from culling through editing to final export. Banding in a soft‑focus background or a skin‑tone shift between shots is a fast way to lose a client.
For this workflow, the ASUS ProArt PA32UCG‑K is a strong pick. Its wide DCI‑P3 coverage handles skin tones accurately across different lighting conditions. The HDR capability helps when you edit highlights and shadows that appear in both bright outdoor ceremonies and dim reception halls.
The Dell U2723QE also works well if your budget is tighter. It covers 98% DCI‑P3 and 100% sRGB, which covers the majority of web and print deliverables. You give up some Adobe RGB headroom, but for portraits that end up on social media and in albums, the difference is negligible.
A common workflow mistake: editing an entire wedding gallery on a single colour profile without recalibrating. If you shoot over two days, recalibrate between sessions. The monitor’s internal LUT can drift if the room temperature changes.
For culling, a larger ultrawide monitor as a secondary screen helps you view the grid without zooming in and out constantly. Just keep your primary editing display as the colour‑accurate 27‑ or 32‑inch panel.
Best for Landscape Photographers: Shadow Detail and Gradient Rendering
Landscape images live and die on sky gradients and shadow detail. Banding in a sunset gradient is the first thing editors notice. That makes true 10‑bit depth essential.
The Eizo CS2740 and the ASUS PA32UCG‑K both use native 10‑bit panels. The Eizo’s uniformity compensation ensures that a clear blue sky stretches evenly across the entire screen. The ASUS’s mini‑LED backlight gives you higher peak brightness for HDR landscapes, but some gradient banding can appear in the darkest shadows if you push exposure too far.
The BenQ SW321C also holds up well. Its 99% Adobe RGB coverage means you see the full range of colours that a good colour space for printing can reproduce. Landscape photographers often print large, so having that wider gamut is not optional.
A practical tip: test your monitor’s gradient handling with a test pattern. Display a smooth ramp from pure black to mid‑gray. If you see visible steps, your monitor is not rendering shadows accurately.
The Eizo passes this test cleanly. Most 8‑bit + FRC panels show mild banding.
If you shoot long exposures or astro landscapes, pay attention to black point uniformity. A monitor with uneven backlight can make a dark sky look patchy. IPS panels vary here.
The Eizo has strict binning for uniformity.
Best for Hybrid Shooters: Photo and Video on One Monitor
If you shoot stills and video for the same client, you need a monitor that covers both Adobe RGB and DCI‑P3 well. The ASUS PA32UCG‑K is the obvious choice. It hits 99.5% Adobe RGB and 97% DCI‑P3.
Its 1600 cd/m² peak brightness makes HDR grading viable.
The key difference: video workflow uses a different gamma (2.4) and colour space (Rec. 709 or DCI‑P3). You want a monitor that lets you switch between colour modes without recalibrating. The ASUS includes preset modes for sRGB, Adobe RGB, DCI‑P3, and Rec. 709.
The Apple Pro Display XDR is also suited to hybrid work because of its brightness and colour accuracy, but the lack of hardware calibration means you rely on macOS’s software layer. Over months, drift can occur. For a pure photo‑video hybrid setup, the ASUS is more stable.
For hybrid shooters, a 32‑inch screen at 4K gives you enough real estate for timeline and photo previews side by side. A curved monitor for multitasking might help with peripheral view, but ensure the panel is colour‑accurate and flat enough to avoid geometric distortion in video previews.
Best on a Budget Without Sacrificing Accuracy
You do not need to spend $1,500 to get colour accuracy. The Dell UltraSharp U2723QE proves that. At around $450, it delivers a delta‑E under 1.5 out of the box and supports hardware calibration.
What you sacrifice: full Adobe RGB coverage and true 10‑bit depth. The Dell uses 8‑bit + FRC, so subtle sky gradients might show mild banding. But for web‑focused photographers and those who do not print, the difference is small.
The LG 32UN880‑B at $650 is another option. Its 95% DCI‑P3 and hardware calibration support make it a solid middle ground. The included ergonomic stand is excellent for reducing neck strain during long edits.
Both monitors work with the Datacolor Spyder X or X‑Rite i1Display Pro. Plan to calibrate every two to four weeks. Over a year, the Dell and LG stay within delta‑E 2 if you keep up with it.
If you are building a dual‑monitor setup, use a colour‑accurate panel for primary editing and a cheaper secondary screen for tool palettes and reference images. The ultrawide vs. dual monitor question applies: two separate monitors let you mix a high‑end colour display with a budget screen more easily than a single ultrawide.
Mistakes to Avoid When Buying a Color Accurate Monitor
The biggest mistake is trusting marketing claims. A monitor that says "100% sRGB" tells you nothing about its Adobe RGB or DCI‑P3 coverage. Always check the actual spec sheet.
Another common error: buying a monitor with no hardware calibration support. Software‑only profiling drifts and often introduces banding. Spend the extra for a model with an internal LUT.
Ignoring panel uniformity is another trap. Two identical IPS panels can vary noticeably in brightness and colour across the screen. Look for monitors that ship with a uniformity report or offer a uniformity compensation mode.
What You'll Actually Pay: Pricing Guide by Tier
Entry‑level colour accuracy (around $400 to $600) gets you a Dell U2723QE or LG 32UN880‑B. You get hardware calibration and good sRGB/DCI‑P3 coverage, but no full Adobe RGB or true 10‑bit.
Mid‑range ($900 to $1,300) includes the BenQ SW321C. You gain 99% Adobe RGB, true 10‑bit, and a shade hood. This is the sweet spot for most serious photographers.
High‑end ($1,500 to $2,500) covers the Eizo CS2740 and ASUS PA32UCG‑K. You get best‑in‑class uniformity, self‑calibration options, and HDR support for hybrid workflows.
Premium ($5,000+) is the Apple Pro Display XDR and top‑tier Eizo models. These are overkill unless you have a studio budget or need absolute colour precision for museum prints.
Pro Tips for Setting Up and Calibrating
Set your monitor to 120 cd/m² brightness and D65 white point. That is the industry standard for photo editing. Use your calibration puck to write directly to the monitor’s LUT, not just the system profile.
Let the monitor warm up for at least 30 minutes before calibrating. Cold panels shift colour. Recalibrate every two to four weeks for critical work.
How to Keep Your Monitor Accurate Over Time
Monitor colour drifts slowly, but it does drift. The Eizo’s internal sensor automates recalibration. For other monitors, schedule a reminder on your phone.
Avoid direct sunlight on the screen. UV exposure can accelerate backlight ageing. Keep the brightness at a consistent level.
Don’t crank it up for gaming and back down for editing.
Frequently Asked Questions
Can I use a gaming monitor for photo editing?
Gaming monitors prioritise high refresh rates and contrast over colour accuracy. They often have poor delta‑E and no hardware calibration. Use one as a secondary screen only.
How often should I calibrate my monitor?
For professional work, calibrate every two weeks. For hobbyist use, once a month is fine. The monitor’s internal LUT holds calibration better than software profiles.
Is a 27‑inch monitor big enough for photo editing?
Yes. 27 inches at 4K gives you plenty of room for tool palettes and a large preview. 32 inches is better if you print large or work with multiple windows.
Do I need a dedicated calibration puck?
Yes. Factory calibration drifts. A Datacolor Spyder X or X‑Rite i1Display Pro costs around $150 to $200 and pays for itself in fewer reprints.
Are curved monitors good for photo editing?
Curved monitors can introduce geometric distortion when you inspect edges. For colour‑critical work, a flat panel is more reliable. Curved screens work fine as secondary displays for reference images.
The Verdict: Which One Should You Buy?
If you print and need soft‑proofing, get the BenQ SW321C. If you shoot hybrid photo and video, pick the ASUS PA32UCG‑K. If you want absolute colour stability, choose the Eizo CS2740.
And if you work mostly for web and social media, the Dell U2723QE gives you professional accuracy without breaking the bank.
No monitor replaces a proper colour‑managed workflow. Calibrate regularly, control your room lighting, and match your display to your output medium. That is how you get the best colour accurate monitor for photographers.
How to Choose Between 27-Inch and 32-Inch
Choose 27 inches if you have limited desk space or work tethered to a laptop. It fits standard monitor arms and leaves room for a secondary screen.
Pick 32 inches if you edit large prints or work with multiple tool panels open. The extra width helps with soft‑proofing side by side. Just check your desk depth first.
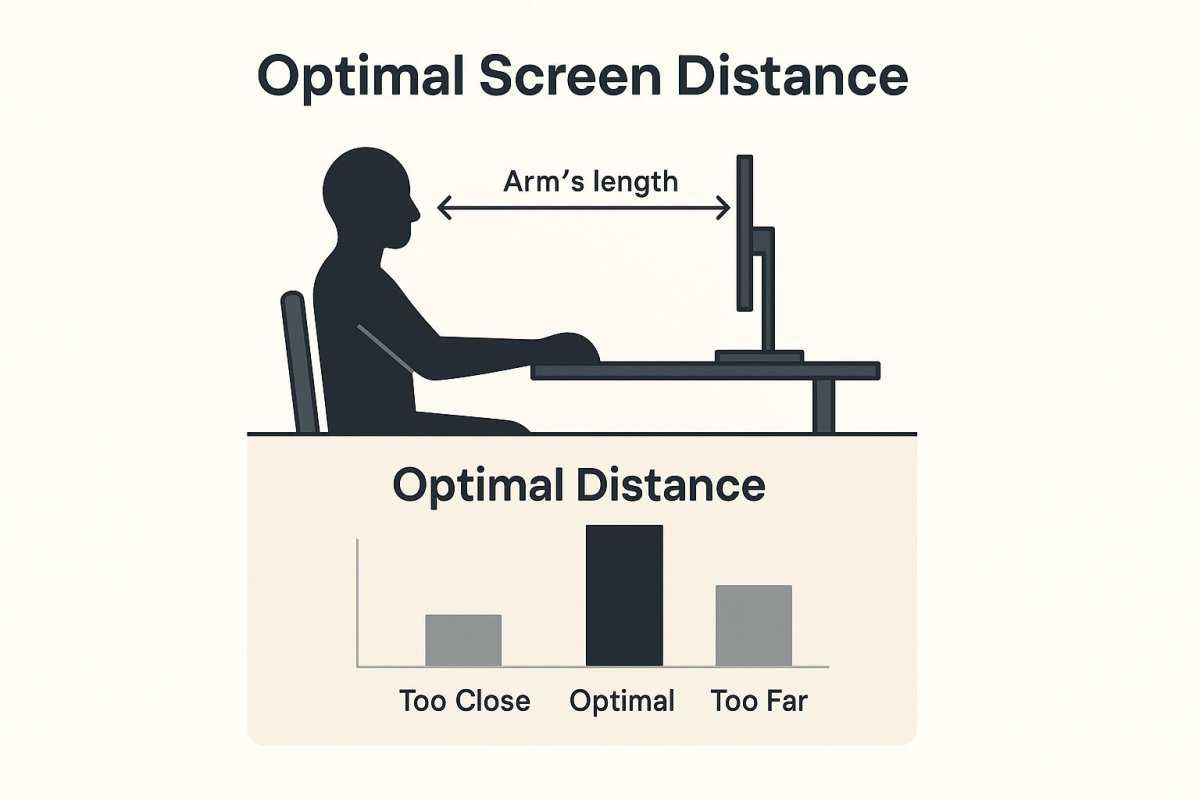
You need at least 24 inches of viewing distance.
Understanding Monitor Connectivity for Photo Editing
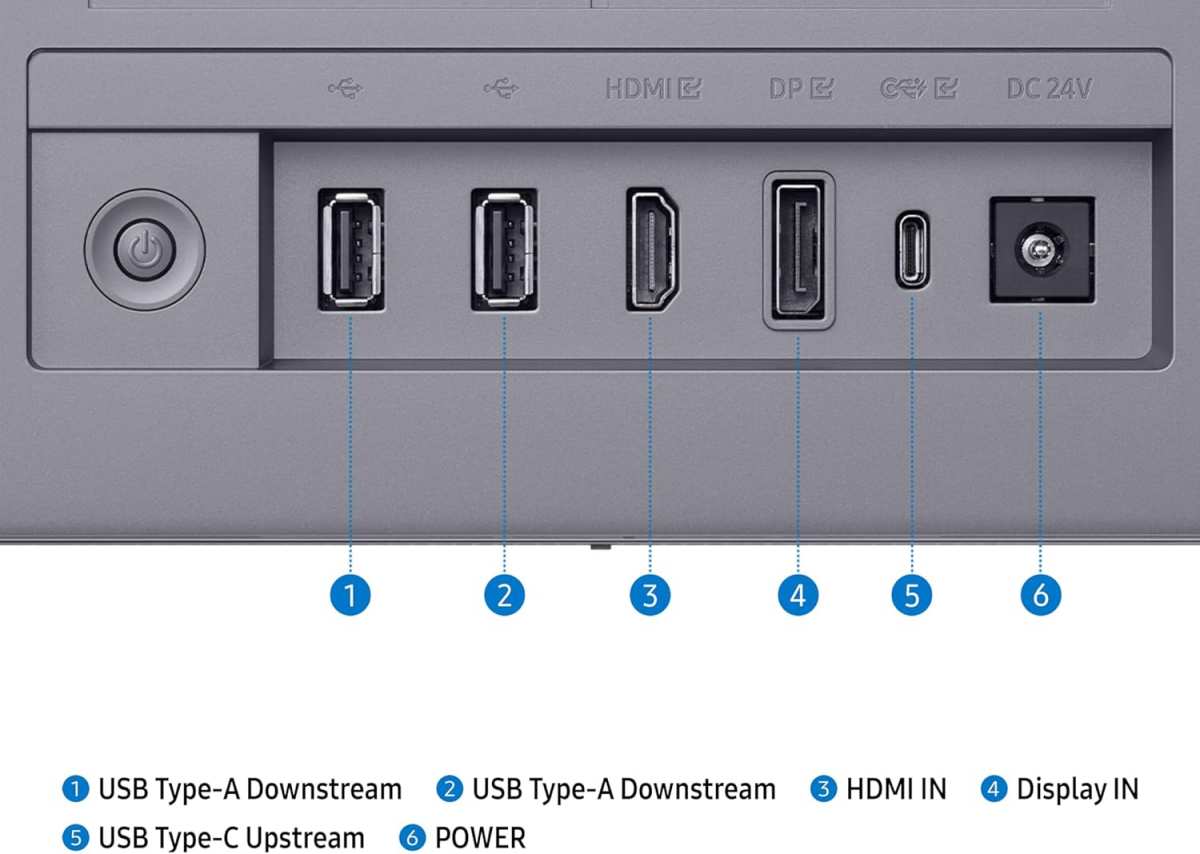
USB‑C with 90W power delivery is the most versatile connection. It carries video, data, and laptop charging through one cable. HDMI 2.0 and DisplayPort 1.4 are fine for older setups.
Avoid monitors that only offer HDMI 2.0 at 4K. They max out at 60 Hz, which is fine for editing, but some hybrids need higher refresh for video preview. Check that your monitor includes at least one USB‑C input.
The Role of Ambient Lighting in Color Accuracy
Your room light affects how you perceive the screen. A neutral 5000K light source is ideal. Avoid warm household bulbs that shift your colour perception.
Place the monitor away from windows. Direct sunlight washes out the screen and changes apparent contrast. A monitor hood helps, but controlling the room light is more effective.
When to Consider a Second Monitor
If you constantly switch between Lightroom and Photoshop, a second screen helps. Use your colour‑accurate display for the main image. Use a cheaper monitor for tool palettes, previews, and reference shots.
Match the brightness of both screens roughly. A huge mismatch can trick your eye during long edits. Keep the secondary monitor in sRGB mode to avoid colour confusion.
Common Calibration Software Options
BenQ uses Palette Master Element. Eizo uses ColorNavigator. ASUS supports Calman verified profiles.
Dell works with its own Display Manager or third‑party tools.
All major calibration software supports the Datacolor Spyder X and X‑Rite i1Display Pro. Stick with one puck and one software suite. Mixing tools can produce conflicting profiles.

Similar Posts