How to Setup Office Monitor for MacBook
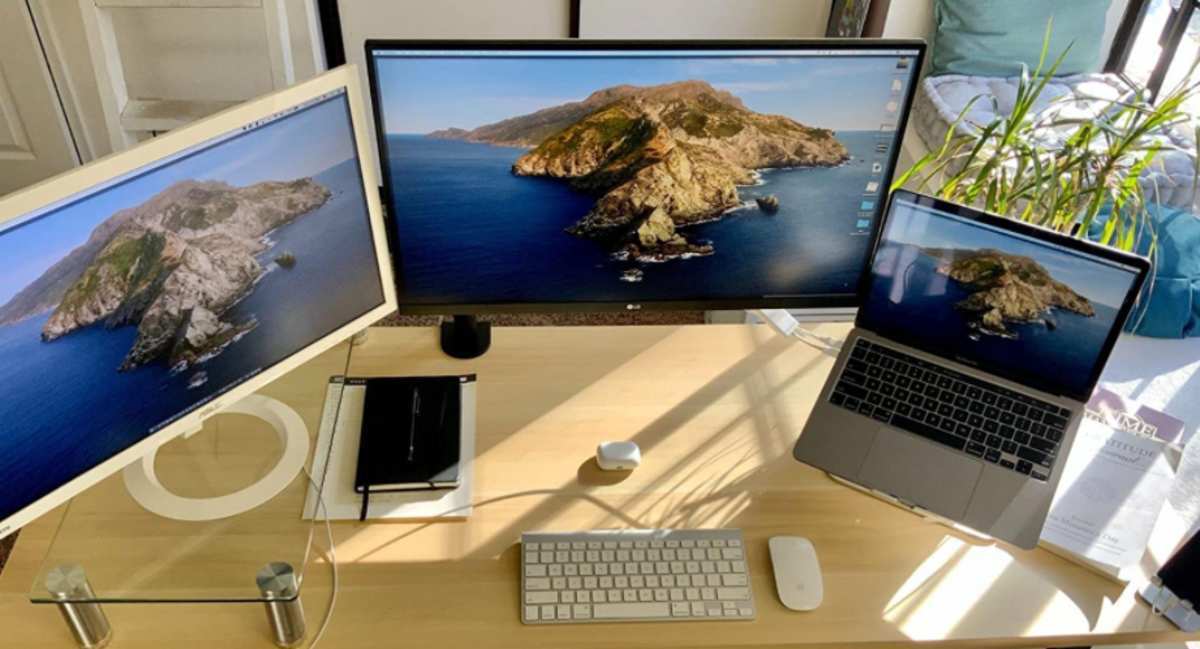
Learning how to setup office monitor for MacBook seems like it should be plug and play. Often it is, but plenty of people hit a wall the second they plug in that cable. The screen stays black.
The resolution looks wrong. The display flickers. Here's the thing.
Your setup path depends entirely on which MacBook you own, which monitor you bought, and which cable or adapter is sitting in your drawer right now. Let's walk through it step by step, branching where it actually branches, so you end up with a clean dual-screen (or single external) workspace that just works.
As of 2026, every current MacBook runs Apple Silicon, but plenty of older Intel models are still in circulation. Apple's official specs page ( HT201750) confirms that base M1 and M2 chips natively support only one external display. The Pro and Max variants handle two or more.
Knowing which MacBook you have is the first branch in this decision tree.
Quick Answer
Connect your MacBook to the monitor using a USB-C cable, HDMI adapter, or Thunderbolt dock, depending on your monitor's inputs. Open System Settings, then Displays, to configure resolution, scaling, and arrangement. Base M1 and M2 MacBooks support one external display natively.
M3, Pro, and Max chips handle two or more. Use clamshell mode by connecting power, an external keyboard, and a mouse before closing the lid.
Why Your MacBook + Monitor Setup Might Not Work (And How to Fix It)
Most "it won't connect" problems trace back to three root causes. The wrong cable. A bad adapter.
Or display settings that need manual configuration. Before you buy anything or change settings, you need to know what your MacBook can actually output, and what your monitor can accept. That's the foundation everything else depends on.
The good news is that once you identify your monitor's model and your MacBook's specs, the right setup becomes obvious. The bad news is that generic advice on the internet treats every MacBook the same. They're not.
A 2021 M1 Air plays by completely different rules than a 2023 M3 Pro MacBook Pro.
Step 1: Identify What Your MacBook Can Actually Output
Every setup path starts here. Your MacBook's chip determines how many external displays you can run, what connections work natively, and whether you'll need a special workaround.
Check your chip (Apple Silicon vs Intel)
Open the Apple menu, then click "About This Mac." The sheet that pops up shows you exactly what processor your machine runs. You'll see either "Apple M1," "Apple M2," "Apple M3," or an Intel chip name like "Intel Core i5."
Here's why that matters.
- If you see an M1, M2, M3, M3 Pro, or M3 Max, you're on Apple Silicon. macOS handles external display scaling and arrangement differently than it did on Intel.
- If you see an Intel chip (anything before late 2020), your display options and adapter compatibility follow older rules.
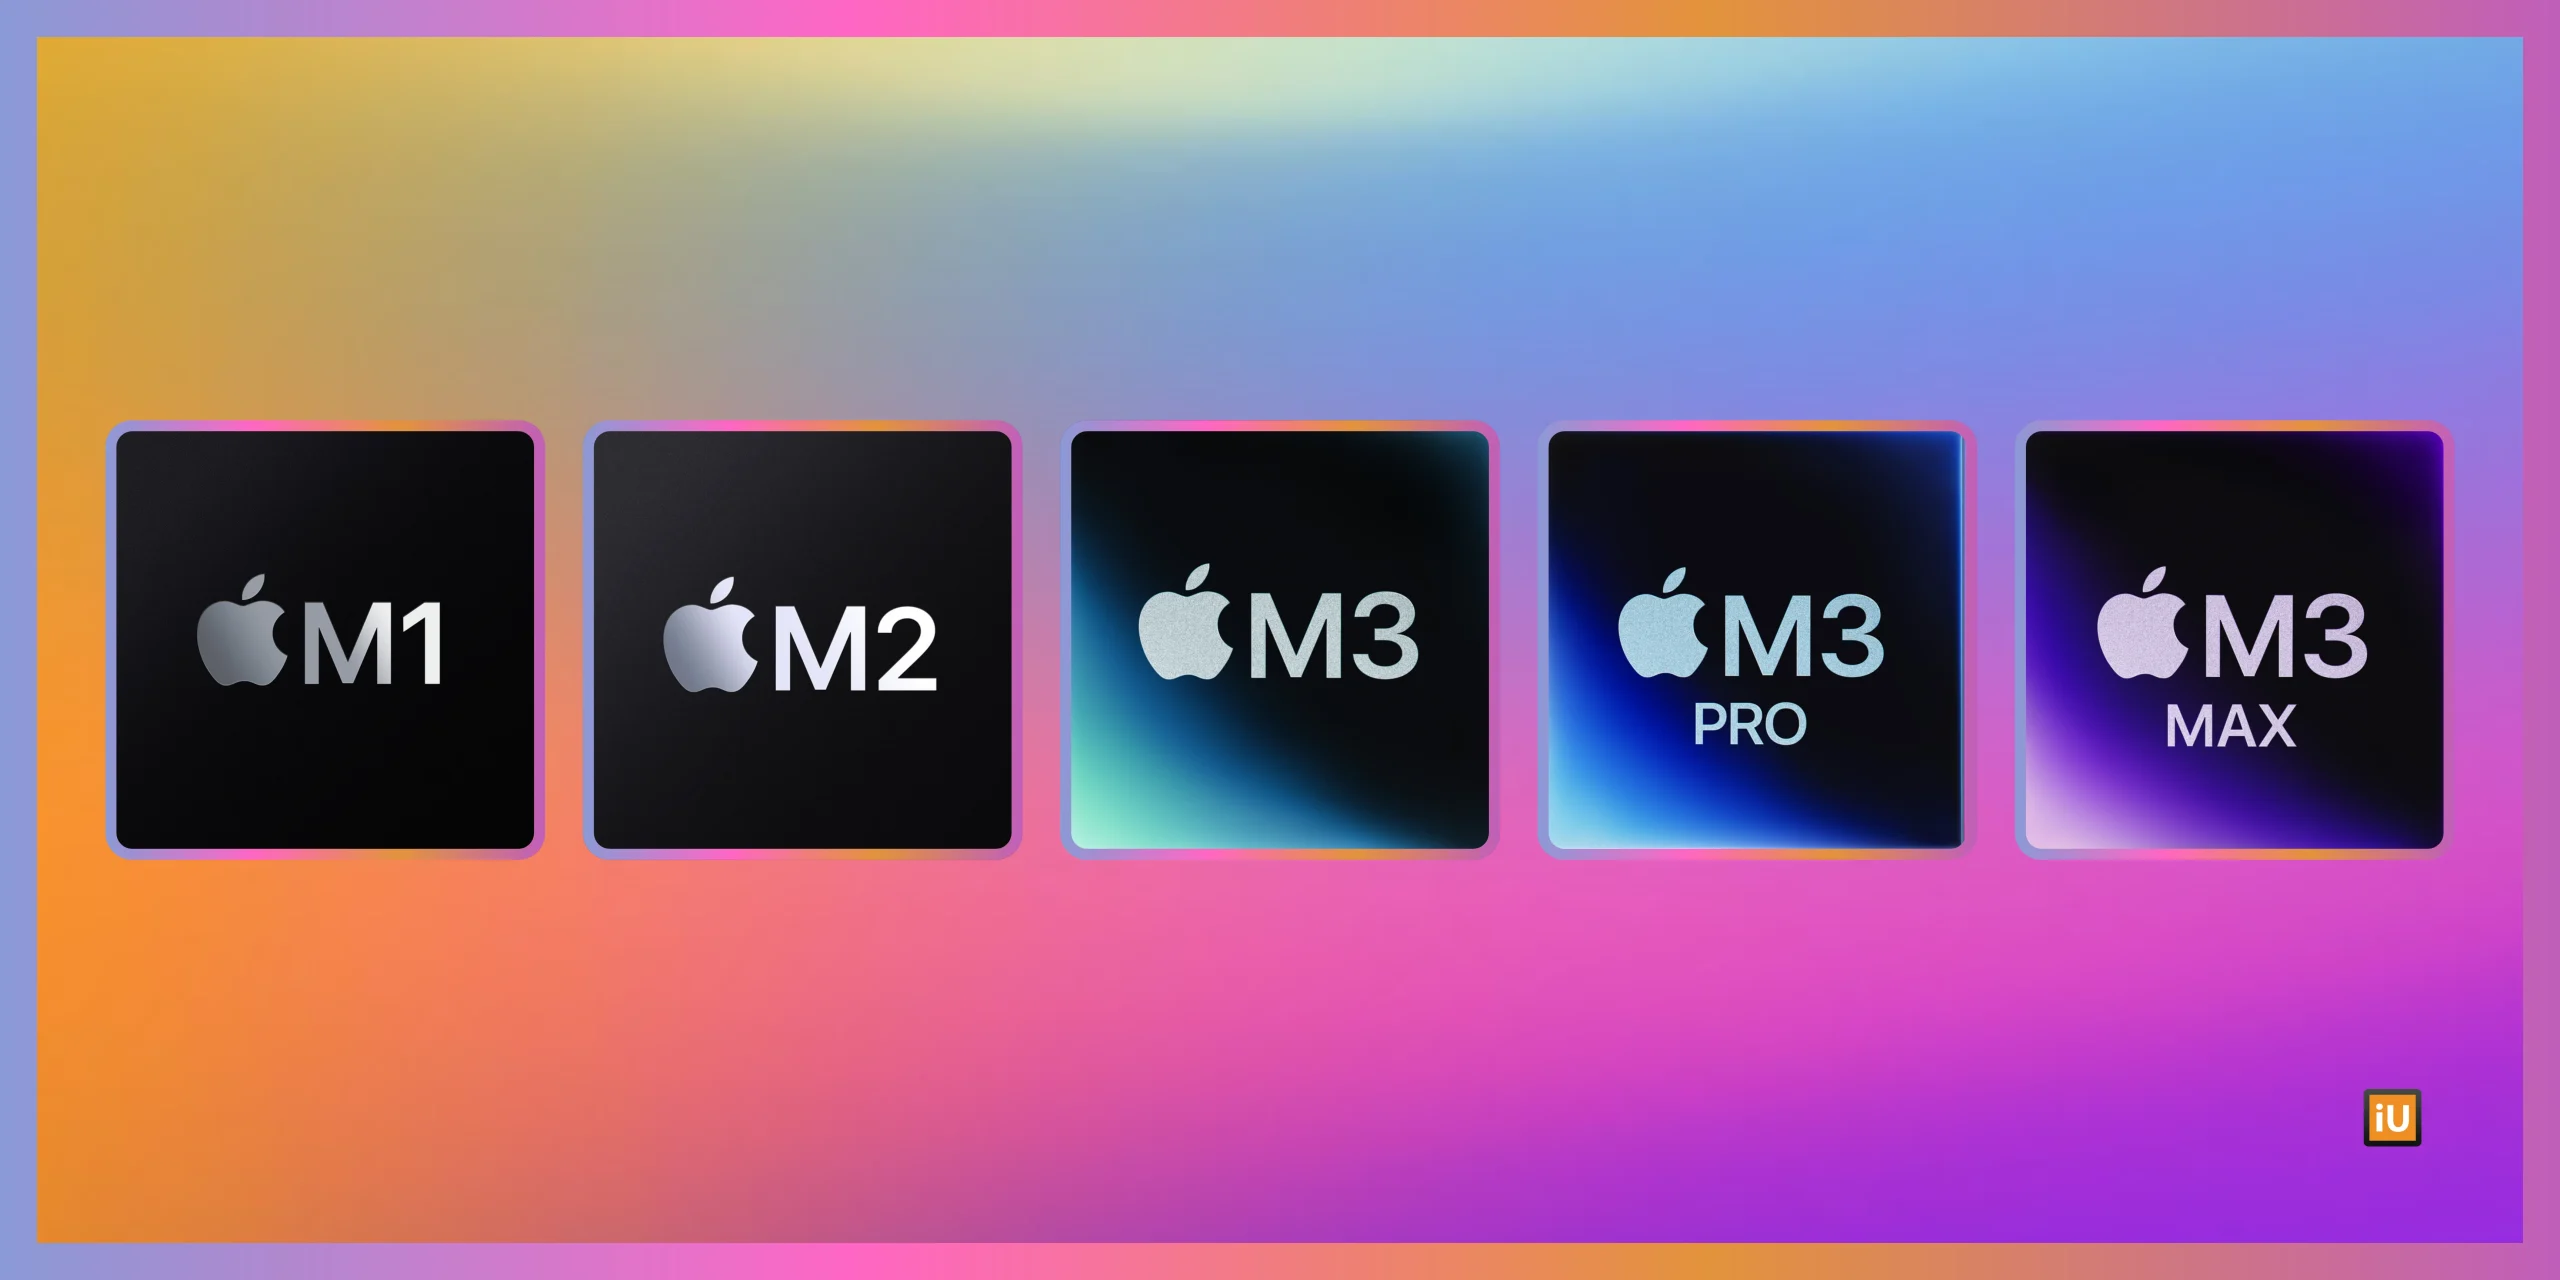
How many external displays does your MacBook support?
This is where most people get caught off guard. Apple documents these limits clearly, but nobody reads the spec sheet.
| MacBook Chip | Native External Display Support | Notes |
|---|---|---|
| M1 (base) | 1 external display | Use DisplayLink docks for more |
| M2 (base) | 1 external display | Same limitation as M1 |
| M3 (base) | 1 external display (lid closed) / 2 (lid open) | Improvement over base M1/M2 |
| M1 Pro | 2 external displays | No workarounds needed |
| M1 Max | 4 external displays | Built for multi-screen workflows |
| M2 Pro | 2 external displays | Enhanced codec engine |
| M2 Max | 4 external displays | Same multi-display flexibility |
| M3 Pro | 2 external displays | Supports 6K at 60Hz |
| M3 Max | 4 external displays | Up to 6K on each display |
| Intel (2016–2020) | Varies by model (1–4) | Check About This Mac for specifics |
The base M1 and M2 chips are the troublemakers. If you're trying to run two external monitors on an M1 Air, you'll hit a wall without a DisplayLink adapter. The M3 base chip improved things slightly by supporting two externals when the built-in display is open but dropping to one when you close the lid.
Where to find your exact model specs
Apple's support page HT201750 lists maximum external display support for every MacBook model ever made. Bookmark it. If your "About This Mac" sheet shows an Intel chip, cross-reference the model year on that page for your exact display limits.
Step 2: Match Your Monitor to the Right Connection
Now that you know what your MacBook can output, look at what your monitor can accept. Most office monitors from 2021 onward include at least one HDMI port and either USB-C or DisplayPort. Older monitors might only have HDMI or VGA.
The goal here is the simplest, cleanest connection. Every adapter you add between the MacBook and the monitor is another potential point of failure.
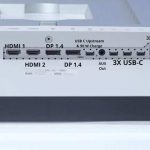
USB-C / Thunderbolt monitors (the cleanest option)
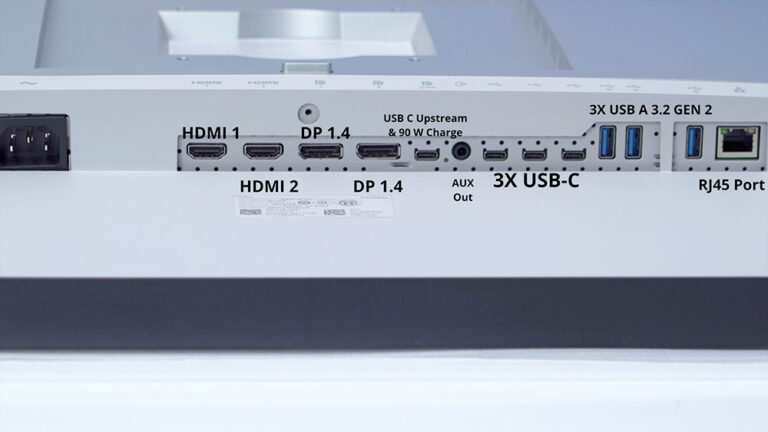
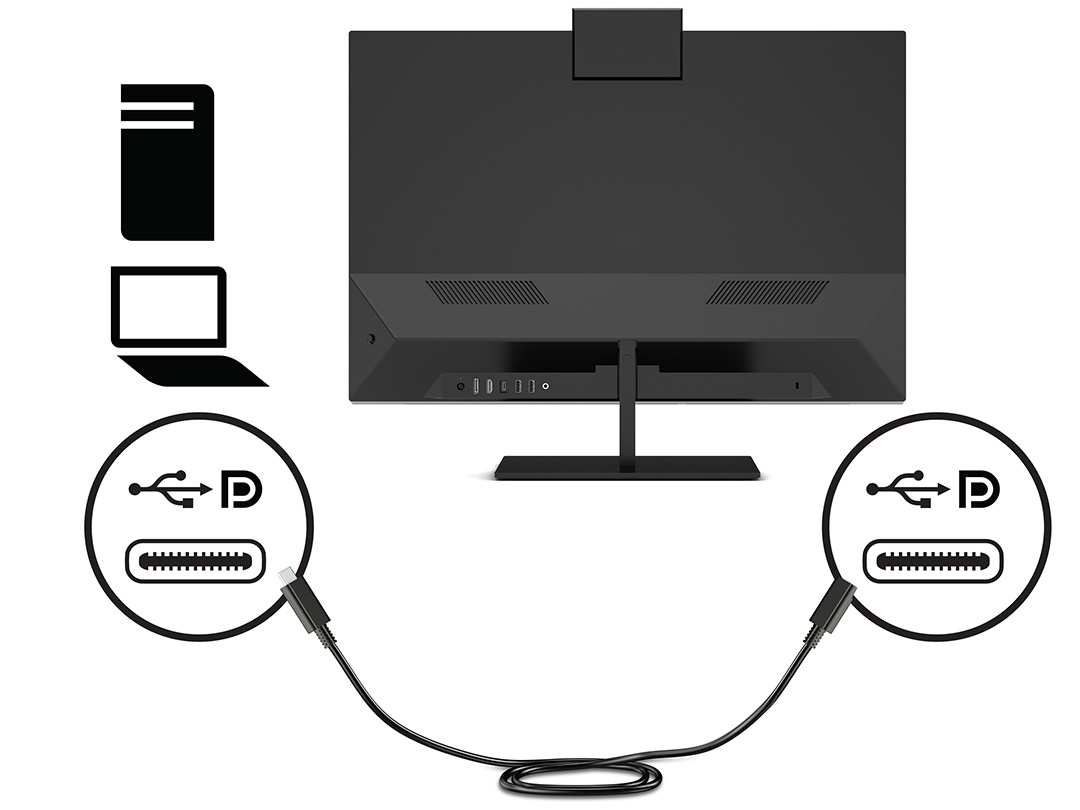
If your monitor has a USB-C port that supports DisplayPort Alt Mode, you're in luck. A single USB-C cable carries the display signal and charges your MacBook at the same time. This is by far the cleanest setup.
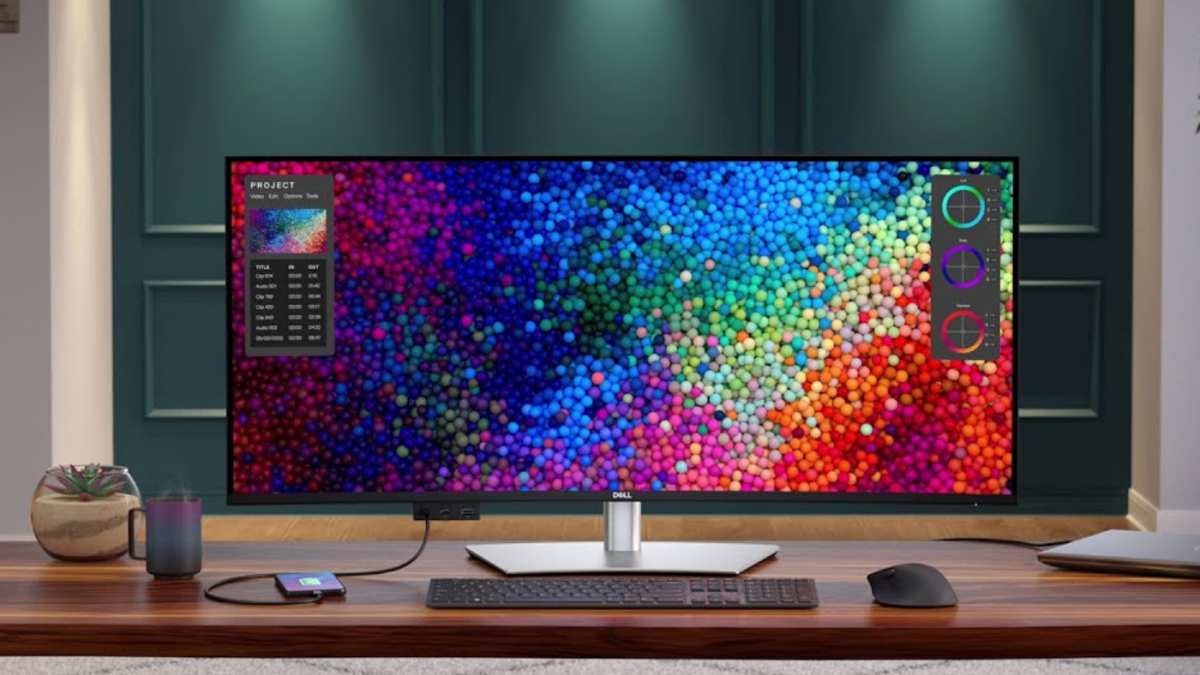
Popular monitors that work this way include the apple Studio Display, the Dell U2723QE, and the LG 27UK850. They negotiate power delivery over the cable, and you don't need any adapter at all.
What to check first.
- Confirm your monitor's USB-C port supports "DisplayPort Alt Mode" or "video input." Some USB-C ports on monitors are data-only.
- Verify the wattage the monitor provides over USB-C. The Studio Display delivers 96W. Many Dell and LG models deliver 60W to 90W. If your MacBook needs more than the monitor provides, you'll keep the MacBook's original charger plugged in separately.
HDMI monitors (most common)
HDMI is still the most common input on office monitors, especially models under $400. MacBook Pros from 2021 onward include a built-in HDMI port, so you just need a standard HDMI cable. No adapter required.
MacBooks without a built-in HDMI port (MacBook Airs and older Pros) need a USB-C to HDMI adapter or cable. Here's the critical detail: get a USB-C to HDMI adapter that supports HDMI 2.0. Cheap adapters limited to HDMI 1.4 cap 4K output at 30Hz.
That makes everything feel sluggish. For comfortable 4K at 60Hz, you need HDMI 2.0 support in the adapter.
DisplayPort monitors
DisplayPort on a monitor is less common in the office category but exists on some high-refresh or high-resolution models. You'll need a USB-C to DisplayPort cable or adapter. This connection type handles 4K 60Hz and higher refresh rates without fuss.
It's actually the most reliable option for pushing higher resolutions on base M1 and M2 MacBooks, since USB-C to DisplayPort cables tap directly into DisplayPort Alt Mode on the MacBook's port.
Step 3: Choose the Cable or Adapter You Actually Need
This is where decision-tree logic kicks in. Your connection path depends on two inputs: what your MacBook outputs and what your monitor accepts.
USB-C to USB-C cable (if your monitor supports it)
If both your MacBook and monitor have USB-C with DisplayPort Alt Mode, a single USB-C cable is all you need.
Thunderbolt 4 cables work. Certified USB-C 3.2 Gen 2 cables rated for video also work. Buy a cable that explicitly labels "4K 60Hz" or "DisplayPort Alt Mode" in its product spec.
USB-C to HDMI adapter or dongle
For any monitor that only has HDMI input, this is your go-to adapter.
Recommended specs to look for.
- 4K at 60Hz support (HDMI 2.0 minimum)
- Passive adapter (active adapters are bulkier and rarely necessary for this use case)
- Aluminum housing for heat dissipation
Cable Matters and Anker make reliable options in the $20 to $35 range. Avoid the $8 no-name adapters on marketplace sites. They're the source of a surprising number of "no signal" complaints.
USB-C hub or docking station
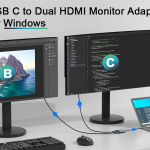
If you need multiple peripherals connected (external monitor, keyboard, mouse, ethernet), a USB-C hub or Thunderbolt dock consolidates everything to a single cable.
Popular options for a MacBook dual-monitor setup include the CalDigit TS4 (Thunderbolt 4) and the Anker 577 Thunderbolt Docking Station. These deliver display output plus charging plus data over one Thunderbolt cable.
Here's the key limitation for base M1 and M2 MacBook users.
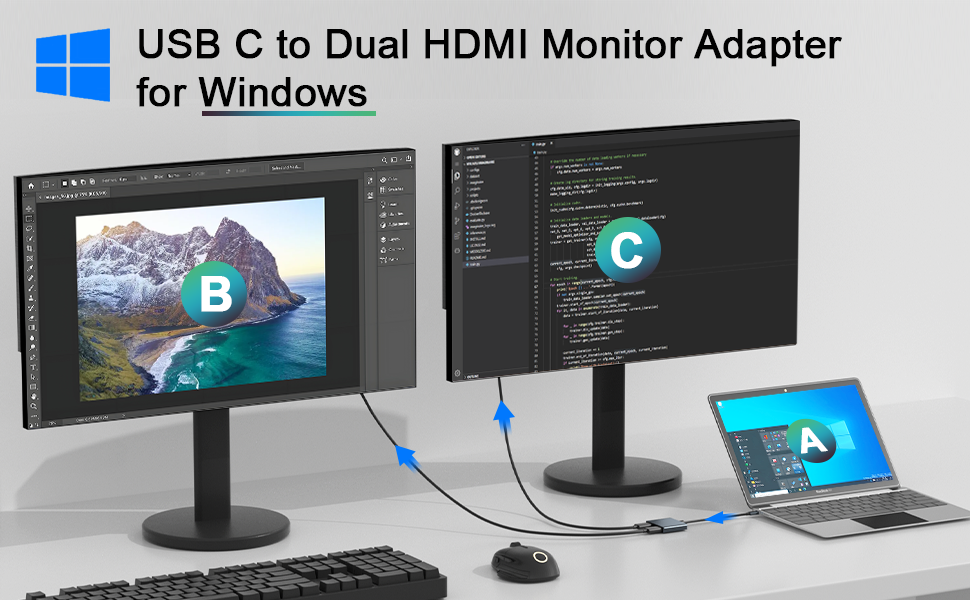
- A standard USB-C hub or dock mirrors or extends to only one external display on base M chips.
- To run two external displays on a base M1 or M2 MacBook, you need a dock with DisplayLink technology. DisplayLink is a software-driven workaround that bypasses Apple's native limitation, but it requires installing DisplayLink Manager from the manufacturer's website.
What to avoid
Avoid these common mistakes when choosing your adapter or cable.
- Unbranded USB-C adapters with no spec sheet. Many cheap models overheat or fail at 4K 60Hz.
- HDMI 1.4-only adapters. These cap 4K at 30Hz, making mouse movement feel laggy.
- Daisy-chaining through an HDMI splitter. Splitters duplicate the signal, not extend it.
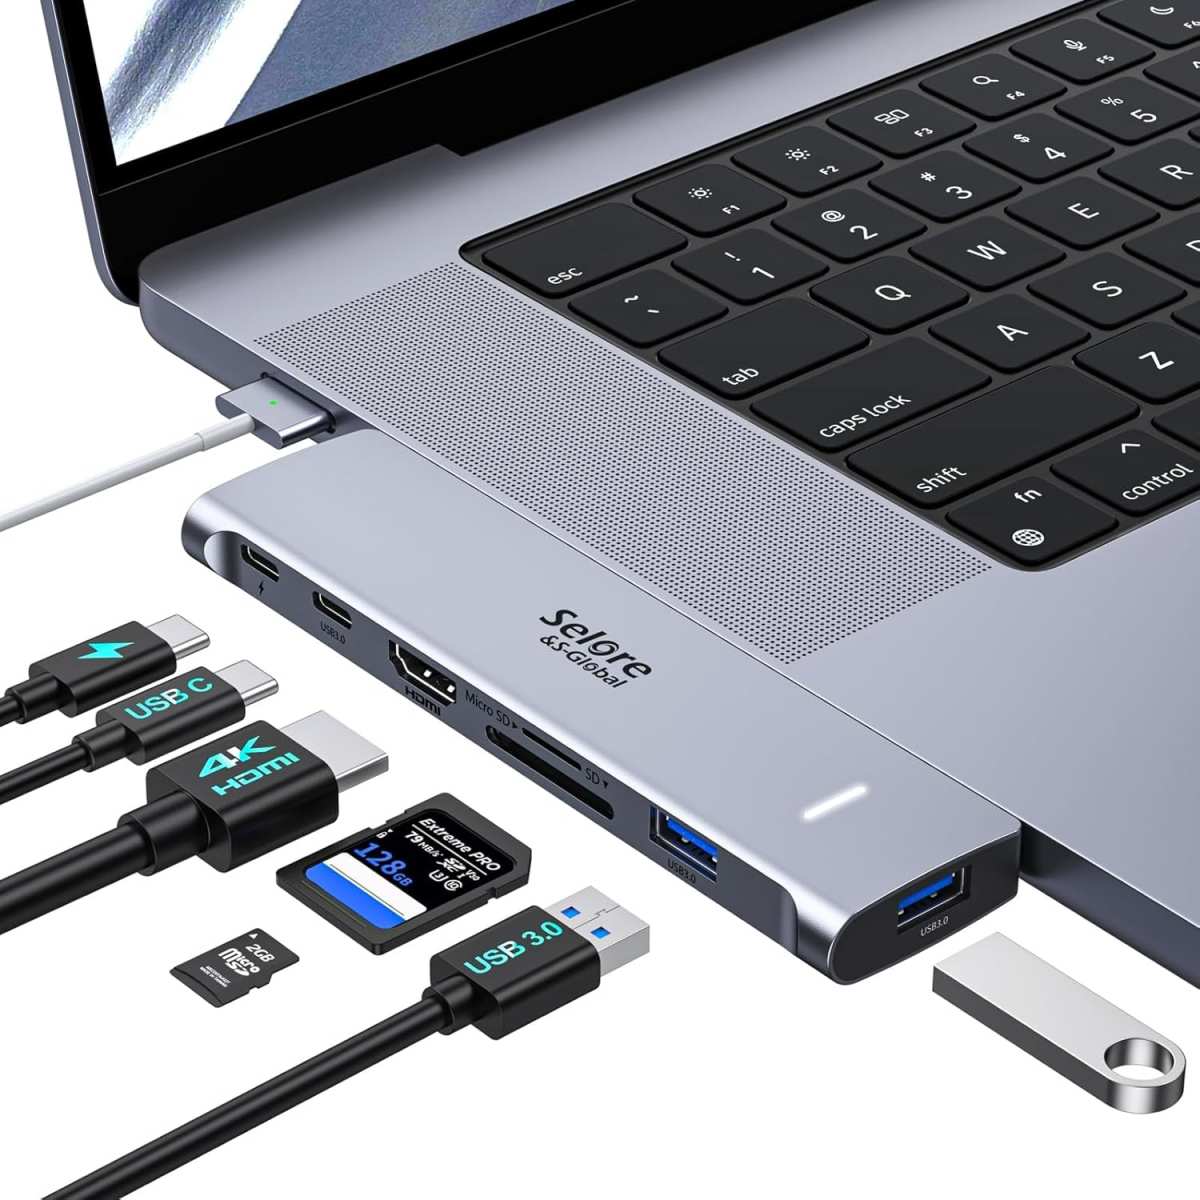
Step 4: Configure Display Settings in macOS
Once everything's connected and the monitor detects a signal, it's time to fine-tune how macOS handles the display.
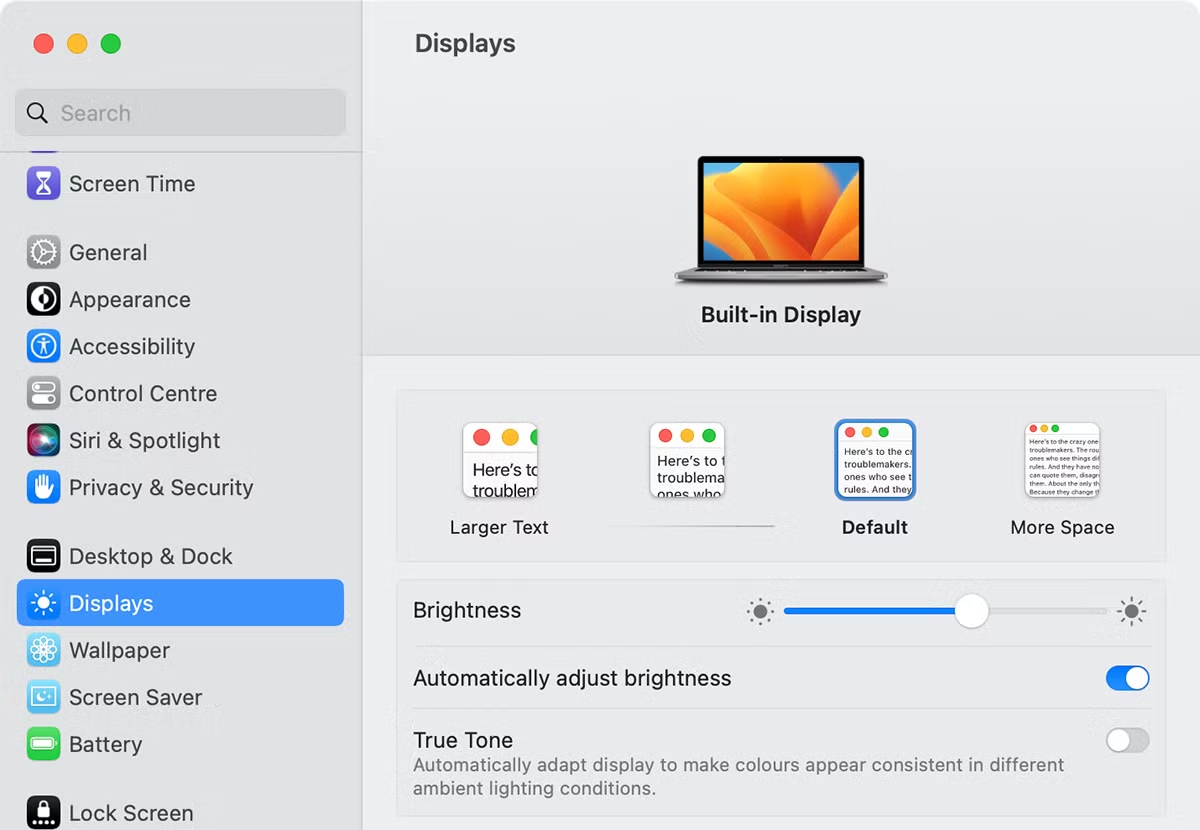
Open System Settings, then click Displays. You should see both your MacBook screen and the external monitor represented as separate panels.
System Settings → Displays: detection and arrangement
If your monitor doesn't appear, click "Detect Displays." On macOS Ventura and later, this button lives at the bottom of the Displays pane. On older macOS versions, hold the Option key and the "Detect Displays" button appears.
The Arrangement tab shows a visual layout of your screens. Drag the white menu bar to whichever display you want as your primary. This determines where new windows open and where the Dock appears by default.
Resolution and scaling (HiDPI / Retina scaling)
macOS defaults to "Default for display" on most external monitors. On Apple's own displays (Studio Display, Pro Display XDR), this looks perfect out of the box. On third-party monitors, text can look either too small or slightly soft.
Click "Scaled" to see a list of resolution options. On a 4K monitor, the "Looks like 2560 x 1440" option is usually the sweet spot. It renders at double the pixel density for crisp text, then scales to your 4K panel.
For even finer control, third-party tools like BetterDisplay let you create custom HiDPI resolutions on monitors that macOS doesn't natively support at Retina quality. This is especially useful on 1440p monitors, where macOS's default scaling can look slightly blurry.
Extended desktop vs mirrored mode
By default, macOS extends your desktop across both screens. Each display acts as its own workspace. If you want both screens to show the same image (useful for presentations), open Displays settings and check "Mirror for" under the arrangement options.
Most office setups benefit from extended mode. You keep your communication apps on one screen and your main work on the other.
Refresh rate settings
If your monitor supports 75Hz, 120Hz, or 144Hz, you can select that in the Displays settings under "Refresh Rate." Most office monitors are 60Hz, but if you picked up a high-refresh display, make sure macOS is actually using the higher rate. It sometimes defaults to 60Hz even when the panel supports more.
Step 5: Set Up Clamshell Mode (Lid Closed)
Clamshell mode lets you use your MacBook as a desktop tower with the lid shut. The external monitor becomes your only display. It keeps your desk clean and gives you a proper screen at eye level.
What you need before closing the lid
Three things must be connected before you close the lid.
- A power adapter plugged into the MacBook or into a Thunderbolt dock that delivers power delivery.
- An external keyboard and mouse or trackpad connected via Bluetooth or USB.
- The external monitor connected and displaying an image.
If any of those are missing, macOS won't enter clamshell mode. The MacBook will just go to sleep when you close the lid.
How to enable it properly
Connect everything. Confirm the external monitor is showing your desktop. Close the lid.
Your Mac may flicker for a moment. The external display should stay active. If it goes dark, open the lid, wake the Mac, then close it again while the external display is active.
On macOS Ventura and later, clamshell mode works more reliably if the Mac has been awake and displaying on the external monitor for at least 10 to 15 seconds before you close the lid.
Thermal considerations and ventilation
A MacBook with its lid closed runs warmer than one with the lid open. The keyboard deck normally dissipates heat. When it's shut, that pathway is blocked.
For office work (browsing, documents, email), this rarely causes problems. For sustained heavy workloads like video rendering or compiling code, consider using a laptop stand that elevates the closed MacBook off the desk. Even an inch of airflow underneath helps.
Common Problems and How to Solve Them
Even with the right cable and settings, things sometimes go sideways. Here are the most common issues and what actually fixes them.
"No signal" or monitor not detected
Try these steps in order.
- Unplug the cable from both ends, wait five seconds, plug it back in.
- Try a different cable. Cables fail more often than people think.
- In System Settings, Displays, click "Detect Displays."
- Restart the Mac with the monitor connected.
- Test the monitor with a different source (a game console, another laptop) to rule out a monitor hardware issue.
If none of that works, the adapter may be the culprit. Some USB-C adapters are directional or chipset-specific. Swap in a different brand and try again.
Blurry text or wrong scaling
This happens most on 1440p and 4K monitors that aren't Apple-branded. macOS doesn't always enable HiDPI scaling on third-party displays by default.
Open System Settings, Displays, then choose "Scaled." Try each option and see which one looks sharpest. For more control, install BetterDisplay (free, open source). It unlocks custom HiDPI resolutions that macOS hides.
Display not waking from sleep
If your external monitor stays black after waking the Mac from sleep, unplug and replug the USB-C or HDMI cable. This forces macOS to re-detect the display.
A more permanent fix: go to System Settings, Battery, then click Options. Uncheck "Prevent automatic sleeping on power adapter when the display is off." This keeps the Mac awake during brief sleep cycles and reduces wake-from-sleep detection failures.
Wi-Fi or Bluetooth interference from hubs
USB 3.0 hubs and cables can emit radio interference in the 2.4 GHz band. If your Wi-Fi slows down or your Bluetooth mouse stutters when you plug in a hub, move the hub farther from the Mac. Use a shielded USB-C cable.
Switch your Wi-Fi to the 5 GHz band if your router supports it.
Only one external display when you need two
If you're on a base M1 or M2 MacBook, you're hitting a hardware limitation. Your options are limited but real.
- Use a DisplayLink docking station. Install DisplayLink Manager from the manufacturer's website. This software-driven approach lets you run additional displays beyond Apple's native limit.
- Upgrade to an M3 Pro or M3 Max MacBook if your workflow genuinely requires multiple high-resolution external monitors.
Best Monitors for MacBook: Quick Picks by Use Case
Choosing the right monitor matters as much as choosing the right cable. Here are solid picks based on common MacBook setups.
Best overall 4K USB-C monitor
The Dell U2723QE delivers 4K resolution over USB-C with 90W power delivery. It covers the DCI-P3 color space well enough for most creative work. It's widely available in the $550 to $650 range.
Best budget option
The LG 27UL500 offers 4K resolution over HDMI for around $250 to $300. It lacks USB-C, so you'll need a USB-C to HDMI adapter. For office productivity, it's hard to beat at that price.
Best for creative work (color accuracy)
The Apple Studio Display is the obvious choice if budget allows. Its 5K panel, built-in webcam, and 96W charging make it the most seamless MacBook companion. It retails around $1,599.
BenQ's PD2705U is a strong alternative in the $700 range with factory-calibrated color accuracy.
Best ultrawide alternative
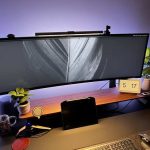
The LG 40WP95W is a 5K2K ultrawide (5120 x 2160) with USB-C connectivity and 96W power delivery. It replaces a dual-monitor setup with a single panel. Pricing sits around $900 to $1,100.
Costs and What to Expect to Spend
Here's a realistic breakdown of what you'll pay for a complete MacBook office monitor setup.
| Component | Budget Range | Mid-Range | Premium |
|---|---|---|---|
| 27" 4K USB-C monitor | $250–$350 | $450–$650 | $1,000–$1,600 |
| USB-C to HDMI adapter | $15–$25 | $25–$40 | N/A (USB-C monitor) |
| USB-C hub or dock | $30–$60 | $80–$150 | $200–$350 |
| USB-C cable (if needed) | $10–$15 | $15–$25 | $30–$50 |
| Total | $305–$450 | $570–$865 | $1,230–$2,000 |
The biggest variable is the monitor itself. A solid 4K USB-C display in the $400 to $600 range handles 90% of office use cases without issue.
Expert Tips Most Guides Skip
A few things that make a real difference once you're set up.
- Calibrate your monitor's color profile. Open System Settings, Displays, then click "Color profile" and select the one closest to your panel. For precise work, use a hardware calibrator like the Calibrite ColorChecker.
- Set your monitor as the primary display. Drag the white menu bar to it in the Arrangement tab. This keeps the Dock and new windows on the bigger screen.
- Use a single Thunderbolt cable if your monitor supports it. Fewer cables means fewer failure points and a cleaner desk.
- If you use multiple Macs with the same monitor, label your cables. Swapping between machines gets confusing fast.
- Keep your adapter firmware updated. Some CalDigit and OWC docks receive firmware updates that fix macOS compatibility issues.
Frequently Asked Questions
Can I use any USB-C cable to connect my MacBook to a monitor?
No. Not all USB-C cables support video. Look for cables labeled "DisplayPort Alt Mode" or "Thunderbolt 3/4." Charging-only USB-C cables won't carry a display signal.
Why does my external monitor look blurry on macOS?
macOS sometimes defaults to a non-HiDPI resolution on third-party monitors. Go to System Settings, Displays, Scaled, and try different resolution options. For more control, use BetterDisplay to enable HiDPI scaling.
How do I close my MacBook lid without it going to sleep?
Connect your power adapter, an external keyboard, and an external mouse or trackpad. Connect the external monitor. Once the external display is active, close the lid.
Your Mac will stay awake in clamshell mode.
Can I daisy-chain two monitors from one MacBook port?
Only if your monitors support DisplayPort Multi-Stream Transport (MST) and your MacBook has a Thunderbolt port. Apple Silicon Macs handle MST inconsistently. Most users get better results connecting each monitor to a separate port.
Does using an external display slow down my MacBook?
For typical office tasks, no. For sustained GPU-intensive work, the Mac allocates resources to drive the external panel. Base M1 and M2 MacBooks may see a minor performance dip at 4K.
Pro and Max chips handle it without issue.
What's the maximum resolution my MacBook supports?
It depends on your chip. M3 Pro and M3 Max support up to 6K at 60Hz on each external display. Base M3 supports up to 4K at 144Hz on one display.
Check Apple's spec page HT201750 for your exact model's limits.
Mistakes to Avoid When Setting Up Your Office Monitor
Most people grab whatever cable is in their drawer and hope for the best. Here's what tends to go wrong.
- Using a USB-C cable that only charges. Not every USB-C cable carries a video signal. If your cable didn't come packaged with a monitor or explicitly list "DisplayPort Alt Mode" in its specs, it might be charge-only.
- Buying a cheap HDMI 1.4 adapter. These cap 4K output at 30Hz. Everything feels sluggish, from moving windows to scrolling web pages. You want HDMI 2.0 support for smooth 4K at 60Hz.
- Forgetting to plug in the power adapter before closing the lid. Clamshell mode won't engage without power delivery connected. Your Mac just goes asleep.
- Blocking airflow under a closed MacBook. Heat buildup can cause thermal throttling during sustained workloads. Elevate the Mac even slightly.
- Assuming a splitter extends your display. HDMI splitters mirror the same image on two screens. To actually extend your desktop, each monitor needs its own video signal from the Mac or a DisplayLink dock.
Maintenance and Long-Term Optimization
Once your setup is dialed in, a few habits keep it running smoothly.
- Keep macOS updated. Apple has fixed multiple external display bugs in point releases over the past few years. Ventura 13.4 and Sonoma 14.2 both included display-related patches.
- Reset the NVRAM only if you're having persistent detection issues. Shut down the Mac, then power it on and immediately hold Option, Command, P, and R for about 20 seconds. This resets display resolution and startup disk preferences among other things.
- Periodically check your adapter's firmware. Manufacturers like CalDigit and OWC release firmware updates through their own utility apps that fix compatibility with newer macOS versions.
- Clean your USB-C ports. Lint and debris in the port cause intermittent connections that are maddening to diagnose. Use a wooden toothpick, not metal.
- Recalibrate your monitor every two to three months if color accuracy matters for your work. Panels drift over time, especially at high brightness settings.
Real Scenarios: How Different Setups Play Out
Scenario 1: M1 MacBook Air with a 4K HDMI monitor. You need a USB-C to HDMI 2.0 adapter. A single cable and adapter gets you a crisp 4K desktop at 60Hz. Total cost for the adapter sits around $25.
This is the most common office setup we see.
Scenario 2: M3 Pro MacBook Pro with two external displays. Two USB-C cables, two monitors with USB-C inputs. Plug each monitor into a separate Thunderbolt port on opposite sides of the MacBook. macOS handles both natively without any adapters or workarounds.
Scenario 3: Base M2 MacBook Air that needs two monitors. This requires a DisplayLink dock. Install DisplayLink Manager from the DisplayLink website. The dock handles display rendering in software.
It works, but it uses CPU resources and doesn't support hardware-accelerated video playback as smoothly as a native connection.
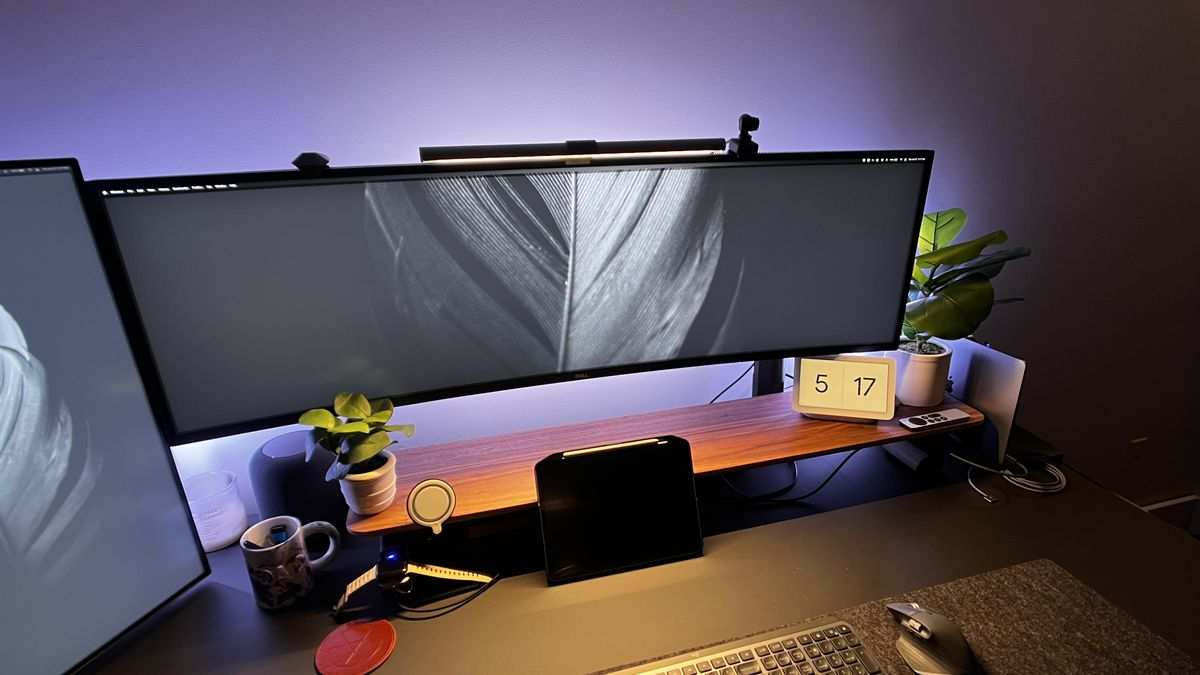
Scenario 4: Ultrawide monitor replacing a dual-screen setup. An LG 40WP95C or similar 5K2K panel connects over a single USB-C cable. macOS treats it as one wide display. Use the built-in Stage Manager or a tool like Magnet to snap windows into defined zones.
Final Decision Guide: Your Setup in 60 Seconds
Start with your MacBook chip. That's your first branch.
- Base M1 or M2, one external display needed. USB-C to HDMI 2.0 adapter or direct USB-C cable. Simple and affordable.
- Base M1 or M2, two displays needed. DisplayLink dock required. Budget $80 to $150 for the dock plus installation of DisplayLink Manager.
- M3 base, lid open, two displays. Two separate cables to two monitors. Works natively. Close the lid and you're limited to one external.
- M3 Pro or M3 Max, any configuration. Thunderbolt cables directly to monitors. No complications. You have the most flexibility here.
- Intel MacBook, 2020 or earlier. HDMI port on the machine means direct cable connection. For two displays, use the built-in HDMI plus a USB-C adapter on a separate port.
Once you know your chip, the cable choice is straightforward. USB-C direct connection first. HDMI adapter second.
DisplayLink only when you have no other option. Configure scaling in System Settings. Connect power, keyboard, and mouse before closing the lid for clamshell mode.
That's it. No mystery, no adapters you don't need. Just match your MacBook's capabilities to your monitor's inputs, pick the right cable, and let macOS handle the rest.

Similar Posts