How to Connect Office Monitor to Docking Station
So you've got a docking station, a monitor, and a laptop, and nothing's showing up on screen. You're not alone. Learning how to connect office monitor to docking station is one of those things that sounds simple until you realize half the confusion comes from not knowing what ports and cables actually do what.
Here's what manufacturer specifications and aggregate user reports tell us: most connection failures come down to three things, a USB-C cable that doesn't carry video, a monitor set to the wrong input, or a dock that needs drivers you never installed. Let's walk through it step by step.
Quick Answer
Connect the docking station to your laptop using a USB-C or Thunderbolt cable that supports video output. Connect the monitor to the dock using HDMI or DisplayPort. Select the correct input on the monitor.
Install any required drivers. Your display should appear within seconds.
First, Check What You're Actually Working With
Before you plug anything in, take 30 seconds to look at what you've got. This saves the most time later.
What ports does your laptop have?
Check the sides of your laptop for one of these:
- USB-C with a lightning bolt symbol, Thunderbolt 3 or 4. Supports video and the most versatile option
- USB-C with a "D" or "DP" symbol, DisplayPort Alt Mode. Supports video output
- USB-C with no symbol, May only handle data and charging. No video guaranteed
- Built-in HDMI port, You could skip the dock entirely for display purposes
What inputs does your monitor offer?
Look at the back or underside of your monitor. Common options include:
- HDMI (most common on office monitors)
- DisplayPort (common on higher-resolution monitors)
- VGA (legacy, still found on many office monitors)
- USB-C (newer monitors that accept video directly)
What kind of docking station are you using?
| Dock Type | Video Support | Max Resolution (Typical) | Best For |
|---|---|---|---|
| USB-C DP Alt Mode dock | Native, no drivers needed | 4K at 60Hz (DP 1.4) | Standard office work |
| Thunderbolt 4 dock | Native, highest bandwidth | Dual 4K at 60Hz | Power users, dual monitors |
| DisplayLink dock | Requires driver install | Dual 4K at 60Hz (DL-6950) | MacBooks, older laptops without DP Alt Mode |
| USB 3.0 dock with display | DisplayLink required | Varies, often 1080p to 4K | Legacy setups |
The Decision Tree: Finding Your Connection Path
Here's where most generic guides fall apart. They assume you've got one specific setup. You probably don't.
So let's figure out your actual path.
Scenario 1: USB-C Laptop + USB-C/Thunderbolt Dock + Modern Monitor
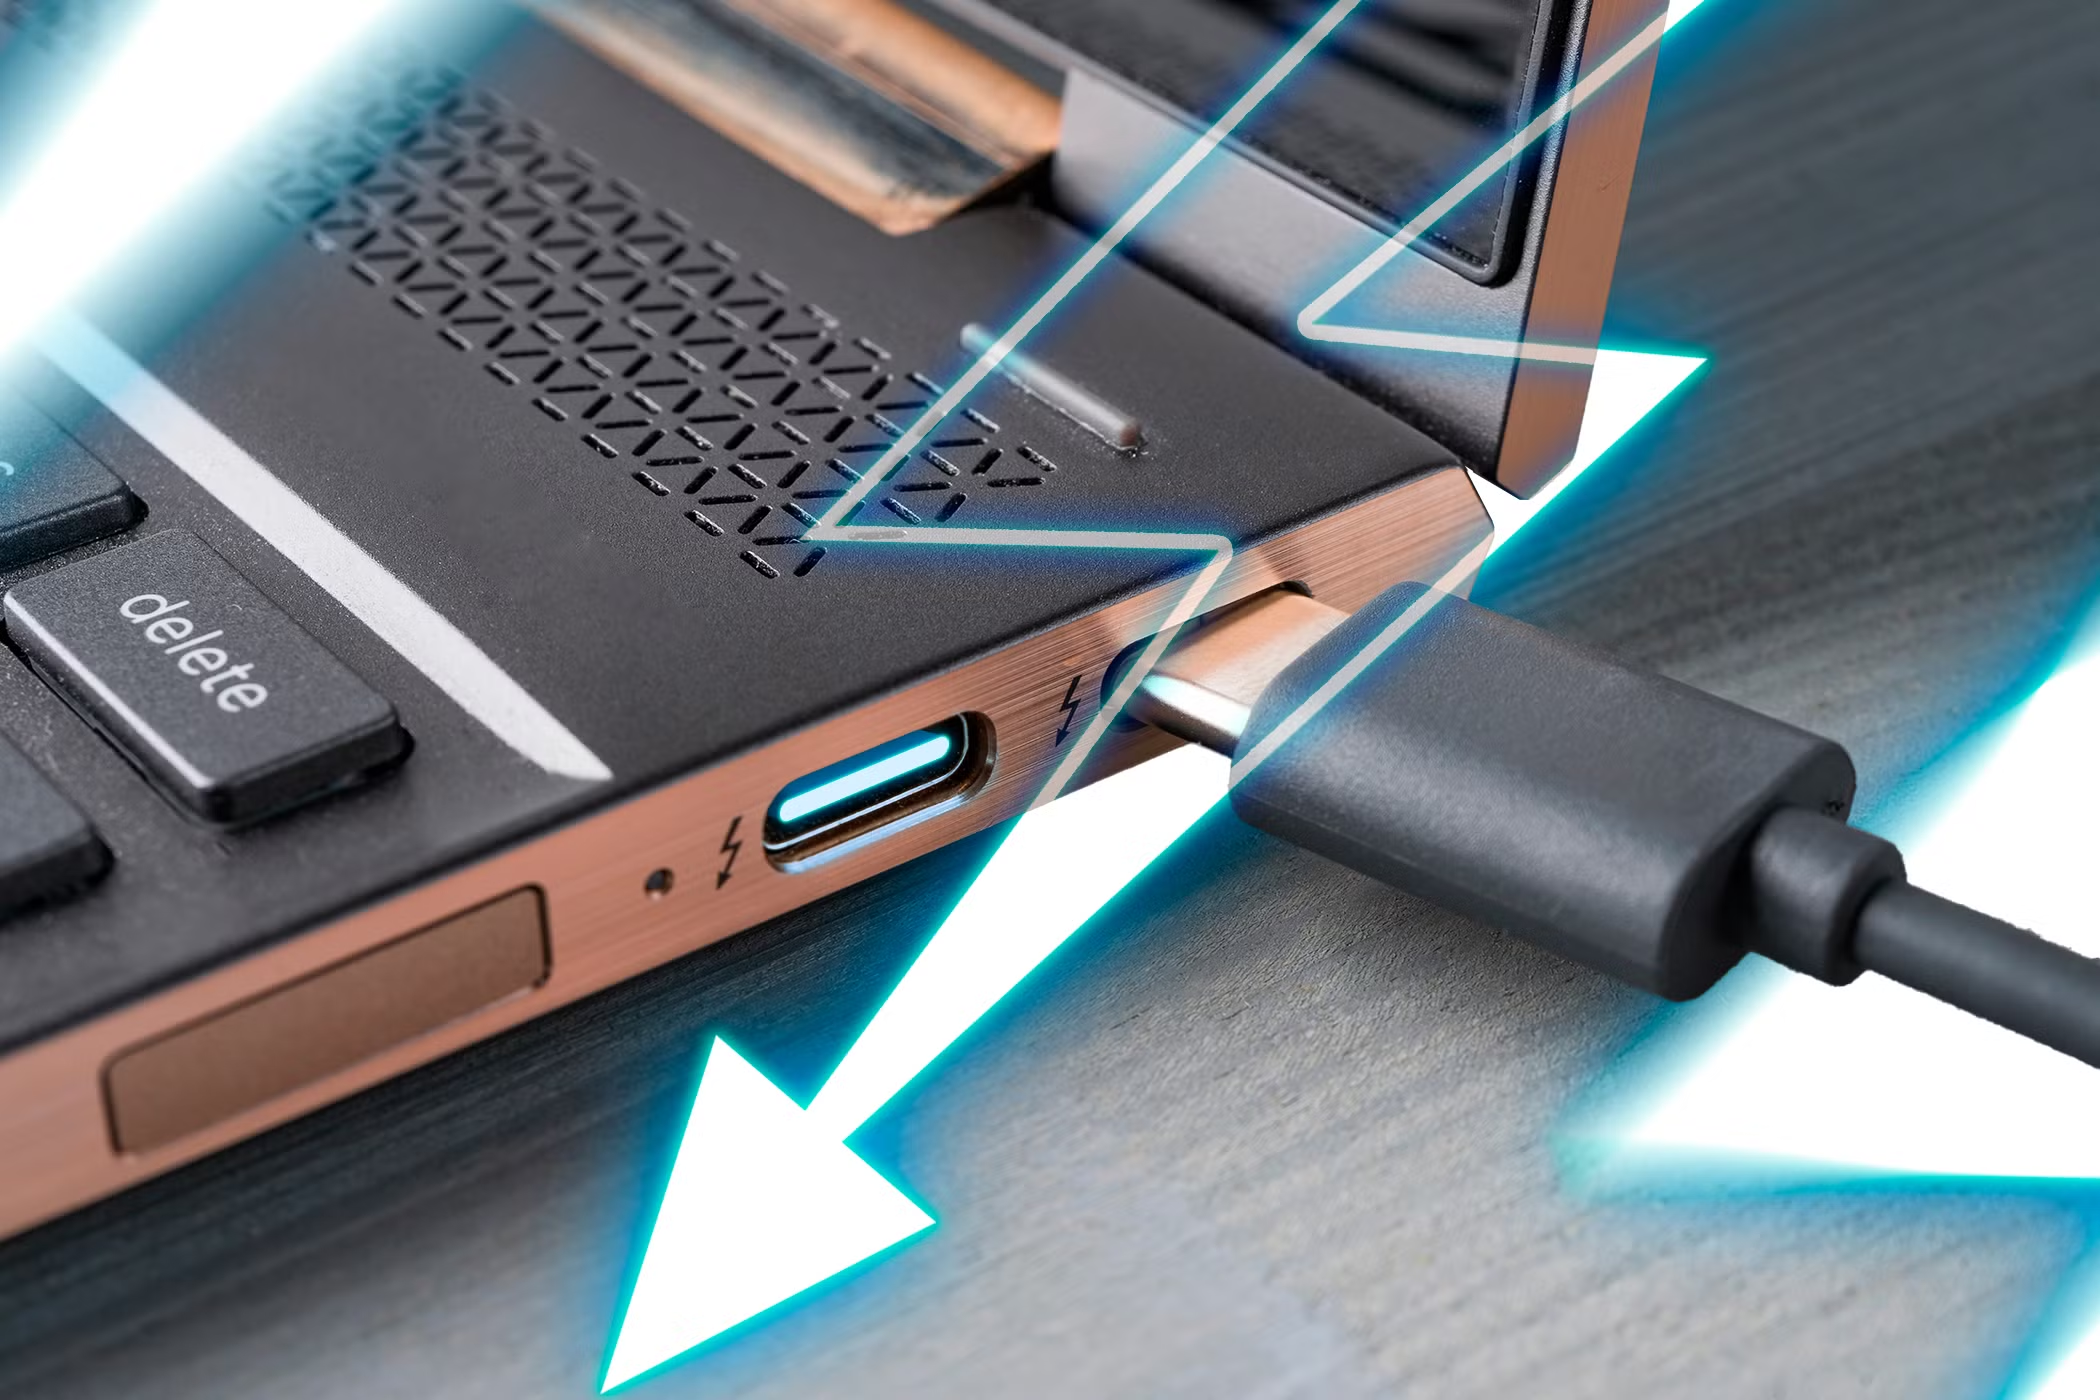
This is the simplest path. If your laptop has USB-C with DisplayPort Alt Mode (or Thunderbolt), and your monitor has HDMI or DisplayPort, you're looking at two cables total.
What you need:
- USB-C cable (included with most docks,确认 it supports data and video, not just charging)
- HDMI or DisplayPort cable (whatever your monitor accepts)
The connection order matters more than people think:
- Plug the USB-C cable into the dock
- Plug the other end into your laptop
- Connect your monitor cable to the dock's video output
- Plug the other end into your monitor
- Power on the monitor
- Select the correct input source
Windows and macOS usually detect the external display within a few seconds. If it doesn't show up immediately, wait about 10 seconds. Sometimes the handshake takes a moment.
Scenario 2: USB-C Laptop + HDMI/VGA Only Monitor
Your monitor only has HDMI or VGA. Your dock has DisplayPort output. What now?
For HDMI monitors: Use a DisplayPort to HDMI cable. Not an adapter, a cable with DisplayPort on one end and HDMI on the other. These are directional and passive cables work fine in most cases.
Make sure it's rated for your resolution. A DisplayPort 1.2 to HDMI 2.0 cable handles 4K at 60Hz.
For VGA monitors: You'll need an active DisplayPort to VGA adapter. Passive adapters don't work here because DisplayPort and VGA use completely different signal types. Active adapters convert the signal.
They cost around $15 to $25 and are worth it.
Quick tip: If your dock has a built-in HDMI output, skip adapters entirely. Just use an HDMI cable.
Scenario 3: You Need Dual Monitors from One Dock
Running two external monitors adds complexity. Bandwidth becomes the bottleneck.
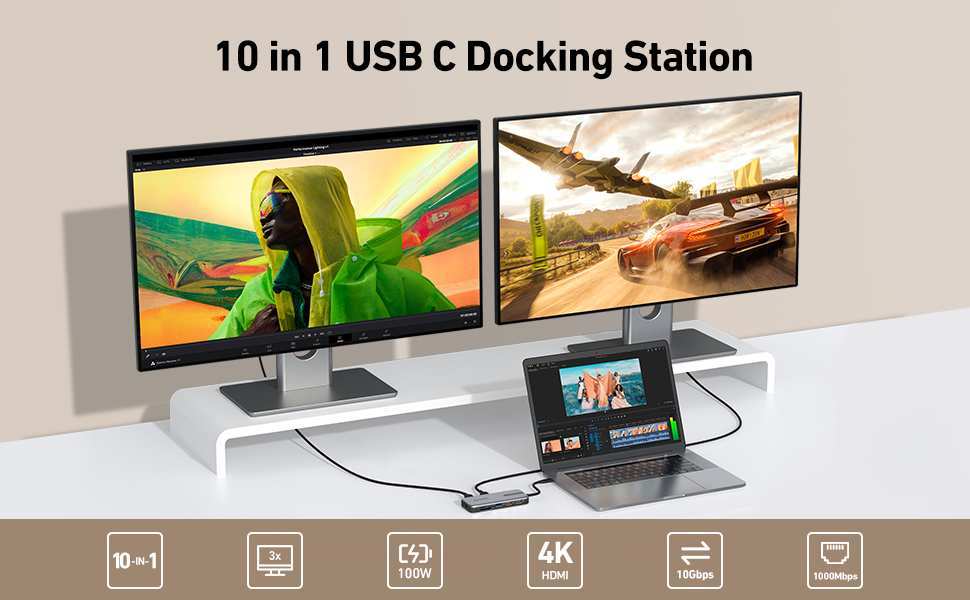
Here's the rule of thumb: A single DisplayPort 1.4 connection has enough bandwidth for one 4K at 60Hz display. Running dual 4K at 60Hz needs either two separate DP outputs from the dock, DisplayPort daisy chaining (MST), or a DisplayLink-based dock.
| Setup Option | Requirements | Max Resolution per Monitor |
|---|---|---|
| Dual HDMI/DP from dock | Dock has 2+ video outputs; laptop supports sufficient bandwidth | 4K at 60Hz each (Thunderbolt 4) |
| DisplayPort MST daisy chain | Monitors support DP out; dock supports MST | 4K at 60Hz each (DP 1.4) |
| DisplayLink driver-based dock | Install DisplayLink driver; USB 3.0 connection sufficient for office work | 4K at 60DL-6950 chipset) |
Bandwidth gets shared across all outputs. If you're hitting limits, one monitor might drop to 30Hz. Most office work won't notice this, but if you're watching video or doing motion-sensitive work, it'll feel sluggish.
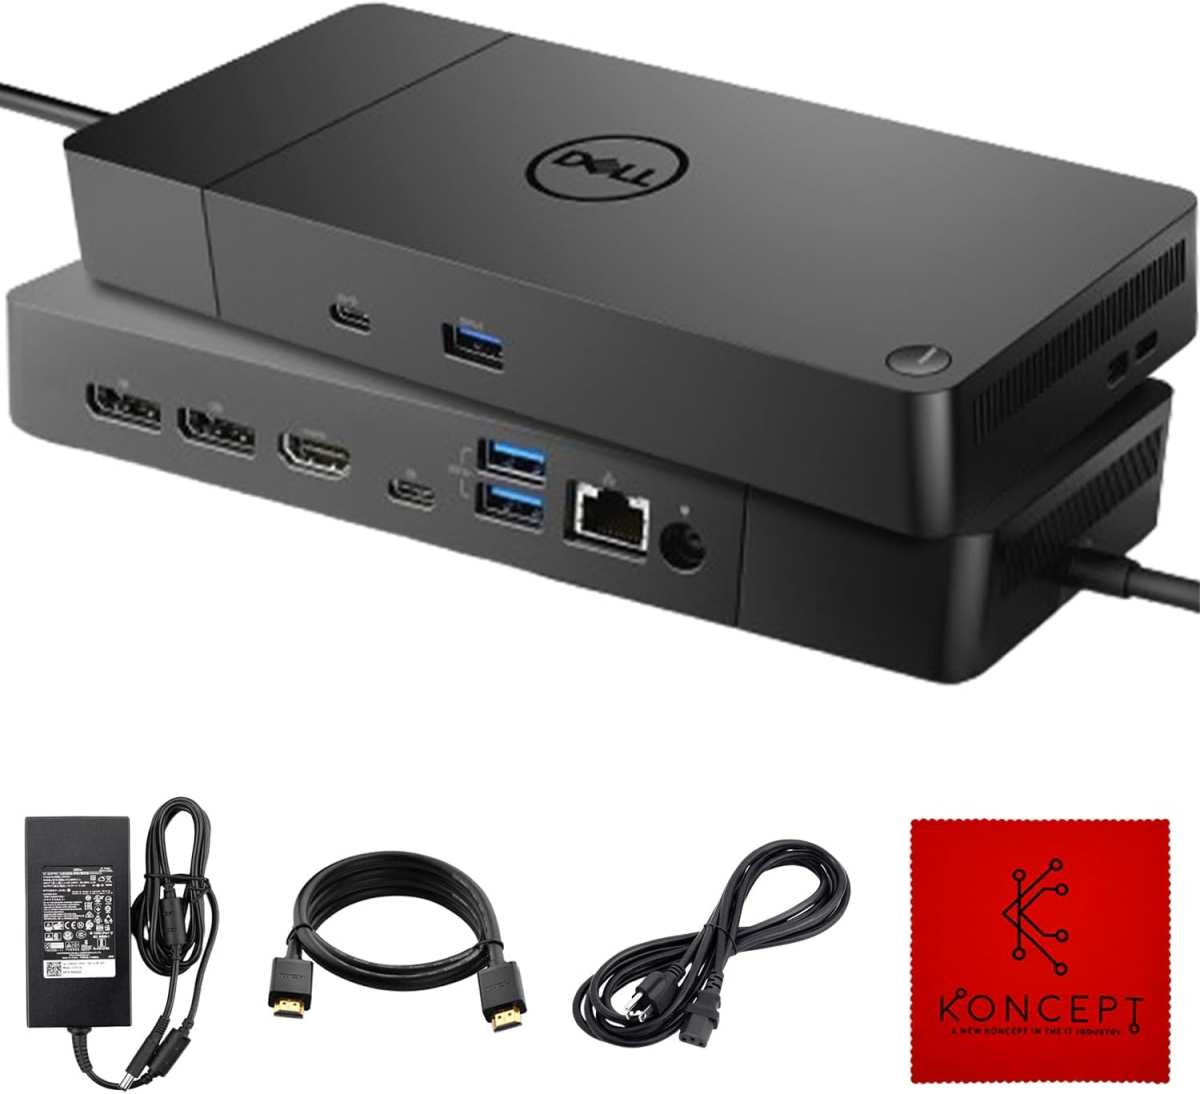
Some docks also split available refresh rates when both display ports are active. Dock specs and user manuals usually state whether dual 4K at 60Hz is supported or if the bandwidth caps one output at 30Hz. It's worth checking before you buy, especially if smooth scrolling or video matters to you.
Scenario 4: Legacy Equipment (VGA, DVI, or No DP Alt Mode)
Older laptops and older monitors create the most headaches. Here's how to handle the common combos:
Laptop has no USB-C, only USB-A and HDMI: Skip the dock for display. Use the laptop's HDMI port directly. The dock can still handle peripherals and charging if it's USB-A based, but video through a USB-A dock requires DisplayLink, which is slower.
Monitor only has VGA or DVI: Active adapters are your friend. DisplayPort to VGA active adapters work reliably. HDMI to DVI cables work passively because both use TMDS signaling.
Laptop USB-C doesn't support DP Alt Mode: Some budget laptops include USB-C purely for data or charging. Check your laptop spec sheet. If DP Alt Mode isn't listed, a DisplayLink dock is your only path to video through USB-C.
Step-by-Step: The Connection Workflow
Now let's walk through the full process regardless of your specific setup.
Step 1: Verify your laptop supports video output through USB-C
This is the number one reason setups fail. Not every USB-C port can output video.
How to check:
- Look for a symbol next to the port: a lightning bolt (Thunderbolt), a "D" shape (DisplayPort), or "DP"
- Check your laptop spec sheet for "USB-C with DisplayPort Alt Mode" or "Thunderbolt"
- Look in Device Manager (Windows) or System Information (macOS) for display output capabilities
If your USB-C port has no symbol, it likely only handles data and charging. You'll need a DisplayLink-based dock or a direct HDMI connection from your laptop.
Step 2: Pick the right cable (not all USB-C cables carry video)
This catches so many people. USB-C cables come in several varieties:
- Charge-only USB-C cables, Power only, no data, no video
- USB 2.0 USB-C cables, Data only (480 Mbps), no video
- USB 3.x USB-C cables, Data and video possible, depends on the cable
- Thunderbolt 4 USB-C cables, Full bandwidth, always supports video
Most docks ship with a capable cable. But if you're buying a replacement, look for cables labeled "USB-C 3.1 Gen 2" or "Thunderbolt 3/4." Cheap Amazon cables sometimes cut corners on video support. When in doubt, check reviews from buyers who specifically mention using the cable for monitors.
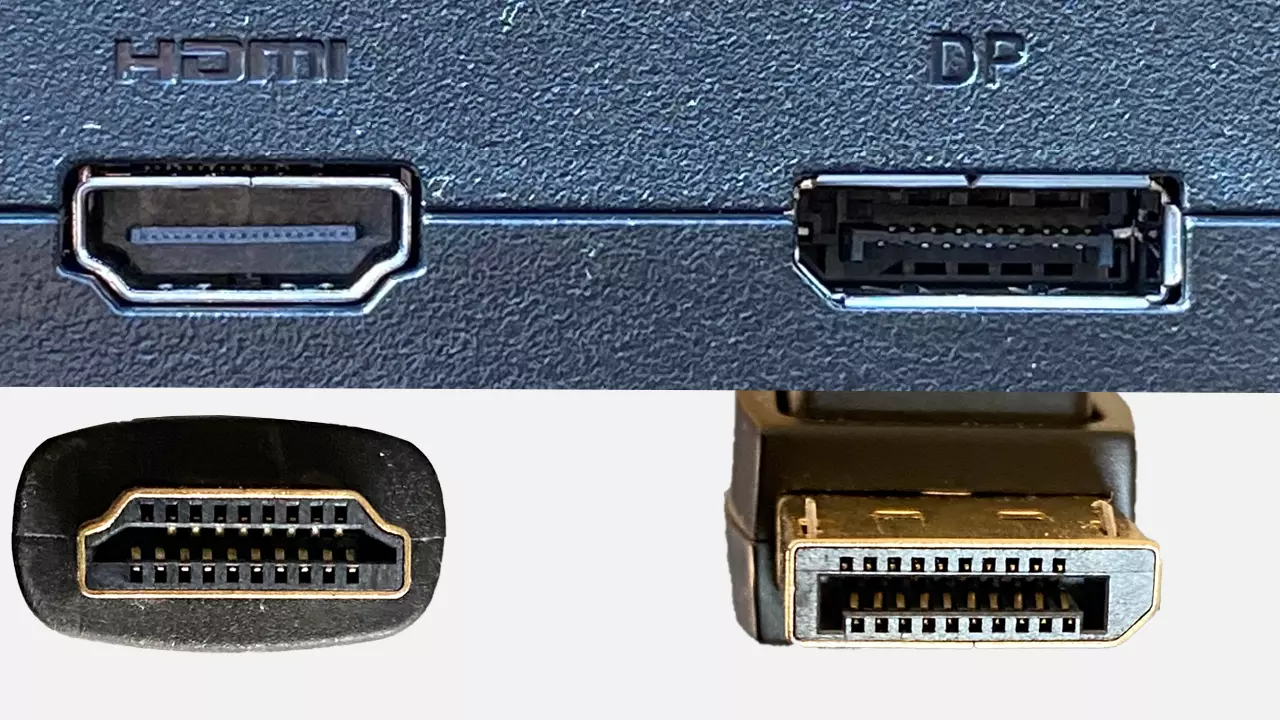
For the monitor connection itself, use whatever cable matches your ports. HDMI cables are rated by version. If you need 4K at 60Hz, use at least HDMI 2.0.
DisplayPort cables are generally more forgiving, just make sure they're DP 1.2 or higher for 4K.
Step 3: Connect monitor to dock, dock to laptop
Order doesn't technically matter, but this sequence avoids confusion for most people.
- Make sure the dock is plugged into power (if it has its own power supply)
- Connect the USB-C cable to the dock first
- Connect your monitor cable to the dock's video output
- Connect the monitor cable to the monitor
- Connect the USB-C cable to your laptop
- Power on the monitor
The dock usually powers on when connected to the laptop. Some docks have a separate power button. If your dock needs external power for video, make sure it's plugged in.
Step 4: Select the correct input on your monitor
Monitors with multiple inputs default to whatever they were last used on. This is the most common "it's not working" moment. Your monitor might be set to VGA when you're plugged into HDMI, or HDMI when you're on DisplayPort.
Use the monitor's physical buttons or on-screen display menu to switch inputs. It's usually labeled with a button called "Input" or has a dedicated source button. Cycle through until you see your laptop's display.
Step 5: Install drivers if your dock needs them (DisplayLink)
If your dock uses DisplayLink technology, your monitor won't show anything until you install the DisplayLink driver. Native USB-C and Thunderbolt docks don't need drivers for video, but DisplayLink docks absolutely do.
How to tell if you need DisplayLink:
- The dock packaging or manual mentions DisplayLink
- The dock brand is Plugable, StarTech, or similar third-party brands (not Dell/HP/Lenovo branded docks, which typically use native DP Alt Mode)
- You bought a USB-A dock that claims to output video
Download the driver from DisplayLink's official site. Install it, restart your laptop, then connect the dock. macOS users should note that DisplayLink sometimes needs accessibility permissions in System Settings.
Step 6: Set up your display in Windows or macOS
Once the physical connection is working, configure how the display behaves.
Windows:
- Right-click desktop → Display Settings
- Detect the monitor if it's not showing
- Choose "Extend" (recommended for productivity) or "Duplicate"
- Set resolution and scale
- Set refresh rate under Advanced Display Settings
macOS:
- Apple menu → System Settings → Displays
- Arrange displays to match physical layout
- Set resolution and refresh rate
- Choose "Extend" or "Mirror" from the arrangement settings
If the display shows up but looks blurry or wrong-sized, check the scaling settings. Windows often defaults to 150% scaling on high-DPI monitors, which can look odd on external displays with different pixel density.
What Most People Get Wrong
After covering the basics, let's talk about the stuff that actually ruins people's day. These are the issues that don't show up in the quick-start guide.
The "charge-only USB-C cable" problem
This is the single most common failure point. You grab a USB-C cable from your bag, plug everything in, and nothing happens.
USB-C cables look identical from the outside. Inside, they're wildly different. A cable rated only for 60W charging has no wires allocated for video.
It'll charge your laptop fine through the dock, but your monitor stays black.
The fix is boring but effective. Check the cable packaging for "DisplayPort Alt Mode," "Thunderbolt," or "4K@60Hz." If it says none of that, it's probably charge-only.
When a passive HDMI-to-DP adapter won't work
People try to go from a dock's DisplayPort output to an HDMI monitor using a cheap passive adapter. Sometimes it works. Often it doesn't.
Here's why. DisplayPort and HDMI use different signaling. Passive cables work when the source (your dock) supports Dual-Mode DisplayPort, also known as DP++.
Not all docks do. If yours doesn't, you need an active adapter, and those cost $20 to $40, not $8.
The reliable move is to just use a DisplayPort to HDMI cable with built-in signal conversion. They're directional (make sure the DP end goes to the dock), and they work with virtually any dock.
Dock firmware that's never been updated
Most people don't think of a dock as something that needs firmware updates. It does.
Manufacturer support pages are full of docking station firmware updates that fix display detection, resolution caps, and compatibility with specific laptop models. Dell, HP, Lenovo, and CalDigit all release dock firmware regularly. Check your dock's support page once a year, or when something stops working after a laptop update.
Windows cumulative updates have been known to break dock video output temporarily. Often a firmware update fixes it without you knowing why it broke.
Bandwidth limits killing your refresh rate or resolution
You plug in your 4K monitor and it looks sluggish. Windows feels laggy. Mouse movement seems off.
That's probably running at 30Hz, not 60Hz. The dock or cable doesn't have enough bandwidth for 4K at 60Hz. This happens with HDMI 1.4 connections (which cap 4K at 30Hz) and with USB-C cables that only support USB 2.0 speeds.
Check your display settings. Look at the refresh rate. If it's set to 30Hz, swap the cable or the port.
Use a DisplayPort 1.2 or higher connection for smooth 4K at 60Hz.
Quick Comparison: USB-C vs. Thunderbolt Docks
| Feature | USB-C DP Alt Mode Dock | Thunderbolt 4 Dock |
|---|---|---|
| Price range | $40 to $120 | $180 to $280 |
| Max video bandwidth | DP 1.4 (32.4 Gbps) | 40 Gbps shared |
| Dual 4K at 60Hz | Often one port only | Both ports native |
| DMA protection | Varies by manufacturer | Kernel DMA protection |
| Best for | Single monitor, standard office | Dual monitor, creative work |
| Driver requirements | Usually native (plug and play) | Native on Thunderbolt hosts |
| macOS support | DisplayLink or native DP | Native on all Thunderbolt Macs |
Most office workers with a single monitor do just fine with a USB-C dock. Thunderbolt docks shine when you're running dual high-resolution displays or need maximum bandwidth for fast external storage at the same time.
Troubleshooting Checklist: When Nothing Shows Up
When you've connected everything and the screen stays black, work through this list in order. Most people skip the obvious stuff.
- Is the monitor on? Seriously. Check the power LED
- Is the correct input selected? Press the input/source button and cycle through
- Is the dock powered? Some docks need external power for video output. Check if the dock has a power brick and if it's plugged in
- Is the USB-C cable fully inserted? USB-C connectors sometimes feel seated when they're not. Push firmly
- Does the laptop see the dock? Check Device Manager on Windows or System Information on macOS. If the dock doesn't show up, the USB-C connection itself is failing
- Have you tried a different USB-C cable? This fixes more "broken" setups than anything else
- Is the monitor working with other devices? Rule out a monitor issue by testing with a game console or another laptop
- Did a Windows update just happen? Roll back the display driver or check for dock firmware updates
- Mac users: Check Privacy & Security settings DisplayLink drivers need screen recording permission on macOS Ventura and later
If you get through the whole list with nothing working, the dock itself may be defective. Try it with a different laptop if possible, to isolate whether it's the dock or your laptop.
The Specs That Actually Matter (Resolution, Refresh Rate, and Bandwidth)
All the numbers get confusing fast. Here's what actually affects your daily experience.
Resolution determines how sharp everything looks. For a 27-inch office monitor, 2560×1440 (QHD) is the sweet spot. 4K is sharper but requires more bandwidth and often needs scaling, which can make text weird.
Refresh rate determines smoothness. 60Hz is standard. 120Hz or 144Hz makes scrolling and mouse movement feel noticeably smoother. For office work, 60Hz is fine. For anything with motion, higher is better.
Bandwidth is the hidden spec. It's what limits the combination of resolution and refresh rate you can actually achieve.
Here's a quick reference:
| Resolution | Refresh Rate | Minimum Cable/Port Standard |
|---|---|---|
| 1080p | 60Hz | HDMI 1.4 / DP 1.2 |
| 4K | 30Hz | HDMI 1.4 / DP 1.2 |
| 4K | 60Hz | HDMI 2.0 / DP 1.2 / USB-C DP Alt Mode |
| 4K | 120Hz | HDMI 2.1 / DP 1.4 |
USB-C DP Alt Mode typically delivers DP 1.4 performance over a compatible cable. That means 4K at 60Hz without breaking a sweat. Thunderbolt 4 has enough bandwidth for two 4K displays at 60Hz simultaneously while still handling data and charging.
DisplayLink docks are a different beast. They compress the video signal and use USB data bandwidth. The DL-6950 chipset handles dual 4K at 60Hz, but earlier chipsets may cap at 30Hz.
Check the chipset version before buying.
Real-World Setups: Common Office Configurations
Let's look at three setups that cover most people's situations.
The standard remote worker setup
One monitor. One USB-C dock. One laptop.
That's it.
A USB-C dock with a single HDMI or DisplayPort output is all you need. Something like a Dell D6000 or a CalDigit SOHO Dock works perfectly. Connect the monitor with HDMI.
Get a nice clean one-cable workflow when you sit down at your desk.
Budget: around $60 to $100 for the dock. Less if you catch a sale.
The hot-desk corporate setup
You move between desks. You need to connect quickly and reliably.
A universal USB-C dock sits at each desk. You walk up, plug in one cable, and you've got display, keyboard, mouse, and power. IT loves this because they can standardize on one dock model across the whole office.
Enterprise-grade docks from Dell (WD19 series), HP (USB-C Dock G5), or Lenovo (Universal USB-C Dock) work well here. They have enterprise firmware management and widespread compatibility testing. Plugable and StarTech offer alternatives if you need universal compatibility across mixed laptop fleets.
The key is making sure every dock gets firmware updates. Outdated firmware is the leading cause of "the monitor doesn't work at this desk" complaints in corporate environments.
| Setup Complexity | Dock Type | Example Models | Price Range |
|---|---|---|---|
| Single monitor, basic office | USB-C DP Alt Mode | Dell D6000, CalDigit SOHO | $60 to $120 |
| Dual monitor, standard resolution | Thunderbolt 4 dual output | CalDigit TS4, OWC Thunderbolt Hub | $180 to $250 |
| Dual 4K, mixed laptop fleet | DisplayLink universal | Plugable UD-6950PDZ, Targus USB-C Universal DV4K | $130 to $200 |
| Enterprise managed | Vendor-specific with firmware tools | Dell WD19S, HP USB-C Dock G5, Lenovo 40AY | $150 to $220 |
The dual-monitor productivity rig
Two external displays. Probably a keyboard, mouse, and maybe an external SSD too.
A Thunderbolt 4 dock with multiple display outputs is the way to go here. The CalDigit TS4 and OWC Thunderbolt Dock are popular picks. They give you enough bandwidth for dual 4K displays plus data without compromise.
Some cheaper docks claim dual monitor support but only at reduced refresh rates. Read the fine print. Running two 1440p displays at 60Hz is very achievable with a Thunderbolt dock.
Running two 4K displays at 60Hz may need MST, a DisplayLink backup connection, or a dock that has separate DP and HDMI chips.
If one monitor supports DisplayPort and the other only has HDMI, that's fine. Just make sure the dock has the matching outputs, or use the right cables to convert.
When to Skip the Dock and Plug Directly
Sometimes a dock isn't the right answer.
Your monitor has USB-C input. Many modern monitors like the Dell U2723QE or LG 27UK850 accept video over USB-C directly. You can connect your laptop to the monitor with a single USB-C cable, and the monitor even charges your laptop. The built-in USB hub on the monitor acts like a simple dock.
No external dock needed. One cable for video, peripherals, and power.
You only need one external monitor and your laptop has HDMI. Just use the HDMI port. Plug the monitor in directly. Keep the dock at home or skip buying one entirely.
Docking stations shine when you need to connect multiple displays, several peripherals, and power all through one cable. If all you're doing is adding one screen, the built-in HDMI or a simple USB-C to HDMI cable does the job for less money.
You need a portable solution. Travel docks are smaller and lighter than full-size desktop docks. They usually have one HDMI output and maybe a USB-A port. They throw out a few grams from your laptop bag, something worth considering.
Frequently Asked Questions
Can I use any USB-C cable to connect my dock to my laptop?
No. Many USB-C cables are charge-only or USB 2.0 data cables. They won't carry video.
Look for cables labeled "DisplayPort Alt Mode," "Thunderbolt," or "4K@60Hz" to ensure video support.
Why is my monitor stuck at 30Hz when it supports 60Hz?
Your connection doesn't have enough bandwidth for 60Hz at that resolution. This commonly happens with HDMI 1.4 cables or low-quality USB-C cables. Switch to HDMI 2.0, DisplayPort 1.2, or a certified Thunderbolt cable.
Do I need to install drivers for my docking station?
Native USB-C and Thunderbolt docks usually work without drivers. DisplayLink-based docks always require a driver download. Check your dock's manual or the manufacturer's support page to be sure.
Can I daisy-chain two monitors from one DisplayPort on my dock?
Yes, if both monitors support DisplayPort Multi-Stream Transport (MST). Most business monitors have DP out ports for this. HDMI monitors cannot be daisy-chained this way.
My dock worked yesterday but not today. What happened?
Windows updates and macOS updates frequently break dock video output temporarily. Check for dock firmware updates on the manufacturer's support page. A firmware update often resolves post-update display issues.
Will a docking station work with my Chromebook?
It depends on the Chromebook. Many Chromebooks support USB-C DP Alt Mode and work with standard docks. Some budget Chromebooks don't support video output over USB-C at all.
Check your specific model's specs before buying a dock.
Final Decision Guide: What Setup Works for You?
Here's a quick way to figure out exactly what you need based on your situation.
One monitor, standard office work, USB-C laptop: Get a USB-C DP Alt Mode dock. Use an HDMI or DisplayPort cable to the monitor. Total cost around $60 to $120.
Plug and play, no drivers needed.
Two monitors, mixed work and creative tasks, Thunderbolt laptop: Get a Thunderbolt 4 dock with dual display outputs. Expect to pay $180 to $250. You'll get smooth dual 4K at 60Hz without compromises.
Multiple laptops with different ports, hot-desking: Get a DisplayLink-based universal dock. Install the driver on each laptop. Works across Windows, macOS, and ChromeOS.
Budget around $130 to $200.
Single monitor with USB-C input, minimal desk clutter: Skip the dock entirely. Connect your laptop directly to the monitor with a USB-C cable. The monitor handles video, USB hub, and charging in one cable.
The most important thing to remember is that the cable matters as much as the dock. A bad USB-C cable will make even an expensive dock look broken. Start with the cable, verify your ports, and work through the troubleshooting checklist if something doesn't show up right away.

Similar Posts