How to Connect Budget Monitor to PC
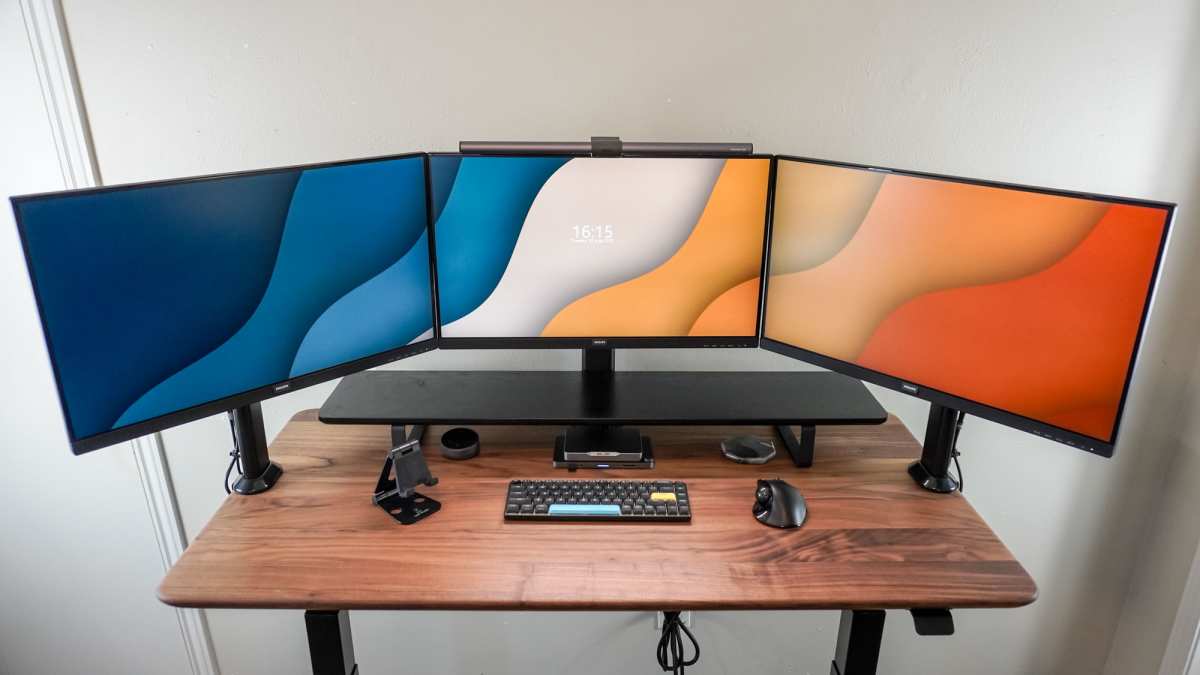
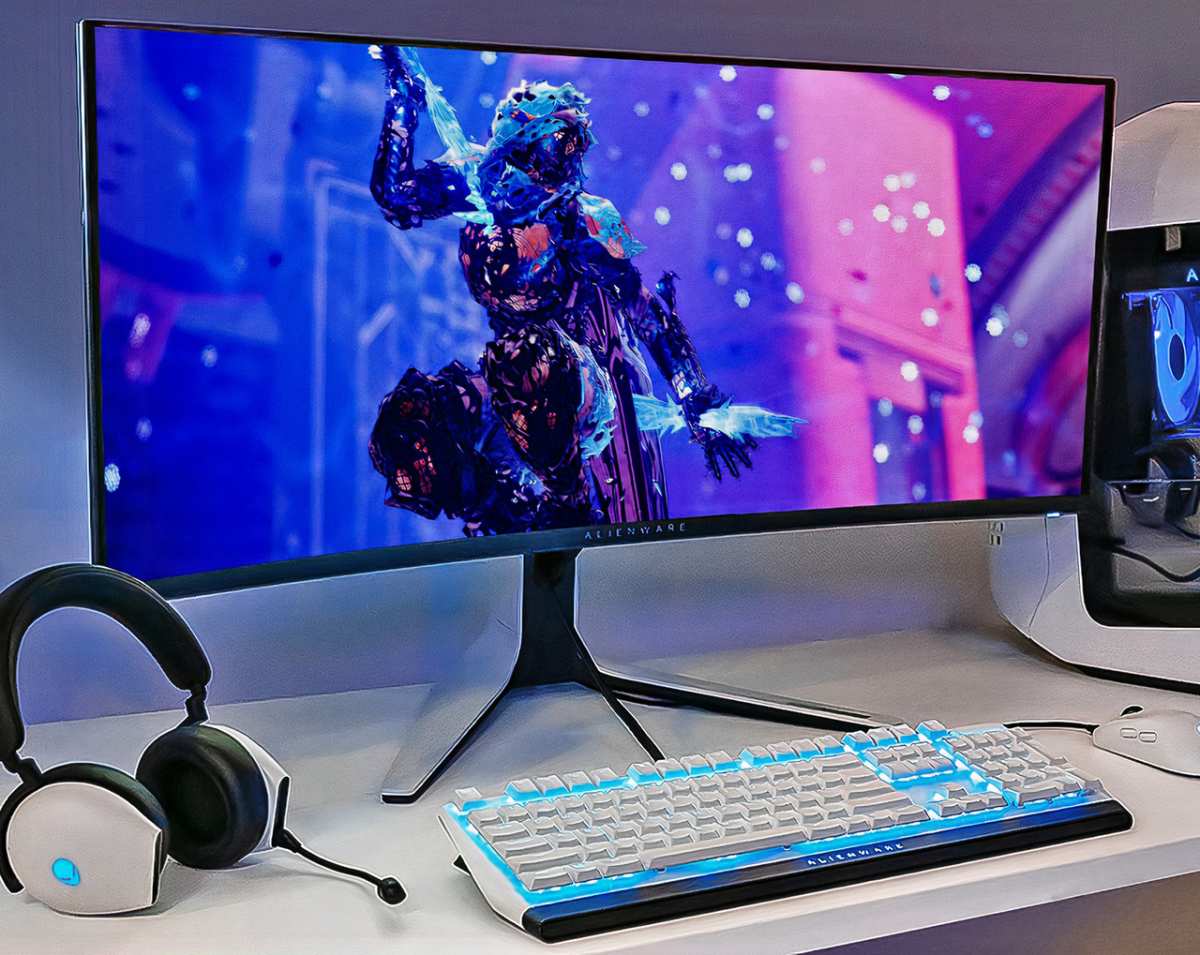
Image source: Bing (Web (fair-use with source credit))
So you've picked up a budget monitor and you're staring at the back of your PC wondering which cable goes where. It's a common sticking point, especially since budget monitors and modern graphics cards don't always speak the same language. Learning how to connect a budget monitor to your PC comes down to one thing: matching the right port on your graphics card to the right input on your display, then picking the correct cable or adapter to bridge them.
The good news is you probably already have everything you need, or you're one cheap cable away from a working setup. As of 2026, most budget monitors ship with at least one HDMI port, and virtually every made in the last 15 years has a digital output of some kind. Let's walk through exactly what to check, what to buy if you need an adapter, and how to troubleshoot when the screen stays black.
Quick Answer
Connect your budget monitor to your PC by matching a common port on both devices. HDMI is the easiest option if both have it. Use DisplayPort if available for better bandwidth.
Buy an adapter if the ports don't match. Most cables cost under $10.
")
Why Your Budget Monitor Isn't Displaying (And How to Fix It Fast)
The most common reason a new monitor stays black is simple. You've plugged the cable into the wrong port on your PC. It sounds obvious, but it catches almost everyone at least once.
Your PC has two possible sets of video outputs. One sits on the back of your graphics card (lower down, horizontal). The other lives near the top of the back panel on the motherboard itself.
If you've got a dedicated graphics card installed, those motherboard ports are almost always disabled. Always plug your monitor into the graphics card outputs, not the motherboard.
Another frequent culprit: the monitor is set to the wrong input. Budget monitors often have multiple inputs (HDMI, VGA, DisplayPort) and won't always auto-switch to the one you've plugged into. You'll need to open the monitor's on-screen display (OSD) menu and manually select the correct input source.
Less commonly, the cable itself is the problem. A damaged HDMI cable or a cheap adapter that doesn't support the signal type can give you anything from a flickering display to a completely black screen. If you've checked the ports and the input selection, swap the cable before anything else.
Check Your Ports First — This Takes 30 Seconds
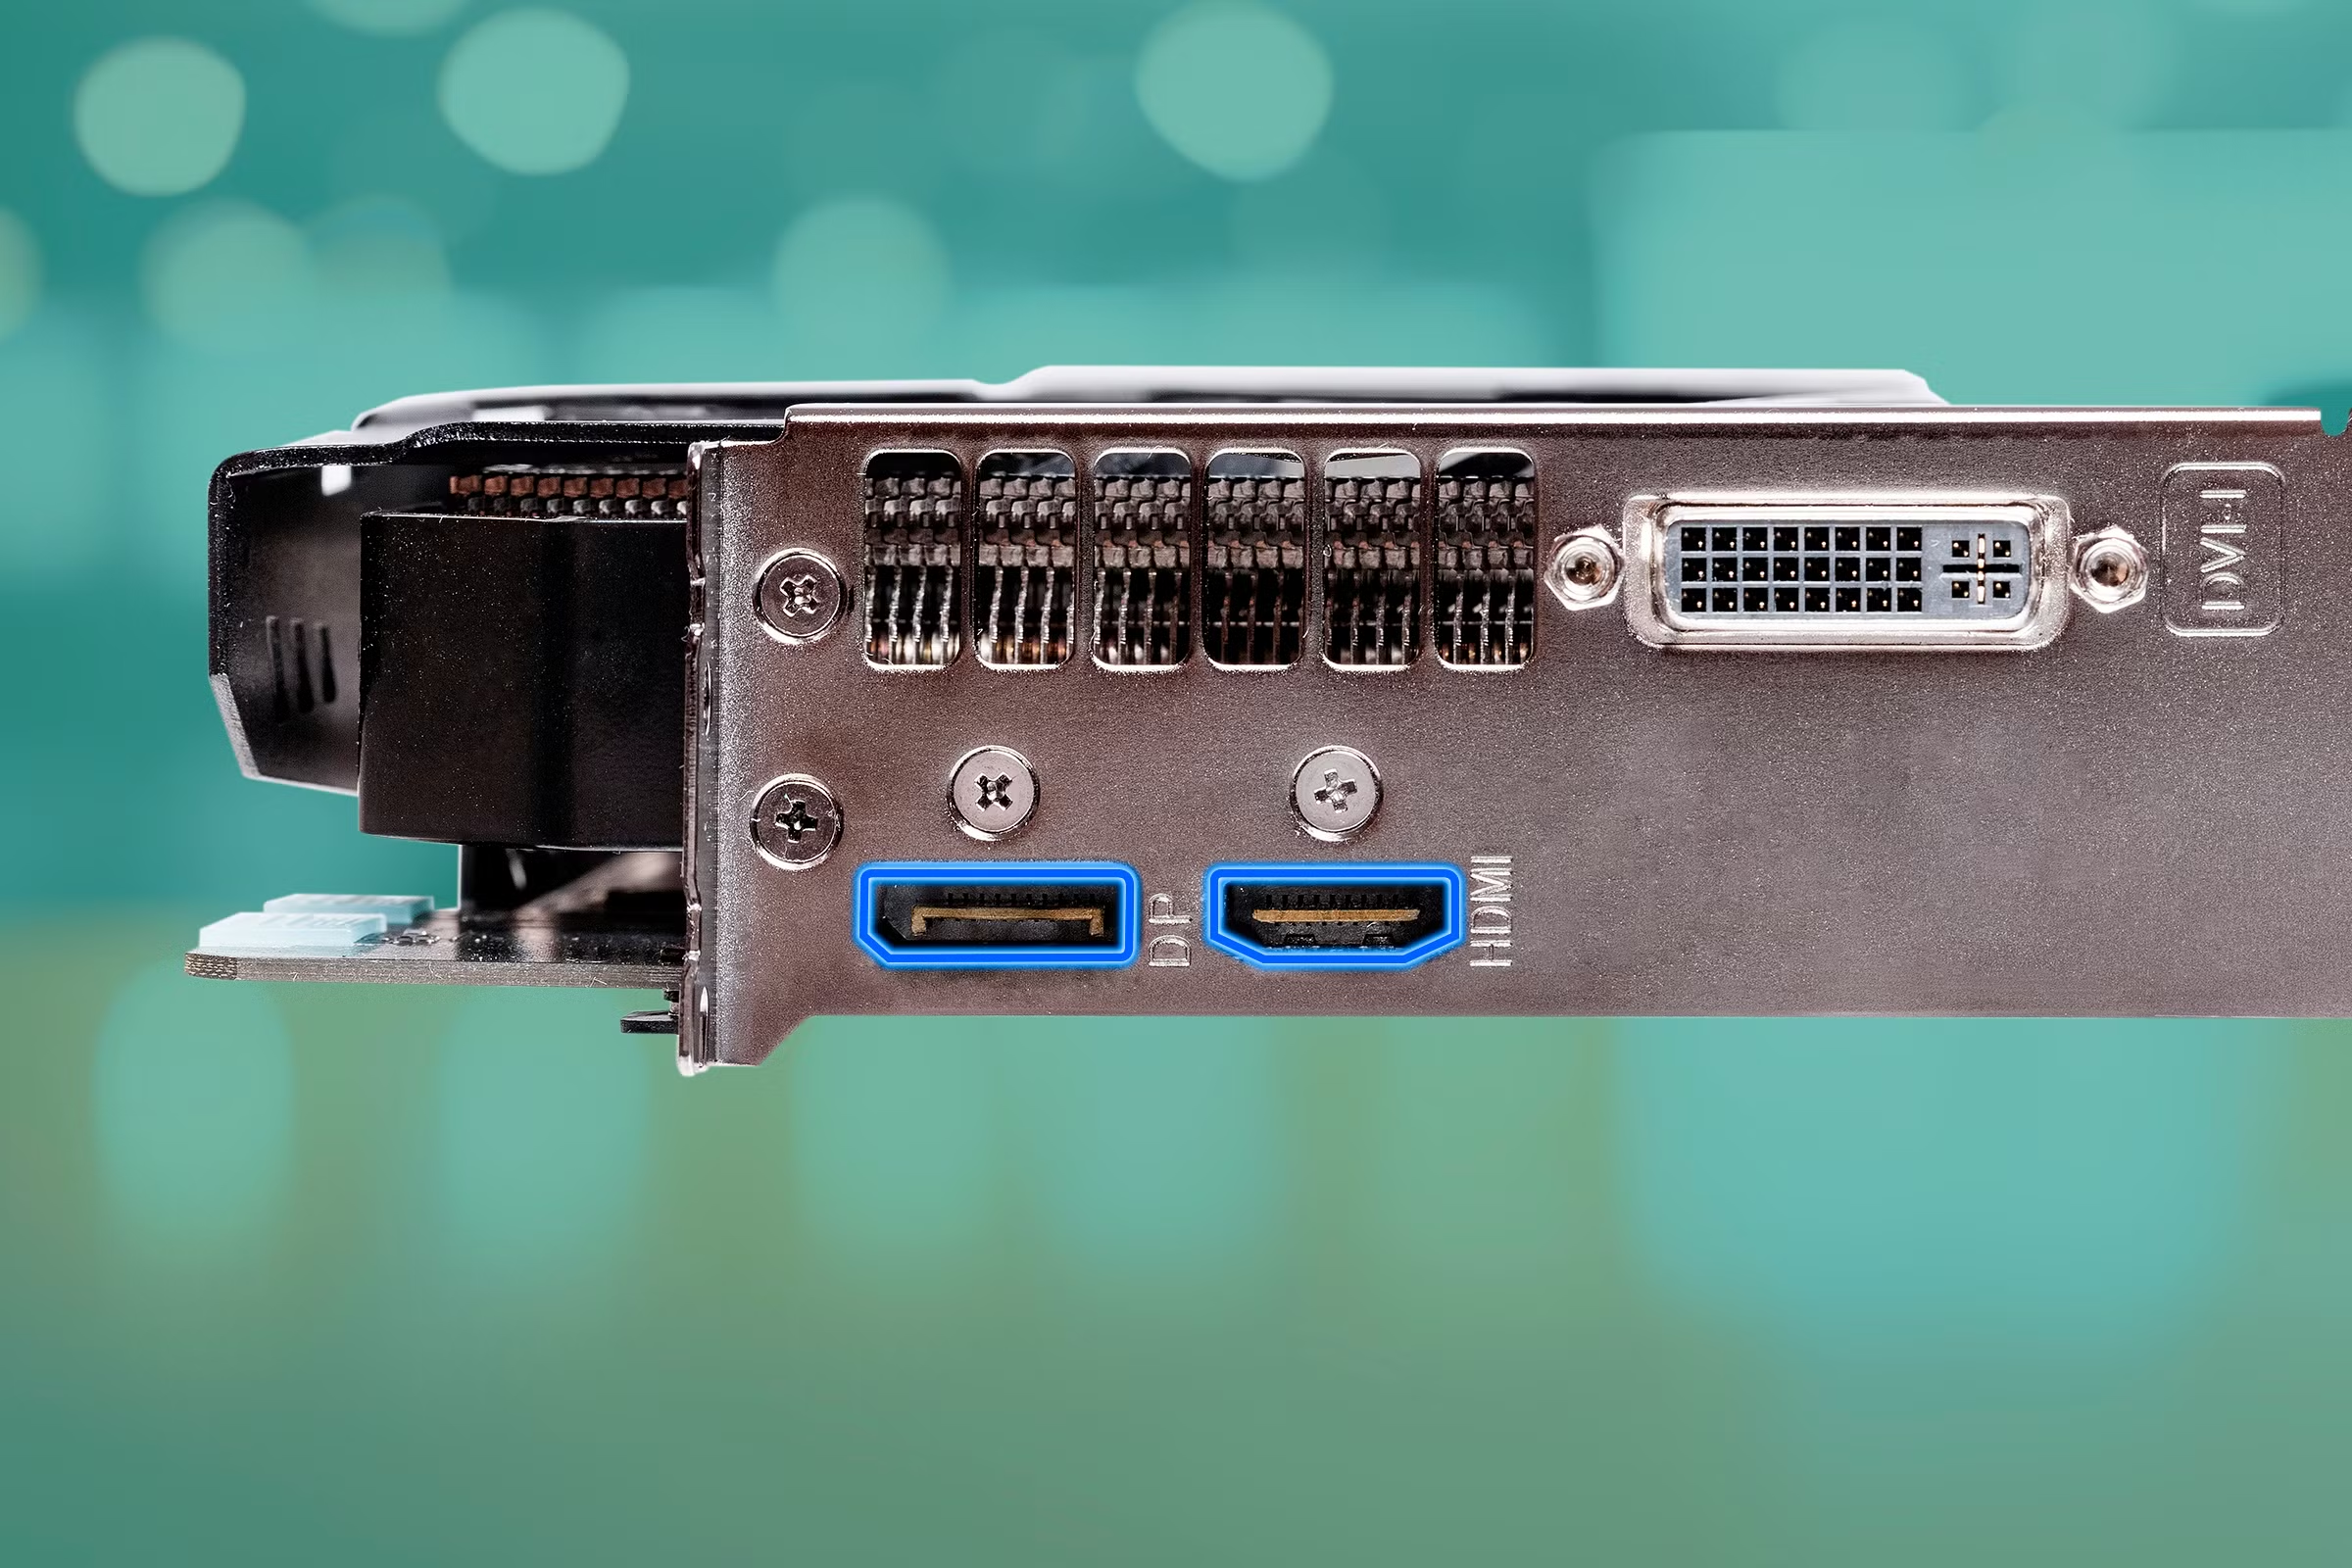
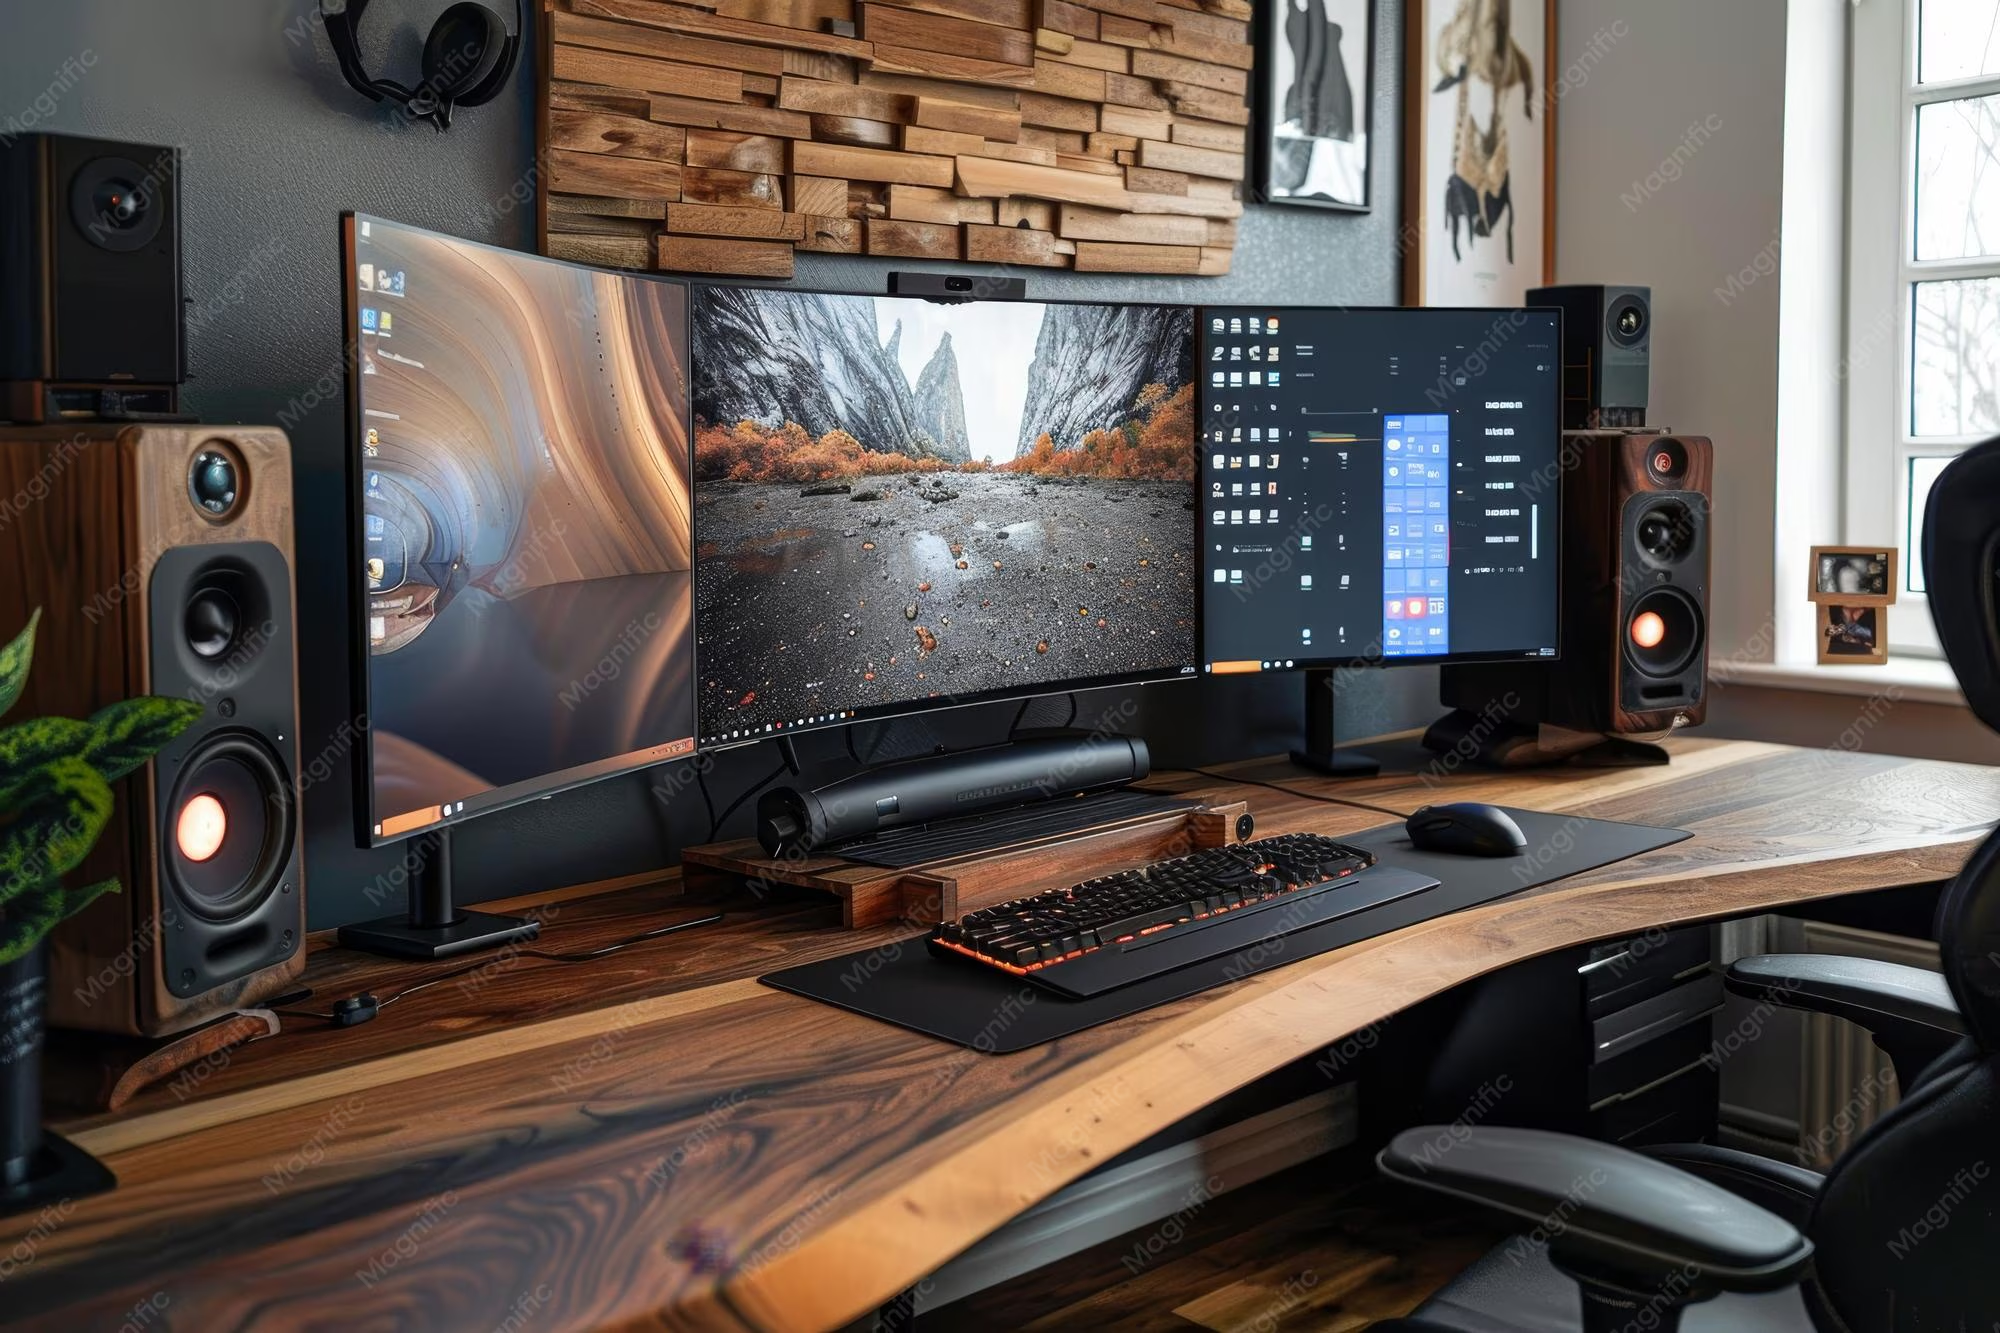
Image source: Bing (Web (fair-use with source credit))
Before you buy any cable or adapter, look at what you actually have. Grab a flashlight if you need to. We're checking two things: the video outputs on your PC and the inputs on your monitor.
On Your PC (Back Panel)
Look at the lower section of the back panel. That's where your graphics card outputs live if you have a dedicated GPU. You'll see some combination of these:
- HDMI, A trapezoid-shaped port, fairly wide. Found on virtually every made in the last decade.
- DisplayPort, Similar size to HDMI but with one corner cut at an angle and a small latch on one side. Common on gaming and workstation cards.
- DVI, A larger rectangular port with a grid of pins. Found on older cards (pre-2018 or so). Comes in DVI-I (analog + digital) and DVI-D (digital only) variants.
- USB-C (with DisplayPort Alt Mode), A small oval port that can carry video. Found on some newer cards and many laptops.
If your PC only has ports on the upper back panel near your USB and audio jacks, that's the motherboard. You'll need to verify whether your CPU has integrated graphics. Most non-graphics CPUs don't, and without a dedicated GPU, those ports won't output any signal.
On Your Monitor (Back or Underside)
Budget monitors typically put their ports on the back, sometimes facing downward. Look for:
- HDMI, Most common on budget monitors as of 2026.
- VGA (D-Sub), A blue 15-pin connector. Still found on many budget models because it's cheap.
- DisplayPort, Less common on budget monitors under $100, but present on some.
Some monitors also have a DVI input, though this is becoming less common in recent models. Write down what you see on both sides before you buy anything. A quick phone photo of each port panel helps if you're ordering online.
")
Matching PC to Monitor Connection Types
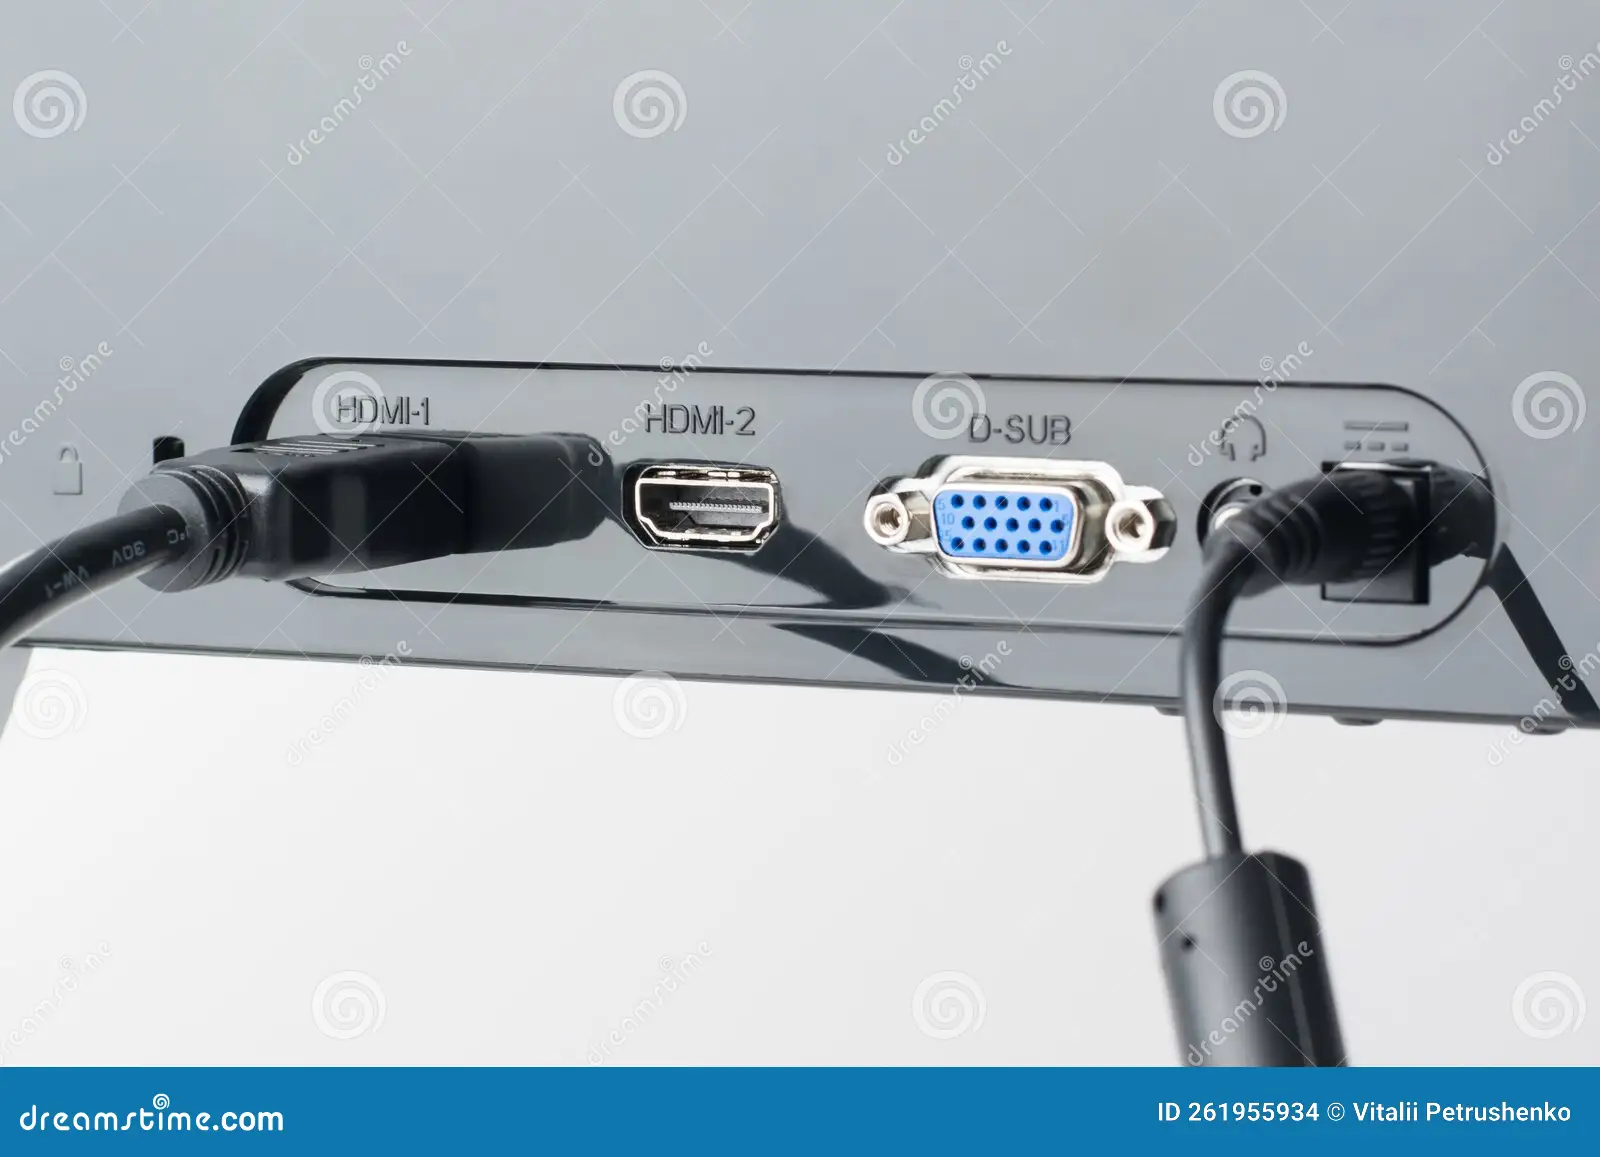
Image source: Bing (Web (fair-use with source credit))
Once you know what ports you have on both ends, you can figure out the simplest connection path. The goal is always a direct cable run with no adapter if possible. Adapters add potential failure points and cost extra.
The Four Main Video Ports You'll Encounter
Here's a quick breakdown of each connection type and what it means for your setup:
| Port | Shape | Signal Type | Max Practical Resolution (Budget Setup) | Still Common on Budget Monitors? |
|---|---|---|---|---|
| HDMI | Trapezoid, wide | Digital | 4K at 60Hz (HDMI 2.0+) | Yes, almost universal |
| DisplayPort | Angled corner, latching | Digital | 4K at 60Hz+ (DP 1.2+) | Somewhat common |
| DVI | Large rectangular with pins | Digital or analog | 2560×1600 (dual-link) | Declining |
| VGA | Blue, 15-pin trapezoid | Analog | 1920×1200 (degrades above this) | Yes, very common on cheap panels |
VGA is analog. That means image quality degrades over longer cable runs and above lower resolutions. If you have the choice between VGA and HDMI, always go with HDMI.
DisplayPort offers the highest bandwidth of the common options, but for a budget monitor running at 1080p or 1440p at 60Hz, HDMI handles it without breaking a sweat. The advantage of DisplayPort really shows at high refresh rates (144Hz and above) or at higher resolutions.
")
If Your Ports Don't Match — Adapters Explained
This is where most confusion happens. Your PC has DisplayPort but your monitor only has HDMI. Or your graphics card only has HDMI and your monitor only has DVI.
In these cases you need an adapter, but the type matters.
Active vs. Passive Adapters
A passive adapter is just a wired pin connector. It works when the source port already outputs the signal type the display expects (for example, DisplayPort source to HDMI display using a passive DP-to-HDMI cable, since DisplayPort can natively output an HDMI-compatible signal through a passive adapter, while HDMI to DisplayPort requires an active adapter).
An active adapter contains circuitry that converts the signal. You need an active adapter for conversions like HDMI to DisplayPort, because HDMI can't natively output a DisplayPort signal. Active adapters cost more ($15-30 vs $5-10) but they're necessary for certain conversions.
Common Adapter Scenarios
- PC has DisplayPort, monitor has HDMI, A passive DP-to-HCABLE works fine. Cheap and simple. DisplayPort can natively output an HDMI-compatible signal through a passive adapter.
- PC has HDMI, monitor has DisplayPort, Requires an active HDMI-to-DisplayPort adapter. These cost $20-30 and can be finicky. Often it's easier to just use a different port if available.
- PC has DisplayPort or HDMI, monitor has VGA, Requires a digital-to-analog converter (active). A passive cable won't work because VGA is analog and HDMI/DP are digital. Expect to pay $10-20 for a reliable one.
- PC has DVI-I or DVI-D, monitor has HDMI, A passive DVI-to-HCABLE works because DVI-D and HDMI carry compatible digital signals. This is one of the cheapest and most reliable adapter scenarios.
Always verify whether the adapter supports your target resolution and refresh rate. Cheap no-name adapters on marketplace sites sometimes cap out at 1080p at 30Hz, which is unusable for anything beyond basic desktop browsing.
Which Connection Type Should You Choose?
If both your PC and monitor support multiple connection types, here's the priority order:
- HDMI to HDMI if both have it. Simplest, most reliable, supports audio passthrough.
- DisplayPort to DisplayPort if both have it. Best for higher refresh rates or daisy-chaining.
- DVI to DVI if both have it. Solid digital option, but no audio.
- Adapter route only when none of the above direct matches exist.
The exception: if your budget monitor supports DisplayPort and your GPU has a free DisplayPort output, use that even if HDMI would also work. DisplayPort handles adaptive sync (FreeSync) more reliably on most budget monitors, which matters if you game even casually.
Quick Comparison at a Glance
| Scenario | Best Cable/Adapter | Approx. Cost | Notes |
|---|---|---|---|
| Both have HDMI | Standard HDMI cable | $5-8 | Cheapest, easiest path |
| Both have DP | DisplayPort cable | $6-10 | Best for high refresh rate |
| PC has DP, monitor has HDMI | Passive DP-to-HDMI cable | $6-10 | Works reliably, very common |
| PC has HDMI, monitor has DP | Active HDMI-to-DP adapter | $20-30 | Can be unreliable |
| PC has digital, monitor has VGA | Active DP/HDMI-to-VGA adapter | $10-18 | Analog degradation possible |
| PC has DVI, monitor has HDMI | Passive DVI-to-H cable | $5-8 | Reliable, no audio |
Budget Monitor Specs That Actually Matter for Connection
When shopping for a budget monitor or evaluating one you already own, these specs determine what connections and cables you'll need:
- Native resolution, 1080p (Full HD) is the sweet spot for budget panels. Almost any cable handles it fine. 1440p is increasingly common on monitors in the $150-200 range and works over HDMI, DisplayPort, or dual-link DVI.
- Refresh rate, Most budget monitors are 60Hz or 75Hz. Some newer budget panels hit 100Hz or 144Hz over DisplayPort. Check what your cable and port combination can actually support at the target resolution and refresh rate.
- FreeSync support, Most budget monitors with FreeSync work over DisplayPort. Some also support it over HDMI, but verify in the manual if adaptive sync matters to you.
- Input lag, Not usually a connection issue, but worth noting that some budget monitors add significant processing delay on certain inputs. The HDMI input sometimes performs differently than the DisplayPort input on the same panel.
Always check the monitor's spec sheet or manual for the exact port versions. A monitor might have HDMI 1.4 (limited to 4K at 30Hz) versus HDMI 2.0 (4K at 60Hz), and the physical port looks identical either way. Manufacturer documentation will specify which version each port supports, listed on the product page or in the included manual.
Step-by-Step: Making the Connection
Here's the actual process from start to finish:
Power off your PC. Not strictly necessary for HDMI or DisplayPort (they're hot-pluggable), but it's good practice and avoids any chance of port damage if you're using VGA or DVI.
Identify your ports. Check the back of your PC (graphics card area) and the back of your monitor. Note which ports are available on each.
Select the right cable or adapter. Use the matching logic from the earlier sections. If you need an adapter, make sure it's the correct type (active vs. passive) and supports your target resolution and refresh rate.
Connect the cable to the monitor first. Tighten any thumb screws on DVI or VGA connectors. Make sure HDMI and DisplayPort cables click into place.
Connect the other end to your PC's graphics card output. Not the motherboard. The graphics card ports are lower on the back panel, usually aligned with the expansion slots.
Power on the monitor. Let it boot to its input screen. Most budget monitors show a brand logo briefly and then either display a signal or a "No Input Detected" message.
Power on your PC. During boot, the display should show the BIOS/UEFI splash and then your operating system loading.
Select the correct input if needed. If the monitor shows a black screen despite being powered on, open the OSD menu (buttons on the monitor's edge or bottom bezel) and manually select the input matching the port you used.
Configure display settings in Windows. Right-click the desktop, select Display Settings, and arrange your monitors if using two. Set the correct resolution and refresh rate under Advanced Display Settings.
What to Do When There's No Signal
Don't panic. This is almost always fixable without new hardware. Work through these steps in order:
Verify the cable is fully seated. HDMI connectors can feel like they're in when they're only halfway. Push firmly until you feel a click.
Confirm the monitor input source. Press the input/source button on the monitor and cycle through until you match the port you plugged into.
Check you're plugged into the graphics card, not the motherboard. This is the single most common mistake. Trace your cable from the monitor. Does it connect near the bottom of the back panel (graphics card) or near the top (motherboard)?
Try a different cable or port. If your monitor has multiple HDMI inputs or your GPU has multiple outputs, test a different combination.
Test the monitor with another device. Plug it into a game console, laptop, or streaming stick to verify the monitor actually works.
Reseat your graphics card. If nothing else works and you're comfortable opening your case, power down, unplug, and press firmly back into its PCIe slot. Sometimes a slightly unseated card causes output issues.
Check BIOS settings. In rare cases, the BIOS may be set to output only through a specific port or disable the dedicated GPU. This usually only applies to custom-built desktops or after a BIOS update.
")
If you've gone through all seven steps and still have no signal, the cable or adapter is the most likely culprit. Buy a replacement from a retailer with a good return policy so you can swap if needed.
Common Mistakes That Waste Time and Money
These are the errors we see most often. Avoiding them saves you a trip to the store and a return process:
Plugging into the motherboard when a graphics card is installed. The motherboard video ports are disabled on most systems with a dedicated GPU. Always use the card.
Buying a passive adapter when you need an active one. HDMI to DisplayPort requires active conversion. A passive cable simply won't work. Check the adapter packaging or product listing for "active" in the description.
Assuming all HDMI cables are the same. They're not. For 1080p at 60Hz, almost any HDMI cable works. For 4K at 60Hz or high refresh rates, you need aHigh Speed HDMI cable (HDMI 2.0) or Premium High Speed (HDMI 2.1). The cable packaging or listing should specify.
Ignoring the monitor's maximum resolution. A 1080p monitor won't display 1440p no matter what cable you use. Set your output resolution in Windows Display Settings to match the monitor's native resolution for the sharpest image.
Forgetting to select the right input on the monitor. Budget monitors rarely auto-detect the active input. You'll often see "No Signal" simply because the monitor is looking at the wrong port.
Buying ultra-cheap adapters from unknown brands. Adapters under $5 from no-name marketplace sellers frequently have issues. Stick with known brands or adapters that have verified reviews confirming they work for the specific conversion you need.
Using VGA when digital options exist. VGA is analog and produces a noticeably softer, slightly washed-out image compared to HDMI or DisplayPort. If your monitor and PC both have a digital option, use it.
Costs You Should Expect
Budget monitor setups don't need to be expensive. Here's what you should realistically expect to spend on cables and adapters as of 2026:
| Item | Typical Price Range | Notes |
|---|---|---|
| HDMI cable (6 ft) | $5-10 | Supports 1080p and most 4K TV use cases |
| DisplayPort cable (6 ft) | $6-10 | Supports standard-bandwidth needs reliably |
| Passive DP-to-HDMI cable | $6-10 | Works when going from a DP source to an HDMI display |
| Active HDMI-to-DisplayPort adapter | $20-30 | Required for HDMI source to DP display |
| Active HDMI-to-VGA adapter | $10-18 | Supports typical resolutions without issues |
| DVI-to-HDMI cable/adapter | $5-8 | Passive, reliable, no audio |
You almost never need to spend more than $10 unless your ports require an active conversion. Most people end up spending $5-8 on a single cable and are done. If you see listings for HDMI cables at 10-packs for $6, those work fine for single-cable runs.
Just avoid anything labeled as "HDMI 1.3" or older, as those cables may not reliably handle today's common resolutions.
Setting Up Your Display in Windows After Connecting
Once the physical connection is working, you'll want to configure the display settings properly for the best experience:
Resolution: Right-click the desktop, open Display Settings, and scroll to Display Resolution. Select the monitor's native resolution. For most budget monitors, this is 1920×1080 (Full HD).
Selecting a non-native resolution makes everything look blurry or stretched.
Refresh rate: In Display Settings, click Advanced Display, then select the highest available refresh rate. Many budget monitors are stuck at 60Hz, but some newer panels offer 75Hz or even 100Hz. If your refresh rate option seems low, check whether you need a DisplayPort connection instead of HDMI to unlock the higher rate.
Scaling: If text and icons look too small on a 1080p monitor above 21.5 inches, adjust scaling under Display Settings. 125% or 150% scaling is common for larger budget panels.
Multiple displays: If you're running your budget monitor as a second display, choose "Extend these displays" from the Multiple Displays dropdown. Drag the monitor icons to match their physical arrangement on your desk.
Adapter-specific note: Some USB-based or active adapters install driver software automatically; others may trigger a notification to install drivers or firmware. If you've installed an adapter and the display looks off, check the manufacturer's site for a configuration utility or driver.
Real Scenarios That Trip People Up
Scenario 1: New budget monitor, no dedicated graphics card
You've built a budget PC without a discrete GPU. Your CPU doesn't have integrated graphics, and you plug the monitor into the motherboard. No signal.
Solution: your CPU can't output video. You'll need either a dedicated graphics card or a CPU with integrated graphics for the motherboard ports to function.
Scenario 2: Fuzzy text on a budget monitor via VGA
You connected using a VGA cable because both your PC and monitor have VGA ports. The image is soft and text looks fringed. This is a normal limitation of analog VGA at any significant cable length; try a different cable type or check if your GPU's DisplayPort can drive the monitor through a passive adapter instead.
Scenario 3: Budget monitor connected to laptop via HDMI
Laptop HDMI out to monitor HDMI in works exactly like a desktop connection. If there's no signal, most laptops require you to press a function key combination (often Fn + F4, F5, or F8 depending on the laptop brand) to enable the external display, or you can enable it in Windows Display Settings.
Scenario 4: Audio not working through monitor
HDMI carries audio. DisplayPort carries audio too. DII and VGA do not.
If you've connected via DVI or VGA and expect sound from the monitor's built-in speakers, you won't get it. Use an HDMI cable, or run a separate 3.5mm audio cable from your PC's headphone jack to the monitor's audio input if available.
Scenario 5: Resolution stuck at 1024×768 or 1280×720
This usually means Windows doesn't have the correct monitor driver. In Device Manager, expand Monitors, right-click the generic PnP monitor, and select Update Driver. Alternatively, download the monitor's driver or INF file from the manufacturer's website and install it manually.
Frequently Asked Questions
Can I use any HDMI cable to connect a monitor to a PC?
For a standard-resolution setup, almost any HDMI cable works. For higher-resolution or high-refresh-rate setups, you'll need a cable rated for the required bandwidth, such as a High Speed HDMI (2.0) or Premium High Speed HDMI (2.1). For typical budget monitor setups at 1080p and 60Hz, even the cheapest HDMI cable is sufficient.
Do I need an HDMI to DisplayPort adapter?
Only if your PC only has HDMI and your monitor only has DisplayPort. Your PC only has HDMI out, and your monitor only has DisplayPort in. That's the only scenario.
In all other cases, you can find a direct cable solution that's cheaper and more reliable. Try using a different port or cable type before buying an expensive active adapter.
Why is my monitor saying no signal when everything is plugged in?
Check three things: the cable is fully seated on both ends, the monitor is set to the correct input source, and you've connected to the graphics card rather than the motherboard. Those three checks solve the vast majority of "no signal" situations.
Is VGA okay for a budget monitor?
It works, but the image quality is noticeably worse than HDMI or DisplayPort. Text looks softer, colors are less accurate, and there's visible noise or fringing. Use VGA only if you have no other option.
Can I connect a monitor to my PC using a USB port?
Standard USB-A ports carry data only. Some specialized USB-C ports support DisplayPort Alt Mode, but you'll need a compatible port on your PC and often a USB-C to HDMI adapter for the monitor. Dedicated USB display adapters exist but are for adding extra monitors, not as a primary connection.
Does DisplayPort provide better image quality than HDMI?
For typical budget setups, image quality is identical. Both are digital formats with no visible difference. DisplayPort offers technical advantages like higher bandwidth and more reliable FreeSync support, but at standard resolutions and refresh rates you won't see a picture difference.
What matters more is the quality of the adapter or cable if you're converting between the two.
Step-by-Step: Making the Connection
Here's the actual process from start to finish:1. Power off your PC. Not strictly necessary for HDMI or DisplayPort (they're hot-pluggable), but it's good practice and avoids any chance of port damage if you're using VGA or DVI.2. Identify your ports. Check the back of your PC (graphics card area) and the back of your monitor. Note which ports are available on each.3. Select the right cable or adapter. Use the matching logic from the earlier sections. If you need an adapter, make sure it's the correct type (active vs. passive) and supports your target resolution and refresh rate.
Connect the cable to the monitor first. Tighten any thumb screws on DVI or VGA connectors. Make sure HDMI and DisplayPort cables click into place.
Connect the other end to your PC's graphics card output. Not the motherboard. The graphics card ports are lower on the back panel, usually aligned with the expansion slots.
Power on the monitor. Let it boot to its input screen. Most budget monitors show a brand logo briefly and then either display a signal or a "No Input Detected" message.
Power on your PC. During boot, the display should show the BIOS/UEFI splash and then your operating system loading.
Select the correct input if needed. If the monitor shows a black screen despite being powered on, open the OSD menu (buttons on the monitor's edge or bottom bezel) and manually select the input matching the port you used.
Configure display settings in Windows. Right-click the desktop, select Display Settings, and arrange your monitors if using two. Set the correct resolution and refresh rate under Advanced Display Settings.
What to Do When There's No Signal
Don't panic. This is almost always fixable without new these steps in order:
Verify the cable is fully seated. HDMI connectors can feel like they're in when they're only halfway. Push firmly until you feel a click.2. Confirm the monitor input source. Press the input/source button on the monitor and cycle through until you match the port you plugged into.3. Check you're plugged into the graphics card, not the motherboard. This is the single most common mistake. Trace your cable from the monitor. Does it connect near the bottom of the back panel (graphics card) or near the top (motherboard)?
Try a different cable or port. If your monitor has multiple HDMI inputs or your GPU has multiple outputs, test a different combination.
Test the monitor with another device. Plug it into a game console, laptop, or streaming stick to verify the monitor actually works.
Reseat your graphics card. If nothing else works and you're comfortable opening your case, power down, unplug, and press firmly back into its PCIe slot. Sometimes a slightly unseated card causes output issues.
Check BIOS settings. In rare cases, the BIOS may be set to output only through a specific port or disable the dedicated GPU. This usually only applies to custom-built desktops or after a BIOS update.
When a Budget Monitor Isn't Actually Compatible
Most budget monitors work with most PCs. Some edge cases cause real headaches.Very old PCs with only VGA output. If your PC only has VGA and your budget monitor also only has VGA, you can connect them. The image quality will be mediocre.
Consider a cheap discrete GPU with HDMI for a better experience.
USB-C monitors and older PCs. Some modern budget monitors use USB-C for video input. Older PCs without USB-C or Thunderbolt won't drive these directly. Check your PC's ports before buying.
High-refresh-rate monitors on limited connections. Trying to push 144Hz through HDMI 1.4 caps you at 1080p at 120Hz at best. You need DisplayPort or HDMI 2.0+ for higher combinations.
Drawing tablets and specialty displays. Some budget drawing tablets require specific drivers or a HDMI splitter for full functionality. Check the tablet's requirements.
Setting Up Your Display in Windows After Connecting
Once the physical connection is working, configure the display settings:Resolution: Right-click desktop, Display Settings, and select the monitor's native resolution. For most budget monitors, this is 1920×1080.Refresh rate: In Advanced Display settings, select the highest available. Many budget monitors top out at 60Hz.Scaling: If text and icons look too small, adjust scaling. 125% or 150% scaling is common for larger budget panels.
Multiple displays: If you're running your budget monitor as a second display, choose "Extend these displays." Drag the monitor icons to match their physical arrangement.
Troubleshooting the Most Common Post-Connection Problems
Flickering display: Often caused by a failing cable. Replace it. If that doesn't help, check whether your monitor's FreeSync setting conflicts with the incoming signal.Black screen after Windows loads: Boot into Safe Mode and roll back your graphics driver.
Or try connecting to a different video output.Wrong monitor detected as "Generic PNP": Install the driver from the manufacturer's website, usually a small INF file.Audio not playing over HDMI: Go to Sound Settings and set the monitor as the default audio output device.## Final Checklist Before You Buy Anything
Walk through this quick checklist before spending money on cables or adapters:
- Check your graphics card outputs (HDMI, DP, DVI).
- Check your monitor inputs (HDMI, VGA, DP).
- If they match, buy a simple cable. If not, determine whether you need an active adapter.
- Verify the cable or adapter supports your target resolution and refresh rate.
- Check return policy in case the adapter doesn't work.
You can walk into most electronics stores with a photo of your ports and walk out with the right cable for under $10. If you need an active adapter, plan on spending $15-25.90% of connections need nothing more than a standard
When a Budget Monitor Isn't Actually Compatible
Most budget monitors work with most PCs. Some edge cases cause real headaches.
Very old PCs with only VGA output. If your PC only has VGA and your budget monitor also only has VGA, you can connect them. The image quality will be mediocre. Consider a cheap discrete GPU with HDMI for a better experience.
USB-C monitors and older PCs. Some modern budget monitors use USB-C for video input. Older PCs without USB-C or Thunderbolt won't drive these directly. Check your PC's ports before buying.
High-refresh-rate monitors on limited connections. Trying to push 144Hz through HDMI 1.4 caps you at 1080p at 120Hz at best. You need DisplayPort or HDMI 2.0+ for higher combinations.
Drawing tablets and specialty displays. Some budget drawing tablets require specific drivers or a HDMI splitter for full functionality. Check the tablet's requirements.
Setting Up Your Display in Windows After Connecting
Once the physical connection is working, configure the display settings.
Resolution: Right-click desktop, Display Settings, and select the monitor's native resolution. For most budget monitors, this is 1920×1080.
Refresh rate: In Advanced Display settings, select the highest available. Many budget monitors top out at 60Hz.
Scaling: If text and icons look too small, adjust scaling. 125% or 150% scaling is common for larger budget panels.
Multiple displays: If you're running your budget monitor as a second display, choose "Extend these displays." Drag the monitor icons to match their physical arrangement.
Troubleshooting the Most Common Post-Connection Problems
Flickering display: Often caused by a failing cable. Replace it. If that doesn't help, check whether your monitor's FreeSync setting conflicts with the incoming signal.
Black screen after Windows loads: Boot into Safe Mode and roll back your graphics driver. Or try connecting to a different video output.
Wrong monitor detected as "Generic PNP": Install the driver from the manufacturer's website, usually a small INF file.
Audio not playing over HDMI: Go to Sound Settings and set the monitor as the default audio output device.
Final Checklist Before You Buy Anything
Walk through this quick checklist before spending money on cables or adapters:
- Check your graphics card outputs (HDMI, DP, DVI).
- Check your monitor inputs (HDMI, VGA, DP).
- If they match, buy a simple cable. If not, determine whether you need an active adapter.
- Verify the cable or adapter supports your target resolution and refresh rate.
- Check return policy in case the adapter doesn't work.
You can walk into most electronics stores with a photo of your ports and walk out with the right cable for under $10. If you need an active adapter, plan on spending $15-25.
90% of connections need nothing more than a standard cable.
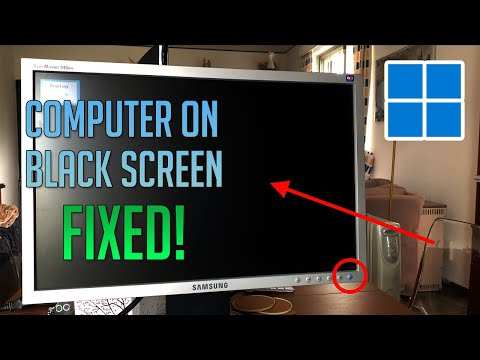
Image source: Bing (Web (fair-use with source credit))

Similar Posts