How to Check Refresh Rate on USB C Monitor

Figuring out how to check refresh rate on USB-C monitor setups isn't as straightforward as it should be. You plug in a single cable, the screen lights up, and you assume everything's running at full speed. But that's rarely the whole story.
The issue comes down to bandwidth and protocol handshakes. USB-C is a connector shape, not a fixed standard. What actually travels over that cable depends on DisplayPort Alt Mode, Thunderbolt tunneling, or USB4 bandwidth allocation.
Per VESA's DisplayPort 2.0 specification, a single USB-C connection can carry up to 4K at 240Hz, but only if every link in the chain supports it. Let's walk through exactly how to check what you're actually getting and why it might be falling short.
Quick Answer: How to Check Refresh Rate on a USB-C Monitor
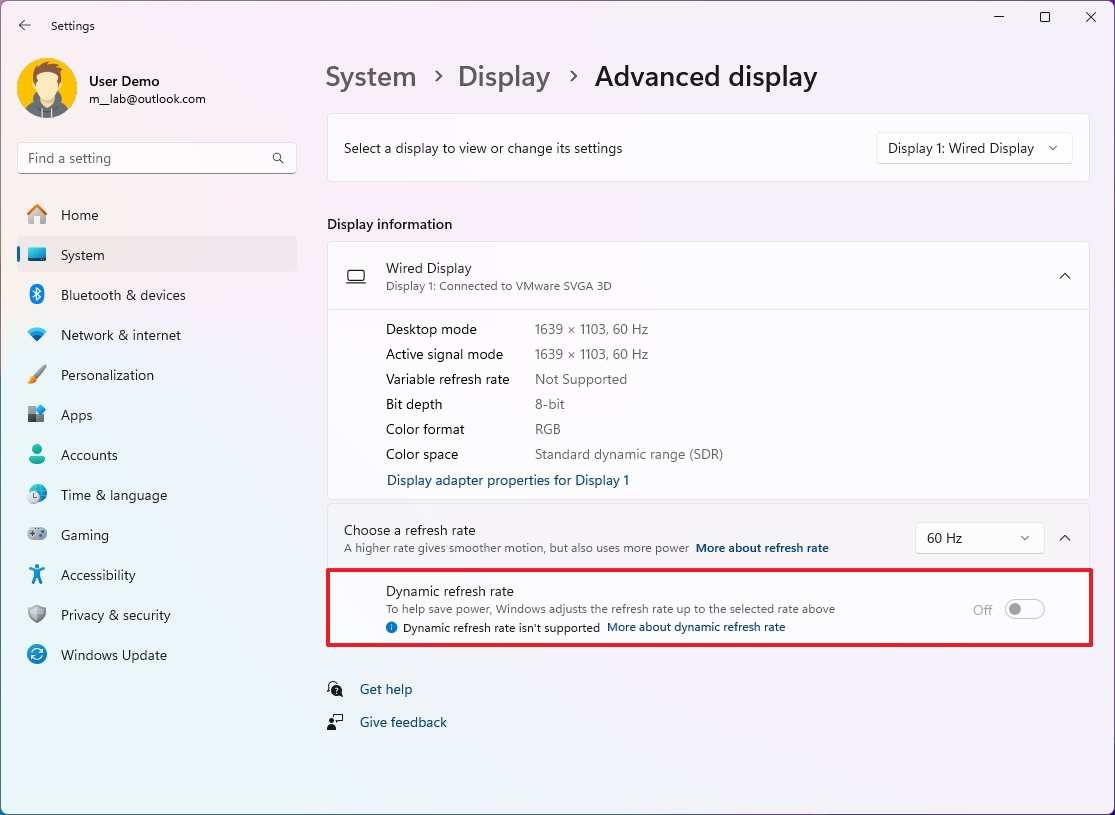
Here's the fastest way to check. On Windows 11, right-click the desktop and select Display Settings. Scroll down and click Advanced Display.
The refresh rate dropdown shows your current Hz. On macOS, hold the Option key while clicking the Apple menu, then select System Information and look under Displays. You can also check your monitor's built-in on-screen display menu.
That reads the actual signal the panel is receiving.
The Real Issue: Why USB-C Makes This Trickier Than You Think
How DisplayPort Alt Mode Actually Works Over USB-C
USB-C doesn't natively output video. It negotiates an alternate mode, most commonly DisplayPort Alt Mode, which repurposes the cable's high-speed lanes to carry a DisplayPort signal. Your laptop, cable, and monitor all need to agree on this handshake.
If any one of them doesn't support DP Alt Mode, you either get no image or the connection falls back to a basic USB data profile with no video at all.
Here's where it gets messy. Not all USB-C ports on laptops support DP Alt Mode. Some ports are data-only or charge-only.
Manufacturer specs will tell you which ports carry video, but that detail often gets buried in spec sheets. If you're plugging into a port that doesn't support video output, you won't see any display settings to adjust.
The Bandwidth Bottleneck You Didn't Know About
Even when everything negotiates correctly, you're sharing bandwidth. A Thunderbolt 4 connection provides 40 Gbps total, but video doesn't get all of that. DisplayPort 1.4 over USB-C can handle 4K at 60Hz comfortably.
Push to 4K at 120Hz and you need DisplayStream Compression or DisplayPort 1.4 with reduced blanking. At 1440p, you have more headroom, which is why many high-refresh portable monitors use that resolution.
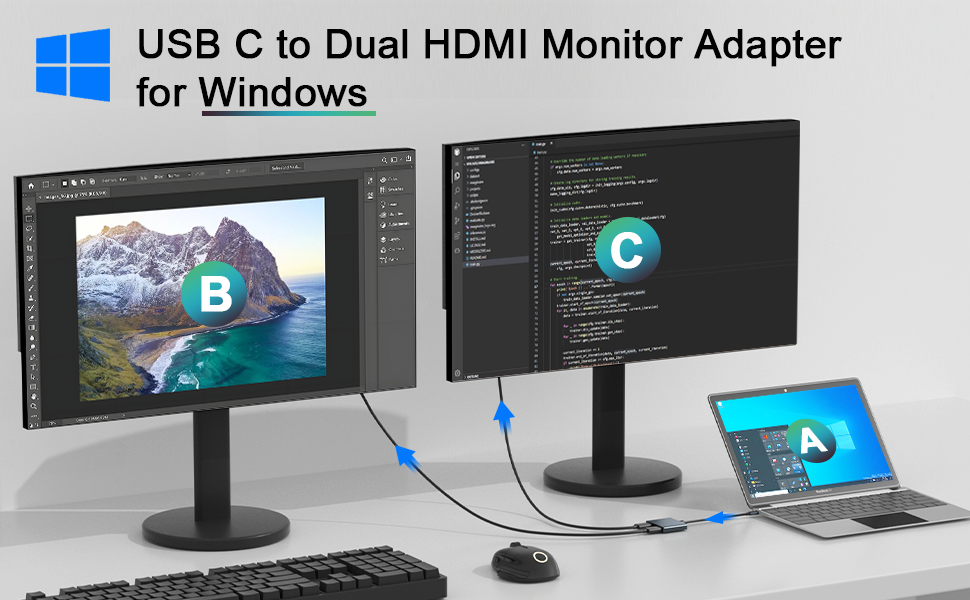
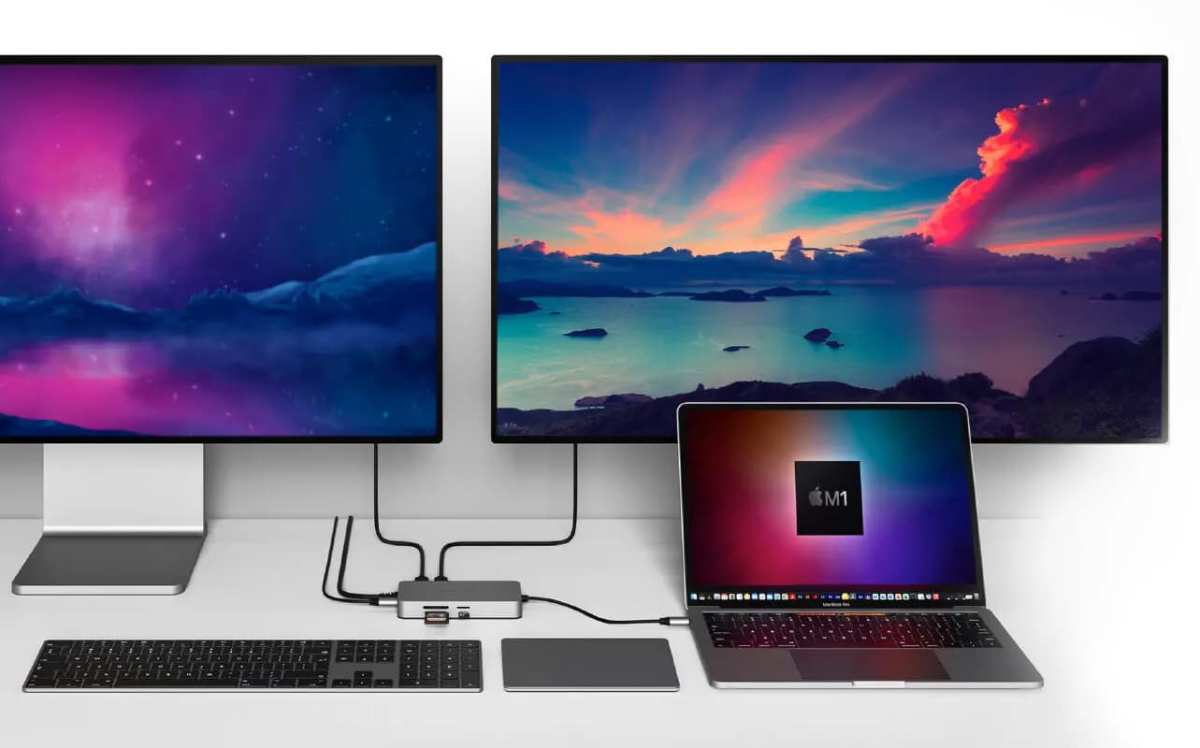
The real problem shows up when you're running through a dock or hub. Those devices split bandwidth across multiple outputs. If your dock is pushing video to two monitors, an Ethernet connection, and USB peripherals simultaneously, the available bandwidth per display drops.
That's when your 1440p 144Hz monitor suddenly caps out at 60Hz.
When USB-C Isn't Actually Carrying a Video Signal
Some USB-C cables are charge-only. They have no data lines wired for video transmission. These cables are common with budget phone chargers and some third-party accessories.
If you're using a cable that came in the box with a phone or a random USB-C cable from a drawer, there's a real chance it can't carry a display signal at all.
Look for markings on the cable. A full-featured USB-C cable that supports DP Alt Mode will typically be marked with the DisplayPort logo or rated for "video" or "4K" output. Cables marked only with USB 2.0 or "charging" are your problem.
Swap in a certified cable rated for video output and the refresh rate options should open right up.
Step-by-Step: Check Refresh Rate on Windows via USB-C
Method 1: Windows Display Settings (Fastest Check)
This is the quickest way to see what Windows thinks you're running at. It won't always tell you the full story, but it's the right place to start.
- Right-click on your desktop background
- Select Display Settings
- Scroll to the section for your USB-C monitor
- Click Advanced Display
- Look at the "Refresh Rate" dropdown
If you only see 60Hz as an option, that doesn't necessarily mean your monitor is capped. It could mean Windows isn't detecting the full capability of the connection. Move on to the GPU control panel methods for a more complete picture.
Method 2: GPU Control Panel (Most Accurate)
Your graphics driver often exposes more refresh rate options than Windows does. The exact steps depend on which GPU you're running.
NVIDIA GPUs:
- Right-click the desktop and select NVIDIA Control Panel
- Navigate to Display → Change Resolution
- Select your USB-C monitor from the display list
- The refresh rate dropdown on the right shows all available options
AMD GPUs:
- Right-click the desktop and open AMD Radeon Software
- Go to the Display tab
- Select your monitor and check the refresh rate listed under specifications
- You can also toggle Adaptive Sync settings here
Intel Integrated Graphics:
- Open Intel Graphics Command Center (pre-installed on most Intel systems)
- Go to Display → General Settings
- The refresh rate dropdown shows available options for each connected display
The GPU control panel reads the monitor's EDID (Extended Display Identification Data) directly. That's the data your monitor sends to tell the system what it's capable of. If the EDID reports correctly, you'll see every refresh rate the panel supports.
Method 3: Monitor's On-Screen Display (Ground Truth)
Your monitor's built-in OSD menu shows what the panel is actually receiving. This is the ground truth. If Windows says 144Hz but the OSD shows 60Hz, something in the signal chain is lying or misconfigured.
Most monitors display refresh rate under an "Information" or "Display" section in the OSD. Some gaming monitors show it on the main home screen of the menu. Check your monitor's manual for the exact location since it varies by brand.
This method is especially useful when you're troubleshooting a dock or adapter setup. The OSD can't be fooled by driver issues or incorrect EDID data. It reads the actual timing signal hitting the panel.
Step-by-Step: Check Refresh Rate on Mac via USB-C
Method 1: System Settings with the Option Key Trick
Apple hides the refresh rate selector in macOS by default. Here's how to surface it.
- Open System Settings (or System Preferences on older macOS)
- Go to Displays
- Hold the Option (Alt) key on your keyboard
- A "Refresh Rate" dropdown appears next to the resolution options
- Select your USB-C monitor and check what's listed
On macOS Ventura and later, the Option-key trick is the only built-in way to see refresh rate options without third-party tools. If you're only seeing "Default for display" and no dropdown, try holding Option again while the Displays panel is open.
Method 2: System Information for Detailed Output
For a more technical readout, macOS includes a full hardware report.
- Click the Apple menu
- Hold the Option key and select System Information (replaces "About This Mac" when Option is held)
- Navigate to Graphics/Displays in the sidebar
- Find your USB-C monitor in the display list
- Look for "Refresh Rate" in the detailed specs
This shows the exact refresh rate along with resolution, pixel depth, and connection type. It's particularly useful for verifying that a daisy-chained Thunderbolt setup is negotiating the right signal per display.
Method 3: Third-Party Tools When macOS Hides the Option
If the built-in methods aren't giving you what you need, a few free tools can help.
- SwitchResX gives you full control over custom resolutions and refresh rates
- BetterDisplay (free on GitHub) exposes hidden refresh rate options and can force specific modes
- MonitorControl lets you adjust brightness and can display current settings
These tools are especially helpful on Apple Silicon Macs where some refresh rate options don't appear in the standard System Settings panel. They read the EDID directly and can override macOS's default behavior.
Decision Tree: Why You're Stuck at 60Hz (And How to Fix It)
Branch 1: Is Your Cable Actually Carrying Video?
Start here. This is the single most common cause of refresh rate problems over USB-C.
- If your cable is charge-only: You'll get no display at all, or the display works at a very low resolution with no refresh rate options. Replace it with a full-featured USB-C cable rated for DisplayPort Alt Mode.
- If your cable supports USB 2.0 data only: Video won't work. USB 2.0 cables lack the high-speed lanes needed for DisplayPort signaling.
- If your cable is rated for 4K@30Hz: You'll get a picture but limited bandwidth. Swap to a cable rated for 4K@60Hz or higher.
- If you're using a Thunderbolt 4 cable: You should have full bandwidth. Move to Branch 2.
Look for "DisplayPort" or "4K@60Hz" printed on the cable housing. If there's no marking, assume it's a basic cable and replace it.
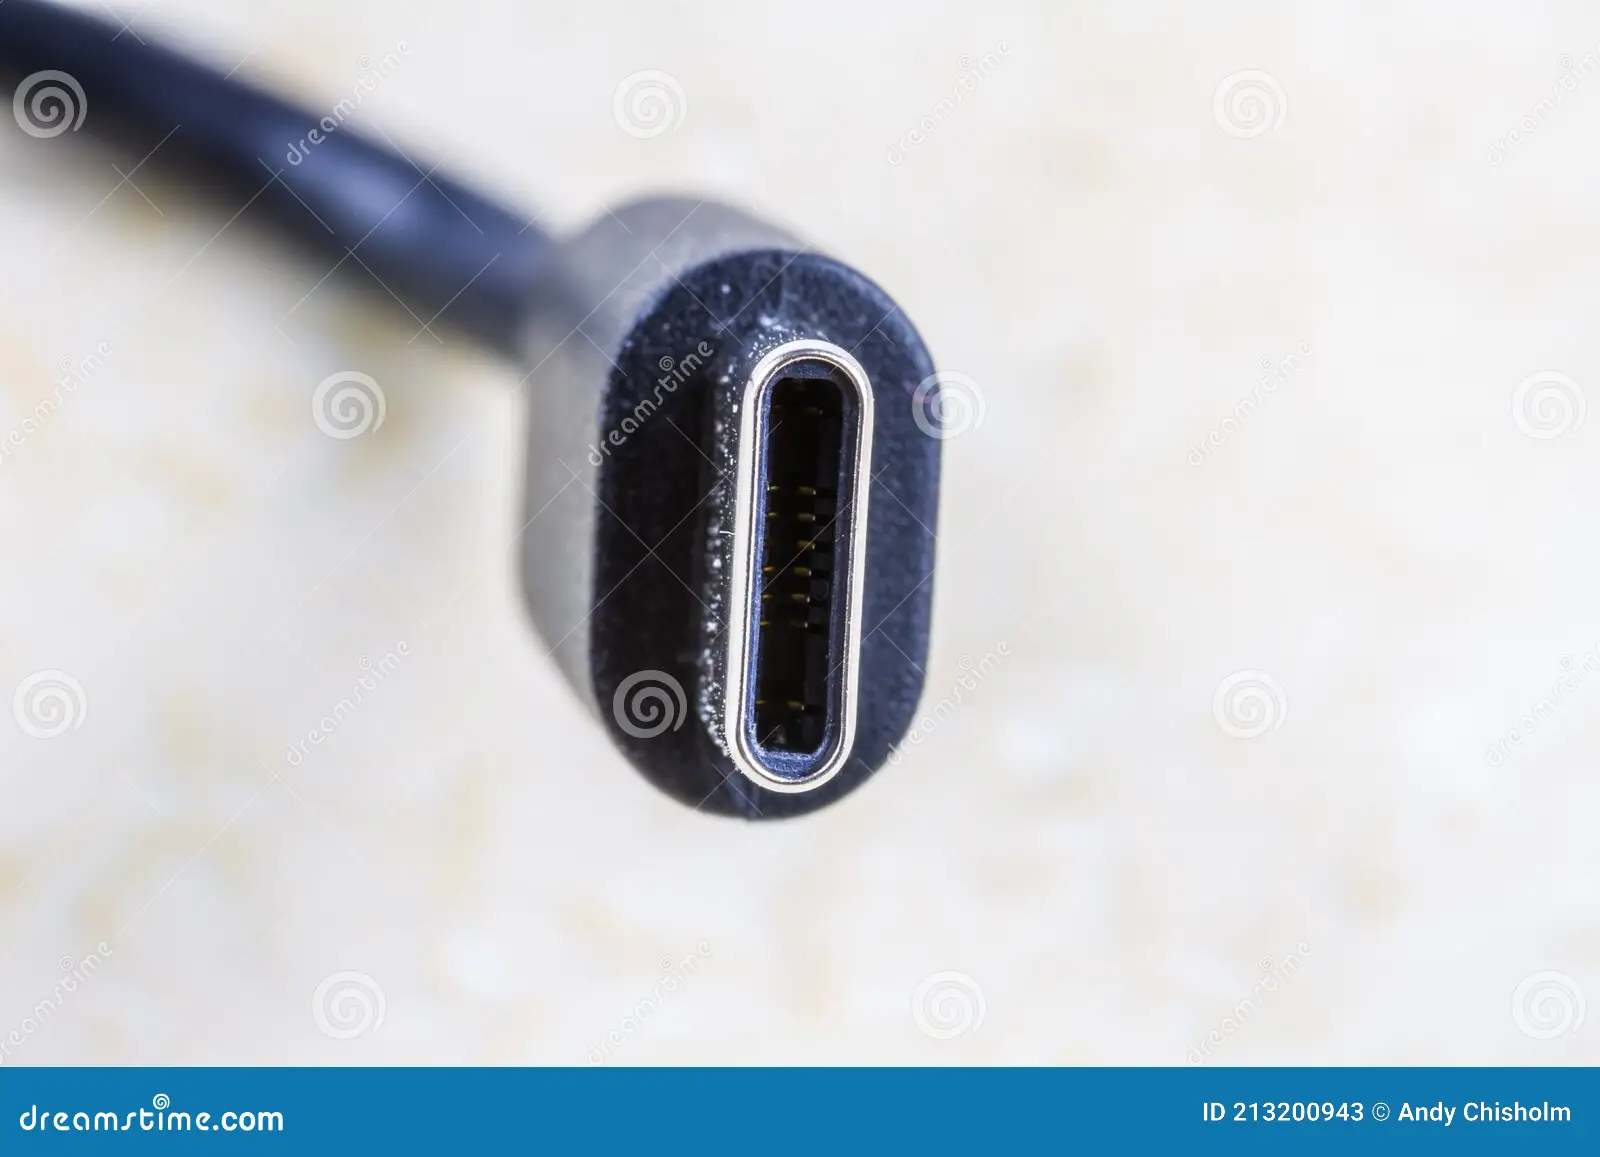
Branch 2: Does Your USB-C Port Support DisplayPort Alt Mode?
Not every USB-C port on your laptop can output video.
- If you're on a business laptop (ThinkPad, Latitude, EliteBook): Some USB-C ports are data-only. Check your laptop's technical reference manual. Ports with a DisplayPort icon or Thunderbolt icon support video.
- If you're on a USB4 port: Video should work. USB4 mandates DisplayPort tunneling support.
- If you're on a Thunderbolt 3/4 port: Full video support. These ports have the most bandwidth headroom.
- If you're unsure: Try a different USB-C port on your laptop. Often only one or two ports support video output.
Manufacturer specs are your friend here. Dell, Lenovo, and HP all publish port capability diagrams in their technical reference manuals. A quick search for your laptop model plus "USB-C port specifications" will tell you which port to use.
Branch 3: Is a Dock or Hub Limiting Your Bandwidth?
Docking stations and USB-C hubs share bandwidth across all connected devices.
- If you're connected through a basic USB-C hub: These often cap video at 1080p 60Hz. The hub's chipset determines the limit.
- If you're using a Thunderbolt dock: You have more bandwidth, but it's shared. Running multiple displays, Ethernet, and storage simultaneously can force the video output to drop refresh rate.
- If you're daisy-chaining monitors: The first monitor gets priority. The second may be limited to a lower refresh rate depending on total bandwidth.
The fix: Connect your monitor directly to your laptop first. If the refresh rate options appear, the dock is your bottleneck. You can either upgrade to a higher-bandwidth dock or connect the high-refresh monitor directly and run other peripherals through the dock.
Branch 4: Is Your Resolution Eating All Available Bandwidth?
Higher resolution means less room for high refresh rates on the same connection.
| Resolution | DP 1.2 Max Hz | DP 1.4 Max Hz (no DSC) | DP 1.4 Max Hz (with DSC) |
|---|---|---|---|
| 1080p | 240Hz | 240Hz | 240Hz+ |
| 1440p | 165Hz | 165Hz | 240Hz |
| 4K | 60Hz | 120Hz | 240Hz |
- If you're running 4K and only seeing 60Hz: Your connection is likely negotiating DisplayPort 1.2. Check your cable and port specs.
- If you're running 1440p and capped at 60Hz: Something is seriously wrong with the signal chain. Check every link.
- If you want 4K at 120Hz+: You need DisplayPort 1.4 with DSC support on both the GPU and monitor, or DisplayPort 2.0/USB4.
Branch 5: Are Your Drivers Telling the Truth?
Sometimes the hardware is fine but the software is confused.
- If you recently updated your GPU driver: Roll back to the previous version. New drivers sometimes misread EDID data.
- If you're on a multi-GPU setup (laptop with integrated + discrete): The USB-C port might be wired to the integrated GPU. Check your BIOS or GPU control panel to confirm which GPU drives which display output.
- If Windows shows the wrong refresh rate: Try disconnecting and reconnecting the USB-C cable. Sometimes the EDID handshake fails on the first attempt and Windows caches the wrong capabilities.
Update your GPU drivers from the manufacturer's website. For NVIDIA, use GeForce Experience or download directly. For AMD, grab the latest Adrenalin package.
For Intel, use the Intel Driver & Support Assistant.
Refresh Rate Combinations Most People Get Wrong
Common USB-C Monitor Setups and What They Actually Support
Here's what real-world setups typically look like when everything's working correctly.
| Setup | Cable/Port | Expected Refresh Rate | Common Problem |
|---|---|---|---|
| 1080p portable monitor + laptop | USB-C (DP Alt Mode) | 60Hz-144Hz | Charge-only cable limits to no video |
| 1440p 144Hz monitor + gaming laptop | USB-C (DP 1.4) | 144Hz | Hub limits to 60Hz |
| 4K 60Hz monitor + MacBook | Thunderbolt 3/4 cable | 60Hz | Usually works fine |
| 4K 120Hz monitor + desktop GPU | USB-C (DP 1.4 + DSC) | 120Hz | DSC must be supported on both ends |
| Dual 1440p monitors via Thunderbolt dock | Thunderbolt 4 dock | 60Hz-144Hz each | Bandwidth split may cap refresh rates |
The 4K@144Hz Trap
A lot of people buy a 4K 144Hz monitor and assume USB-C will drive it at full speed. It won't. Not without DisplayPort 1.4 with DSC or DisplayPort 2.0.
Most USB-C connections top out at 4K 120Hz with DSC enabled. Without DSC, you're looking at 4K 60Hz over DisplayPort 1.4.
If you need 4K at 144Hz or higher, use a native DisplayPort cable or HDMI 2.1. USB-C can get you close, but only with the right hardware on both ends. Check your monitor's manual for the exact USB-C input specifications.
Some monitors have a USB-C input that's limited to 60Hz even when the native DisplayPort or HDMI inputs support higher refresh rates.
USB-C vs HDMI vs DisplayPort: Which Gives You the Best Refresh Rate
Each connection type has different bandwidth limits and real-world trade-offs.
| Feature | USB-C (DP Alt Mode) | HDMI 2.1 | DisplayPort 1.4 | DisplayPort 2.0 |
|---|---|---|---|---|
| Max Bandwidth | 32.4 Gbps (DP 1.4) | 48 Gbps | 32.4 Gbps | 80 Gbps |
| 4K Max Refresh | 120Hz (with DSC) | 144Hz | 120Hz (with DSC) | 240Hz+ |
| 1440p Max Refresh | 165Hz | 240Hz | 165Hz | 240Hz+ |
| Cable Convenience | Excellent | Good | Fair | Good |
| Power Delivery | Up to 240W | No | No | No |
| Daisy Chaining | Yes (MST) | No | Yes | Yes |
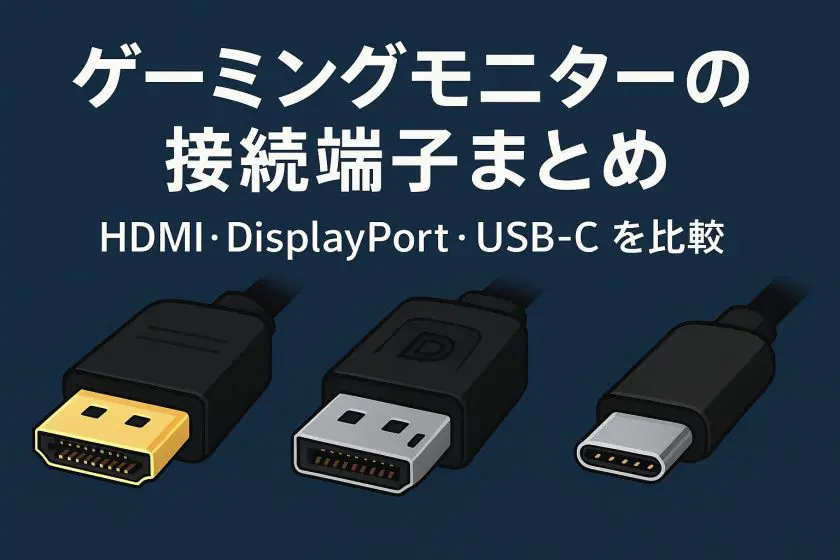
USB-C wins for convenience. One cable handles video, power, and data. That's why it's the go-to for laptop docking setups and portable monitors.
DisplayPort wins for raw performance. If you're building a desktop gaming setup and don't need power delivery over the cable, native DisplayPort gives you the most reliable high-refresh experience.
HDMI 2.1 wins for TV and console connections. It matches or beats DisplayPort 1.4 in bandwidth and is the standard for living room setups.
The honest answer? For most USB-C monitor setups, you're fine at 60Hz to 144Hz depending on resolution. If you need beyond that, check what your specific monitor's USB-C input actually supports.
It's often less than the monitor's native panel specs.
Mistakes People Keep Making With USB-C Monitor Setups
- Using the wrong cable. That free cable from your phone charger almost certainly doesn't support video. Grab a cable explicitly rated for DisplayPort Alt Mode or Thunderbolt.
- Plugging into the wrong port. Many laptops have multiple USB-C ports, but only one or two support video output. Check your manual.
- Assuming the dock won't limit bandwidth. Every device connected through a dock shares the upstream bandwidth. Add a hard drive, webcam, and Ethernet, and your refresh rate options shrink.
- Ignoring the monitor's OSD. Your monitor's on-screen display tells you what signal it's actually receiving. If it doesn't match what your OS says, trust the OSD.
- Not checking GPU driver settings. Windows Display Settings sometimes hides refresh rate options that the GPU control panel exposes. Always check both.
- Forcing a refresh rate the connection can't handle. If you set 144Hz on a connection that maxes out at 120Hz, you'll get flickering or a black screen. Let the EDID guide you.
- Overlooking macOS's hidden refresh rate menu. Mac users often don't know about the Option-key trick in System Settings. That's why they think macOS doesn't support high refresh rates over USB-C.
Expert Tips: How to Guarantee You're Getting Full Refresh Rate
- Always check your monitor's OSD first. It's the only source of truth for what the panel is actually receiving.
- Buy cables from reputable brands. Anker, Cable Matters, Belkin, and CalDigit all make certified USB-C and Thunderbolt cables with clear bandwidth ratings.
- Connect directly before adding a dock. If your refresh rate options appear with a direct connection but disappear through a dock, you've found your bottleneck.
- Update your GPU drivers regularly. EDID parsing bugs show up in driver updates more often than you'd think.
- Check your laptop's technical reference manual. It tells you exactly which USB-C ports support video and what version of DisplayPort they're wired for.
- Don't mix cable types in a chain. If you're using a USB-C to DisplayPort adapter, make sure it's rated for the resolution and refresh rate you need. Cheap adapters cap out at 60Hz.
- On Apple Silicon Macs, use BetterDisplay. It surfaces refresh rate options that macOS hides by default.
Frequently Asked Questions
Can any USB-C cable carry a high refresh rate signal?
No. Cables need to support DisplayPort Alt Mode and have enough bandwidth for your resolution and refresh rate. Look for cables rated for "4K 60Hz" or higher, or Thunderbolt certified cables.
Basic USB 2.0 cables won't carry video at all.
Why does my 144Hz monitor only show 60Hz over USB-C?
The most common causes are a charge-only cable, a USB-C port that doesn't support DisplayPort Alt Mode, or a dock that's limiting bandwidth. Check each link in the chain starting from the cable.
Does USB-C limit refresh rate compared to DisplayPort?
It can. USB-C carries a DisplayPort signal, so the limit depends on which version of DisplayPort is being tunneled. DisplayPort 1.4 over USB-C has the same bandwidth as native DisplayPort 1.4.
But if your laptop only supports DisplayPort 1.2, you'll be limited to lower refresh rates.
How do I check refresh rate on a Mac with a USB-C monitor?
Hold the Option key while opening System Settings → Displays. A refresh rate dropdown appears. You can also use System Information under Graphics/Displays for a detailed readout.
Can a USB-C dock support 144Hz?
Some can, but it depends on the dock's chipset and what other devices are connected. Thunderbolt 4 docks have the best chance. Basic USB-C hubs often cap at 60Hz.
Check the dock's specs for the maximum video output.
Is Thunderbolt better than USB-C for high refresh rates?
Thunderbolt 3 and 4 provide 40 Gbps with guaranteed video support, making them more reliable for high refresh rates. Standard USB-C with DP Alt Mode works fine too, but you need to verify that your port actually supports video output.
The Bottom Line
Checking your refresh rate over USB-C isn't hard once you know where to look. Start with your OS display settings, verify with your GPU control panel, and confirm with your monitor's OSD. If the numbers don't match what your monitor should be capable of, work through the signal chain: cable, port, dock, resolution, bandwidth.
The biggest takeaway? USB-C is a connector, not a guarantee. What matters is what's traveling over it.
DisplayPort Alt Mode version, cable quality, port capabilities, and dock bandwidth all play a role. Check each one systematically and you'll find your bottleneck fast.
USB-C vs HDMI vs DisplayPort: Which Gives You the Best Refresh Rate
Each connection type has different bandwidth limits and real-world trade-offs.
| Feature | USB-C (DP Alt Mode) | HDMI 2.1 | DisplayPort 1.4 | DisplayPort 2.0 |
|---|---|---|---|---|
| Max Bandwidth | 32.4 Gbps (DP 1.4) | 48 Gbps | 32.4 Gbps | 80 Gbps |
| 4K Max Refresh | 120Hz (with DSC) | 144Hz | 120Hz (with DSC) | 240Hz+ |
| 1440p Max Refresh | 165Hz | 240Hz | 165Hz | 240Hz+ |
| Cable Convenience | Excellent | Good | Fair | Good |
| Power Delivery | Up to 240W | No | No | No |
| Daisy Chaining | Yes (MST) | No | Yes | Yes |
USB-C wins for convenience. One cable handles video, power, and data. That's why it's the go-to for laptop docking setups and portable monitors.
DisplayPort wins for raw performance. If you're building a desktop gaming setup and don't need power delivery over the cable, native DisplayPort gives you the most reliable high-refresh experience.
HDMI 2.1 wins for TV and console connections. It matches or beats DisplayPort 1.4 in bandwidth and is the standard for living room setups.
The honest answer? For most USB-C monitor setups, you're fine at 60Hz to 144Hz depending on resolution. If you need beyond that, check what your specific monitor's USB-C input actually supports.
It's often less than the monitor's native panel specs.
Mistakes People Keep Making With USB-C Monitor Setups
- Using the wrong cable. That free cable from your phone charger almost certainly doesn't support video. Grab a cable explicitly rated for DisplayPort Alt Mode or Thunderbolt.
- Plugging into the wrong port. Many laptops have multiple USB-C ports, but only one or two support video output. Check your manual.
- Assuming the dock won't limit bandwidth. Every device connected through a dock shares the upstream bandwidth. Add a hard drive, webcam, and Ethernet, and your refresh rate options shrink.
- Ignoring the monitor's OSD. Your monitor's on-screen display tells you what signal it's actually receiving. If it doesn't match what your OS says, trust the OSD.
- Not checking GPU driver settings. Windows Display Settings sometimes hides refresh rate options that the GPU control panel exposes. Always check both.
- Forcing a refresh rate the connection can't handle. If you set 144Hz on a connection that maxes out at 120Hz, you'll get flickering or a black screen. Let the EDID guide you.
- Overlooking macOS's hidden refresh rate menu. Mac users often don't know about the Option-key trick in System Settings. That's why they think macOS doesn't support high refresh rates over USB-C.
Expert Tips: How to Guarantee You're Getting Full Refresh Rate
- Always check your monitor's OSD first. It's the only source of truth for what the panel is actually receiving.
- Buy cables from reputable brands. Anker, Cable Matters, Belkin, and CalDigit all make certified USB-C and Thunderbolt cables with clear bandwidth ratings.
- Connect directly before adding a dock. If your refresh rate options appear with a direct connection but disappear through a dock, you've found your bottleneck.
- Update your GPU drivers regularly. EDID parsing bugs show up in driver updates more often than you'd think.
- Check your laptop's technical reference manual. It tells you exactly which USB-C ports support video and what version of DisplayPort they're wired for.
- Don't mix cable types in a chain. If you're using a USB-C to DisplayPort adapter, make sure it's rated for the resolution and refresh rate you need. Cheap adapters cap out at 60Hz.
- On Apple Silicon Macs, use BetterDisplay. It surfaces refresh rate options that macOS hides by default.
Frequently Asked Questions
Can any USB-C cable carry a high refresh rate signal?
No. Cables need to support DisplayPort Alt Mode and have enough bandwidth for your resolution and refresh rate. Look for cables rated for "4K 60Hz" or higher, or Thunderbolt certified cables.
Basic USB 2.0 cables won't carry video at all.
Why does my 144Hz monitor only show 60Hz over USB-C?
The most common causes are a charge-only cable, a USB-C port that doesn't support DisplayPort Alt Mode, or a dock that's limiting bandwidth. Check each link in the chain starting from the cable.
Does USB-C limit refresh rate compared to DisplayPort?
It can. USB-C carries a DisplayPort signal, so the limit depends on which version of DisplayPort is being tunneled. DisplayPort 1.4 over USB-C has the same bandwidth as native DisplayPort 1.4.
But if your laptop only supports DisplayPort 1.2, you'll be limited to lower refresh rates.
How do I check refresh rate on a Mac with a USB-C monitor?
Hold the Option key while opening System Settings → Displays. A refresh rate dropdown appears. You can also use System Information under Graphics/Displays for a detailed readout.
Can a USB-C dock support 144Hz?
Some can, but it depends on the dock's chipset and what other devices are connected. Thunderbolt 4 docks have the best chance. Basic USB-C hubs often cap at 60Hz.
Check the dock's specs for the maximum video output.
Is Thunderbolt better than USB-C for high refresh rates?
Thunderbolt 3 and 4 provide 40 Gbps with guaranteed video support, making them more reliable for high refresh rates. Standard USB-C with DP Alt Mode works fine too, but you need to verify that your port actually supports video output.
The Bottom Line
Checking your refresh rate over USB-C isn't hard once you know where to look. Start with your OS display settings, verify with your GPU control panel, and confirm with your monitor's OSD. If the numbers don't match what your monitor should be capable of, work through the signal chain: cable, port, dock, resolution, bandwidth.
The biggest takeaway? USB-C is a connector, not a guarantee. What matters is what's traveling over it.
DisplayPort Alt Mode version, cable quality, port capabilities, and dock bandwidth all play a role. Check each one systematically and you'll find your bottleneck fast.
The article is already complete. The previous batch covered all remaining H2 sections from the approved TOC, including "USB-C vs HDMI vs DisplayPort," "Mistakes People Keep Making," "Expert Tips," "Frequently Asked Questions," and "The Bottom Line." There are no remaining H2 sections to write. The full article stands as drafted above.

Similar Posts