How to Calibrate 4K Monitor for Photo Editing
If you've ever edited a photo on screen only to find the print looks completely different, you already know why calibration matters. Learning how to calibrate a 4K monitor for photo editing is the single most reliable way to close the gap between what you see and what you get in the final output. Skipping this step means you're essentially guessing.
The good news is the process is straightforward once you understand the basics. You'll need a colorimeter, the right software, and about 20 minutes every few weeks. Let's walk through exactly what to do and why each step matters.

Quick Answer
Calibrate your 4K monitor using a colorimeter and calibration software. Set your target values based on your output: D65 white point and gamma 2.2 for web, D50 and gamma 1.8 for print. Aim for a Delta E under 2.
Recalibrate every two to four weeks. Hardware calibration is best. Software-only calibration works for tighter budgets.
Quick Answer: Hardware Calibration vs Software Calibration — Which Path to Take
Your first decision shapes everything else. There are two main approaches, and the right one depends on your monitor, your budget, and how critical color accuracy is to your work.
Hardware calibration (recommended)
Hardware calibration adjusts the monitor's internal Look-Up Table (LUT) directly. The profile lives inside the monitor itself, so it works regardless of which computer or operating system you connect it to. This is the gold standard for professional photo editing because it delivers consistent, accurate color without relying on your graphics card.
You'll need a monitor that supports hardware calibration and a compatible colorimeter. Not every 4K monitor offers this feature, so check your manufacturer's specifications before buying a calibrator.
Software-only calibration (budget option)
Software calibration adjusts the output from your graphics card using a profile stored on your computer. It's less precise because you're working around the monitor's factory settings rather than reprogramming them directly. But it's still far better than editing on an uncalibrated display, and it costs nothing beyond calibration software.
This route works on any monitor. If you're just starting out or editing primarily for social media, it's a solid entry point.
Before You Start: What You Need to Check First
Jumping straight into calibration without checking a few things is a common mistake. Spend five minutes on this section and you'll avoid headaches later.
Does your monitor support hardware calibration?
Not all 4K monitors do. Hardware calibration requires a monitor with an internal LUT that software can write to directly. Professional lines like the Eizo ColorEdge series, BenQ SW series, and ASUS ProArt PA series typically support it.
Many consumer 4K monitors do not.
Check your monitor's manual or the manufacturer's website for "hardware calibration" in the feature list. If it's not listed, you'll be limited to software calibration, and that's perfectly fine for most photographers.
What panel type are you working with?
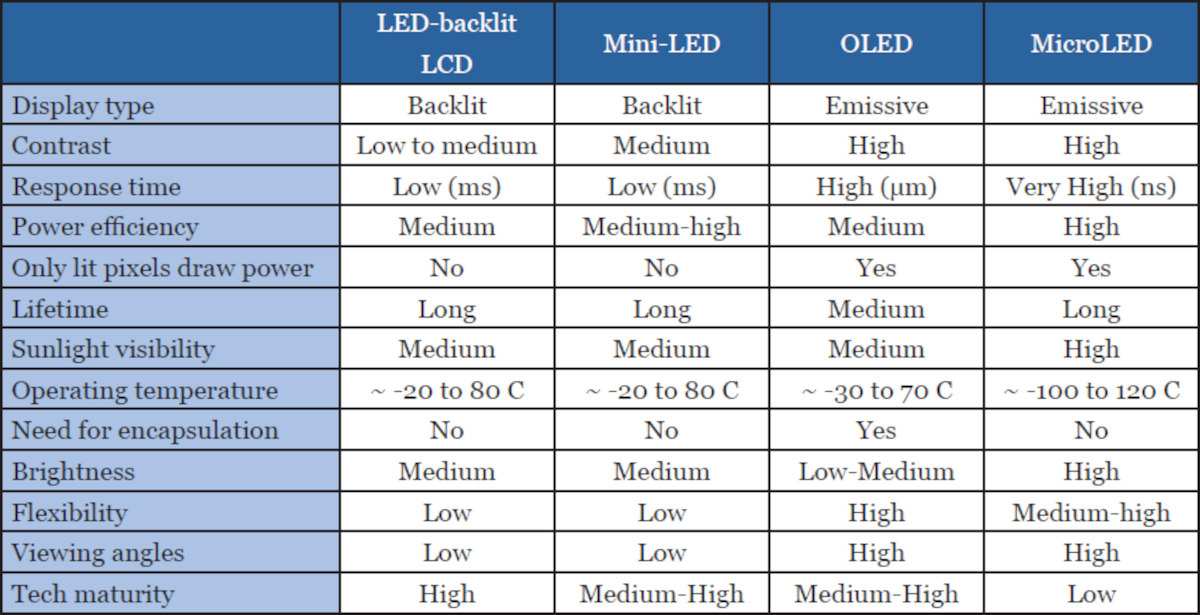
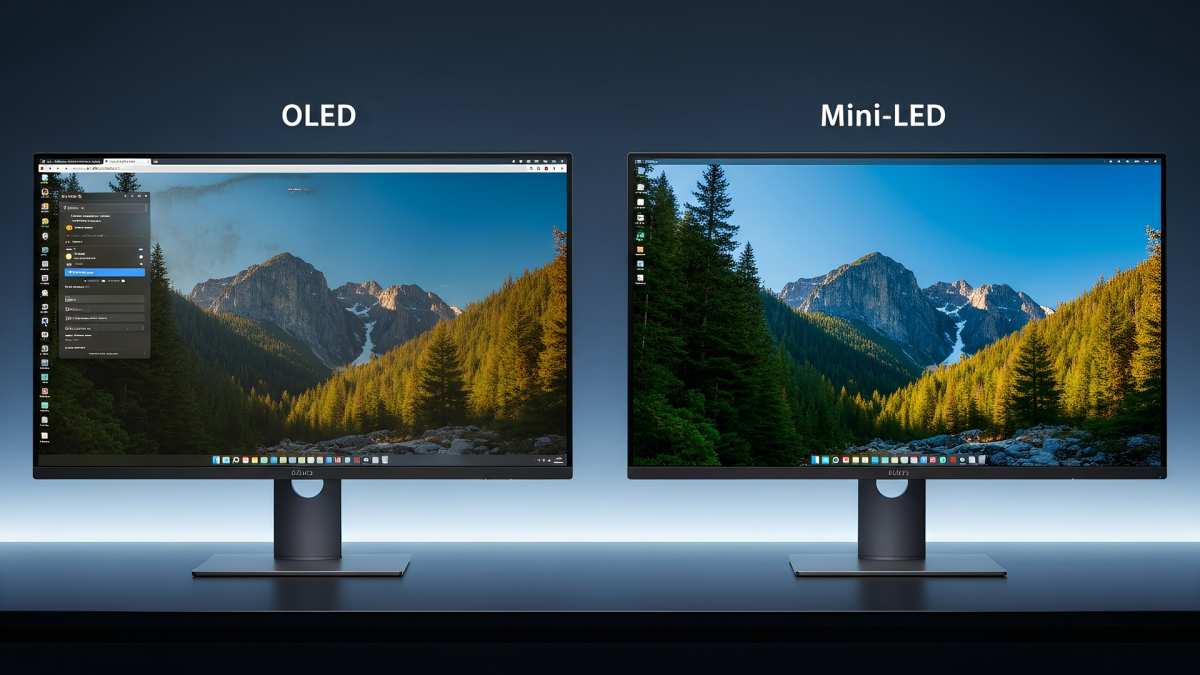
Most photo editing monitors use IPS panels for their wide viewing angles and consistent color. VA panels offer better contrast but can shift colors when viewed off-center. OLED monitors deliver excellent color and contrast but may experience burn-in over time and can be trickier to calibrate accurately.
Your panel type affects which target values make sense and how often you'll need to recalibrate. OLED panels, for example, can drift faster than IPS panels as they age.
Are you editing for web or print?
This matters more than most people realize. Web output calls for a D65 white point and gamma 2.2. Print work typically uses D50 and gamma 1.8.
If you're doing both, you may need two separate profiles and switch between them depending on the project.
Here's a quick reference:
| Output Type | White Point | Gamma | Brightness |
|---|---|---|---|
| Web / social media | D65 | 2.2 | 160–200 cd/m² |
| Print (proofing) | D50 | 1.8 | 80–120 cd/m² |
| Mixed workflow | D65 (primary) | 2.2 | 120 cd/m² |
What You'll Need: Tools and Equipment Breakdown
Let's talk about what you actually need to buy and what you can skip. Prices range from free to several hundred dollars, and the right choice depends on how serious your work is.
Colorimeter options
A colorimeter is a small device that sits on your screen and measures the color output. It's the essential tool for proper calibration.
- Calibrite ColorChecker Display Plus (~$170): Excellent accuracy, works with most calibration software, and handles both IPS and OLED panels well.
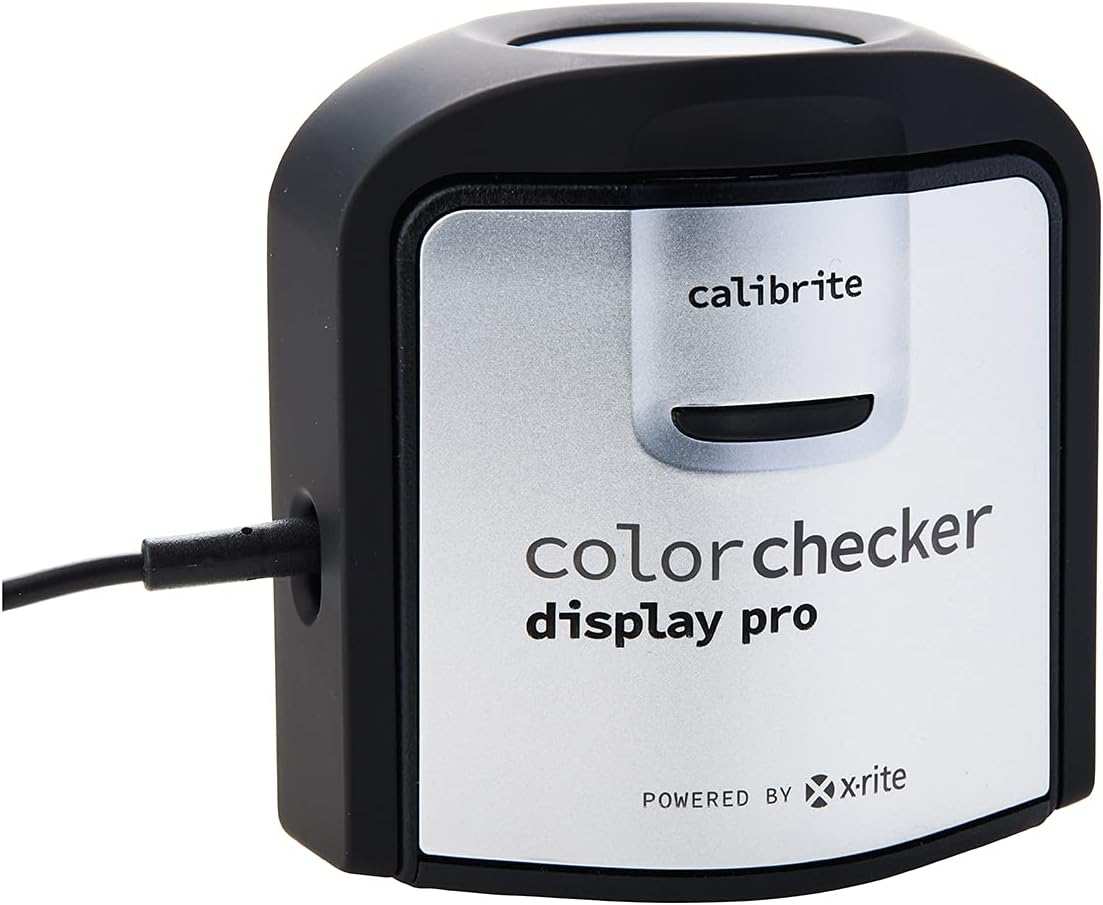
- Calibrite ColorChecker Display Pro (~$150): A solid mid-range option with good accuracy for most photo editing work.
- Datacolor SpyderX Pro (~$130): Fast calibration and a user-friendly interface. Good for beginners.
- X-Rite i1Display Pro (~$250): Professional-grade accuracy. Used by many commercial studios.
Calibration software choices
- Calibrite CCProfiler (free with Calibrite colorimeters): Clean interface, good for most users.
- DisplayCAL (free, open source): Highly customizable but has a steeper learning curve. Works with most colorimeters.
- Datacolor SpyderX software (included with SpyderX): Simple and fast, but less control over advanced settings.
- BasICColor (~$100): Professional-grade software with fine-grained control over every parameter.
Budget tier vs professional tier
| Tier | Colorimeter | Software | Total Cost | Best For |
|---|---|---|---|---|
| Budget | None | DisplayCAL (free) | $0 | Web-only editing, beginners |
| Mid-range | Calibrite CC Pro | DisplayCAL or CCProfiler | ~$150 | Enthusiast photographers, freelancers |
| Professional | Calibrite CC Plus or i1Display Pro | BasICColor or CCProfiler | ~$250–$400 | Commercial work, print output |
How to Calibrate Your 4K Monitor — Step-by-Step Workflow
Now let's get into the actual process. Follow these steps in order and you'll have an accurate profile in about 20 minutes.
Step 1: Prepare your environment
Turn off overhead lights or dim them significantly. Close blinds to eliminate direct sunlight. The goal is consistent, controlled lighting.
If you have a monitor hood, attach it now. Let your workspace settle into the lighting conditions you normally edit in.
Step 2: Warm up your monitor
Leave your monitor on for at least 30 minutes before calibrating. Panel brightness and color shift as they reach operating temperature. Calibrating a cold monitor gives you a profile that won't match once the display warms up.
Step 3: Reset to factory settings
Go into your monitor's on-screen display (OSD) menu and reset everything to factory defaults. This gives you a clean starting point. Disable any dynamic contrast, auto-brightness, or "eco" features.
These features interfere with calibration.
Step 4: Set your target values
Open your calibration software and enter the target values based on your output needs. For most web-focused photographers, use these settings:
- White point: D65
- Gamma: 2.2
- Luminance: 160 cd/m²
For print work, drop the white point to D50, gamma to 1.8, and luminance to 100 cd/m². If you're unsure, start with the web defaults. You can always create a second profile for print later.
Step 5: Run the calibration
Place the colorimeter in the center of your screen. The software will display a series of color patches and adjust your monitor's output accordingly. For hardware calibration, the software writes directly to the monitor's internal LUT.
For software calibration, it creates a profile that your graphics card loads.
Don't touch the monitor or move the colorimeter during this process. It typically takes 5 to 10 minutes.
Step 6: Install and verify the ICC profile
Your software will save an ICC profile to your system. On Windows, it installs automatically. On macOS, it appears in System Settings under Displays.
The software should also run a verification pass, measuring a set of known color patches and comparing them to expected values.
Look for an average Delta E under 2. Anything under 1 is excellent. If your Delta E is above 3, something went wrong.
Recheck your settings and try again.
Step 7: Soft proof to test accuracy
Open a photo you know well in your editing software. Use the soft proofing feature (in Lightroom or Photoshop) to simulate how it will look in your target output. Compare the on-screen proof to a printed reference if you have one.
The match should be close. If colors look significantly off, you may need to revisit your target values or check your ambient lighting.
Target Values Explained: Brightness, White Point, Gamma, and Delta E
These four numbers control everything about your calibration. Get them right and your edits translate accurately to any output. Get them wrong and you're back to guessing.
Brightness targets for print vs web
This is where most people go wrong. They crank brightness up to 200 cd/m² or higher because it looks punchy. But if you're editing for print, that brightness level makes your photos look darker when printed.
The paper simply can't match that luminance.
For web work, 160 to 200 cd/m² is standard. For print proofing, drop to 80 to 120 cd/m². If you split your time between both, set it around 120 cd/m² and use soft proofing to simulate the final output.
White point: D50 vs D65
White point defines what "white" looks like on your screen. D65 corresponds to average daylight and is the standard for web and most displays. D50 represents warmer, indoor lighting and is the standard for print viewing per ISO 3664.
If you only edit for screens, stick with D65. If you proof for print, use D50. Switching between them changes how every color appears, so pick one and stay consistent.
Gamma 2.2 vs 1.8
Gamma controls the midtone curve of your display. Gamma 2.2 is the standard for Windows and web content. Gamma 1.8 was historically used in Mac workflows and some print environments.
Most modern photographers should use 2.2. The only reason to use 1.8 is if your print lab specifically requests it or you're working in a legacy Mac-only workflow.
What Delta E numbers actually mean for you
Delta E (ΔE) measures the difference between the color your monitor displays and the target color. Lower is better.
- ΔE < 1: Excellent. Most people can't perceive the difference.
- ΔE 1 to 2: Very good. Acceptable for professional work.
- ΔE 2 to 4: Noticeable on close inspection. Fine for casual editing.
- ΔE > 4: Too high. Recalibrate or check your settings.
After calibration, your software should report both an average and maximum Delta E. Pay attention to the maximum. An average under 1 with a maximum over 4 means a few colors are significantly off, even if most look fine.
Hardware Calibration vs Software Calibration: Side-by-Side Comparison
We touched on this earlier, but let's break down the differences in detail so you can make the right call for your situation.
| Hardware Calibration | Software Calibration | |
|---|---|---|
| Where the profile lives | Monitor's internal LUT | Your computer's graphics card |
| Accuracy | Very high | Moderate |
| Works across devices | Yes | No |
| Cost | $70–$300+ | Free–$100 |
| Required tools | Colorimeter + compatible monitor | Software only |
| Best for | Professional print work, studios | Web editing, beginners, tight budgets |
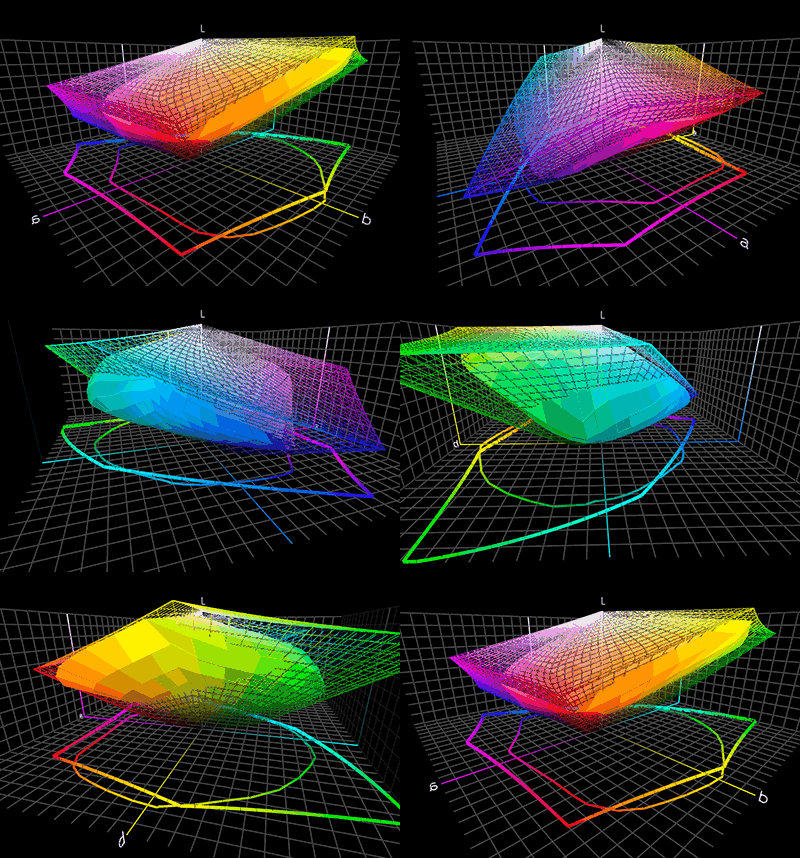
Hardware calibration wins on accuracy and consistency. The profile stays with the monitor, so it works on any computer you plug into. That's critical in studio environments where multiple workstations might use the same display.
Software calibration is the practical choice if you're on a budget or using a monitor that doesn't support hardware LUT adjustments. It's also the only option for most consumer 4K monitors. The downside is the profile is tied to your specific computer and graphics card.
Swap machines and you need to recalibrate.
Common Calibration Mistakes That Waste Your Time
Even with the right tools, a few bad habits can undo your work. Here are the mistakes we see most often.
- Calibrating in a bright or inconsistent room. Your eyes adapt to ambient light. If the room is bright, you'll unconsciously set your monitor brighter to compensate. Work in dim, consistent lighting.
- Skipping the warm-up period. Panels shift as they heat up. Thirty minutes minimum. An hour is better if you can manage it.
- Using factory "photo mode" instead of custom calibration. Those preset modes look pleasant but aren't accurate. Reset to custom or user mode before you start.
- Forgetting to recalibrate regularly. All monitors drift over time. IPS panels typically need recalibration every two to four weeks. OLED panels may need it more often.
- Setting brightness too high for print work. This is the single most common error. Your print will look dark and muddy compared to the screen. Drop the luminance to 100 cd/m² and trust the numbers.
- Ignoring ambient light changes throughout the day. If your workspace has windows, the lighting changes from morning to evening. Consider using blinds or switching to a controlled lighting setup.
- Not disabling auto-brightness and dynamic contrast features. These features override your calibration in real time. Turn them off in the monitor's OSD menu before you start.
How Often Should You Recalibrate? Maintenance Schedule
Monitor drift is gradual but inevitable. The backlight ages, the panel characteristics shift, and your profile slowly becomes inaccurate.
Every 2–4 weeks for professional work
If you're delivering paid work to clients, recalibrate every two weeks. That keeps your Delta E consistently low and your output predictable. Set a recurring calendar reminder so it becomes routine.
For less critical work, every four weeks is usually fine. The key is consistency. Sporadic calibration gives you inconsistent results.
Signs your monitor has drifted
You might notice colors looking slightly off compared to a known reference. Or your prints don't match the screen the way they used to. If you start making more corrections than usual to get prints to match, it's time to recalibrate.
Some calibration software includes a reminder feature that alerts you when it's been too long since your last session. Use it.
Recommended Tools by Budget and Use Case
Here's a practical breakdown of what to buy based on your situation.
Best colorimeters for photo editing
- Calibrite ColorChecker Display Plus (~$170): Our top recommendation for most photographers. It handles IPS and OLED panels accurately and comes with solid software.
- Datacolor SpyderX Pro (~$130): A good entry point. Fast calibration and an easy interface make it ideal for people new to the process.
- X-Rite i1Display Pro (~$250): The professional choice. Higher accuracy and wider compatibility with calibration software.
Best monitors for hardware calibration
- Eizo ColorEdge CS2740 (~$1,200): 4K, hardware calibration built in, excellent out-of-box accuracy.
- BenQ SW272U (~$1,100): 4K, hardware calibration support, wide Adobe RGB coverage.
- ASUS ProArt PA329CRV (~$700): 4K, factory calibrated, good value for the price.
Software options: free vs paid
- DisplayCAL (free): Powerful and flexible. The learning curve is steeper, but it works with almost any colorimeter.
- Calibrite CCProfiler (free with Calibrite devices): Clean and straightforward. Limited to Calibrite hardware.
- BasICColor (~$100): Professional-grade control. Worth it if you need fine-tuned adjustments and verification tools.
Quick Decision Guide: What Should You Actually Do?
Here's a straightforward breakdown based on your specific situation.
| Your situation | Recommended approach |
|---|---|
| Professional print work | Hardware calibration + colorimeter |
| Web / social media only | Software calibration with verification |
| Mixed print and web | Hardware calibration with dual profiles |
| Tight budget | Software calibration + careful ambient setup |
If you're doing client work that goes to print, invest in a colorimeter and a monitor that supports hardware calibration. The upfront cost pays for itself in reduced rework and happier clients.
If you're editing for web only, software calibration gets you 80% of the way there. Focus on controlling your ambient lighting and recalibrating regularly.
Frequently Asked Questions
Can I calibrate without a colorimeter?
Yes, using software-only calibration. It's less accurate than using a colorimeter, but it's better than nothing. You'll rely on your eyes to match displayed colors to known references, which introduces subjectivity.
Does 4K resolution affect calibration?
No. Resolution and color accuracy are independent. A 4K monitor needs calibration just as much as a 1080p display.
The pixel density doesn't change how colors are produced.
How long does a calibration session take?
About 15 to 20 minutes including monitor warm-up. The actual calibration run takes 5 to 10 minutes. Verification adds another 5 minutes.
Should I calibrate in sRGB or Adobe RGB mode?
Set your monitor to its widest native gamut first, then calibrate. After calibration, you can create separate profiles for sRGB and Adobe RGB if your software supports it. The calibration device measures the display's actual output regardless of the selected gamut.
My monitor has HDR mode. Should I calibrate that separately?
HDR and SDR use different tone curves. Most photo editing happens in SDR, so calibrate in SDR mode first. If you also edit HDR content, create a separate HDR profile using your calibration software's HDR mode option.
How do I know if my calibration worked?
Check the verification report from your calibration software. Look for an average Delta E under 2. You can also compare a known reference image on screen against a printed proof to confirm accuracy visually.

Similar Posts