Do Touchscreen Monitors Support Stylus

Image source: Bing (Web (fair-use with source credit))
Do touchscreen monitors support stylus input? It's one of those questions that sounds like it should have a simple yes-or-no answer. But once you start digging into the specs, things get complicated fast.
The short answer is: some do, some don't, and the ones that do vary wildly in quality. A basic capacitive touchscreen will work with a cheap rubber-tip stylus just fine. But if you're looking for pressure sensitivity, tilt detection, and the kind of precision that digital artists rely on, you need a very specific type of digitizer built into the monitor.
Let's break down exactly what separates a finger-friendly screen from a pen-capable one.
Quick Answer
Some touchscreen monitors support stylus input. Not all touchscreens are equal. Capacitive screens work with basic styluses only.
Professional pen support requires an EMR or AES digitizer layer. Always check the spec sheet for digitizer type before buying.
Why This Question Trips Everyone Up
Here's the core problem. Manufacturers slap "touchscreen" on the box and call it a day. That tells you almost nothing about what kind of stylus will actually work.
Walk into any electronics store in 2026 and you'll see monitors labeled "touch-enabled" sitting right next to professional "pen displays." They look similar. They both respond to finger input. But under the hood, they're running completely different technologies.
A standard capacitive touchscreen, the kind you find on budget portable monitors and most consumer laptops, detects the electrical charge from your skin. It knows a finger touched it. That's about it.
A basic capacitive stylus works because its conductive tip mimics your finger's electrical properties. You get a point of contact. You get nothing else.
No pressure sensitivity. No tilt detection. No palm rejection to speak of.
It's basically a stick that tricks your screen into thinking a finger showed up.
Now compare that to a proper pen display like the Wacom Cintiq Pro or the Huion Kamvas Pro series. Those monitors have a dedicated digitizer layer embedded behind the glass. That layer generates an electromagnetic field.
The pen communicates with the screen wirelessly through that field. Pressure, tilt, rotation, button presses, all of it gets transmitted with sub-millimeter accuracy.
The confusion gets worse because some manufacturers use phrases like "pen-compatible" or "stylus support" in marketing materials without specifying what kind of pen or what level of functionality you'll actually get. A $250 portable touchscreen might technically work with a stylus. But the experience will be nothing like what you'd expect from a device marketed as pen-enabled.
The Two Completely Different Technologies You Need to Know
This is where most buyers get burned. There are two fundamentally different ways a touchscreen monitor can handle stylus input, and they deliver completely different experiences.
Capacitive Touch (PCAP)
Capacitive touchscreens are the most common type by far. Your phone uses one. Your laptop probably uses one.
Most budget and mid-range touchscreen monitors use one.
How it works: The screen is coated with a transparent conductor. When your finger (or a conductive stylus) touches it, it changes the electrical capacitance at that point. The touch controller calculates the position.
What it supports:
- Finger touch
- Basic capacitive styluses (rubber tip, disc tip, or fine-point conductive tip)
- Multi-touch gestures (pinch, zoom, swipe)
What it does NOT support:
- Pressure sensitivity
- Tilt detection
- Palm rejection (reliable)
- Hover detection
- Battery-free pens
Typical use: Tapping, scrolling, basic navigation, simple annotation with a finger-like stylus.
Electromagnetic Resonance (EMR) and Active Electrostatic (AES)
These are the technologies that power professional pen displays and graphics tablets. They're what you need if you're doing any kind of serious creative work.
How EMR works: A digitizer grid behind the display generates an electromagnetic field. The pen contains a coil and chip that resonate with this field. The pen draws power from the field itself, so it never needs batteries.
The screen reads pressure, tilt, rotation, and button states from the pen's signal.
How AES works: The pen contains a small battery or capacitor and actively emits a signal. The touchscreen's sensor grid detects the pen's transmission. This allows for very fine tips and excellent hover detection.
What both support:
- 4096 to 8192 pressure levels (as of 2026)
- Tilt detection (typically ±60 degrees)
- Rotation detection (some models)
- Hover cursor (pen detected before touching)
- Programmable side buttons
- Reliable palm rejection
- Sub-millimeter accuracy
Typical use: Digital painting, photo retouching, 3D sculpting, CAD work, handwriting recognition, precise annotation.
Side-by-Side Comparison
| Feature | Capacitive Touch | EMR Digitizer | AES Digitizer |
|---|---|---|---|
| Pressure sensitivity | None | 4096–8192 levels | 4096–8192 levels |
| Tilt detection | No | Yes (±60°) | Yes (±60°) |
| Hover detection | No | Yes (up to 10mm+) | Yes (up to 10mm+) |
| Palm rejection | Basic | Advanced | Advanced |
| Pen power source | N/A (passive tip) | Battery-free | Battery or rechargeable |
| Accuracy | ±1–2mm | ±0.3–0.5mm | ±0.3–0.5mm |
| Typical price range | $200–$500 | $400–$3,500+ | $400–$2,500+ |
| Best for | Navigation, basic use | Professional art, design | Professional art, note-taking |
Image source: Bing (Web (fair-use with source credit))
How to Check If Your Monitor Actually Supports a Stylus
Before you buy anything, you need to know what you're working with. Here's a step-by-step process for figuring out whether a specific monitor will give you the stylus experience you want.
Step 1: Read the Full Spec Sheet
Don't rely on the product title or marketing headline. Scroll down to the full technical specifications. Look for these terms:
- Digitizer type: EMR, AES, Wacom, MPP, USI
- Pen protocol: Microsoft Pen Protocol, Wacom AES, USI 2.0
- Pressure levels: 4096, 8192
- Tilt support: Yes/No, degrees listed
- Hover detection: Yes/No
If the spec sheet only mentions "10-point touch" or "capacitive touch" and says nothing about a digitizer, it's a finger-only screen. It might work with a basic capacitive stylus, but that's it.
Step 2: Identify the Pen Protocol
The pen protocol determines which styluses are compatible. This is where a lot of people get stuck because they buy a great pen only to find it doesn't work with their monitor.
Common protocols as of 2026:
- Wacom EMR: Used in Wacom Cintiq, Wacom One, and some third-party pen displays. Wacom pens only.
- Wacom AES: Used in many Windows pen displays and some Samsung devices. Compatible with Wacom AES pens and some universal AES pens.
- Microsoft Pen Protocol (MPP): Used in Microsoft Surface devices and many third-party Windows pen displays. Compatible with Surface Pen and MPP-certified pens.
- USI (Universal Stylus Initiative): Primarily used in Chromebooks. USI 2.0 supports pressure and tilt. Cross-brand compatible within USI ecosystem.
- Apple Pencil Protocol: Apple Pencil only works with iPad models. Not available on any external monitor as of 2026.
Step 3: Check Driver and Operating System Compatibility
Even if the hardware supports a stylus, the software needs to be there too.
- Windows: Most pen displays work with Windows 10 and 11. You'll need to install the manufacturer's driver (Wacom, Huion, XP-Pen, etc.) for full pressure and button functionality.
- macOS: Pen support is good but sometimes lags behind Windows in driver updates. Check the manufacturer's macOS compatibility list.
- Chrome OS: USI styluses work natively. Some non-USI pens work with limited functionality.
- Linux: Wacom has solid Linux support. Other brands vary. Expect to do some manual configuration.
Step 4: Look for Reviews That Specifically Test Pen Performance
Marketing photos show someone drawing beautifully. Reviews tell you whether the pressure curve feels natural, whether there's noticeable parallax, and whether palm rejection actually works when you rest your hand on the screen.
Search for reviews that mention:
- Pressure curve behavior
- Parallax (offset between pen tip and cursor)
- Edge accuracy (does the pen track correctly near screen borders?)
- Driver stability
- Latency in specific applications
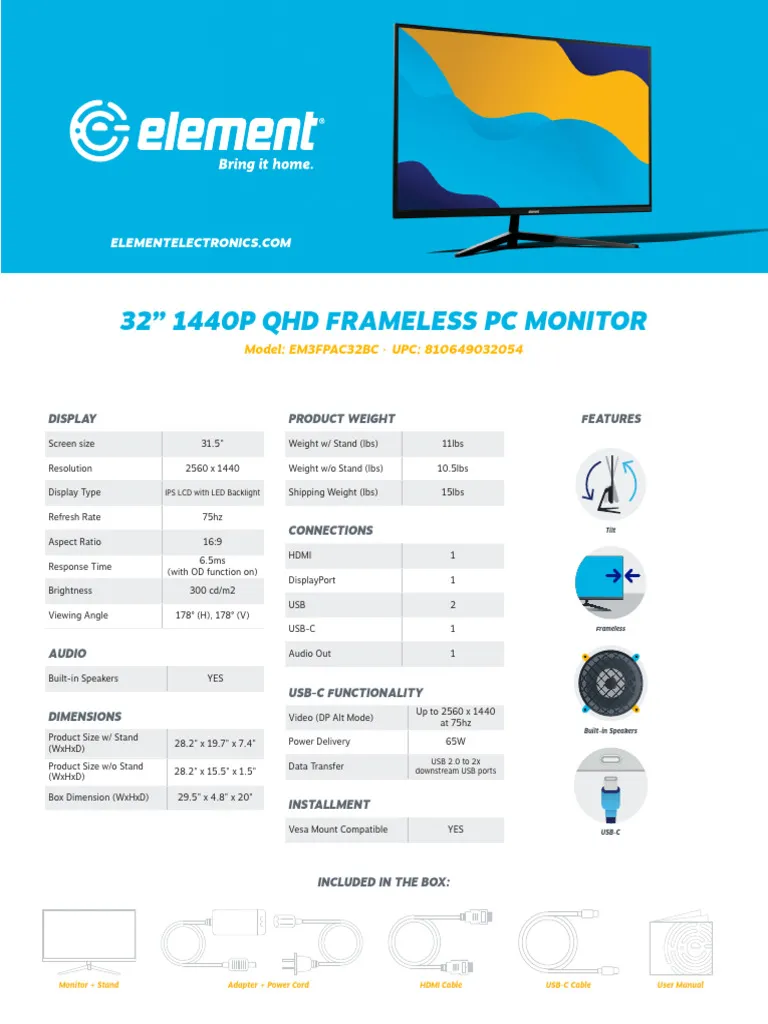
Image source: Bing (Web (fair-use with source credit))
Types of Styluses and Which Monitors They Work With
Not all styluses are created equal. Using the wrong stylus with the wrong monitor leads to frustration every single time.
Passive Capacitive Styluses
These have no electronics inside. The tip is just conductive material (rubber, disc, or fine conductive plastic). They work by mimicking your finger's electrical properties.
Works with: Any capacitive touchscreen monitor.
Pressure sensitivity: None.
Best for: Basic navigation, simple note-taking, occasional annotation.
Price range: $5, $30.
Limitations: No pressure, no tilt, no hover, no palm rejection. The tip is usually thicker than a pen, so precision is limited.
Active Capacitive Styluses
These contain electronics and actively communicate with the touchscreen. They're a step up from passive styluses but still limited compared to professional pen technologies.
Works with: Capacitive touchscreens that support active stylus protocols.
Pressure sensitivity: Some models offer basic pressure (typically 2048 levels).
Best for: Note-taking, light sketching, document markup.
Price range: $20, $80.
Limitations: Still not ideal for professional creative work. Tilt support is rare. Palm rejection varies.
EMR Styluses (Wacom)
These are the gold standard for professional pen displays. The pen has no battery. It draws power from the electromagnetic field generated by the digitizer layer in the screen.
Works with: Monitors equipped with Wacom EMR digitizers.
Pressure sensitivity: 4096, 8192 levels.
Best for: Digital painting, photo editing, 3D modeling, CAD, professional illustration.
Price range: $50, $130 for replacement pens.
Limitations: Only works with Wacom EMR-equipped displays. Not cross-compatible with other digitizer types.
AES Styluses
Active Electrostatic pens contain a small power source and emit a signal that the touchscreen detects. They offer excellent precision and are used across many brands.
Works with: Monitors equipped with AES digitizers.
Pressure sensitivity: 4096, 8192 levels.
Best for: Creative professionals, note-takers, educators.
Price range: $30, $100.
Limitations: Requires charging or battery replacement. Must match the specific AES implementation of the monitor.
USI Styluses
Universal Stylus Initiative pens are designed for cross-compatibility, primarily in the Chromebook ecosystem. USI 2.0 added pressure sensitivity and tilt.
Works with: USI-compatible Chromebooks and monitors.
Pressure sensitivity: Up to 4096 levels (USI 2.0).
Best for: Students, note-takers, Chromebook users.
Price range: $30, $60.
Limitations: Limited to USI-compatible devices. Not suitable for professional creative work at the highest level.
Manufacturer-Specific Pens
Some monitors only work with their own branded pens. This is common with Microsoft Surface, Wacom, and Samsung devices.
Key rule: Always verify pen compatibility before buying. A $100 stylus is worthless if it doesn't talk to your specific monitor's digitizer.
Touchscreen Monitors vs Pen Displays: What's the Actual Difference
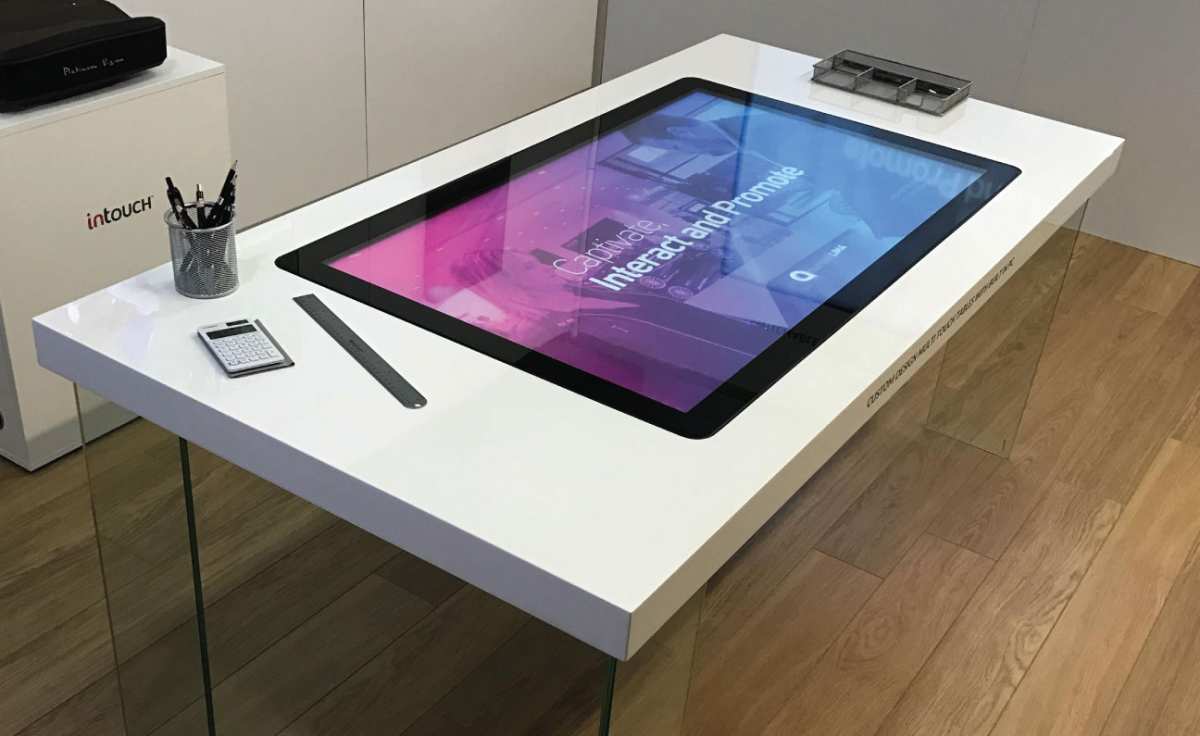
This distinction matters more than any other spec. A "touchscreen monitor" and a "pen display" are not the same thing, even though both have screens you can touch.
Touchscreen Monitors
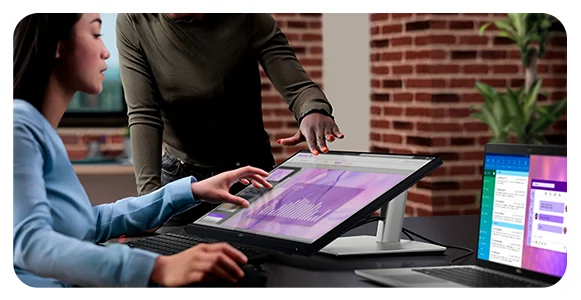
These are standard displays that happen to have a touch sensor layered on top. The touch layer is capacitive. It detects fingers and basic styluses.
Typical specs:
- IPS or VA panel
- 10-point capacitive touch
- USB-C or HDMI + USB connection
- No built-in digitizer
- Price: $200, $600
Who they're for: People who want touch navigation, occasional stylus use with a basic pen, or a more interactive way to use their computer. Not designed for creative professionals.
Examples: ASUS ZenScreen Touch, Dell P2418HT, Acer T272HL.
Pen Displays
These are purpose-built for pen input. They have a dedicated digitizer layer (EMR or AES) embedded behind the display panel. The pen experience is the primary design goal.
Typical specs:
- IPS or OLED panel with optical bonding
- EMR or AES digitizer
- 4096, 8192 pressure levels
- Tilt and rotation detection
- Programmable pen buttons
- Price: $400, $3,500+
Who they're for: Digital artists, illustrators, photo editors, 3D modelers, CAD professionals, and anyone who needs precise, pressure-sensitive pen input.
Examples: Wacom Cintiq Pro 27, Huion Kamvas Pro 24, XP-Pen Artist Pro 16.
When to Choose Each
Choose a touchscreen monitor if:
- You mainly use touch for navigation and gestures
- You only need basic stylus input for signatures or simple notes
- Budget is under $500
- You don't need pressure sensitivity
Choose a pen display if:
- You're a creative professional or serious hobbyist
- Pressure sensitivity and tilt matter to your workflow
- You draw, paint, or retouch photos regularly
- You need hover detection and precise cursor tracking
- You're willing to invest $400+ for a quality experience
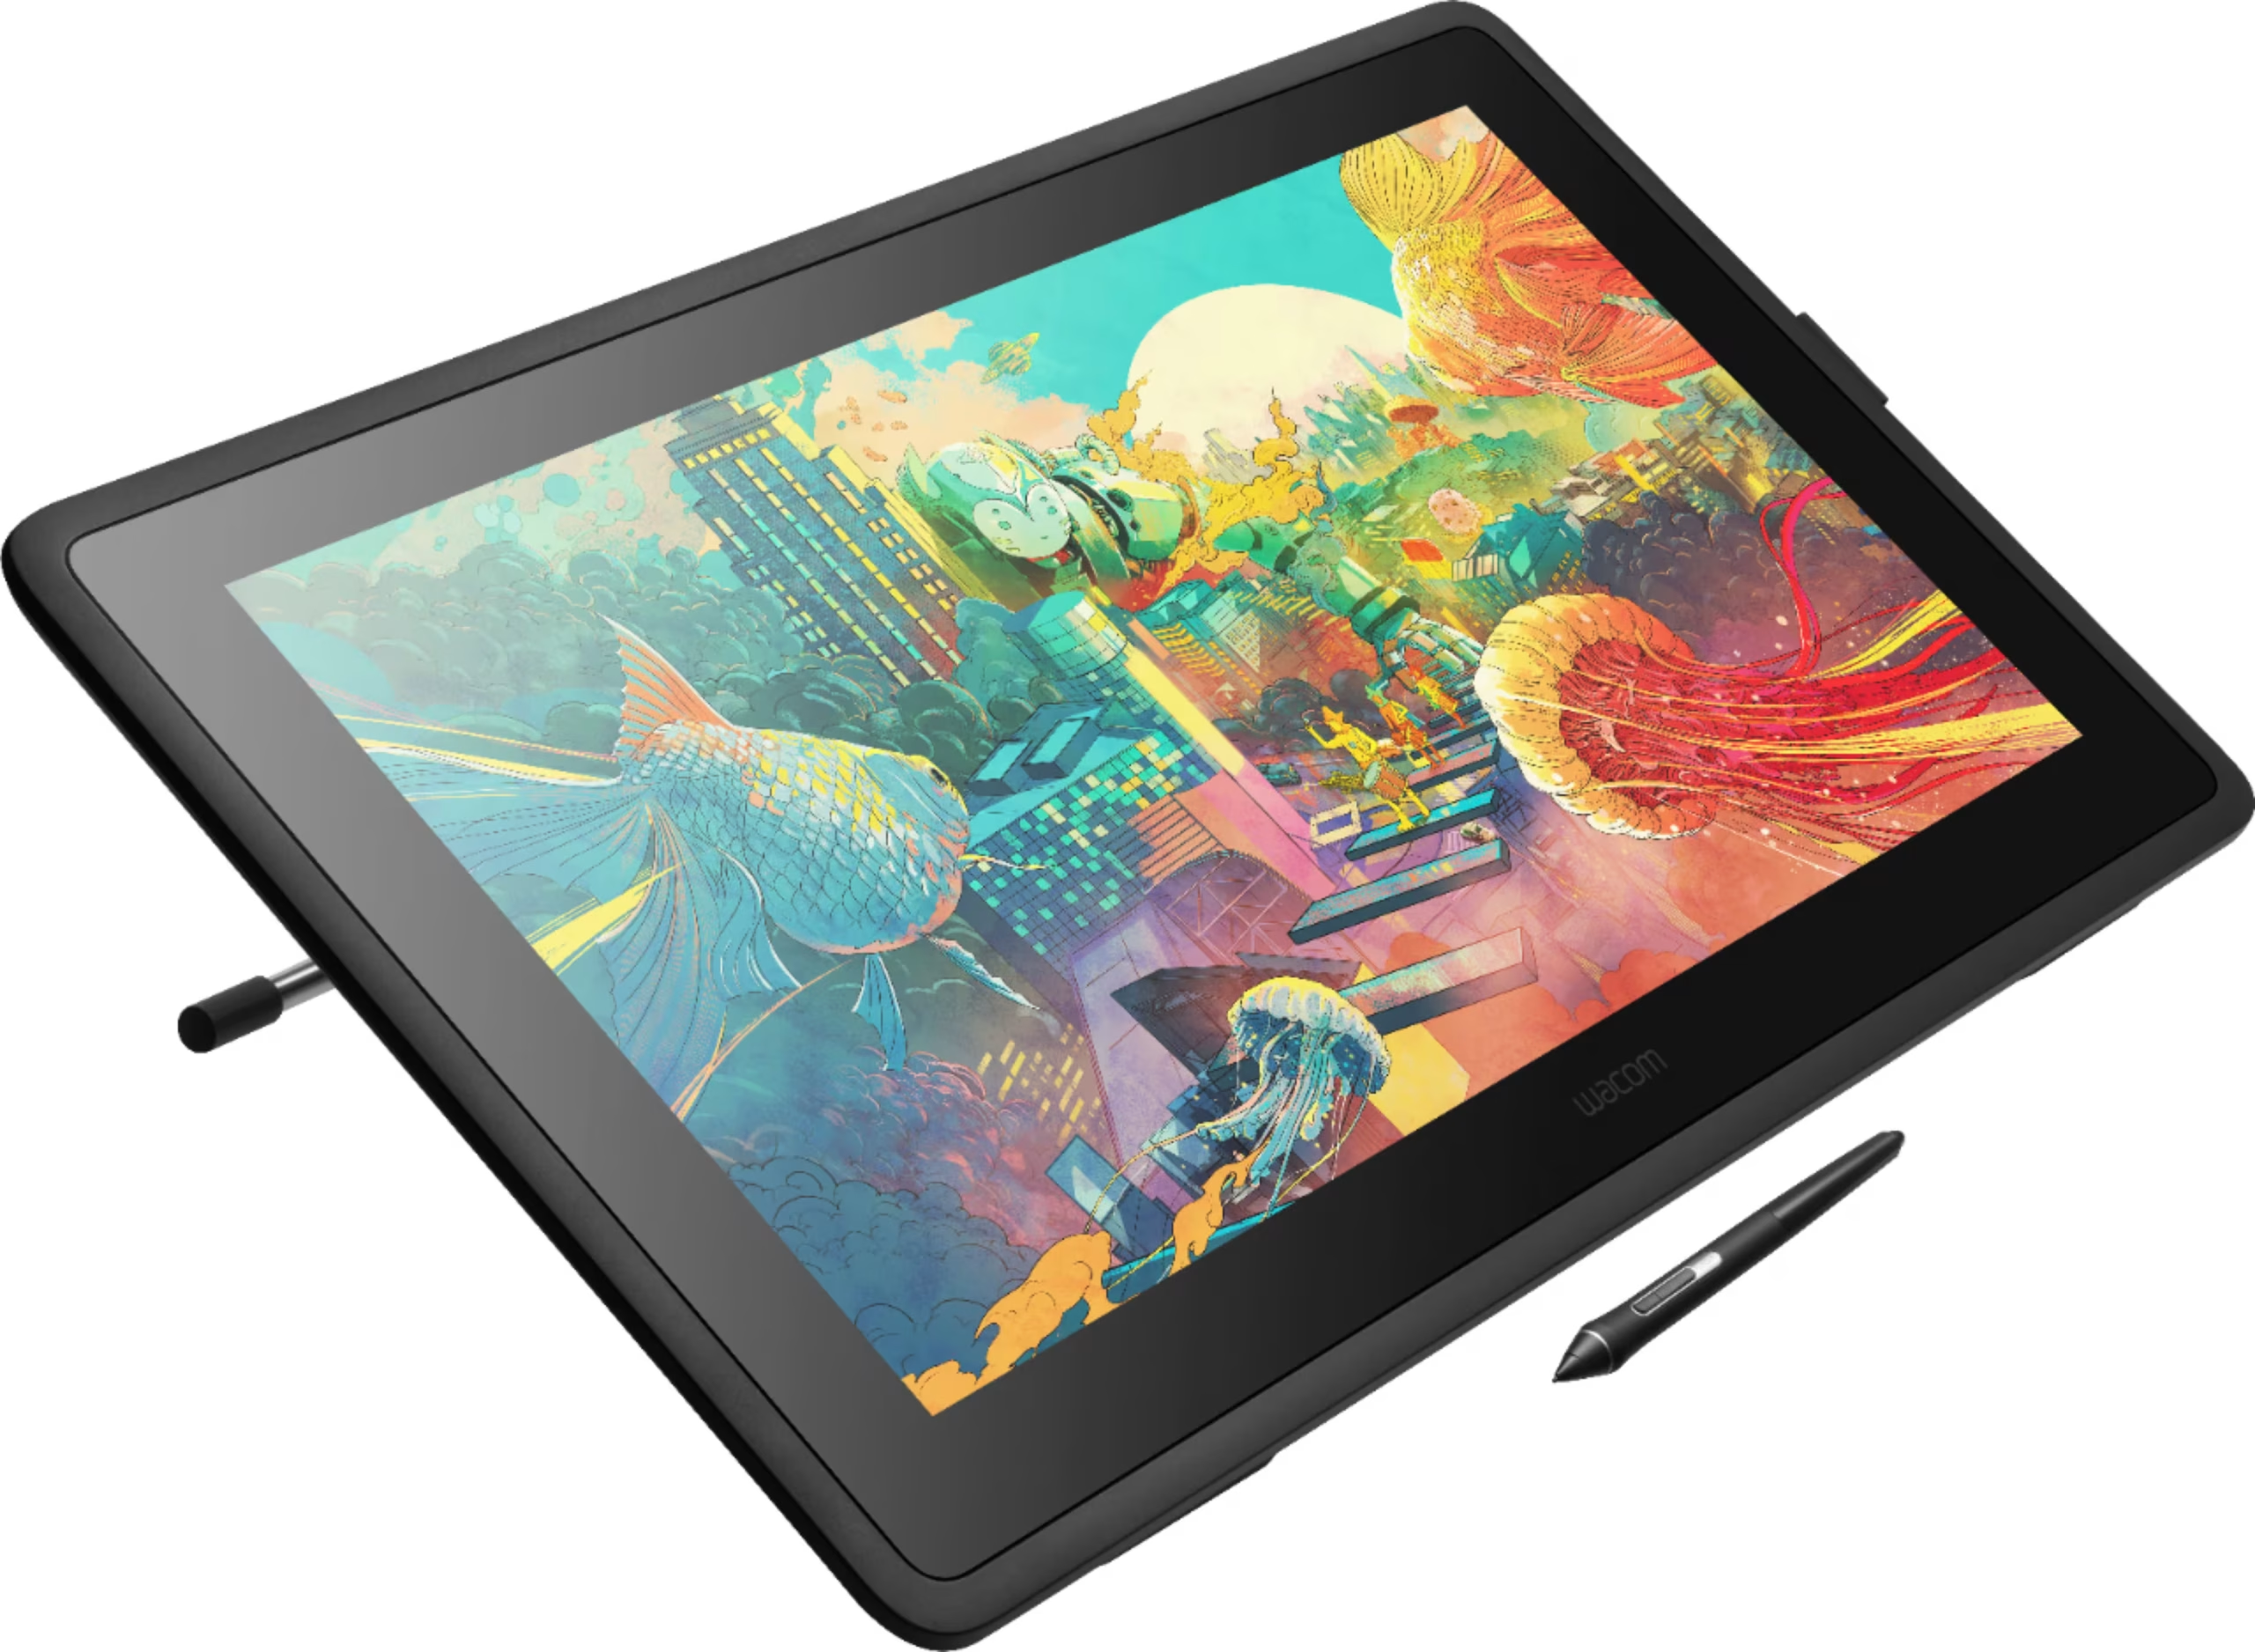
Image source: Bing (Web (fair-use with source credit))
Who Needs Stylus Support and Who Doesn't
Not everyone needs a pen-enabled monitor. Here's a realistic breakdown of who benefits from each level of stylus technology.
Digital Artists and Illustrators
If you're creating art in Photoshop, Clip Studio Paint, Procreate (iPad), or Krita, you need a proper pen display with EMR or AES digitizer. Pressure sensitivity isn't optional for this work. It's the difference between drawing with a mouse and drawing with a real brush.
What you need: Pen display with 8192 pressure levels, tilt support, and minimal parallax.
Photo Editors and Retouchers
Dodging, burning, masking, and brush-based retouching all benefit enormously from pen pressure. A stylus lets you control opacity and flow naturally. Many photo editors work faster with a pen than with a mouse or trackpad.
What you need: Pen display with good pressure curve and accurate tracking. Tilt is nice but not essential.
Note-Takers and Students
If you're annotating PDFs, taking handwritten notes in OneNote or Notability, or marking up documents, a basic active stylus or USI pen works fine. You don't need 8192 pressure levels for handwriting.
What you need: Any stylus with decent tip precision and basic palm rejection. USI pens work well for Chromebook users.
CAD and Engineering Professionals
Precision matters more than artistic pressure control. A stylus helps with sketching concepts, marking up drawings, and navigating 3D models. But you don't necessarily need the same features as a digital artist.
What you need: A pen display or graphics tablet with good accuracy and programmable buttons for shortcuts.
Casual Users Who Just Want to Tap and Scroll
If you're not doing any of the above, a basic capacitive touchscreen is plenty. You don't need to spend extra on a pen display. A $10 capacitive stylus will handle the occasional signature or quick sketch.
What you need: Standard capacitive touchscreen. No digitizer required.
Common Mistakes When Buying a Stylus-Compatible Monitor
These are the mistakes we see over and over in user reviews and forum posts. Avoid them and you'll save money and frustration.
Mistake 1: Assuming "Touchscreen" Means "Pen-Compatible"
This is the biggest one. A touchscreen responds to fingers. A pen display responds to a specific type of active pen.
These are not the same thing. Always check for a digitizer layer.
Mistake 2: Buying the Wrong Pen for Your Monitor
You bought a Microsoft Surface Pen. Your monitor uses Wacom AES. They don't talk to each other.
Check the pen protocol before you buy anything.
Mistake 3: Ignoring Palm Rejection Quality
Cheap touchscreen monitors often have terrible palm rejection. You rest your hand on the screen and phantom inputs appear. Professional pen displays handle this much better because the digitizer distinguishes between pen and hand.
Mistake 4: Overlooking Parallax
Parallax is the gap between where your pen tip touches and where the cursor appears. On monitors with an air gap between the glass and the display panel, this gap is noticeable. Optical bonding reduces it significantly.
If precision matters to you, look for optical bonding in the specs.
Mistake 5: Skipping Driver Research
Some monitors have excellent hardware but terrible drivers. Pressure curves feel off. Buttons don't map correctly.
Crashes in your primary software. Check user reviews specifically for driver complaints before buying.
Mistake 6: Expecting iPad-Level Experience on a 0 Monitor
Apple Pencil on iPad is a polished, low-latency, high-precision experience. A $300 capacitive touchscreen monitor won't match it. Set your expectations based on the technology and price point you're actually buying into.
Pricing and What You Actually Get at Each Level
Here's a realistic breakdown of what different price points deliver in 2026.
Budget: 0–0
What you get: Capacitive touchscreen monitor. IPS panel, 1080p or 4K, USB-C connectivity. Works with fingers and basic capacitive styluses.
What you don't get: Pressure sensitivity, tilt detection, hover, reliable palm rejection, or professional pen protocols.
Best for: Casual touch navigation, basic annotation, students on a budget.
Mid-Range: 0–,200
What you get: Entry-level to mid-range pen display. 2K or 4K resolution, EMR or AES digitizer, 4096, 8192 pressure levels, tilt support, optical bonding (some models).
What you don't get: The absolute best color accuracy, largest screen sizes, or premium build quality of top-tier models.
Best for: Hobbyist artists, note-takers, educators, photo editors.
Professional: ,000–,500+
What you get: Premium pen display. 4K resolution, OLED or high-end IPS panel, 8192 pressure levels, tilt and rotation detection, excellent color accuracy (ΔE < 2), minimal parallax, rock-solid drivers.
What you don't get: A cheap entry point.
Best for: Professional digital artists, illustrators, photographers, 3D artists, studios.
Hidden Costs
Don't forget to budget for:
- Replacement pens: $30, $130
- Replacement nibs: $5, $15 for a pack
- Pen stand or holder: $10, $30
- Additional cables (USB-C, HDMI): $15, $40
- Screen protector (matte): $15, $40
How to Set Up and Optimize Your Touch-and-Pen Monitor
Getting the hardware is step one. Setting it up correctly makes the difference between a frustrating experience and a smooth one.
Step 1: Install the Right Drivers
Don't rely on plug-and-play. Go to the manufacturer's website and download the latest driver for your specific monitor model and operating system. Wacom, Huion, XP-Pen, and others all maintain driver pages with version-specific downloads.
Step 2: Calibrate the Pen
Most pen display drivers include a calibration tool. Use it. Map the pen's active area to your screen (or screens if you're using multiple monitors).
Adjust the pressure curve to match your hand. Some drivers let you set a soft or firm pressure response.
Step 3: Configure Palm Rejection
Open your driver settings and enable palm rejection. Test it by resting your hand on the screen while drawing. If you get phantom touches, check for driver updates or adjust the rejection sensitivity.
Step 4: Set Up Pen Buttons
Most active styluses have one or two side buttons. Map them to useful shortcuts. Common mappings include right-click, eraser, undo, and eyedropper tool.
This saves time and keeps your workflow smooth.
Step 5: Test in Your Primary Software
Open the application you use most (Photoshop, Clip Studio, OneNote, etc.) and test the pen. Check pressure response, tilt behavior, and button mappings. Some applications have their own pen settings that override the driver defaults.
Step 6: Update Firmware
Check for firmware updates for both the monitor and the pen. Manufacturers occasionally release updates that fix bugs, improve pressure curves, or add features.
Step 7: Maintain Your Screen and Nibs
Clean the screen regularly with a microfiber cloth. Replace worn nibs before they get too short, which can scratch the screen. If you use a matte screen protector, replace it when it shows wear.
Real Scenarios: What Works and What Doesn't
Let's walk through three common situations to show how this all plays out in practice.
Scenario 1: The Artist Who Bought the Wrong Monitor
A digital artist bought a $350 capacitive touchscreen monitor after seeing it advertised as "touch-enabled with stylus support." She expected pressure sensitivity and tilt like her friend's Wacom Cintiq. What she got was a screen that responded to a rubber-tip stylus with no pressure levels and no palm rejection.
The fix: She returned it and bought a Huion Kamvas Pro 16, a proper pen display with Wacom AES digitizer, for $500. The difference was night and day.
The lesson: "Stylus support" on a capacitive touchscreen means basic input only. It does not mean professional pen performance.
Scenario 2: The Student With a Chromebook
A college student needed a portable monitor for taking notes in OneNote. She bought a USI 2.0 compatible portable display and a USI stylus for $40. Pressure sensitivity worked for handwriting.
Palm rejection was solid. The setup was plug-and-play on her Chromebook.
The result: Exactly what she needed. No overpaying for features she wouldn't use.
The lesson: Match the technology to the use case. A note-taker doesn't need an EMR digitizer.
Scenario 3: The Designer Who Invested Wisely
A freelance graphic designer needed a pen display for client work. She researched for two weeks, read reviews comparing parallax and pressure curves, and bought a Wacom Cintiq Pro 24. It cost $1,900.
Three years later, it's still her primary work tool.
The result: The investment paid for itself in faster client turnaround and better output quality.
The lesson: If your income depends on pen input quality, don't cheap out. A professional pen display is a tool, not a toy.
Frequently Asked Questions
Can I use any stylus on a touchscreen monitor?
No. Capacitive touchscreens only work with capacitive styluses (passive or active). Pen displays require their specific digitizer-compatible pen.
Always match the pen to the digitizer type.
Do all touchscreen monitors have pressure sensitivity?
No. Only monitors with EMR or AES digitizers support pressure sensitivity. Standard capacitive touchscreens do not.
Will an Apple Pencil work on a touchscreen monitor?
No. Apple Pencil only works with iPad models. As of 2026, no external monitor supports Apple Pencil input.
What's the difference between a pen display and a graphics tablet?
A pen display has a built-in screen you draw directly on. A graphics tablet (like a Wacom Intuos) is a flat pad without a screen. You draw on the pad while looking at your monitor.
Pen displays are more intuitive but cost more.
How do I know if my monitor has a digitizer?
Check the full spec sheet for terms like "EMR," "AES," "Wacom," "MPP," or "USI." If none of these appear and the specs only mention "capacitive touch," there's no digitizer.
Can I add pen support to a monitor that doesn't have it?
Not practically. The digitizer layer is embedded behind the display panel during manufacturing. You can use an external graphics tablet (like a Wacom Intuos) as a separate input device, but you can't add pen functionality to the monitor itself.
Final Decision Guide: Should You Get a Stylus-Compatible Monitor
Here's the bottom line. If you're choosing a monitor in 2026 and stylus input matters to you, follow this decision path.
If you only need basic touch and occasional stylus use:
Get a capacitive touchscreen monitor. Budget $200, $500. Pair it with a $10, $30 capacitive stylus.
You'll be fine for navigation, signatures, and simple notes.
If you're a creative professional or serious hobbyist:
Get a proper pen display with EMR or AES digitizer. Budget $400, $3,500 depending on your needs. Make sure the pen protocol matches the stylus you want to use.
Check reviews for parallax, pressure curve, and driver stability.
If you're a Chromebook user:
Look for USI 2.0 compatible monitors and styluses. The ecosystem is growing and the plug-and-play experience is solid.
If you're not sure:
Don't buy anything until you've checked the spec sheet. Look for the digitizer type. Read reviews that specifically test pen performance.
Match the pen protocol to the monitor. And remember, "touch-supported" and "pen-supported" are not the same thing.
The right monitor for you depends entirely on what you're doing with it. A basic capacitive touchscreen handles everyday tasks just fine. But the moment you need pressure sensitivity, tilt, or professional-grade accuracy, you need a purpose-built pen display.
Know the difference before you spend your money.

Similar Posts